

I stared at my oven racks last Thanksgiving and seriously considered throwing them away. Black, crusty, layered in what I can only describe as archaeological grease deposits. Sound familiar?
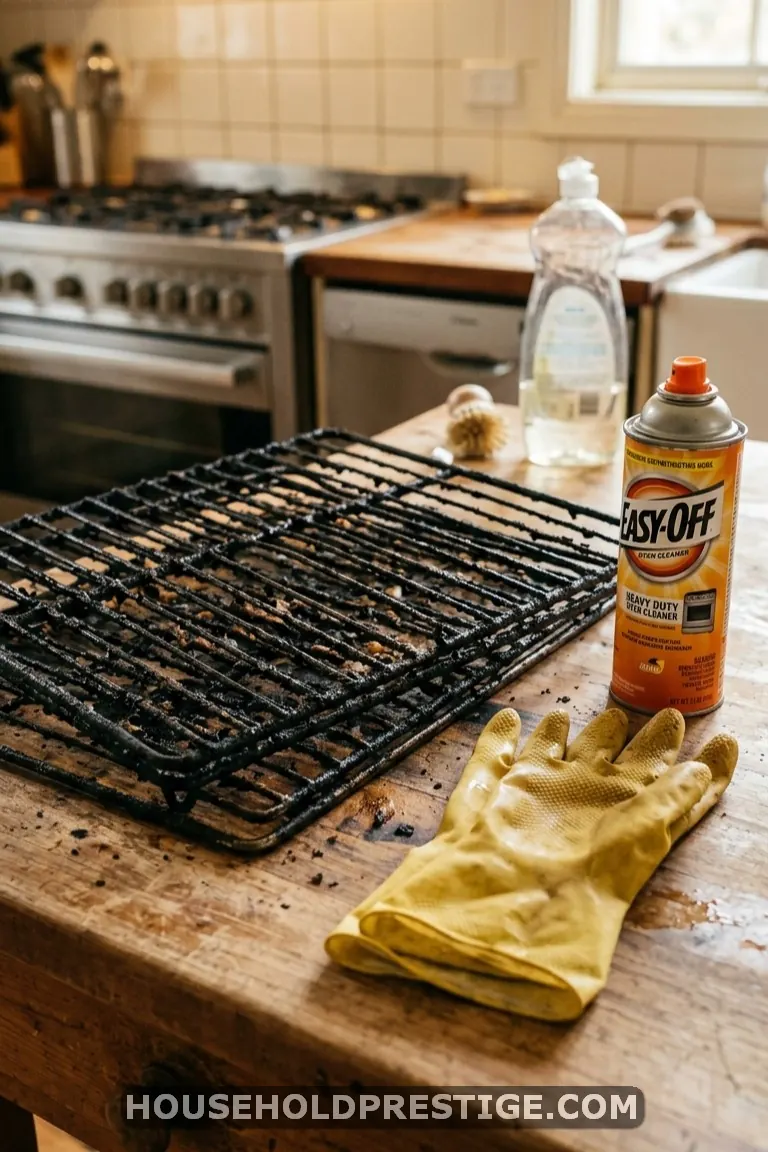
Most advice on how to clean oven racks sends you straight to the chemical aisle. Harsh sprays. Rubber gloves up to your elbows. Windows cracked open in January. And after all that? You still end up scrubbing for 45 minutes while your arms go numb.
I tried a different approach. It involves your bathtub, one cheap household product, and about six hours of doing absolutely nothing. By morning, the grime slides off like butter on a warm pan. No scrubbing. No toxic fumes. No arm workout.
This guide walks you through the exact method, start to finish, plus the mistakes that trip most people up and a few backup techniques for stubborn spots.
Why Most Oven Rack Cleaning Methods Fall Short
The problem isn’t effort. The problem is chemistry.
Baked-on oven grease is polymerized fat. Heat has essentially turned it into a plastic-like coating that bonds to metal at a molecular level. That’s why scrubbing with a sponge barely dents it. You’re fighting a chemical bond with friction, and friction loses every time.
Commercial oven cleaners use sodium hydroxide (lye) to break that bond. Effective? Yes. But lye burns skin on contact, produces fumes that sting your eyes, and leaves a chemical residue you then have to rinse multiple times before putting the racks back near your food.
The bathtub method works because it uses a long soak time to do what brute force can’t. Alkaline cleaning agents — dissolved in hot water, given enough hours — break down polymerized grease without any scrubbing and without the concentrated harshness of spray-on cleaners.
Time does the heavy lifting. You just set it up and walk away.
What You Need
You probably own most of this already.
The essentials:
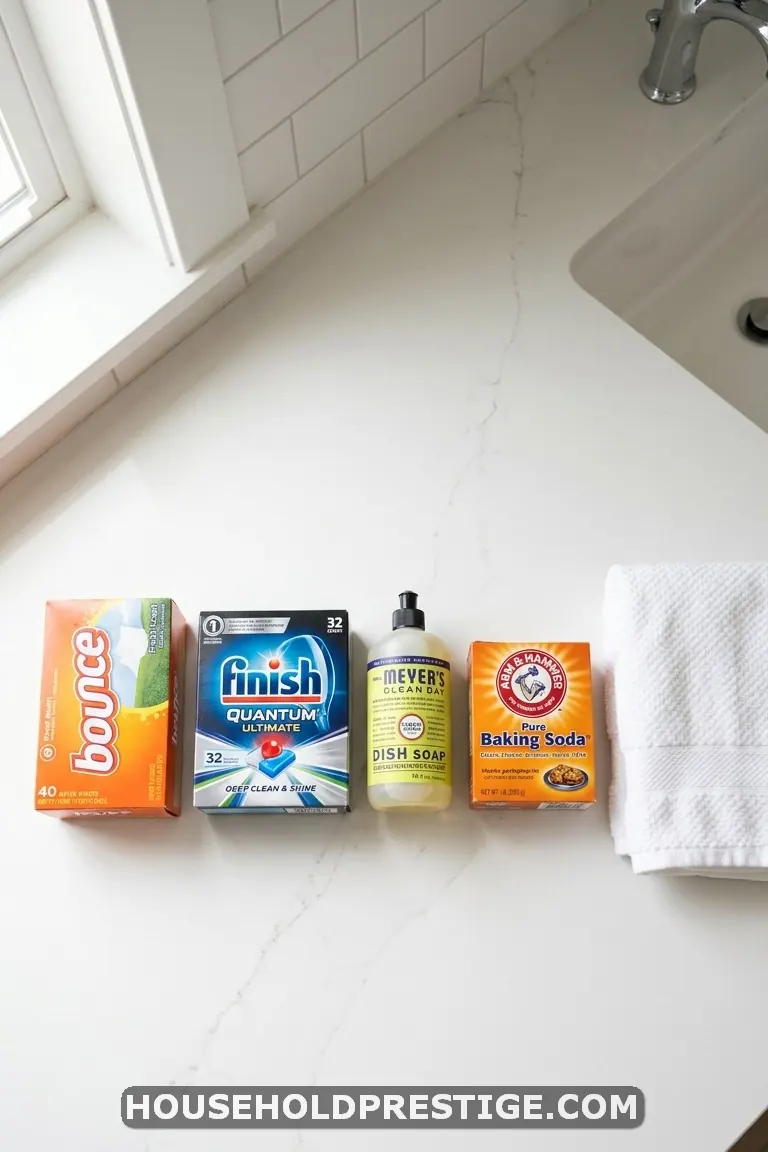
- 6-8 standard dryer sheets (any brand — store brand works fine, $3-4 per box)
- Hot water from your bathtub tap
- 1/2 cup dish soap (Dawn or similar grease-cutting formula)
- An old bath towel you don’t mind getting dirty
- A non-scratch sponge or microfiber cloth for the final wipe
Optional but helpful:
- 1/2 cup baking soda for extra stubborn spots
- 2-3 dishwasher tablets (you can substitute these for dryer sheets — both work, different mechanism)
- Old toothbrush for detailed corners and joints
That’s it. Total cost if you need to buy everything from scratch: under $8. Compare that to a single can of commercial oven cleaner at $6-9 that’ll burn your nostrils and still require scrubbing.
The Bathtub Soak Method: Step by Step
This is the method that outperforms everything else I’ve tried. It’s the one the top Pinterest creators swear by, and for good reason — it takes about 10 minutes of active work.
Step 1: Prep Your Bathtub
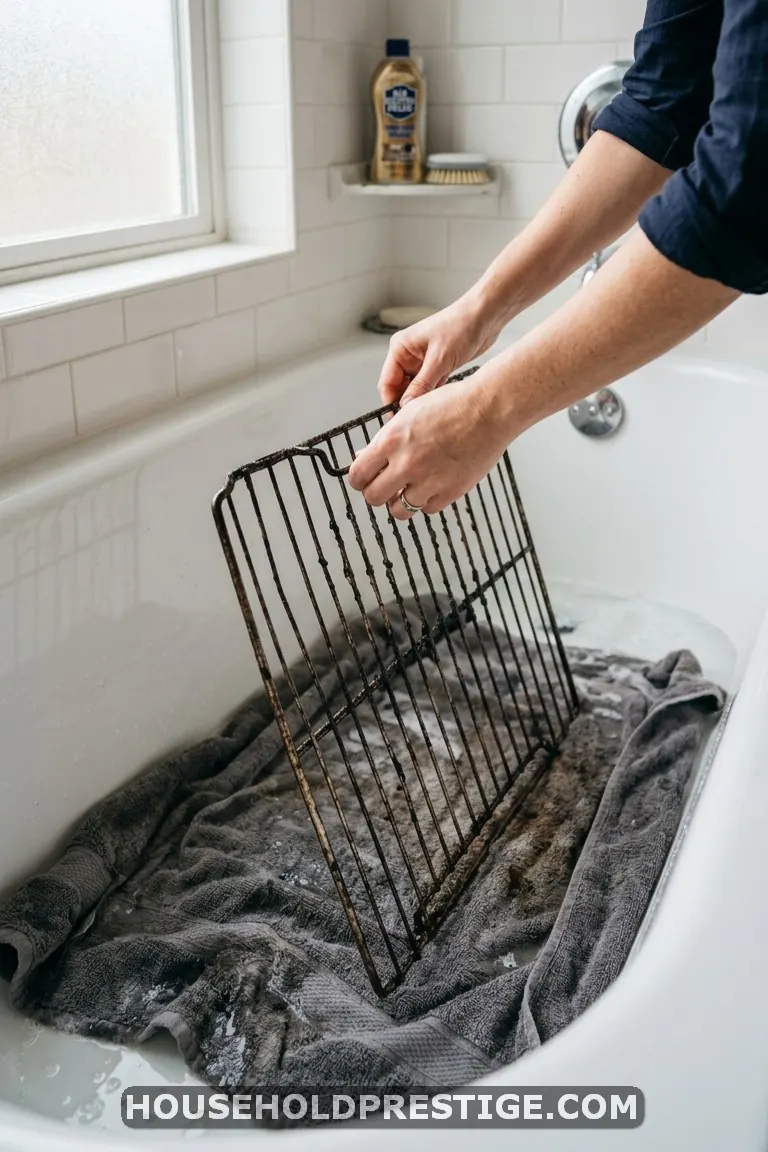
Lay the old bath towel flat across the bottom of your tub. This protects the porcelain or acrylic surface from scratches. Oven racks are heavy, and metal-on-tub-surface is a recipe for permanent marks.
If you have a fiberglass tub, this step is non-negotiable. One careless slide and you’re looking at a scratch that no amount of cleaning will fix.
Step 2: Place the Racks
Remove the racks from your oven and carry them to the tub. Lay them flat. If your racks don’t fit side by side, stack them at a slight angle so water can still reach all surfaces.
Quick note: let the racks cool completely if you’ve been using the oven recently. Hot metal plus cold water warps racks. Warped racks don’t slide back into oven guides properly, and that’s an annoying problem you don’t want.
Step 3: Add the Cleaning Agents
Here’s where the method earns its reputation.
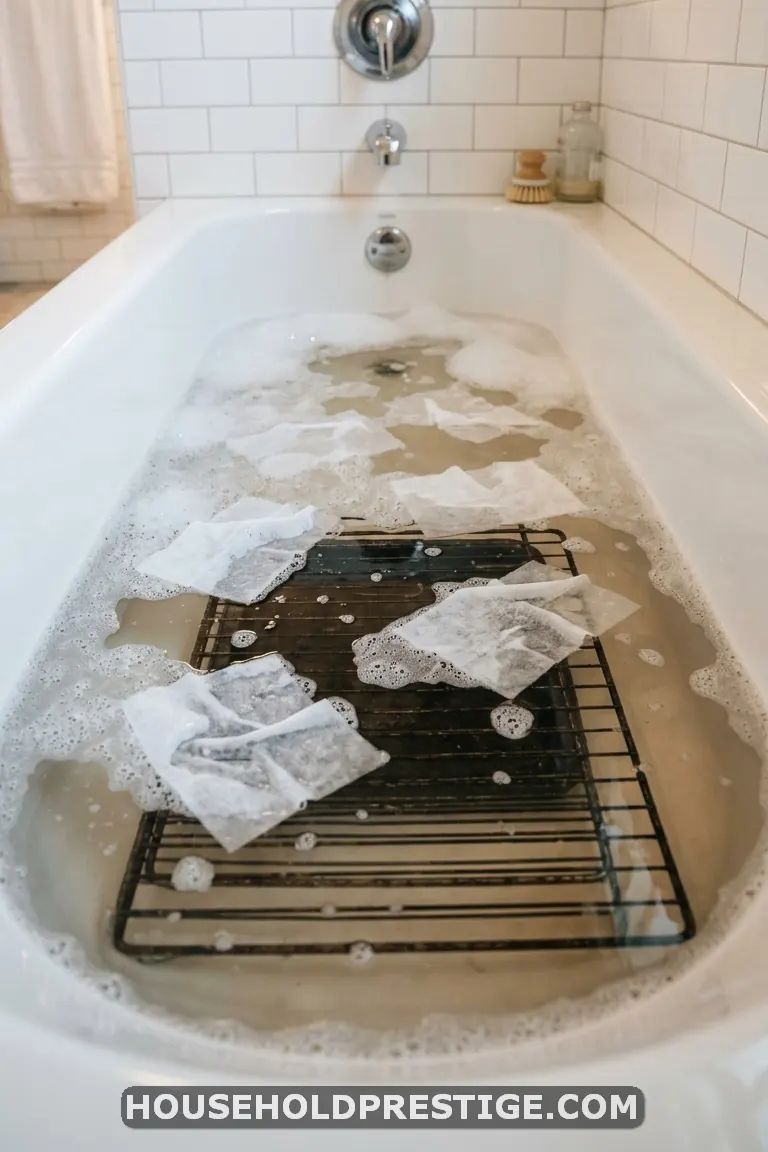
Lay 6-8 dryer sheets directly on top of and around the racks. Spread them out. Don’t bunch them in one spot. The fabric softener agents in dryer sheets contain cationic surfactants — compounds that dissolve the bond between grease and metal. They’re mild enough that they won’t damage the rack’s chrome plating.
Squirt about 1/2 cup of dish soap over everything. Dawn Ultra is the go-to because its grease-cutting surfactants complement what the dryer sheets are already doing. Together, they create a one-two punch: the dryer sheets loosen the bond, the dish soap emulsifies the grease so it lifts into the water.
If you want to go nuclear on truly terrible racks, sprinkle 1/2 cup of baking soda across the surfaces before adding water. The mild abrasive will help once you get to the wiping stage.
Step 4: Fill with Hot Water

Turn on the hot water. As hot as your tap goes. You need enough water to fully submerge the racks — every bar, every crosspiece, every corner.
For most standard bathtubs, this takes about 4-5 inches of water depth. The racks should be completely covered with at least an inch of water above them.
Temperature matters here. Hot water opens the molecular structure of polymerized grease, making it more vulnerable to the surfactants in the soak. Lukewarm water works, but adds hours to the process.
Step 5: Walk Away
This is the step most people underestimate.
Leave the racks soaking for a minimum of 6 hours. Overnight is better. 10-12 hours is ideal for racks that haven’t been cleaned in over a year.
I know the temptation. You’ll check at the 3-hour mark and see the water turning brown and think, “That looks done.” It’s not. The surface grease releases first. The deep, carbonized layers need more time. Give it the full soak.
Set a timer on your phone if you need to. Go to bed. Watch a movie. The racks aren’t going anywhere.
Step 6: The Wipe-Down
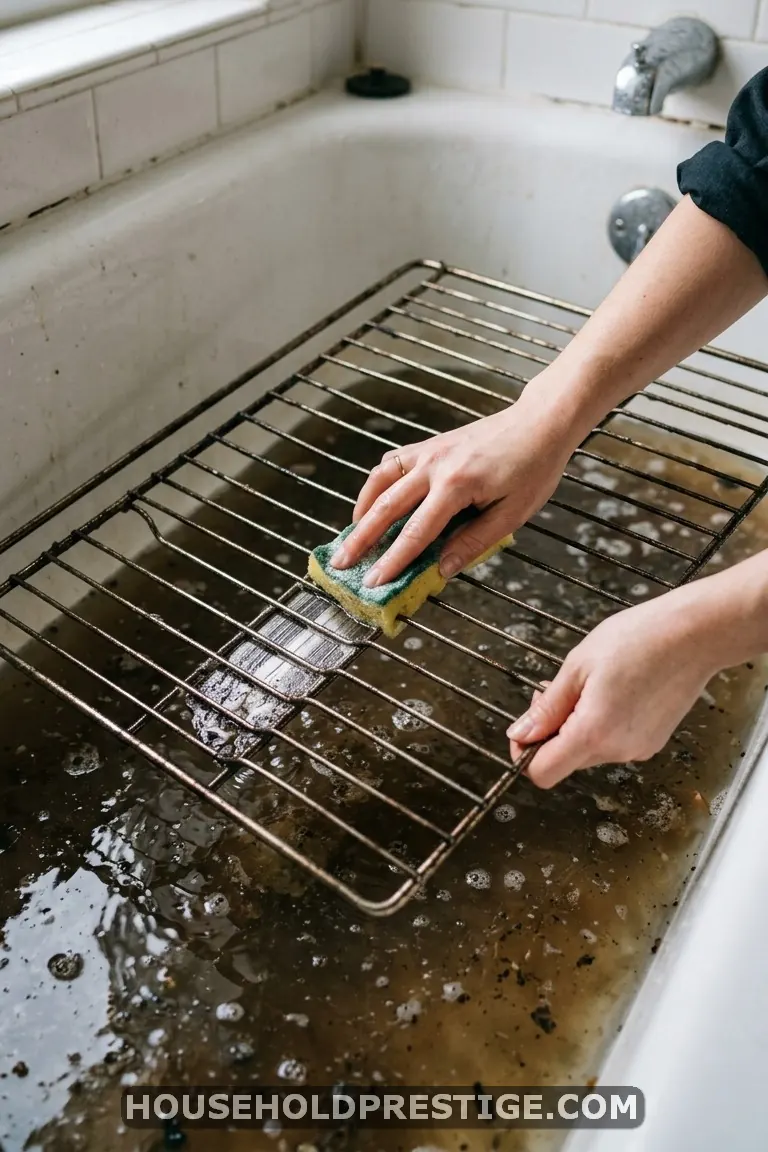
This is the satisfying part.
Drain the tub. Pick up one of the used dryer sheets — yes, the soggy one — and use it to wipe down the rack surfaces. The grease will slide right off. It’s almost unsettling how little effort this takes.
For any remaining stubborn spots (usually the corners where crossbars meet), use your non-scratch sponge with a small amount of fresh dish soap. A circular motion with light pressure handles 95% of residual grime.
The old toothbrush comes in handy for the joints and edges where the sponge can’t reach. Two or three passes and you’re done.
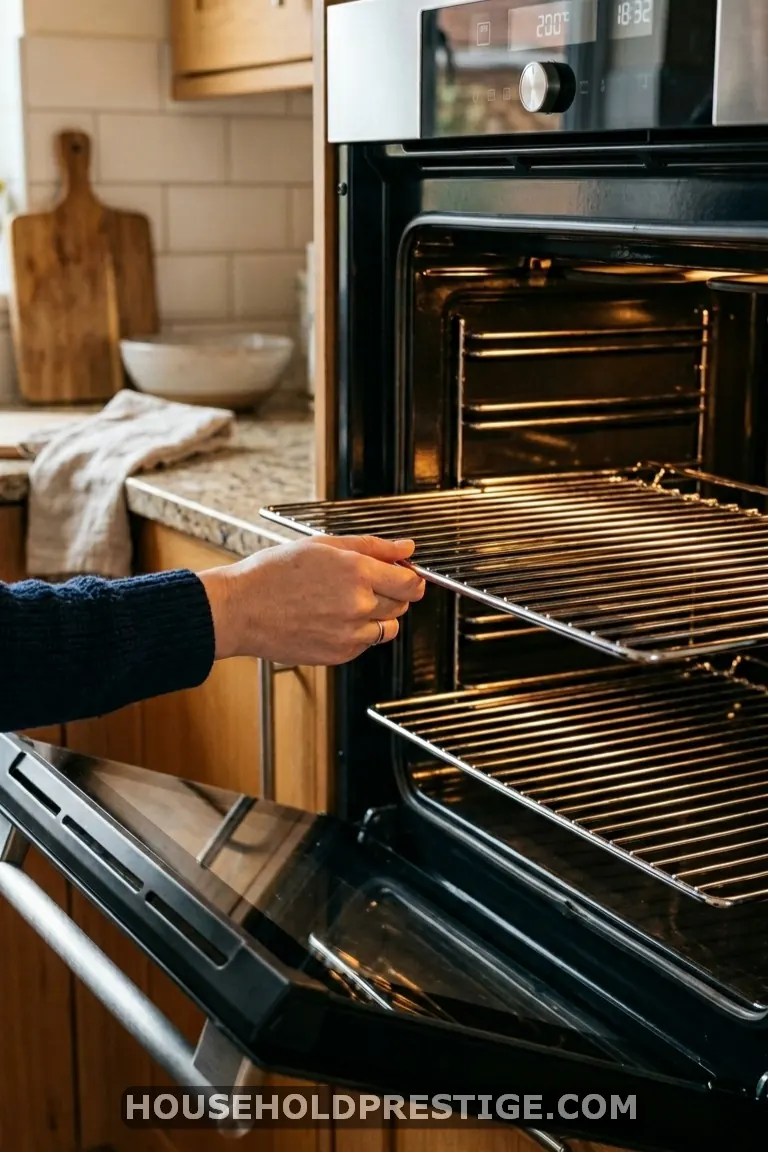
Step 7: Rinse and Dry
Rinse each rack under clean running water. Turn them over. Check the undersides — grease loves to hide on bottom surfaces where you don’t typically look.
Dry the racks with a clean towel before putting them back in the oven. This prevents water spots and — more importantly — stops any rust from forming on exposed metal where the chrome coating has worn thin.
If your racks have visible rust spots after cleaning, hit those areas with a paste of baking soda and water, scrub gently with a toothbrush, rinse, and dry immediately.
The Dishwasher Tablet Alternative
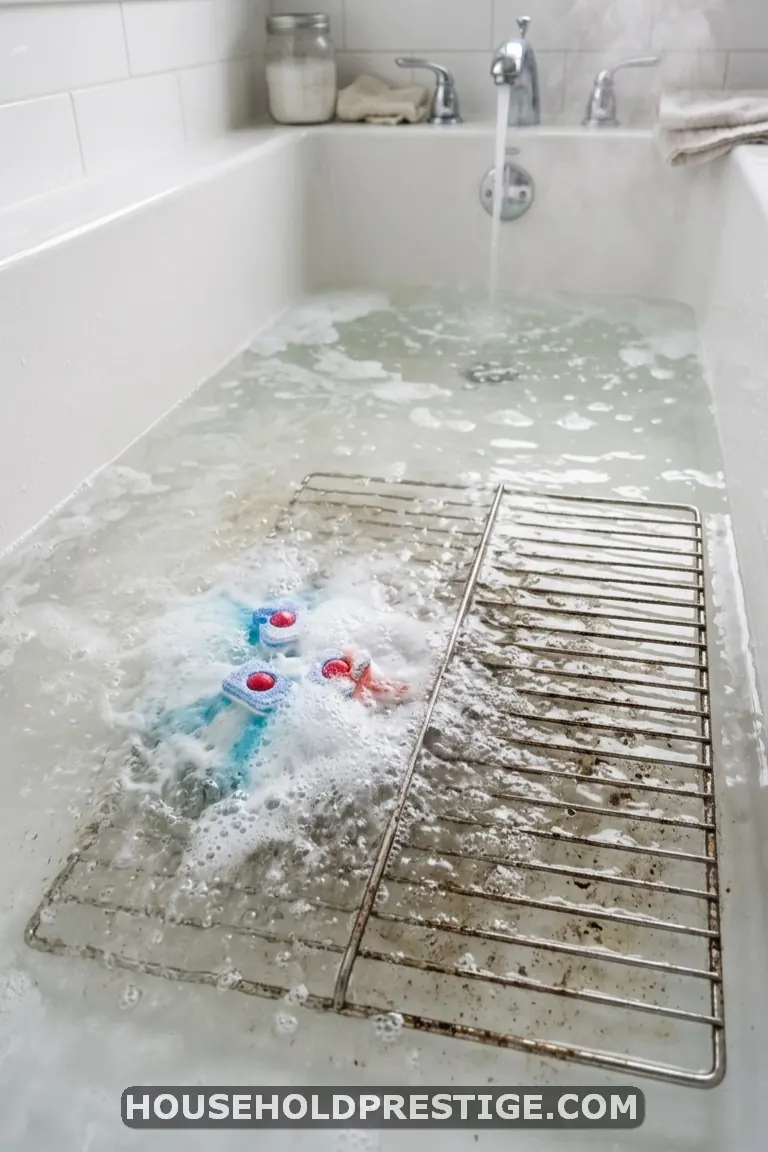
Don’t have dryer sheets? Dishwasher tablets work through a different mechanism but deliver comparable results.
Drop 3-4 tablets into the hot bathwater with the submerged racks. The enzymes and alkaline salts in dishwasher tablets are formulated to cut baked-on food, which is basically the same chemistry as baked-on oven grease.
Soak time is the same: 6-12 hours minimum. The wipe-down process is identical.
One advantage of the tablet method: it produces less film residue on your tub than dryer sheets. If you have a pristine white bathtub you’re protective of, tablets are the cleaner option for your tub (while still being ruthless on oven grease).
Brand recommendations: Finish Powerball or Cascade Platinum both have high enzyme concentrations. Store-brand tablets work too, but may need an extra tablet to compensate for lower surfactant levels.
What NOT to Do (Mistakes That Damage Racks)
I’ve made some of these mistakes. Save yourself the headache.
Self-Cleaning Oven Cycle
Your oven’s self-cleaning cycle hits 900°F. That temperature will strip the chrome plating right off your racks, leaving them gray, rough, and prone to rust. Some manufacturers explicitly warn against leaving racks in during self-clean. The replacement cost? $30-75 per rack, depending on your oven model.
Steel Wool and Metal Scrapers
Steel wool scratches chrome plating. Once the plating is scratched, moisture gets underneath and the rack rusts from the inside out. Use non-scratch sponges only. Always.
Ammonia in a Closed Space
Some cleaning guides suggest putting racks in a garbage bag with ammonia. This works chemically, but ammonia fumes in an enclosed bag create a serious inhalation hazard when you open it. If you go this route, open the bag outdoors only and stand upwind. Personally, the bathtub method gets the same result without the respiratory risk.
Oven Cleaner Spray Left Too Long
Commercial oven cleaners are meant for short contact times (20-30 minutes max on most labels). Leaving spray-on cleaner on racks overnight can eat through the chrome plating, especially on older racks where the coating is already thin. Follow the label times exactly.
Keeping Racks Cleaner Between Deep Cleans
Deep cleaning oven racks once or twice a year is reasonable. But a few habits reduce how much buildup accumulates between those sessions.
Line the bottom of your oven with a silicone oven liner ($8-12 on Amazon, reusable for years). It catches drips before they bake onto the racks below. Pull it out, wipe it down, put it back. Thirty seconds.
After cooking anything that splatters — roasted chicken, casseroles, anything with cheese — let the oven cool to warm (not hot), then wipe the racks with a damp cloth. It takes under a minute while the grease is still soft. Once it cools and hardens, you’ve lost that window.
Every month or so, spray the racks lightly with a 50/50 vinegar-water solution and wipe with a microfiber cloth. This prevents thin grease layers from building into thick ones. Think of it like wiping down your kitchen counter — small effort, regularly, prevents the big scrub later.
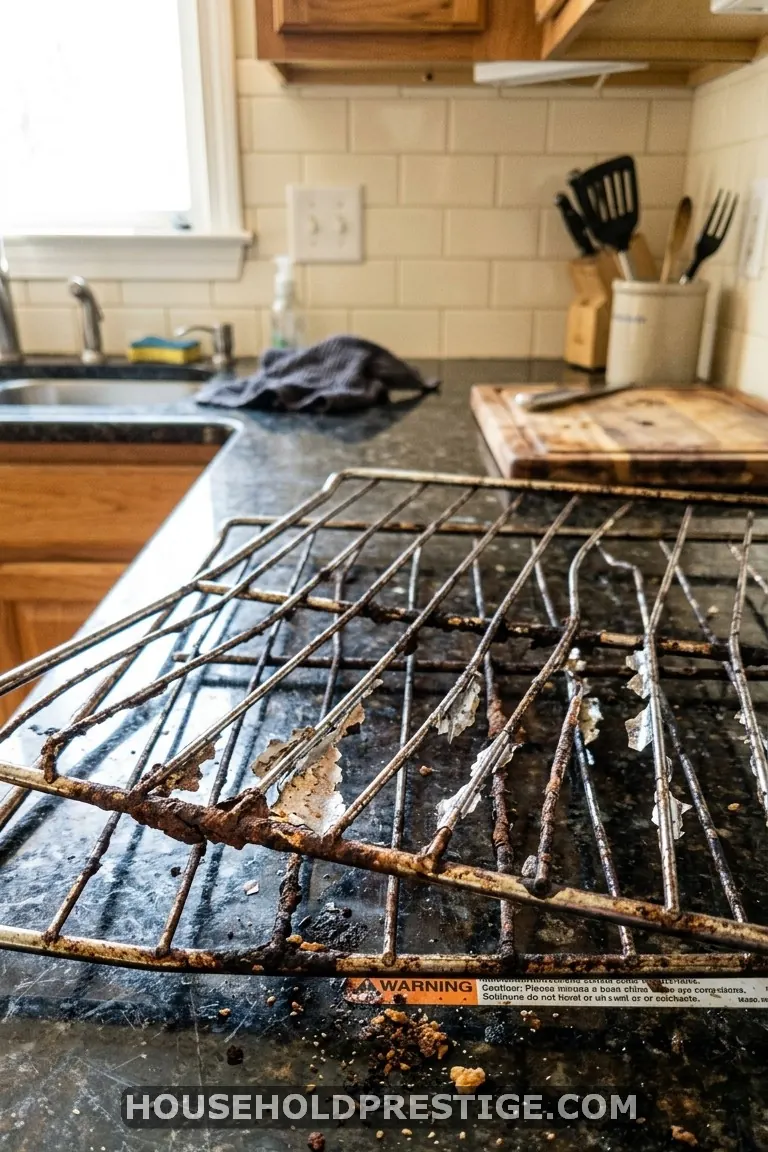
When to Replace Instead of Clean
Oven racks don’t last forever.
If your racks show widespread rust (not just a spot or two), warping that prevents smooth sliding, or chrome plating that’s flaking off in visible chips, cleaning won’t restore function. Replacement racks cost $25-75, depending on your oven brand and model. Check your oven’s model number (usually on a sticker inside the door frame) and search for that number plus “replacement racks” online.
Universal oven racks exist for $15-20 and work in most standard-width ovens (30 inches). They’re not as sturdy as OEM racks, but they’re serviceable if you’re on a tight budget and the originals are beyond saving.
FAQ
How often should I deep clean my oven racks?
Twice a year, handles most kitchens. If you roast frequently or cook foods that splatter (bacon, casseroles, anything with cheese), bump that to every 3-4 months. You’ll know it’s time when the grease buildup starts producing smoke or an off-smell when you preheat.
Can I clean oven racks in the dishwasher?
Technically, yes, but it’s a bad idea for most people. Standard residential dishwashers aren’t large enough to fit full-size oven racks flat, and forcing them in at an angle blocks the spray arms. The result: half-cleaned racks and a wasted dishwasher cycle. The bathtub method is more effective and doesn’t tie up your dishwasher for 2+ hours.
Does the dryer sheet method work on really old, heavily built-up grease?
It works on most buildups. For racks that haven’t been cleaned in several years, you may need a double soak — complete the full process once, then repeat with fresh dryer sheets and water. The first soak handles the top layers; the second gets down to the original chrome. Expect the first soak to remove 70-80% and the second to finish the job.
Is it safe to use this method on non-stick or coated oven racks?
If your racks have a non-stick coating (common in newer ovens), skip the baking soda and use only dryer sheets or dishwasher tablets with dish soap. Baking soda’s mild abrasiveness can wear non-stick coatings over time. The soak itself is safe for coated racks — it’s the scrubbing agent that matters.
What if I don’t have a bathtub?
Use a large plastic storage bin (the under-bed type, around 40-quart capacity, $8-10 at any home store). Fill it with hot water from your kitchen sink, add the dryer sheets and dish soap, and soak the racks on your kitchen floor or in the shower stall. Same method, different container. Just make sure the racks are fully submerged.