

I stood in my bathroom one Sunday morning, toothbrush in hand, staring at a mirror with a crack running through the corner like a lightning bolt. Five feet by seven feet, and I already knew what I needed: small bathroom decor ideas on a budget, not a renovation loan. A tub, a toilet, a sink, and a mirror that had clearly survived two prior owners without a single upgrade.
I didn’t have a renovation budget. I had a Target gift card, some leftover paint, and a Saturday.
If you’re reading this because your small bathroom is making you wince every morning too, small bathroom decor ideas on a budget don’t have to mean sad little air fresheners and a new bath mat. They can mean a room you’re not embarrassed to let guests use. I’m going to walk you through exactly what I did, in the order I did it, including the parts I got wrong.
Where I Started First (Hint: Not With Paint)
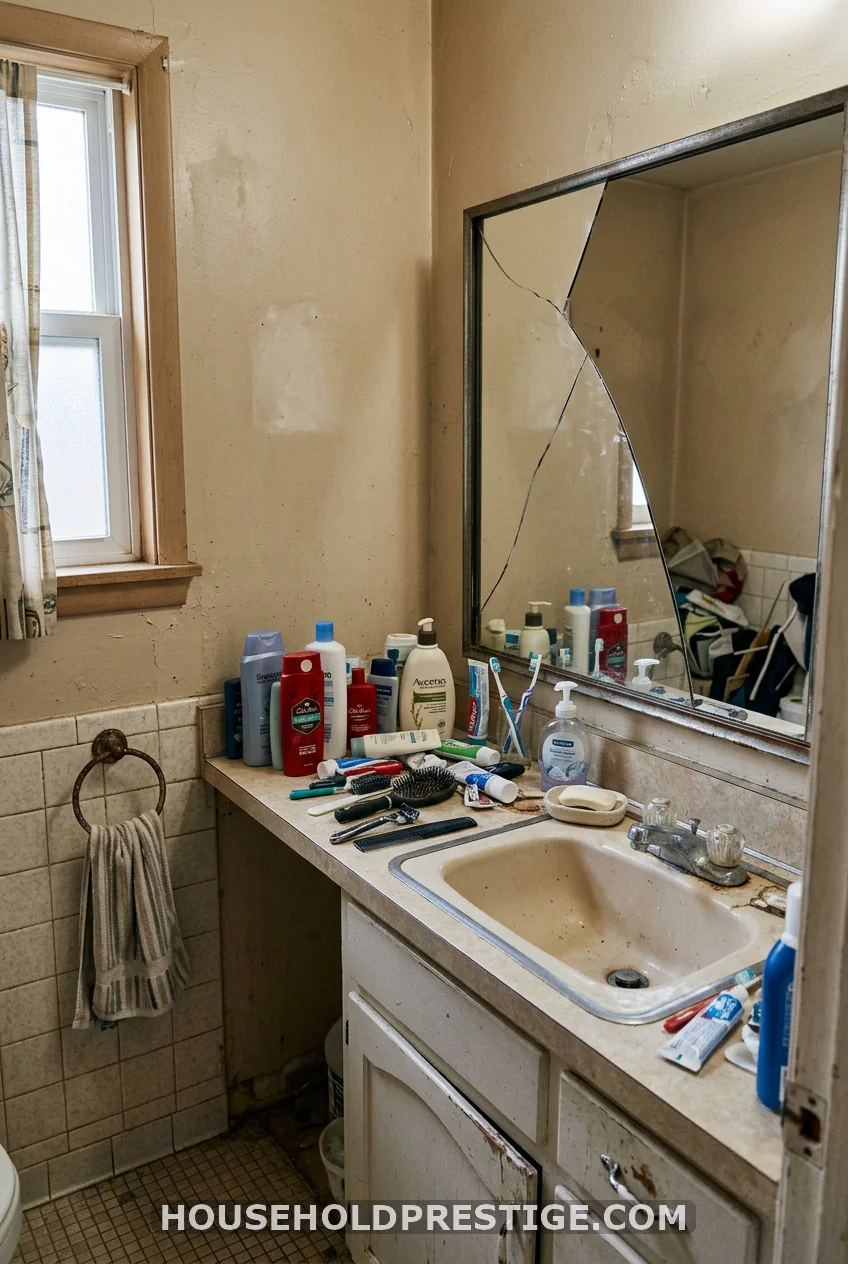
Everyone tells you to start with paint. I didn’t. I started by standing in the doorway for five full minutes and asking myself one question: what do I truly hate looking at every single day? For me, it was the mirror. Not the tile. Not the lighting. The mirror.
That question mattered more than any Pinterest board. It told me where my forty dollars needed to go first.
The Mirror Swap That Cost Less Than Takeout
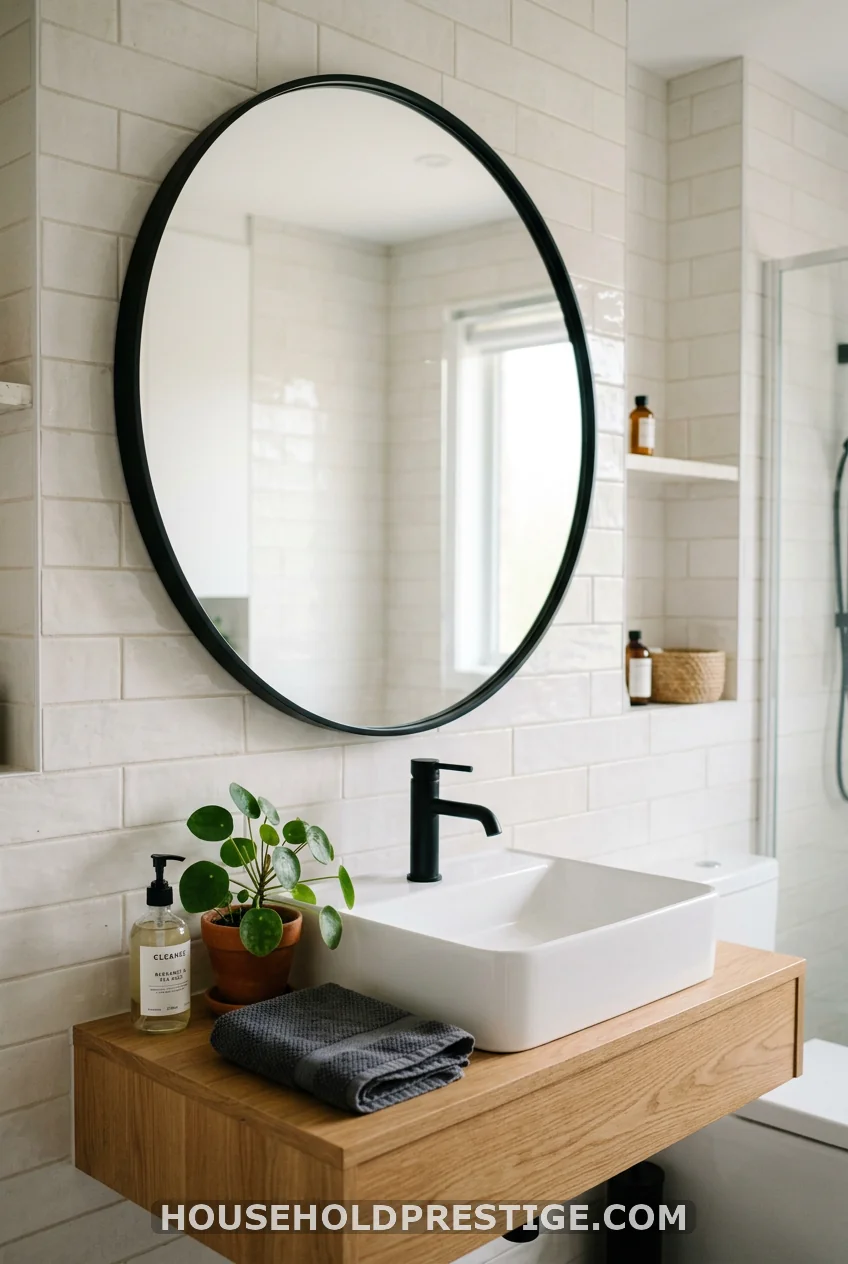
A round mirror with a thin black metal frame, 24 inches across, ran me eighteen dollars at a home store clearance rack. I unscrewed the old builder-grade rectangle, patched the two holes with spackle, and hung the new one using the same studs. Twenty minutes, start to finish.
Round mirrors visually soften a boxy little room. That’s not a design opinion, it’s just what happened. The room stopped feeling like a hallway with a sink in it.
Then I Went Vertical, Because Floor Space Wasn’t Coming
Small bathrooms don’t get more floor space. So I stopped trying to add furniture to mine and started climbing the walls instead. One floating shelf, twelve inches wide, screwed into two studs above the toilet tank. Rolled towels, a small plant, done. Under $15, including the anchors.
The Wallpaper Decision I Almost Didn’t Make
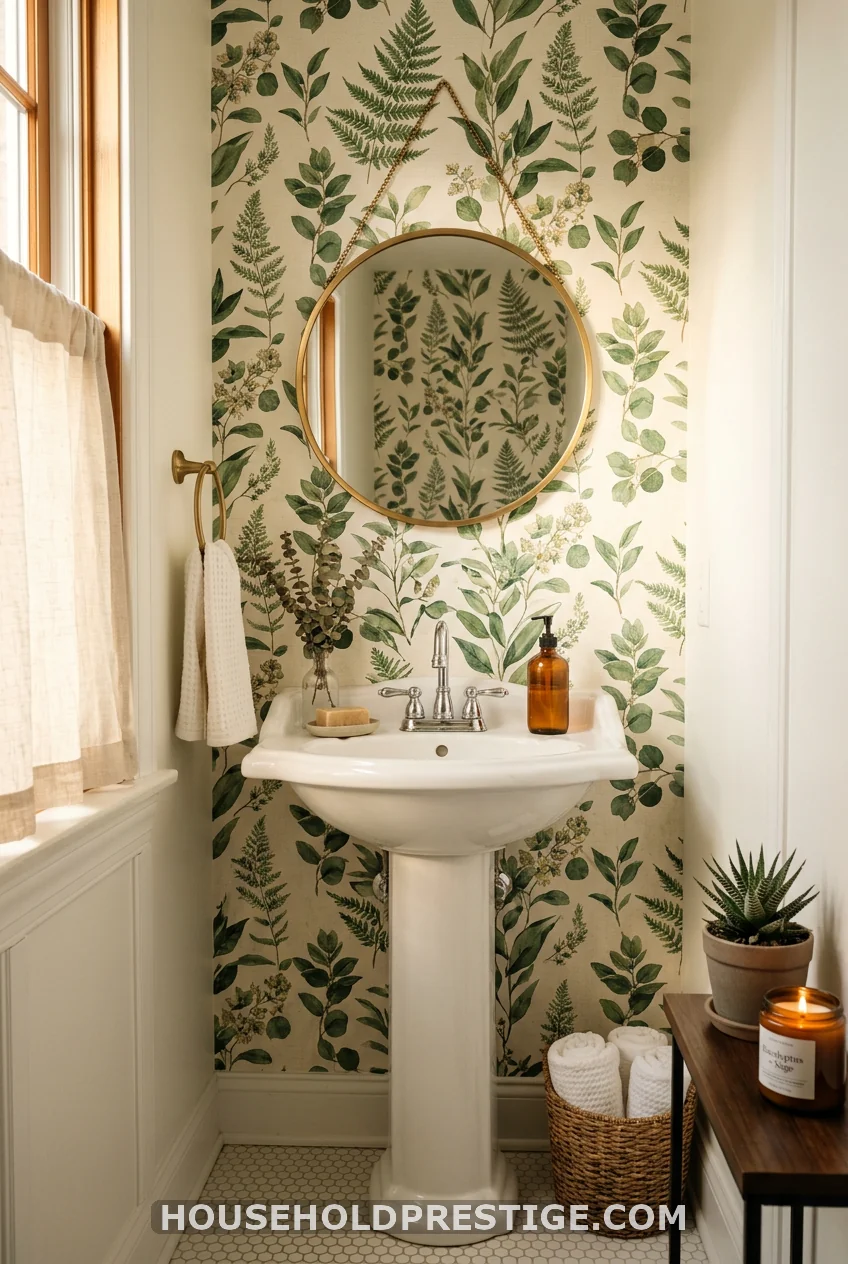
This is the part where I nearly talked myself out of the whole project.
Why I almost skipped it
Peel-and-stick wallpaper has a reputation. Bubbles. Peeling edges within a month. I’d read enough forum horror stories to be nervous, and I almost just repainted the same beige and called it a day.
What changed my mind
I read the return policy on the roll I picked, realized I had nothing to lose, and figured a beige wall was never going to be a decor idea anyone remembered anyway.
Materials and cost
- One roll of peel-and-stick wallpaper (covers roughly 28 square feet): $34
- Smoothing tool (a plastic scraper works fine): $6, or use an old credit card for free
- Small level: already owned
- Utility knife: already owned
Total spend: $40 for one accent wall behind the sink.
The step-by-step
- Clean the wall thoroughly with a damp cloth and let it dry completely for at least an hour. Any dust or grease under the paper will show as a bump.
- Measure the wall height and add four extra inches at the top and bottom for trimming margin.
- Use a level to draw a faint vertical pencil line where you’ll place the first strip. This is the line everything else lines up against, so take the extra sixty seconds here.
- Peel back six inches of backing, align the top corner to your pencil line, and press down lightly.
- Continue peeling and smoothing downward in small sections, using the scraper to push out air bubbles from the center outward.
- Trim excess at the baseboard and ceiling line with a sharp utility knife, using a straightedge for a clean cut.
- Repeat for each additional strip, matching the pattern at the seams before pressing down.
- Go back over every seam once more with the scraper after twenty minutes, once the adhesive has had time to grip.
Common mistakes to avoid
Don’t skip the pencil line. A wall that looks straight to your eye is almost never truly straight, and a quarter-inch drift at the top becomes two full inches by the time you reach the floor. Don’t rush the smoothing pass. Bubbles you ignore on day one turn into bubbles you’re stuck with for the life of the paper. And don’t apply it to a freshly painted wall. Give new paint at least three weeks to fully cure, or the adhesive can pull the paint right off with it when you eventually remove the paper.
Why was this held up
Eight months in, not one edge has lifted. The difference between my forum horror stories and my own result came down to two things: a completely clean, cured wall, and patience during the smoothing step. That’s it. No special skill required.
The Five-Dollar Fixes Nobody Talks About
Cabinet knobs. Every single one of mine was the same builder-grade brass from 2003. I swapped all six for matte black knobs, four dollars total from a bargain bin. A new towel bar in the same matte black tied it together for another six dollars. Nobody photographs hardware for their Pinterest board. Everybody notices it in person.
Lighting: The Upgrade That Changed Everything
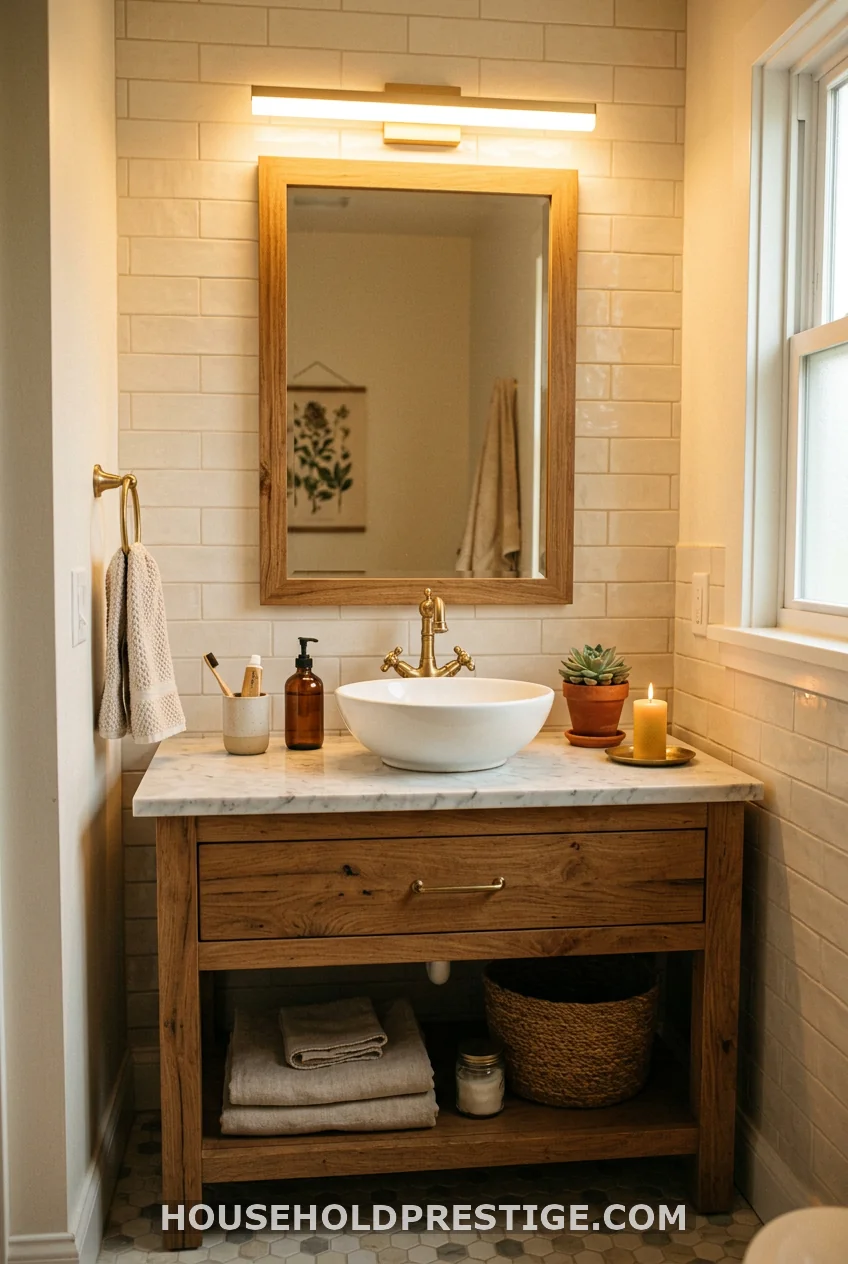
My old fixture was a single bare bulb behind a frosted glass dome, the kind that makes everyone look faintly ill. I replaced it with a warm-white LED bar, 3000K color temperature, for twenty-two dollars. Same wiring, same junction box, just a different fixture screwed into place. The whole room reads warmer now, not just the mirror area. Light temperature does more heavy lifting in a small room than almost any other single change.
The Rug Mistake I Made Twice
Here’s the part where I tell you what most people would edit out of their own story.
I bought a plush bath mat first. Cute, soft, completely wrong. It held moisture, started smelling faintly musty within three weeks, and I ended up washing it constantly just to keep up. I replaced it with a cotton runner rug, and the exact same thing happened again, because I hadn’t changed what the room needed, I just changed the texture of the mistake.
What I should have bought from the start was a quick-dry bath mat made from diatomite stone or a low-pile, machine-washable cotton weave designed specifically for high-moisture rooms. The plush ones that look best in photos are frequently the worst performers in a small, poorly ventilated bathroom. I finally bought the diatomite stone mat, twenty-six dollars, and it’s the first bath mat in this house that’s never once needed washing for odor. Sometimes the least photogenic option is the one that works best.
Bringing In Something Alive
One pothos cutting in a small glass jar on the shelf. Pothos tolerates low, humid light better than almost anything else you’d put in a bathroom, and it cost me nothing since it came from a longer vine I already had at home.
The Wall Above the Toilet Nobody Uses
That blank stretch of wall above the tank is prime real estate, and almost nobody uses it. I hung one small framed print there, eight dollars from a thrift store frame plus a printed image, and it turned dead space into the one spot in the room that feels most decorated.
What My Bathroom Looks Like Now
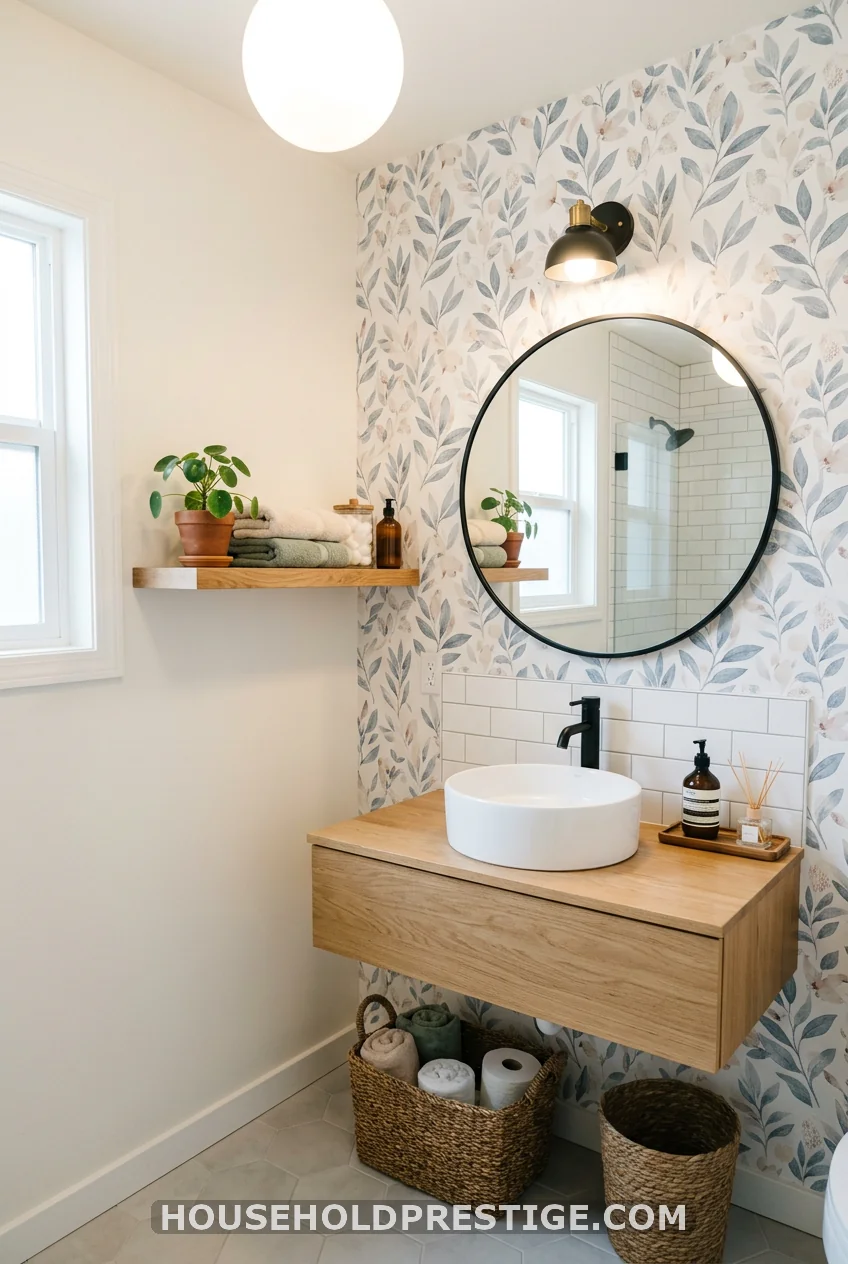
Total spend across everything: right around $130, spread over three weekends instead of one exhausting one. The mirror, the shelf, the wallpaper, the hardware, the lighting, the mat, the plant, the print. None of it required a contractor. None of it required moving plumbing.
What changed wasn’t the square footage. It’s still five feet by seven feet. What changed is that I stopped treating the room like an afterthought and started treating each small decision the way I’d treat a room I spend real time in. Because I do spend time in it. Everybody does, every single day.
If your bathroom is making you wince too, start with the one thing you hate most. Not the whole list. Just the one thing. The rest tends to follow once you’ve got momentum.
Frequently Asked Questions
What’s the cheapest way to update a small bathroom on a budget?
Swapping cabinet hardware and the mirror gives the most visible change for the smallest spend, usually under thirty dollars total, and neither requires any plumbing or electrical work.
Does peel-and-stick wallpaper hold up in a bathroom?
Yes, as long as the wall is fully cleaned and cured before application and kept away from direct water spray. It holds up well on accent walls away from the shower or tub splash zone.
What bath mat works best for a small, humid bathroom?
A diatomite stone mat or a thin, machine-washable cotton weave dries faster and resists odor better than thick, plush mats, which tend to trap moisture in poorly ventilated rooms.
How much does a full small bathroom decor refresh cost?
A decor-only refresh, without any tile, plumbing, or contractor work, typically lands between $100 and $200 depending on how many fixtures you replace.
Can I do a small bathroom decor refresh in one weekend?
It’s possible, but spreading it over two or three weekends lets the paint and wallpaper adhesive cure properly between steps, which reduces the chance of mistakes like bubbling or peeling.