

“Where am I supposed to put my toothbrush?” my sister asked, holding it over a sink full of bottles.
“On the counter,” I said.
“What counter?”
She had a point. Small bathroom counter organization starts with a hard fact: a 20-inch vanity top can’t hold a full routine for two people. So this list does two jobs.
It shows you what to put on the counter, and it gives every other item a place to go. Each idea has a rough price, the counter space it frees, and a “move it here instead” spot. Nothing needs a drill.
Before You Buy: The 3-Bucket Counter Audit
Do this first. It takes ten minutes and saves you from buying a tray you don’t need.
Sort everything into three buckets
Pull every item off the counter. Sort it into piles:
- Daily: soap, hand cream, toothbrush, one skincare set, one hair tool. These stay within reach.
- Weekly: face masks, nail tools, dry shampoo, the second perfume. These go in a drawer or a cabinet-door bin.
- Backup: spare toothpaste, refill pouches, extra shampoo. These go under the sink.
Many counters hold a lot of weekly and backup stuff. That’s your clutter.
Measure before you shop
Measure three things: usable counter depth, the gap between faucet and wall, and the width of any vanity gap. Write them on your phone. A tray that is one inch too deep will block the faucet handle, and you’ll resent it daily.
Then set one rule. One in, one out. If a new bottle comes home, an empty one leaves.
Stack and Spin: Get More From the Counter Surface
These five ideas use height and corners. The footprint stays small.
1. The Two-Tier Tray That Doubles Your Counter Footprint
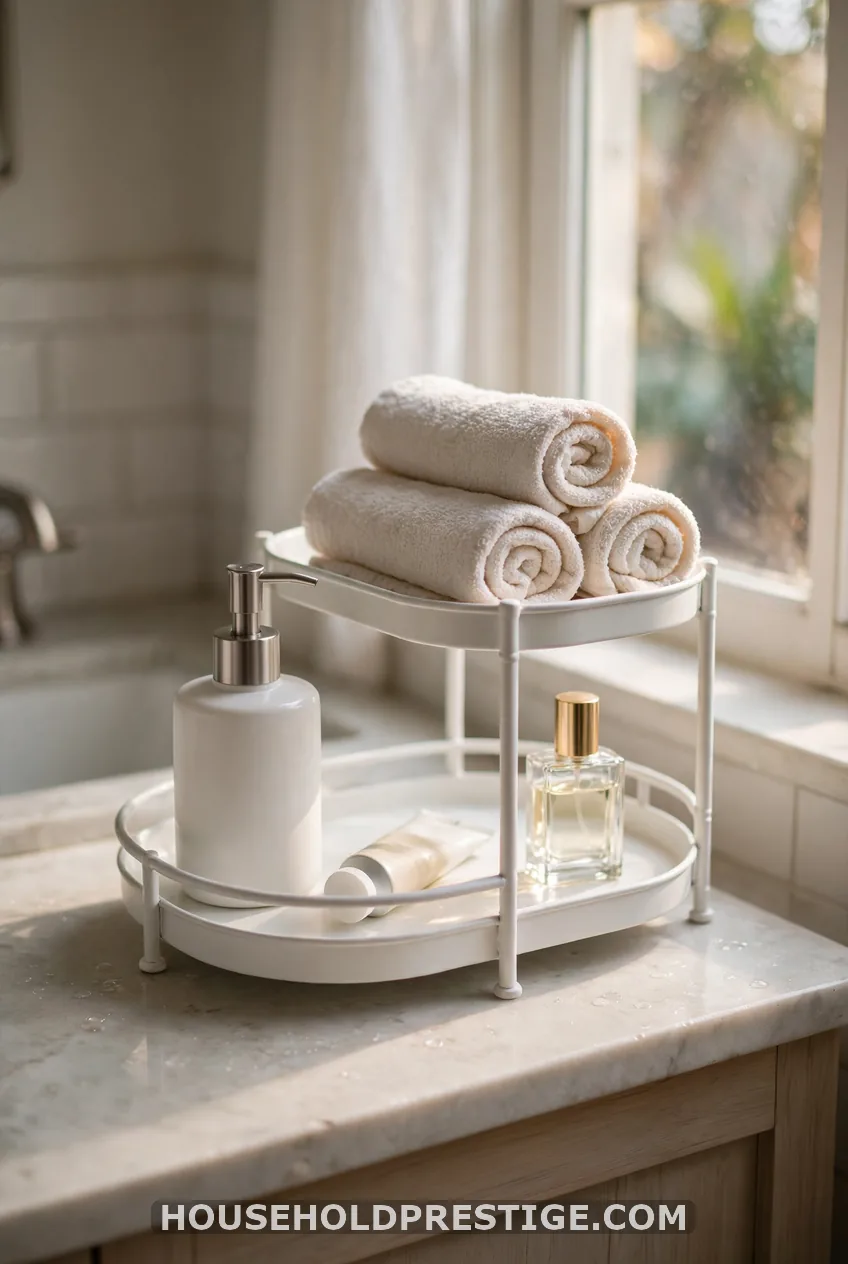
A flat tray spreads clutter out. A tiered tray stacks it up. In a narrow space, height is the only thing you have extra of.
Expect to pay $15-30 for a two-tier metal or bamboo tray. Look for one with a footprint around 9 by 6 inches. That’s about the same space as one large lotion bottle, but it holds six items.
Pro tip: Put the shortest, most-used items on the top tier.
Tall bottles go on the bottom, where they can’t block anything. Your daily soap and hand cream sit on top, so one reach grabs them. Move your backup lotion under the sink.
2. A Lazy Susan Turntable for the Bottle Forest
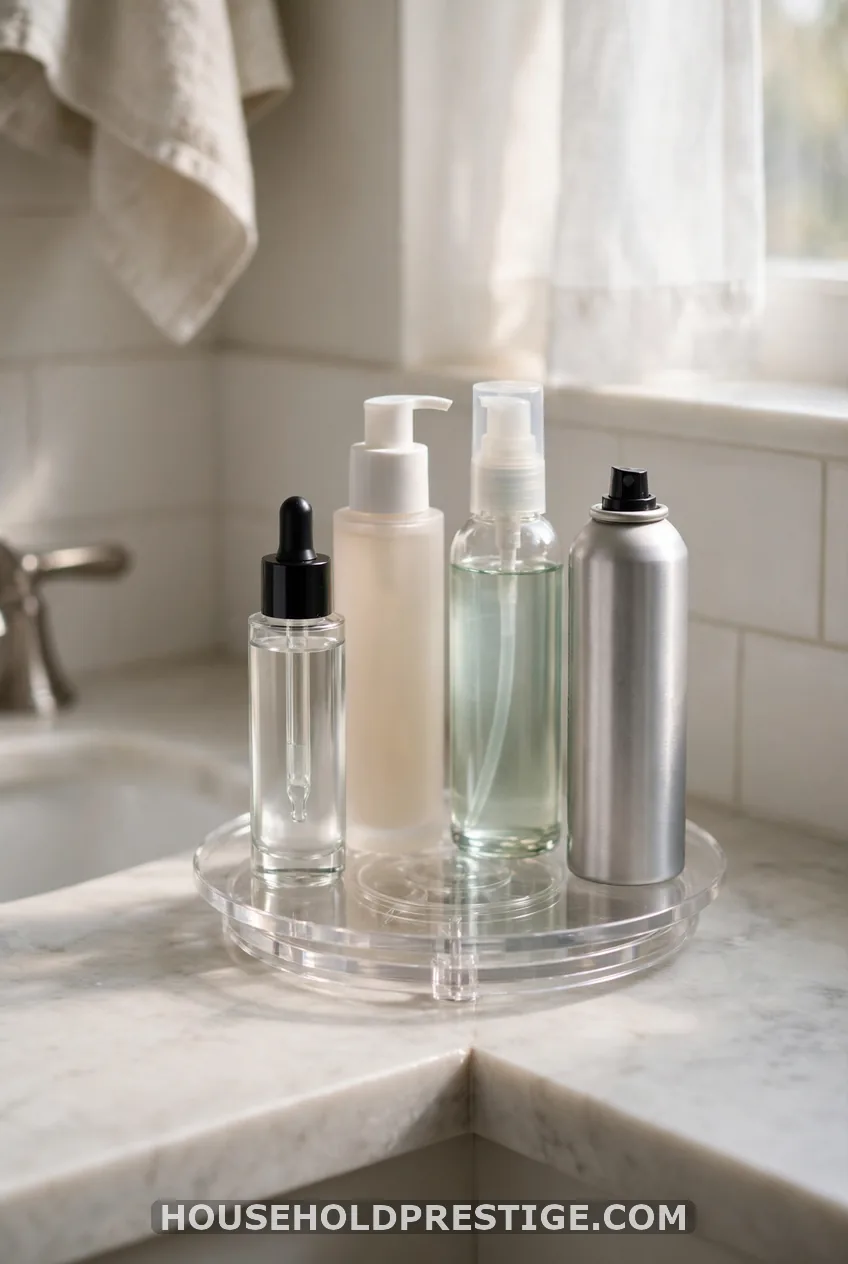
Deep corners swallow bottles. The back row disappears, and you buy a second toner because you forgot the first.
A 9-inch turntable costs $7-14. One spin brings the back row forward. It works best for tall skincare and haircare. Pick one with a lip so bottles don’t slide off.
3. Stackable Acrylic Drawers for Makeup
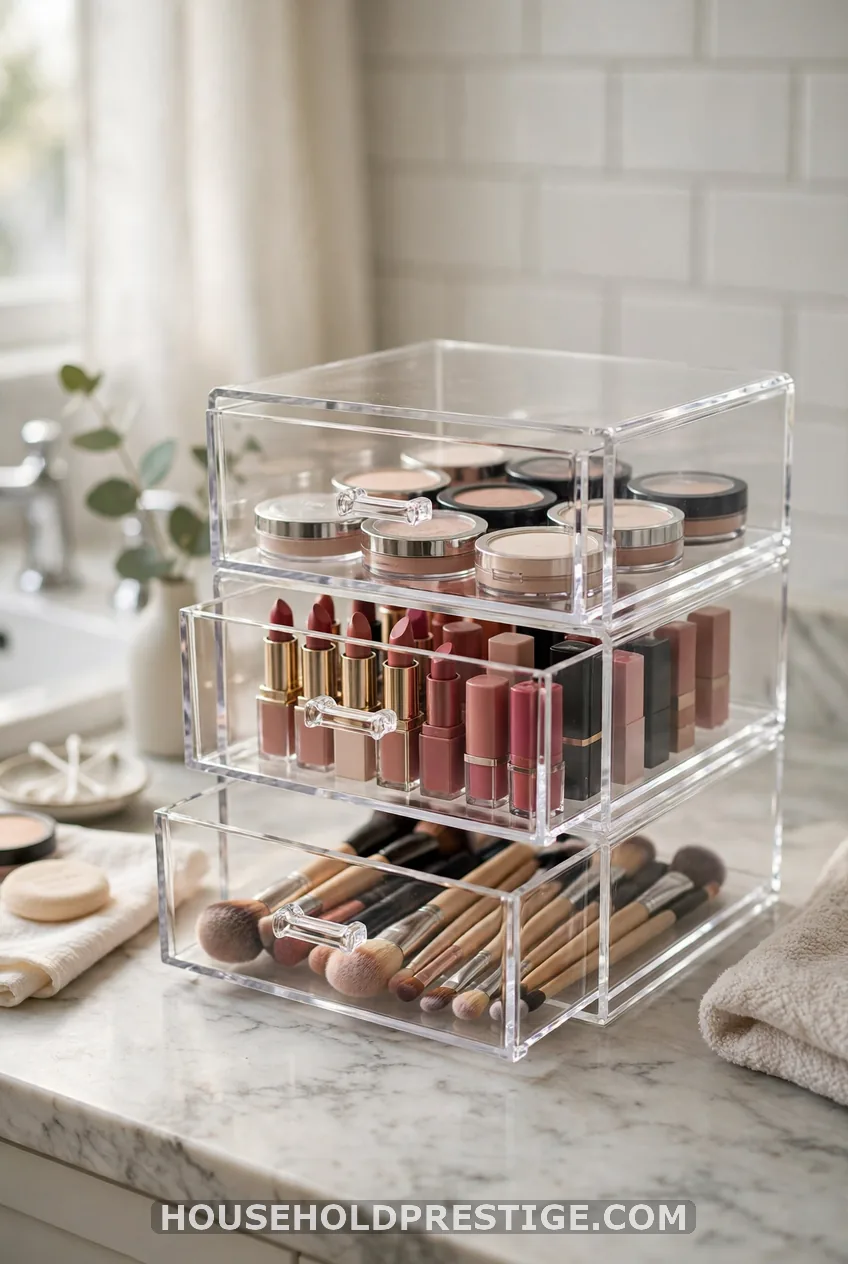
Makeup spreads sideways fast. Stack it instead. A three-drawer acrylic unit takes up about 6 by 9 inches and holds a full routine. The clear fronts show what you own, so you stop buying a fourth nude lipstick.
Prices run $18-35. Container Store’s Bliss line and similar sets look sharp. Keep only your current routine here. Seasonal makeup goes in a labeled bin under the sink.
You’ll reclaim about 10 inches of sprawl. The unit is dust-resistant when closed.
Pro tip: Wipe acrylic with a soft damp cloth.
Paper towels and glass cleaner scratch it and leave a cloudy film.
4. A Slim Riser Behind the Faucet
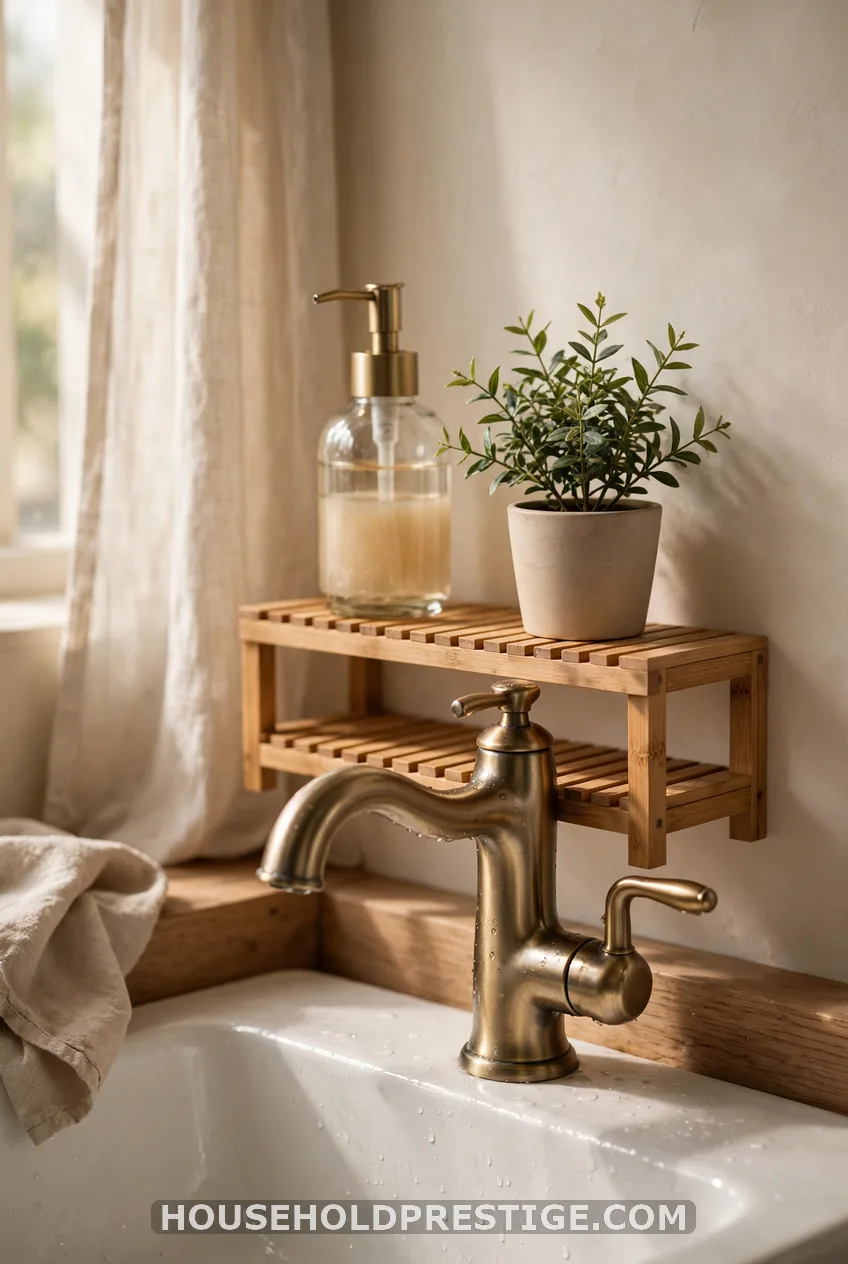
Look at the strip between the faucet and the wall. It’s usually 3-4 inches deep, and nothing fits there. A slim riser does.
It holds soap and hand cream. Splash from the basin hits them less than it hits items beside the bowl. Expect $10-20. Choose bamboo or rustproof stainless steel, since steam wrecks cheap painted wood.
5. A Corner Shelf or Wedge for the Awkward Counter Corner
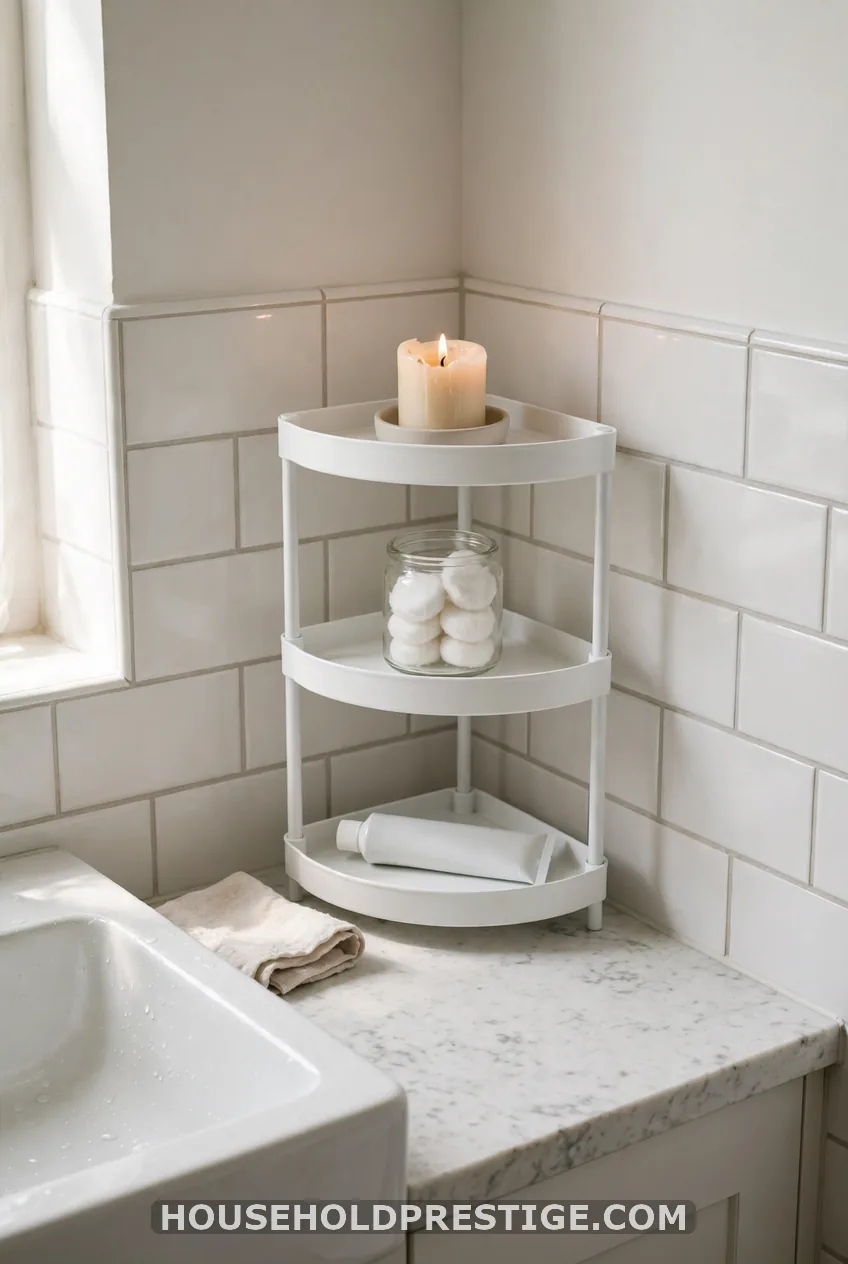
A dead corner is the tallest storage spot you own. A three-tier wedge turns it into one.
Hold the shelf in place first. Make sure it clears the faucet swing and doesn’t touch the mirror. Then angle it so the open side faces you.
Prices run $12-25. It frees up the corner and keeps small items from drifting into your sink zone.
Go Up the Wall Without a Drill
If you rent, the wall is your best friend and your landlord’s. These ideas respect both.
6. Suction and Adhesive Shelves (Plus Floating Shelves If You Own)
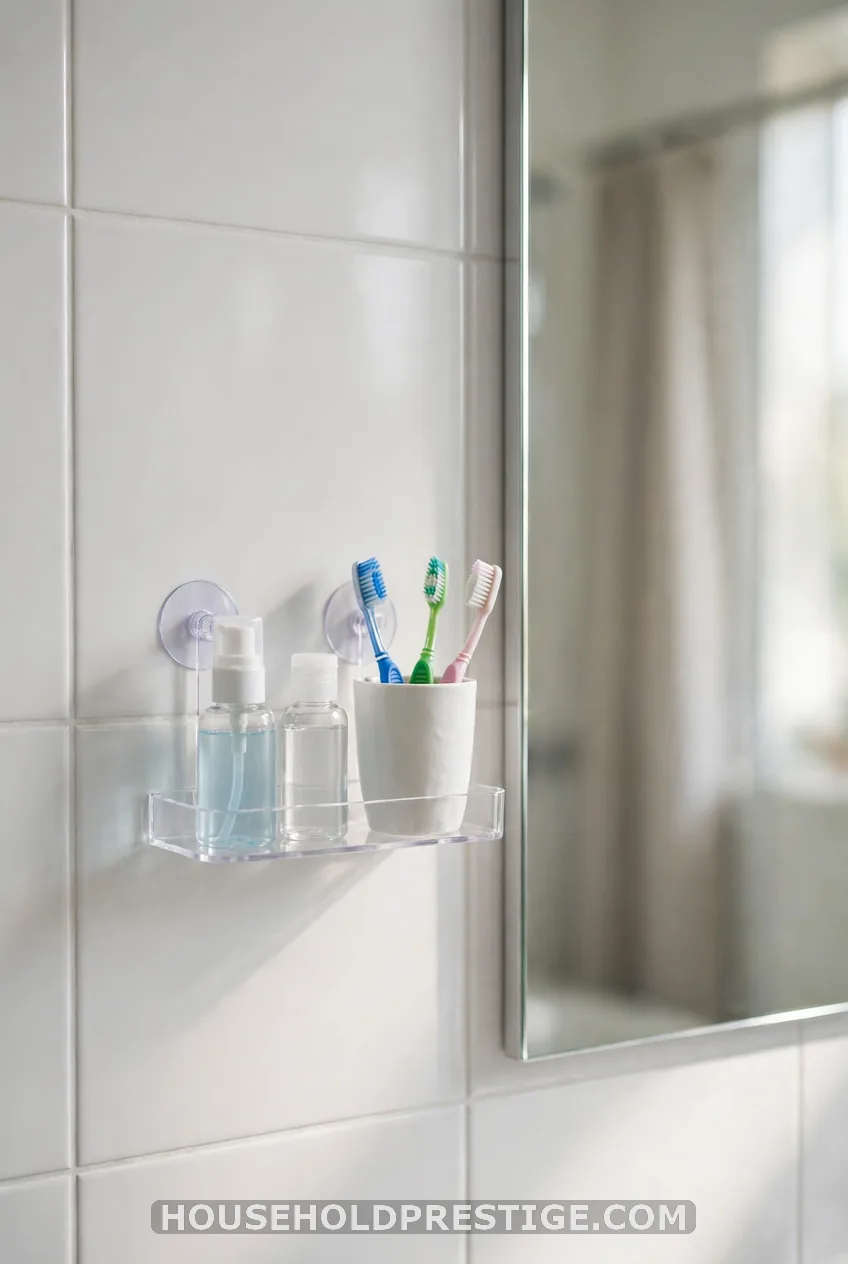
Here’s the myth I believed: suction cups hold on any wall. Reality: they hold on smooth, non-porous surfaces like glass and glossy tile. They fail on matte paint, textured tile and grout lines.
Clean the spot with rubbing alcohol. Let it dry. Press firmly.
Keep the load to small bottles, not a full liter of shampoo. Adhesive shelves held with Command strips work too, but follow the weight rating on the package and let the strips set for an hour first.
If you own, a floating shelf above the counter pulls tall bottles off the surface. Keep the lowest shelf at least 12 inches above the counter so you can still reach past the faucet and wash your face.
Cost: $8-20 for suction, $15-40 for a floating shelf.
Pro tip: Test the hold overnight.
Stick the shelf up empty. If it’s still there in the morning, load it with the lightest items first.
7. Swap the Mirror for One With a Built-In Shelf
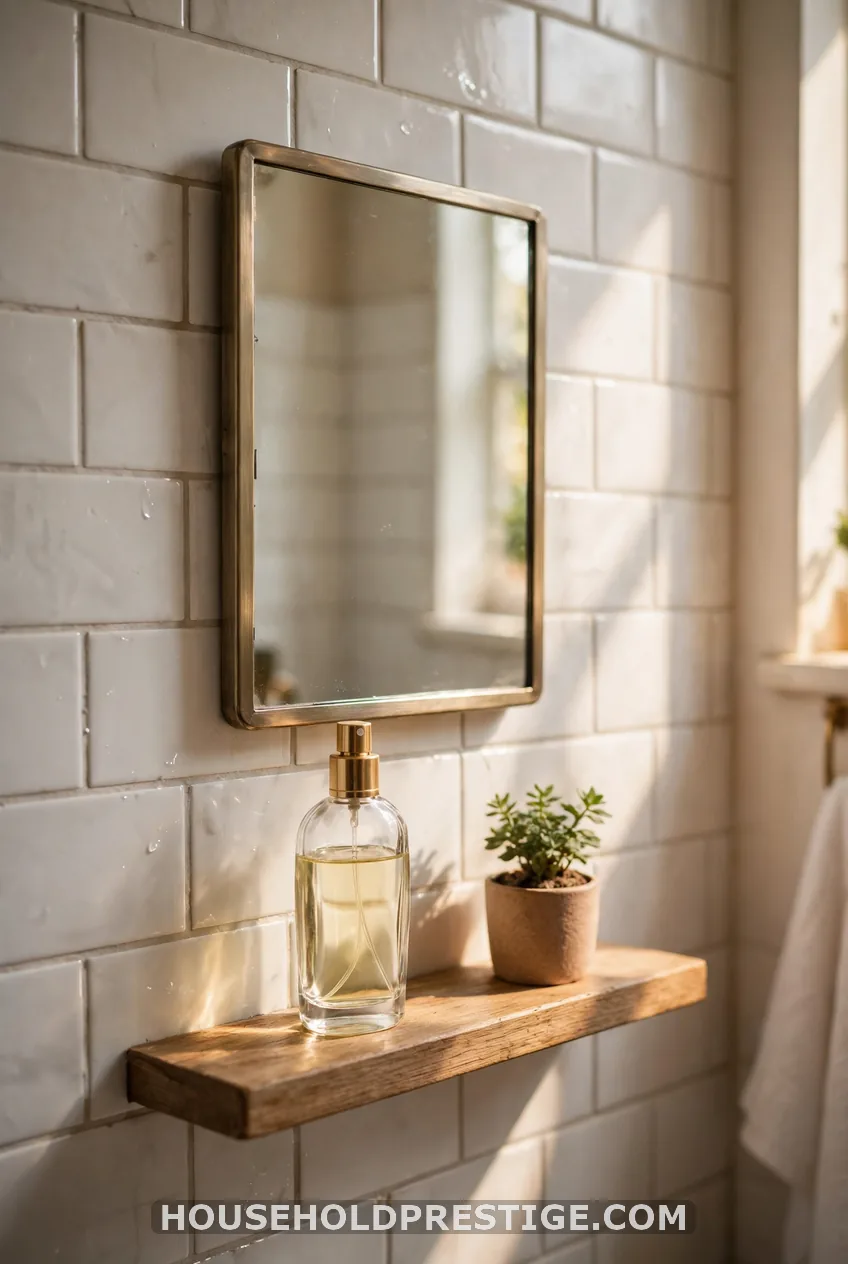
A mirror with a ledge reclaims zero counter inches and adds a display strip. Perfume, a small plant and a candle sit up there, seen but out of the way. Expect $35-90.
Check the ledge depth first. Two inches fits a perfume bottle. One inch holds almost nothing.
Daily Gear: Toothbrushes, Hot Tools and Bottles
These three are the real counter blockers. Fix them and the counter breathes.
8. A Toothbrush Station With a Drip Tray
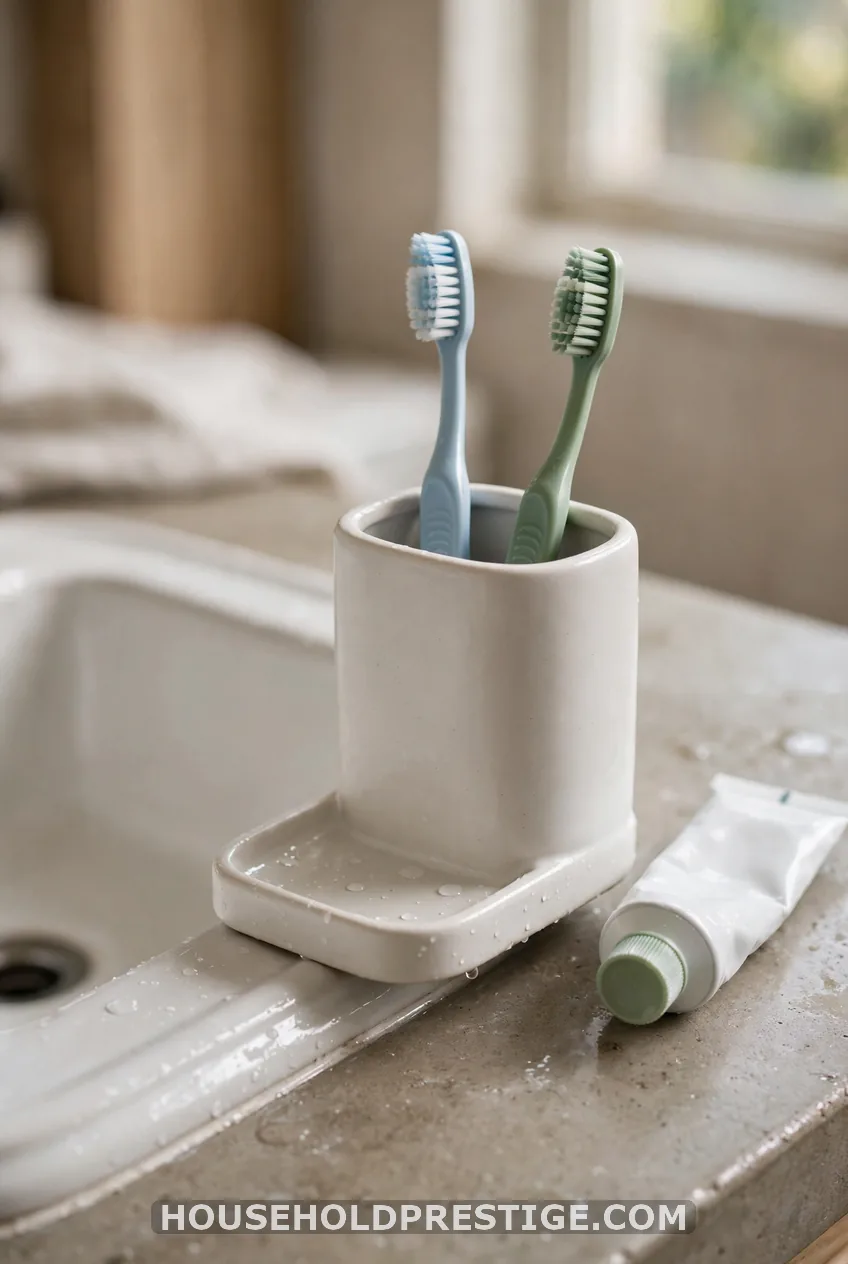
Gray rings on the counter come from wet toothbrush cups. A holder with a drip tray stops that. It also keeps the brush heads from touching each other.
Put it on the far side of the sink, away from the splash path. Cost: $8-18. Rinse the tray weekly.
9. A Heat-Proof Cup and Cord Clip for Hot Tools
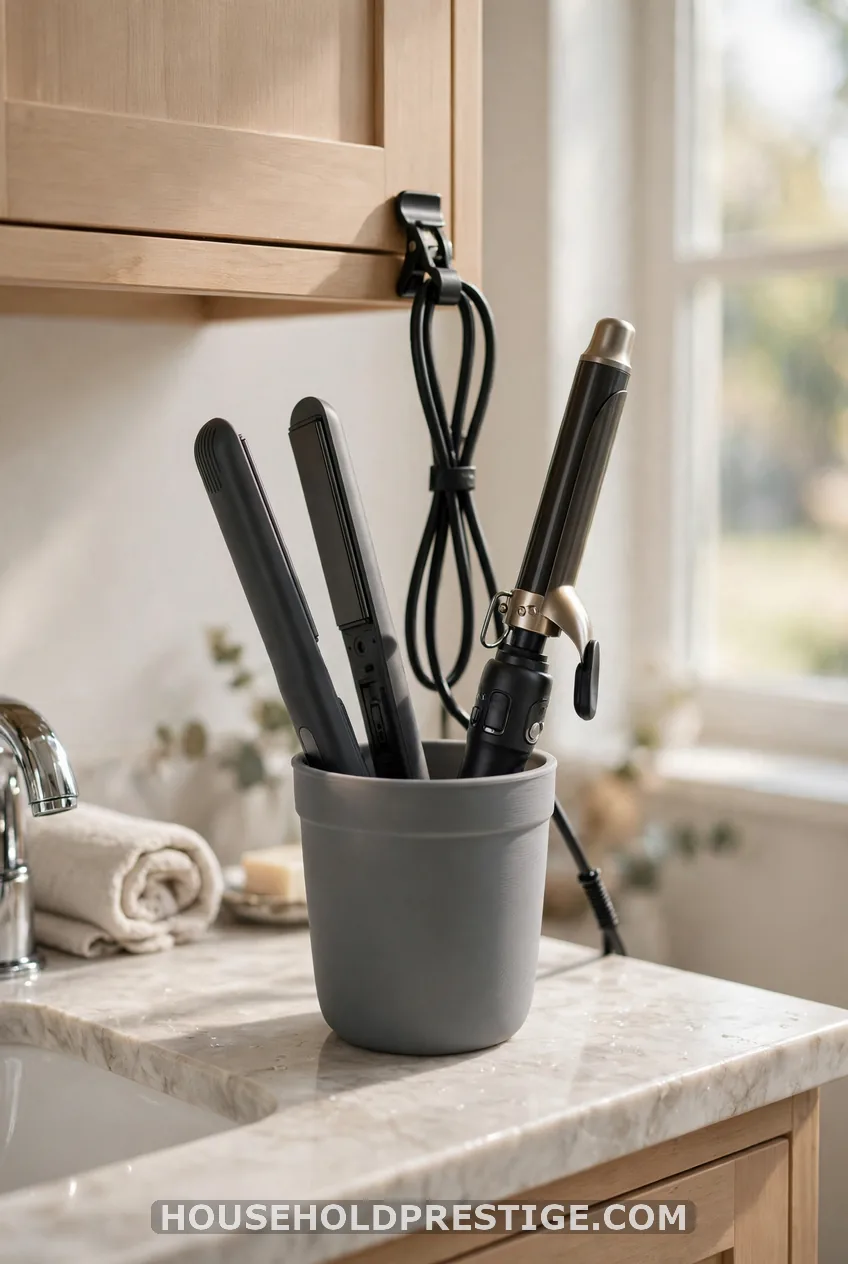
This is the number one counter hog. A flat iron sprawls out and the cord drags across everything.
Get a heat-proof silicone cup, $10-16, and let the tool cool a few minutes before you slot it in. Add a $3 adhesive cord clip to the side of the vanity so the cable stays put. One cup on the counter holds the iron and a curling wand.
Can’t spare any counter at all? Hang the cup inside the cabinet door with a Command hook, once the tool is cool.
10. Decant Into Matching Containers (and Label Them)
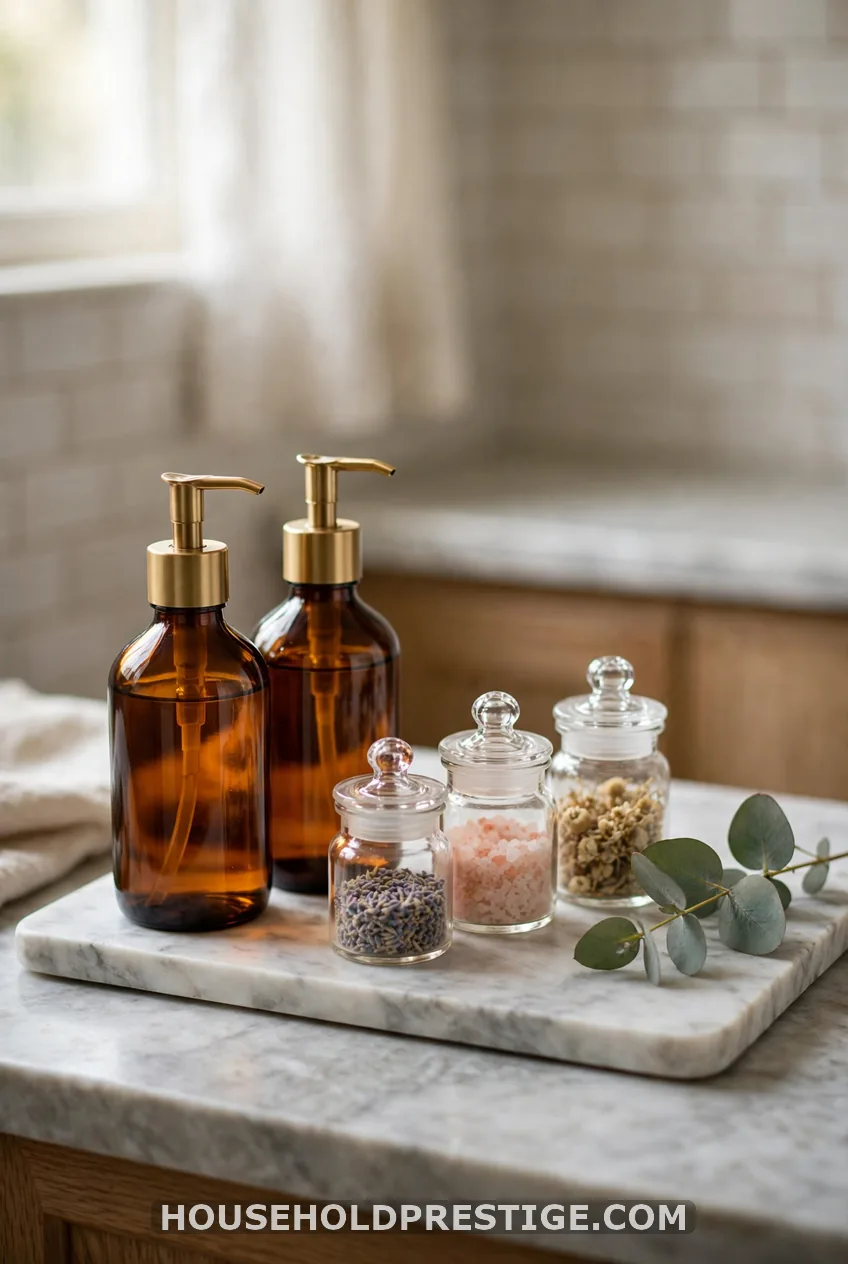
Matching containers cut visual clutter fast. Ten different brand labels look messy. Three amber glass pump bottles look calm. A marble tray underneath ties it together, and one sprig of greenery finishes the look.
Here’s the plan, step by step.
Pro tip: Follow these steps for a full decant.
- Pick three to five items you use daily: hand soap, lotion, face wash, cotton balls, swabs.
- Buy matching containers. Amber glass pump bottles run about $4-7 each. IKEA’s SILVTJÄRN container and clear apothecary jars cost $5-12.
- Funnel the product in. Wash and dry each bottle first.
- Label the bottoms with a label maker or masking tape. Fronts stay clean, and bottoms stop the “which one is this?” moment.
- Keep the original bottles under the sink, not on the counter.
Total: $20-40 for a set. The common mistake: decanting everything. Skip anything with active ingredients that need the original packaging, like prescription creams and some sunscreens. Those stay as they came.
11. Zone the Counter: One Tray Per Person or Purpose
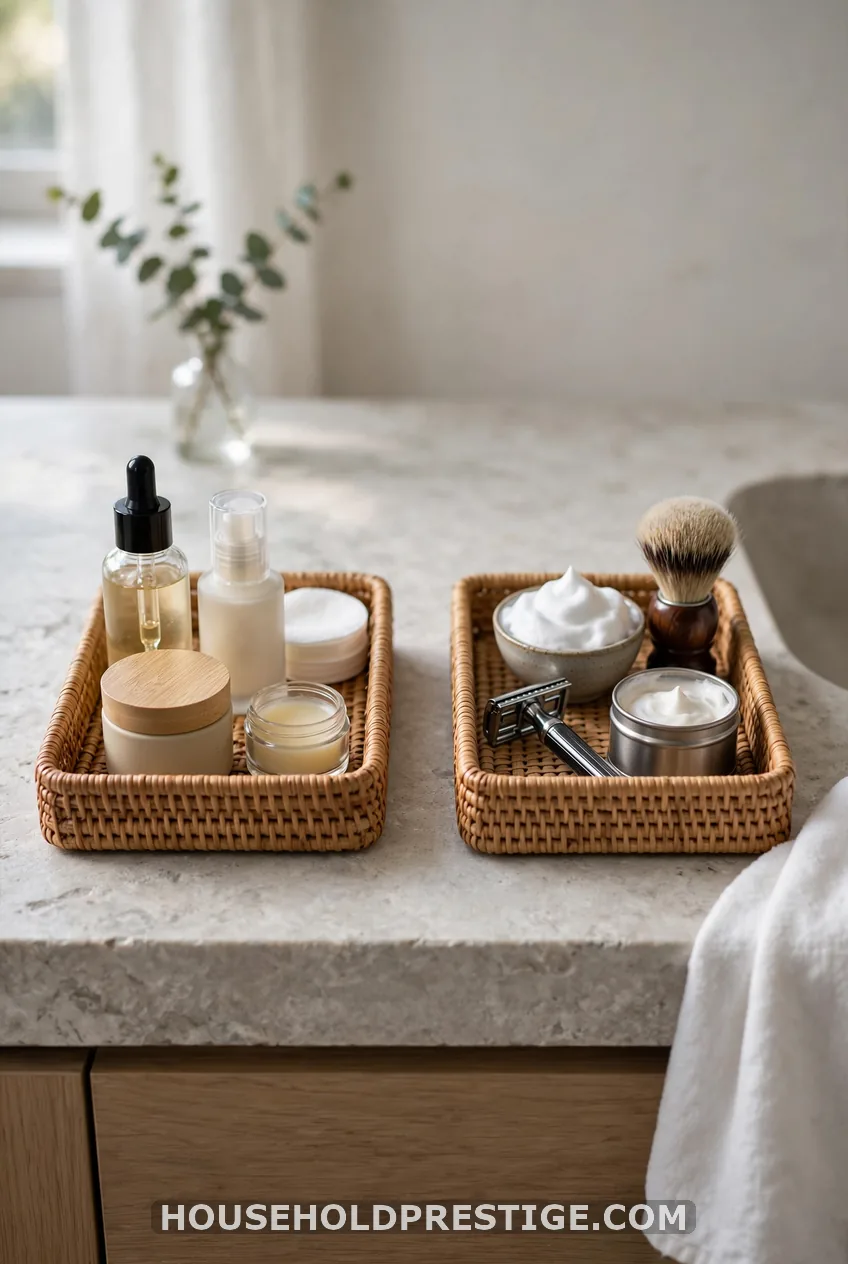
Shared vanity? Give each person a tray. Nothing crosses the midline. It ends the “my stuff migrated” fight before it starts.
Two $8 trays beat one big one. Each person’s overflow goes into their own bin or drawer.
Send It Off the Counter: Your Overflow Plan
Here is where most listicles stop. Don’t. A counter only stays clear when everything has a home that isn’t the counter.
12. Drawer Dividers to Move Small Items Off the Counter
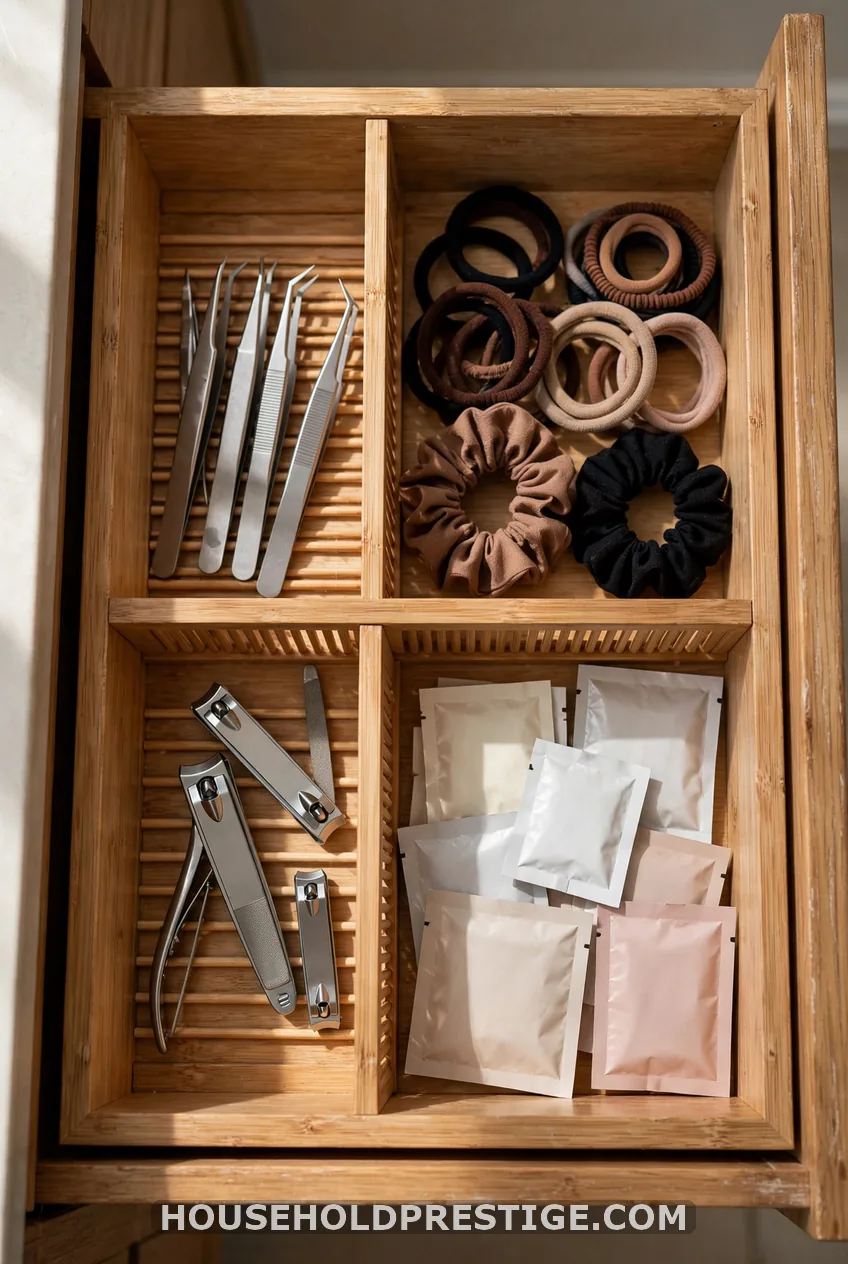
Tweezers, hair ties and samples should never live on the counter. Give them a drawer.
Measure the inside of the drawer first, width and depth. Then buy a divider set, $10-20. IKEA’s DRAGAN bamboo set is a good starting point.
13. A Sliding Drawer Unit in the Vanity Gap
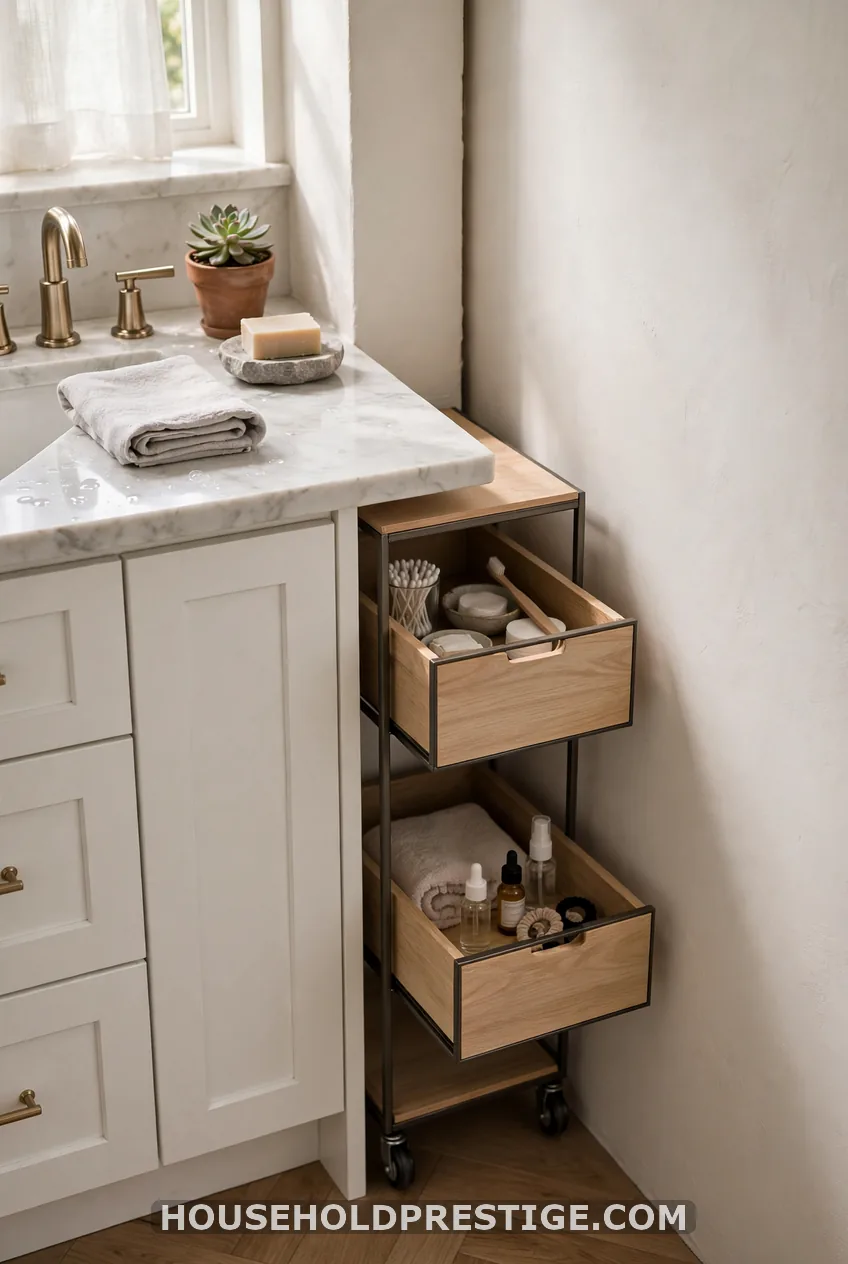
Got a 6-8 inch gap beside the vanity? A slim sliding unit turns it into a hidden second counter. Look for a two-drawer or three-tier rolling cart, $25-50.
It holds rolls of toilet paper, hair products and spare soap. Zero counter cost.
14. Under-Sink Bins and Baskets as the Overflow Valve
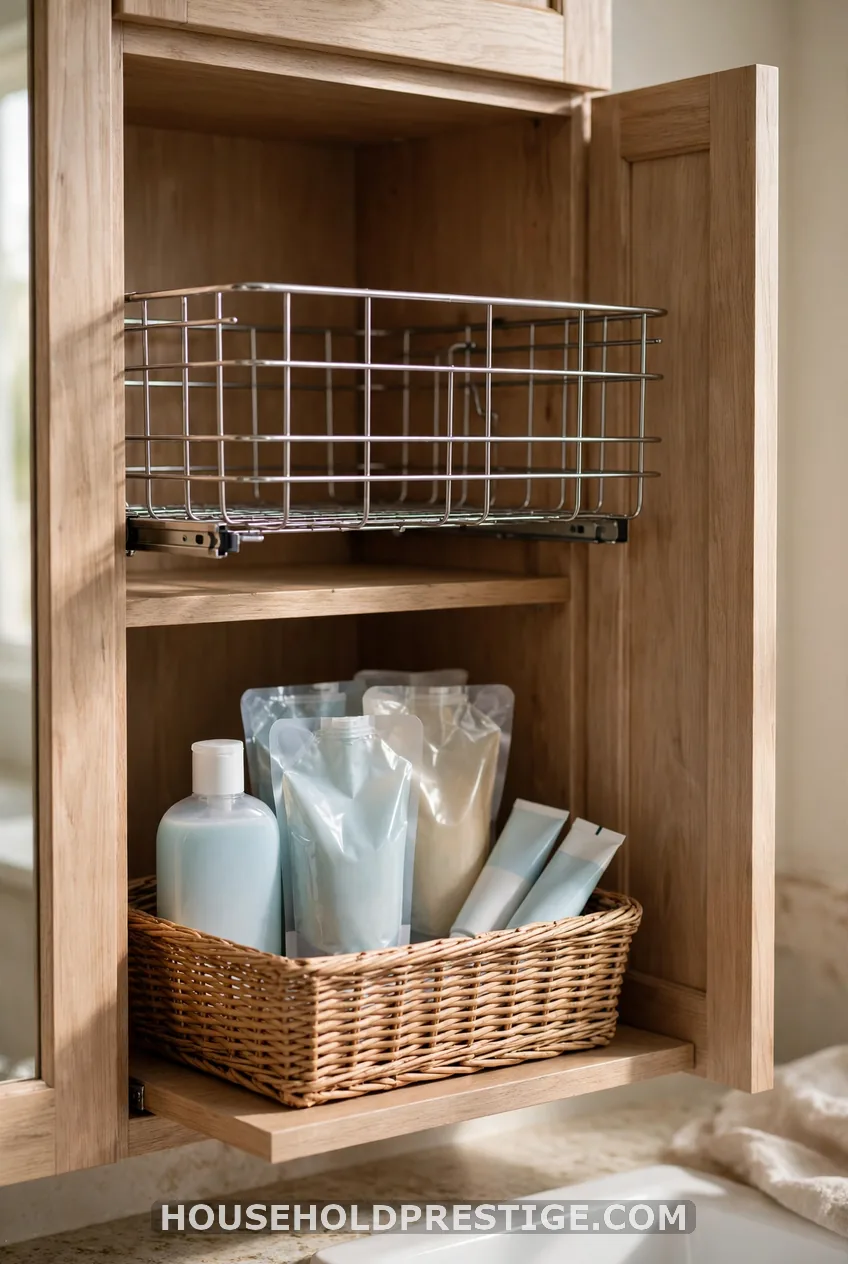
Everything bulky goes down here: backup shampoo, refill pouches, spare toothpaste. Wire pull-out baskets stop you from losing things behind the pipes. A pull-out costs $20-40.
For hiding the ugly stuff, a low wicker or seagrass basket reads as decor. Pick a low-profile one so it fits under a pipe or a floating shelf.
On a tight budget? Dollar Tree clear bins run $1.25 each. They hold up in humidity if they’re thick plastic.
The thin ones warp in steam. Stack two to fake a tiered tray, and you’ve reset the whole counter for under $20.
Pro tip: Keep the heavy stuff low and in front.
Light items go to the back. You’ll reach for the heavy refill far more often than you think.
15. Cabinet-Door Organizers
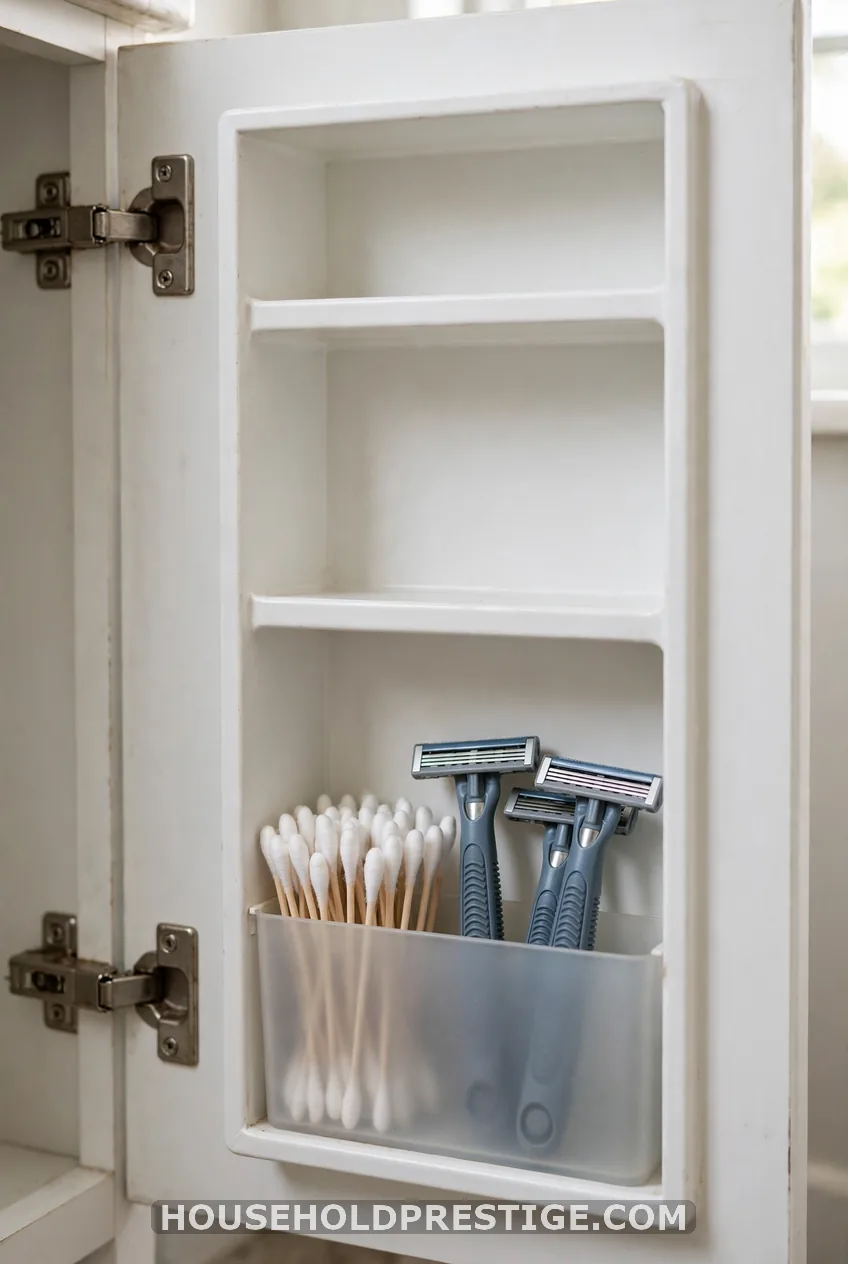
The inside of a cabinet door is free real estate. A slim bin or an over-the-door rack holds cotton swabs, razors and floss. Cost: $6-15. It takes no floor or counter space.
16. Magnetic Strip or S-Hooks for Small Metal Tools
I once left my tweezers on the counter for a week. They got nudged into the sink and nearly went down the drain. Never again.
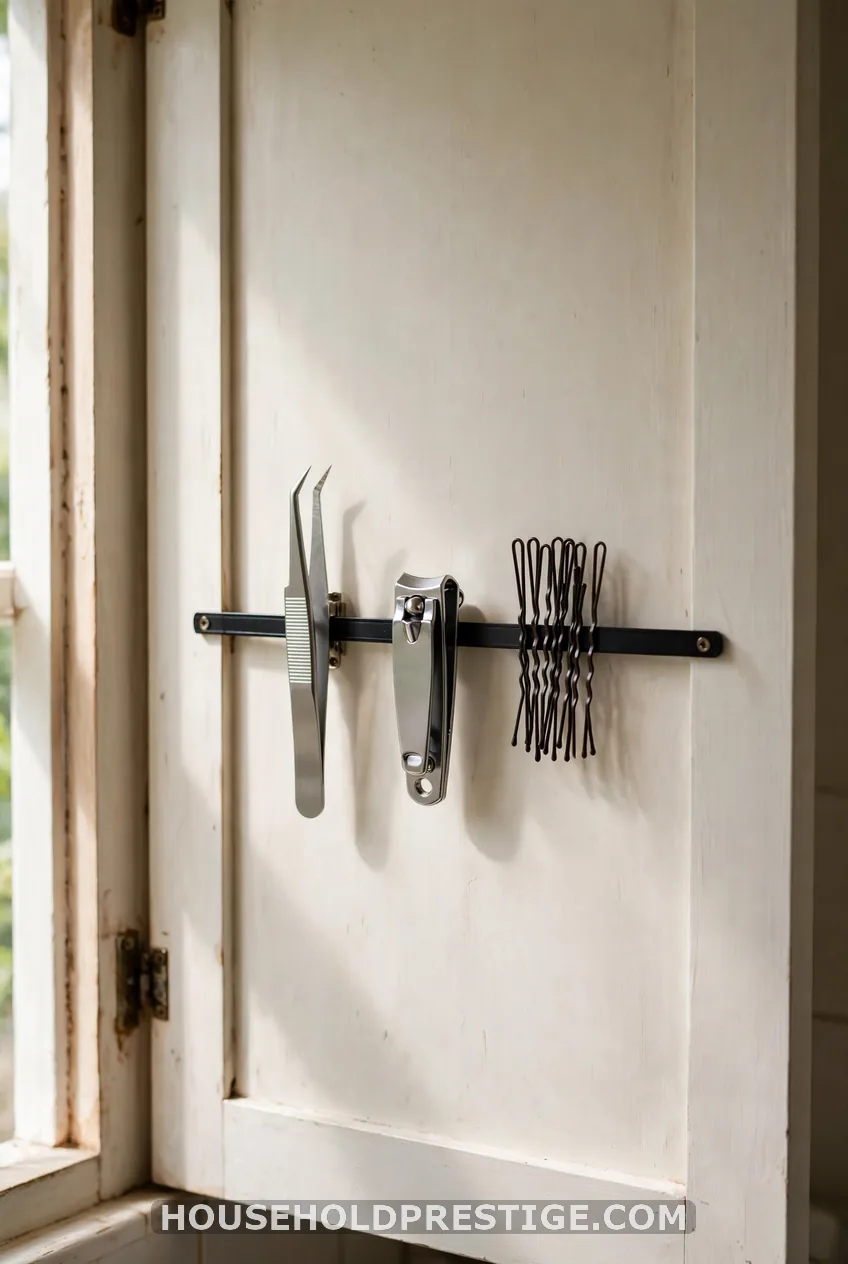
A magnetic strip inside a cabinet door fixes it. Tweezers, nail clippers and bobby pins all stick. It’s invisible when the door is closed.
A $6 strip with adhesive backing is renter-safe. A tension rod under the sink with S-hooks also holds spray bottles.
17. The 60-Second Nightly Reset That Keeps It Clear
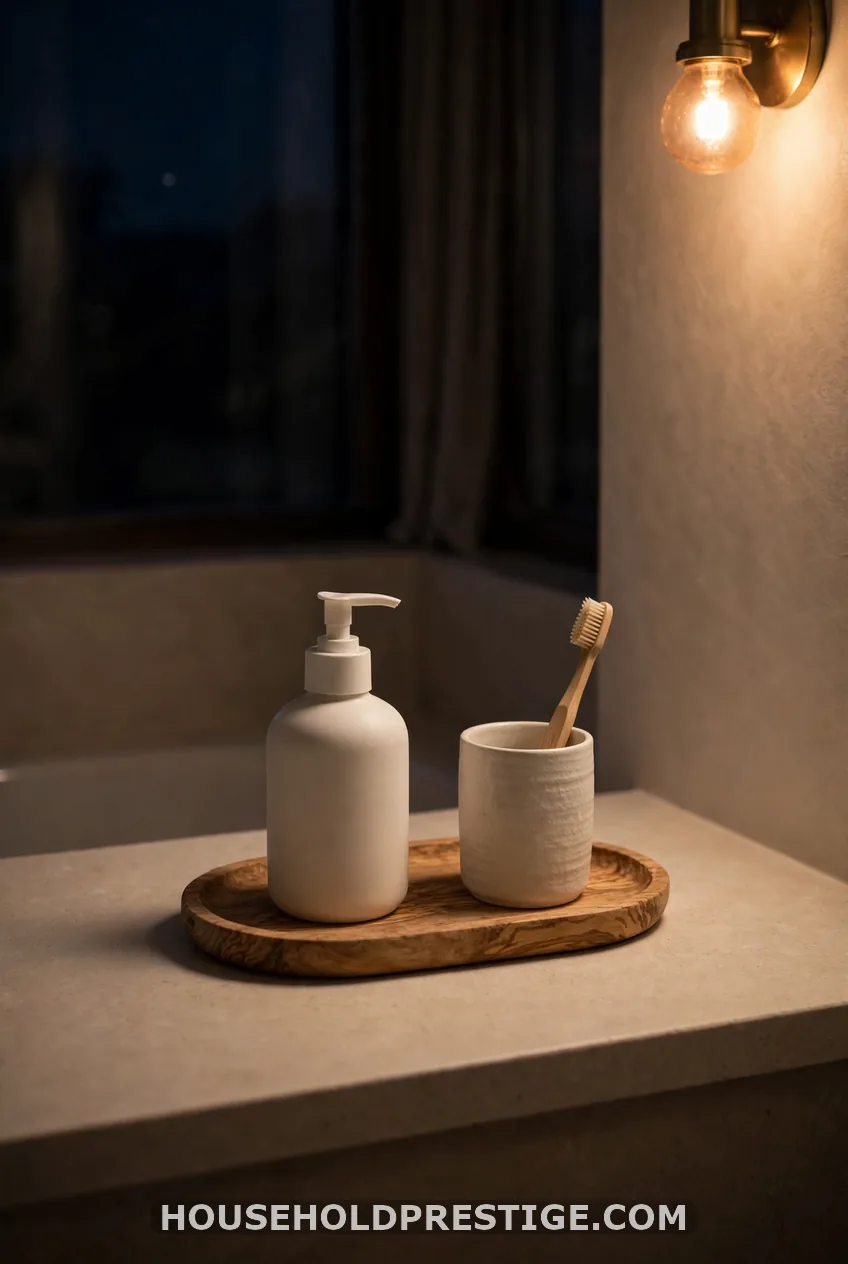
Every pretty counter turns messy in a week without a habit. This one takes a minute.
- Close: Cap every bottle and shut every lid.
- Wipe: Run a cloth across the counter and under the tray.
- Return: Put weekly and backup items back in the drawer or under the sink.
- Done: Check the one-in, one-out rule. Anything with no home leaves the bathroom.
The counter stays clear only when every item has an off-counter home. The tray holds the daily essentials. The rest lives somewhere else.
FAQ
How do I organize a small bathroom counter with no drawers?
Go vertical. A two-tier tray, a riser behind the faucet and a no-drill shelf above the counter replace drawer storage. Then send everything bulky under the sink in a bin or basket.
What should live on the bathroom counter?
Only what you touch daily: soap, hand cream, toothbrush, one skincare set and one hair tool. Weekly and backup items belong in a drawer or an under-sink bin.
Do suction shelves hold on bathroom walls?
They hold well on smooth tile or glass and fail on matte paint, textured tile and grout lines. Clean and dry the surface first and keep the load to small bottles.
What are the best Dollar Tree items for counter organization?
Clear stackable bins, small turntables, drawer dividers and shower caddies are reliable buys. Skip thin plastic that warps in steam and anything with weak adhesive.