

Wiping a bare counter takes about a minute. Wiping a counter with thirty objects on it takes ten, because you have to lift every single one. That gap is why a clean kitchen counter is mostly a clearing job, not a cleaning job.
I learned this the slow way, with a spray bottle and a lot of sighing. Below are 13 rules that cover purging, trays, jars, shelves, a timed reset and a short reference for cleaning each surface type. Pick three, start with your worst zone, and ignore the rest until those stick.
Why Your Counter Keeps Filling Up
The counter is the flattest, most convenient surface in the house. So everything lands there: mail, keys, a half-used bottle of sunscreen, the blender you used once in March.
The fix is one rule. Nothing lives on the counter by default. Every item has to earn its spot by being used almost daily.
Do This First: The 15-Minute Counter Reset
Before you work through the list, run this reset once. Set a phone timer so it stays a reset and doesn’t turn into a full declutter.
- Load dishes into the dishwasher (3 minutes).
- Put away what belongs elsewhere (3 minutes).
- Group daily essentials onto one tray (2 minutes).
- Wipe the counter and dry it (1 minute).
That is 9 minutes for your main counter run. Use the remaining 6 minutes for a second run, like the stretch beside the stove, or for the sink. Stop when the timer stops.
Part One: Clear the Counter
1. Take Everything Off and Sort Three Piles
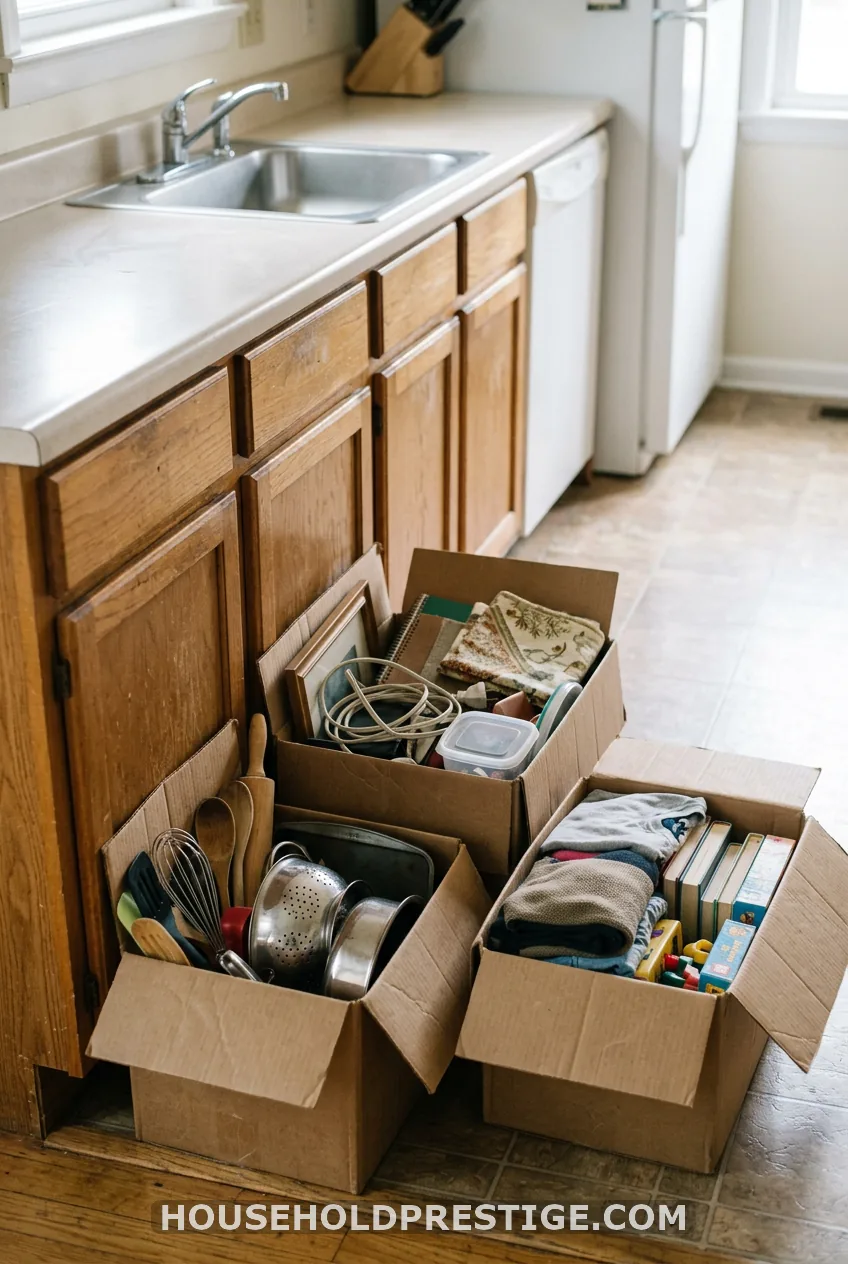
Start with an empty surface. Work one run at a time: the sink run, the stove run, the prep run. Doing the whole kitchen at once is how a Saturday disappears.
Grab three boxes or laundry baskets and label them Keep, Relocate and Donate. Then follow these steps:
- Pull every item off one counter run and set it on the floor or table.
- Wipe the bare surface with warm water and a drop of dish soap.
- Pick up each item and ask whether you used it in the last 30 days.
- Put the yes pile in Keep and anything that belongs in another room in Relocate. The rest goes to Donate.
- Return only the Keep pile, and only after you decide where each thing sits.
The common mistake is returning items “just for now.” Just for now becomes a year. If something has no home, it goes in the Relocate box and gets a home this week.
Cost reality:
This step costs nothing but an hour. Three boxes from the recycling bin do the job.
2. Cap Your Counter at 5 to 7 Daily Essentials
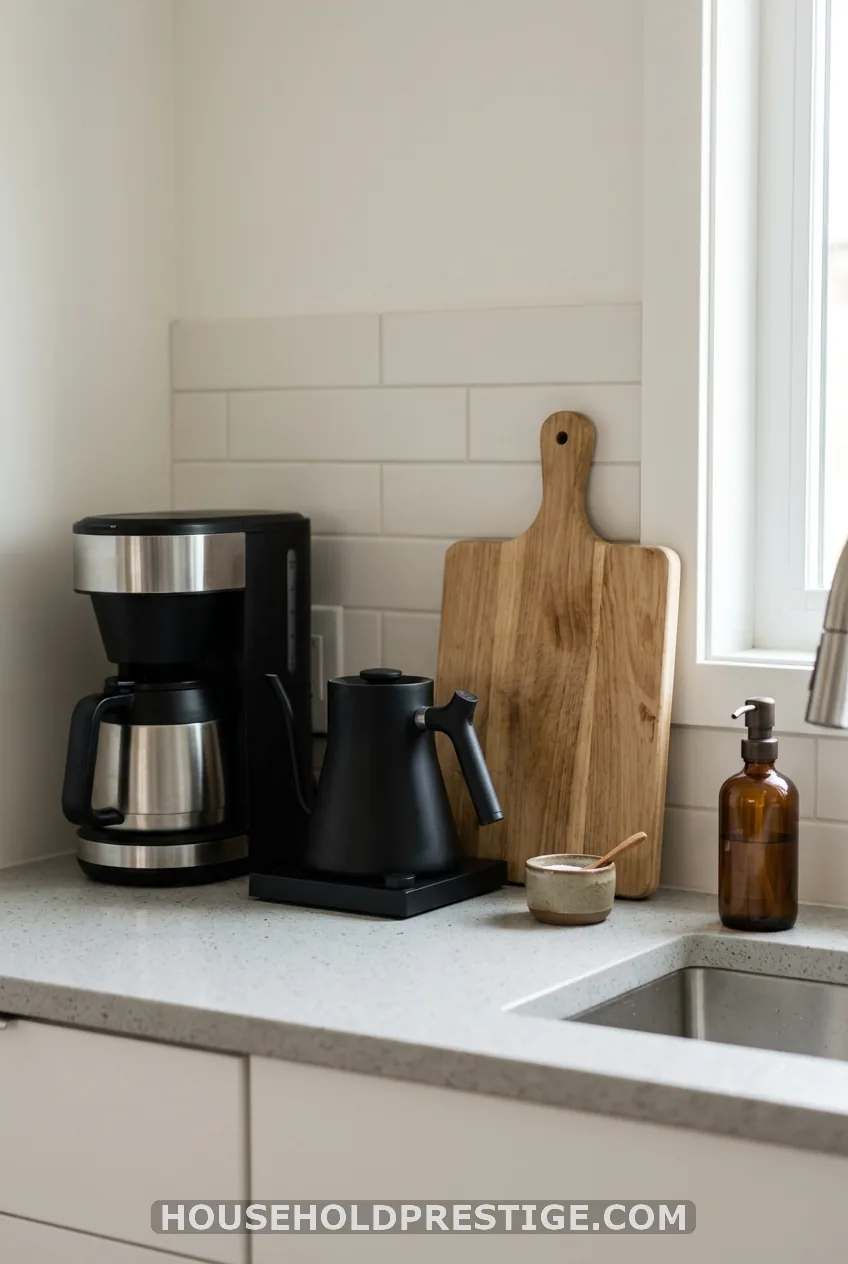
Be honest about “daily.” Coffee maker, kettle, soap, cutting board, salt and pepper, one good knife. That is already six.
Follow a one-small-appliance rule. A stand mixer, an air fryer and an Instant Pot cannot all live out. Pick the one you use weekly, and store the rest in a cabinet until the day you need them.
3. Give the Essentials a Home on One Tray
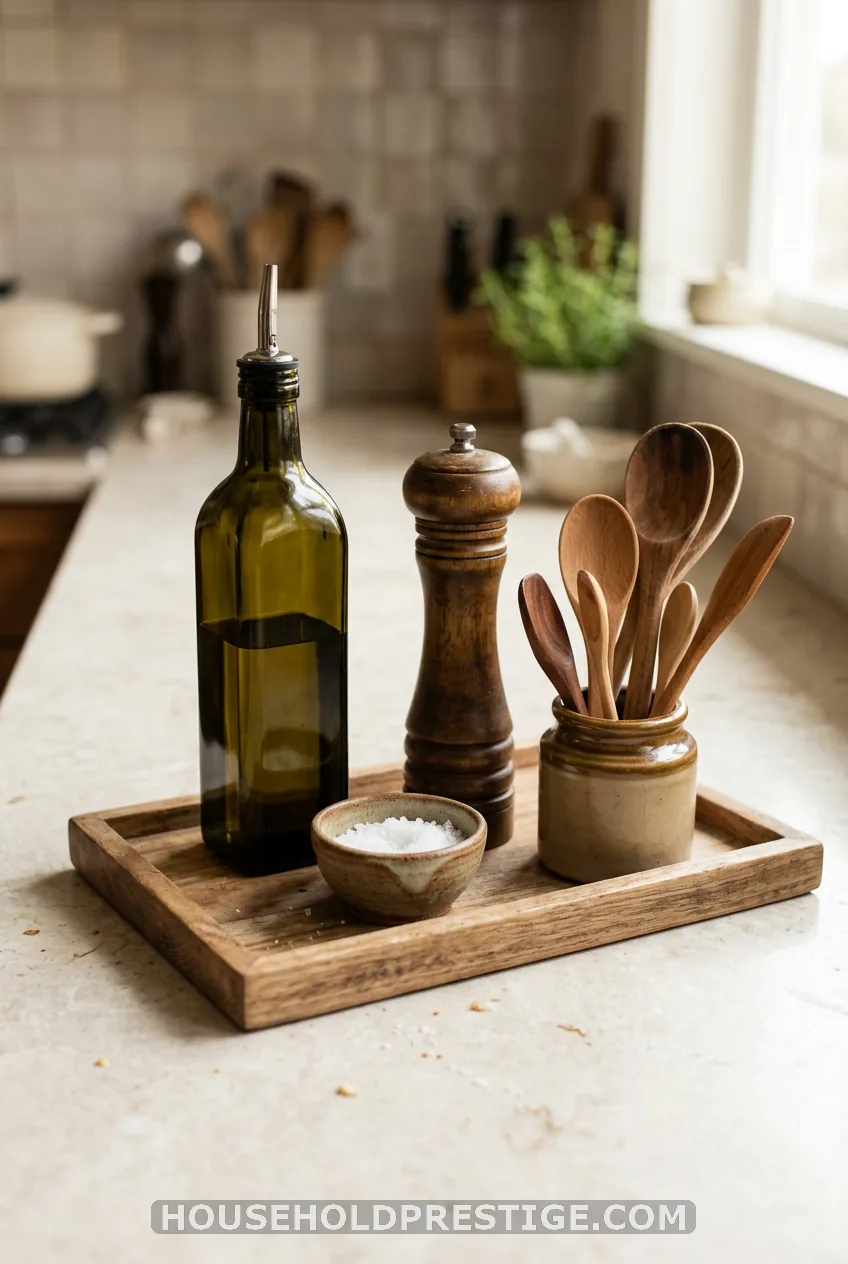
A tray turns a cluster of bottles into a styled corner. It also makes cleaning fast. Lift the tray, wipe under it, set it back. Done in ten seconds.
Choose a tray material that echoes something in the room: light wood by a butcher block, matte black metal by black hardware, marble beside white cabinets. A lazy susan works the same way in a corner.
Budget note:
A wooden or metal tray runs about $10 to $25. A 10-inch lazy susan from IKEA or The Container Store is roughly $8 to $20.
4. Decant Into Matching Containers

Mismatched bags and boxes look like clutter even when they are tidy. Matching clear jars look calm. That is most of the calm, styled counter effect.
Decant only the staples you use weekly: flour, sugar, coffee, oats. Bulk dry goods stay in the pantry. IKEA KORKEN jars and airtight containers from Oxo both work, and a plain label on each saves guessing.
5. Move Storage Up, Not Out
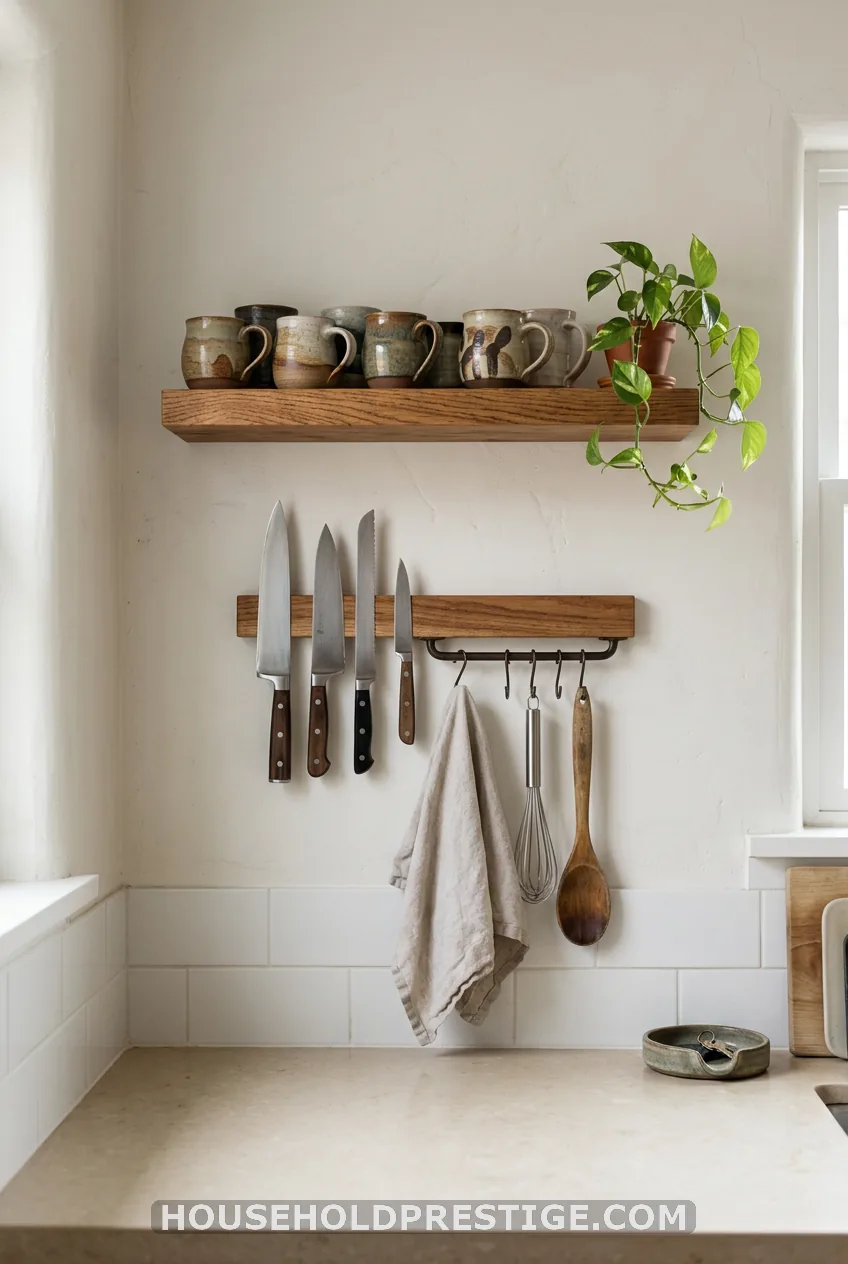
If you run out of cabinet room, use the wall. Floating shelves, a wall rail or a magnetic knife strip lifts items off the work surface. This is the best fix for a small kitchen.
Keep the lowest shelf at least 18 inches above the counter so you can still work. Add Command hooks under the shelf for mugs or utensils. Check the weight rating on the package, since most small strips hold only a few pounds.
Cost reality:
A magnetic knife strip is about $12 to $25. A floating shelf with brackets runs $15 to $40.
Part Two: Give Everything a Home
6. Put a Hard Limit on Decor
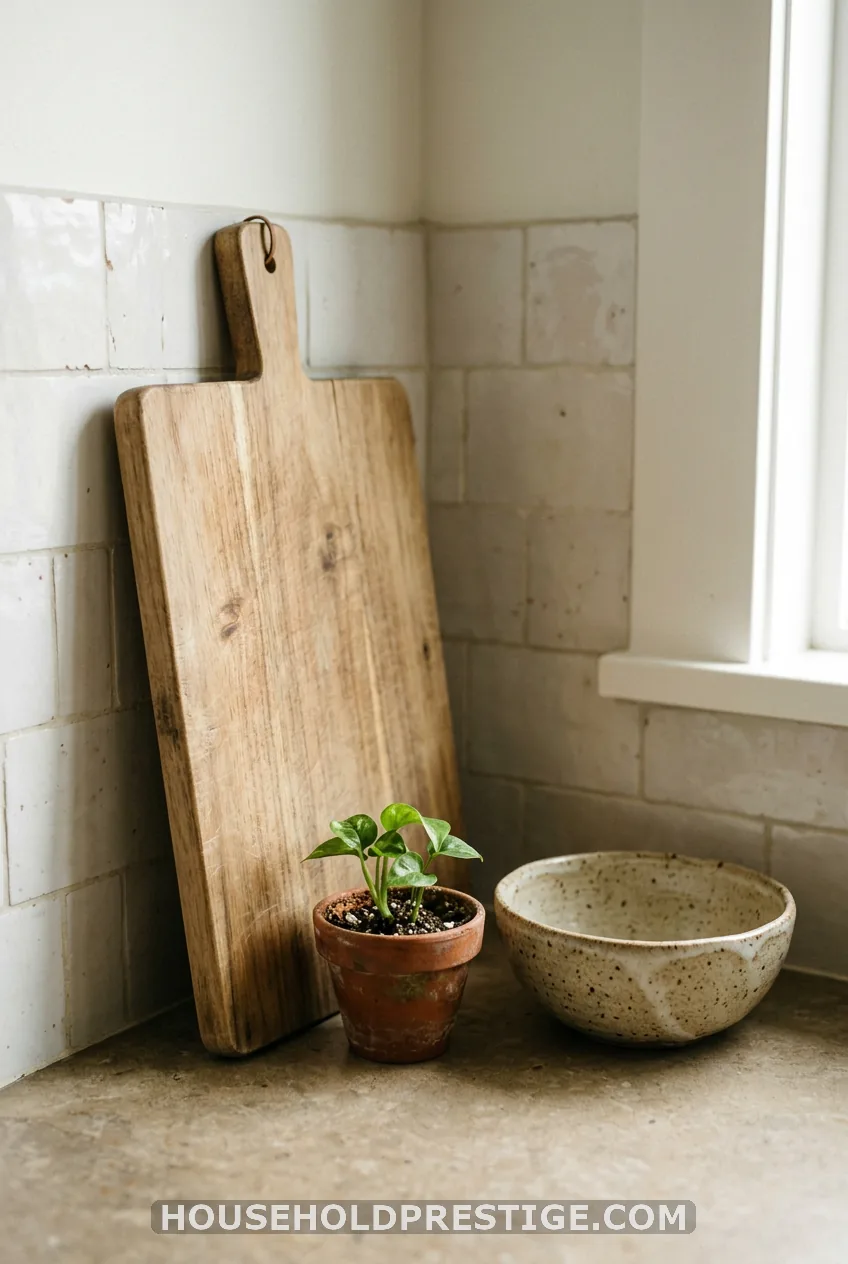
Three objects. One plant, one board or cookbook, one lamp or bowl. Swap them with the seasons instead of adding more.
Anything that needs weekly dusting and does nothing is a net loss.
7. Build a Landing Zone Somewhere Else
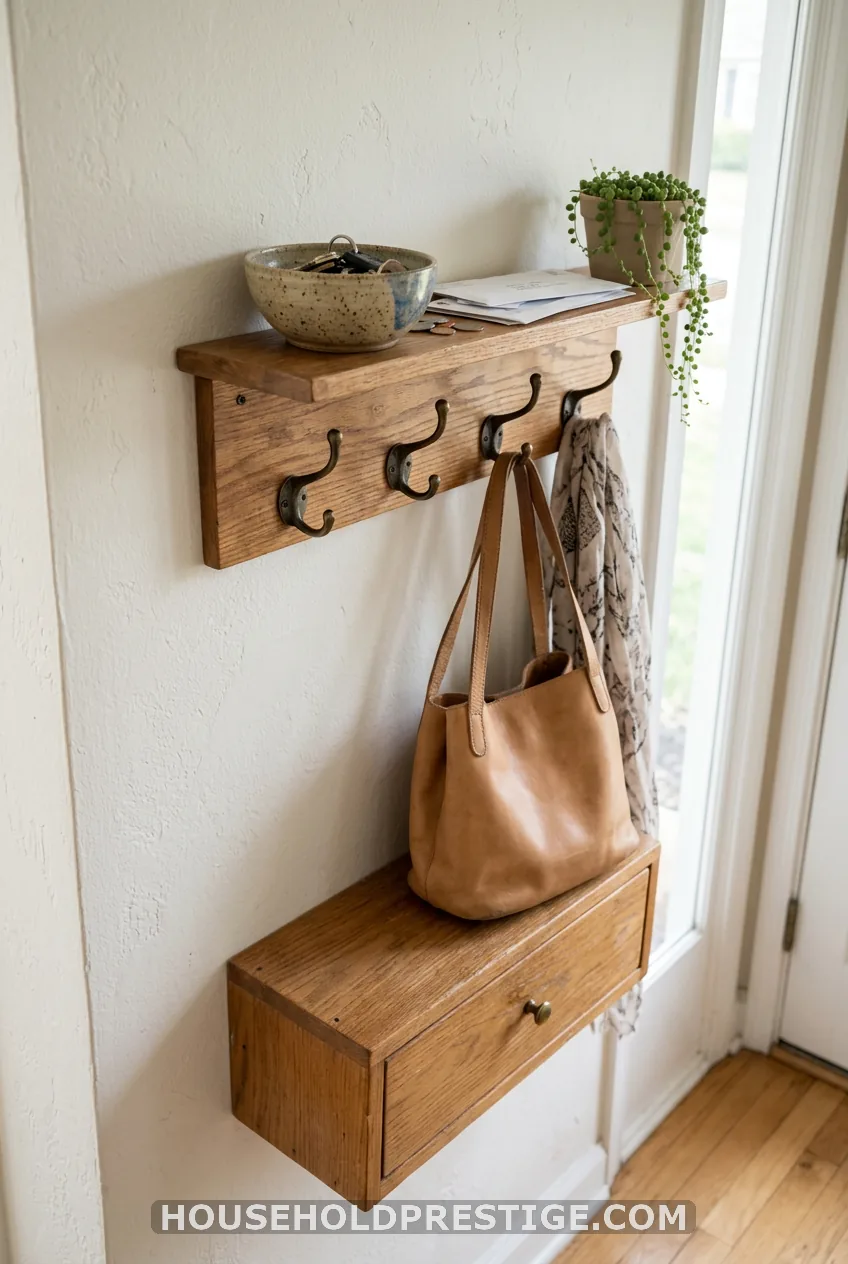
For months, my counter collected mail, keys, chargers and sunglasses at 5 p.m. every day. I would tidy it on Sunday and it would be buried again by Tuesday. I kept blaming myself.
The real cause was that the kitchen was the first flat surface I reached after the door. So I put a bowl and two hooks by the entry and one drawer for chargers. The counter stayed clear within a week.
Give those items a spot nearer the door. Then use one rule: don’t put it down, put it away.
8. Fix the Three Problem Zones: Sink, Stove, Corner
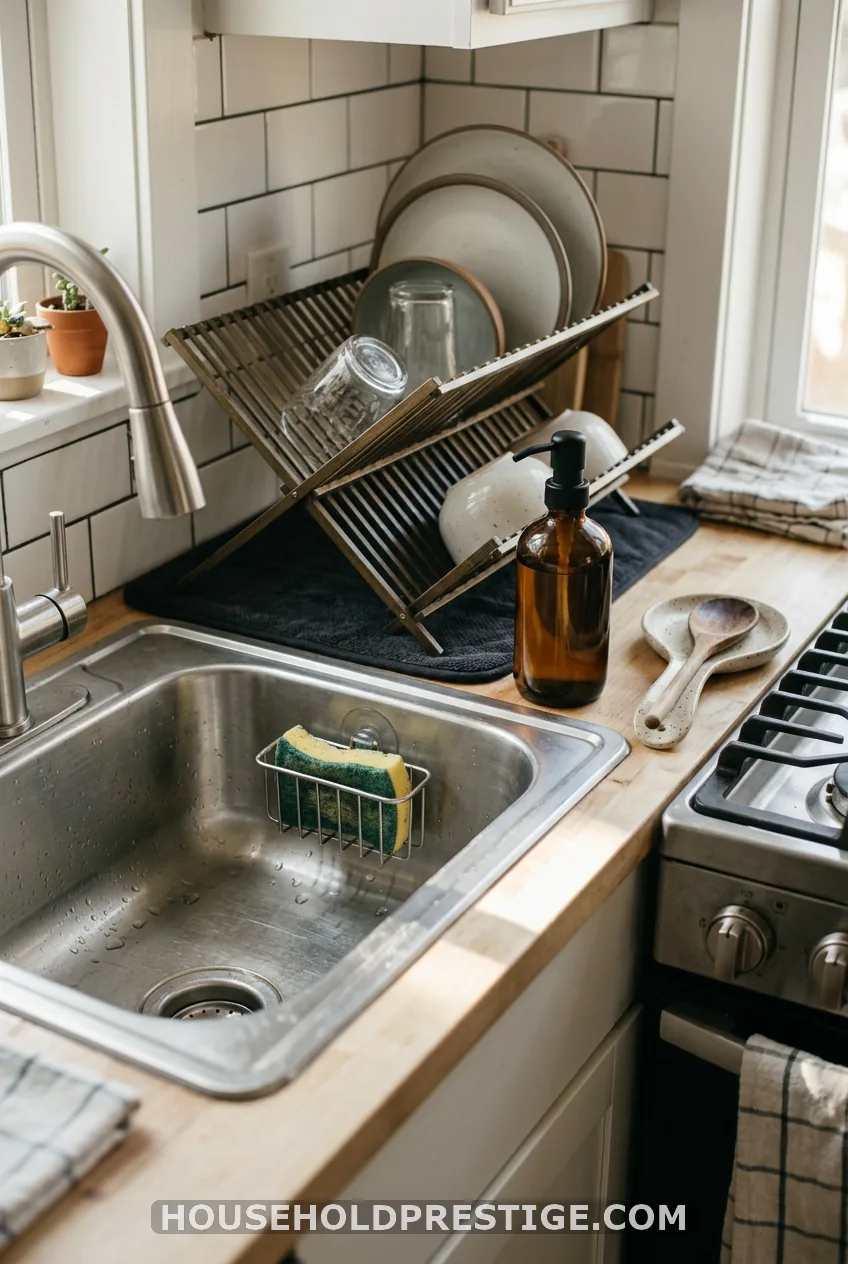
These three spots collect the most clutter, and each has a simple fix.
- Sink: Keep one soap dispenser and one sponge caddy. Use a folding dish rack that you can stow after use instead of a rack that sprawls.
- Stove: One spoon rest, one oil bottle. Move the spice army into a drawer with an insert so they lie flat and labeled.
- Corner: This dead zone gets a lazy susan, not a pile. A turntable keeps it reachable and wipeable.
9. Give the Overflow a Real Home
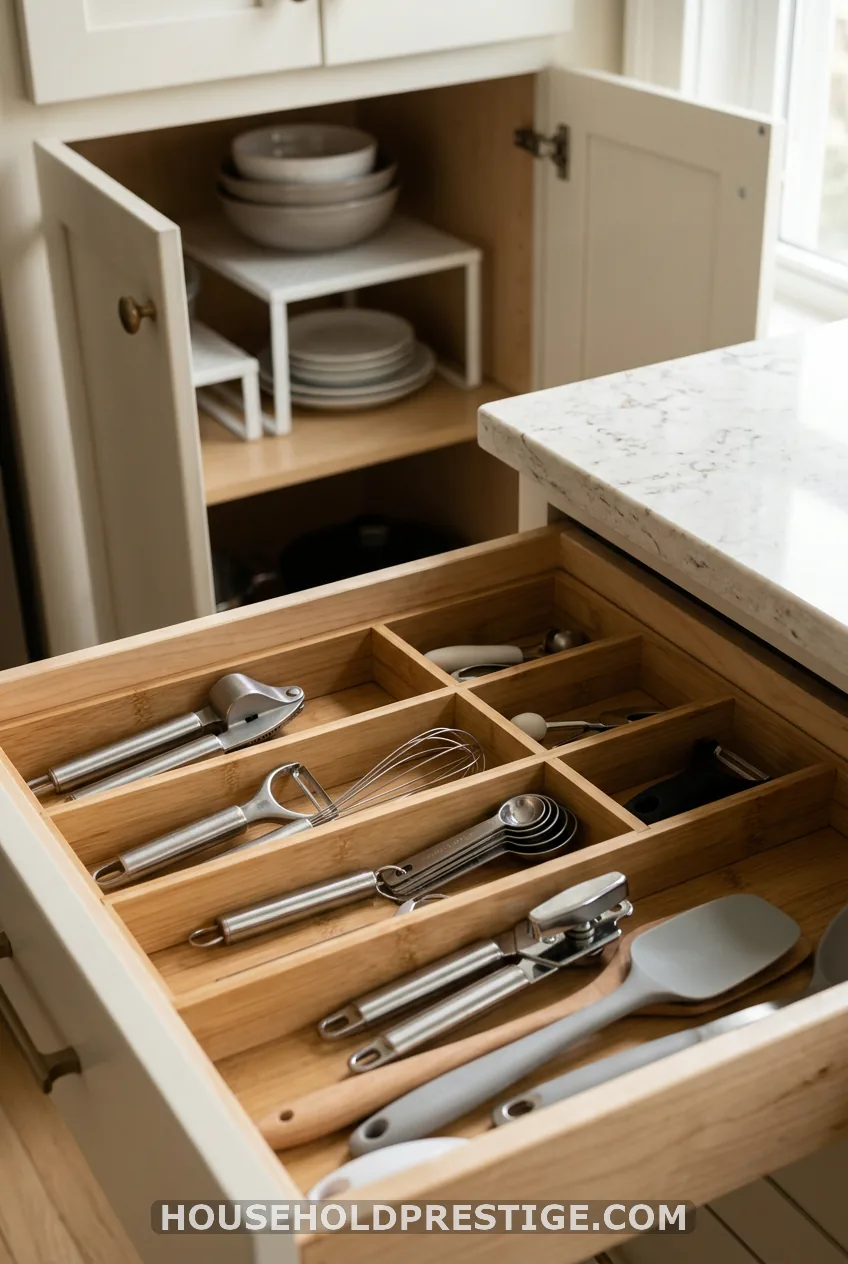
If it has no home, it boomerangs to the counter. Drawer dividers, shelf risers and an under-sink bin for cleaning supplies create those homes. Add a one-in, one-out rule for gadgets and small appliances.
Part Three: Keep It Clean
10. Wipe As You Go (and Sanitize When It Counts)
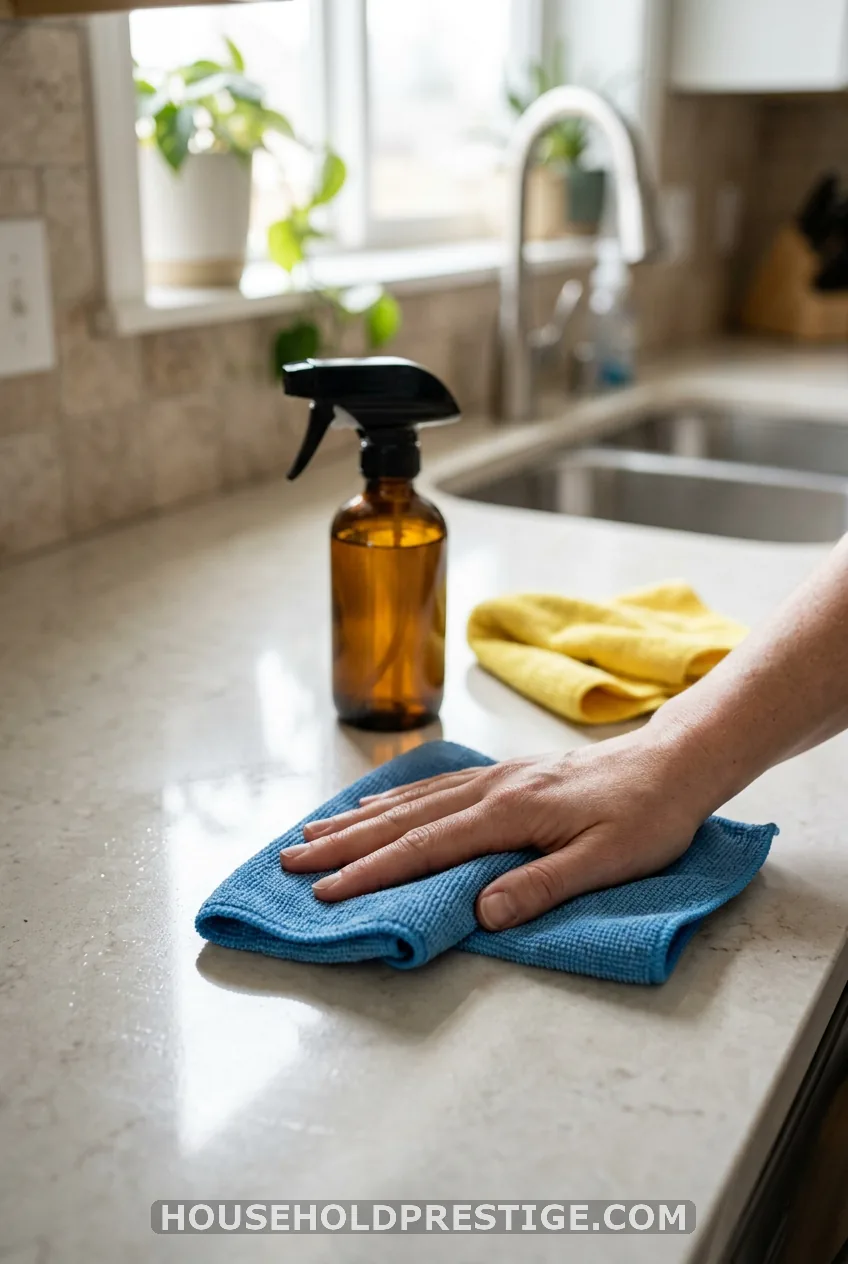
Keep a spray bottle and two microfiber cloths within reach, one damp and one dry. Wipe after every cooking session, while the stove is still warm and the grease hasn’t set. Then dry the surface. Air-dried streaks are what make a counter look dirty.
Raw meat changes the rules. Wash with soap and water first, because sanitizer works poorly on a dirty surface. Then sanitize with a diluted bleach solution, about 1 tablespoon of unscented bleach per gallon of water, or a food-safe sanitizer from the store.
Let it sit wet for a couple of minutes, then let it air dry. Don’t rinse it off. Never mix bleach with vinegar or ammonia, and keep bleach off natural stone (see the next item).
Use a separate board for raw meat, and wash your hands before and after handling food.
11. Match the Cleaner to the Countertop
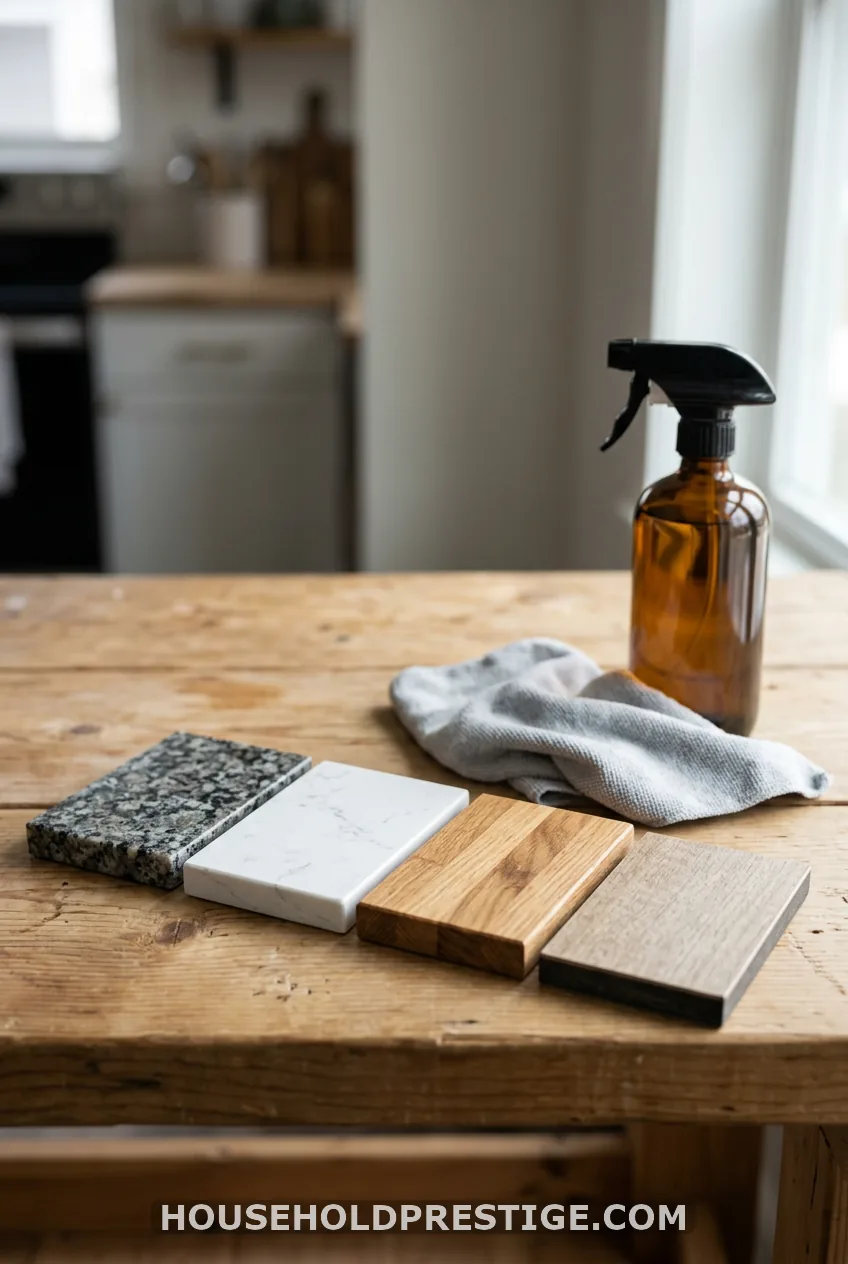
The wrong product can dull a surface for good. Here is the short reference.
Granite, quartz and marble
Use a pH-neutral stone cleaner, like Weiman granite cleaner. No vinegar, no bleach and no citrus, because acids can etch the surface and bleach can dull it. Reseal granite about once a year.
Dekton and Silestone are tougher, but mild soap and water remains the safe daily choice.
Laminate and solid surface
Use warm water and a few drops of dish soap. Skip abrasive scrubbers and don’t let water sit at the seams, where it can lift the edges.
Butcher block
Wipe with a damp cloth and dry it right away. Rub on food-safe mineral oil about once a month.
Stainless steel
Wipe with the grain, then dry. Bar Keepers Friend works on stubborn marks, but test a small corner first.
Tile grout and hard-water spots
For grout lines, use a soft brush and a baking soda paste, then rinse and dry. Seal grout once a year so grease can’t settle in.
Around the faucet base, mineral buildup can be loosened with a cloth soaked in white vinegar on laminate or stainless. On stone, skip the vinegar and use your stone cleaner. A product like CLR is for non-stone buildup only, so read the label first.
Cost reality:
A bottle of stone cleaner is about $8 to $12. A granite sealer runs roughly $15 to $30 and lasts a year or more.
12. Run a 2-Minute Nightly Reset (Plus a Weekly Pass)
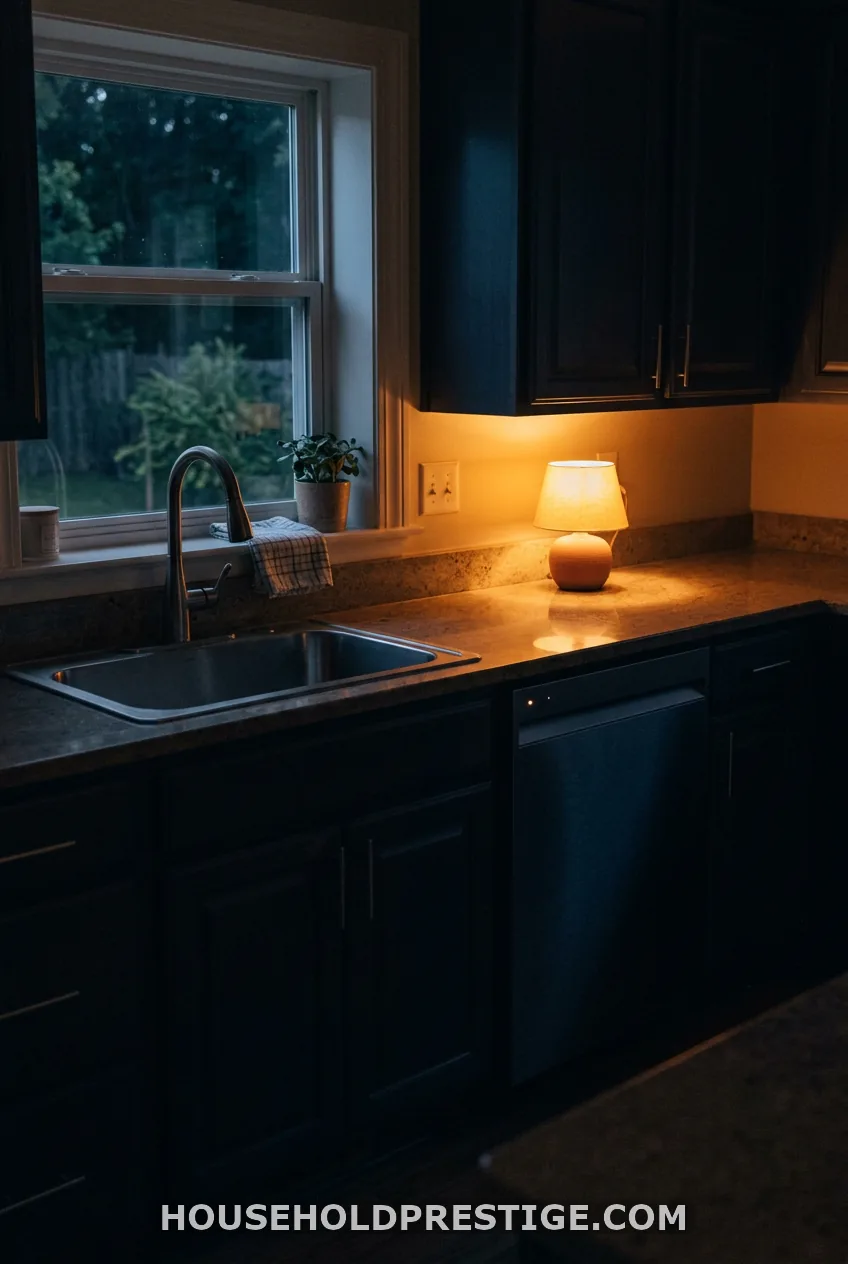
Same four moves, every night. Load the dishwasher, return strays, group essentials on the tray, wipe and dry. Do it while the coffee pot resets or the dishwasher fills. Include the sink, because an empty sink makes the whole kitchen read as clean.
Then add a longer rhythm:
- Weekly (10 minutes): Clear everything, wipe edges and seams, check around the sink and faucet base.
- Monthly: Degrease the backsplash, descale hard-water spots, brush the grout lines.
- Quarterly: Check the stone seal, oil butcher block, empty and sort the utensil crock.
13. Protect the Clean
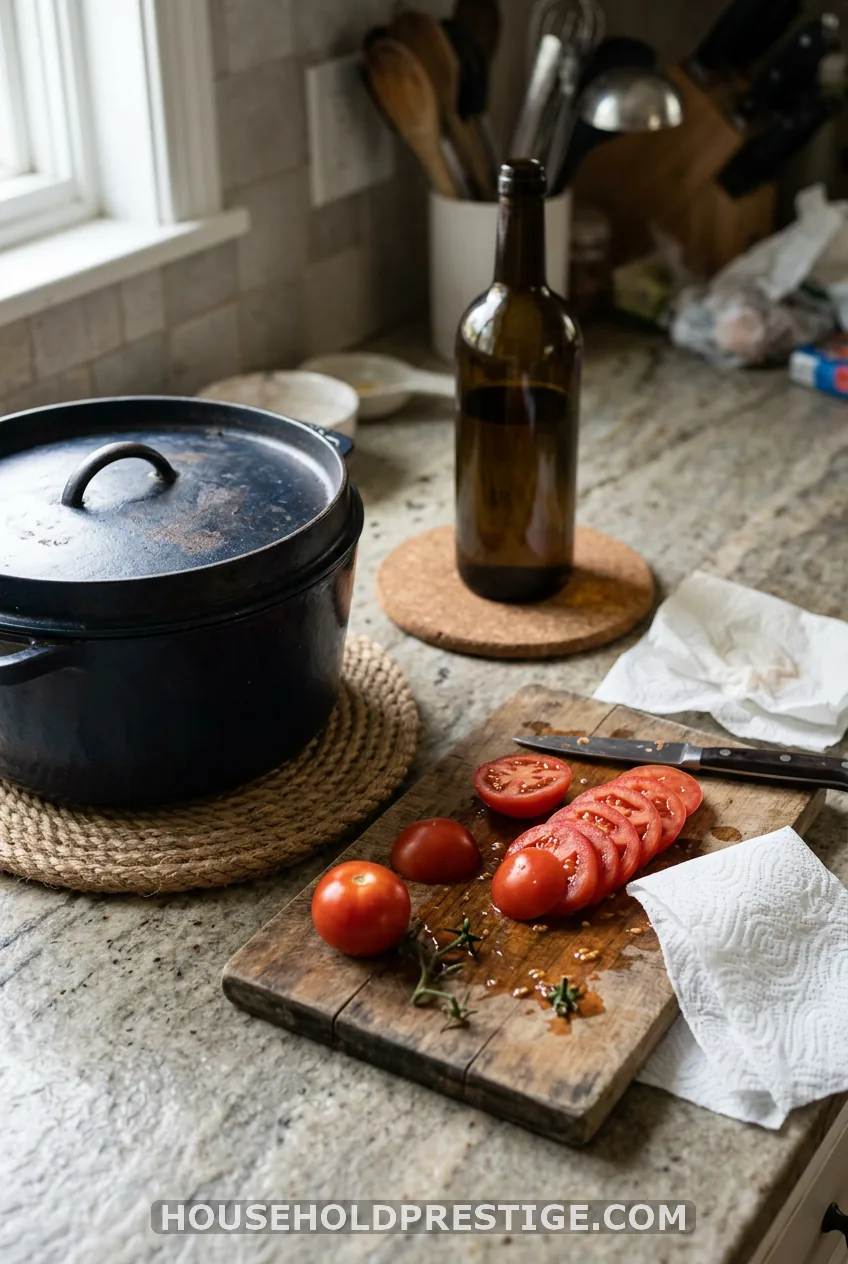
What most people think: Counters are tough, so they can take anything. Reality: Heat, acid and moisture mark them faster than daily use does.
Put trivets under hot pans, coasters under bottles and a cutting board under every knife. Wipe spills right away. Red wine, tomato sauce and oil stain fastest.
Slip a folded paper towel under cans and oil bottles to stop rust rings and moisture marks. A clean counter lasts longer than a week when the damage never happens.
Last Word: Stop Buying More Organizers
Here is my unpopular take. You probably don’t need another organizer. Most clutter problems come from owning more than the counter can hold, and a new basket only makes the pile look intentional.
Use the reset, cut the extras and let the empty space stay empty. A bare patch of counter is not wasted room. It is the whole point.
FAQ
How do I keep my kitchen counter clean every day?
Clear it to 5 to 7 daily essentials, put those on one tray and run the 2-minute reset each night. Wipe after every cooking session so grease never layers up.
What should never go on a kitchen counter?
Mail, keys, chargers, handbags, medicine, bulk dry goods, and spices or small appliances you use less than weekly. If an item has no other home, it will keep coming back, so give it one.
Can I use vinegar or bleach on granite or quartz?
No. Both can dull or etch stone. Use a pH-neutral stone cleaner for granite, quartz and marble. For raw meat, wash with soap and water, then use a food-safe sanitizer made for your surface.
How do I keep counters clear in a small kitchen?
Go vertical with floating shelves, a wall rail or a magnetic knife strip. Use a lazy susan in the corner instead of lining things along the counter.