

Your stand mixer died mid-recipe. The butter’s rock-hard, and you need it softened now. Cookies spread into sad puddles across your baking sheet.
Sound familiar?
Most baking problems aren’t about skill. They’re about knowing which shortcuts actually work and which ones ruin your batch. I’ve tested dozens of these tricks over the past five years, and these 17 have earned permanent spots in my kitchen routine.
Some take 30 seconds. Others need a weekend afternoon. But every single one solves a real problem you’ve probably faced at your own counter.
1. The Dental Floss Trick for Perfect Layer Cakes
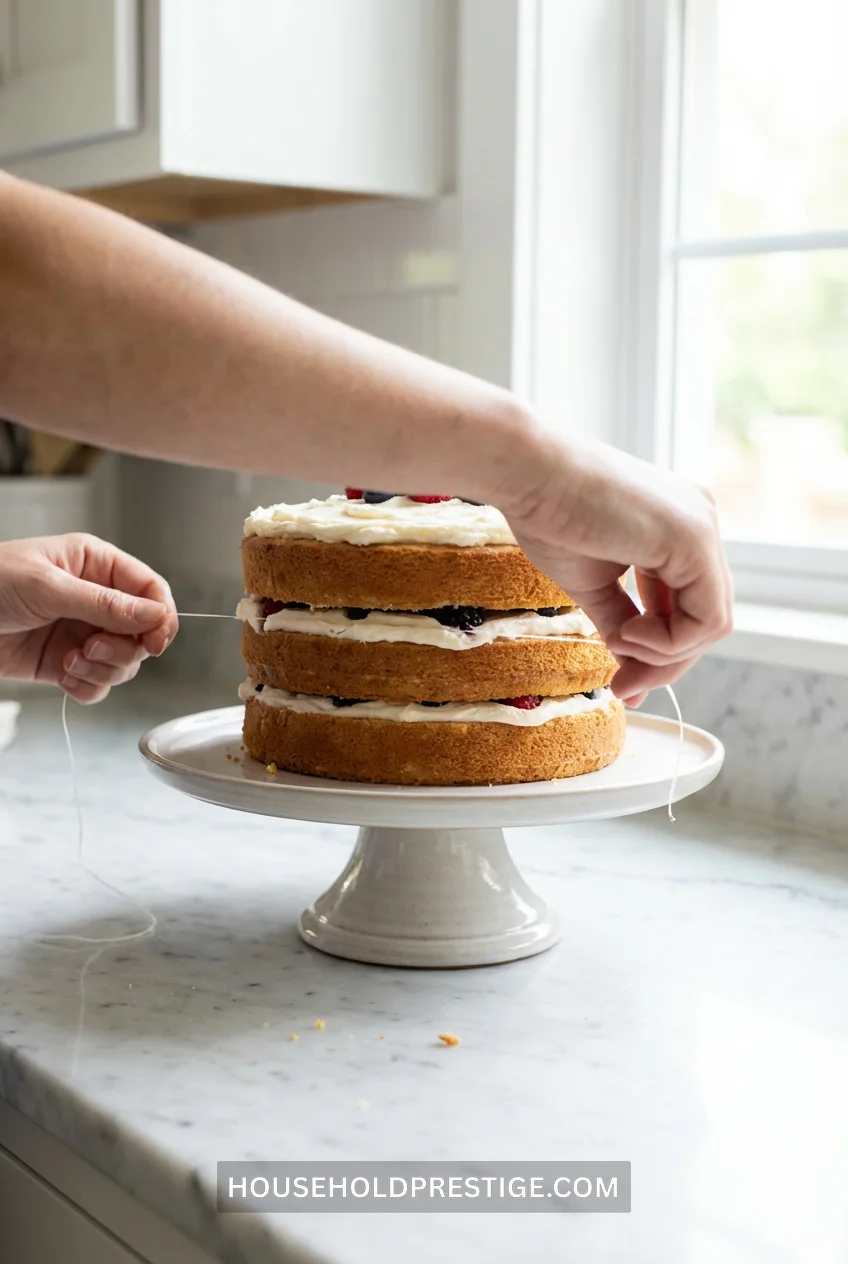
Stop hacking at your cakes with a serrated knife. Unflavored dental floss cuts cleaner layers than any blade you own.
Slide a long piece of floss underneath your cake layer. Cross the ends over the top where you want to cut. Pull the floss through in one smooth motion. You get bakery-level layers with zero torn edges or wandering cuts.
This works for cheesecakes, brownies, cinnamon rolls, cookie dough logs. Anywhere you need a clean slice through something soft.
2. Sheet Pan Insulation Prevents Burnt Bottoms
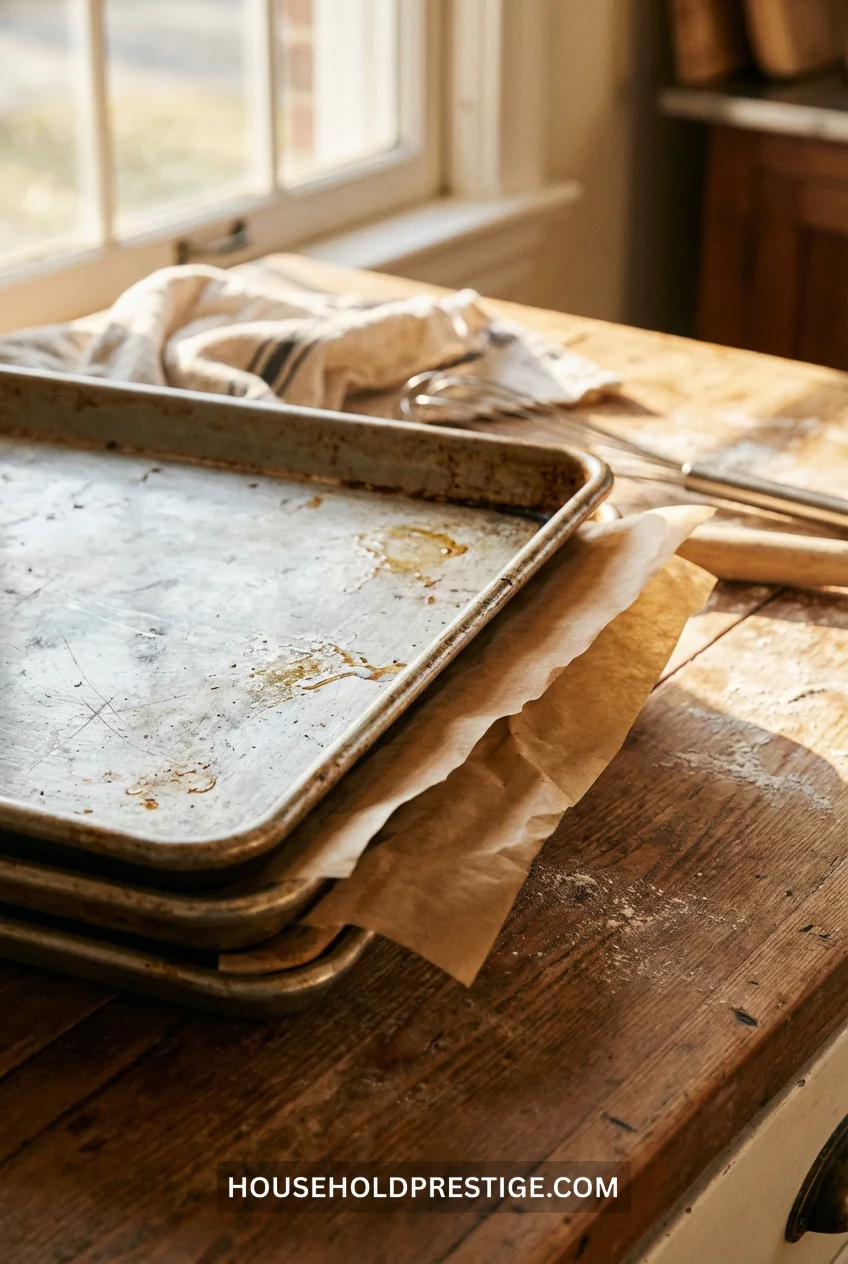
Nest one baking sheet inside another. That air gap between them regulates heat like a buffer zone.
Your cookies bake evenly. Brownies don’t crisp on the bottom before the center sets. Pizza crust gets golden without burning.
This trick saved me when I moved into an apartment with a cheap oven that runs 25 degrees too hot. No temperature calibration needed.
3. The Upside-Down Muffin Method
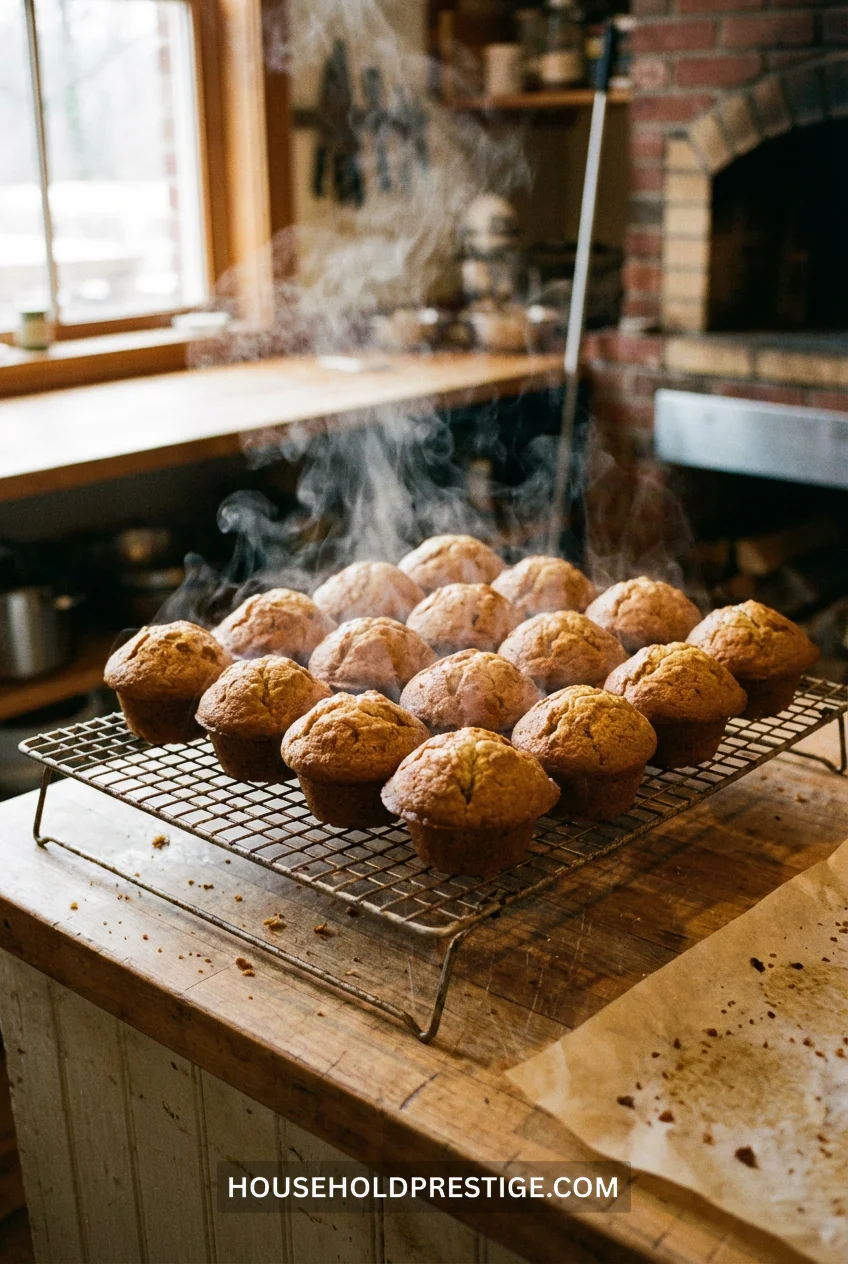
Flip your muffins upside down on the cooling rack right out of the oven.
Sounds weird. Works perfectly.
The trapped steam keeps the tops soft instead of forming that weird crusty cap. The bottoms stay fluffy. The paper liners peel off clean instead of taking half the muffin with them.
Works for cupcakes too.
4. How to Salvage Seized Chocolate (The Right Way)
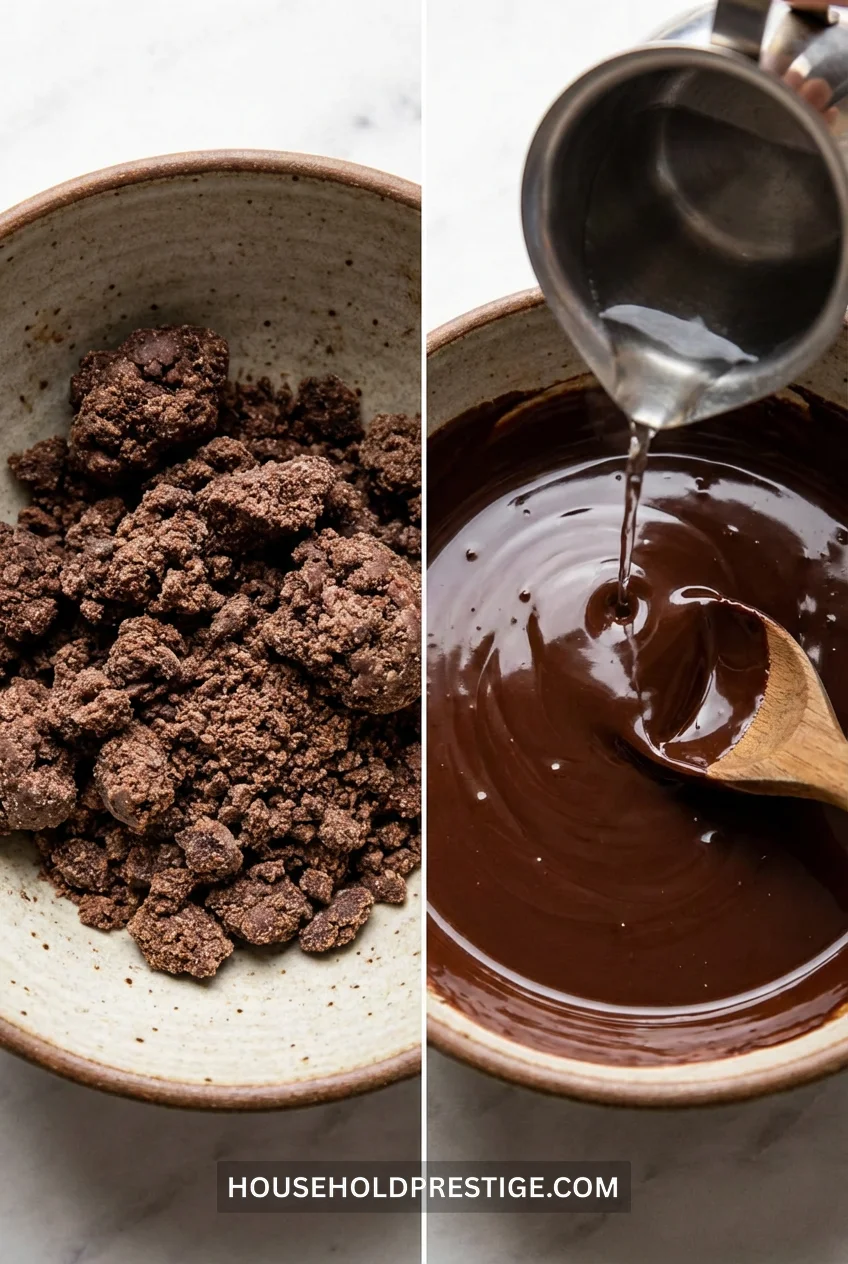
Your chocolate seized. It’s grainy, stiff, useless.
Don’t throw it out.
Why It Happens
A single drop of water hits melted chocolate. The cocoa particles clump around the moisture. The fat separates.
The Fix
Add more liquid. Not less.
- Seized dark chocolate: Add 1 tablespoon warm water or cream per 6 ounces
- Seized milk chocolate: Use milk instead of water (same ratio)
- Seized white chocolate: Add 2 teaspoons vegetable oil per 6 ounces
Stir constantly over low heat. The chocolate re-emulsifies within 30-60 seconds.
What Actually Works
The paradox: water causes seizing, but MORE water fixes it. You need enough liquid to fully dissolve the cocoa particles instead of just making them sticky.
Common Mistakes to Avoid
- Adding butter (makes it greasier, not smoother)
- Heating too fast (burns the chocolate beyond rescue)
- Adding powdered sugar (you’re adding more dry particles to the problem)
Pro Move
If you know you’ll need to thin melted chocolate later, add 1 tablespoon oil per 8 ounces BEFORE melting. Insurance policy.
This isn’t for eating straight—the texture changes—but it’s perfect for drizzling, dipping, or mixing into other batters.
5. Rapid Butter Softening (2 Minutes)
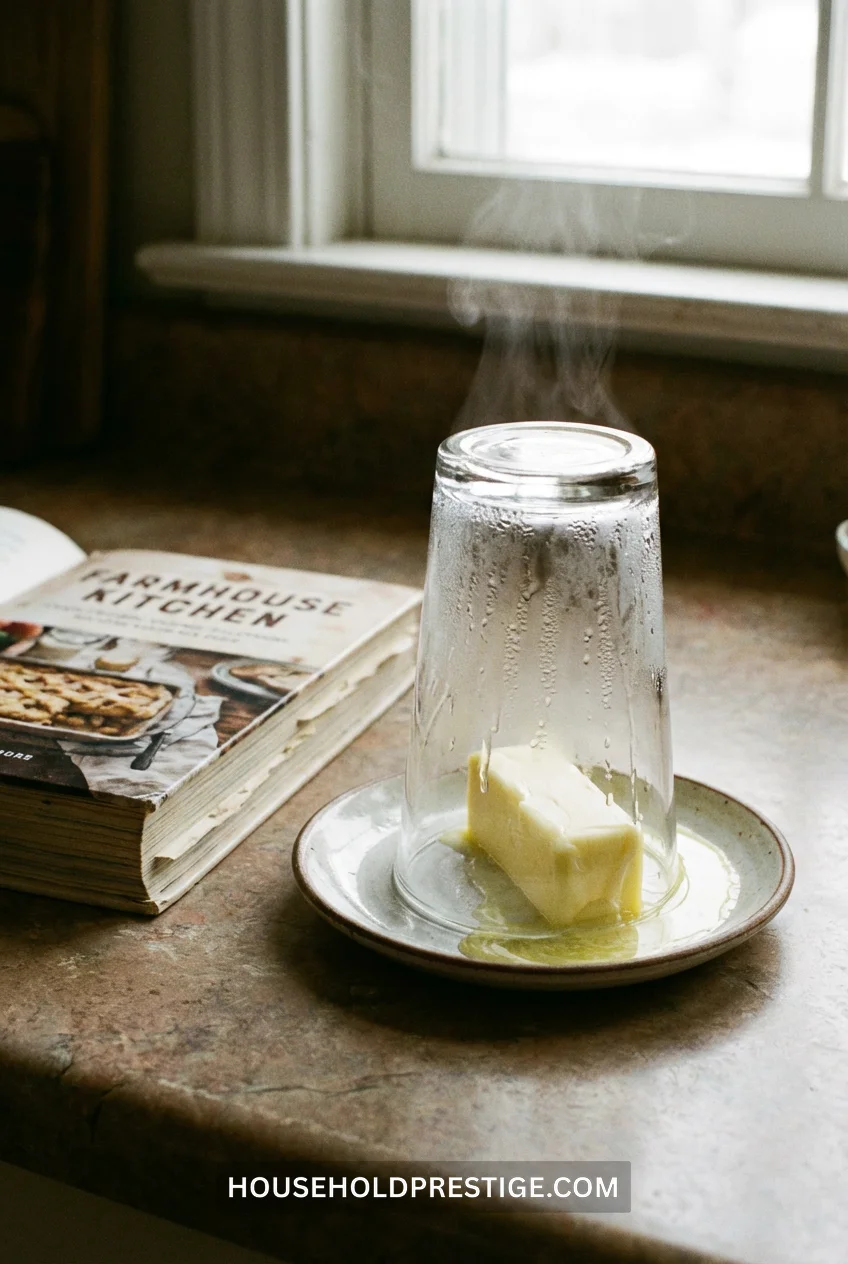
Grate frozen butter on a box grater. It reaches room temperature in 90 seconds.
Alternative: Cut butter into tablespoon chunks. Microwave a glass of water for 2 minutes. Pour out the water. Place the hot glass over the butter chunks on a plate. The trapped heat softens them in 3-4 minutes without melting.
Both methods beat waiting an hour. Both keep your butter at the right consistency for creaming with sugar.
6. Egg White Rescue for Dry Cookie Dough
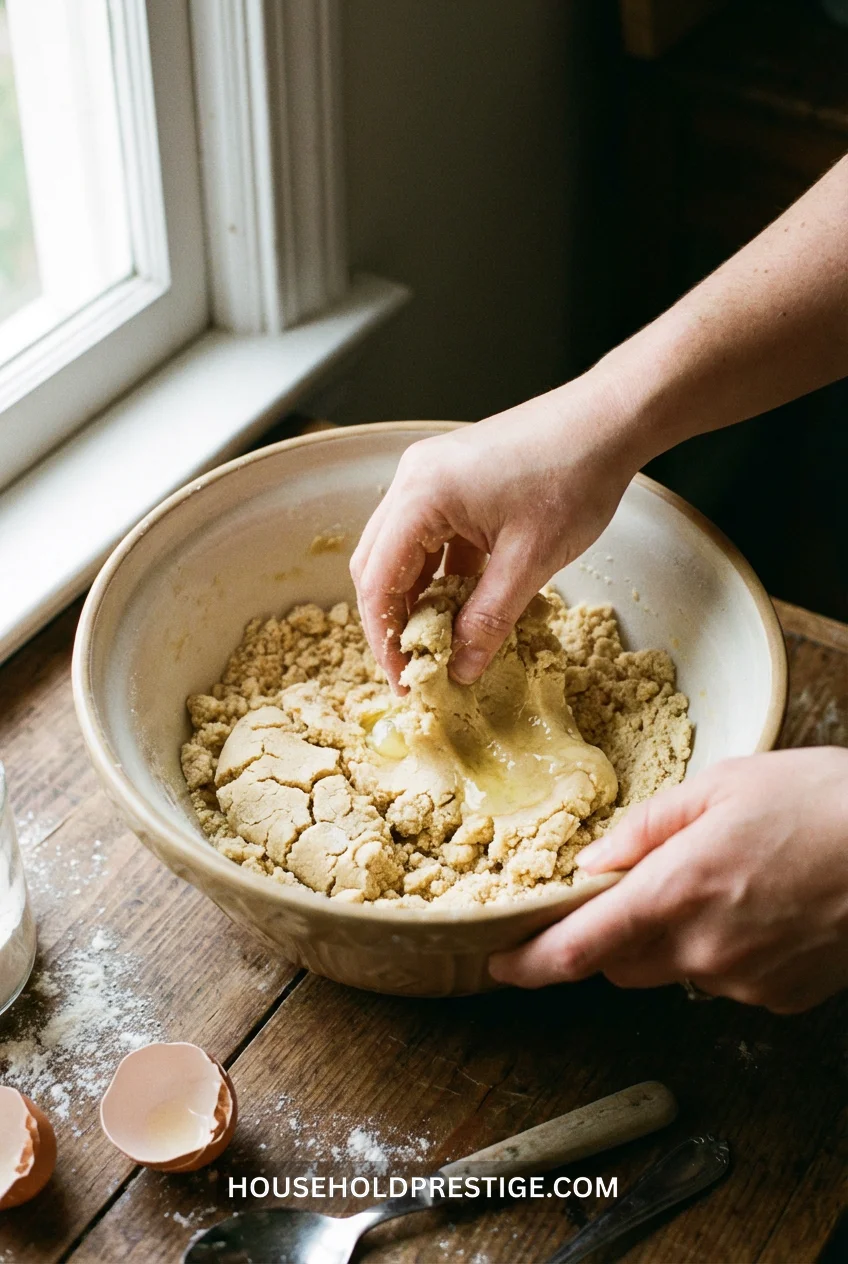
Your cookie dough is crumbly and won’t hold together.
Add 1 tablespoon of egg white at a time. Mix thoroughly between additions.
The protein bonds the ingredients without making your cookies cakey like whole eggs would. Stop when the dough barely holds a ball shape. Too much and you’re back to spreading cookies.
7. The Science Behind Room Temperature Ingredients (And Why It Actually Matters)
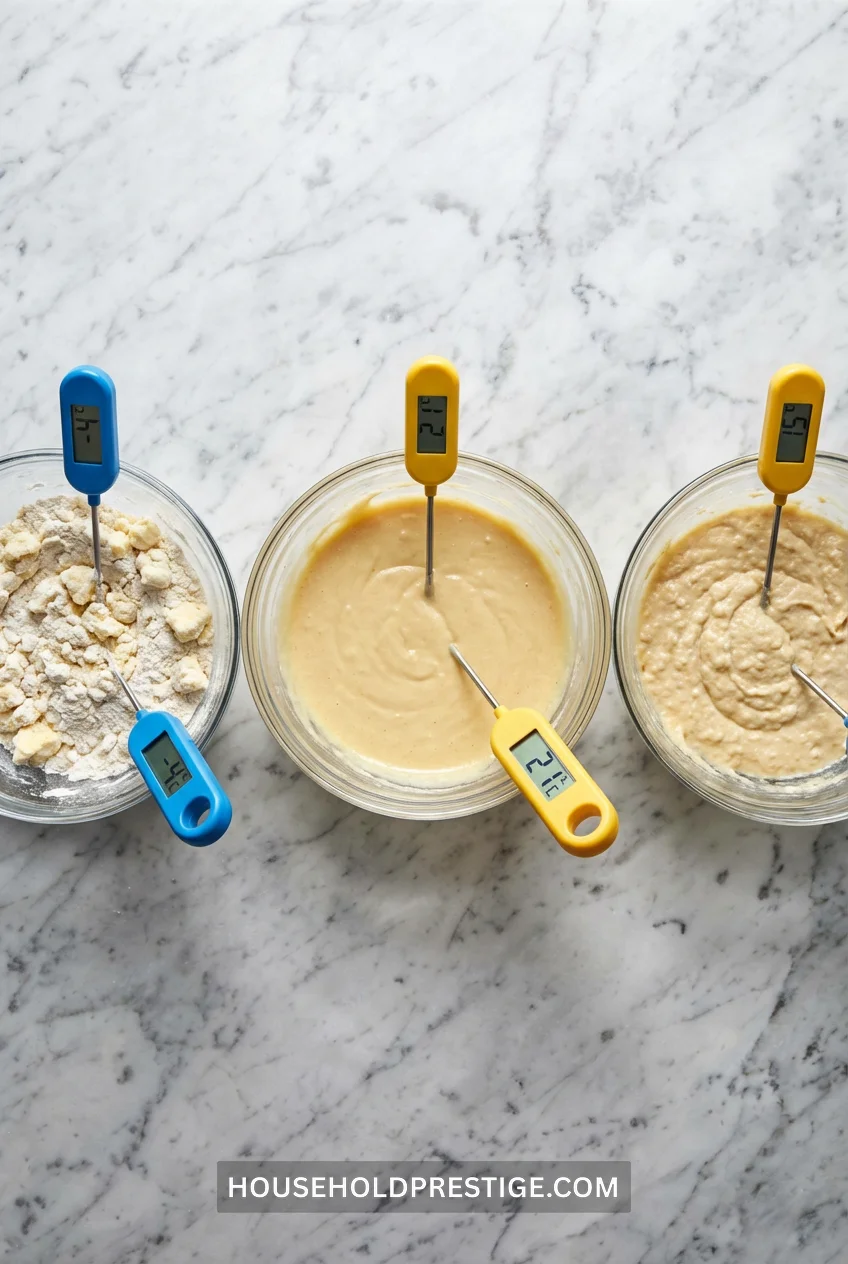
Cold butter and cold eggs don’t emulsify.
What Happens at Room Temperature (65-70°F):
Butter structure: Fat crystals are pliable but stable. They trap air when you cream them with sugar. Each air bubble becomes an expansion chamber in the oven.
Egg proteins: Unfold easily and coat fat droplets, creating stable emulsions. Cold eggs cause the butter to seize back up into lumps.
Flour hydration: Room temp liquids absorb into flour proteins evenly. Cold liquids create pockets of dry flour that never fully hydrate.
Test This Yourself
Make two batches of cake batter. One with cold ingredients, one with room temp.
- Cold batch: Dense, tough crumb, smaller volume, uneven rise
- Room temp batch: Light, fluffy texture, 20-30% more volume, even crumb structure
Time-Saving Method
Eggs: Submerge in warm (not hot) water for 5 minutes.
Butter: Cut into tablespoon pieces, let sit 10-15 minutes.
Milk/Buttermilk: Microwave in 10-second bursts until cool to touch (70-75°F).
When It Doesn’t Matter
Biscuits, pie crust, scones: You WANT cold butter for flaky layers. Puff pastry: Frozen butter is ideal.
The Exception
Melted butter recipes (brownies, certain cookies, quick breads): Temperature less critical because the fat is already liquid.
Cost Reality
This costs you nothing but changes your results more than any expensive ingredient upgrade. Time it once, and you’ll never skip it again.
8. Parchment Paper Crinkle Prevention
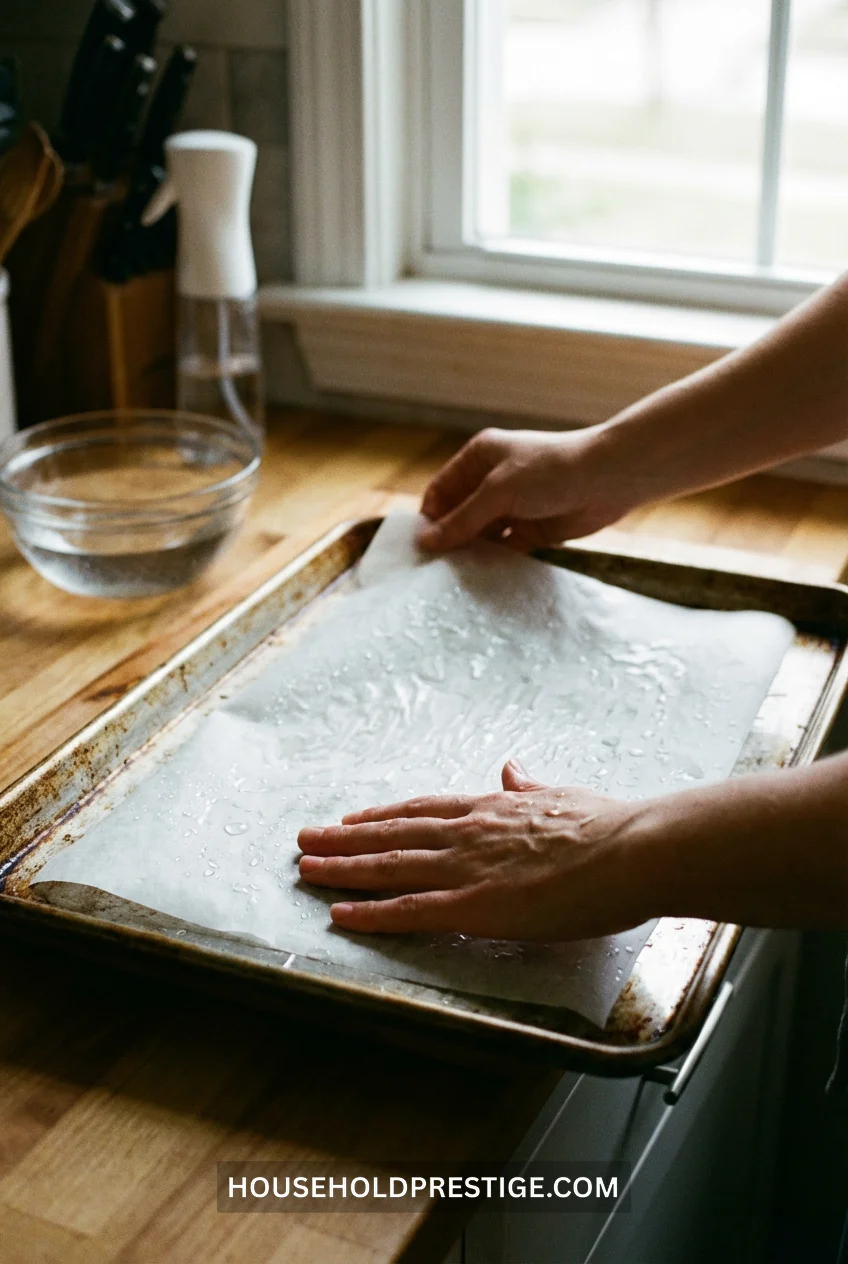
Crumple parchment paper into a ball. Run it under water. Squeeze out excess. Spread it on your pan.
The water makes it pliable. It stays flat. Your cookies bake evenly instead of rolling off weird paper hills.
9. Instant Test for Oven Hot Spots
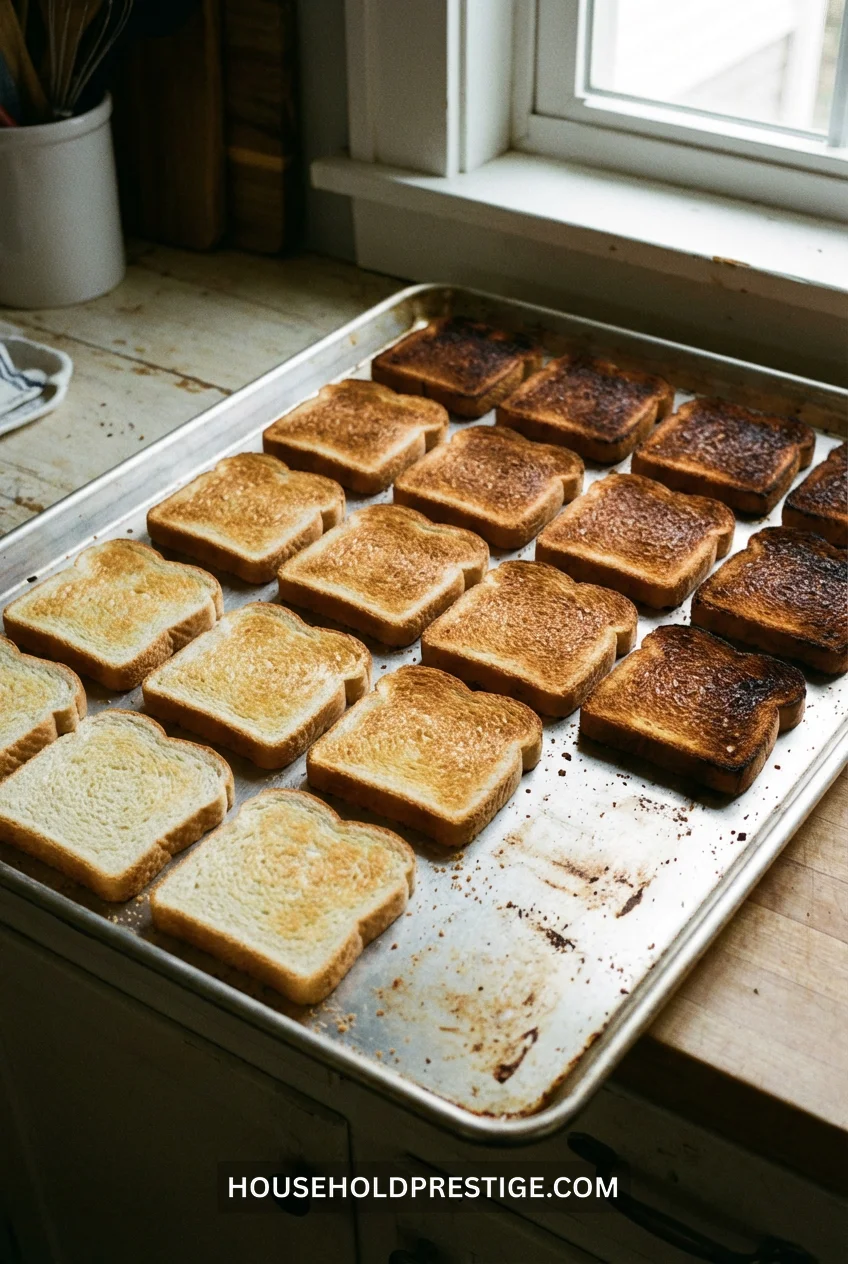
Arrange white bread slices across a baking sheet in a single layer. Bake at 350°F for 10 minutes.
The toasting pattern shows your oven’s personality. Dark spots = too hot. Pale spots = too cool.
Rotate your pans accordingly. Or fix the insulation gap in your oven door like I finally did.
10. Bowl-in-Bowl Melting (Better Than Double Boiler)
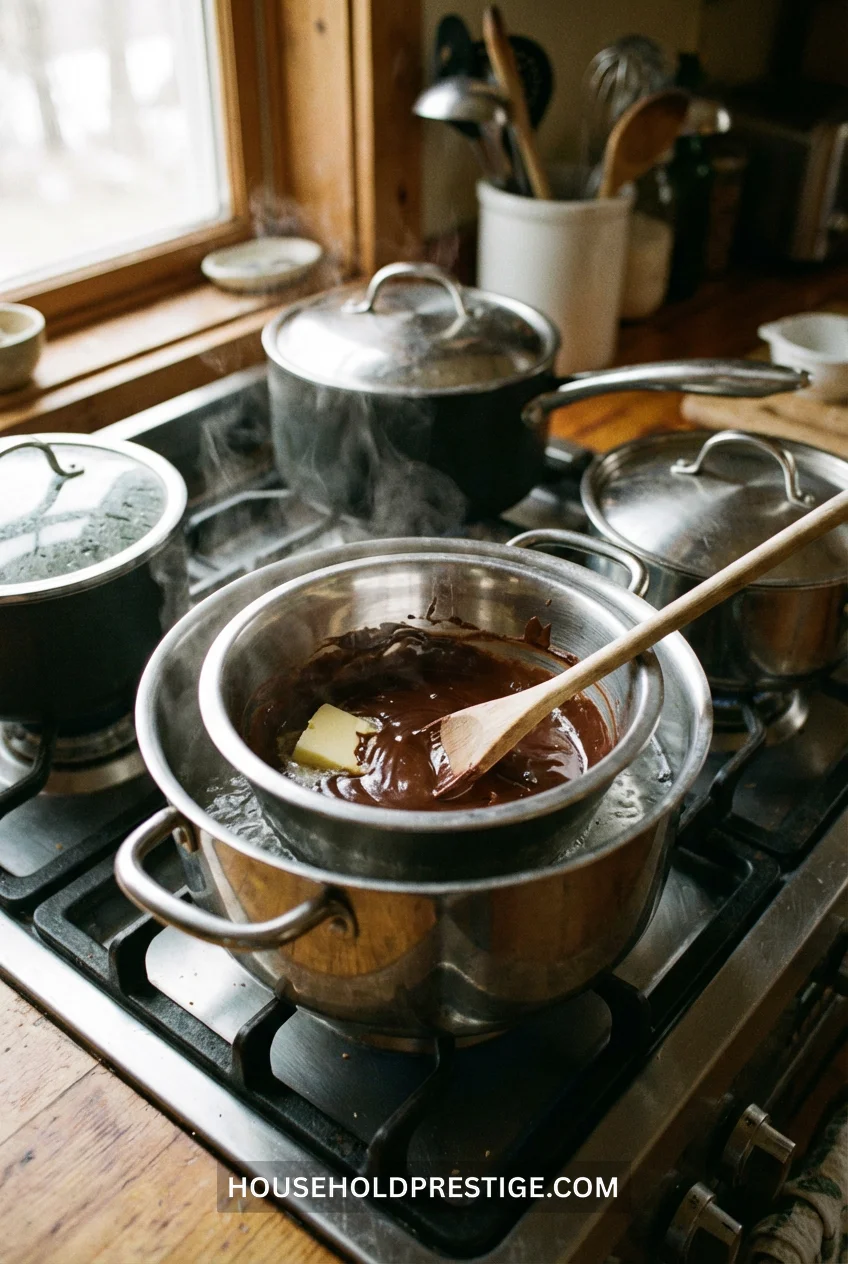
Set a heatproof bowl over a pot of barely simmering water. The bowl shouldn’t touch the water.
This gives you gentler, more controlled heat than any microwave setting. Chocolate melts evenly. Butter clarifies without burning. Custards thicken without scrambling.
The key: keep that water at a bare simmer, not a rolling boil. Too much steam and you’re basically boiling your ingredients from underneath.
11. The Paper Towel Trick for Grease-Free Baking

Grease your pan. Press a paper towel into it. Wipe away excess.
You want a thin film, not a puddle. Too much fat creates a fried crust on your cake edges. Too little and the whole thing sticks.
The paper towel method gives you the exact right amount every time.
12. Emergency Buttermilk Substitute (The Ratios That Actually Work)
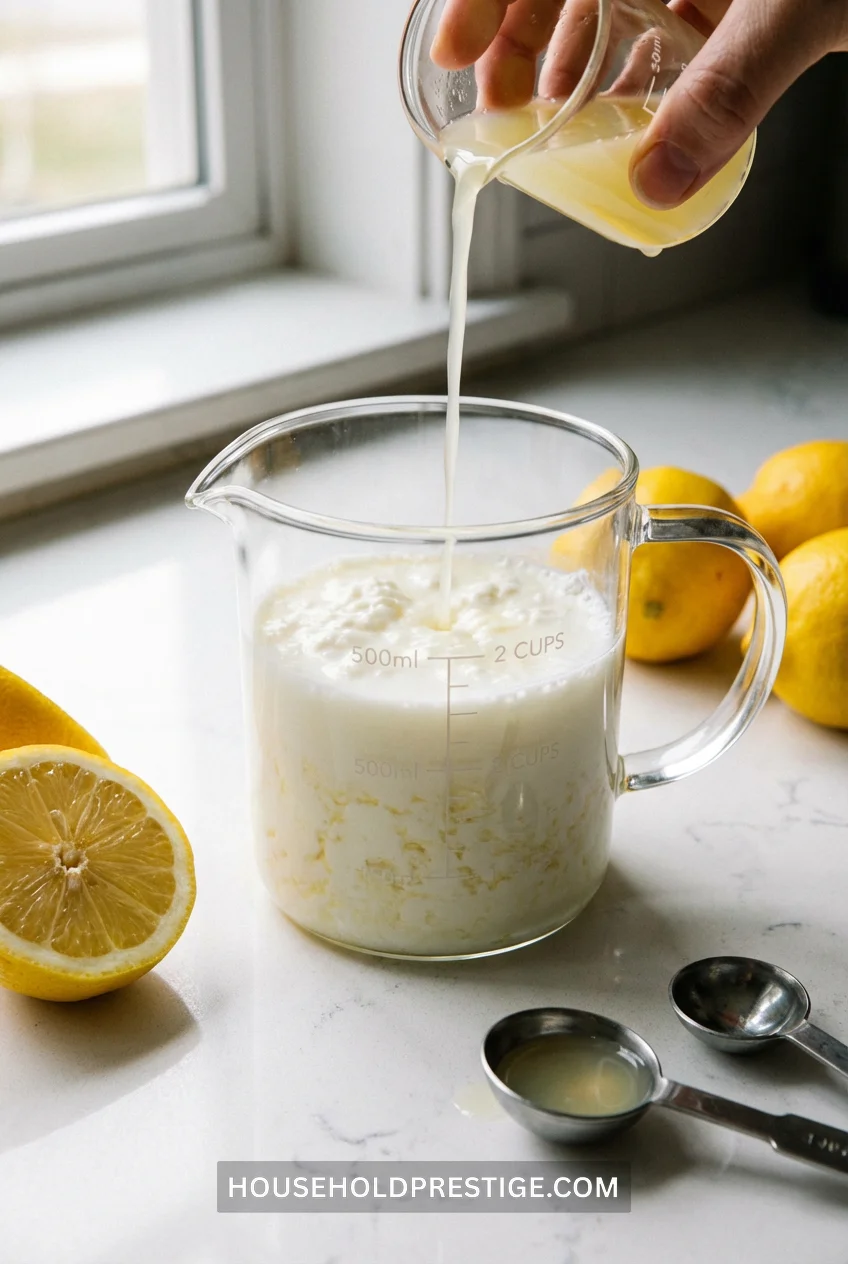
You’re out of buttermilk. Recipe needs 1 cup. Grocery store is 20 minutes away.
The Actual Formula:
1 cup regular milk + 1 tablespoon acid = buttermilk substitute
Acid options:
- Lemon juice: Brightest flavor, works for everything
- White vinegar: Neutral taste, best for savory applications
- Cream of tartar: 1.75 teaspoons instead of 1 tablespoon liquid
Stir and wait 5-10 minutes. You’ll see it curdle. That’s supposed to happen.
Why This Works
Commercial buttermilk is slightly acidic (pH 4.5). The acid in your substitute reacts with baking soda the same way, creating the lift and tang you need.
What Changes
Texture: 90% identical to real buttermilk
Flavor: Slightly less tangy (real buttermilk has fermentation notes)
Baking performance: Identical rise, crumb structure, and moisture
When It Doesn’t Work
- Buttermilk biscuits: You want real buttermilk for the authentic tang
- Drinking straight: Obviously don’t
- Salad dressings: The separated texture won’t emulsify as well
Pro Tip
Use this method for pancakes, waffles, cakes, muffins, quick breads. I actually prefer it for chocolate cakes because the brighter lemon flavor enhances cocoa.
Cost comparison: Real buttermilk $3.50/quart. This substitute: $0.15/cup.
13. How to Fix Overmixed Batter
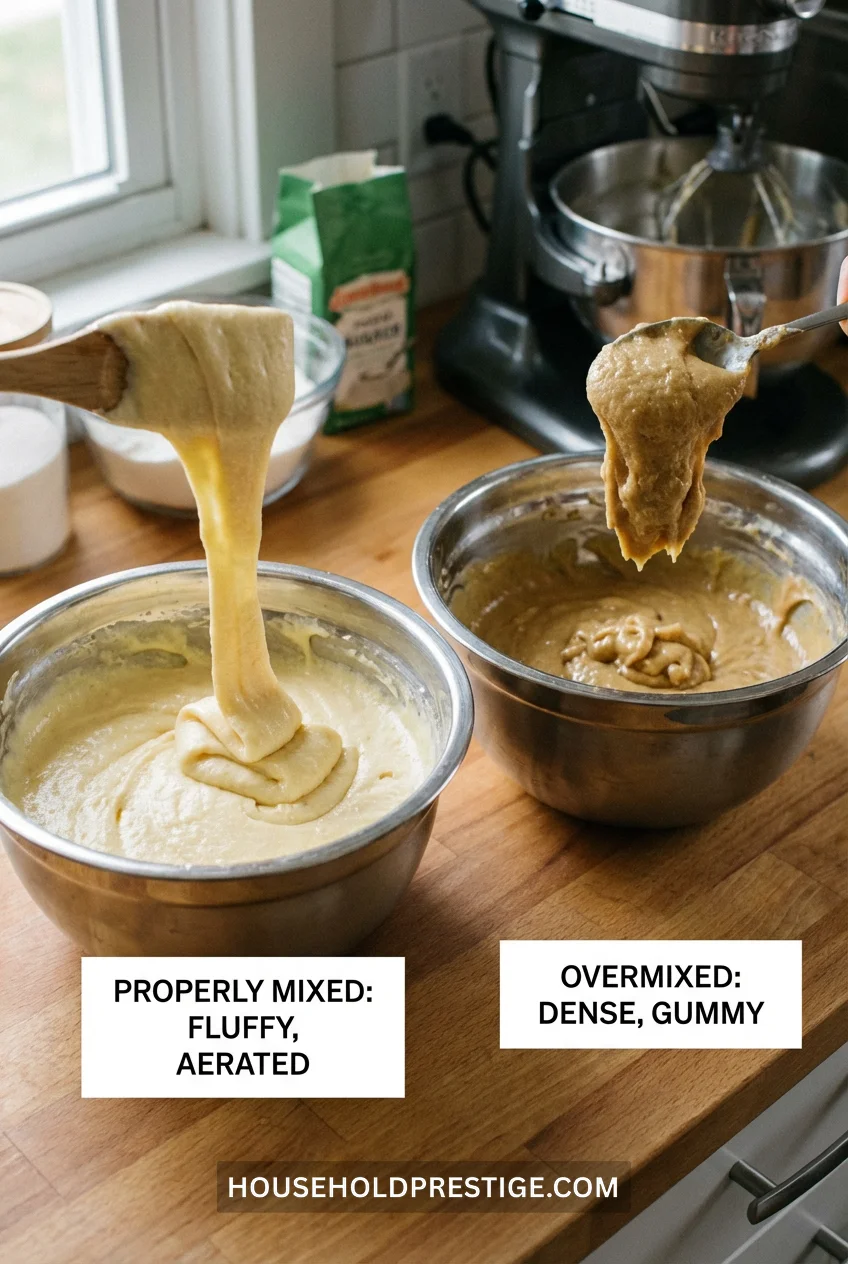
You overmixed. The batter looks gluey and elastic. Your cake will be dense and tough.
The Fix (If You Catch It Early):
Add 1-2 tablespoons of your recipe’s liquid (milk, water, oil). Fold gently—3-4 strokes only—just until barely combined.
The extra liquid dilutes the gluten network slightly. Not perfect, but it salvages the batch.
The Catch
This only works if you catch it within 2-3 minutes of overmixing. Once the gluten fully develops and rests, you can’t reverse it.
Prevention Next Time
Mix until you see a few dry flour streaks remaining. Stop. Walk away for 30 seconds. Come back and give it 2-3 final folds. Those streaks will hydrate on their own.
Your batter should look barely combined, almost undermixed. That’s when you stop.
14. Toothpick Test Alternative
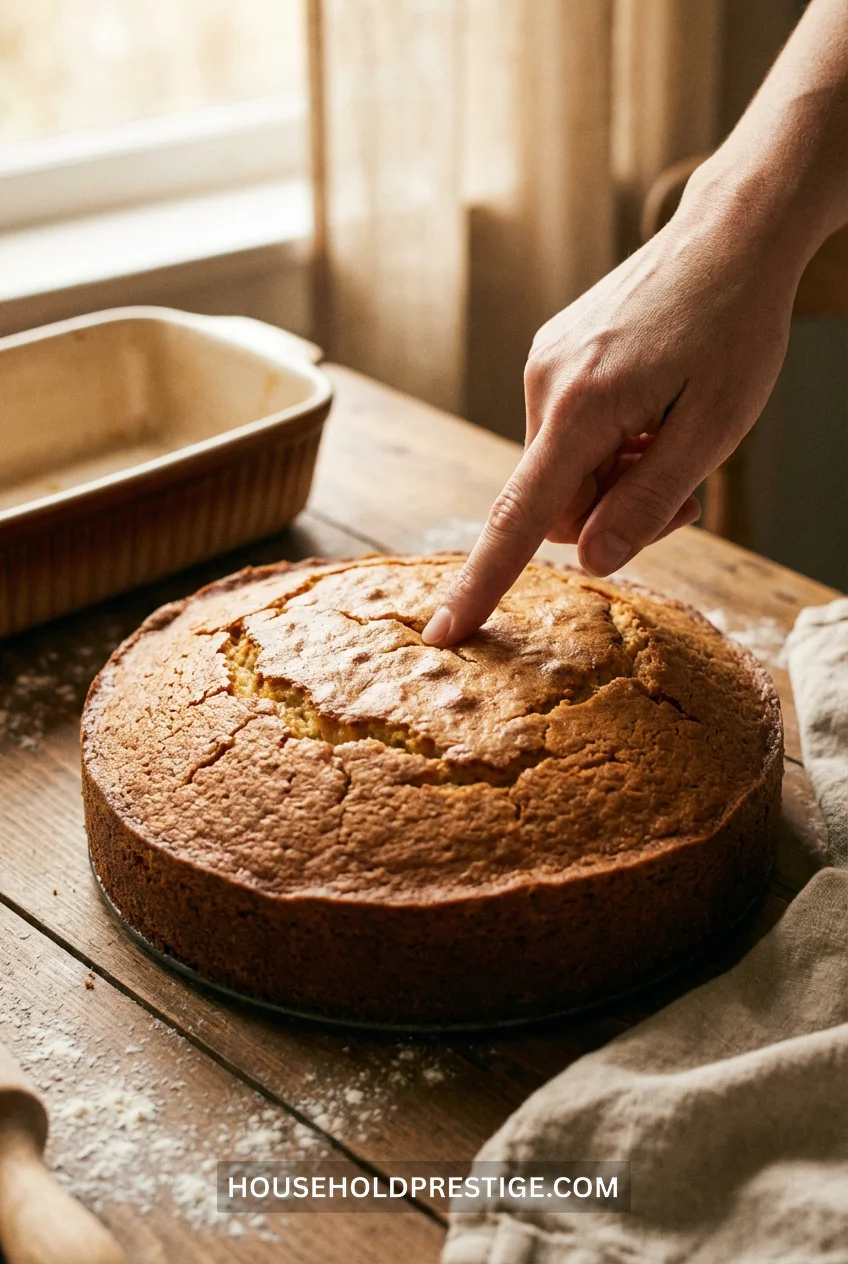
Forget toothpicks. Touch the cake center with your fingertip.
If it springs back immediately, it’s done. If your fingerprint stays visible, it needs more time.
This works for cakes, brownies, cornbread, muffins. You’re testing the protein structure, not looking for crumbs on a stick.
15. The 7-Minute Meringue Stability Fix
Your meringue deflates before you can fold it into mousse or pipe it onto a pie.
The Problem
Egg white proteins are fragile. They need structure. Sugar provides it, but only if you add it correctly.
The Right Method
- Beat egg whites alone until foamy (1 minute at medium speed)
- Add cream of tartar (1/8 teaspoon per egg white)
- Continue beating to soft peaks (2-3 minutes)
- Add sugar gradually: 1 tablespoon at a time, beating 15 seconds between additions
- Beat to stiff, glossy peaks (another 2-3 minutes)
Total time: 7-8 minutes. Meringue holds shape for 15+ minutes.
What Changes
Without proper technique: Meringue weeps, deflates in 5 minutes, won’t hold peaks
With proper technique: Stable for 15-20 minutes, smooth texture, holds shape when folded
Pro Move
Add sugar when the whites are already foamy. Early sugar slows protein bonding. Late sugar doesn’t dissolve fully.
Common Mistakes
- Bowl has grease residue (even traces prevent foam formation)
- Adding sugar too fast (weighs down the foam before it stabilizes)
- Overbeating (proteins bond too tightly, squeeze out water, meringue gets grainy)
The Visual Test
Stiff peaks: Turn bowl upside down. Meringue should not slide out or droop.
When It’s Worth It
Pavlovas, Swiss meringue buttercream, soufflés, French macarons. Anywhere the meringue IS the structure, not just a topping.
16. Sifter-Free Flour Aeration
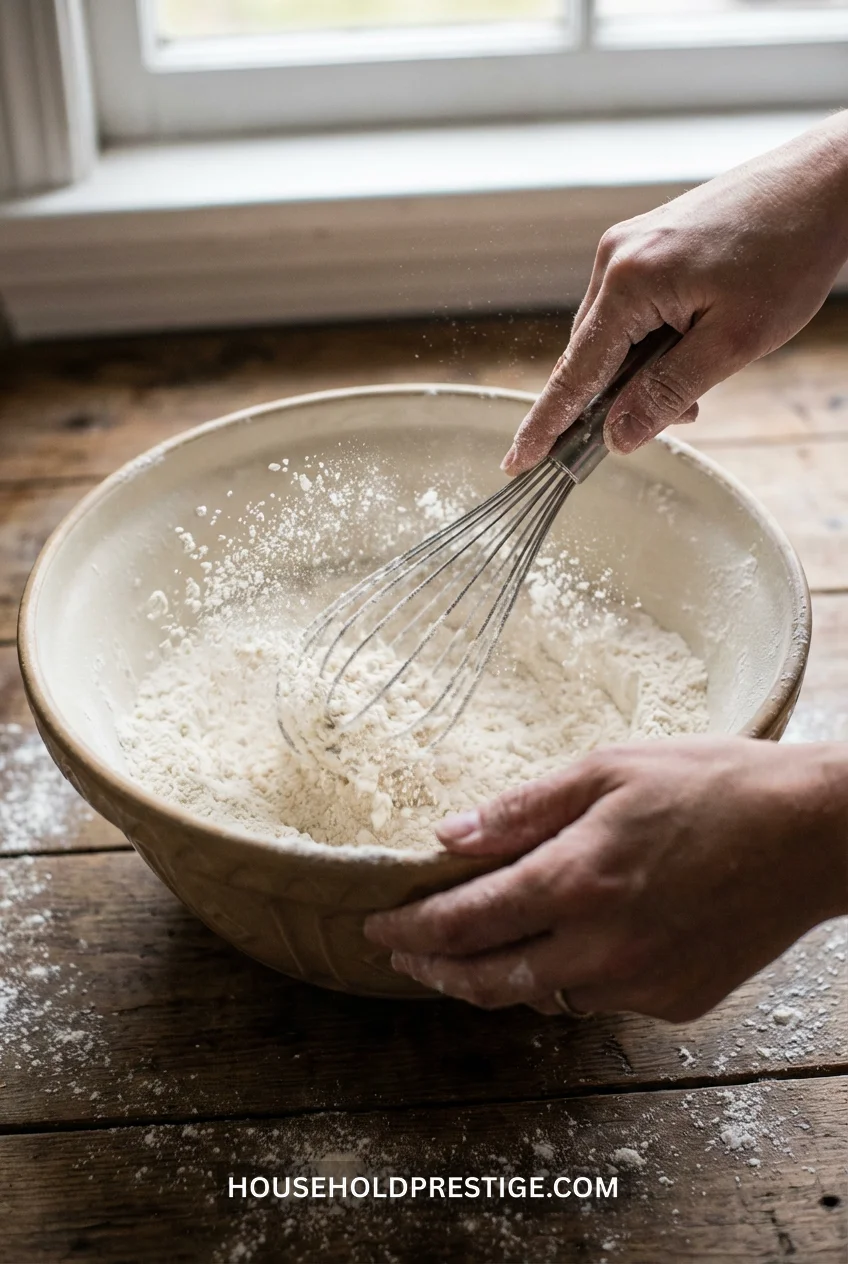
Whisk your flour in the bowl for 15 seconds before measuring.
Same aeration as sifting. No gateway tool required. The wires break up clumps and incorporate air just like mesh screens do.
This matters most for cakes that need light, tender crumb. The whisking distributes leavening agents evenly, too.
17. The Cold Oven Start for Cheesecake
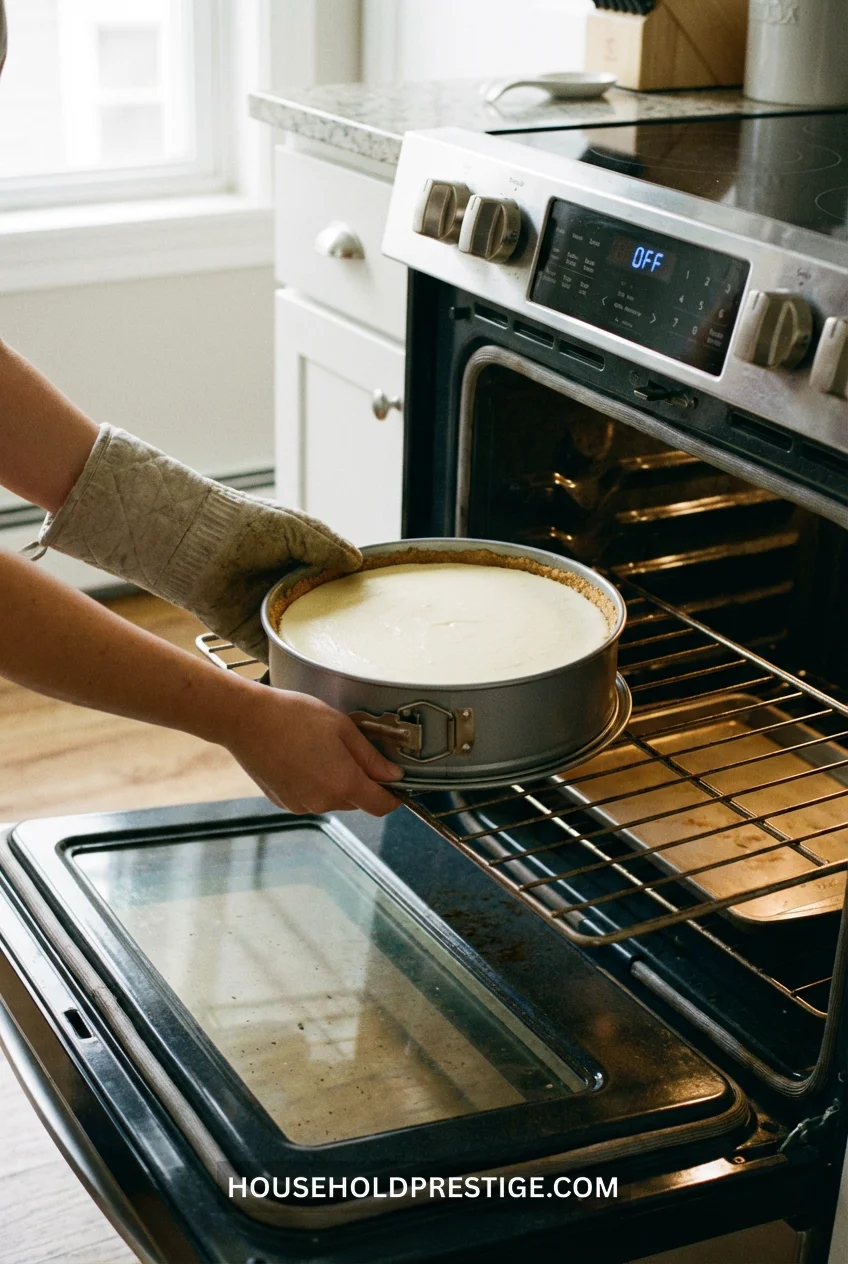
Don’t preheat for cheesecake.
Put your springform pan in a cold oven. Set to 325°F. Start timer when oven reaches temperature.
The gradual heat increase prevents the top from cracking. The proteins set gently instead of seizing up from temperature shock.
This method reduced my cheesecake crack rate from 80% to about 15%. The remaining cracks come from overbeating or overbaking, not oven temperature.
The Real Test
These tricks work because they solve mechanical problems—temperature regulation, protein structure, emulsification. They’re not shortcuts that sacrifice quality.
Pick three that address your actual baking frustrations. Test them this week. The ones that work for you become permanent kitchen habits.
The dental floss trick took me 10 years of bad cake layers to discover. The seized chocolate fix saved a $40 batch of brownies last month. The room temperature ingredient explanation finally made me understand why my grandmother’s recipes worked and mine didn’t.
You don’t need different equipment. You need different techniques.
FAQ
Do I really need to use room temperature ingredients for every recipe?
No. Biscuits, pie dough, scones, and puff pastry specifically require cold butter for flaky layers. Quick breads using melted butter are less sensitive to temperature. But for cakes, cookies that require creaming, and most yeasted doughs, room temperature makes a measurable difference in volume and texture.
Can I use salted butter instead of unsalted for baking?
You can, but it throws off the salt balance. Salted butter contains 90-120mg of sodium per tablespoon—inconsistent between brands. Recipe developers calibrate salt amounts assuming unsalted butter. If you must use salted, reduce added salt by 1/4 teaspoon per stick of butter.
Why do my cookies always spread too thin?
Three main causes: butter too warm when you mix the dough, dough too warm when it hits the oven, or not enough flour. Chill your shaped dough balls for 15 minutes before baking. Make sure your butter was actually at room temp (65-70°F), not melted or too soft. And measure flour by weight if possible—volume measurements vary by 20-30% depending on how you scoop.
How do I know when bread is actually done baking?
Internal temperature: 190-200°F for enriched breads (brioche, challah), 205-210°F for lean breads (baguettes, sourdough). An instant-read thermometer inserted into the center gives you certainty. The “hollow sound” tap test works but requires experience. Temperature doesn’t lie.
What’s the difference between baking powder and baking soda?
Baking soda is pure sodium bicarbonate—needs acid to activate (buttermilk, lemon juice, brown sugar, cocoa powder). Baking powder contains baking soda plus powdered acid—works without additional acid in the recipe. They’re not interchangeable. Using the wrong one changes your rise and flavor significantly.