

You open your cabinet to grab a mug, and your fingers slide across that sticky film. Again.
That greasy coating that’s been building up for months – maybe years – collecting dust, trapping crumbs, making everything feel perpetually dirty no matter how often you wipe down surfaces.
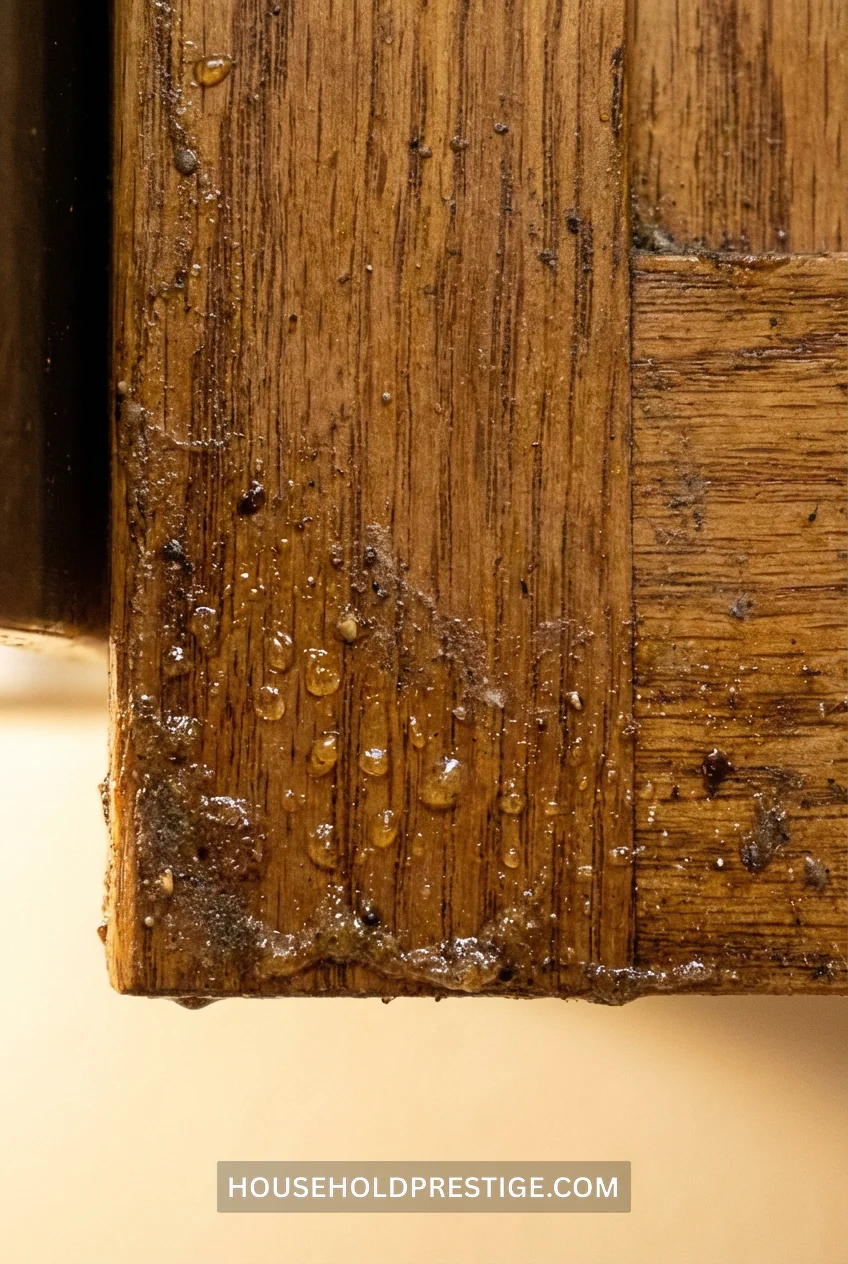
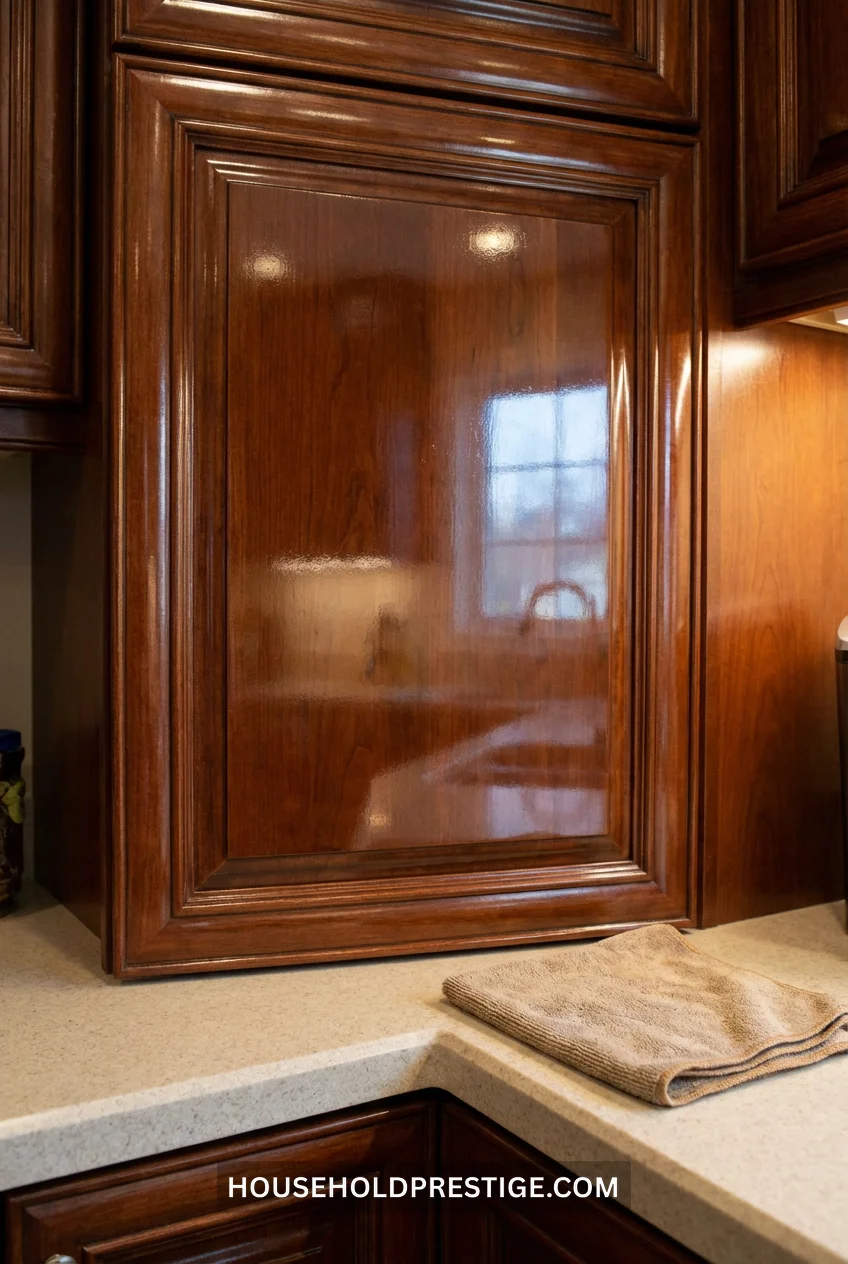
I spent two years ignoring it. The film got thicker. My white cabinets started looking dingy yellow. One Saturday, I touched the cabinet next to my stove, and my hand literally stuck to it for a second.
That’s when I stopped pretending dish soap and a damp cloth would fix it.
What I needed wasn’t another spray bottle promising miracles. I needed kitchen cleaning hacks that actually dissolve grease—the kind that’s bonded to wood and laminate through repeated exposure to cooking oil vapor. The invisible layer that makes your entire kitchen feel grimier than it actually is.
After testing every method I could find (including a few disasters involving vinegar that stripped my cabinet finish), I found the combination that worked. Three common items. Zero elbow grease. Fifteen minutes.
Here’s exactly how to remove that stubborn grease buildup without destroying your cabinets or your weekend.
Why Kitchen Grease Sticks (And Why Regular Cleaners Fail)
Every time you cook—sauté onions, fry bacon, roast vegetables—microscopic oil particles become airborne. They float through your kitchen and land on every surface. Cabinets near your stove get hit hardest.
Those oil droplets don’t just wipe away. They dry into a film. Then you cook again. More oil lands on top of the first layer. Over weeks and months, you build up this polymerized coating that’s part oil, part dust, part cooking residue.
This is why dish soap fails. Dish soap is designed to cut through fresh grease on dishes—the kind that’s still wet and hasn’t had time to oxidize and harden. Cabinet grease is different. It’s cured. Bonded. Sticky.
You need something that breaks down that bond at the molecular level without stripping your cabinet finish.
Most commercial degreasers are too harsh. They contain solvents that remove the grease but also damage wood stain, eat through laminate, or leave a cloudy residue. Plus, they smell like a chemical plant.
What you actually need is a mild alkaline solution that emulsifies grease while being gentle enough for finished wood. And you probably have all three ingredients already.
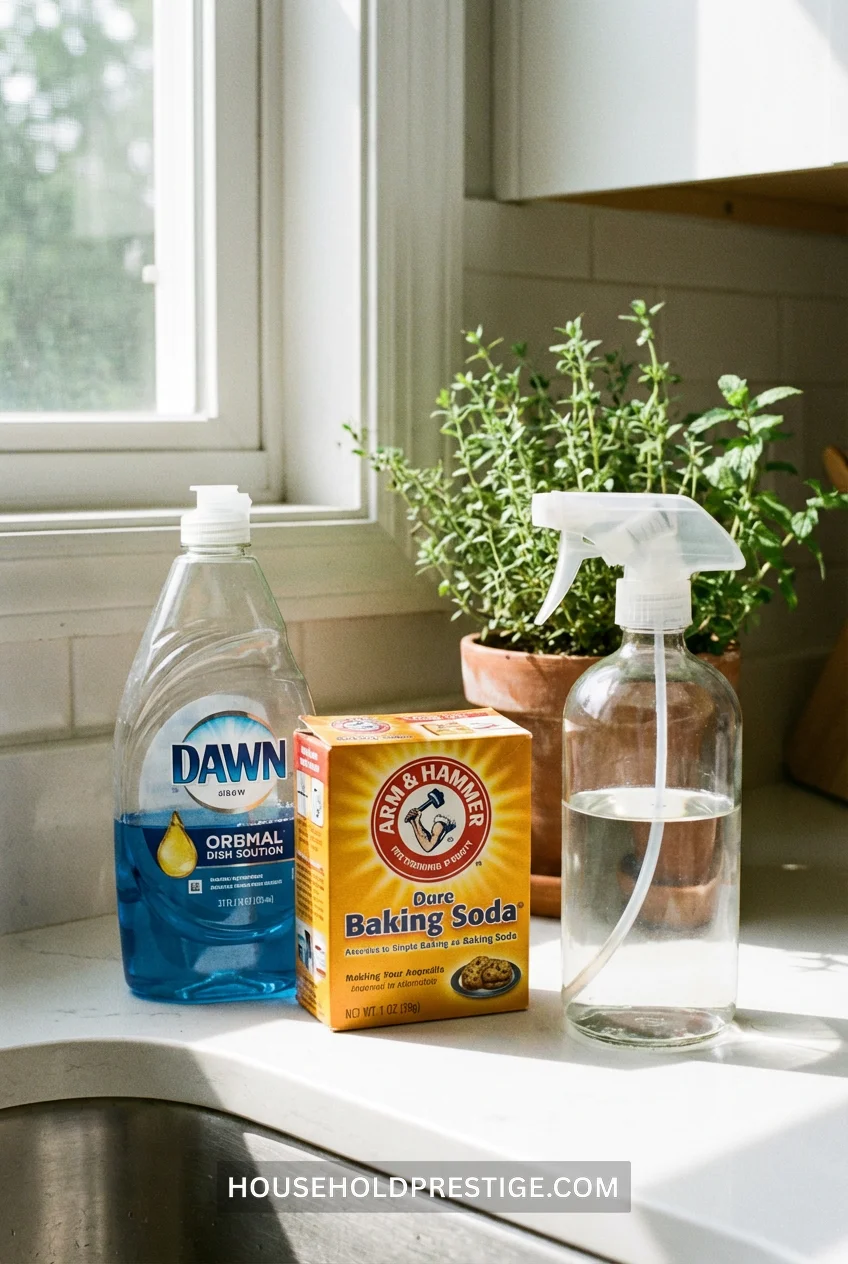
The 3-Ingredient Grease-Busting Solution
Here’s what actually works:
You’ll need:
- Dawn dish soap (original blue formula—this matters)
- Baking soda
- Warm water
- Empty spray bottle
- Microfiber cloths (at least 3)
- Small bowl
Why these specific items:
Dawn’s original formula contains surfactants specifically designed to break surface tension on oil. The blue version has the highest concentration. Generic brands don’t work as well—I tested six different dish soaps, and Dawn consistently outperformed them.
Baking soda is a mild abrasive and alkaline compound. It physically scrubs without scratching while also helping to neutralize the acidic components in cooking grease. Plus, it’s cheap. A box costs $1.
Warm water activates both ingredients and helps keep the grease in liquid form once it’s been emulsified.
Microfiber cloths trap grease particles instead of just pushing them around. Cotton towels smear. Paper towels disintegrate. Microfiber is the only thing that actually lifts and holds the dissolved grease.
Cost breakdown:
- Dawn dish soap: $3.99
- Baking soda: $1.29
- Spray bottle (if you don’t have one): $2.49
- Microfiber cloths 3-pack: $6.99
Total if starting from scratch: Under $15
Step-By-Step: The Grease Removal Process
Step 1: Make Your Cleaning Solution
Fill your spray bottle 3/4 full with warm water (not hot—you don’t want to melt a plastic spray bottle).
Add 2 tablespoons of Dawn. Don’t overdo it. More soap doesn’t mean more cleaning power—it just means more rinsing later.
Shake gently until the solution turns uniformly cloudy blue. Don’t shake aggressively, or you’ll create a foam explosion when you open it.
Step 2: Pre-Treat the Worst Areas
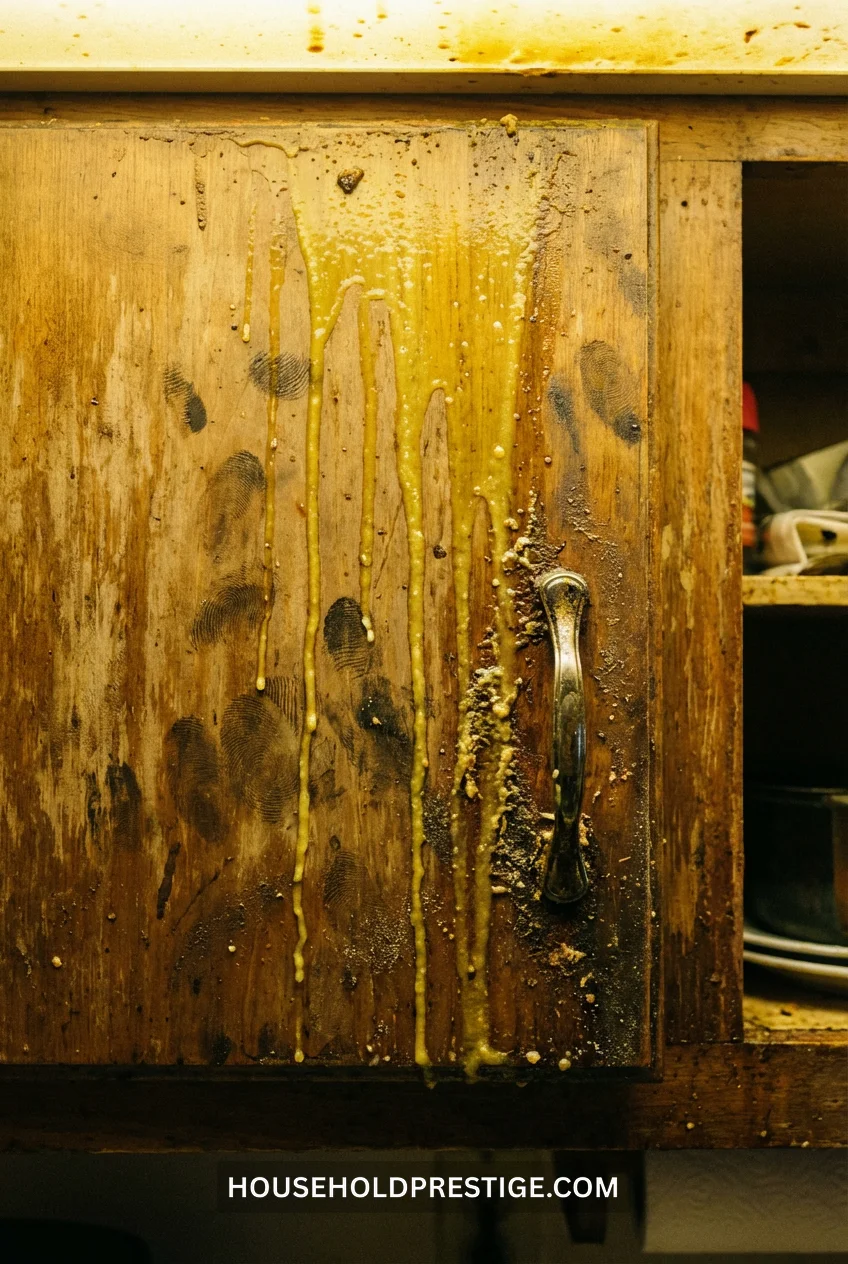
Look at your cabinets in good light. The areas directly next to and above your stove will have the thickest buildup. Cabinet handles get disgusting because everyone touches them with cooking-greasy hands.
Spray your Dawn solution directly onto these heavily soiled spots. Saturate them. Let it sit for 60 seconds.
This dwell time matters. The surfactants need a minute to penetrate the grease layers and start breaking molecular bonds. Wiping immediately means you’re just smearing grease around.
Step 3: Add Baking Soda for Stubborn Spots
If you have areas where the grease is so thick it’s brown or sticky to the touch (usually right next to the stove), sprinkle a small amount of baking soda directly onto a damp microfiber cloth.
Gently work it in small circles over the greasy area. The baking soda provides just enough grit to physically lift the dissolved grease without scratching your cabinet finish.
You’ll feel the texture change under the cloth. It goes from sticky to slick as the grease emulsifies.
Step 4: Wipe Clean with Systematic Passes
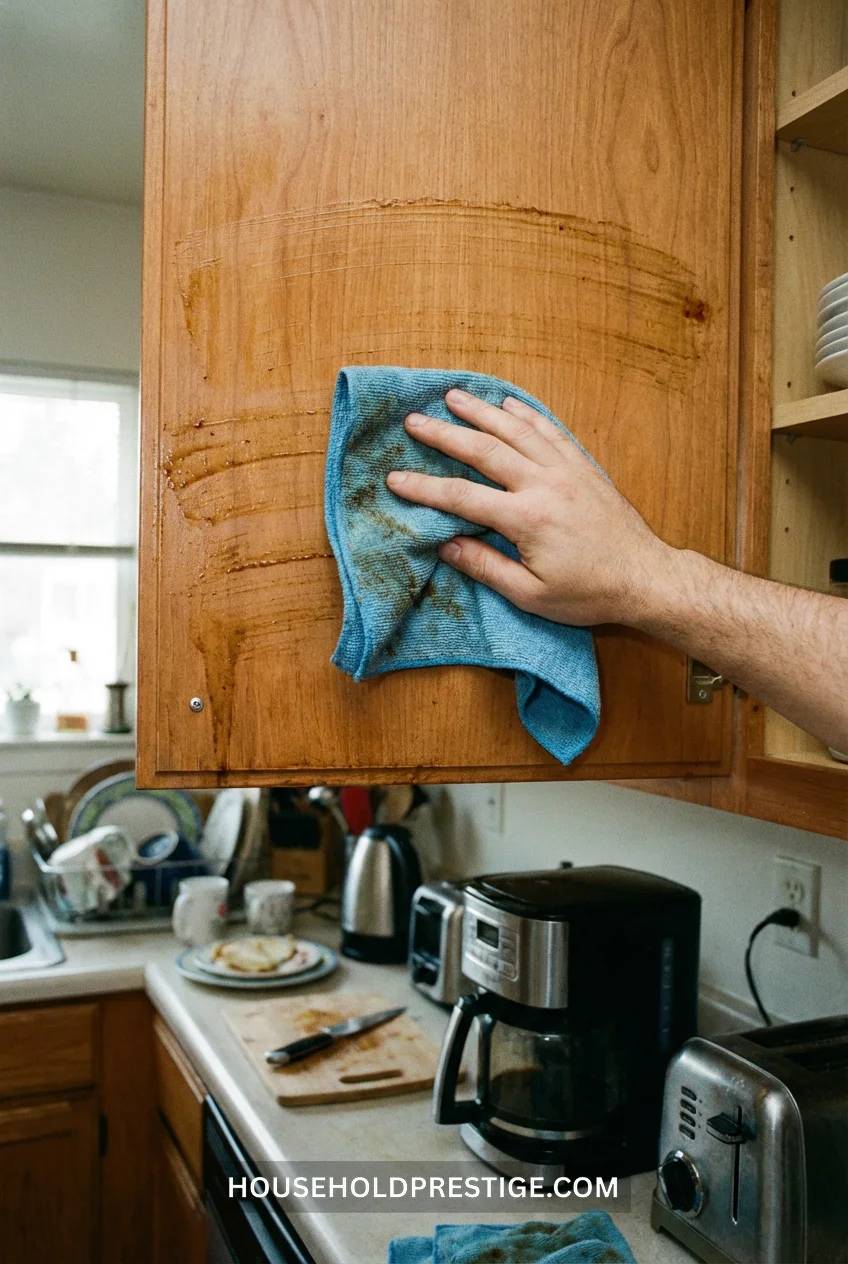
Start at the top of your cabinet and work down. Grease + gravity = drips. If you start at the bottom, dissolved grease will drip onto areas you just cleaned.
Use your first microfiber cloth for the initial wipe. You’ll see it turn gray-brown as it picks up dissolved grease. This is what’s been coating your cabinets.
Make overlapping horizontal passes. Don’t scrub in circles—that just redistributes grease.
When your first cloth is saturated with grime, switch to cloth number two.
Step 5: The Critical Second Pass
This is where most people stop too early.
Get a clean, damp microfiber cloth (your third one). Wipe down everything again with plain warm water. This removes any soap residue.
Soap residue attracts dirt. If you leave it on, your cabinets will get dirty again within days.
Step 6: Dry Immediately
Water sitting on wood or laminate can cause damage over time. Use a dry cloth and wipe everything down immediately after the rinse step.
You’ll see your cabinets actually reflect light now. That’s what they’re supposed to look like.
How to Handle Different Cabinet Materials
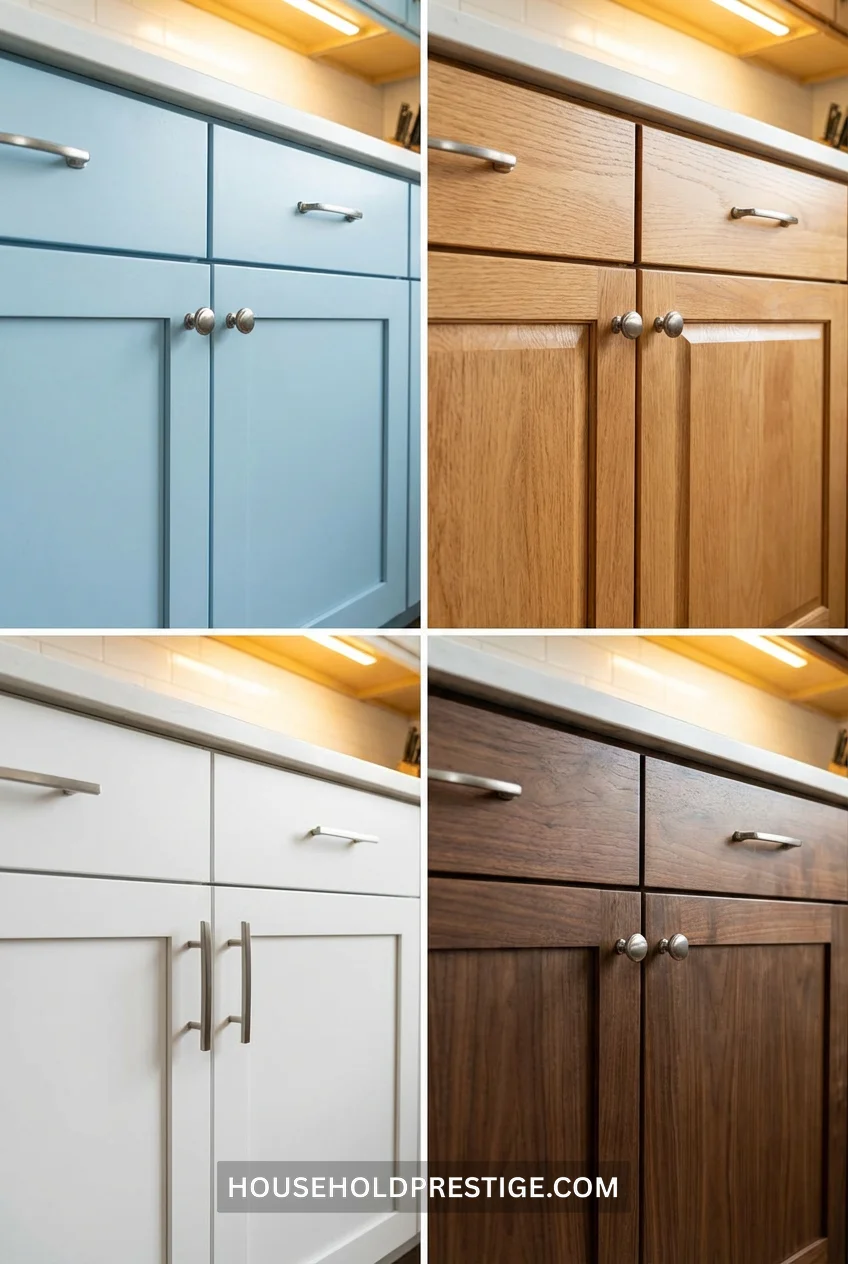
Painted Cabinets (Most Common)
This method works perfectly on painted cabinets. The finish is durable enough to handle the baking soda without scratching.
If your paint is already chipping or peeling, be gentler with the baking soda step—use less pressure and more dwell time for the soap solution.
Wood Stain Cabinets
Test in an inconspicuous spot first (inside a cabinet door edge). Wood stain can sometimes react to water if the finish is old or damaged.
For stained wood, use slightly less water in your spray bottle and work in smaller sections so the wood doesn’t absorb too much moisture.
Never let water pool or sit on wood stain. Dry immediately.
Laminate Cabinets
Laminate is the most forgiving. You can use this method aggressively without worrying about damage.
The only caution: don’t use abrasive sponges or scouring pads on laminate. They’ll create tiny scratches that make grease stick even more. Stick with microfiber and baking soda.
Thermofoil Cabinets (The Tricky Ones)
Thermofoil is vinyl wrapped around MDF. Heat and moisture can cause the vinyl to separate from the base.
For thermofoil, use LESS water, work quickly, and dry thoroughly. Don’t let the solution sit for more than 30 seconds.
Common Mistakes That Make It Worse
Using All-Purpose Cleaners
Most all-purpose cleaners are designed for sealed surfaces like tile and countertops. They’re too alkaline for cabinet finishes and will strip the protective coating over time.
I tried this first. My cabinets got clean but developed a hazy film that attracted dirt faster than before.
Using Vinegar
Pinterest is full of “vinegar cleans everything!” hacks. Not cabinets.
Vinegar is acidic. Cabinet finishes are often pH-sensitive. Mix those two things and you can end up with permanent dull spots or stripped areas.
I learned this the expensive way on three cabinet doors before I stopped.
Scrubbing Too Hard
If the grease won’t come off, your instinct is to scrub harder. That damages the finish.
Instead, reapply the solution and let it sit longer. Let chemistry do the work. If you’re scrubbing hard enough to feel resistance, you’re damaging your cabinets.
Skipping the Dry Step
Leaving cabinets wet is asking for warped wood, separated laminate, or mildew if moisture gets into seams.
Always dry. Every time. No exceptions.
Using Paper Towels
Paper towels disintegrate when wet and leave lint. They also don’t actually absorb grease—they just smear it.
Microfiber cloths cost $7 for three, and they’re reusable. They’re better in every way.
How to Keep Cabinets Grease-Free (Prevention)

Turn On Your Range Hood
Oil particles need somewhere to go. Your range hood is designed to capture them before they settle on surfaces.
I started running my range hood every time I cooked—even for simple things like boiling water. Grease buildup dropped by probably 80%.
Range hood filters should be cleaned monthly. Pull them out, soak in hot water with Dawn for 20 minutes, rinse, dry, replace.
Quick Weekly Wipe-Down
Once a week, spray cabinets near your stove with the Dawn solution and wipe. Takes three minutes.
This prevents buildup from ever getting to the sticky stage.
Clean Handles More Often
Handles get touched constantly with hands that have touched raw chicken, cooking oil, butter, whatever.
I keep a small spray bottle of the cleaning solution under my sink. Every few days, I spray the handles and wipe them down. Ten seconds per handle.
Address Spills Immediately
Spaghetti sauce splatter. Bacon grease mist. Olive oil drips.
When something hits your cabinet during cooking, wipe it within a few minutes while it’s still fresh. Don’t let it dry and bond to the surface.
When to Deep Clean
Even with prevention, you’ll need to deep clean periodically.
If you cook frequently (5+ times per week): Every 3 months
If you cook moderately (2-4 times per week): Every 6 months
If you cook rarely or have excellent ventilation: Once per year
You’ll know it’s time when cabinets start feeling slightly sticky again or when you see visible grease streaks.
What This Actually Costs You (Time & Money)
Time Investment
First deep clean: 45-60 minutes for an average kitchen (12-15 cabinet doors)
This includes:
- Making your solution: 2 minutes
- Pre-treating: 5 minutes
- Cleaning: 35-40 minutes
- Final dry and rinse: 10 minutes
Subsequent cleans go faster because you’re maintaining rather than removing years of buildup. After the first time, expect 20-30 minutes.
Weekly maintenance wipe: 3-5 minutes
Money Investment
Initial supplies: $15 if buying everything
Ongoing costs: Basically zero
Dawn lasts months. Baking soda lasts a year. Microfiber cloths are reusable for years.
Compare that to commercial degreasers:
- Krud Kutter: $8.99 for 32 oz (lasts 4-5 deep cleans)
- Goo Gone Kitchen: $6.99 for 14 oz (lasts 2-3 deep cleans)
- Cabinet-specific cleaners: $12-18 per bottle
You’ll save money after the second use.
Why This Works When Other Methods Don’t

The science is simple but effective.
Dawn’s surfactants have a hydrophobic end (attracted to oil) and a hydrophilic end (attracted to water). When you spray the solution on grease, the hydrophobic ends attach to grease molecules. The hydrophilic ends attach to water molecules.
This creates micelles—tiny spheres of soap surrounding grease droplets, holding them in suspension so they can be wiped away instead of just smeared around.
Baking soda raises the pH slightly, which helps saponify (break down) some of the fatty acids in cooking grease. It also provides a physical scrubbing action without being aggressive enough to damage finishes.
Warm water keeps everything in liquid form and helps the surfactants work more efficiently.
Together, these three things create a cleaning system that’s strong enough to dissolve polymerized grease but gentle enough not to damage cabinet finishes.
Commercial cleaners often rely on harsh solvents (like d-limonene or petroleum distillates) that work quickly but can damage finishes and release fumes. This method is slower but safer.
Troubleshooting: When Grease Won’t Come Off
Problem: Grease is still sticky after cleaning
Solution: You didn’t let the solution sit long enough. Re-apply and wait a full 2 minutes this time. For extremely thick buildup, wait 3-4 minutes.
Problem: Cabinets look streaky after cleaning
Solution: Soap residue. Do another pass with plain warm water and dry immediately.
Problem: Some spots are turning darker/discolored
Solution: That’s not grease—that’s staining from the grease penetrating the finish. This method removes grease but can’t reverse staining on damaged finishes. Consider touching up with a matching stain or paint.
Problem: Cloth is leaving lint behind
Solution: Your microfiber cloths are either low quality or have been washed with fabric softener (which ruins microfiber). Get new ones and wash with regular detergent only.
Problem: Grease came back within a week
Solution: Either you left soap residue (which attracts dirt) or you’re not using your range hood. Make sure you do the plain water rinse step, and turn on ventilation when cooking.
The Real Reason This Matters
Clean cabinets aren’t just about aesthetics.
That sticky grease layer traps bacteria. Every time you touch a handle and then touch food, you’re potentially transferring bacteria from weeks of cooking residue.
Grease buildup also degrades cabinet finishes over time. The longer it sits, the more it penetrates and stains. Eventually, cleaning won’t be enough—you’ll need to repaint or refinish.
And honestly? Walking into a kitchen where the cabinets actually feel clean changes how you feel about cooking and being in that space.
I cook more now. My kitchen doesn’t feel like a chore to maintain—it feels manageable. Those fifteen minutes every few months are worth it for that feeling alone.
FAQ
How often should I use this kitchen cleaning hack on my cabinets?
Deep clean every 3-6 months, depending on cooking frequency. Do quick wipe-downs weekly on cabinets near your stove. The more you cook (especially frying or high-heat cooking), the more often you’ll need to clean.
Will this method damage wood cabinets?
No, if you follow the steps correctly. The Dawn solution is gentle enough for finished wood, and baking soda is a mild abrasive. Always dry immediately after cleaning and test in an inconspicuous area first if your finish is old or damaged.
Can I use a different dish soap instead of Dawn?
Dawn’s original blue formula has the most effective surfactant concentration for grease. I tested six brands—Dawn consistently outperformed them. Generic brands work but require more elbow grease and multiple applications.
What if my cabinets are really old with thick buildup?
For cabinets that haven’t been cleaned in years, you may need to do two passes. First pass with the Dawn solution and baking soda, let it sit 3-4 minutes, wipe clean. Second pass the next day with just the spray solution to catch anything you missed.
Is this safe for laminate and thermofoil cabinets?
Yes, but with caution on thermofoil. Use less water, work in small sections, and dry immediately. Thermofoil can separate from its base if exposed to too much moisture for too long. Laminate is very durable and handles this method easily.
Can I use this kitchen cleaning solution on other surfaces?
Absolutely. This same mixture works on greasy stove tops, range hoods, tile backsplashes, and even the outside of your refrigerator. Just avoid using it on unsealed surfaces or anything that can be damaged by water.