

My neighbor paid $45,000 for an inground pool. I spent $650 and had mine done by Saturday afternoon. Same neighborhood. Same summer. Very different credit card statements.
That’s what a cowboy pool does for you. A galvanized stock tank — the kind farmers use to water cattle — turns out to be the most underrated backyard upgrade of the last decade. It’s durable enough to hold livestock water, which means it will absolutely hold yours. And with the right setup around it, nobody at your cookout is going to call it a farm trough.
Below are 19 cowboy pool ideas that cover everything from the basics of getting it up and running to the styling details that make the whole thing feel intentional. Whether you have $300 or $1,200 to spend, there’s a setup here for you.
1. Pick the Right Size Tank Before You Buy Anything Else
This is the decision that determines everything else — your budget, your water bill, your filter size, and how many people can actually fit in the thing at once. Get it wrong, and you’ll either feel cramped every time you use it or spend a fortune filling a tank that’s way too big for your space.
Here’s a quick sizing guide most cowboy pool articles skip:
- 6-foot round tank (~300 gallons): Fits 2–3 adults comfortably. The footprint is about 7 feet once you allow for the pump housing. Great for small patios or renters. Cost at Tractor Supply: around $150–$200.
- 8-foot round tank (~700 gallons): The sweet spot. Fits 4 adults. Fills in about 4 hours with a standard garden hose. Cost: around $300–$400.
- 10-foot round tank (~1,200 gallons): Party-ready, but plan on a full day to fill it and higher ongoing water costs. Cost: $500–$700.
A note on the 15-foot tanks: yes, they exist, and yes, they’re impressive — but at 2,600+ gallons, you’re looking at significant water treatment costs and a pump system that costs as much as a mid-range above-ground pool. For most backyards, the 8-footer is the answer.
2. Level the Ground Before the Tank Touches the Grass
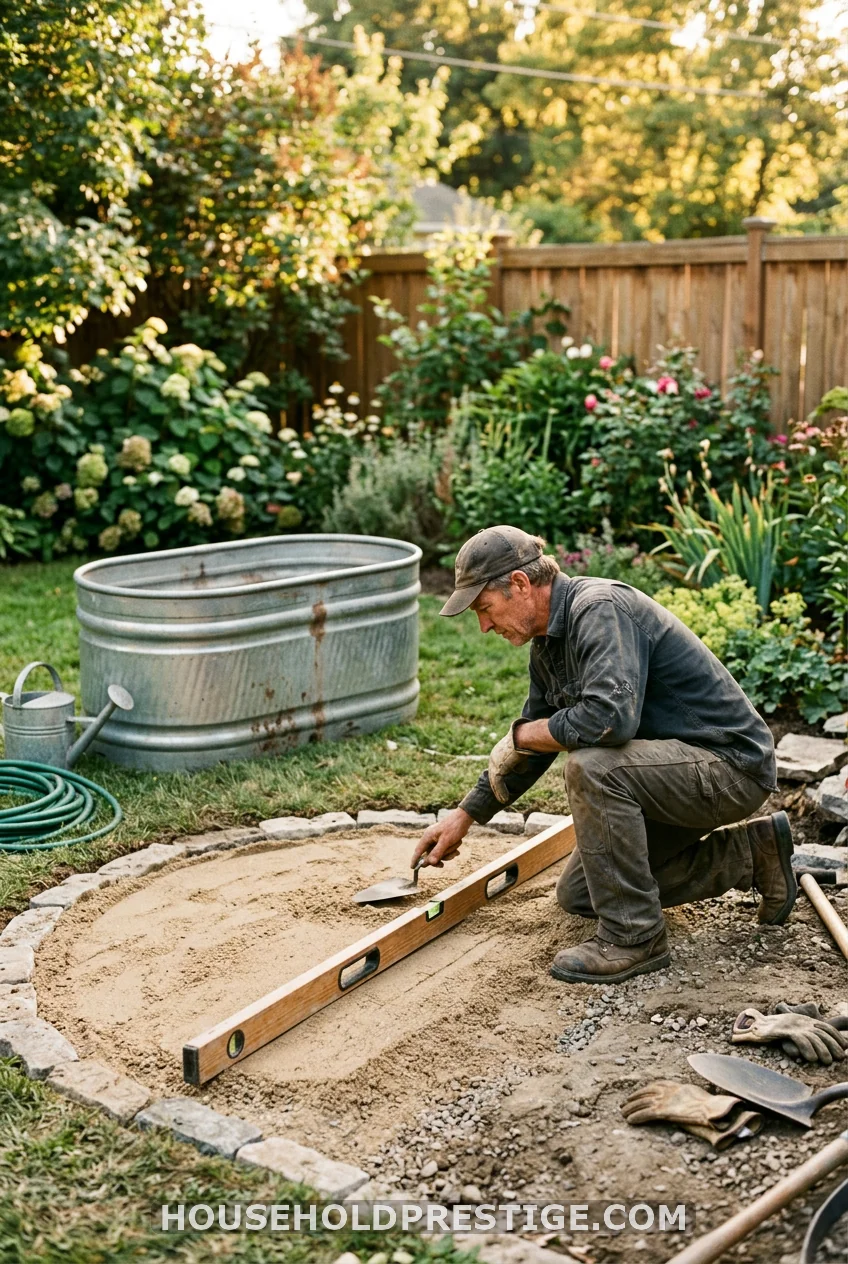
This step is boring. It’s also the one that causes the most regret when skipped. Water is not forgiving — a one-inch slope across an 8-foot tank will show up as a visible waterline tilt that drives you crazy every single time you get in.
Clear the grass, add a 2–3 inch base of compacted sand or crushed gravel, and check it with a level from multiple directions before you set anything down. The whole prep takes about two hours. Doing it right means you never have to drain and restart. Doing it wrong means you absolutely will.
3. Sand Filter Over Cartridge Filter — Every Time
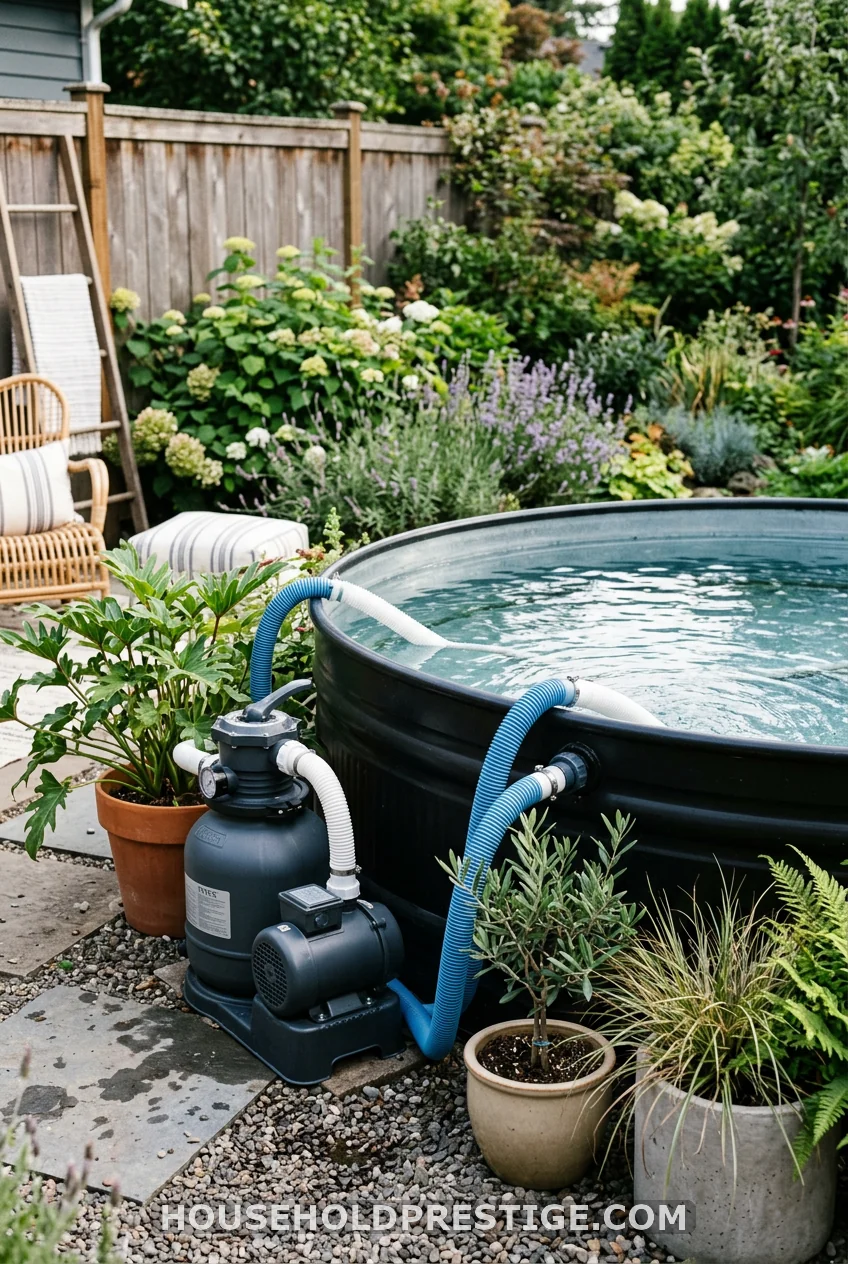
If you’re comparing filter options: cartridge filters need their inserts replaced every one to two weeks during heavy use. Sand filters need fresh sand every two to three years. The upfront cost is slightly higher ($80–$130 versus $40–$60), but the math works out in about one month. Get the sand filter and don’t think about it again.
4. The Full Cowboy Pool Build: Everything You Need From Tank to First Swim
This is the item most cowboy pool articles gesture at without actually delivering. Here’s the complete build, start to finish, with real costs.
Why This Works
A stock tank is galvanized steel — the same material used for water troughs that sit in open fields year-round. It doesn’t rot, it doesn’t crack in the cold, and it was literally designed to hold water indefinitely. When you add a recirculating pump and basic water treatment, you get a pool that costs a fraction of any other option and lasts years with minimal upkeep.
What You Need (Complete Materials List)
| Item | Where to Get It | Approximate Cost |
|---|---|---|
| 8-foot galvanized stock tank | Tractor Supply, local farm supply | $300–$400 |
| Sand filter pump kit | Amazon, pool supply stores | $80–$130 |
| 1.5″ hole saw (drill bit) | Hardware store | $15–$25 |
| Inlet and outlet valves | Amazon | $20–$35 |
| Marine-grade silicone sealant | Hardware store | $10–$15 |
| Plumber’s tape | Hardware store | $3–$5 |
| Pool water test strips | Amazon | $10–$15 |
| Chlorine tablet floater + tablets | Walmart, pool supply | $15–$25 |
| Sand (for filter) | Usually included in pump kit | — |
| Sand or crushed gravel base | Garden center | $20–$50 |
| Total (8-foot setup) | $473–$700 |
Step-by-Step Build Instructions
Step 1 — Prepare Your Site (1–2 hours)
Choose a spot that gets a mix of sun and shade. Full sun heats the water up fast, which sounds nice but also burns through chemical treatments and encourages algae. Ideally, you want morning sun and afternoon shade. Clear the ground, remove any sharp rocks or roots, and lay your sand or gravel base to a 2–3 inch depth. Compact it by walking across it or using a hand tamper. Check the level obsessively — from north to south, east to west, and diagonally.
Step 2 — Place the Tank
Set the tank centered on your prepared base. Make sure the base extends at least one foot past the tank’s outer edge on all sides. This gives you stable ground when you’re stepping in and out, and prevents the edge of the tank from sinking unevenly over time.
Step 3 — Drill Your Holes (30 minutes)
Measure about 6–8 inches from the top of the tank for your outlet valve location. The inlet goes slightly lower and opposite, so water circulates fully around the tank rather than short-circuiting back to the pump immediately. Use your hole saw to drill both holes. File any sharp metal edges smooth with a metal file, and vacuum or rinse out all the tiny metal shavings before moving on — those are not something you want in your feet.
Step 4 — Install the Valves (30 minutes)
Wrap plumber’s tape around the threads of both valves. Apply marine-grade silicone sealant generously around the inside of each fitting before inserting. Press the fittings into place and tighten the retaining nut firmly. Let the sealant cure for at least 4 hours before adding water — most people do this step the night before their build day.
Step 5 — Connect the Pump
Each sand filter pump kit comes with hoses that connect your outlet valve to the pump intake and your pump output back to the inlet valve. Follow the specific manual for your kit — the hose routing varies by brand. The pump should sit on a stable, level surface next to the tank, not inside it.
Step 6 — Fill the Tank
Use a standard garden hose. An 8-foot tank takes about 4 hours to fill. This is a great time to run a quick check on the valve fittings — look for any drips or seepage around the seals. If you see moisture, the sealant may need another day to fully cure; drain back down and give it time.
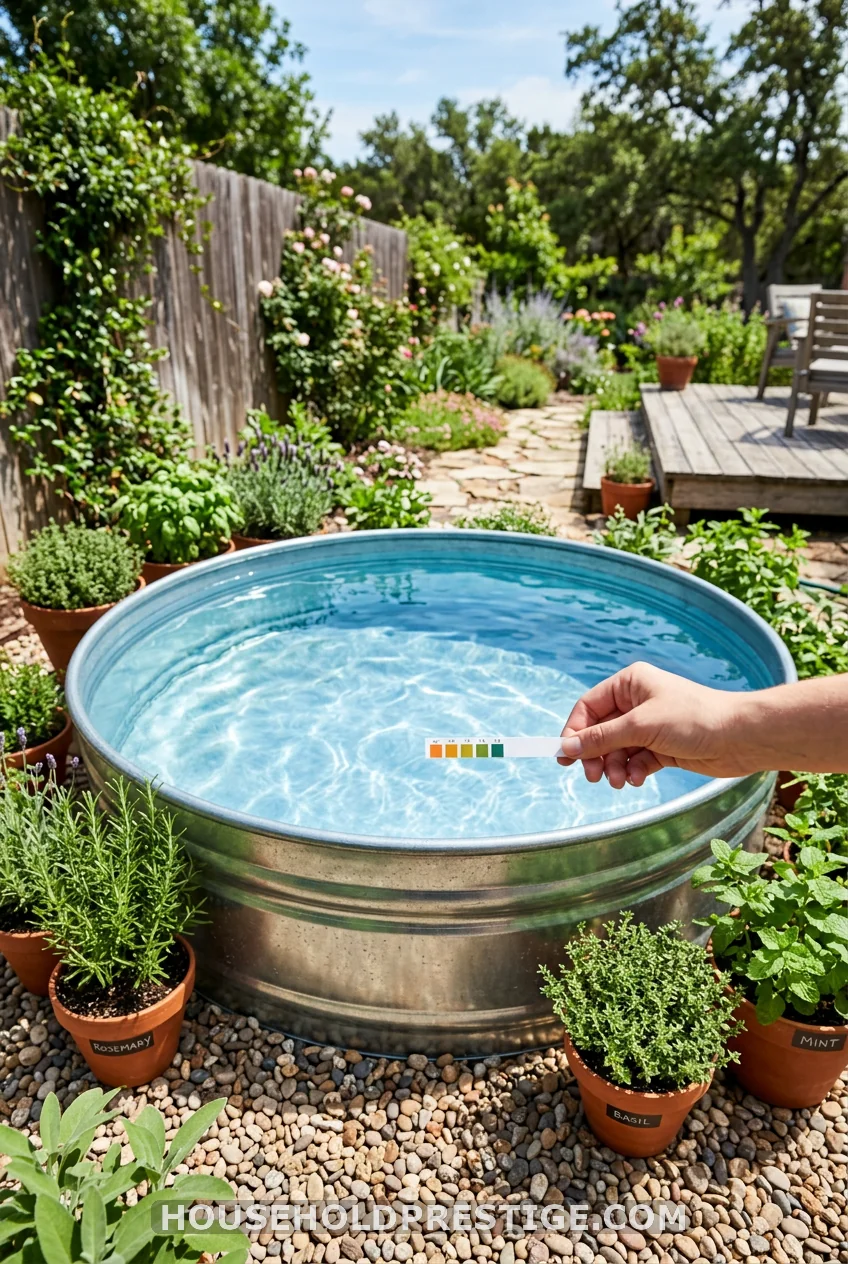
Step 7 — Treat the Water
Start the pump and let it run for an hour before adding anything. Then add a chlorine tablet to a floating dispenser and drop it in. Use your test strips to check pH and chlorine levels. Target pH of 7.2–7.6 and free chlorine of 1–3 ppm. Test every 2–3 days during the first week until you understand how your tank behaves.
Common Mistakes to Avoid
- Skipping the silicone sealant and relying only on plumber’s tape. Both together or you will have a slow drip eventually.
- Placing the tank directly on concrete. Most concrete patios are graded for water runoff, which means your pool will visibly tilt.
- Using a cartridge filter pump and then complaining about maintenance. Sand filter only.
- Painting the inside of the tank before the first season. Nothing sticks to new galvanized steel reliably. Wait at least one full season for the galvanization to weather before painting, or use a bedliner spray (like Rust-Oleum truck bed coating) which is specifically formulated for metal.
Pro Move: Add a Timer to the Pump
A $15 mechanical outlet timer set to run the pump 4–6 hours per day keeps the water clear without you thinking about it. Morning run cycles work best — your water is perfectly filtered by afternoon when you actually want to swim.
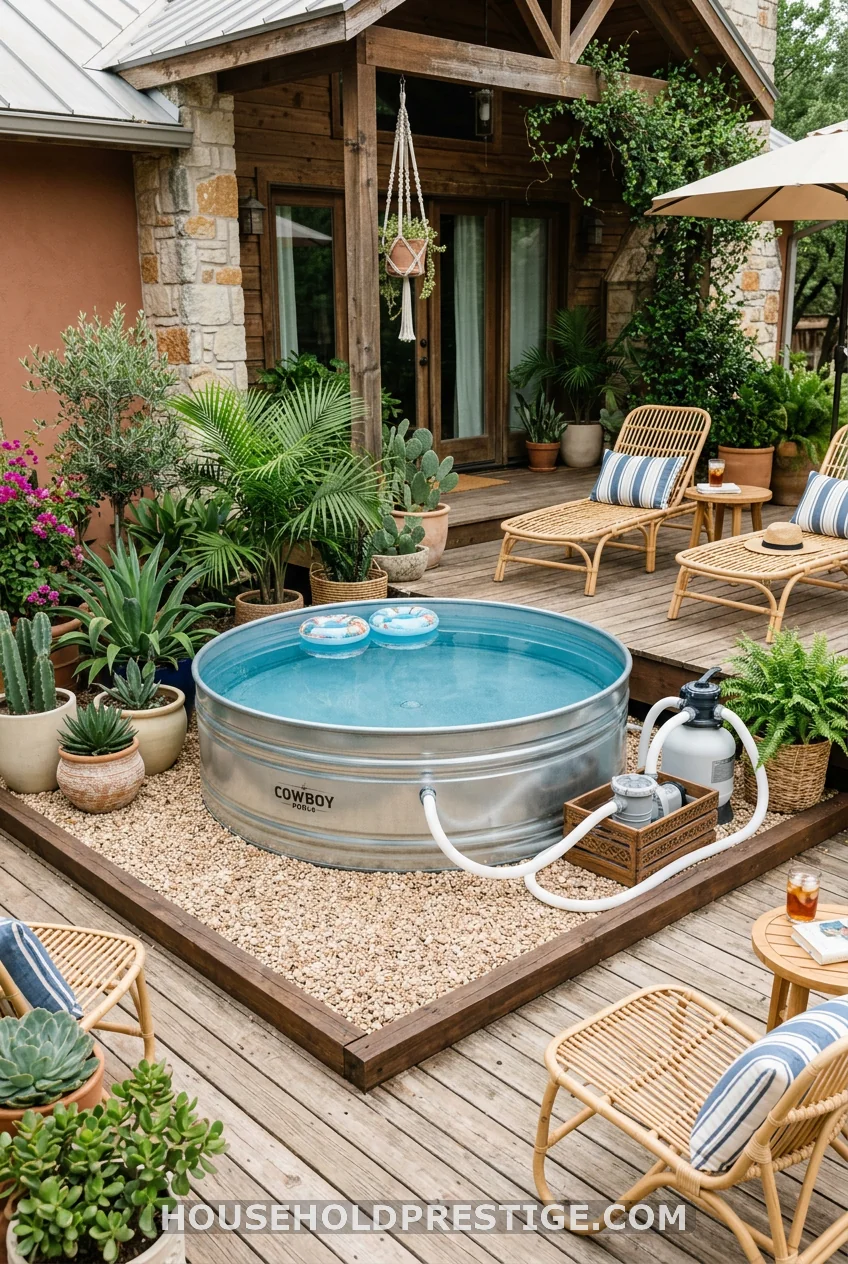
5. Gravel Border Instead of Bare Grass
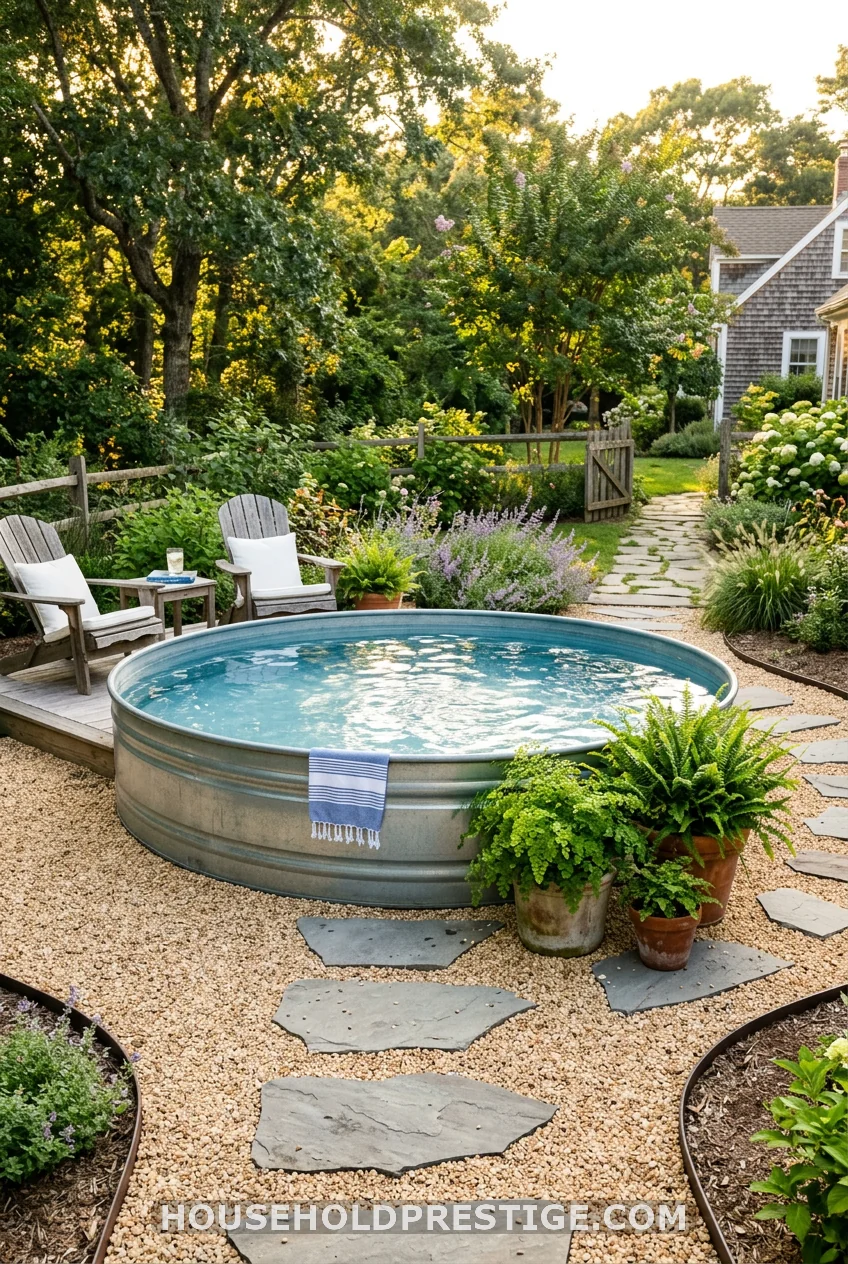
Bare grass around a cowboy pool turns into a muddy mess within a week. Every time someone climbs in or out with wet feet, they’re tracking clumps back into the water. A 12–18 inch border of pea gravel or crushed river rock solves it immediately, costs about $25–$50 in materials from any garden center, and looks genuinely polished.
Add two or three flat stepping stones as entry points, and your pool area starts to look like it was designed that way rather than just dropped into the yard.
6. A Wooden Deck Turns a Trough Into a Destination
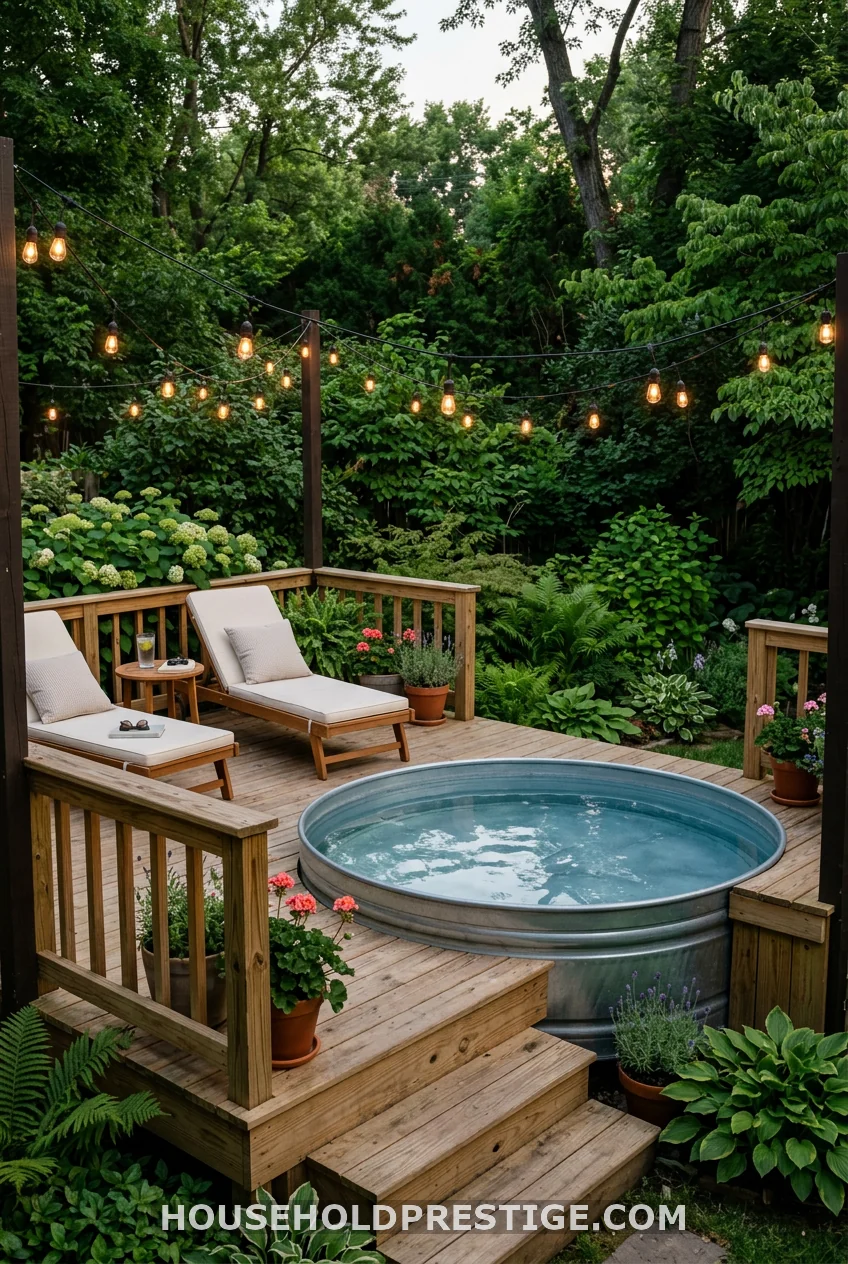
This is the upgrade that makes people forget they’re looking at a farm supply purchase. A simple wraparound deck — even one that only extends 3–4 feet out from the tank on two sides — creates a place to sit, a surface for drinks and towels, and an entry point that doesn’t involve stepping directly onto the ground. It also hides the pump setup neatly underneath.
Use pressure-treated lumber rated for ground contact (marked “UC4B” or similar at the hardware store). Leave a small gap between deck boards — about 1/4 inch — for drainage and expansion. Budget around $200–$400 for materials on a modest corner deck, or $600–$900 if you’re going all the way around. A drill, a circular saw, and a free weekend afternoon is all the labor you need.
The one thing worth spending extra on: fascia trim boards to hide the frame edges. It costs maybe $30 in additional lumber and is the difference between “DIY project” and “actually designed this.”
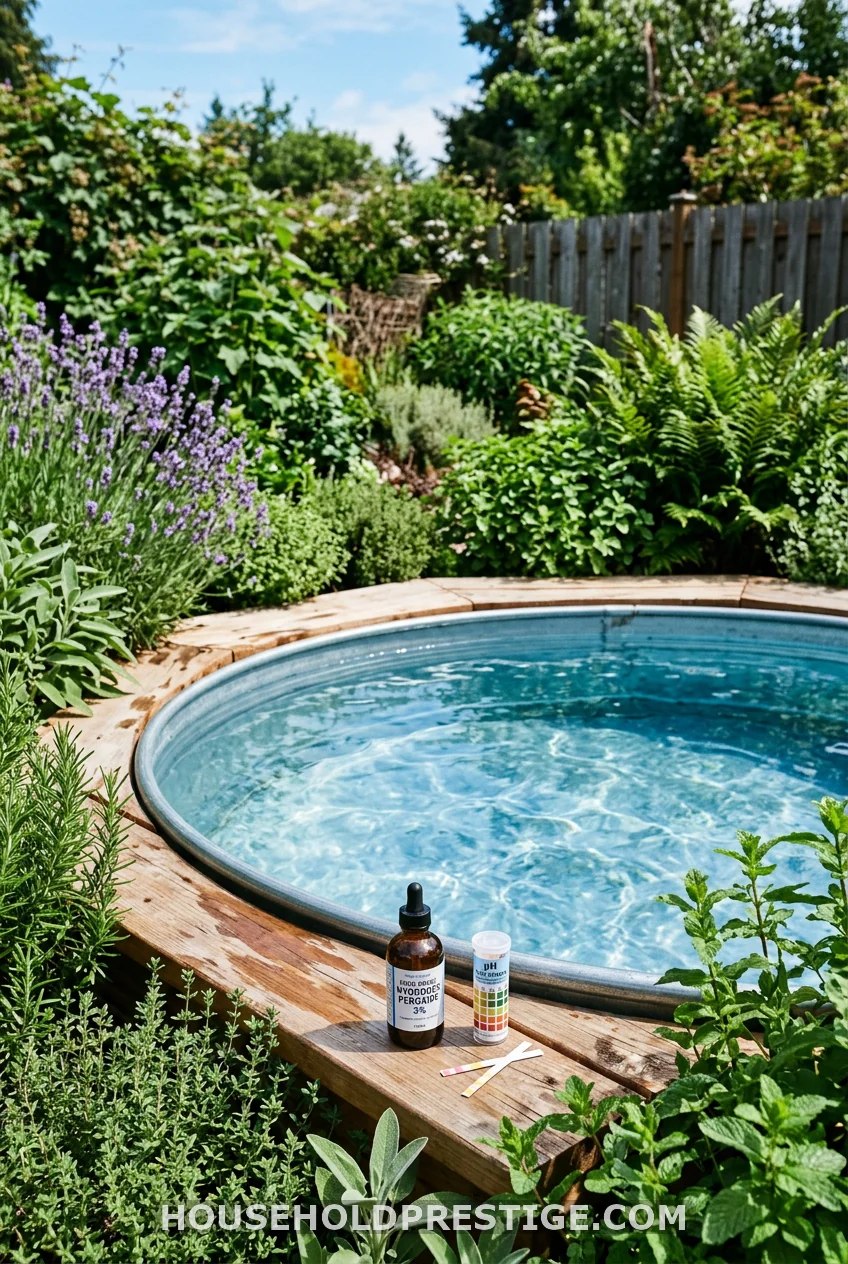
7. Myth: You Have to Use Chlorine. Reality: You Have Options.
Most cowboy pool guides tell you to grab the chlorine tablets and call it done. That works. But there’s a reason a significant chunk of stock tank pool owners go a different direction, and it has nothing to do with being precious about chemicals.
What most people think: Chlorine is the only way to keep a small tank clean.
The reality: Food-grade 35% hydrogen peroxide is a legitimate alternative — and for a stock tank specifically, it has one advantage chlorine doesn’t: it doesn’t accelerate the rust process inside your tank. Galvanized steel holds up fine with properly balanced chlorine, but if your pH drifts and your chlorine levels spike, you will start seeing rust spots on the interior sooner than you’d like.
With hydrogen peroxide, the treatment breaks down into water and oxygen — no residue, no long-term corrosive effect. The water can even be used to water your garden afterward, which is a genuinely nice bonus if you’re draining at the end of summer.
The catch: hydrogen peroxide requires more frequent testing and slightly more attention to dosing. It also doesn’t work as a passive “drop a tablet and forget it” solution the way a chlorine floater does. If your pool gets heavy use or you have lots of kids in and out, chlorine is lower maintenance.
The verdict: light use and eco-minded setup → hydrogen peroxide. Heavy family use → chlorine with careful pH management.
8. Paint the Outside — But Not the Inside
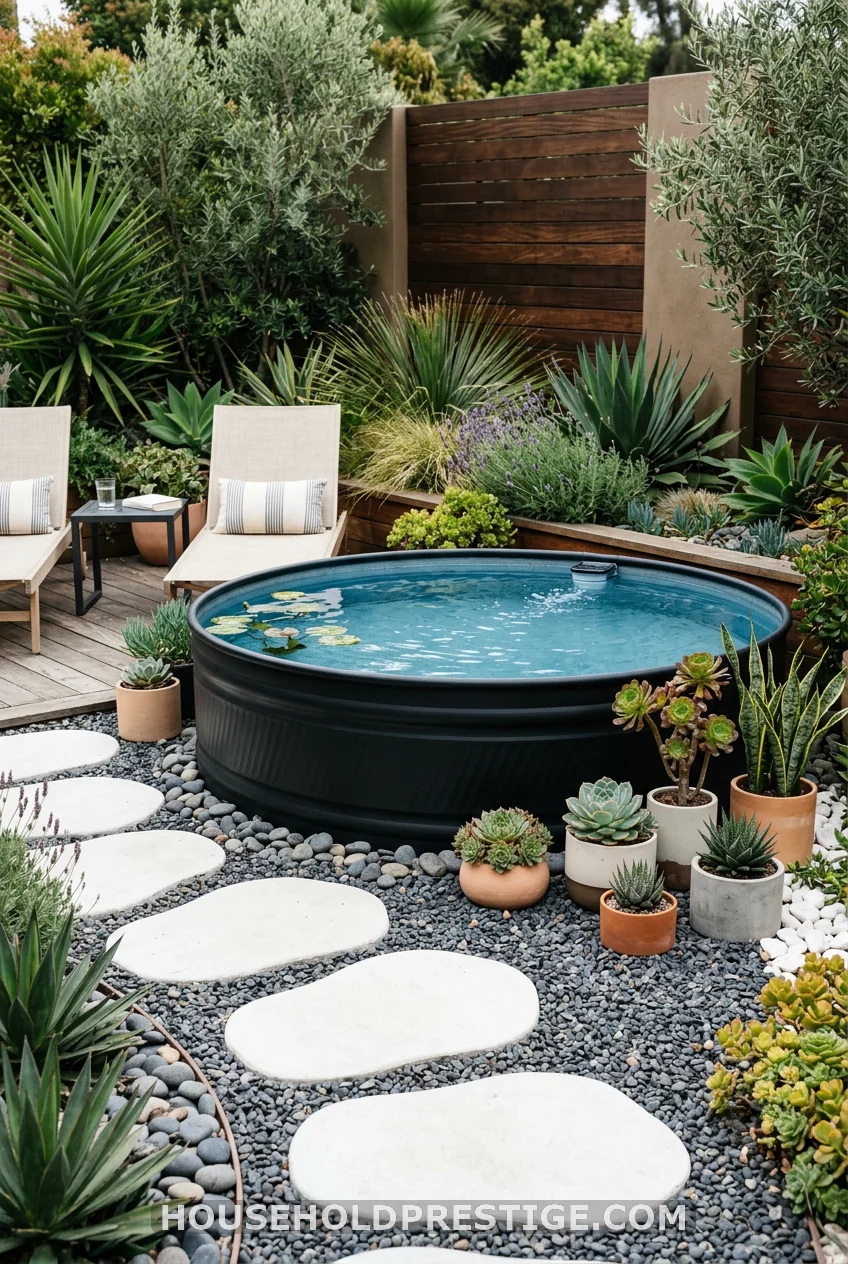
Matte black exterior paint turns the tank from “farm equipment” to “intentional design choice” instantly. Use spray paint rated for metal surfaces, apply two coats, and let it cure fully before filling. The inside is a different story — nothing bonds reliably to new galvanized steel. Wait a full season, or use truck bedliner spray (Rust-Oleum makes one) if you want interior coverage.
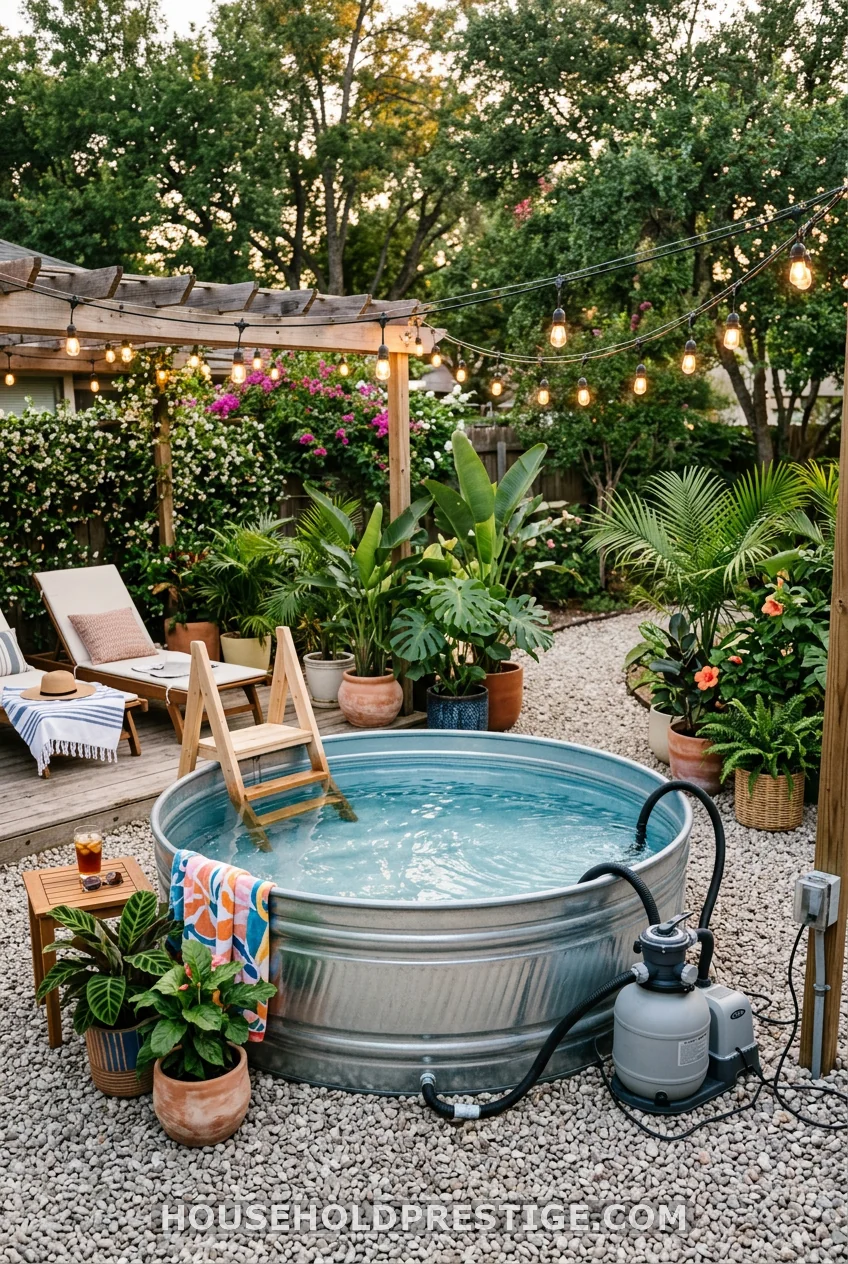
9. String Lights Make Nighttime the Best Time

Daytime cowboy pools are great. Nighttime cowboy pools with the right lighting are a different experience entirely. String warm-white Edison bulbs across the pool area between two posts or along a fence, and every evening soak feels like something you planned intentionally rather than just collapsed into after a long day.
Use waterproof rated outdoor string lights (look for IP65 rating or higher), and keep the power connection at least 6 feet from the water edge. Warm white (2700K) looks dramatically better than cool white (5000K) near water at night — it’s the difference between “romantic patio” and “hospital waiting room.”
10. A Step Stool Prevents Awkward Entry
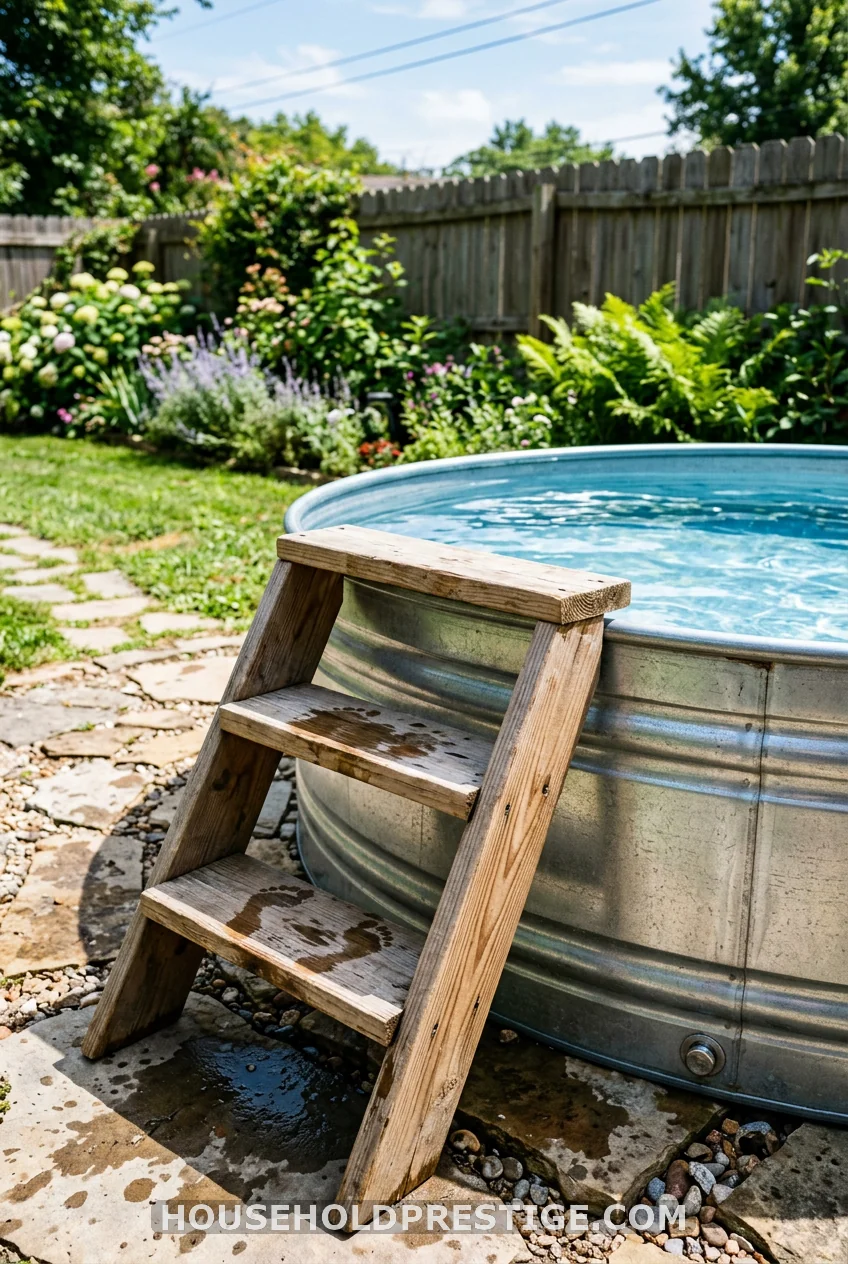
Getting in and out of a two-foot-high tank without a step is surprisingly graceful-looking for nobody. A small wooden step — even a repurposed outdoor step stool sanded and sealed for weather — makes entry and exit easy, especially for kids. It costs $0 if you build it from scrap wood, or $25–$40 if you buy a pre-made outdoor step at any garden center.
11. Bamboo Panels for Privacy (and a Vibe)

If your yard backs up to neighbors who have an excellent view of your pool time, a simple bamboo screen changes everything. You can buy rolled bamboo fencing panels at most garden centers for $15–$30 per 6-foot section. Attach them to a basic wood or metal post frame, and you’ve got a privacy wall that also happens to look like a deliberate tropical design choice.
A corner setup — two panels angled around one side of the pool — is usually enough without making the area feel like an enclosure. Keep the open side facing where you actually look while you’re soaking: toward the garden, toward the sky, away from the fence.
One thing to know: bamboo darkens and can split after two or three winters. It still holds up structurally, but if you’re planning a long-term setup, composite lattice panels last longer and accept paint if you want to refresh the look.
12. Convert It to a Hot Tub in Fall — Here’s How
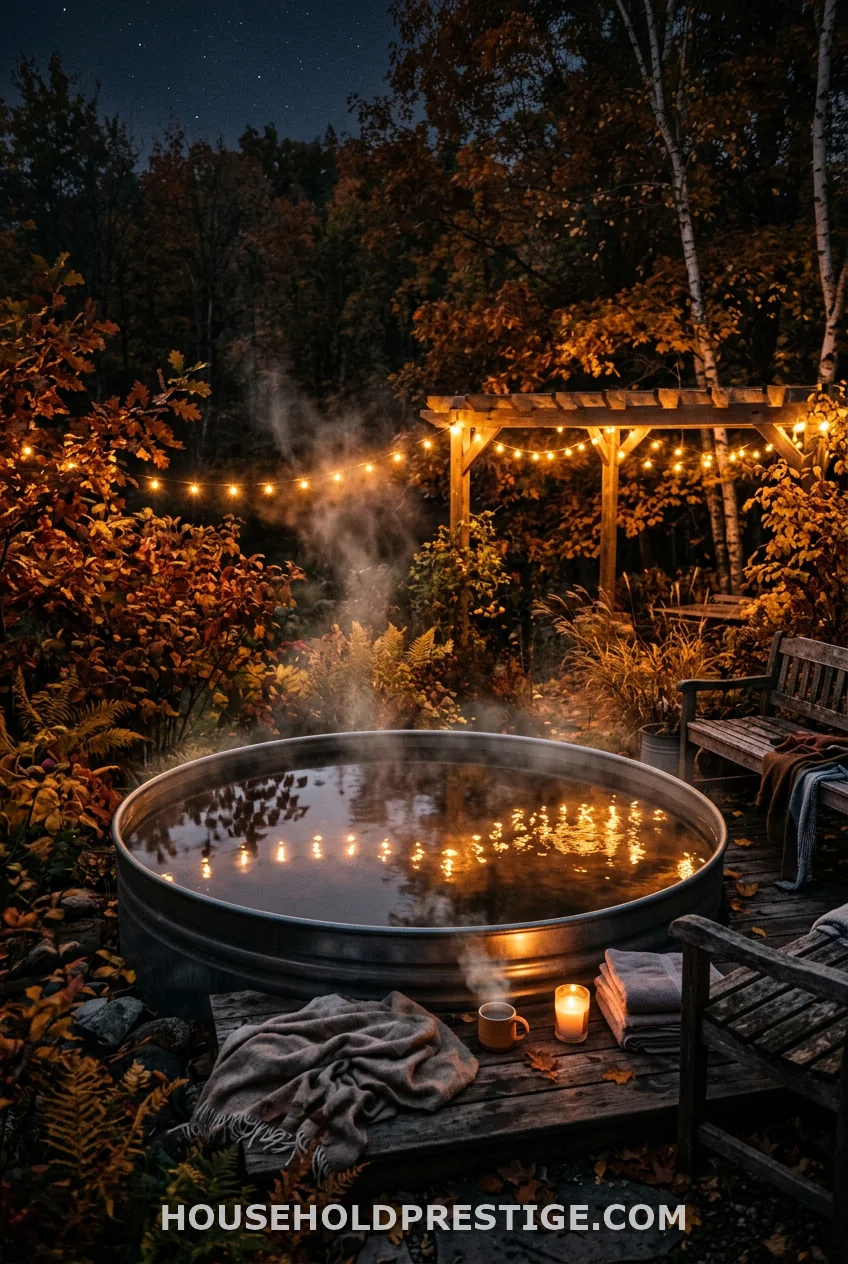
This is the cowboy pool feature that nobody at the cookout expects. When temperatures drop, you don’t have to drain and cover the tank until spring. With the right heater, your summer pool becomes a fall and winter hot tub — and honestly, that’s when it gets used the most.
You have two options:
Option A — Propane Pool Heater: A dedicated propane pool heater designed for small above-ground pools (brands like XtremepowerUS make compact models for $150–$300) can bring an 8-foot stock tank to 104°F in about 2–3 hours. Connect it inline with your existing pump system. The propane tank needs to sit at least 5 feet from the pool.
Option B — Immersion Coil Heater: A wood-fired immersion coil (sometimes called a rocket heater coil) heats the water through convection with zero electricity. You build a small fire, the coil heats water circulating through the pipe, and the tank warms up over a couple of hours. The whole setup costs $80–$200 and requires no propane. It’s the more off-grid option and has a genuinely satisfying “built this myself” energy.
A few things to note when running it as a hot tub:
- Drop the water level a few inches below summer fill level so it doesn’t slosh when you get in
- Run your filtration longer than in summer — heat accelerates bacterial growth, so bump the pump timer to 8 hours per day
- At temperatures above 100°F, limit soak sessions to 20–30 minutes and keep water on hand
The kids will want to use it every weekend from September through February. Consider yourself warned.
13. Cluster Plants Around It for an Instant Retreat Feel

You don’t need a landscaping budget. You need three to five pots at varying heights arranged on one or two sides of the tank. A tall potted palm or ornamental grass at the back. Mid-height ferns or hostas in the middle. Something trailing or low-profile at the front edge, like creeping thyme or trailing nasturtiums.
The trick is layering: tall behind, medium in front, short at the edge. Same technique used in every garden center display you’ve ever found appealing. Takes about 30 minutes to arrange and costs $40–$80 at any plant nursery.
14. A Shade Sail Is $30 and Changes Everything
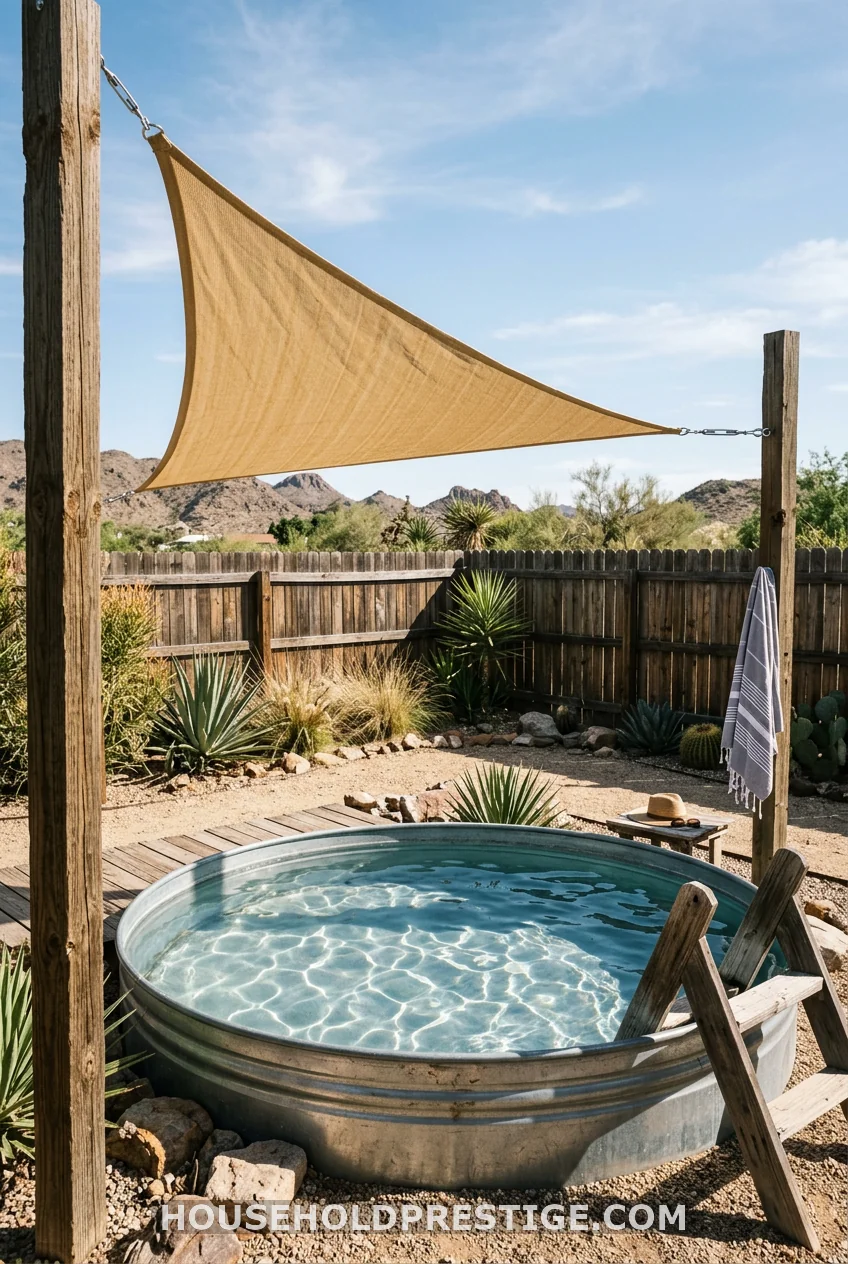
Full sun feels great for the first 20 minutes. After that, you’re basically a poached egg. A triangular shade sail attached to two posts and a fence corner creates partial shade over the pool without blocking the open-sky feeling that makes outdoor pools worth having.
Most shade sails on Amazon run $25–$50 for a 12×12 foot triangle. They install in about 45 minutes with basic post anchors and hooks. A UV-blocking rating of 90%+ is worth the marginal extra cost — the cheap ones let through more light than you expect.
15. Hydrogen Peroxide Dosing — Exactly How to Use It
If you’re going the hydrogen peroxide route (see #7), here’s the actual dosing information competitors never include:
Use 35% food-grade hydrogen peroxide (not the 3% pharmacy bottle — that’s too diluted to be effective). For an 8-foot tank holding approximately 700 gallons:
- Initial dose: 1 cup per 100 gallons. For 700 gallons, that’s 7 cups to start.
- Maintenance dose: Test every 2–3 days with peroxide-specific test strips (standard pool strips don’t measure peroxide). Target 30–50 ppm. Add 1/2 cup per 100 gallons as needed.
- After heavy use (parties, kids): Add a full maintenance dose the same evening.
Handle 35% hydrogen peroxide carefully — it’s a strong oxidizer that will bleach fabric and irritate skin on direct contact. Use gloves, store it in a cool dark place, and don’t mix it with any chlorine-based products ever.
16. Underwater LED Lights for Under $30
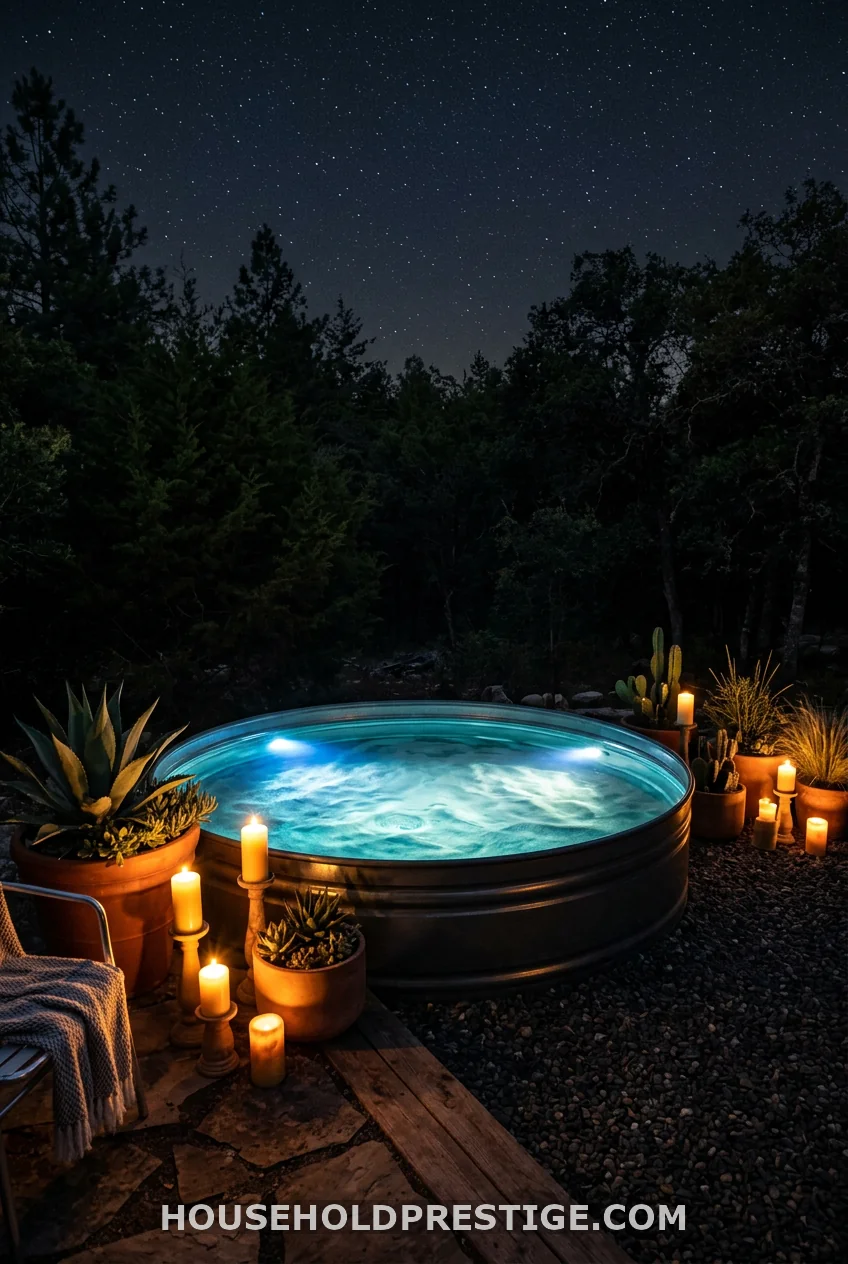
Submersible LED lights designed for fish tanks work perfectly in stock tank pools and cost almost nothing. Look for magnetic-mount versions that attach to the tank wall and run on a USB power bank — no wiring, no waterproofing complexity, just drop them in and plug in. The effect at night is genuinely striking.
17. The Renter-Friendly Cowboy Pool Setup
Most cowboy pool guides assume you own your yard. This one’s for everyone renting who wants the same thing without violating the lease.
The entire setup can be done without a single permanent modification: the stock tank requires no anchoring, the sand filter pump attaches to the tank with hand-tightened fittings (no drilling required if you use a clamp-on hose setup), and the gravel border can be contained using flexible plastic garden edging that lifts out when you move.
When you’re done with the rental, drain the tank using a submersible pump ($25 at any hardware store) into your garden or storm drain, deflate nothing, unscrew nothing, and move the whole thing to the next place. The tank itself can go on Craigslist or Facebook Marketplace at the end of the season for 50–70% of what you paid for it. Some people buy used stock tanks specifically for this reason.
One caveat: confirm with your landlord before setting up anything on a wood deck. The water weight of an 8-foot tank (over 5,800 pounds when full) requires a structurally sound surface. Grass, gravel, or concrete slabs are safe. Old or elevated wood decks need a structural check first.
18. A Poolside Bar Cart Changes the Energy
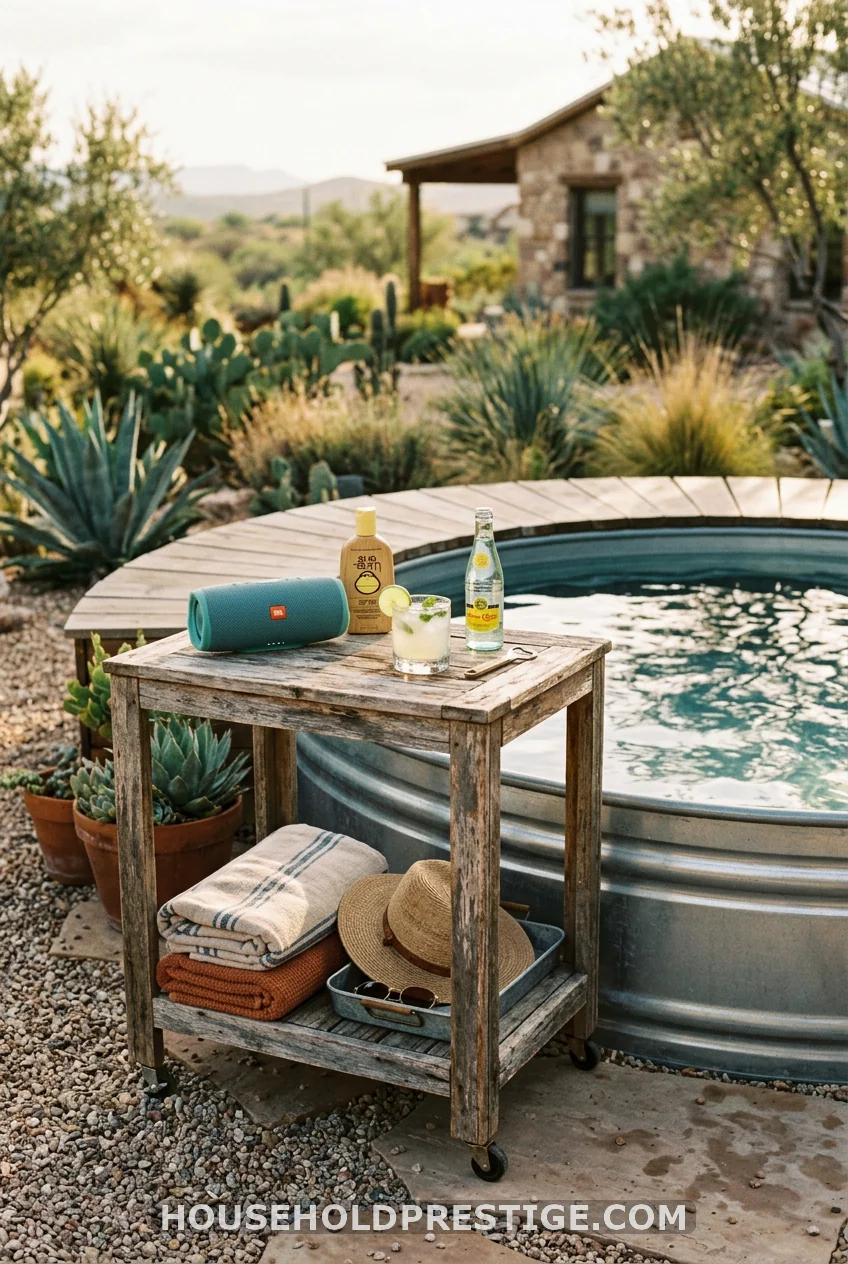
An outdoor bar cart or drink float transforms a solo soak into a social event. A rolling bar cart stationed next to the pool holds drinks, sunscreen, a bluetooth speaker, and towels — everything you need without leaving the water twice an hour. Look for a weathered teak or metal-frame version at any outdoor furniture store or on Facebook Marketplace for $30–$80 used. It takes up two square feet and earns its place every single time you have guests.
19. Before You Drain: Water Your Garden First
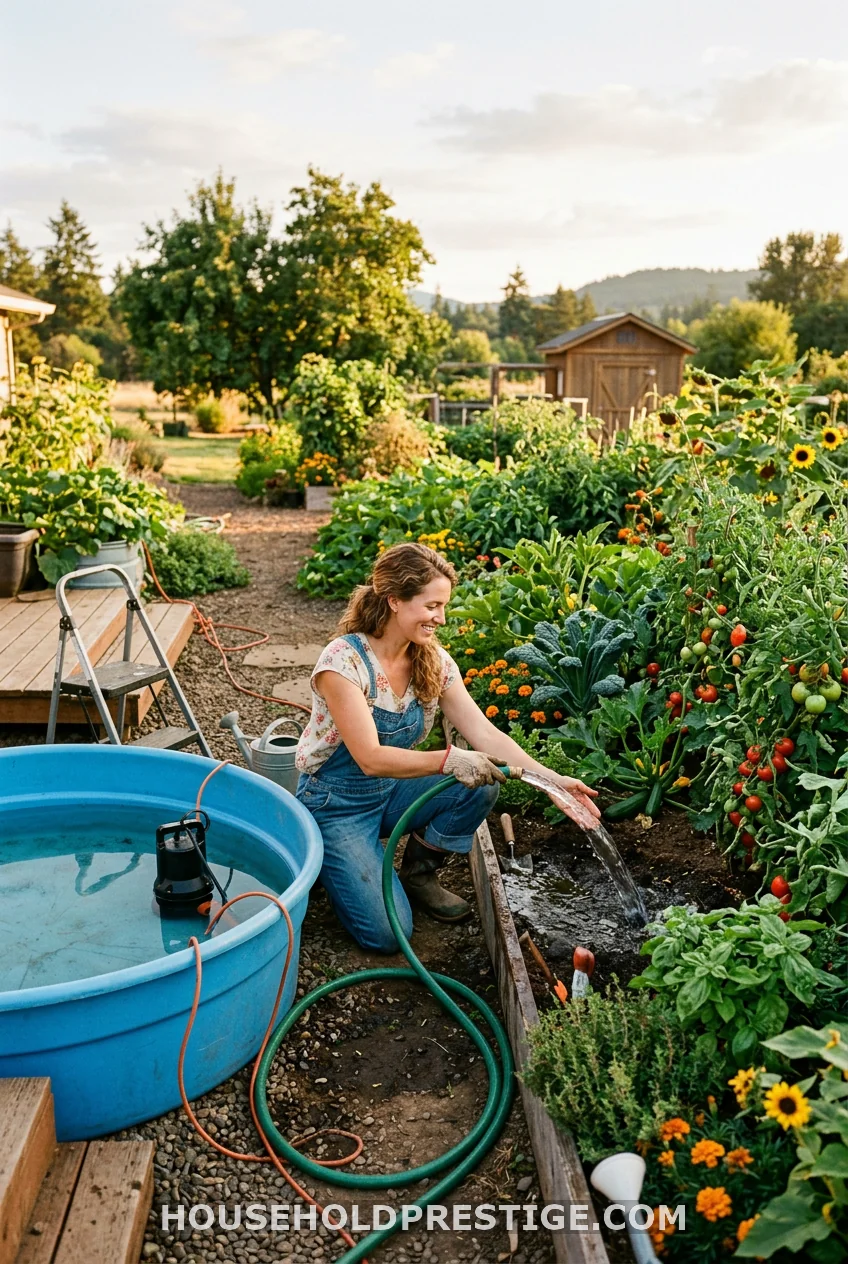
At the end of the season — or whenever you do a full water change — don’t just let it run into the storm drain. If you’ve been using hydrogen peroxide as your primary treatment, the water is perfectly safe for garden use. Even chlorine-treated water can go on non-edible plants or lawn once it has been sitting unchlorinated for 24–48 hours (the chlorine off-gasses on its own in that time).
An 8-foot tank holds 700 gallons. That’s a meaningful amount of free irrigation. Your tomatoes will thank you.
Wrapping It Up
You don’t need a contractor, a permit, or a second mortgage to have a backyard pool worth actually using. A galvanized stock tank, a sand filter pump, and a few intentional styling choices are all it takes. The total spent by most people who do this well lands between $500 and $900 — a fraction of any other real pool option.
The first time you get in at 9 PM with string lights overhead and a drink in hand, you’ll understand why cowboy pools have a genuinely devoted fan base. Start with the right size tank, get the ground level, and don’t skip the sand filter. Everything else is just icing.
FAQ
What exactly is a cowboy pool, and why is it called that?
A cowboy pool is a galvanized steel stock tank — originally used to water livestock on ranches — repurposed as a backyard soaking pool. The name “cowboy pool” stuck because of the tank’s ranching origins, though they’ve since become popular in suburban and urban backyards across the country. They’re typically 2 feet deep and wide enough to sit in with water up to chest level.
How long does a cowboy pool last?
With basic maintenance, a galvanized stock tank pool can last 10–20 years or more. The galvanized coating is designed to withstand outdoor exposure and water indefinitely. The main long-term risks are interior rust (preventable with proper pH balance) and pump system wear. Most people replace the pump every 3–5 years; the tank itself typically outlasts any other pool option at the same price point.
Do you need a permit to install a cowboy pool?
In most jurisdictions, no — cowboy pools are considered temporary above-ground structures and fall below the threshold that triggers permit requirements. However, rules vary by municipality. If your pool is large enough to be considered a drowning hazard for children (generally 18+ inches deep), some areas require a fence or barrier. Check with your local building department before installing if you’re unsure.
Can you use a cowboy pool in winter?
Yes — especially if you convert it to a hot tub using a propane or wood-fired immersion heater (see idea #12). The galvanized steel handles cold temperatures without issue. If you do choose to drain and store it, empty the tank fully, disconnect the pump, and store the pump components indoors. The tank itself can stay outside year-round.
How often do you need to change the water completely?
With a functioning filter and proper water treatment, most cowboy pool owners do one full water change per season — draining and refilling at the start of summer. Some go all season without a full change by staying on top of water testing and treatment. High-use pools with lots of swimmers may benefit from a mid-season partial change (drain halfway, refill) to reset the water balance.