

Maybe you keep saving photos of red barns and rows of canning jars, then look out at your apartment balcony and sigh. I did the same thing for years. I thought homesteading meant forty acres, a tractor, and a goat named Clementine.
It doesn’t. Homesteading skills are just old, practical know-how. The kind your great-grandmother had and most of us lost. You can build almost all of them in a rented kitchen with a windowsill and a stockpot.
This list walks you through 27 of them, sorted by how you really live: cooking, growing, preserving, animals, making things, and stretching a dollar. Some take ten minutes. One of them, I’ll teach you from start to finish. Pick one. Start this week. That’s the whole secret.
Kitchen Skills That Start Tonight
Your kitchen is the cheapest homestead you’ll ever own. No land, no fence, no permit. Just a stove and a little nerve.
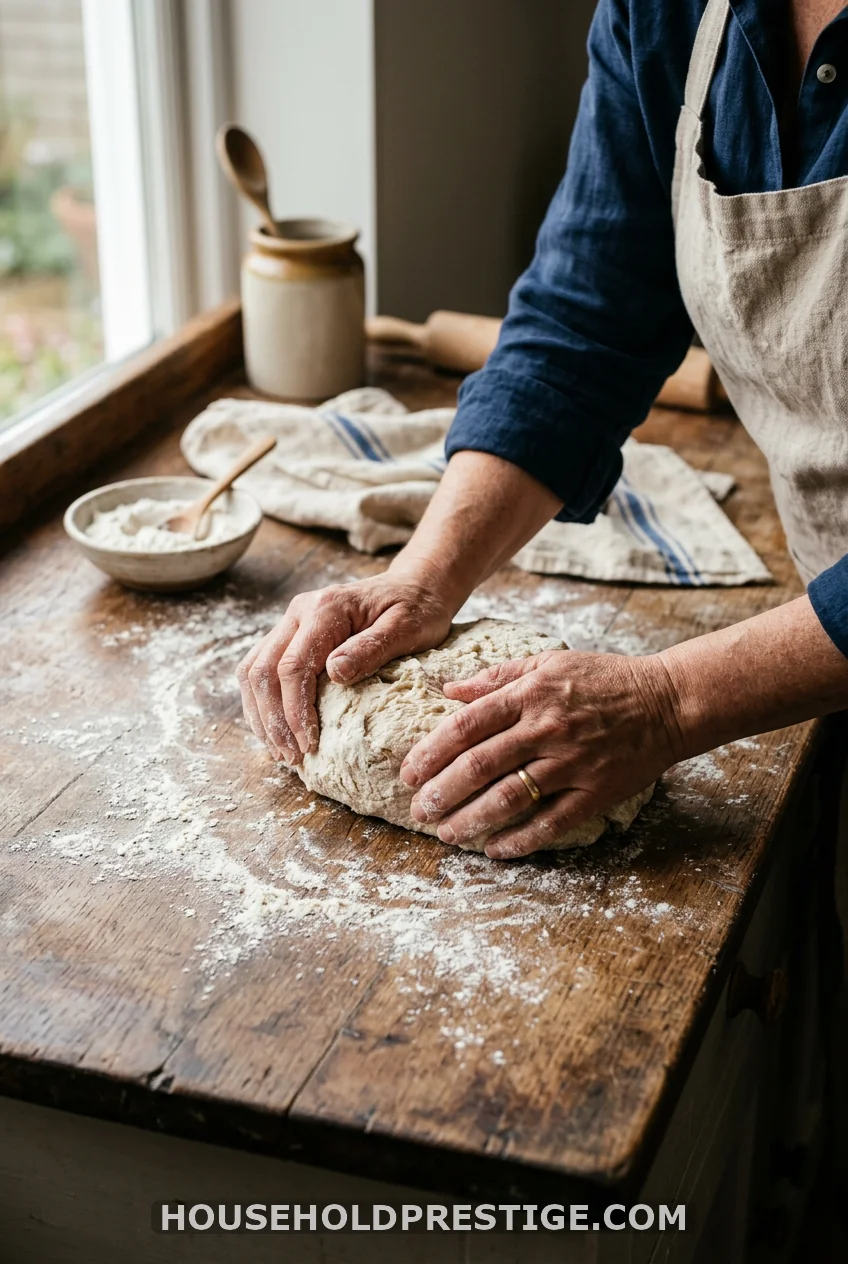
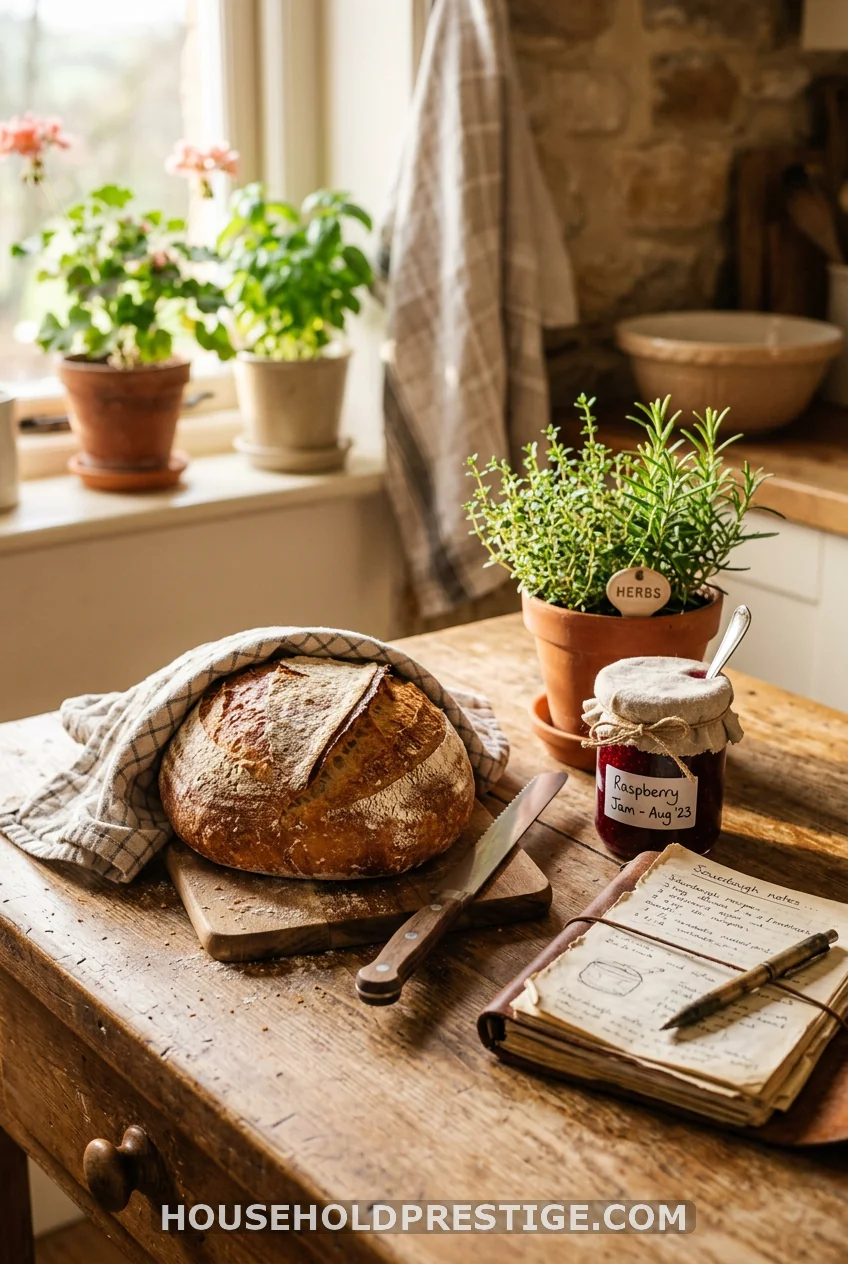
1. Bake a Real Loaf of Bread
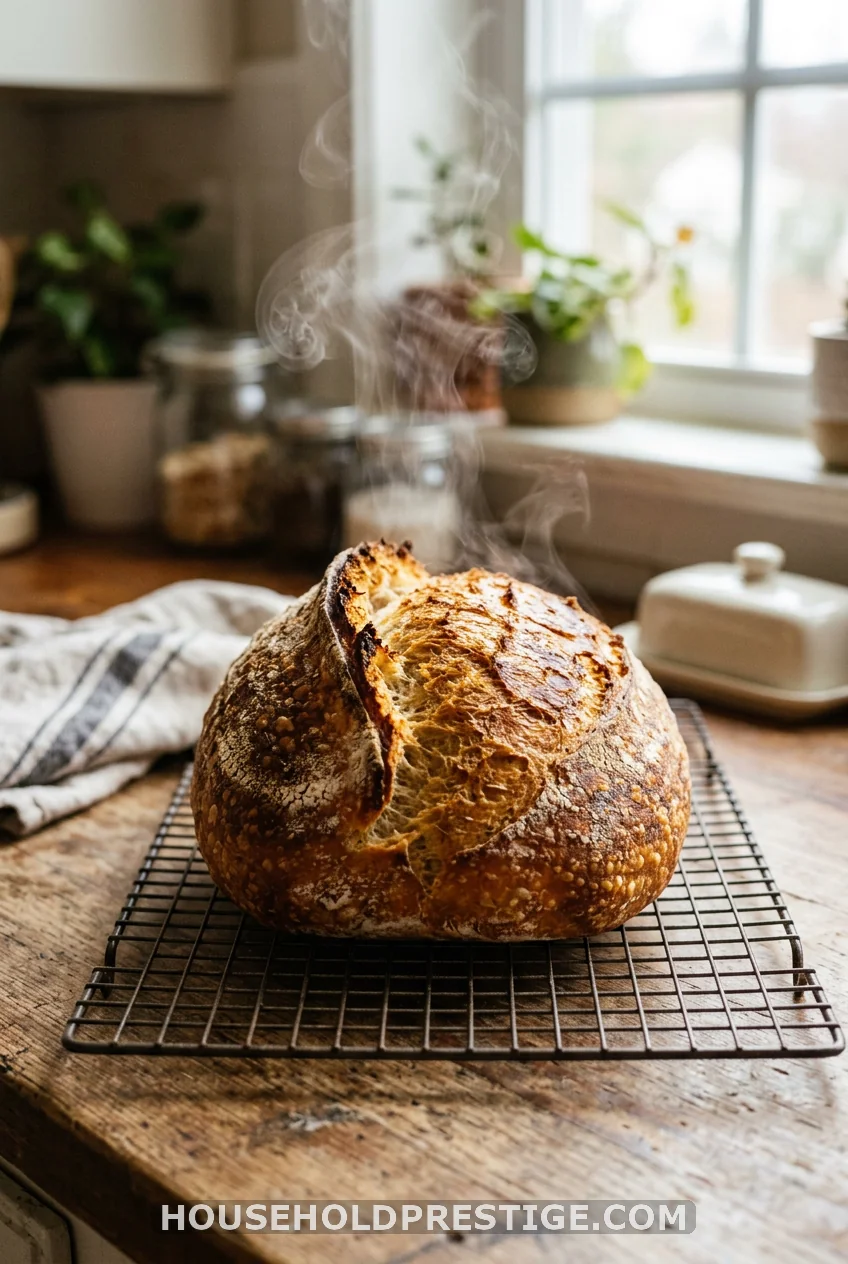
Store bread costs more every month and lists ingredients you can’t pronounce. A homemade loaf needs four things: flour, water, salt, yeast. That’s it.
Start with a no-knead recipe. You mix it in one bowl, let it sit overnight, and bake it in a Dutch oven the next day. The long rest does the work while you sleep. Your first loaf won’t be pretty. Your fifth one will make you wonder why you ever bought bread.
2. Cook From Scratch and Stock a Real Pantry
Before grocery stores ran our lives, people kept their pantries full. You can too, and it cushions you when money gets tight or a storm rolls in.
Build it slow. Each shopping trip, grab one extra bag of dried beans, one bag of rice, a jar of oats, and some flour. Learn five meals you can make from shelf-stable staples alone. Soups, beans and rice, a pot of chili. When you Cook From Scratch and Stock a Real Pantry instead of boxes, you save money, and you always have a backup plan in the cupboard.
3. Make Your Own Yogurt
Heat a half gallon of milk, cool it, stir in two spoons of store-bought yogurt, and keep it warm overnight. By morning, you have a fresh batch. It costs a fraction of the store stuff. No machine required, just a warm oven with the light on.
4. Make Soft Cheese

Cheese sounds like a master-level skill. The soft ones aren’t. Chevre, mozzarella, and ricotta come together in an afternoon with milk, an acid like lemon juice or citric acid, and a little patience.
Mozzarella is the showstopper for beginners. You heat milk, add citric acid and rennet, and stretch the curds like taffy while they’re hot. Kids love watching it. Once you can pull a stretchy ball of fresh mozzarella out of a pot you bought ingredients for that morning, you’ll feel like you stole something from the future.
5. Ferment Something
Sauerkraut is shredded cabbage, salt, and time. Pack it in a jar, weigh it down, and wait two weeks. Kombucha turns sweet tea into a fizzy, gut-friendly drink. Both cost pennies and feed the good bacteria your body wants. Start with kraut. It’s nearly impossible to mess up.
Growing Your Own Food
You can grow food in pots, in a raised bed, or in a sunny window. Renters do it all the time. Dirt doesn’t care if you own the building.
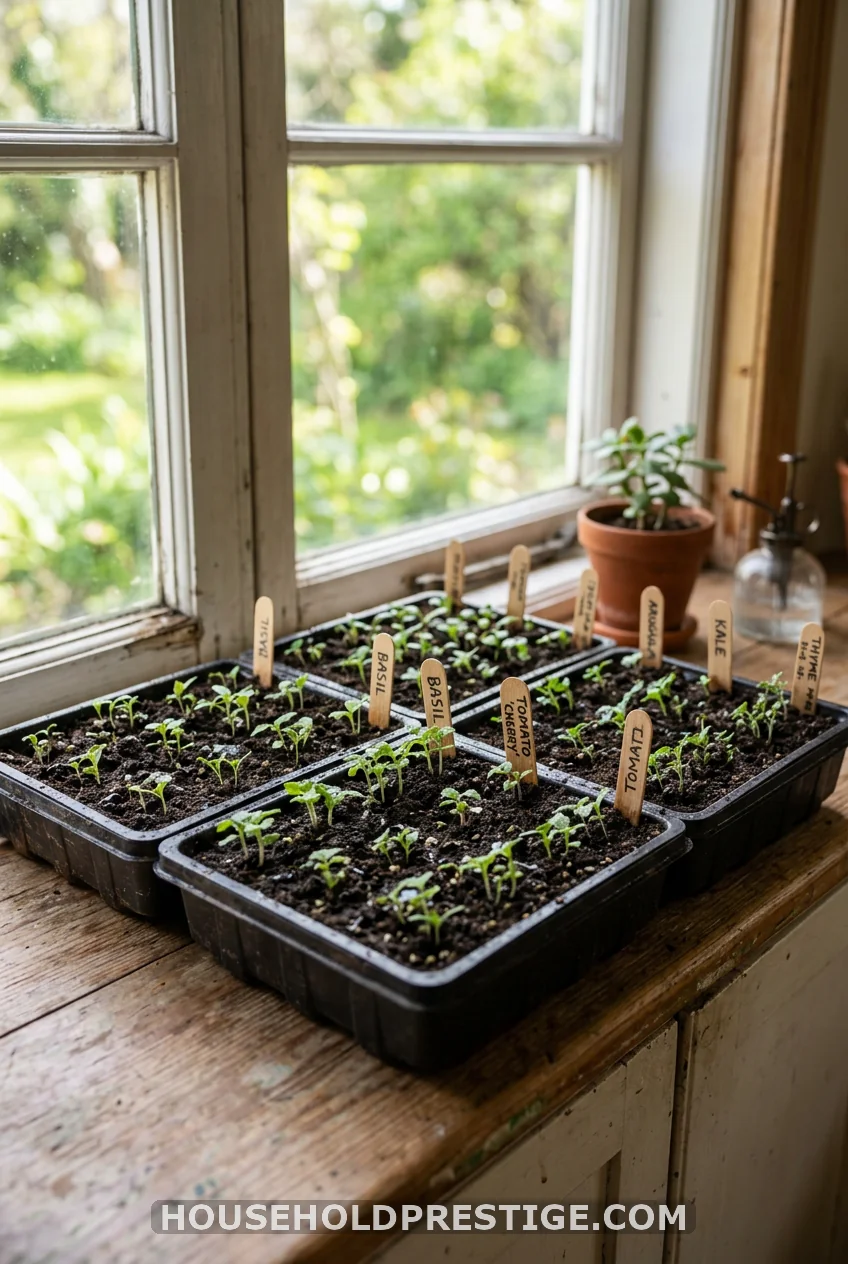
6. Start Seeds Indoors
A packet of seeds costs about $3 and grows dozens of plants. A single seedling at the garden center costs $4. The math makes the case for you.
Fill a tray with seed-starting mix, drop in your seeds, keep them warm and moist, and give them light. A bright south window works in a pinch, though a cheap clip-on grow light gives you sturdier plants. Tomatoes, peppers, and herbs are forgiving first picks. Start them six to eight weeks before your last frost date, which you can look up by zip code in two minutes.
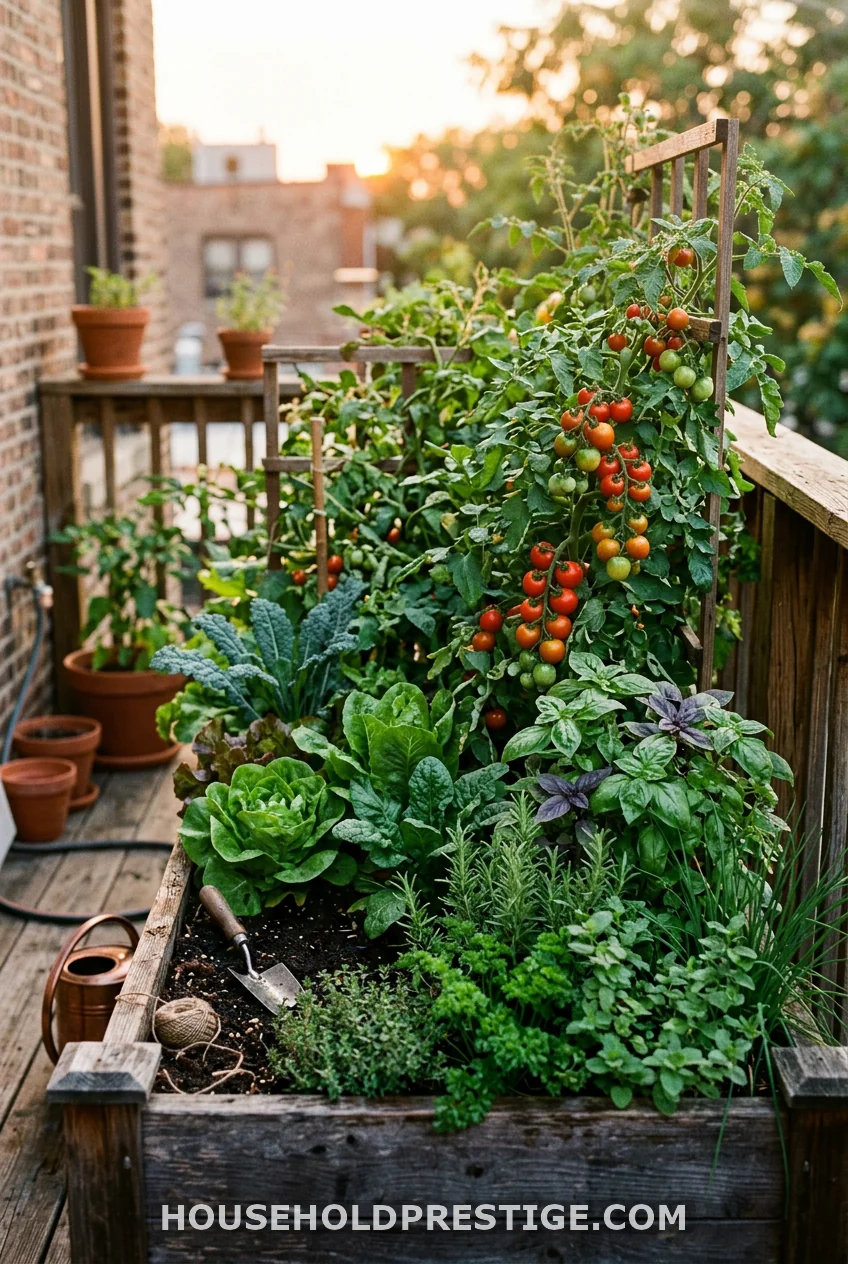
7. Grow a Container Garden
No yard? No problem. A five-gallon bucket with drainage holes grows a tomato plant. A long window box grows a salad’s worth of lettuce. Most patios can hold a dozen pots.
Pick what you really eat. Tomatoes, peppers, leafy greens, and herbs all do well in containers. Water more often than you think, since pots dry out fast. One good summer of container growing teaches you more than a year of reading about it.
8. Save Your Own Seeds
Let one lettuce plant bolt and go to flower. Let a few beans dry on the vine. Collect what they give you, label it, and store it dry. Next spring you plant for free. Seed saving is the oldest homesteading skill there is, and it closes the loop on your whole garden.
9. Grow Herbs on a Windowsill
Basil, mint, chives, and parsley all thrive in small pots indoors. Snip what you need, leave the rest to keep growing. Fresh herbs from the store wilt in three days and cost a few dollars a clamshell. A windowsill pot pays for itself in one week.
10. Compost Your Scraps
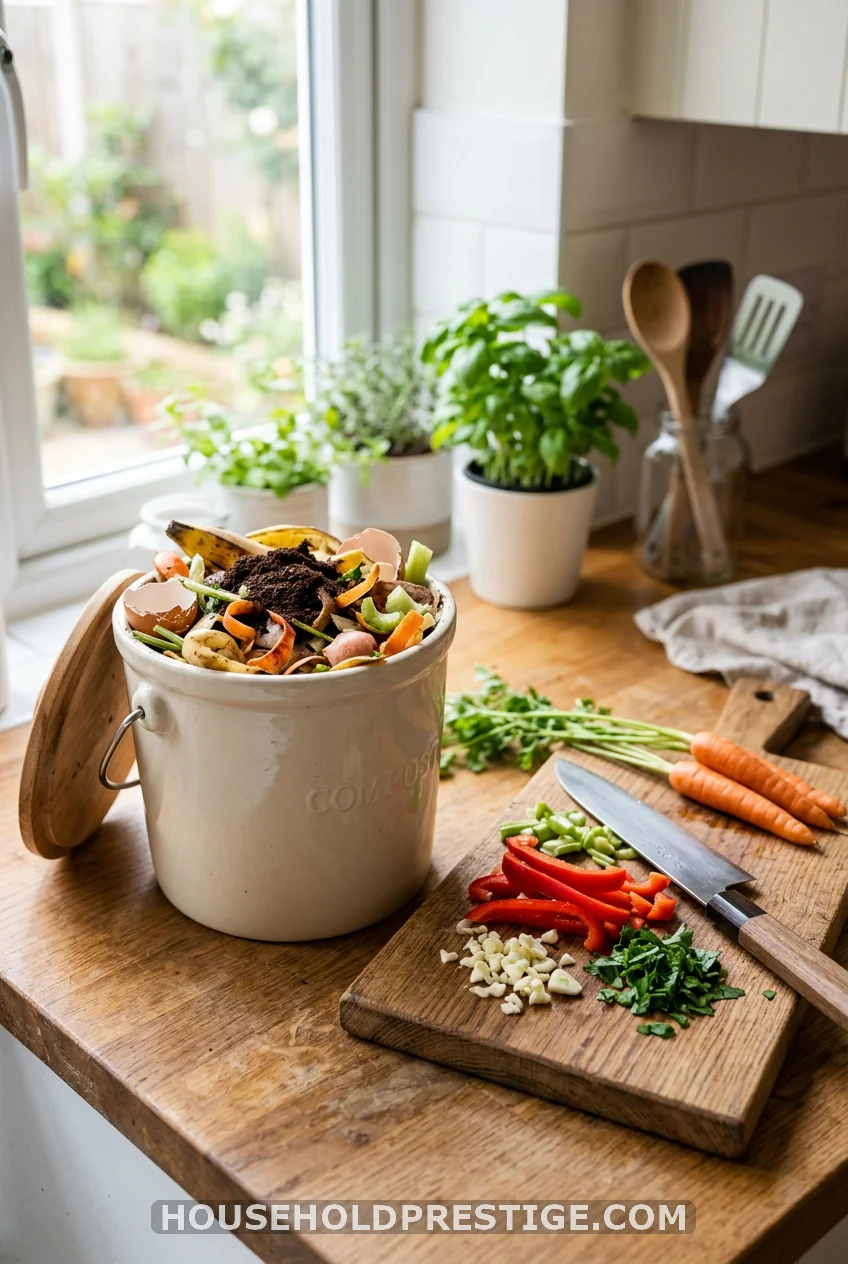
Every banana peel and coffee ground you toss is free fertilizer you’re throwing away. Composting turns kitchen junk into rich black soil that feeds your garden.
You don’t need a fancy setup. A lidded bucket under the sink collects scraps. A bin or pile in a corner of the yard breaks it down. Keep a rough balance of “greens” like food scraps and “browns” like dry leaves or cardboard, and let nature do the rest. In a few months, you’ve got dirt your tomatoes will love.
Preserving the Harvest
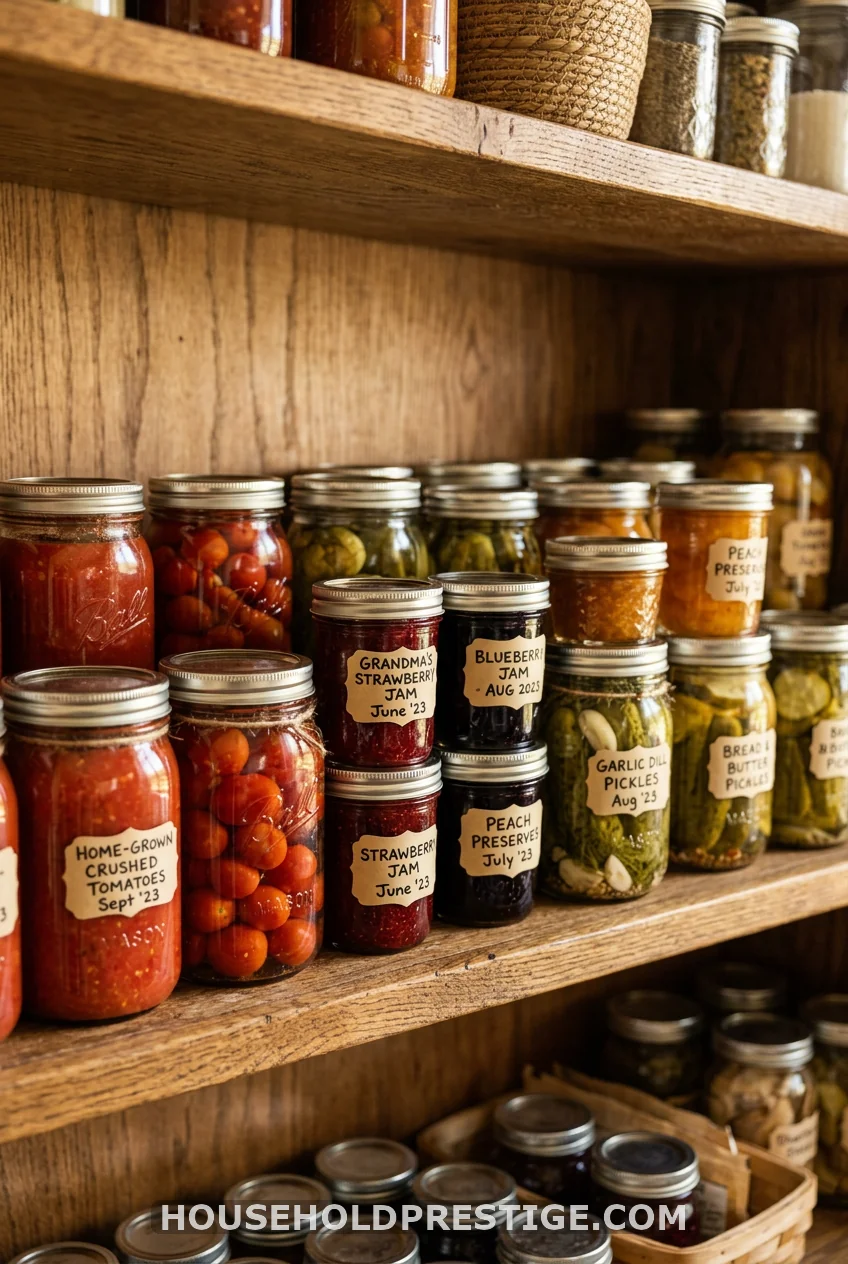
Growing food is half the skill. Keeping it through the winter is the other half. This is where homesteading gets really satisfying, because a shelf of jars you filled yourself is the best feeling I know.
11. Master Water-Bath Canning (The One Skill I’ll Teach You Start to Finish)
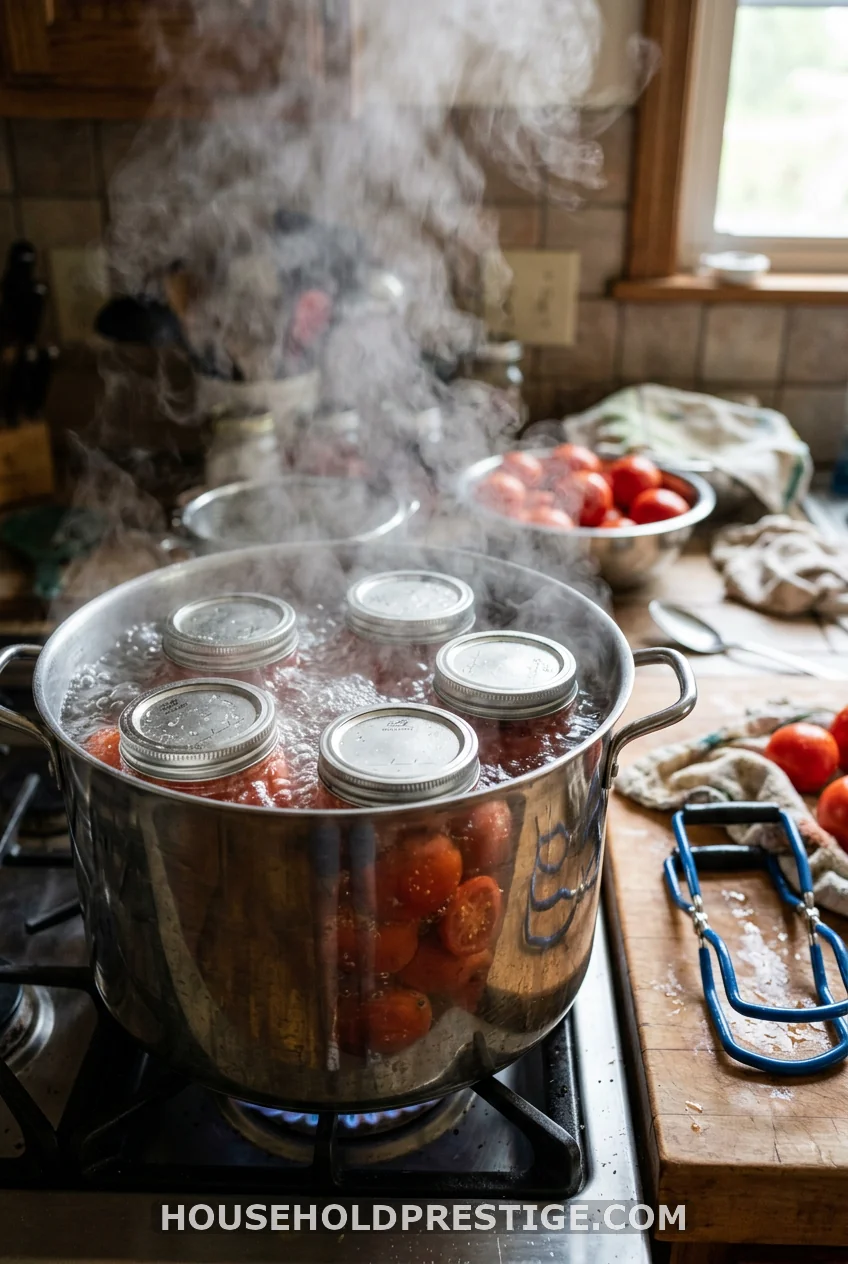
If you learn one preserving skill from this whole list, make it this one. Water-bath canning lets you store high-acid foods like tomatoes, jams, pickles, and fruit on a shelf for a year or more, with no fridge and no freezer. It’s how your grandmother kept summer alive through February.
It also intimidates people more than anything else on this list. So let’s walk through it together, top to bottom.
Why This Works
High-acid foods, plus a boiling-water bath, kill the bacteria and yeasts that spoil food. The heat also pushes air out of the jar, and as it cools, the lid seals down tight. That vacuum seal is what keeps your food safe on the shelf. The acid level matters, which is why this method works for tomatoes, fruit, and pickles but not for low-acid foods like green beans or meat. Those need a pressure canner, which is a skill for later.
What You Need and What It Costs
Here’s your full starter kit:
- A large stockpot or a dedicated water-bath canner, about $30 to $50. A tall pot you already own works if jars fit with two inches of water over the top.
- A rack for the bottom of the pot so jars don’t touch direct heat, often included with canners, or about $10.
- A jar lifter, the single most useful $8 you’ll spend, since lifting hot, wet jars by hand ends in burns or broken glass.
- Mason jars with two-piece lids. Ball and Kerr are the trusted names. A case of twelve pint jars runs $12 to $15.
- New flat lids every time. The rings reuse forever, but flat lids seal once.
Total startup: roughly $60 to $80, and most of it lasts for years.
The Step-by-Step Process
- Wash your jars in hot, soapy water and keep them warm. Cold jars can crack in hot water.
- Fill your canner with enough water to cover the jars by two inches and bring it to a simmer.
- Prepare your food; a basic crushed-tomato or strawberry-jam recipe is the gentlest start. Follow a tested recipe exactly, since the acid and timing keep you safe.
- Ladle the hot food into warm jars, leaving the headspace your recipe calls for, usually about a half inch of empty space at the top.
- Wipe each jar rim clean with a damp cloth. A sticky rim won’t seal.
- Set the flat lid on, screw the ring down to “fingertip tight,” meaning snug but not cranked.
- Lower the jars into the boiling water with your jar lifter. Keep them upright and spaced apart.
- Once the water returns to a full rolling boil, start your timer. Process for the time your recipe states, often 10 to 40 minutes, depending on the food and your altitude.
- Turn off the heat, wait five minutes, then lift the jars out and set them on a towel.
- Leave them undisturbed for 12 to 24 hours. You’ll hear the lids “ping” as they seal. That sound is pure joy.
How to Check Your Seal
Press the center of each cooled lid. If it doesn’t flex or pop back, it’s sealed. Sealed jars go on the shelf. Any jar that didn’t seal goes in the fridge to eat within a week. No shame in it, it happens to everyone.
Common Mistakes to Avoid
- Reusing flat lids. They seal once. A reused lid is the top reason jars fail.
- Skipping the rim wipe. One smear of jam means no seal.
- Cranking the rings too tight. Air needs to escape during processing, so fingertip tight is the rule.
- Guessing at recipes or cutting the acid. This is the one skill where you follow tested instructions to the letter. A free, trusted source is the National Center for Home Food Preservation.
- Forgetting to adjust for altitude. Higher elevations need longer processing. Your recipe will tell you how much.
The Pro Move
Start with jam. It’s forgiving, it sets even when you’re nervous, and a row of ruby-red jars on your counter will hook you for life. Once you’ve nailed jam, graduate to tomatoes, then pickles. Build the muscle, then add the harder foods.
12. Dehydrate Food
A dehydrator or even a low oven turns fruit into chewy snacks and herbs into seasoning that lasts for years. Dried apple rings, banana chips, and jerky cost a fortune at the store and pennies at home. Dehydrated food weighs almost nothing and stores in a fraction of the space canning takes.
13. Freeze Produce the Right Way
Freezing is the easiest preserving skill, but a quick blanch first keeps vegetables bright and crisp instead of mushy. Drop them in boiling water for a minute or two, shock them in ice water, then freeze. Berries freeze beautifully on a tray before you bag them.
14. Store Root Vegetables Without a Fridge
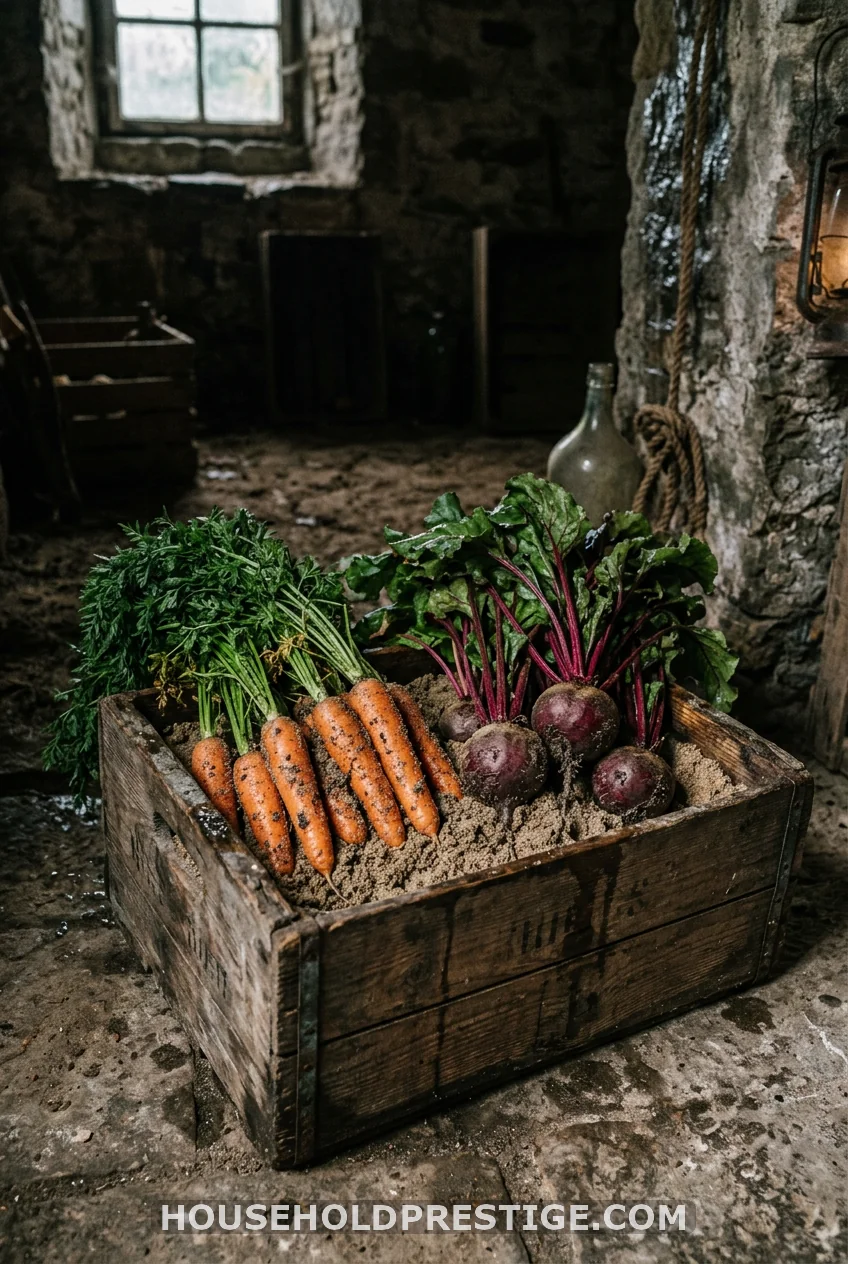
Carrots, beets, and potatoes keep for months in cool, dark storage, no electricity needed. Pack carrots and beets in a box of slightly damp sand, which holds moisture so they don’t shrivel. Keep potatoes in a dark, ventilated bin, never near onions, since each makes the other spoil faster. A cool closet, basement, or garage corner becomes your root cellar.
15. Make Jam and Preserve Fruit
Even without a full canning setup, you can make a small batch of refrigerator jam in twenty minutes. Crush fruit, add sugar and a little lemon, cook it down, and store it in the fridge. It’s the gateway to canning and the fastest way to taste why all this is worth it.
Raising Animals (Even in the Suburbs)
You might think animals require a farm. Plenty of homesteaders keep them in a regular backyard. Check your local rules first, then meet your new helpers.
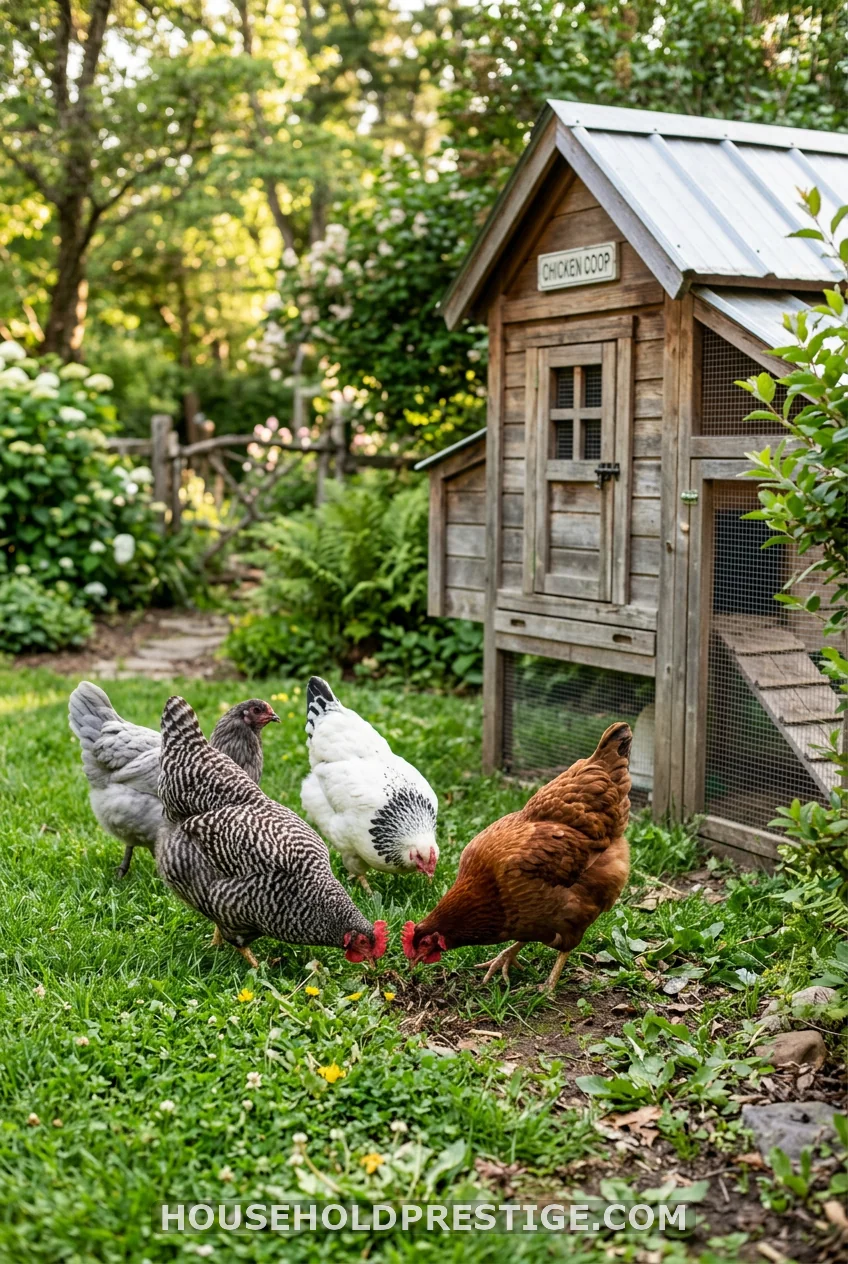
16. Keep Backyard Chickens
Three or four hens give you fresh eggs nearly every day, eat your kitchen scraps, and turn your garden soil while they’re at it. They’re the gateway animal for a reason.
You’ll need a coop for shelter at night, a run for daytime, food, water, and clean bedding. Hens start laying around five to six months old. They’re hardy, friendly, and far less work than a dog. Many cities now allow a small backyard flock, so check your ordinance before you fall in love with the idea.
17. Raise Quail or Rabbits in Small Spaces
When chickens aren’t allowed, or you’ve got almost no room, quail and rabbits fill the gap. Quail mature fast, lay tiny speckled eggs, and live happily in a stacked cage on a balcony. Rabbits provide meat and the best garden fertilizer there is. Both stay quiet, which keeps the neighbors happy.
18. Keep Bees
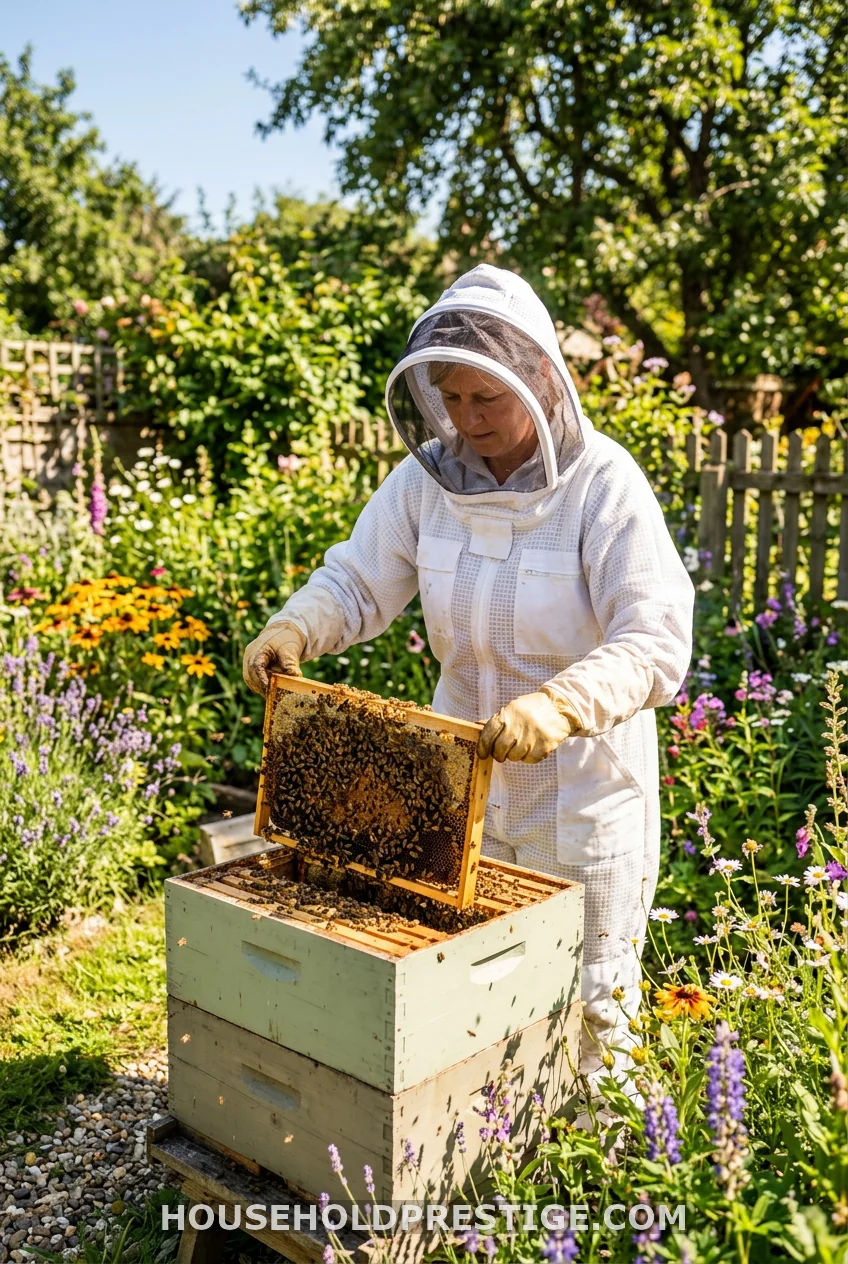
Bees pollinate your whole garden and hand you honey as a bonus. A single backyard hive can produce dozens of pounds of honey a year once it’s established.
Beekeeping takes more learning than chickens, so start with a local class or a mentor through a beekeeping club. If a full hive feels like too much, mason bees are the gentle starter. They don’t sting, need almost no care, and pollinate like champions from a simple little house you mount on a wall.
19. Learn Basic Animal First Aid
A vet isn’t always close or affordable, and animals get into trouble. Learn to spot the early signs of illness, clean and dress a wound, and keep a simple animal first-aid kit on hand. Knowing what’s an emergency and what you can treat yourself saves money, stress, and sometimes a life.
Make, Mend, and Craft
Buying everything new is a modern habit. The skill of making and fixing things is pure homesteading, and it saves real money.
20. Sew and Mend
Learn four stitches, and you can fix a torn seam, sew on a button, and patch a knee. That alone keeps clothes out of the trash for years. Hand sewing needs a needle, thread, and ten minutes of practice. Start by mending one shirt you’d otherwise toss.
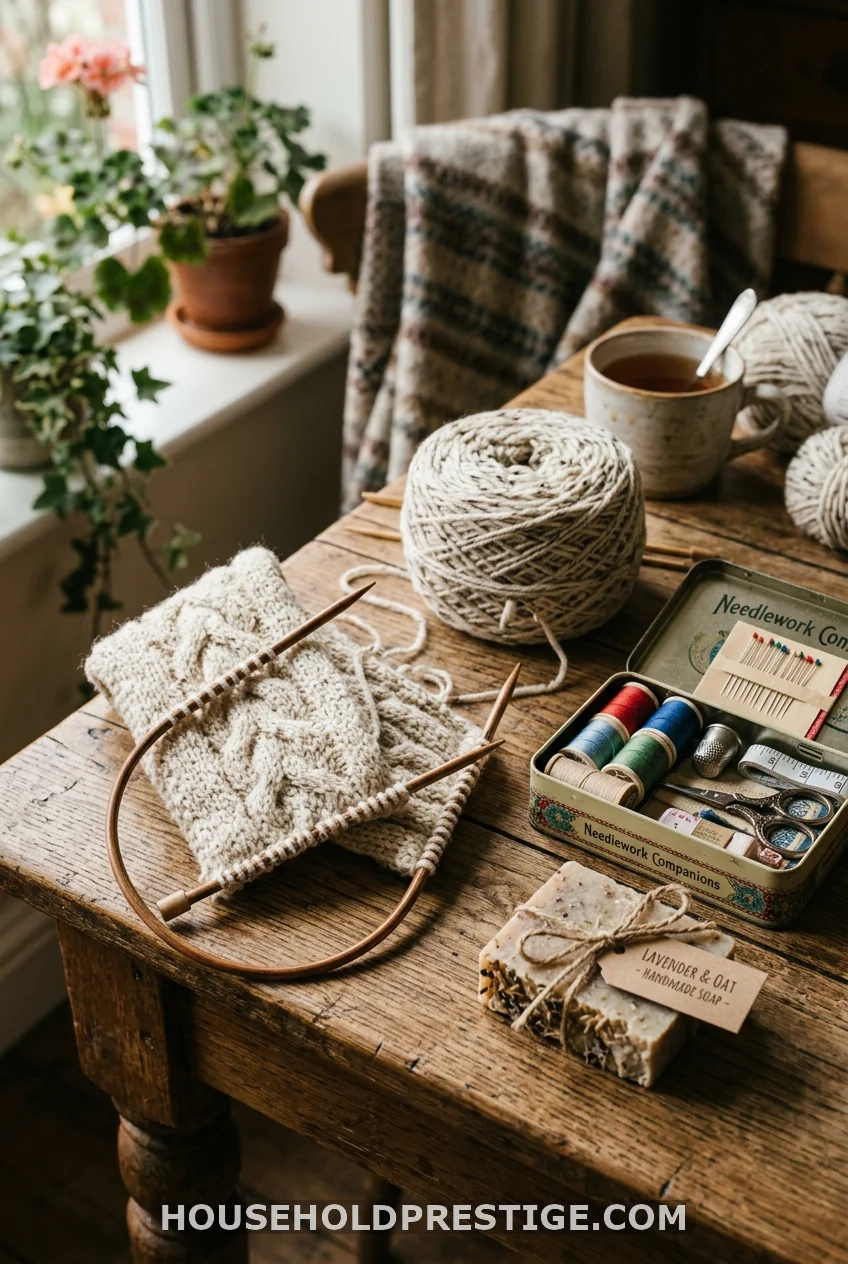
21. Knit or Crochet
Two needles or one hook, plus yarn, make hats, dishcloths, and blankets. It’s portable, cheap, and oddly soothing after a long day. A simple dishcloth is the perfect first project and teaches every basic stitch.
22. Make Soap
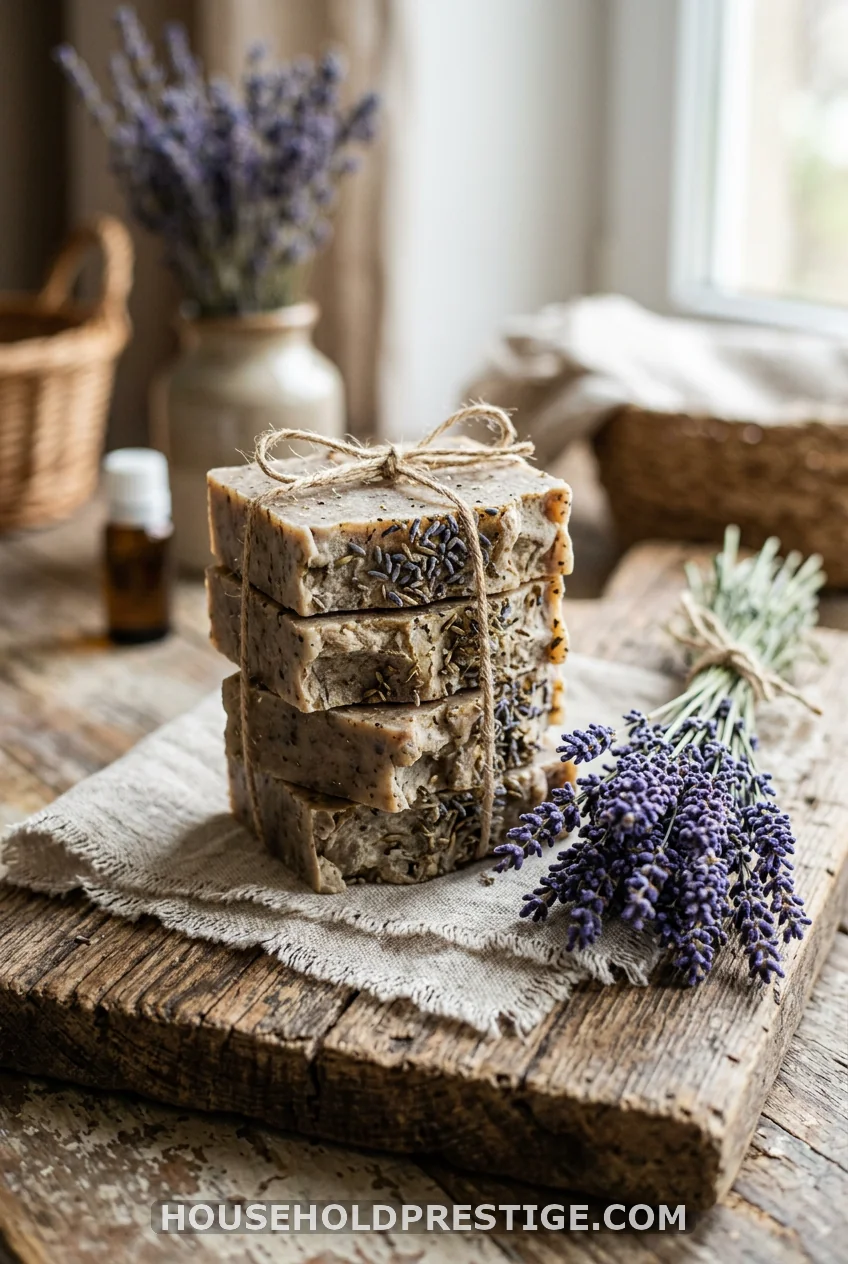
Soap making feels like alchemy the first time. You combine oils with lye, and a chemical reaction turns them into bars that clean your whole house.
Cold-process soap needs care, since raw lye burns, so you wear gloves and goggles and work in a ventilated space. Once it’s mixed and poured into a mold, it cures for four to six weeks while the harshness fades. The payoff is bars scented exactly how you like, free of the mystery ingredients in store soap, and they make gifts people truly treasure. If lye makes you nervous, start with melt-and-pour soap base instead, which skips the chemistry entirely.
23. Make Candles
Melt wax, add a wick and a little scent, and pour into a jar. That’s a candle. You can even reuse old candle stubs and pretty jars you’d otherwise recycle. A cozy homemade candle costs a couple of dollars and makes the whole house smell like your favorite season.
24. Try Basic Woodworking
A few tools and a free afternoon let you build a raised garden bed, a simple shelf, or a nesting box for your hens. You don’t need a workshop. A drill, a saw, and some lumber from the hardware store cover most beginner projects. Each thing you build instead of buy teaches your hands a little more.
Money, Self-Reliance, and Old Wisdom
The heart of homesteading isn’t the chickens or the jam. It’s leaning less on stores and more on yourself. These last skills tie the whole thing together.
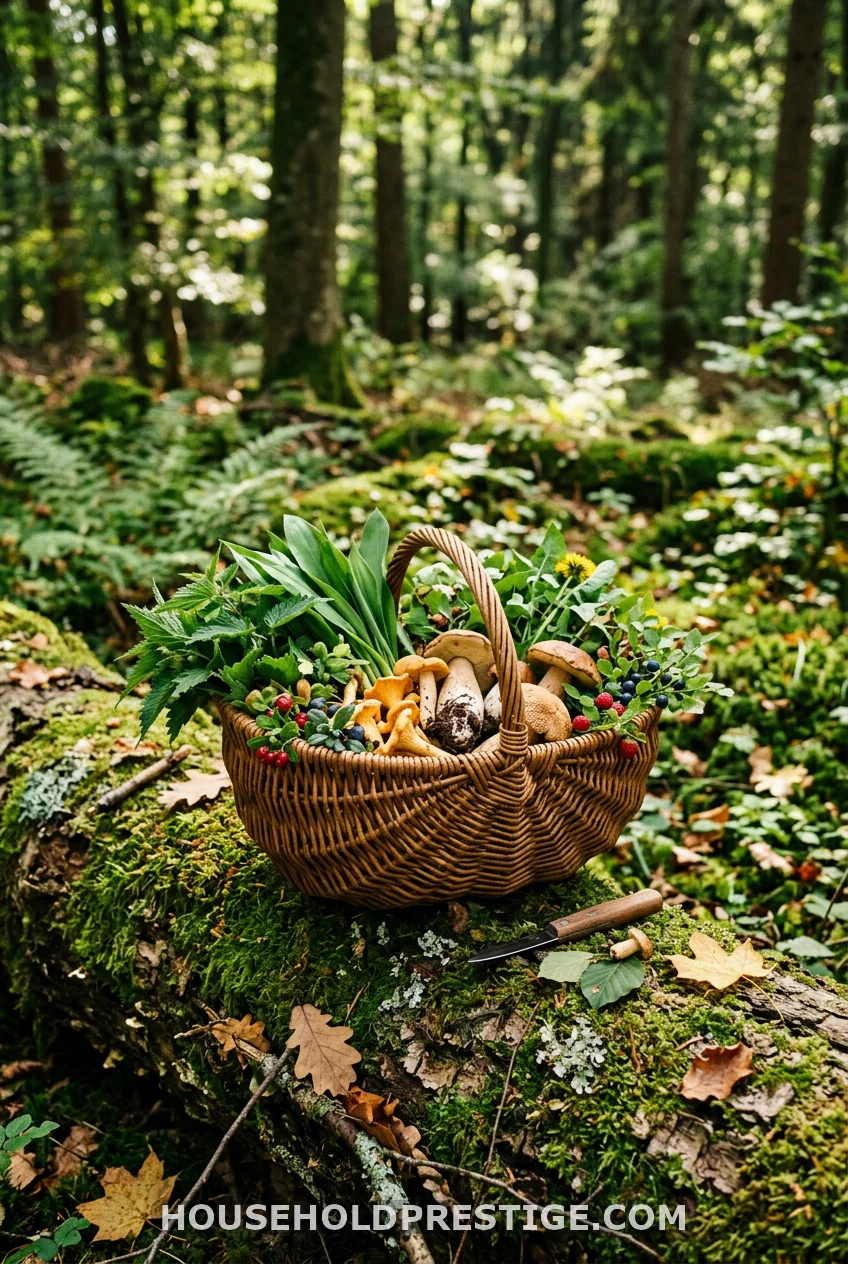
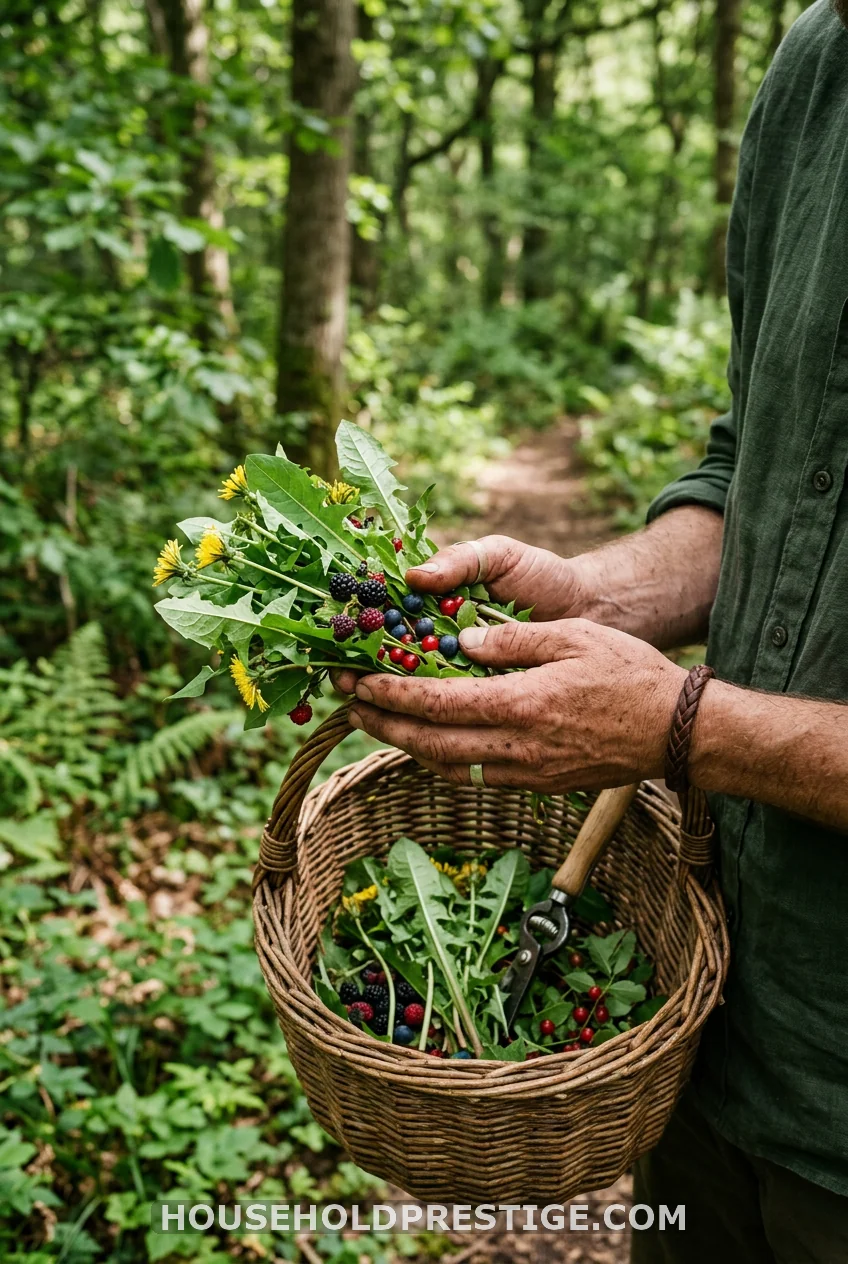
25. Forage Wild Edibles (Let’s Bust a Myth First)
What most people think: Foraging is dangerous, complicated, and one wrong berry away from a hospital trip.
The reality: You almost certainly already recognize several wild edibles, and they grow in ordinary yards and parks. Dandelions are entirely edible, from leaves to root. Blackberries and raspberries grow wild along countless trails. Wild violets, purslane, and lamb’s quarter are common, safe, and delicious.
The honest rule is simple: never eat anything you can’t identify with total certainty. Start with the handful of plants that have no toxic look-alikes, like dandelions and obvious berries. Buy a regional field guide, or better, walk with someone local who knows. Skip mushrooms entirely until you’ve trained with an expert, since that’s where the real risk lives. Foraging isn’t reckless. It’s just paying attention to the free food that’s been growing under your nose all along.
26. Budget Like a Homesteader
Frugal living is the quiet skill behind every other one on this list. Track where your money really goes for one month, and the leaks show themselves. Cook at home, repair before replacing, buy used, and waste nothing. Every dollar you don’t spend is a dollar of freedom. The homesteading mindset turns “I can’t afford that” into “I can make that,” and that shift changes everything.
27. Collect Rainwater and Respect Your Water (A Quick Cautionary Tale)
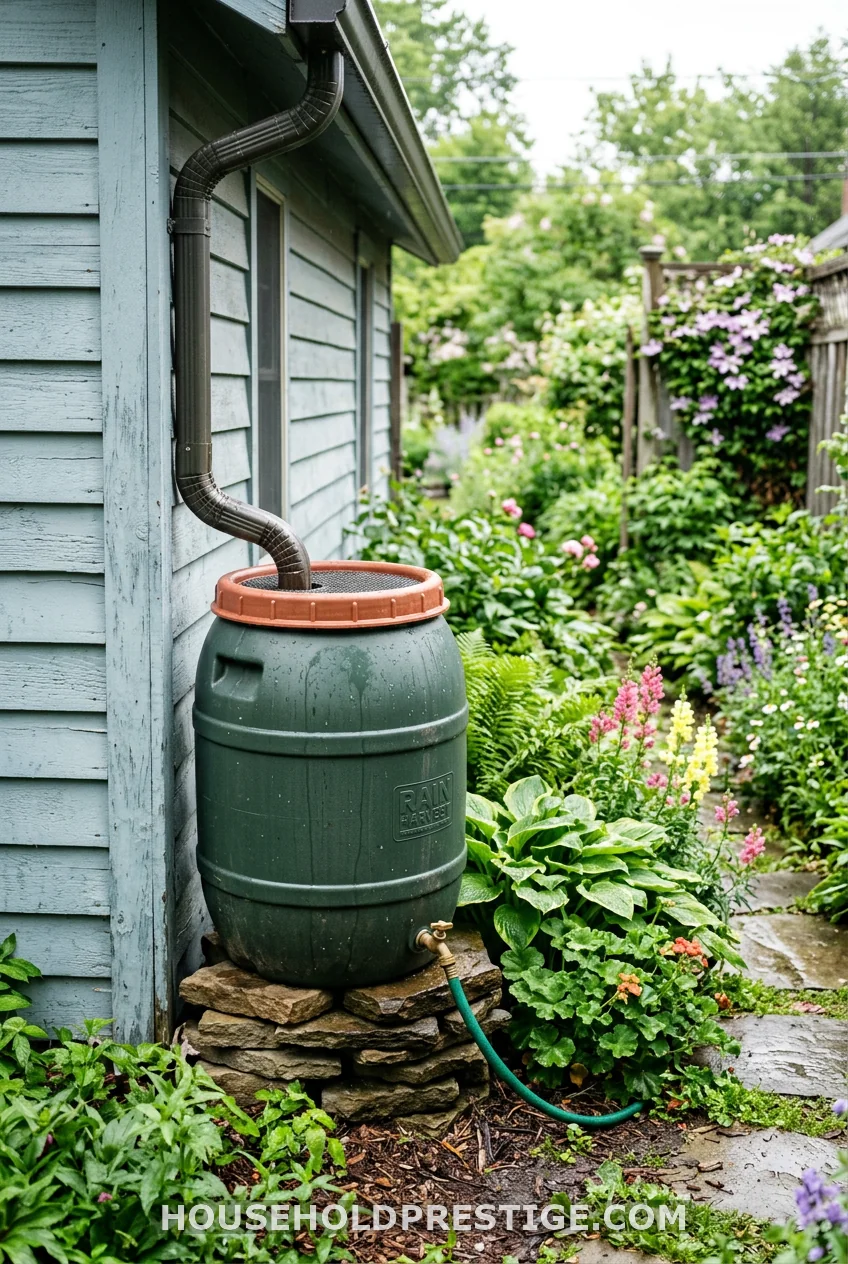
Let me tell you about my first rain barrel, so you can skip my mistake.
I was thrilled. Free water for my garden, straight from the sky. I hooked a barrel to my downspout, felt very self-reliant, and walked away. I didn’t screen the top. Two weeks later, it was a buzzing mosquito nursery, and the water smelled like a swamp. I’d also set it on flat, soft ground, so when it filled with a few hundred pounds of water, it tilted and nearly toppled onto my tomatoes.
Here’s what I should have done from the start. Cover the opening with a fine mesh screen to block mosquitoes and debris. Set the barrel on a sturdy, level base of cinder blocks, since water is shockingly heavy. Use the collected water for your garden and plants, not for drinking, unless you’ve properly filtered and treated it. Done right, a rain barrel cuts your water bill and keeps your garden green through a dry spell. Done lazy, it’s a mosquito factory that falls over. Learn from my swamp barrel.
You Don’t Need a Farm. You Need a Start.
Here’s what I hope you take away. Homesteading skills aren’t a club you join after you buy land. They’re things you do, starting now, in the home you already have.
You won’t learn all 27 this year, and you shouldn’t try. Pick one that made you lean in while you read. Bake the bread. Plant the seeds. Fill one jar. Master that, then reach for the next one. That’s exactly how every homesteader you admire got started, one small skill at a time.
The dream homestead can wait. The skills can start today, right where you’re standing.
Frequently Asked Questions
What homesteading skills should a complete beginner learn first?
Start with skills that need no land and little money: baking bread, growing herbs in a window, making yogurt, and basic from-scratch cooking. These build confidence fast and prove you can do this right where you live. Add one new skill at a time instead of trying to learn everything at once.
Can you really learn homesteading skills without owning land?
Yes, and most people do. Cooking, preserving, fermenting, sewing, soap making, and container gardening all happen in a regular kitchen or on a balcony. Land lets you scale up later, but the core homesteading skills are built indoors and in small spaces every single day.
How long does it take to learn homesteading skills?
Some take an afternoon, like making soft cheese or a batch of refrigerator jam. Others, like canning, beekeeping, or gardening, deepen over a few seasons of practice. The point isn’t mastery by a deadline. It’s steady progress, one skill at a time, that compounds over the years.
Which homesteading skills save the most money?
Cooking from scratch, gardening, preserving your harvest, and mending what you own deliver the biggest savings. Frugal budgeting ties them together. Each one replaces something you’d otherwise buy, and the savings stack up month after month as your skills grow.
Do I need expensive equipment to start homesteading?
No. Most beginner homesteading skills use tools you already own, like a pot, a needle, or a windowsill. A few skills need a small investment, such as a $60 to $80 canning kit, but you can start almost everything else for next to nothing and add gear only as you go.