

You open your sliding-door closet, and only half of it shows up. The other half hides behind the panel you just pushed closed. Sound familiar?
That’s the trap with sliding door closet organization ideas most people skip: you’re not organizing a normal closet. You’re organizing two zones that never fully open at the same time. Fix that, and everything else gets easier.
I’ve lived with a bypass closet for years, in three different apartments, and I’ve made every mistake on this list before I fixed it. Here’s what holds up over time.
1. Put Hooks Only on the Fixed Panel
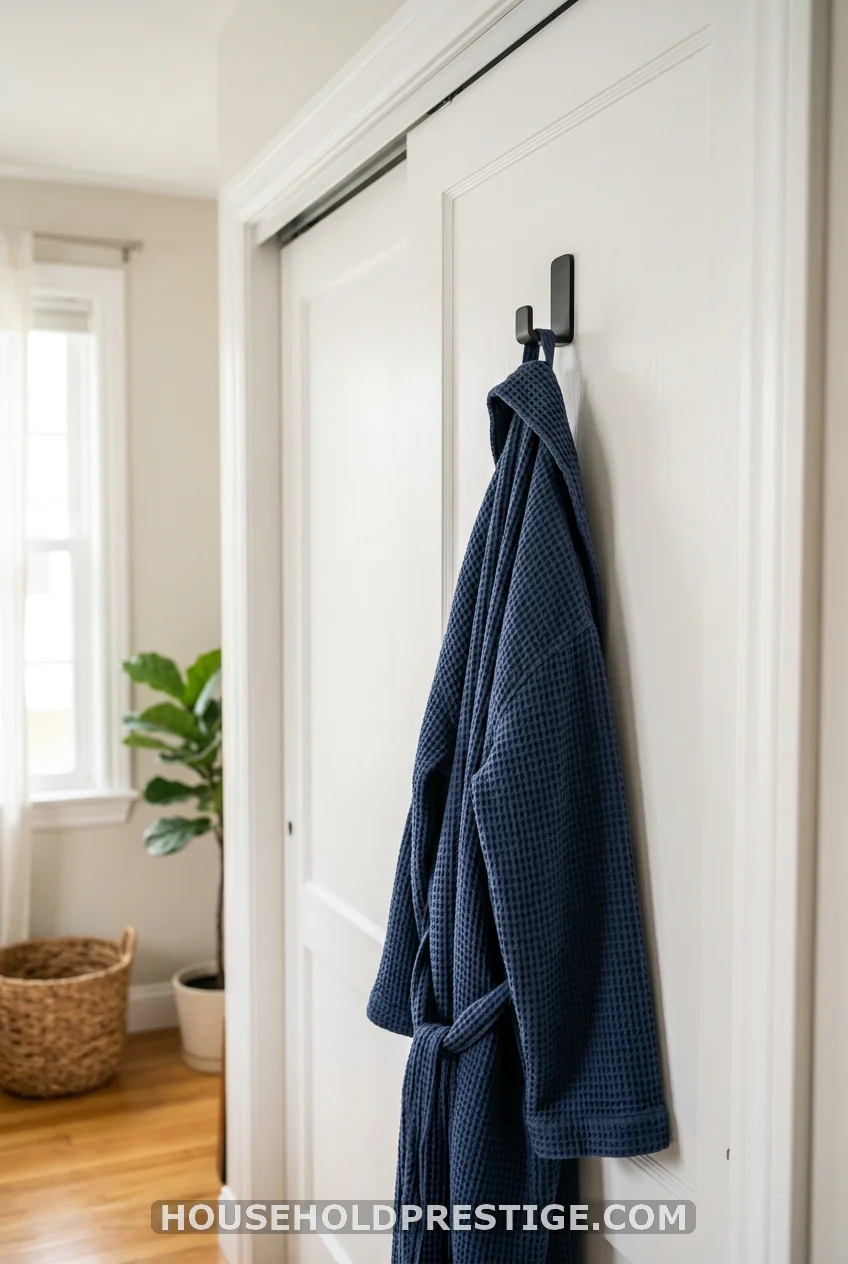
One panel moves. One doesn’t. Mount hooks, jewelry racks, or anything door-hung on the panel that stays still. Put them on the sliding side, and they’ll catch, scrape, or knock loose every time the door glides past its neighbor.
2. Double Your Rod Space in One Afternoon
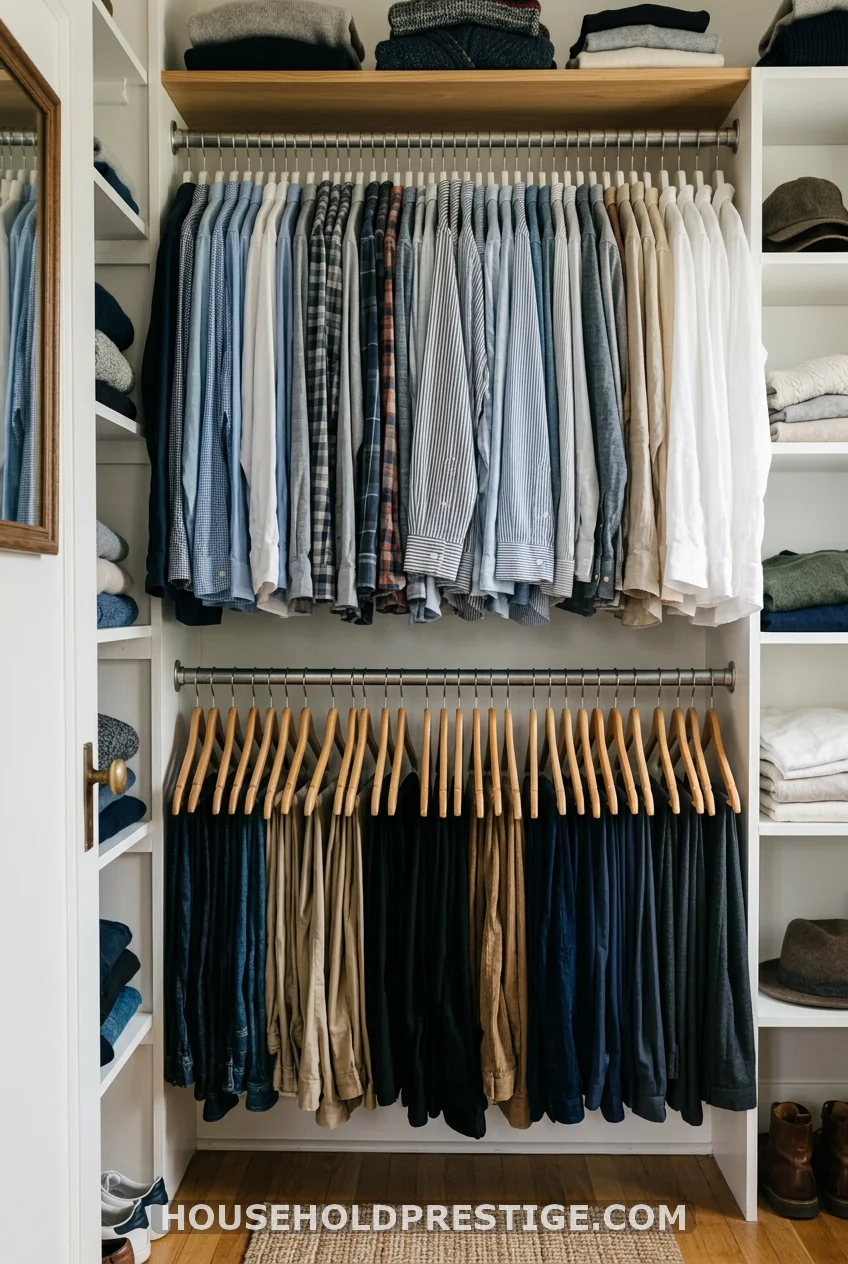
A single low rod wastes the top third of your closet. Add a second rod above it, either with brackets or a clip-on extender that hooks to your existing bar. Shirts and folded pants go up top. Dresses and coats keep the lower rod. You get roughly double the hanging capacity without touching a wall stud.
Adjustable rod extenders run about ten to twenty dollars and take fifteen minutes to install. If your closet ceiling sits higher than eight feet, this single move solves most of your space problem before you buy anything else.
3. Store Daily Clothes in the Middle
Bypass doors only expose the center third of the closet at any moment. That’s where your everyday clothes belong, not off in a corner you can only reach with the door fully open. Rare-occasion pieces go to the outer edges instead.
4. Build a Pull-Out Drawer System That Works With the Track, Not Against It
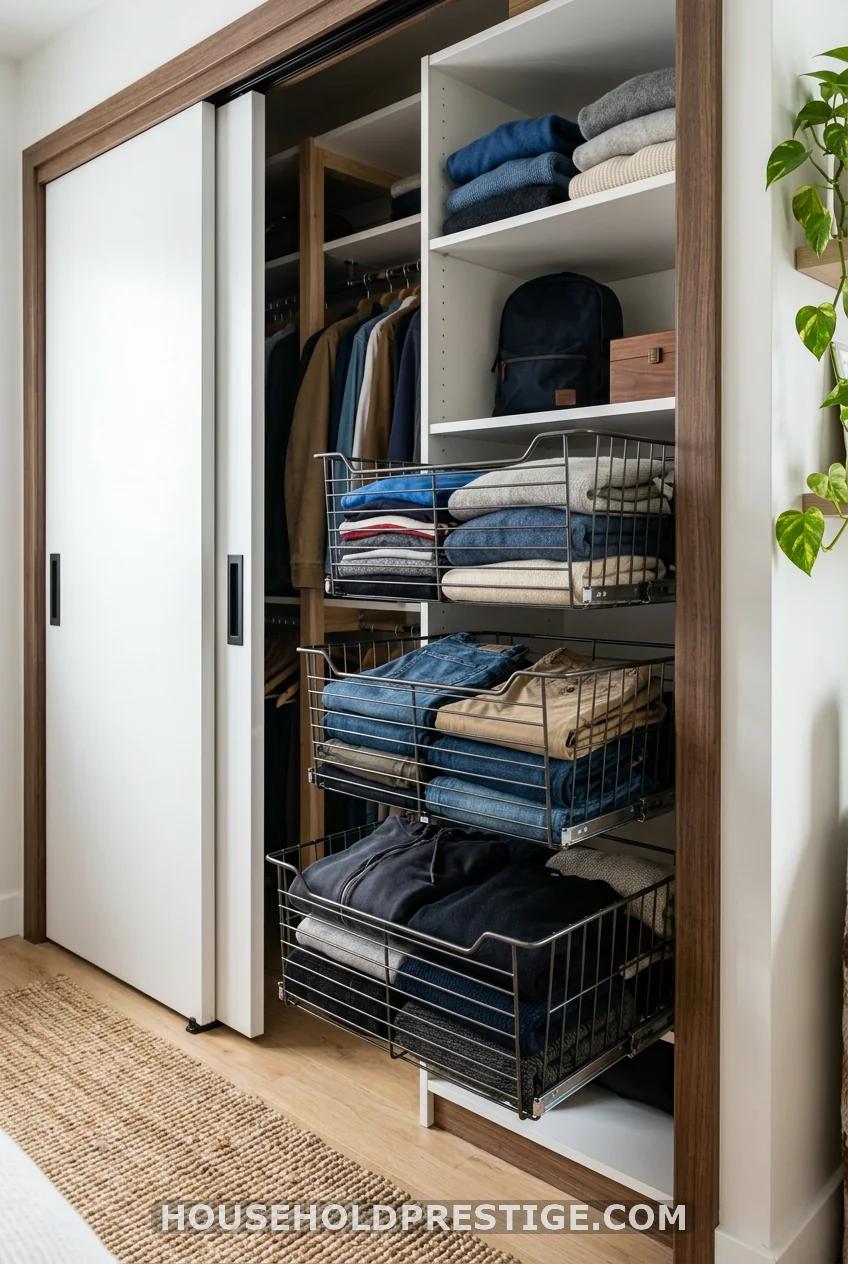
This is a project worth doing properly, because a bad pull-out system jams against the door track within a month.
Why This Works
Sliding doors move side to side along a fixed track. Anything you pull out of the closet needs to move forward, into the room, not sideways into the door’s path. Drawers and baskets that extend perpendicular to the track solve that. Regular closet shelving with deep bins does not, because you’ll be sliding heavy bins sideways every single day, right where the door needs to travel.
Materials and Costs
| Item | Approximate Cost |
|---|---|
| Wire pull-out basket kit (3-tier) | $60–$110 |
| Closet-rated drawer slides | $8–$15 per pair |
| Mounting brackets and screws | $10–$15 |
| Optional: pre-built closet organizer unit | $150–$300 |
A basic wire-basket kit from a hardware store covers most closets under six feet wide. Wider closets or walk-in-adjacent spaces do better with a full pre-built unit.
Step-by-Step Installation
- Measure the interior depth of your closet, then subtract three inches for door clearance. This is your maximum drawer depth.
- Mark stud locations on the side wall using a stud finder, since wire baskets carry real weight once loaded.
- Attach the side rail or bracket system to studs, checking level every few inches.
- Slide the first basket into place and test the pull motion before mounting the rest. Baskets should glide with the door fully closed and fully open, not just at one position.
- Add baskets from bottom to top, heaviest items on the lowest tier for stability.
- Test the sliding door through a full open-close cycle with all baskets loaded. If anything catches, the unit sits too deep and needs to move back.
Common Mistakes to Avoid
- Mounting too close to the door track. Leave at least two to three inches of clearance between any pull-out mechanism and the door’s path, or you’ll hear scraping within a week.
- Skipping the stud check. Loaded wire baskets pull hard on drywall anchors alone. Find studs, or use toggle bolts rated for at least forty pounds.
- Buying a kit sized for a walk-in closet. Most bypass closets run narrower than standard walk-ins. Measure twice before ordering.
Pro Tip
Test the whole system empty first, running the doors back and forth ten times, before you load a single item. Catching a clearance problem now saves you from unmounting a fully loaded unit later.
When It’s Worth the Extra Cost
A pre-built closet organizer unit costs two to three times more than a basic wire-basket kit, but it earns that difference back in a narrow bypass closet. Basic kits assume a standard depth of twenty-2 to twenty-four inches. Bypass closets often run shallower, closer to eighteen to twenty inches, because the door track itself eats into usable space. A pre-built unit lets you specify exact depth, so you’re not trimming shelving with a hacksaw to make a generic kit fit a non-generic closet.
If your closet sits at standard depth and standard width, skip the upgrade. The basic kit does the same job for a third of the price, and the install time barely changes either way.
The Catch Nobody Mentions
Every pull-out system, no matter how well you install it, adds weight to whatever it’s mounted on. A wire basket loaded with folded sweaters can run fifteen to twenty pounds per tier. Multiply that across four or five tiers, and you’re asking a bracket system to hold close to a hundred pounds off a single wall. That’s exactly why the stud check in step two isn’t optional. Skip it, and you’ll find the whole unit sagging forward within a few months, right at the point where it starts scraping the door track you worked so hard to clear.
5. Swap One Panel for Mirror or Frosted Glass
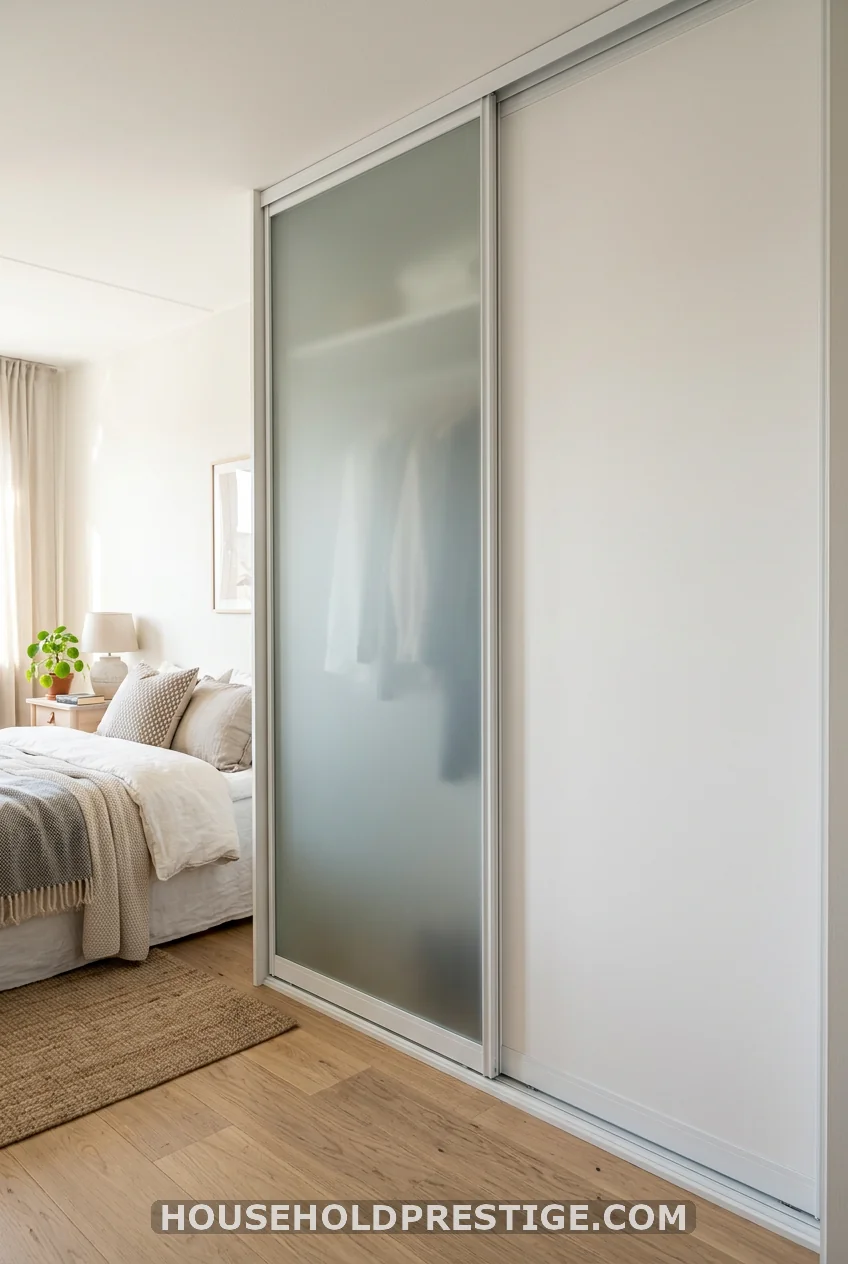
A single mirrored or frosted panel bounces light into the closet interior and makes a small bedroom read larger. You don’t need to replace both doors, just one.
6. Zone by Color, Not Just Category
Grouping by garment type only gets you halfway. Add a color gradient within each category, light to dark, left to right. When you’re grabbing a shirt in a half-open closet, your eye finds the right shade fast, even with half the rod hidden behind the closed panel.
Keep a small set of color-coded bins on the shelf above for the accessories that don’t hang: scarves, belts, folded scarves, and jewelry pouches.
7. The Panel I Got Wrong (And What It Cost Me)
I hung an over-the-door shoe organizer on the wrong panel in my first bypass closet. Six months in, I noticed a thin groove worn into the paint where the organizer’s top bar scraped the neighboring door every time I slid it shut. By the time I caught it, the groove had gone through primer down to bare wood.
The fix took ten minutes: unscrew the organizer, remount it eighteen inches over on the fixed panel, done. But the door itself needed sanding and repainting, a weekend project I hadn’t budgeted for. The lesson stuck harder than any tip I’ve read since: before you hang a single thing on a sliding door, slide it through its full range of motion with a tape measure in hand and check exactly what stays still and what doesn’t.
8. Add a Slim Corner Shelf
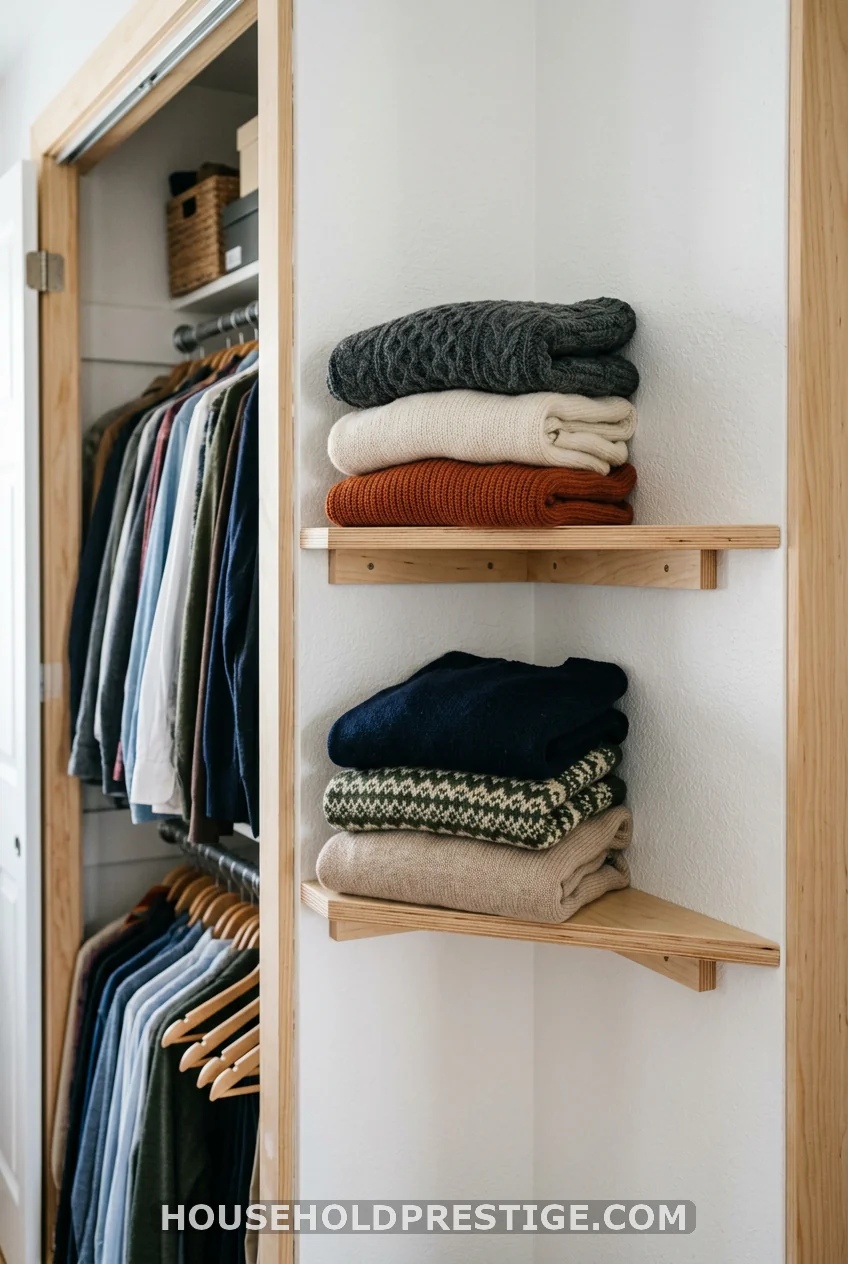
Bypass closets waste their corners more than any other closet style, because the door hardware eats into usable wall space near the frame. A slim triangular shelf tucked into the back corner claims space nothing else can reach.
9. Light the Dark Half
Sliding closets lose ambient light the moment you close one panel over half the interior. A battery-powered or magnetic LED strip along the top shelf, wired to a motion sensor, solves this without an electrician. Stick it along the header, angled down, and both zones stay visible even with a door half-closed.
Rechargeable puck lights work too, and they run about eight to fifteen dollars each with no wiring at all.
10. Switch to Matching Slim Hangers
Uniform slim hangers, wood or velvet, reclaim an inch or two of rod space per garment. Multiply that across forty items and you’ve added real capacity for zero dollars in construction. It also just looks calmer through a half-open door.
11. Rotate Seasonal Items Through Clear, Labeled Bins
Off-season clothing eats prime rod and shelf space year-round if you let it. Clear bins on the top shelf, labeled by season, keep out-of-rotation items visible without taking up daily-access real estate. Swap them twice a year and your everyday zone never feels crowded.
12. Leave Real Clearance at the Track
Two to three inches between any organizer and the door track isn’t optional. Sliding doors need that gap to glide freely, and skipping it is the single most common reason DIY closet upgrades start jamming within a month. Measure before you mount anything, not after.
13. Turn the Fixed Panel Into an Accessory Station
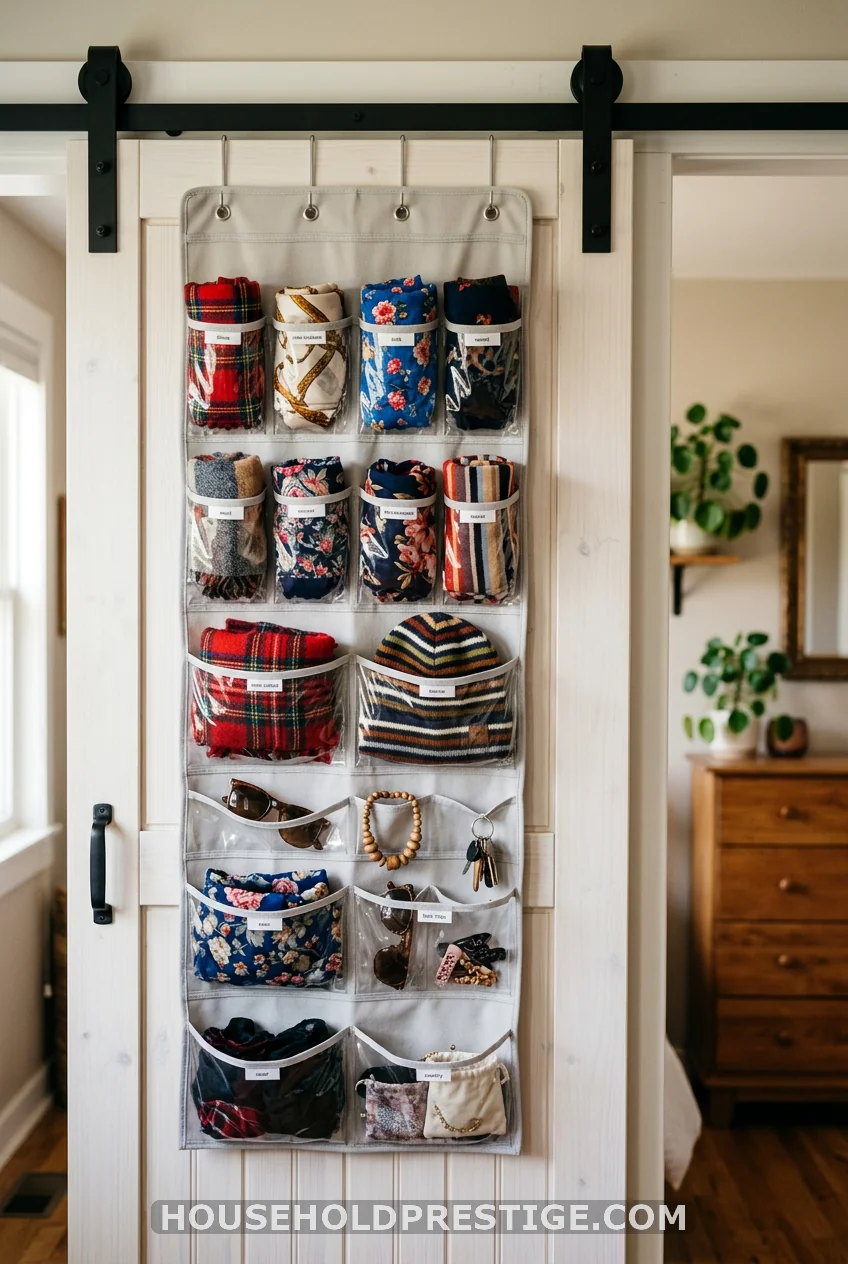
Once you’ve confirmed which panel stays still, that panel becomes prime real estate. A pocket organizer, a slim jewelry rack, or a set of hooks turns dead vertical space into storage for the small stuff that usually ends up in a pile on the shelf.
Getting It Right the First Time
A sliding door closet requires a bit of planning that a standard closet doesn’t need. Once you know which panel moves and give your organizers real clearance, the rest of this list drops into place fast. Start with the fixed-panel hooks and the pull-out drawer project, since those two solve the biggest daily friction, then layer in lighting and color zones whenever you’ve got a free hour.
Frequently Asked Questions
How much clearance do sliding closet doors need from interior organizers?
Leave two to three inches between any shelf, basket, or hook and the door’s track path. Less than that, and you’ll hear scraping within weeks.
Can I add shelves inside a sliding door closet without professional installation?
Yes, as long as you mount into wall studs for anything load-bearing and measure clearance against the door’s full range of motion before drilling.
What’s the best way to organize a small bypass closet with two sliding doors?
Keep everyday items in the center third, where both panels overlap least, and reserve the outer edges for occasional-use pieces you can reach with the door pushed fully open.
Do mirrored sliding closet doors make a small bedroom look bigger?
Yes. A single mirrored panel reflects light and adds visual depth without the cost of replacing both doors.
How do I stop a sliding closet door from jamming after adding storage?
Check clearance at the track first. Most jamming comes from an organizer mounted too close to the door’s path, not from a mechanical hardware problem.