

You open the closet door. A stack of sweaters tips sideways. A shoebox falls on your foot. Sound familiar? Closet shelf organization isn’t about buying more bins. It’s about making the shelves you already have work harder.
I’ve rebuilt three closets in this house, and every single time, the shelves were the problem, not the clothes. Too few zones. Too much dead air above the hanging rod. Wire shelving that bends under a stack of jeans. Once the shelves are right, everything else falls into place fast.
Here’s what helps most, from tiny fixes you can do tonight to a full custom build for the weekend.
1. Add Shelf Dividers to Stop the Toppling Piles
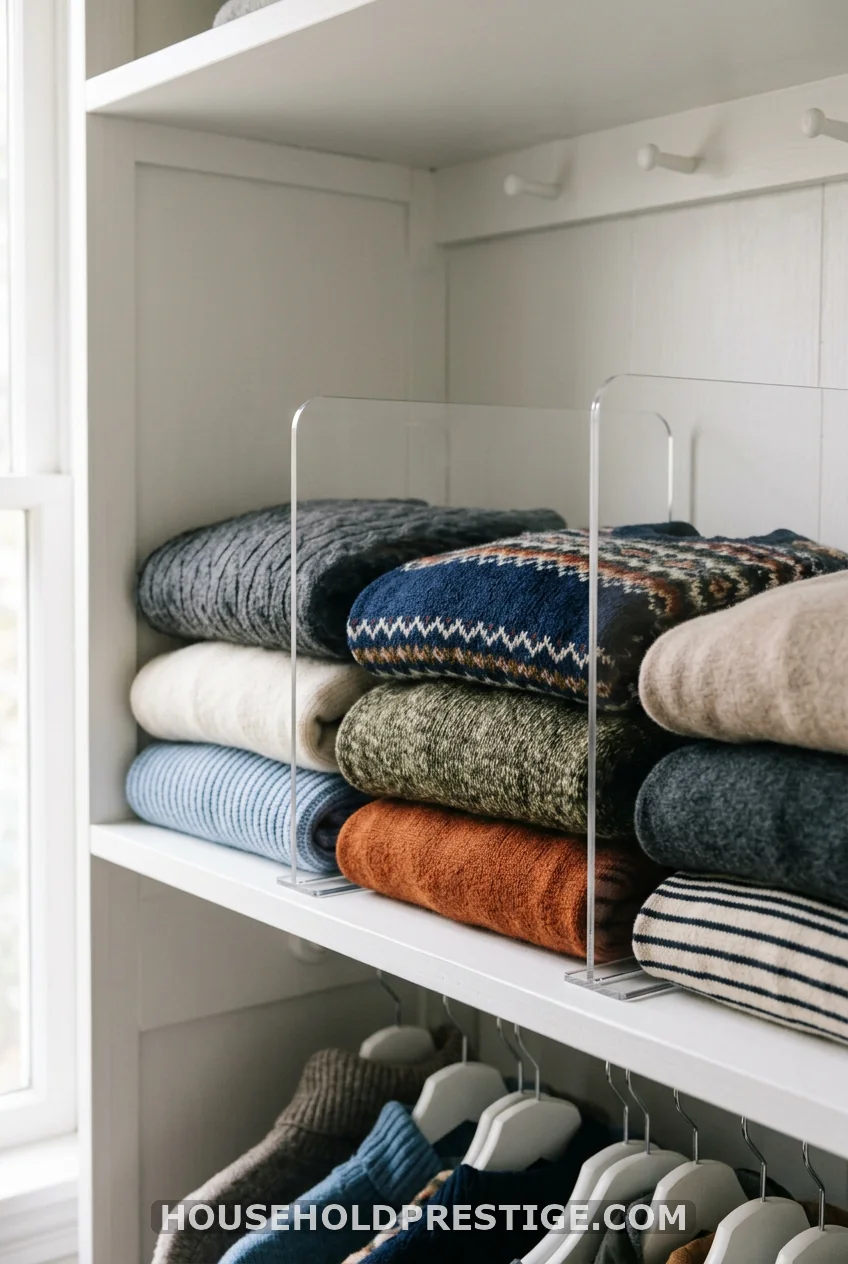
Clear acrylic dividers slide onto any shelf edge in seconds. Set one every eight to ten inches, and your sweater stack stops leaning on its neighbor. No tools, no drilling, no excuse not to do this today.
2. Install Adjustable Shelving Instead of Fixed Wire
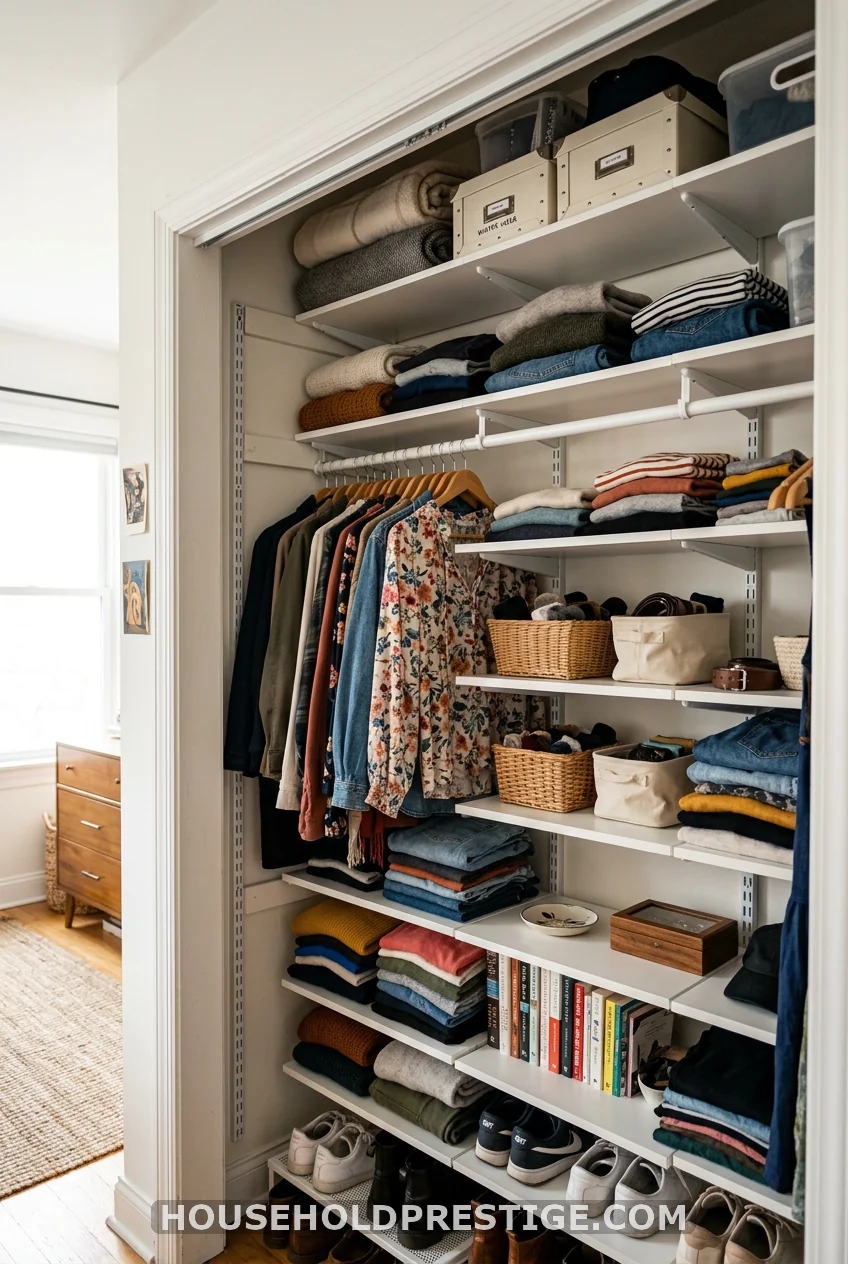
Fixed wire shelves lock you into one height forever, and most closets waste six inches of air between shelves that don’t need it. A track and bracket system lets you move each shelf up or down as your storage needs change. Kids grow. Seasons rotate. Your shelves should move with them.
Track kits run $40 to $90 for a standard reach-in closet, and installation takes about an hour with a stud finder and a level. Once it’s in, you can reconfigure the whole layout in minutes without a single new hole in the wall.
3. Use Vertical Risers to Double Every Shelf
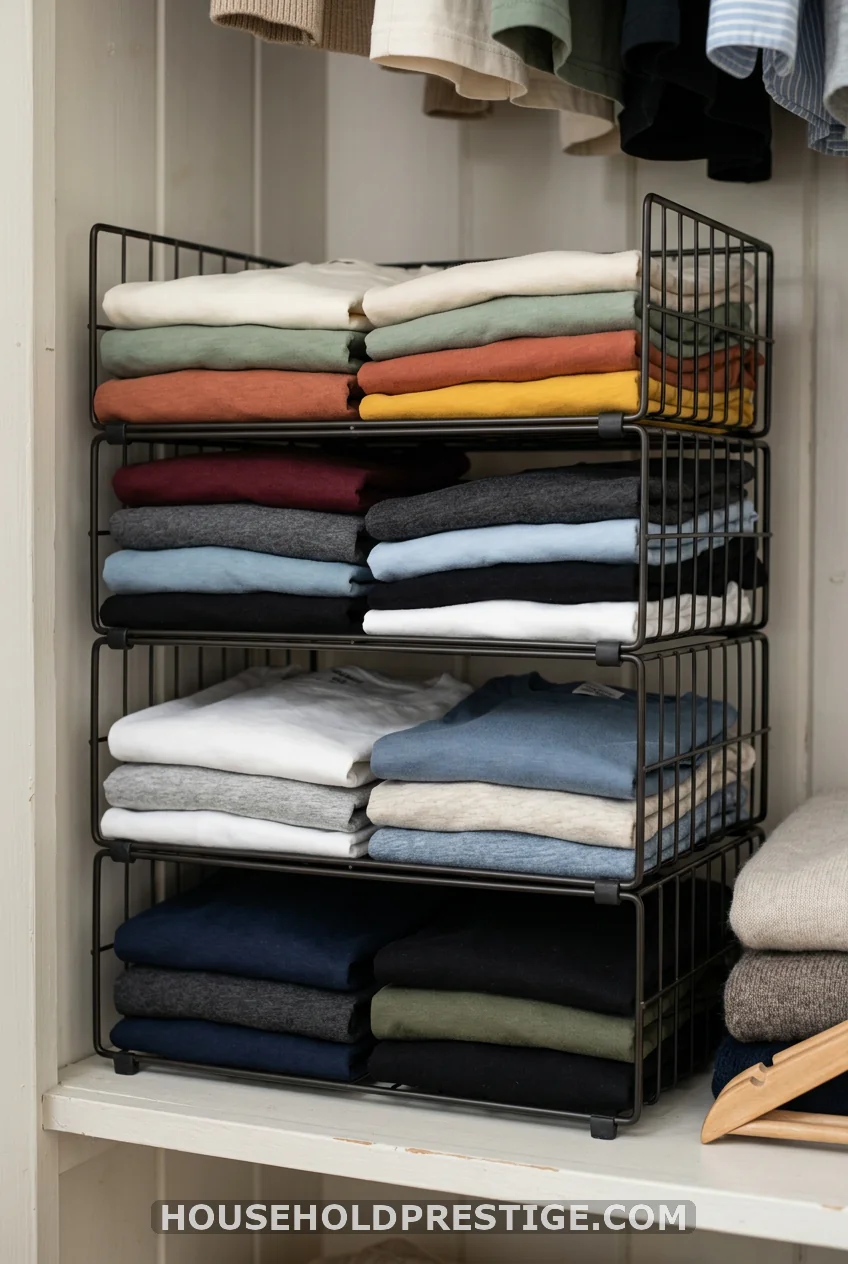
Risers turn one flat shelf into two usable layers. Set folded shirts on the bottom tier and stack lighter items, like scarves or hats, on top. It costs less than dinner out and doubles your shelf capacity overnight.
4. Myth vs. Reality: More Shelves Always Means More Storage
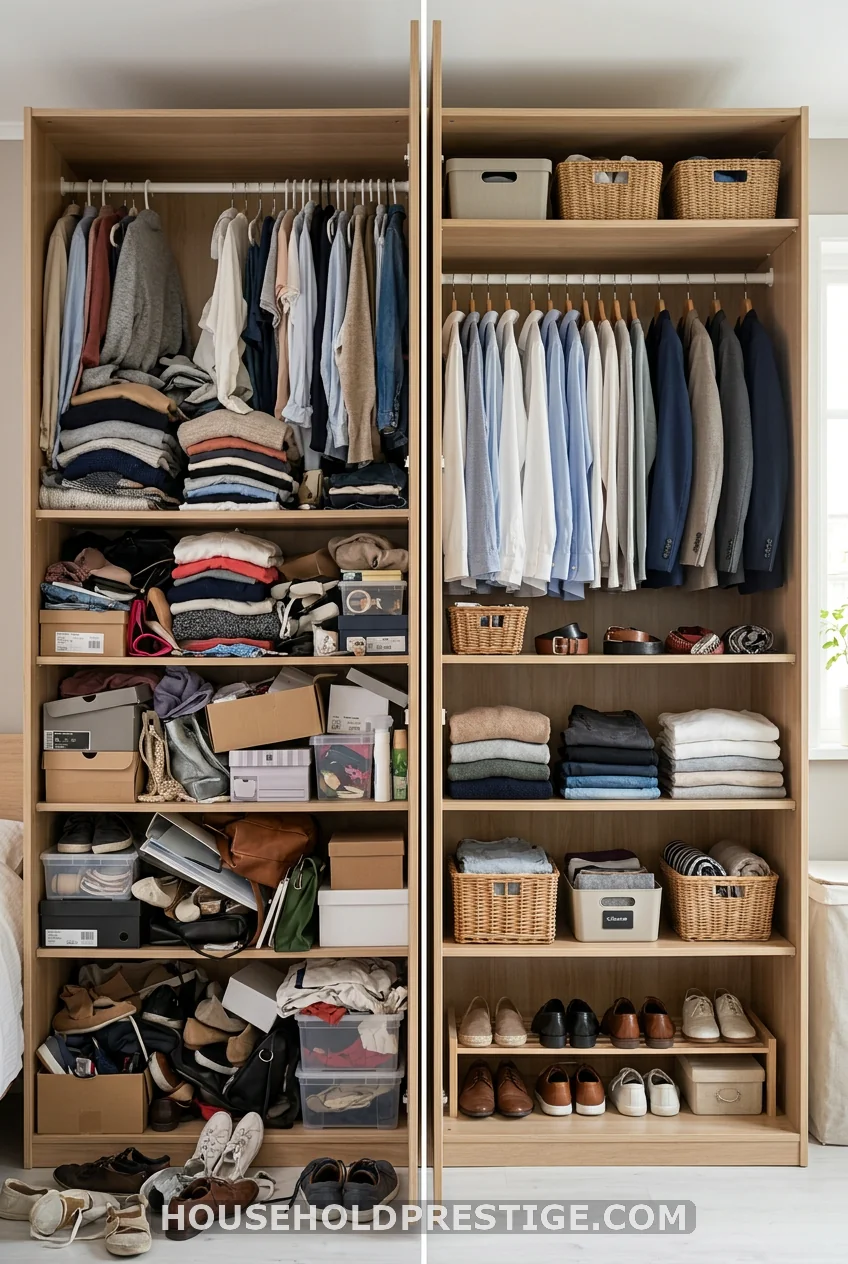
What most people think: Cramming in five extra shelves solves the storage problem.
The reality: Narrow, closely spaced shelves cut your usable height and make everything hard to reach without pulling three other things down first. A closet with four well-placed shelves at the right depth often holds more than one with eight shallow shelves stacked too tight.
Before you add another shelf, measure what you’re storing right now. Sweaters need eleven to thirteen inches of clearance. Shoes need seven. Match the gap to the item, not the other way around, and you’ll fit more with fewer shelves, not more.
5. Build Custom Plywood Shelves to Fit Your Exact Closet
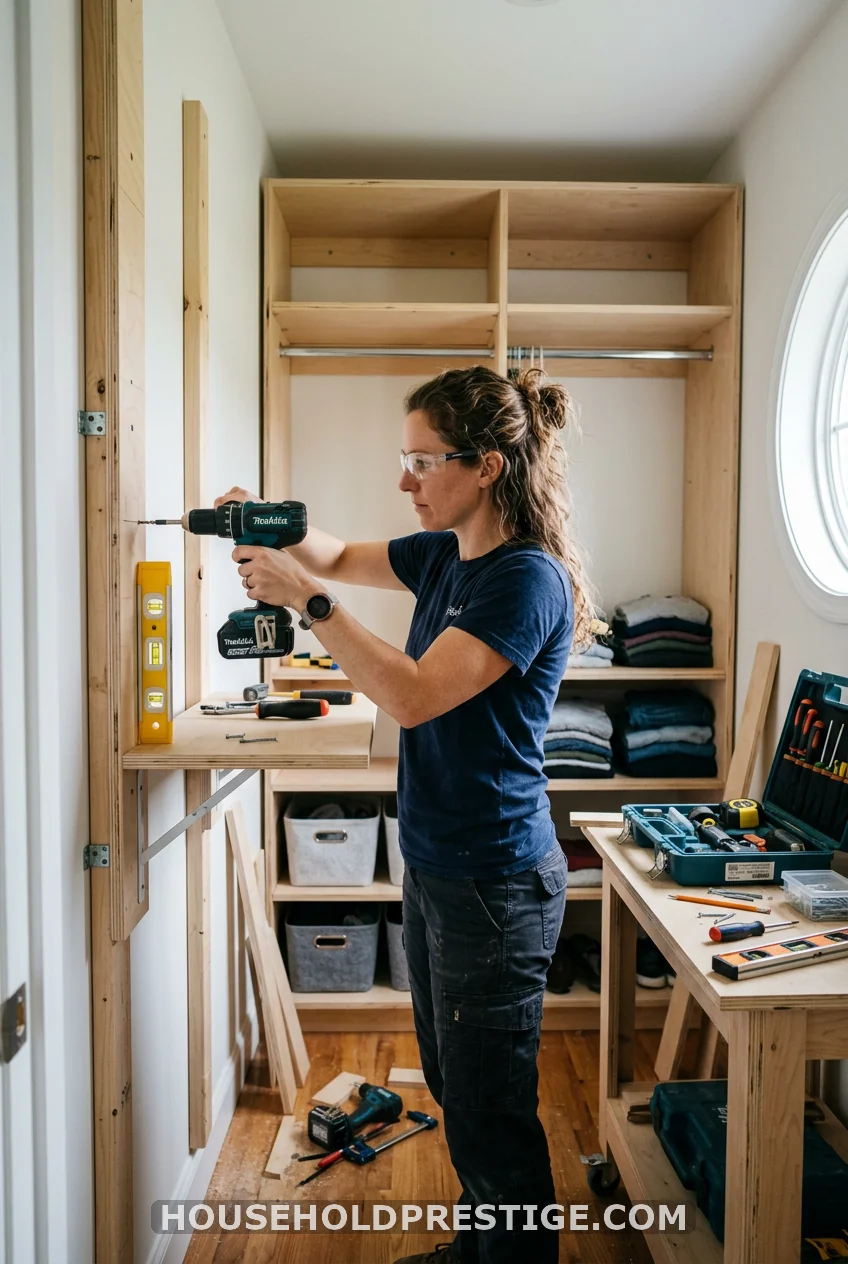
This is the project that changes everything. A store-bought wire kit fits a generic closet. Your closet isn’t generic. Building your own plywood shelves means every inch gets used, not just the inches that match a factory template.
Why This Works
Custom shelves let you set the depth, spacing, and number of shelves around what you own instead of forcing your clothes to fit someone else’s design. You also skip the sagging that wire shelving is famous for once it holds more than a few sweaters.
Materials and Costs
| Material | Quantity (avg. reach-in closet) | Cost |
|---|---|---|
| 3/4-inch plywood or MDF sheet | 1 to 2 sheets (4×8 ft) | $45 to $75 |
| 1×2 poplar cleats | 20 linear ft | $20 to $30 |
| Wood screws (2-inch) | 1 box | $8 |
| Wood glue | 1 bottle | $6 |
| Wood filler and sandpaper | as needed | $10 |
| Paint or stain | 1 quart | $15 to $25 |
| Total | $104 to $154 |
Step-by-Step Build
- Empty the closet completely and remove existing wire shelving with a flathead screwdriver and pliers.
- Patch and sand any wall holes left behind, then let the patch dry fully before moving on.
- Measure the closet width, depth, and height where each shelf should sit, leaving 11 to 13 inches above folded stacks.
- Mark stud locations with a stud finder, then attach 1×2 cleats to the side and back walls using a level to keep every line straight.
- Cut plywood sheets to size, either at home with a circular saw or in-store when you buy the material.
- Set each shelf on its cleats and secure it with wood screws driven up through the cleat into the shelf underside.
- Fill screw holes and seams with wood filler, sand smooth once dry, then wipe away the dust.
- Prime and paint, or stain, in two coats, letting each coat dry fully before the next.
- Load the closet back up, heaviest items on the lowest shelves, lightest on top.
Common Mistakes to Avoid
Skipping the stud finder is the top mistake. Screws into drywall alone will pull loose under a stack of winter sweaters within months. Cutting shelves too deep is the second, since anything past 16 inches becomes a black hole where things vanish and never get worn again. And painting before the wood filler cures fully leaves visible cracks that show up right at eye level.
Pro Tip
Prime the raw plywood edges before painting. Unprimed edges soak up paint unevenly and leave a rough, blotchy line that catches your eye every time you open the door.
6. Label Every Shelf Zone
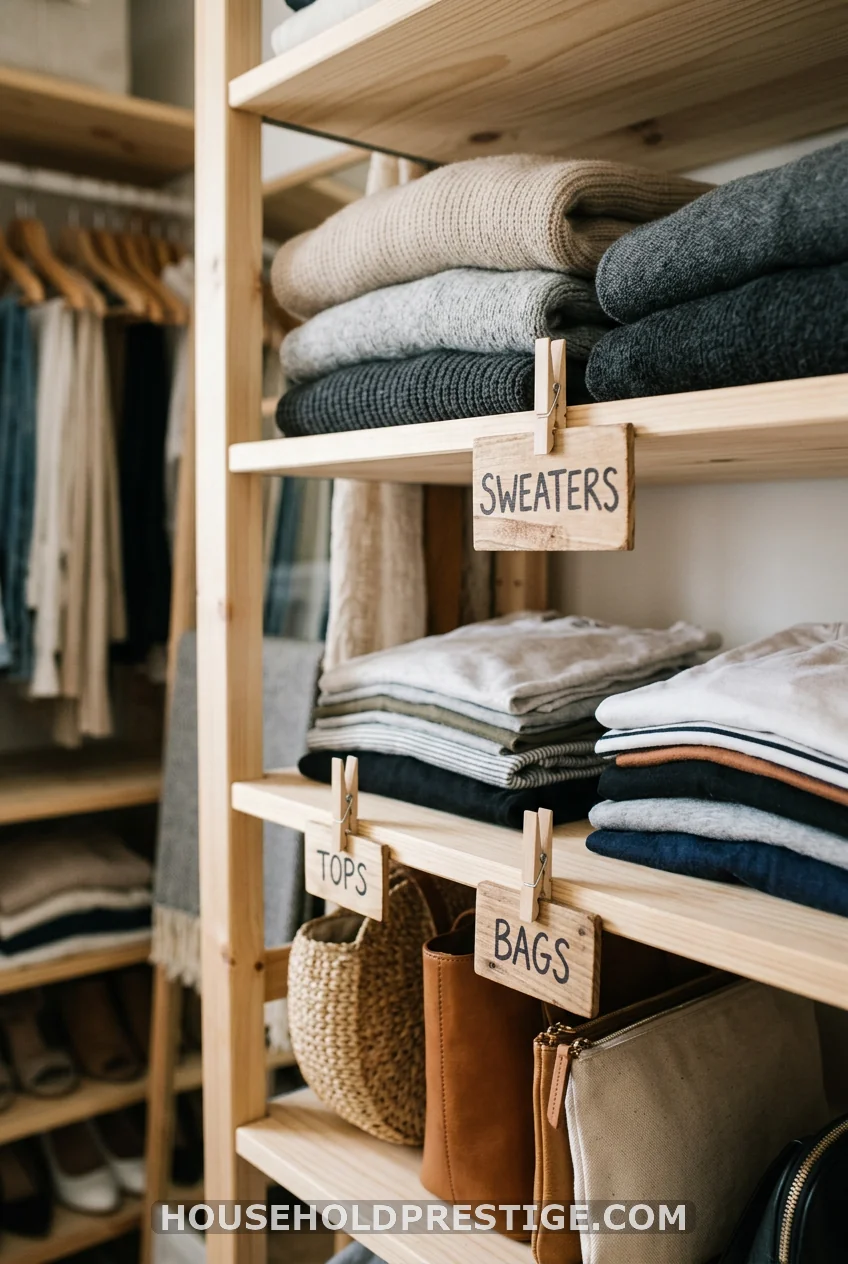
A label takes ten seconds to make and saves you from ever asking “where does this go” again. Stick one on the front edge of each shelf zone, and everyone in the house puts things back where they belong.
7. Store Off-Season Items on the Top Shelf
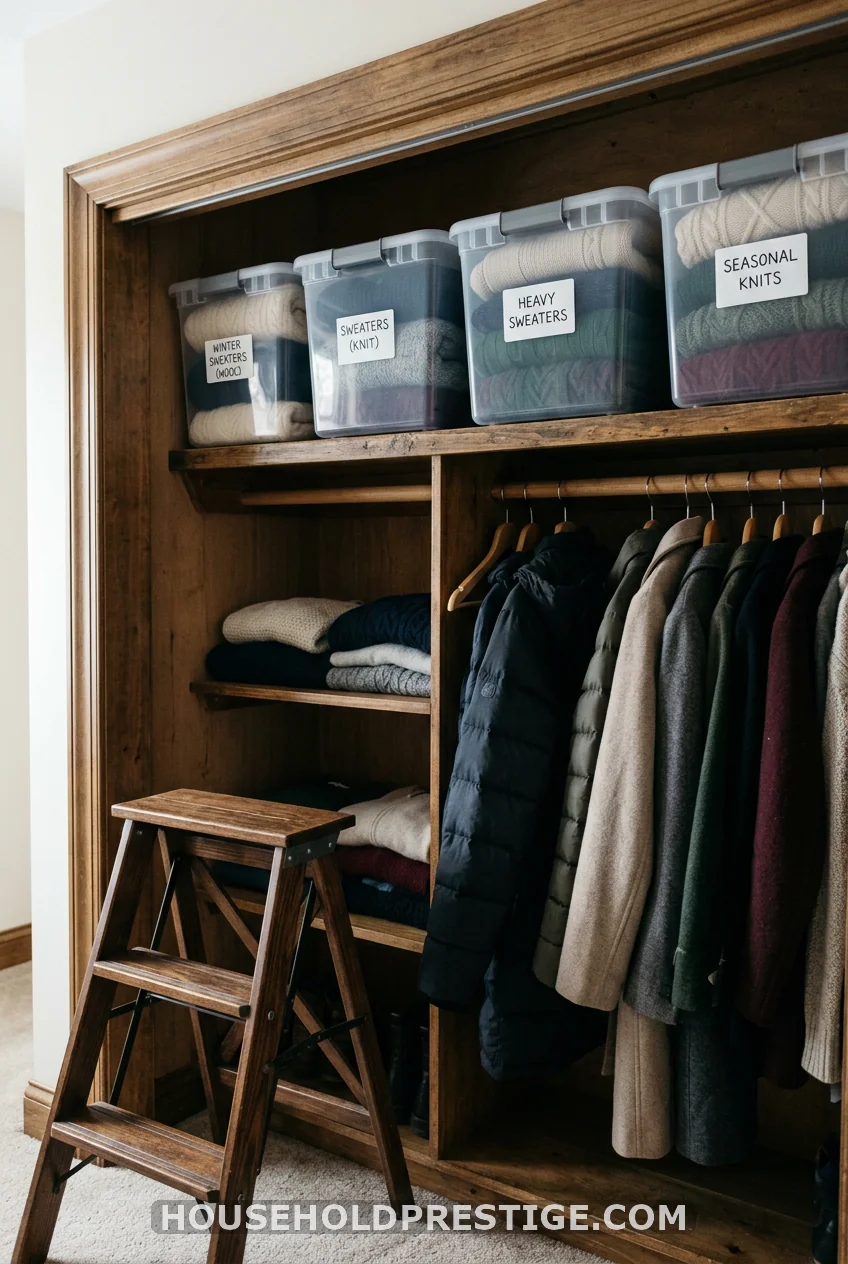
The top shelf is the hardest to reach, so it should hold the things you touch least. Pack off-season clothing into labeled bins and slide them up there. You free up prime, eye-level space for what you wear this month.
8. Add a Shoe Shelf Below the Hanging Rod
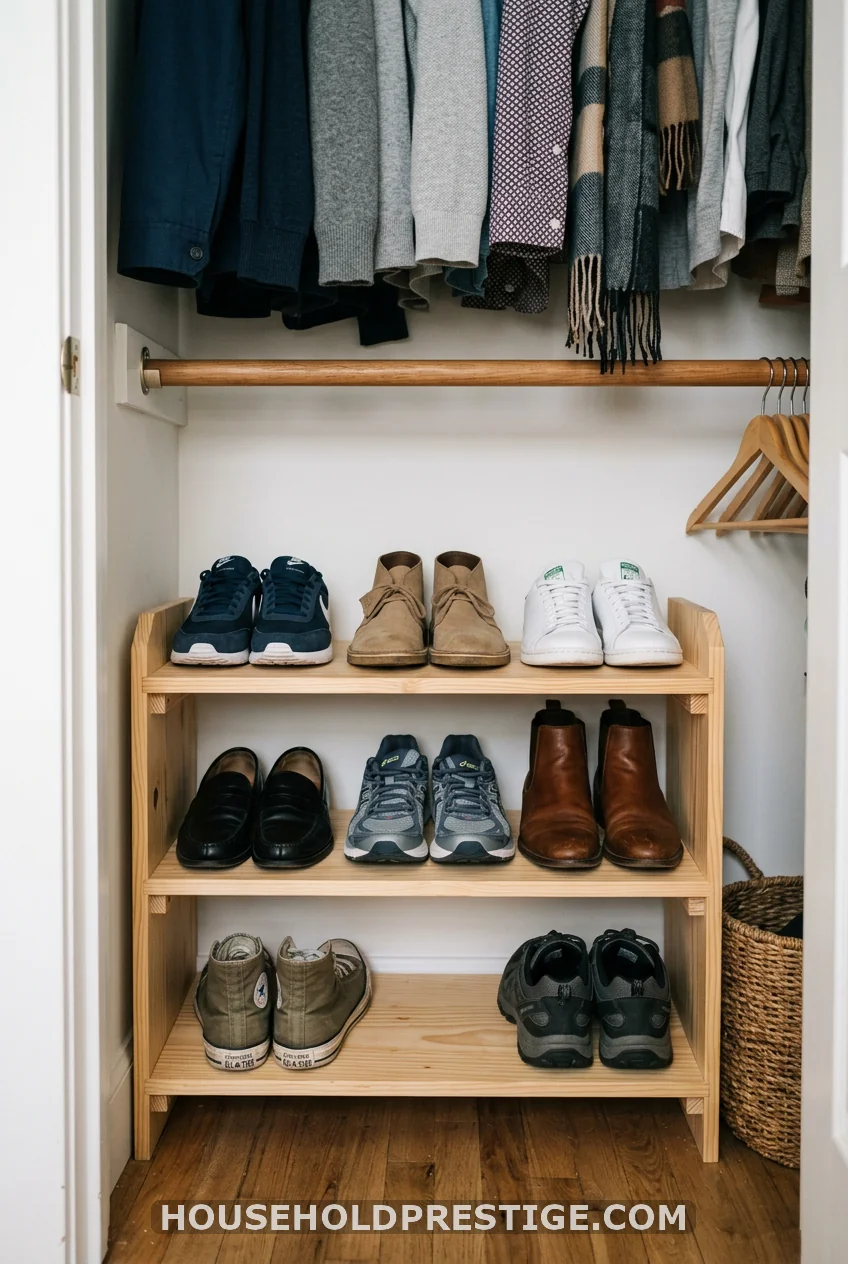
Shoes on the floor collect dust and clutter, and they’re the first thing that turns a tidy closet messy again. A short tiered shelf beneath the hanging rod keeps every pair visible and off the ground. Angle the shelves slightly forward, and you can see each shoe without bending down.
9. Swap Wire Shelving for Solid Shelf Liner
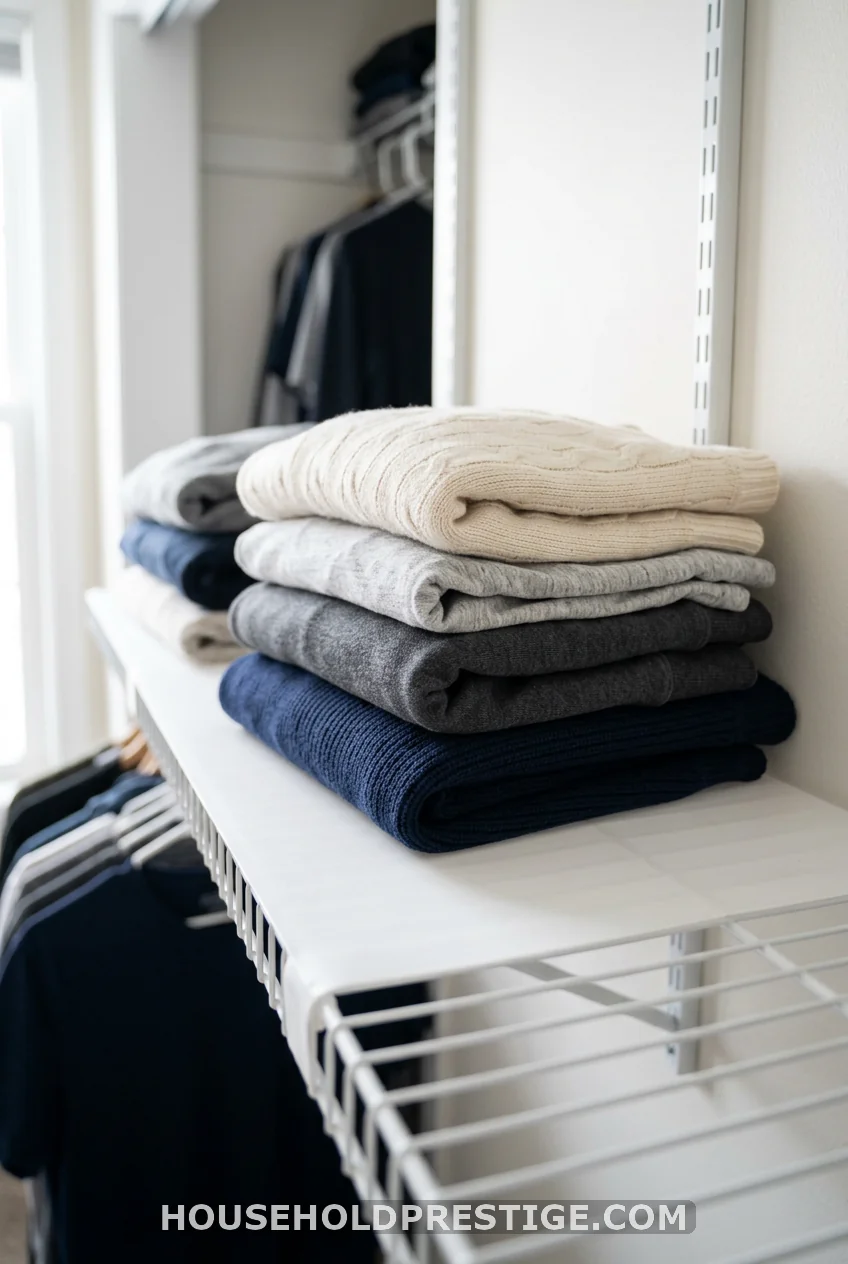
Wire shelves leave ridge marks in sweaters and let small items fall straight through the gaps. A cut-to-size liner solves both problems for under $15. Press it onto the wire grid, and you get a flat, solid surface without replacing the whole shelf.
10. Corner Shelves for Awkward Dead Space
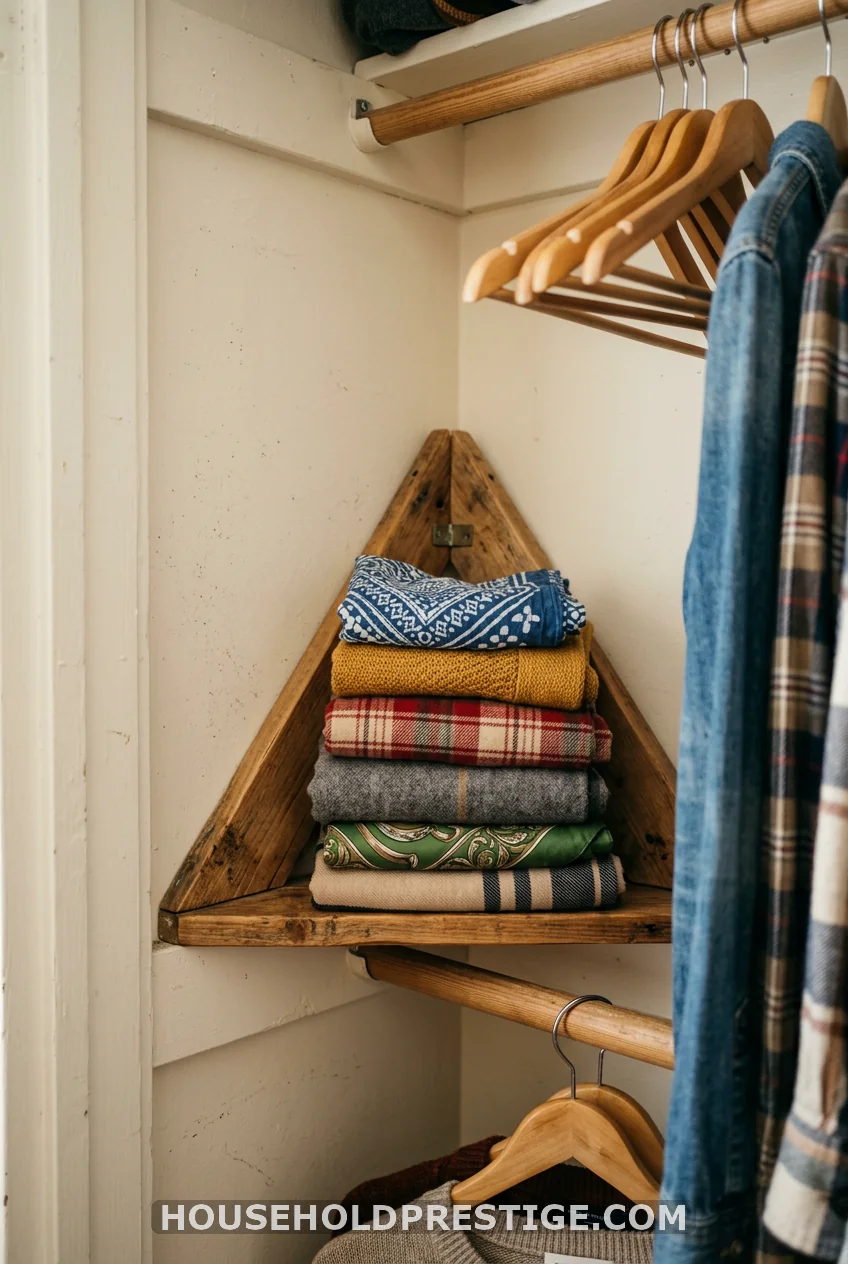
Every closet has a dead corner nobody uses. A small triangular shelf claims that space for scarves, belts, or extra shoes. It costs almost nothing and turns wasted air into working storage.
11. Floating Shelves for a Boutique Look
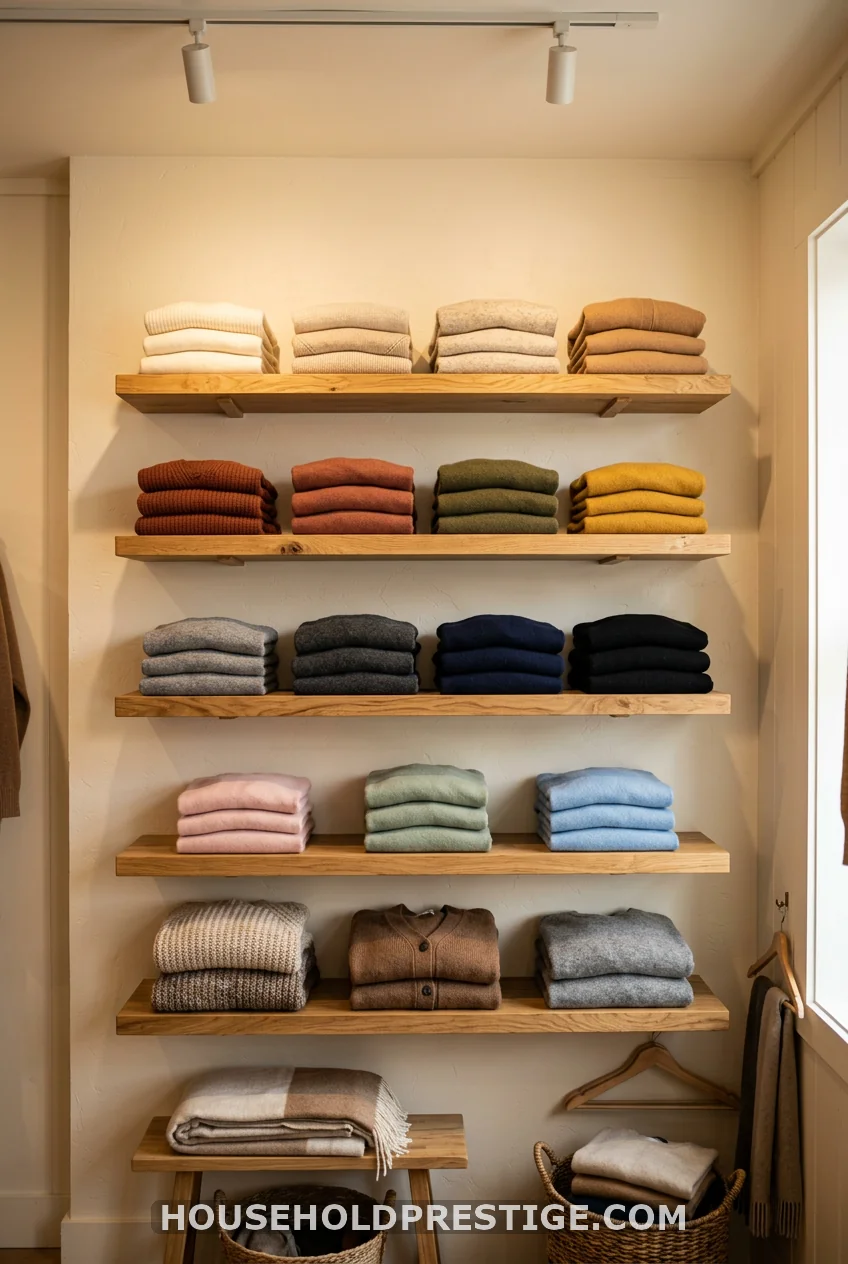
Floating shelves skip the visible brackets and give your closet a clean, retail-store feel. Mount them with a hidden bracket system rated for at least 30 pounds per shelf, since folded clothing stacks up heavier than it looks. Reclaimed wood adds warmth if you want something less polished than a factory finish.
12. The $600 Shelf Kit I Regretted
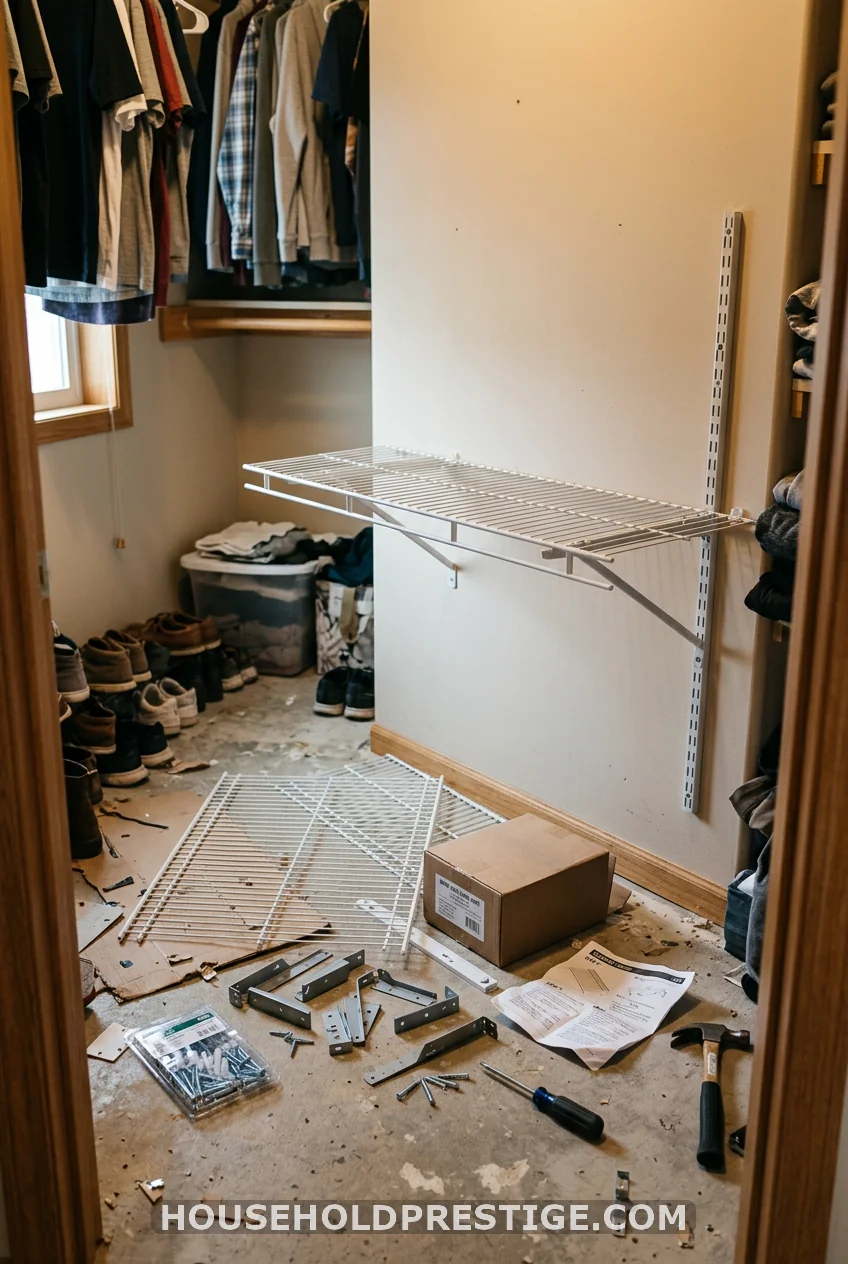
I bought a name-brand modular shelving kit for our first house, the kind with the shiny catalog photos and a price tag to match. It promised a custom fit. It delivered a closet that fit the kit, not the other way around. Two shelves sat six inches too low for my hanging dresses, and I couldn’t move them without buying an extra bracket set the store no longer carried.
Three years later, I tore it out and replaced it with plywood shelves I cut myself for a third of the price. The lesson stuck: a fixed system built for an average closet will never fit your actual closet as well as something built for the space you have. If you’re about to spend real money on a kit, measure twice and check the adjustment range before you buy, not after.
13. Stack Bins on Open Shelves for Hidden Clutter Control
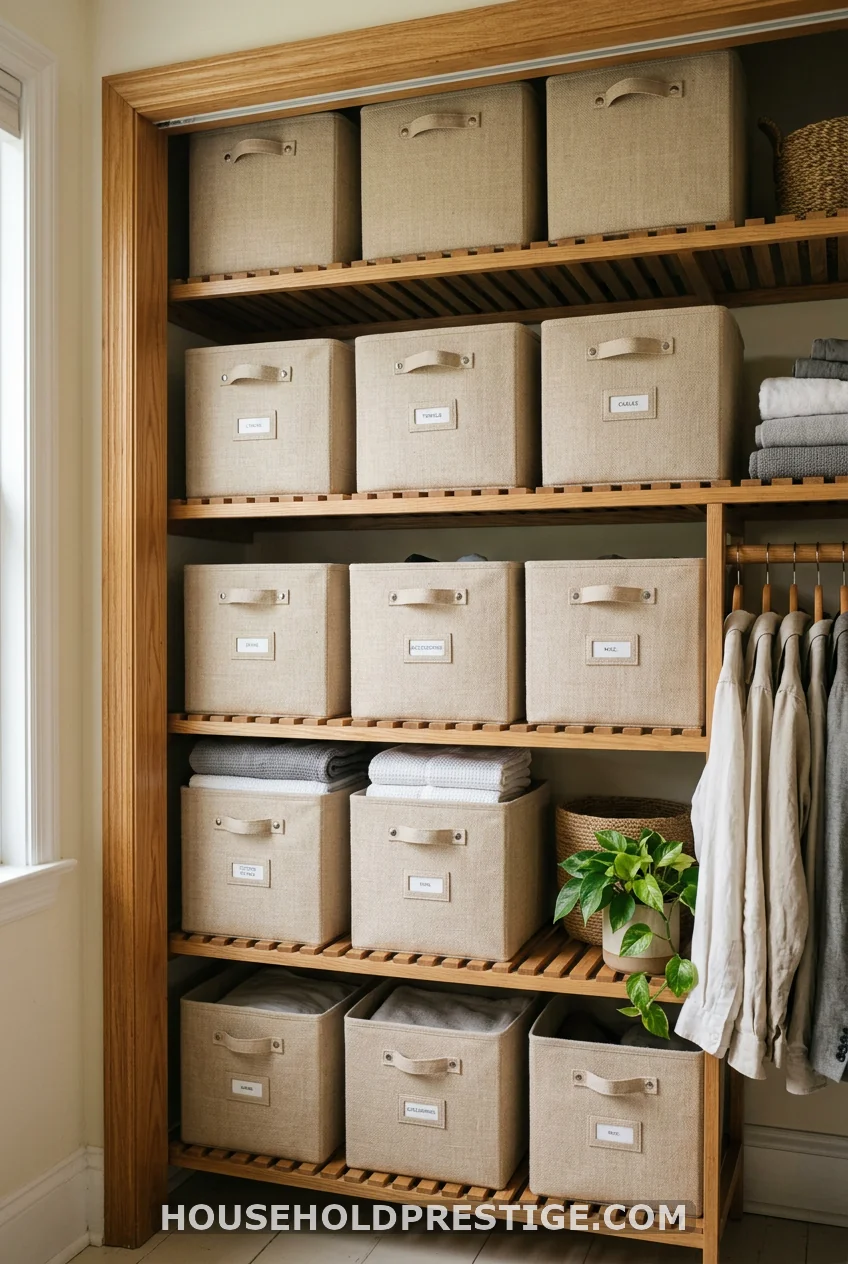
Open shelves look great in photos and messy in real life once socks and chargers start piling up. Uniform bins hide the small stuff while keeping the shelf itself looking tidy. Choose bins with cutout handles so you can pull them without disturbing the stack next to them.
14. Keep the Bottom Shelf Low for Kids’ Access
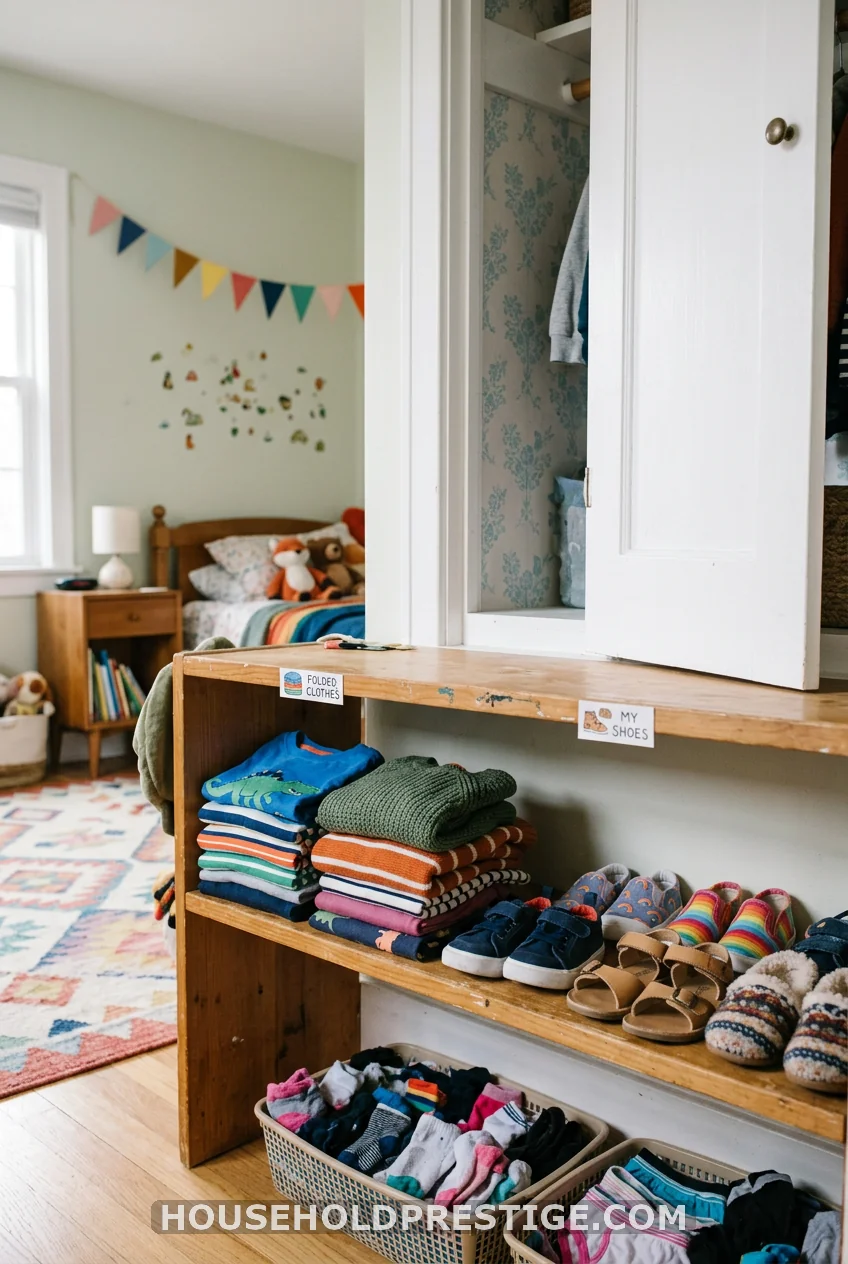
If kids share the closet, give them a shelf they can reach on their own. A bottom shelf at knee height means they can grab their own clothes and put them back without help. It’s a small change that cuts down on morning battles fast.
15. Add Backlighting Under Each Shelf
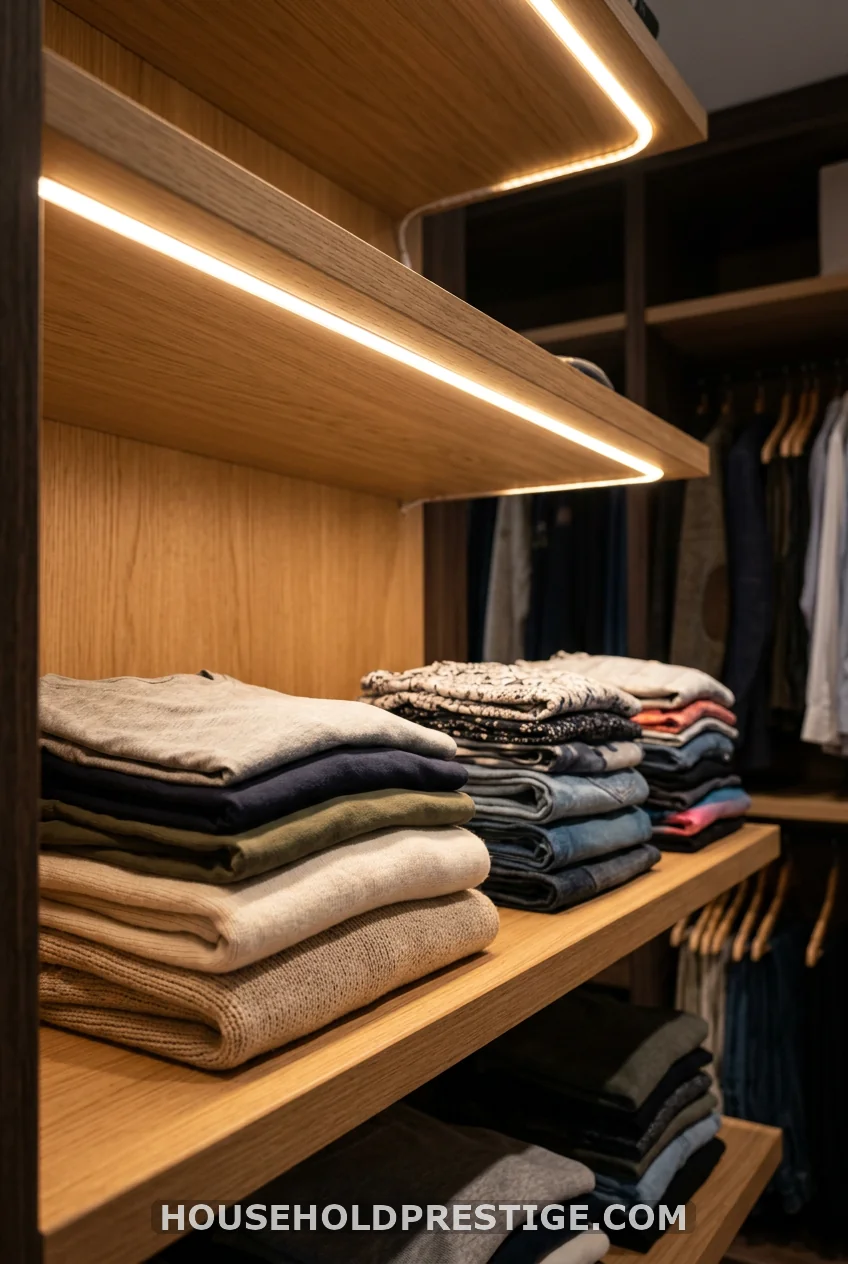
A thin LED strip under each shelf edge turns a dark closet corner into a space you can see into. Battery-powered strips with adhesive backing need no wiring and take fifteen minutes to install. Wired versions look cleaner but need an electrician if you don’t already have an outlet nearby.
16. Match Shelf Depth to What You Store
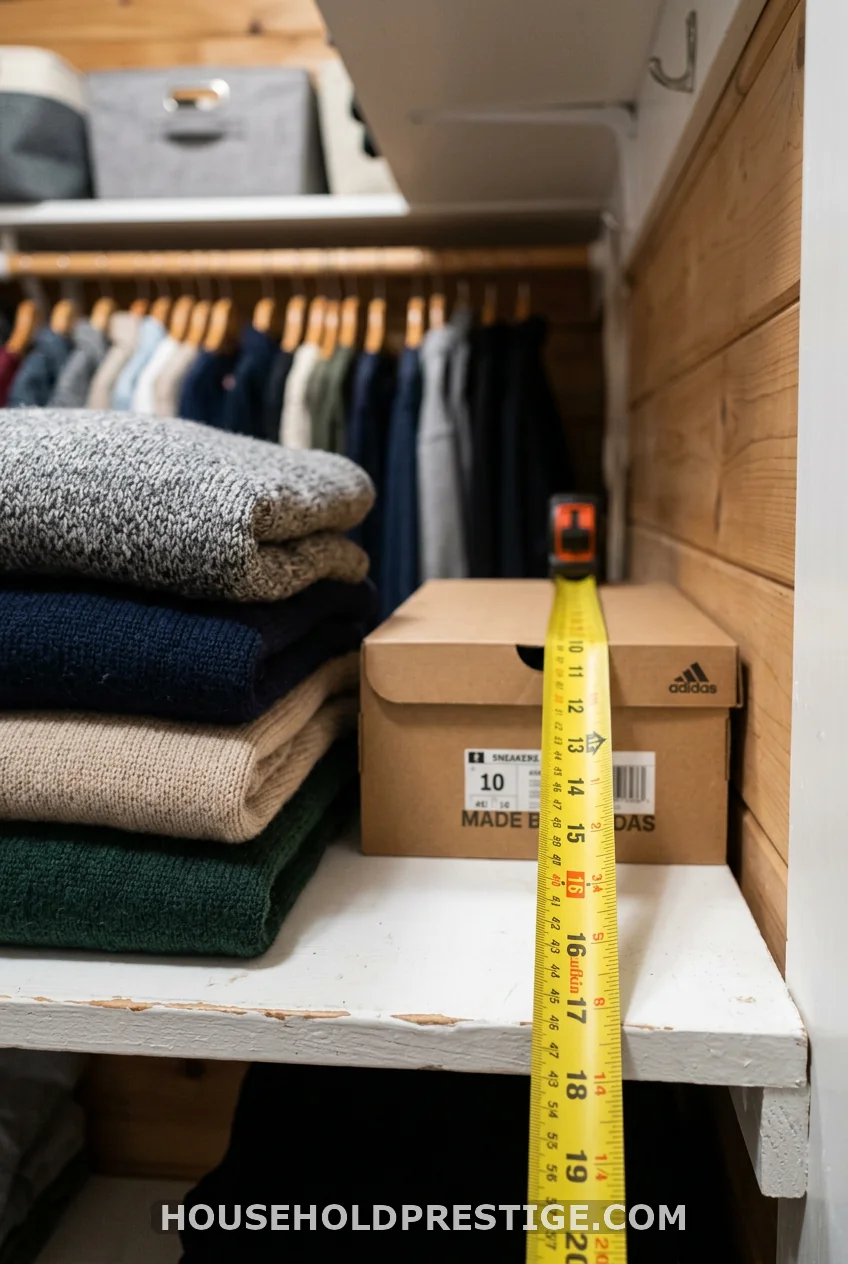
Most closet shelves come one depth, whether you’re storing bulky comforters or thin scarves, and that mismatch wastes space every single day. Sweaters and folded clothes need 14 to 16 inches of depth. Shoes need only 10 to 12. Shallow items like belts or ties barely need 8.
Building shelves at a single uniform depth means either your sweaters overhang the edge or your shoe shelf wastes six unused inches behind every pair. Vary the depth by zone instead. Put the deepest shelf where bulky bins live, and taper narrower shelves toward accessories. You’ll fit noticeably more without adding a single extra shelf.
17. Use Pull-Out Shelves for Deep Closets
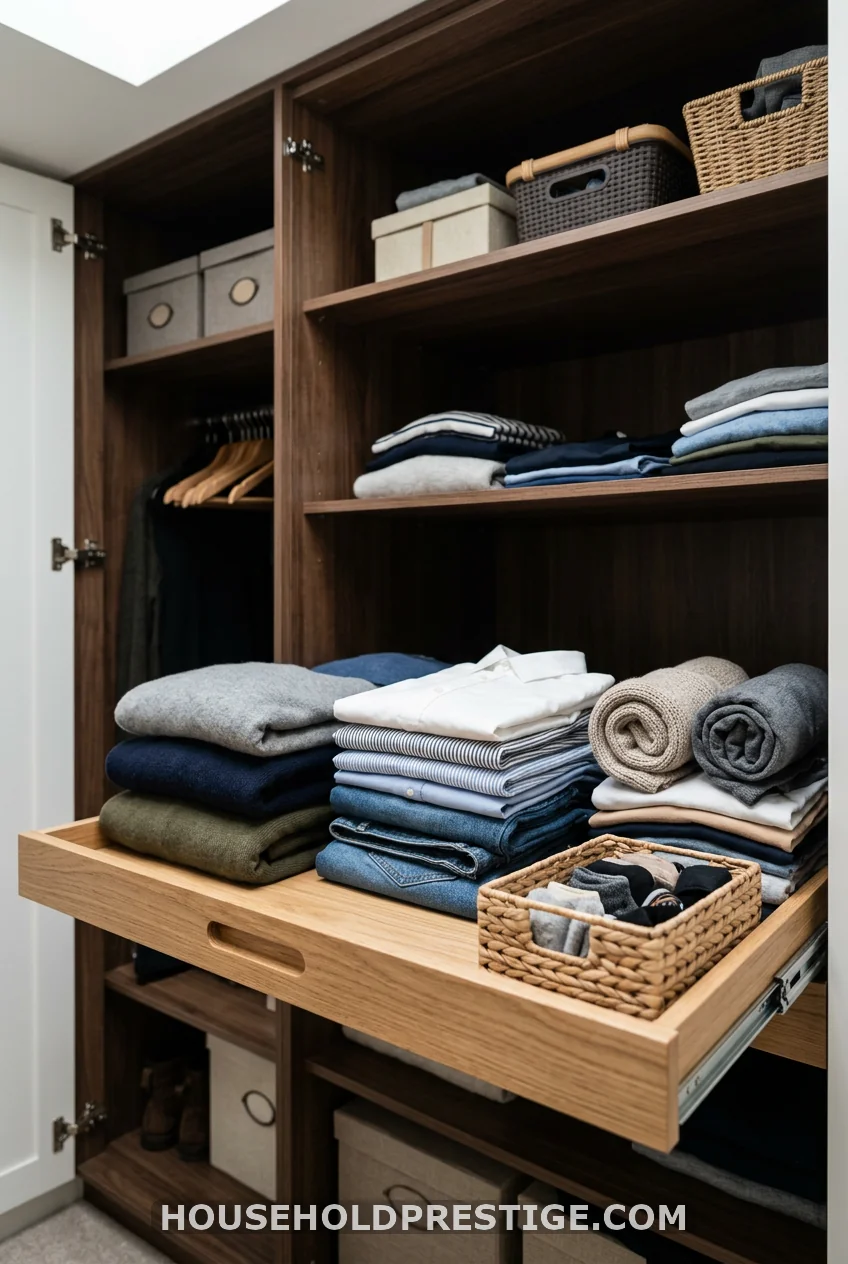
Deep closets hide items at the back that you forget you own. A shelf mounted on drawer slides pulls the whole surface toward you, so nothing gets lost in the dark. It’s a weekend project for anyone comfortable with a drill, and it makes the back of the closet as usable as the front.
18. Color-Code Shelves by Category
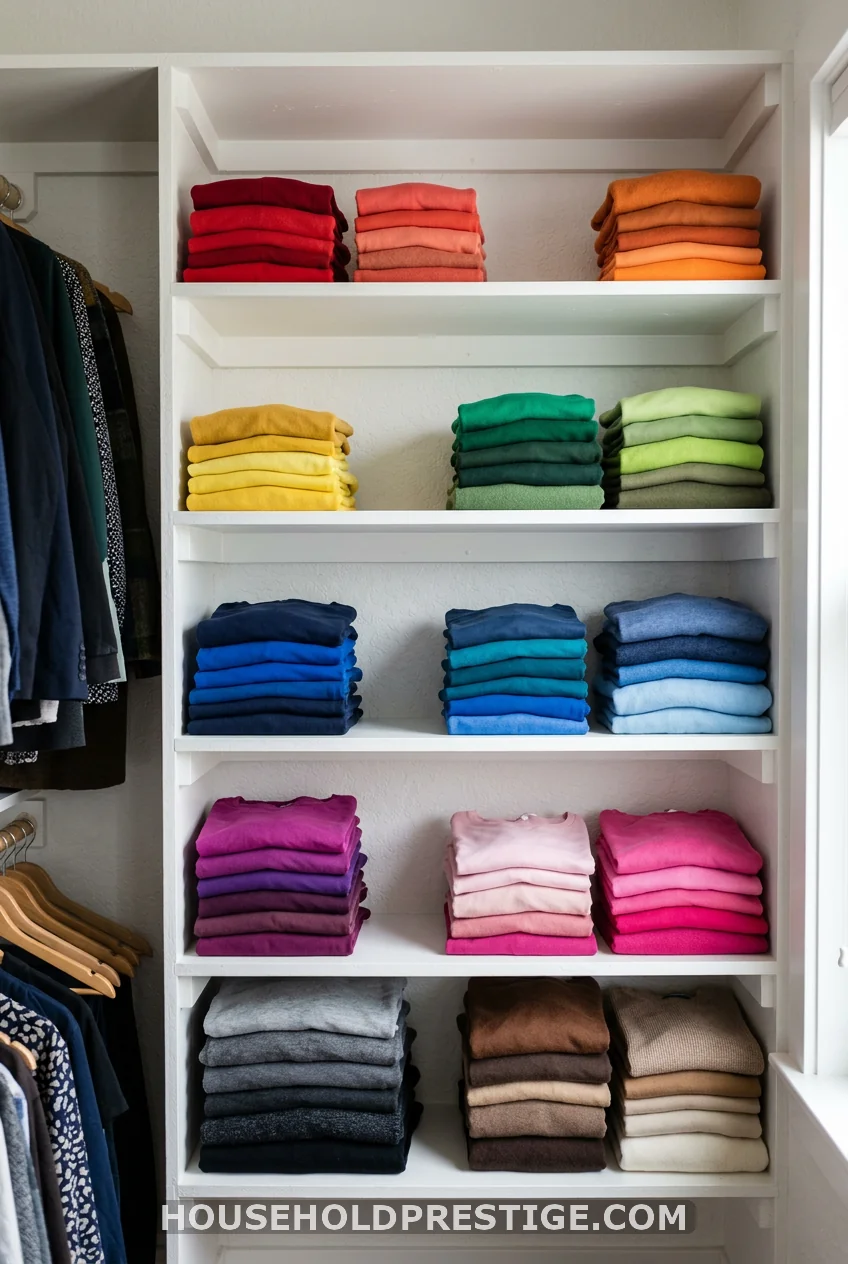
Group folded items by color within each shelf zone, and finding the right shirt takes seconds instead of minutes. It also makes it obvious at a glance when a stack starts to slide out of place.
19. Reinforce Long Shelf Spans to Prevent Sagging
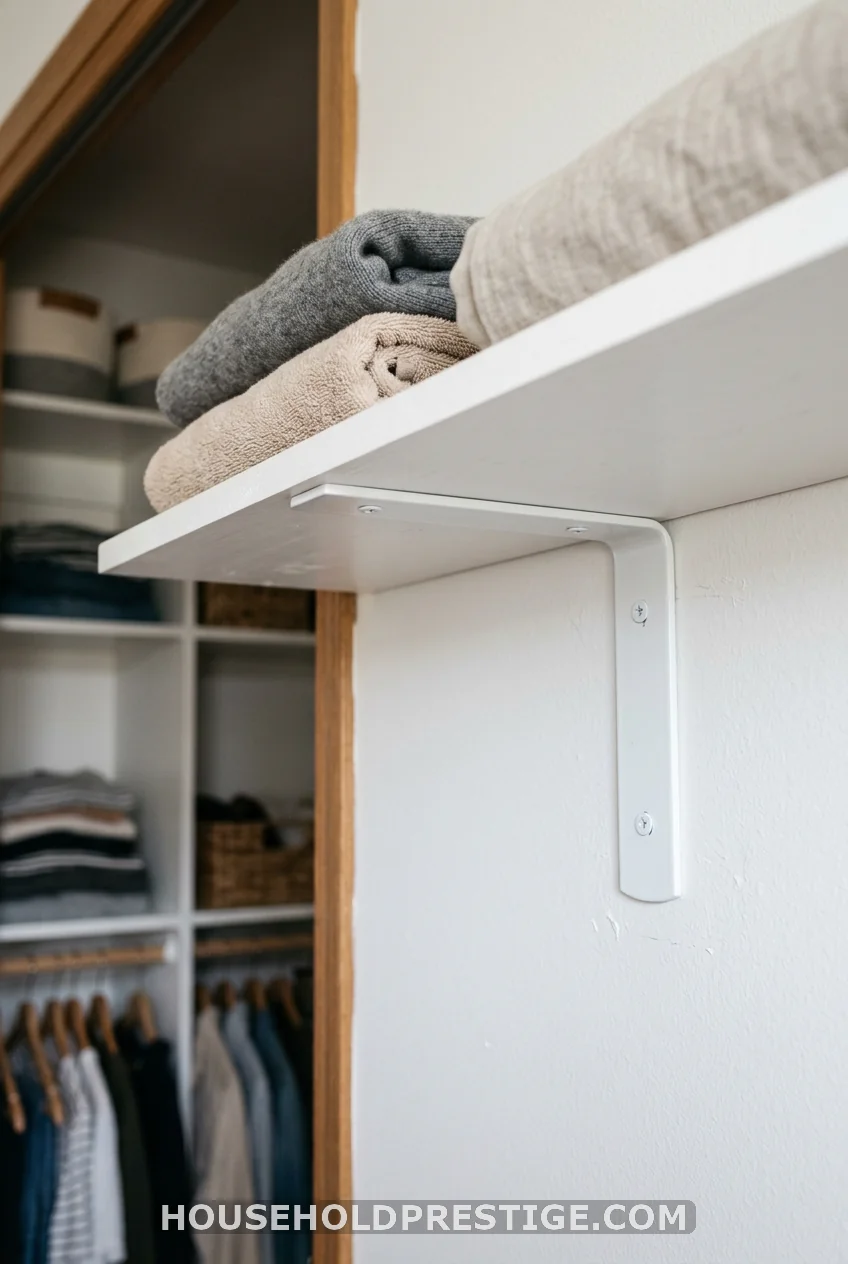
A shelf longer than 32 inches will start to bow in the middle within a year, even under moderate weight. Add a center support bracket anchored to a stud, and the sag stops before it starts. It’s a five-minute fix that saves you from replacing a warped shelf down the line, and it’s the one step most DIY tutorials skip entirely.
The Bottom Line
Closet shelf organization comes down to matching the shelf to the load, not adding more shelves and hoping for the best. Start with the free fixes, dividers, risers, labels, and see how much space opens up before you reach for a drill. When you’re ready for the bigger project, the custom build above will outlast anything you buy off a shelf.
Frequently Asked Questions
What is the best material for closet shelves?
Plywood and MDF both hold weight well without sagging, though plywood handles moisture slightly better in humid climates. Wire shelving is cheaper but bends under sustained weight over time.
How far apart should closet shelves be spaced?
Leave 11 to 13 inches for folded clothing, 7 inches for shoes, and at least 40 inches of open rod space for hanging garments below any shelf.
Do I need a professional to install closet shelves?
Most reach-in closets are a manageable DIY project with a stud finder, level, and drill. Walk-in closets with custom cabinetry or electrical work usually benefit from a professional.
How do I stop wire shelves from sagging?
Add a center support bracket anchored into a stud for any span over 32 inches, or switch to solid plywood shelving, which resists bowing far better than wire.
What is the standard depth for a closet shelf?
Standard shelves run 12 to 16 inches deep for clothing, though shoe shelves and accessory shelves can go as shallow as 7 to 8 inches.