

Baseboards are sneaky. You mop the floor, you dust the shelves, you vacuum the rugs, and then you glance down, and there they are: gray, fuzzy, and somehow already dirty again. These baseboard cleaning hacks fix that in one afternoon, and the last step is the part most people skip, the one that slows the dust down instead of just wiping it away for a day.
I used to skip baseboards entirely. Who has time for a ledge that’s four inches off the floor? But once I saw how much brighter a room looked with clean trim, I couldn’t unsee it. Dirty baseboards drag a whole space down, even when everything else sparkles.
Here’s what you’ll get from this guide: a supply list you probably already own, a five-step method that handles everyday grime and stuck-on scuffs, and a trick at the end that keeps your baseboards cleaner for weeks instead of days. Grab your supplies and let’s get started.
Supplies Needed To Clean Baseboards
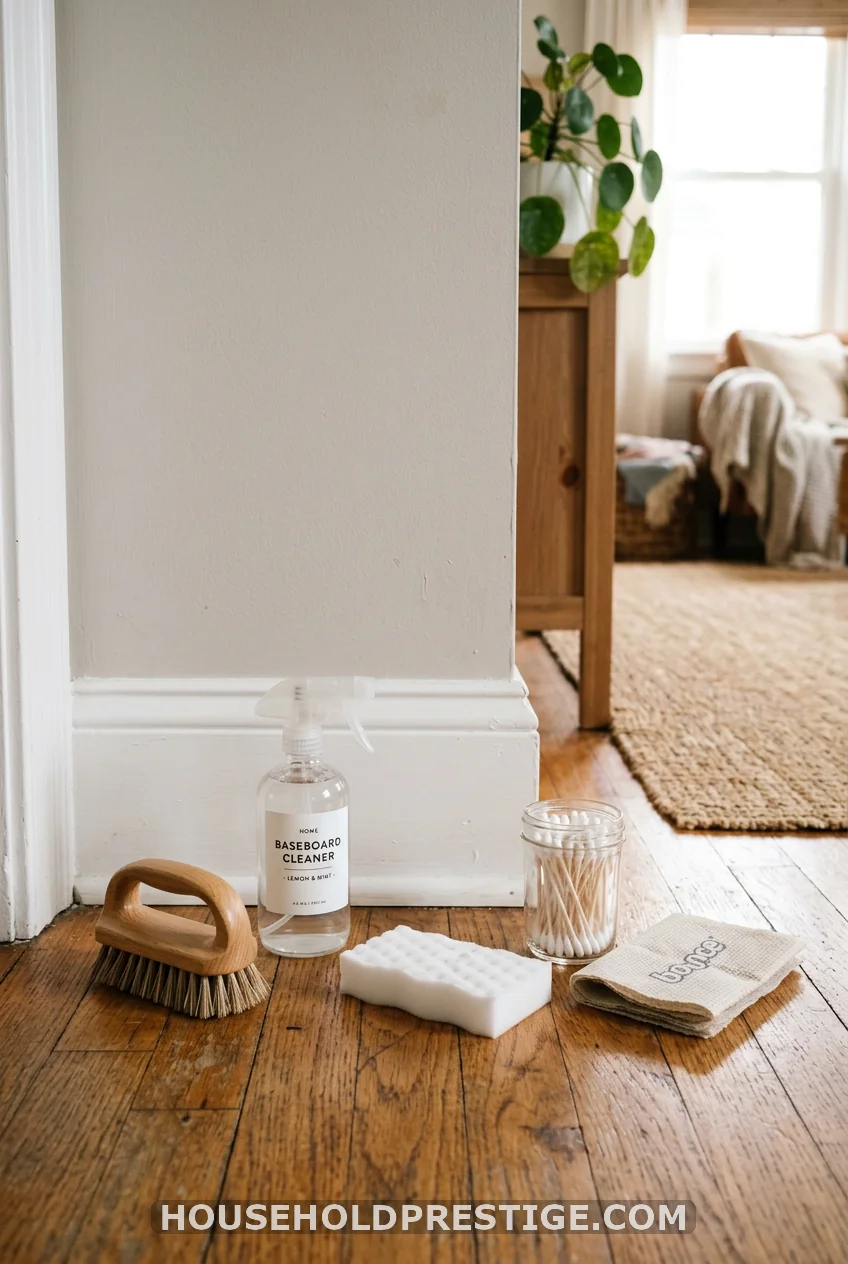
You don’t need anything fancy for this. Most of it is already sitting in a cabinet somewhere in your house.
- A small brush or handheld broom
- Broom and dustpan (or a vacuum with a brush attachment)
- A sponge or magic eraser
- A spray bottle filled with water
- Cotton swabs or an old toothbrush
- Dryer sheets
- Optional: mild dish soap, white vinegar, or fabric softener for stubborn buildup
That’s it. No specialty baseboard tools, no thirty-dollar cleaning kits. Just stuff from under your sink.
Step 1: Brush Away The Loose Dirt
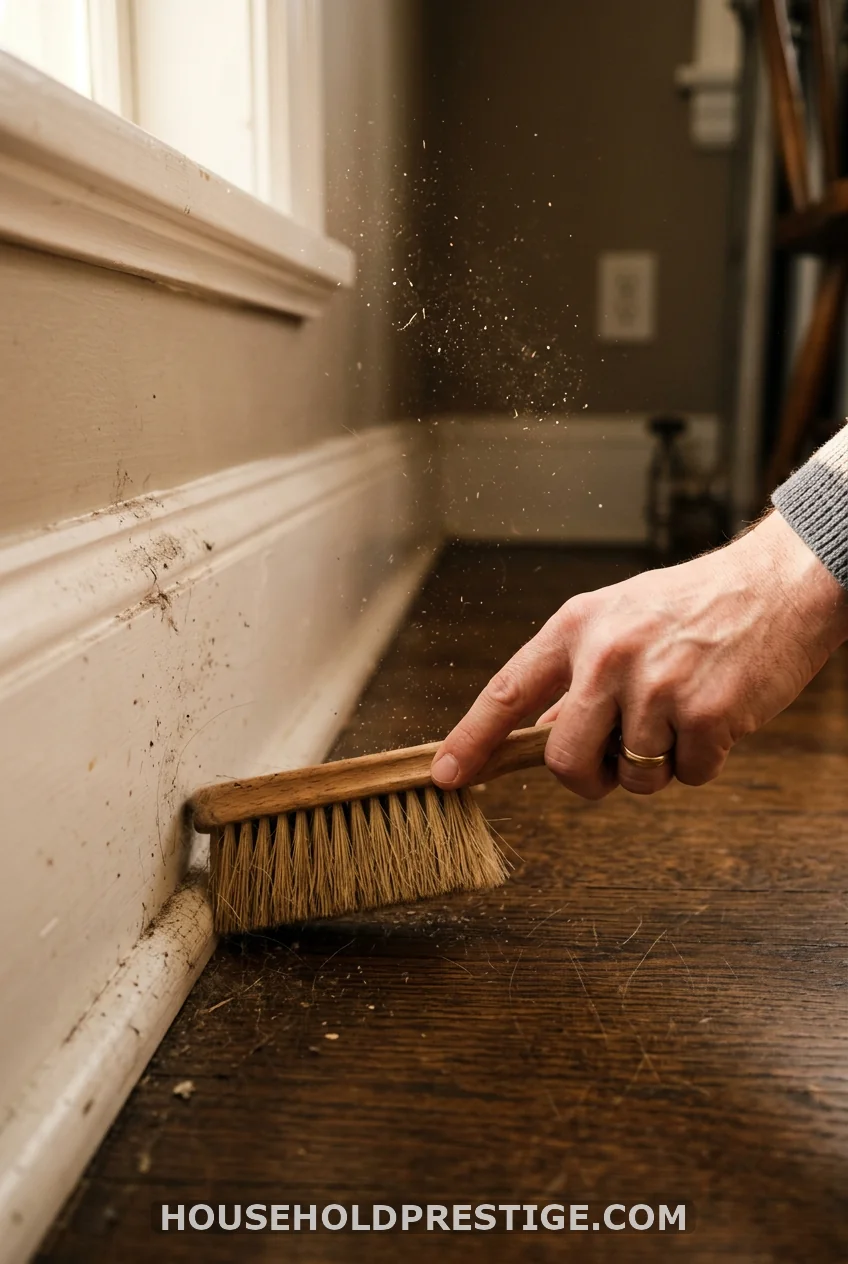
Start dry. Run your brush along every inch of baseboard to knock loose dust, hair, and crumbs onto the floor. A mini broom works just as well if that’s what you have handy. The point here isn’t to make things spotless yet. It’s to clear out the loose stuff before you introduce any moisture, because wet dust turns into a paste that smears rather than lifts.
Once you’ve brushed a section, sweep it up right away with a broom and dustpan. Skip this step, and you’ll just push the same dust back onto your freshly cleaned baseboard a minute later.
Step 2: Spray The Baseboard With Water
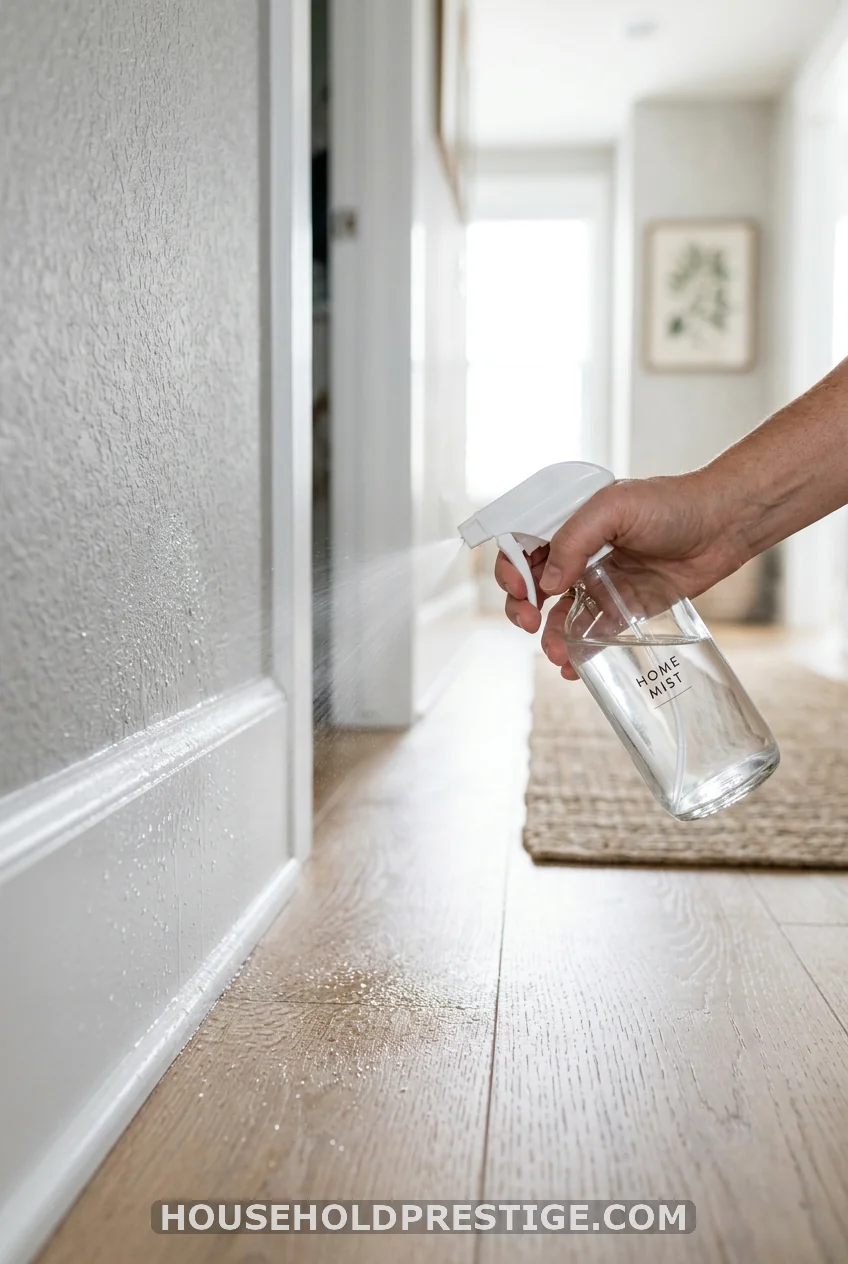
Work in small sections, maybe three or four feet at a time. Mist the baseboard lightly with plain water from a spray bottle. You’re not soaking it, you’re just dampening the surface enough to loosen whatever’s stuck there. If your baseboards are especially greasy, like the ones near a kitchen or entryway, add a few drops of dish soap to the water first.
Small sections matter more than they sound like they should. Spray the whole hallway at once, and the water dries before you get to it, and you’re back to square one.
Step 3: Wipe With A Sponge Or Magic Eraser
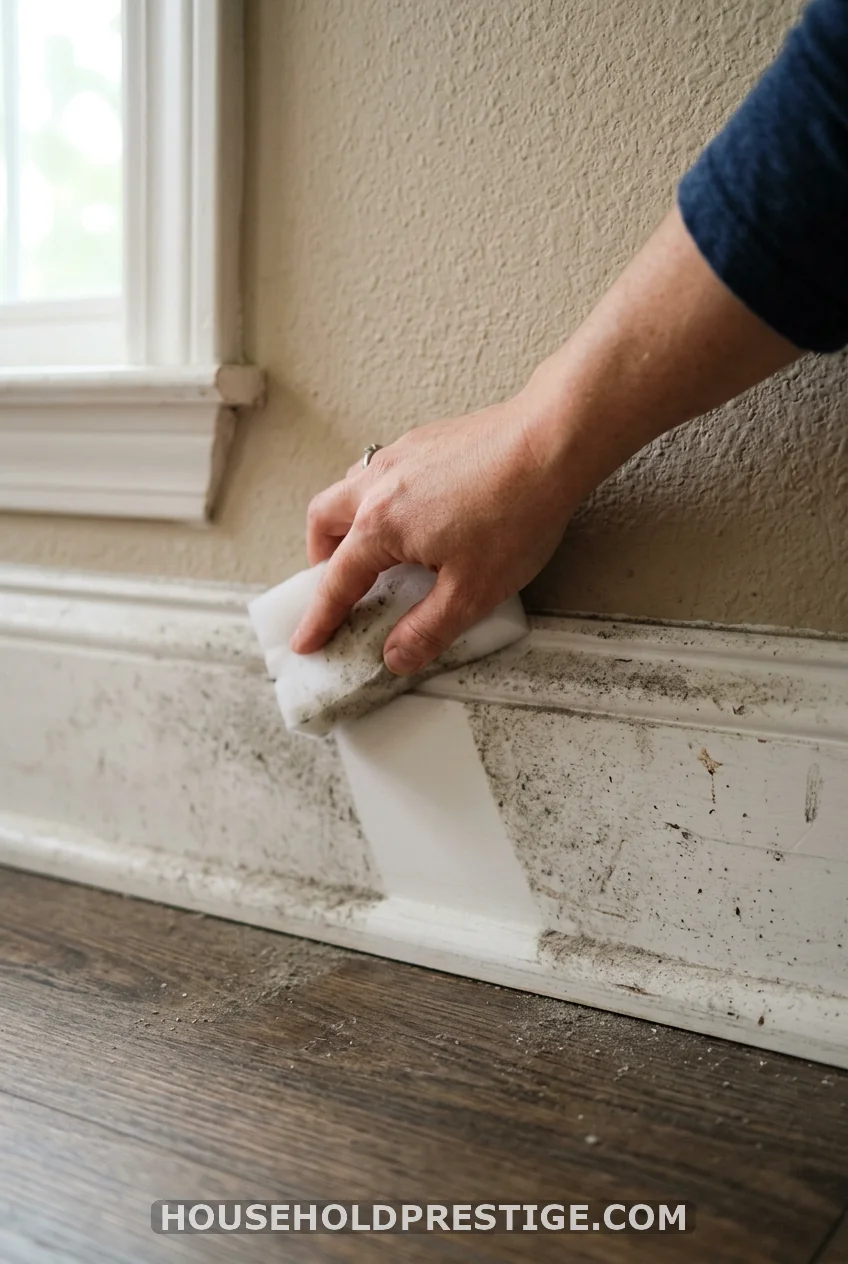
Now go over the damp section with a sponge or a magic eraser. Magic erasers pull double duty here. They lift dust and grime, and they also fade scuff marks that regular wiping never touches. If your baseboards have taken a beating from shoes, furniture, or a toddler on a tricycle, this is the step that undoes most of the damage.
Rinse your sponge often. A bucket of clean water nearby speeds this up quite a bit, since you won’t be walking back and forth to the sink every ten seconds.
Step 4: Get Into The Corners
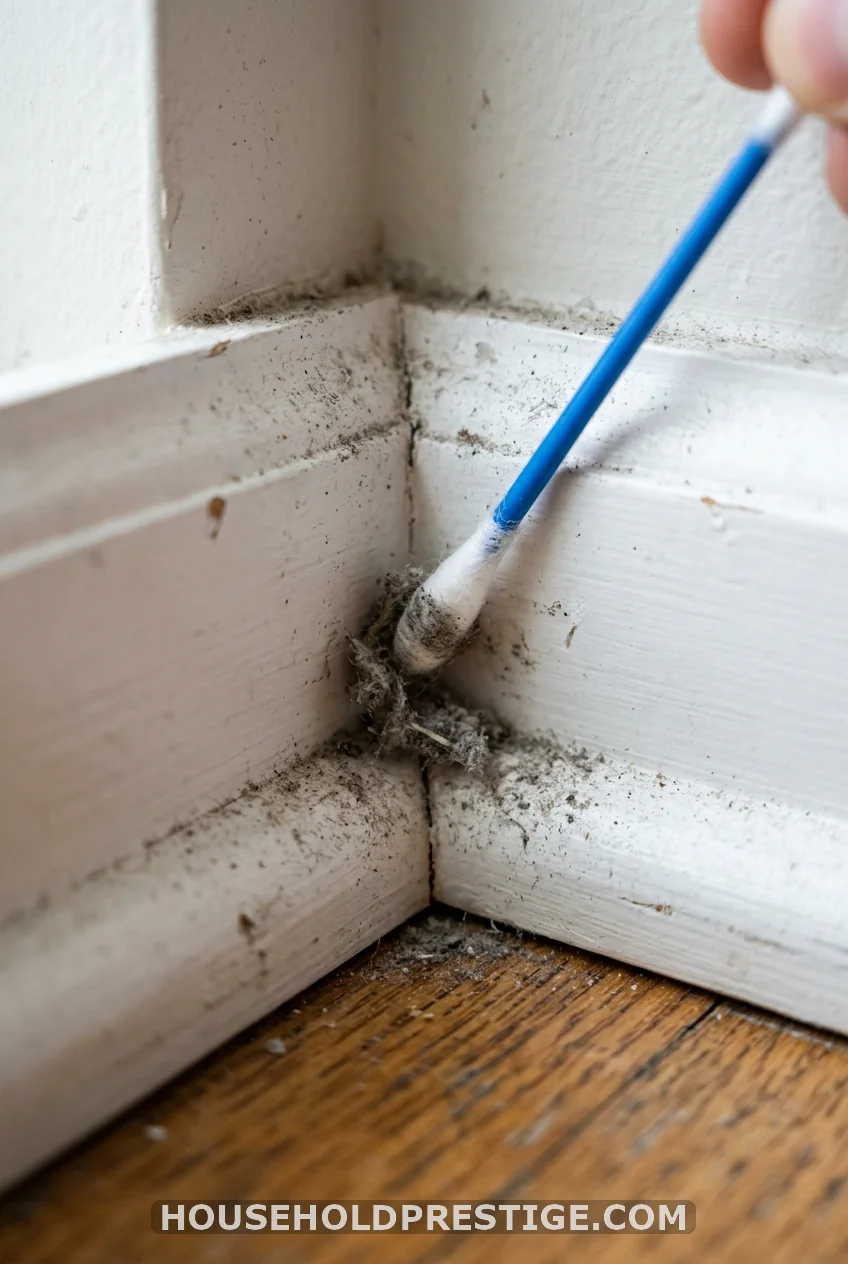
Corners are where baseboard cleaning falls apart for most people. The flat sections take no effort at all. The joints where two pieces of trim meet, or where the baseboard meets a doorframe, collect dust that a sponge just can’t reach.
A damp cotton swab handles this beautifully. An old toothbrush works too, especially on grooved or decorative trim with texture that traps dirt in the ridges. It’s a slower step, but it’s short, and it’s the difference between baseboards that look clean from across the room and baseboards that hold up under a closer look.
Step 5: Run A Dryer Sheet Along Every Baseboard
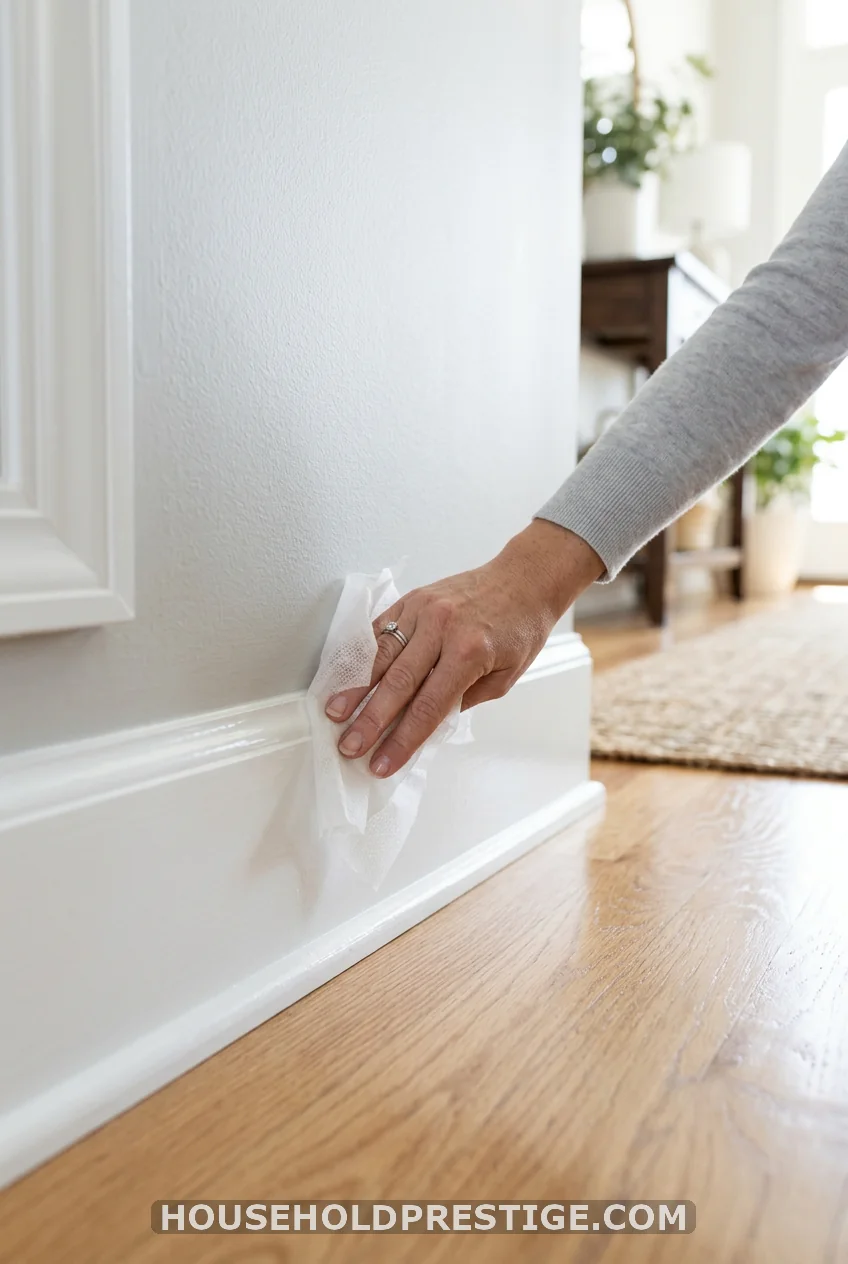
Let everything dry, then grab a dryer sheet and run it along the length of each baseboard. This is the step people skip, and it’s the one that matters most for keeping dust away.
Dryer sheets carry a light anti-static coating. That coating transfers onto the baseboard and makes it harder for dust, pet hair, and lint to cling in the first place. You’re not just cleaning here, you’re buying yourself extra days, sometimes weeks, before the dust builds back up. Keep a small stash of dryer sheets in your cleaning caddy just for this step.
Tips And Tricks For Keeping Baseboards Clean Longer
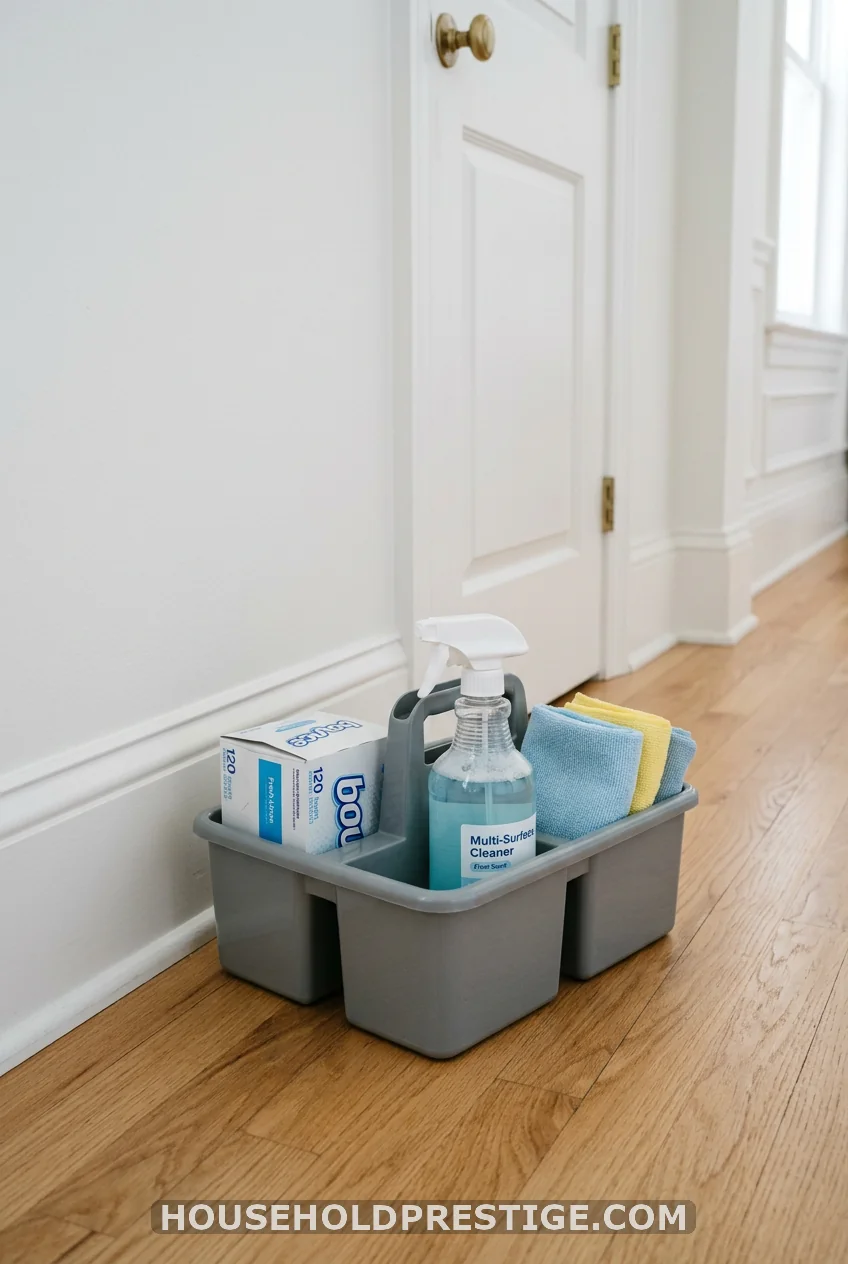
A few extra things I’ve picked up along the way, some through trial and error, some from readers who clean for a living.
Work by section, not by room. Baseboards run through nearly every room in the house, and trying to knock them all out in one sitting is how this chore turns into an all-day project you dread. Tackle one hallway, one bedroom, or one section at a time.
Match your method to your material. Painted baseboards can handle water and mild soap without much worry. Natural or stained wood is pickier. Too much moisture can warp or discolor it over time, so wipe wood trim with a barely damp cloth and dry it right away instead of spraying it directly.
Try a fabric softener spray for extra-dusty homes. If you’ve got pets or a house full of kids, mix four ounces of liquid fabric softener with twenty ounces of water in a spray bottle. Spray it lightly on baseboards after your regular cleaning, then wipe with a dry cloth. It works on the same anti-static principle as the dryer sheet trick, and it leaves a faint, clean scent behind.
Make your own baseboard cleaner if you’re out of supplies. Mix one cup of hot water with three teaspoons of baking soda and one teaspoon of Borax in a spray bottle, shake well, and use it just like you would a store-bought cleaner. It’s gentle enough for painted trim and cuts through grease without leaving residue.
If bending over is rough on your back or knees, adapt the tools instead of skipping the chore. Swap your handheld brush for a broom, and your sponge for a mop with a microfiber head that you can dip in your cleaning solution. You lose almost nothing in results and save your knees the trouble.
Save baseboards for last. Dust and debris from mopping, sweeping, and dusting furniture all settle low, right onto your baseboards. Clean them after you’ve finished everything else in the room, not before.
Wrapping Up
Baseboards are one of those chores that feel bigger in your head than they are in real life. Brush, spray, wipe, hit the corners, finish with a dryer sheet. That’s the whole method, and once you’ve done it once, every round after gets faster.
The real win isn’t just clean baseboards today. It’s baseboards that stay looking decent for weeks instead of days, because you took thirty extra seconds per room to run a dryer sheet along them. Give it a try this weekend. Your future self, the one who isn’t scrubbing baseboards again next month, will thank you.
Frequently Asked Questions
How often should I clean my baseboards?
Once a month is a good baseline for most homes. If you have pets, kids, or high foot traffic near an entryway, every two to three weeks keeps buildup from getting out of hand.
What’s the best way to clean baseboards without bending over?
Swap your usual brush and sponge for long-handled versions. A broom handles the dusting step, and a microfiber mop dipped in your cleaning solution can replace the sponge for wiping.
Can I use vinegar to clean baseboards?
Yes. Mix one part white vinegar with a few parts warm water for a gentle, effective cleaner. It works well on painted trim and cuts through everyday grime without harsh fumes.
Will a magic eraser damage my baseboards?
Magic erasers are mildly abrasive, so test a small hidden spot first, especially on glossy paint or stained wood. On most painted baseboards, they’re safe and great for lifting scuff marks.
Why do my baseboards get dusty again so fast?
Static electricity is usually the culprit. Baseboards sit low, right where floor dust settles, and untreated surfaces attract it right back. Running a dryer sheet along them after cleaning cuts down on that static pull significantly.