

Flat walls are easy. Corners are where gallery walls go to die. Most people hang art on one side, ignore the other, and wonder why the nook looks like an afterthought.
A corner gallery wall works because two walls become one picture. This list gives you 14 ideas you can copy, sorted by room. Each one comes with a frame count, a layout rule and a way to hang it without ruining your paint.
First, Pick Your Corner Layout
Every idea below uses one of four shapes. Pick the one that fits your corner before you pick any art.
- Wrap-around: Frames flow across both walls and turn the corner like a fold in a book.
- Column stack: A narrow vertical strip. It suits tight corners and pulls the eye up.
- L-shape: The gallery hugs one wall and turns partway onto the next. It works well beside a TV or sectional.
- Single-wall wedge: Art sits on one wall only and faces the room.
Here is the rule that holds all four together. Line up the inside edges tight to the corner and let the outside edges feather out. Keep 2 to 3 inches between frames, and keep that gap the same on both walls.
How to Plan It Before You Make a Single Hole
Measure both walls from the corner to the first obstacle. Obstacles are switch plates, outlets, vents, thermostats and the swing of a door. Write the numbers down before you shop.
Hang your anchor piece so its center sits at 57 inches from the floor. That is standard eye level. Then echo its top and bottom edges as the gallery turns the corner.
Use one of these two methods to test the layout:
- Floor layout: Tape a box on the floor the size of your gallery. Arrange the frames inside it and snap a phone photo.
- Paper templates: Trace each frame onto kraft paper and cut it out. Tape the paper to the wall and mark where the hanger sits. Nail right through the paper, then tear it away.
If your frames came with a manufacturer template, use that too. Renters can swap in adhesive photo tiles and restick them until the wrap looks right.
Living Room Corner Gallery Wall Ideas
1. Wrap a Big Corner Behind the Sectional
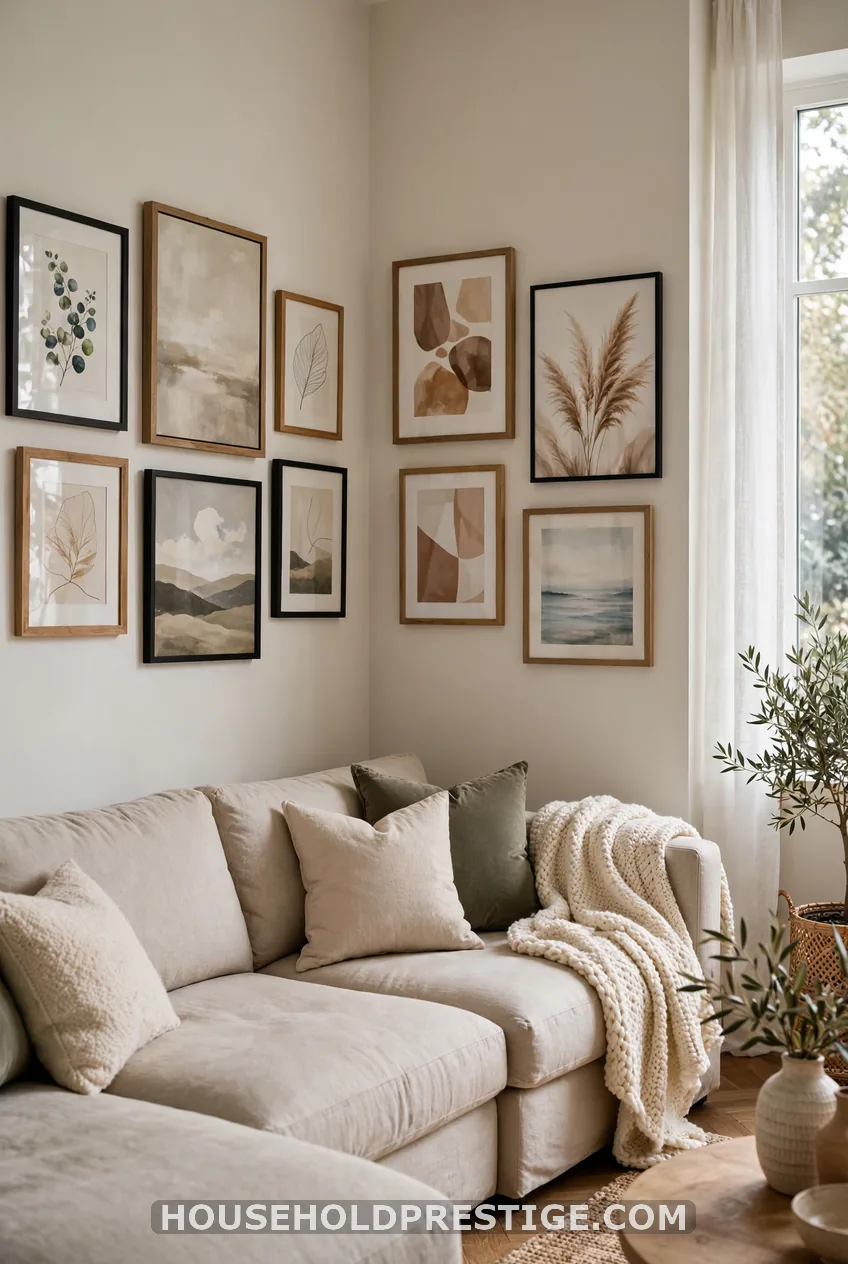
This is the showpiece. Use 9 to 11 frames in a mix of sizes, with one large anchor of about 24 by 36 inches on the longer wall. The rest range from 5 by 7 up to 16 by 20.
Here is the method, start to finish. It takes about 90 minutes.
- Cut kraft paper templates for every frame. A roll of brown kraft paper costs about $8.
- Tape the anchor template at 57 inches on center, about 4 inches from the corner.
- Place the next template on the other wall so its inside edge also sits 4 inches from the corner. This mirrors the fold.
- Fill outward with 2 to 3 inches between templates. Let the outside edges ragged-out on purpose.
- Step back across the room. Move paper until it feels balanced, then nail through each template.
Keep the sofa in mind. The lowest frames should sit at least 6 to 8 inches above the sofa back.
The catch: the corner itself is rarely square
Older walls lean. If the corner is off by a quarter inch, frames on each side will drift apart as you go up. Check with a level and adjust the second wall to match the first, not the other way around.
2. Balance a Heavy TV Wall With an L-Shape
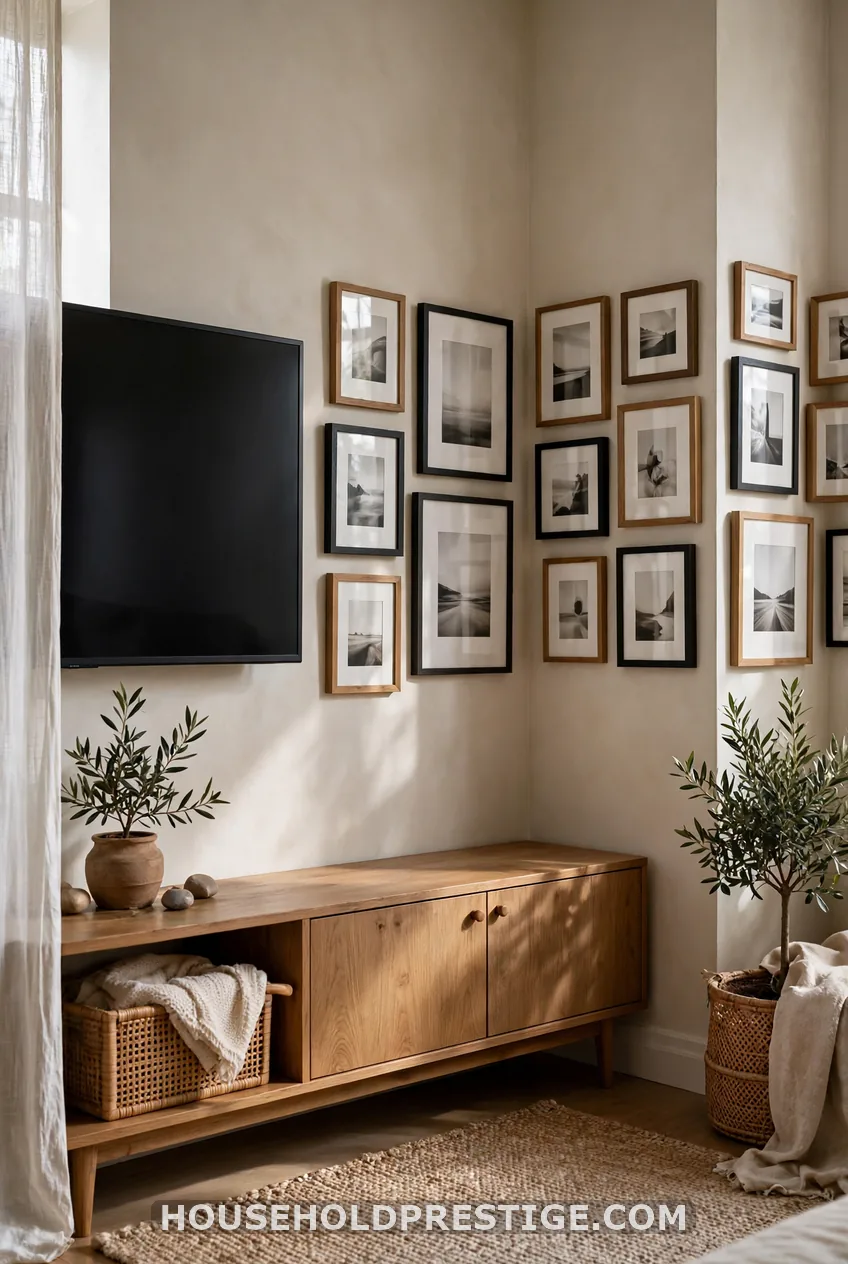
A big TV makes one side of the room feel dark and heavy. Answer it with a six-frame L-shape on the opposite corner. Run four frames along the main wall and turn two onto the return wall.
Use matching black frames with white mats so the group reads as light. The mats do the quiet work. Add one warm wood frame as the only odd one out.
3. Match the Top Line to the TV
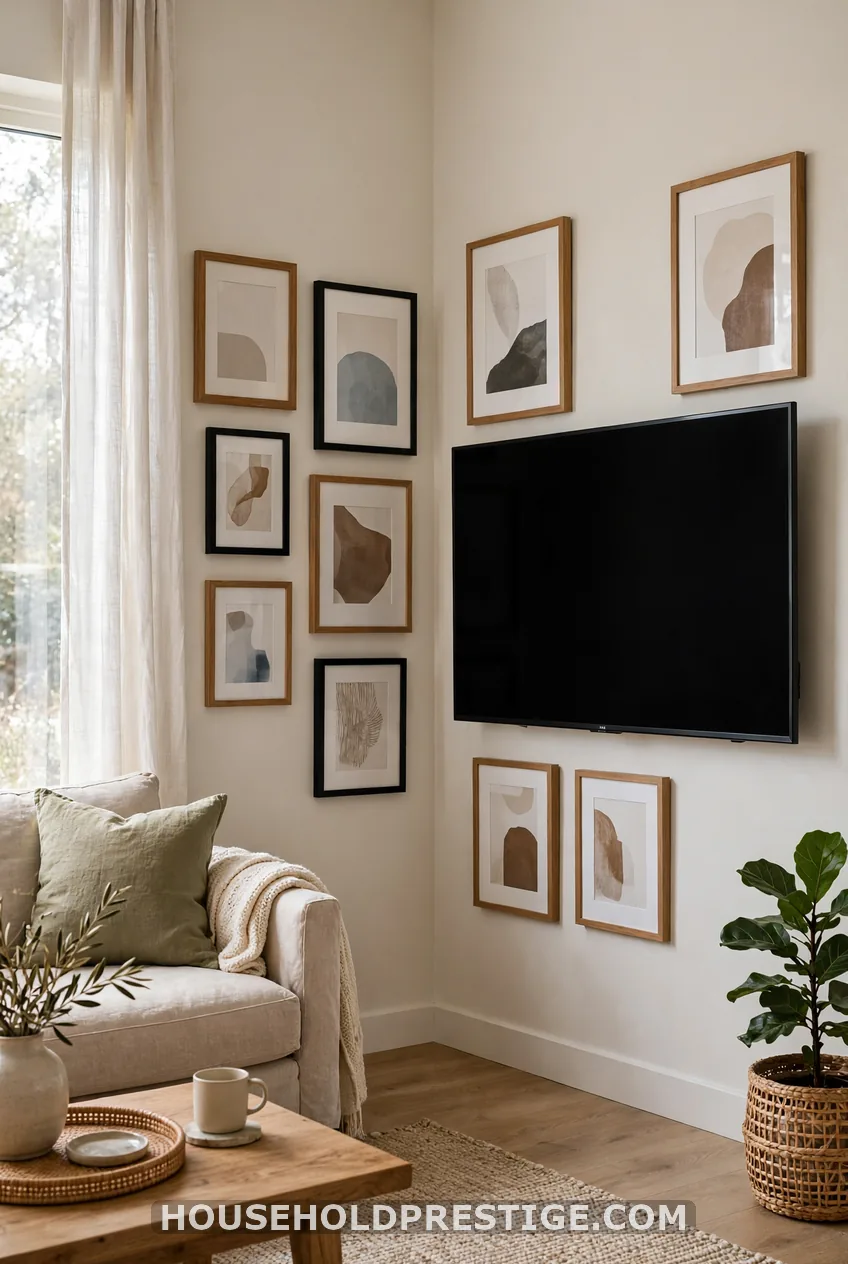
Line up the top edge of your highest frame with the top edge of the TV. Your eye reads a shared line across the room as order. Same art, calmer room.
4. One Oversized Anchor Plus Small Frames
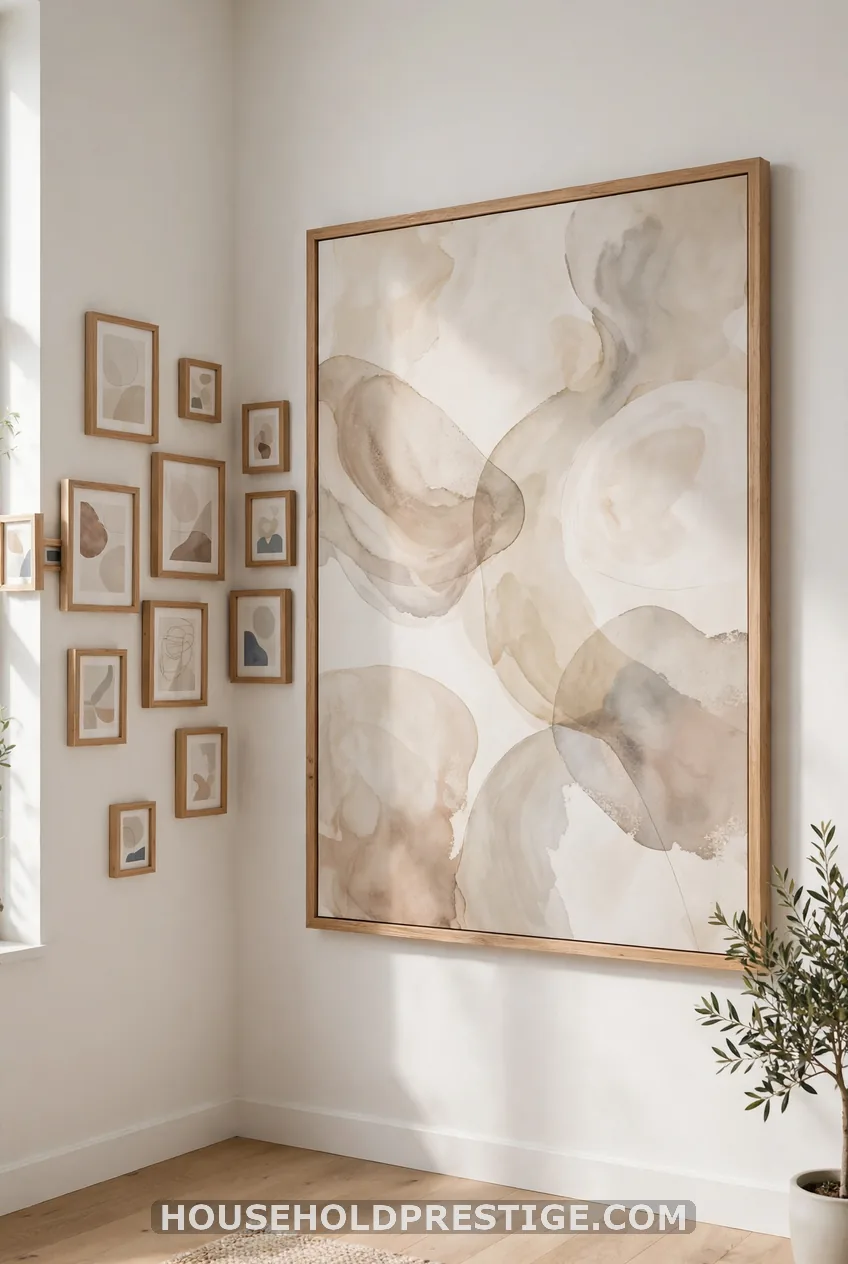
Pick one large piece, around 30 by 40 inches. Surround it with five or six small frames, none bigger than 8 by 10. The big piece gives the eye a place to land, and the small ones feel collected instead of cluttered.
Put the anchor on the wall with the most open space. Let two small frames cross the corner onto the second wall to tie the sides together.
Bedroom Corner Gallery Wall Ideas
5. A Soft Diagonal Over the Nightstand
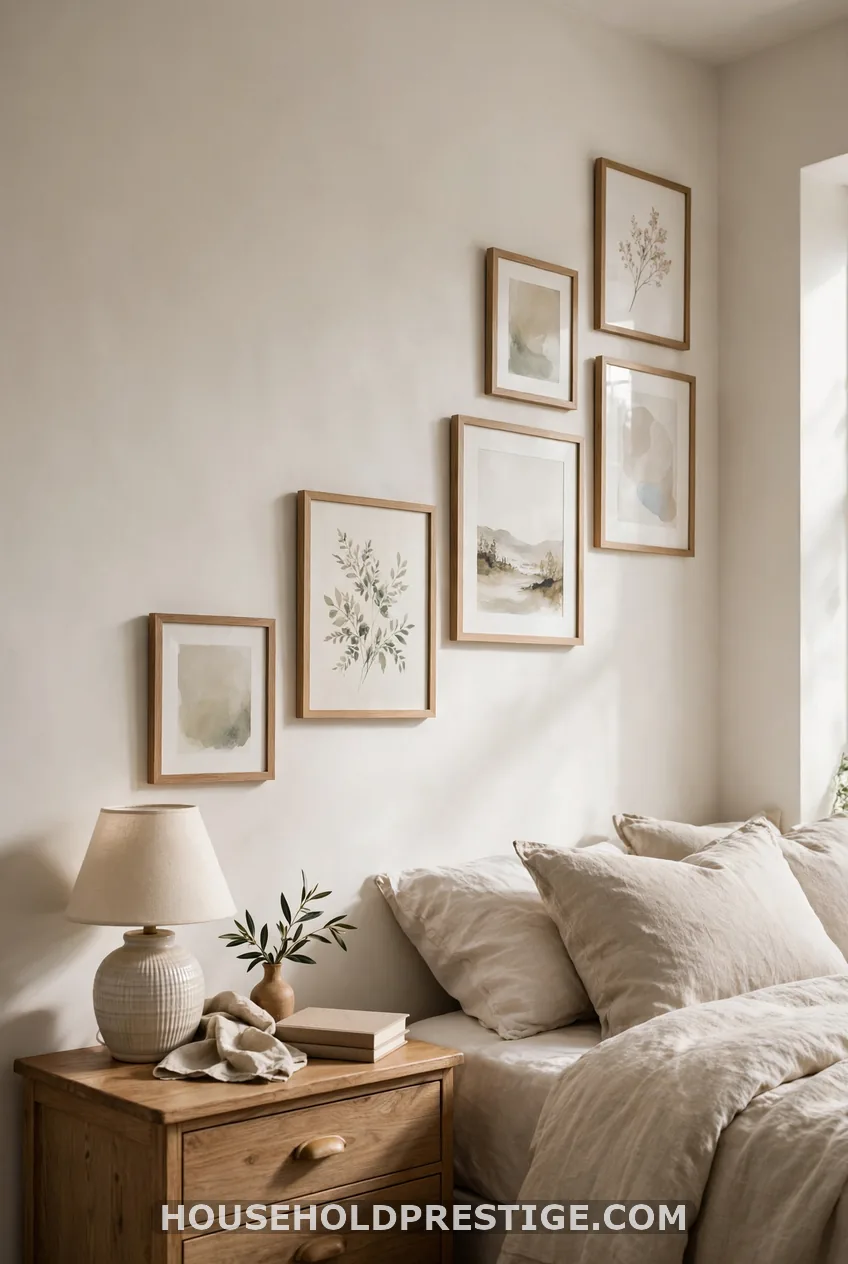
Use three to six frames, and let them climb on a gentle diagonal that follows the lamp height. Start low, just above the lamp shade, and rise toward the ceiling.
Choose calm art. Pastel travel photos, family moments and soft line drawings keep the room restful.
6. A Floor-to-Ceiling Column in a Narrow Corner
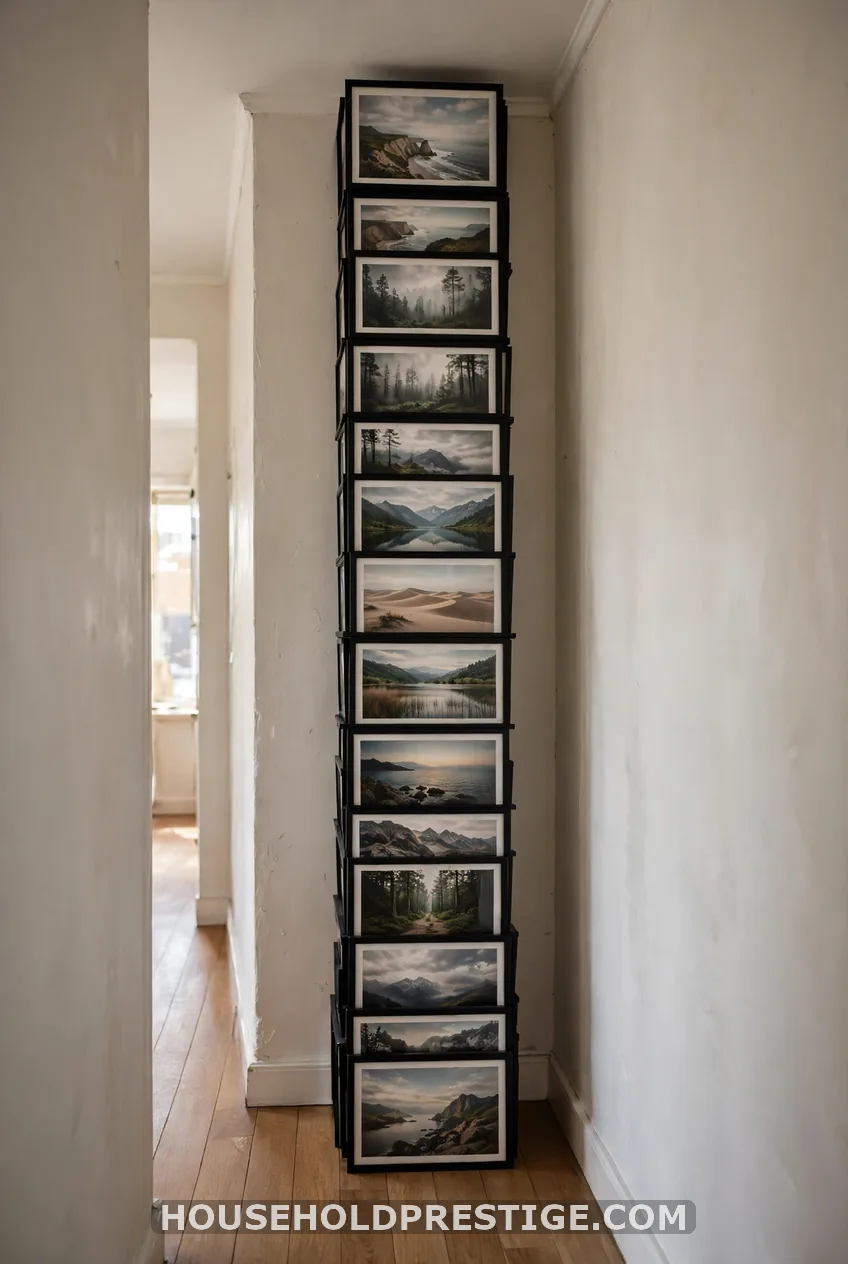
Some bedroom corners squeeze between a closet and a window. There is no width for a grid, so go tall. Stack five or six frames in a single column, 2 inches apart, all the same width of about 8 inches.
Keep the center of the whole stack near 57 inches. That puts the middle frames at eye level when you stand, and the top frames pull your gaze up to the ceiling. In a bedroom with a low ceiling, that trick buys you height.
Hang the lowest frame at least 10 inches above the dresser or nightstand if one sits underneath. Otherwise a lamp or a lifted hand will knock it.
One caveat: skip the column if the corner holds a door swing
A door that opens into the strip will bang the frames. Measure the arc first.
Reading Nook Corner Gallery Wall Ideas
7. The Chair Corner
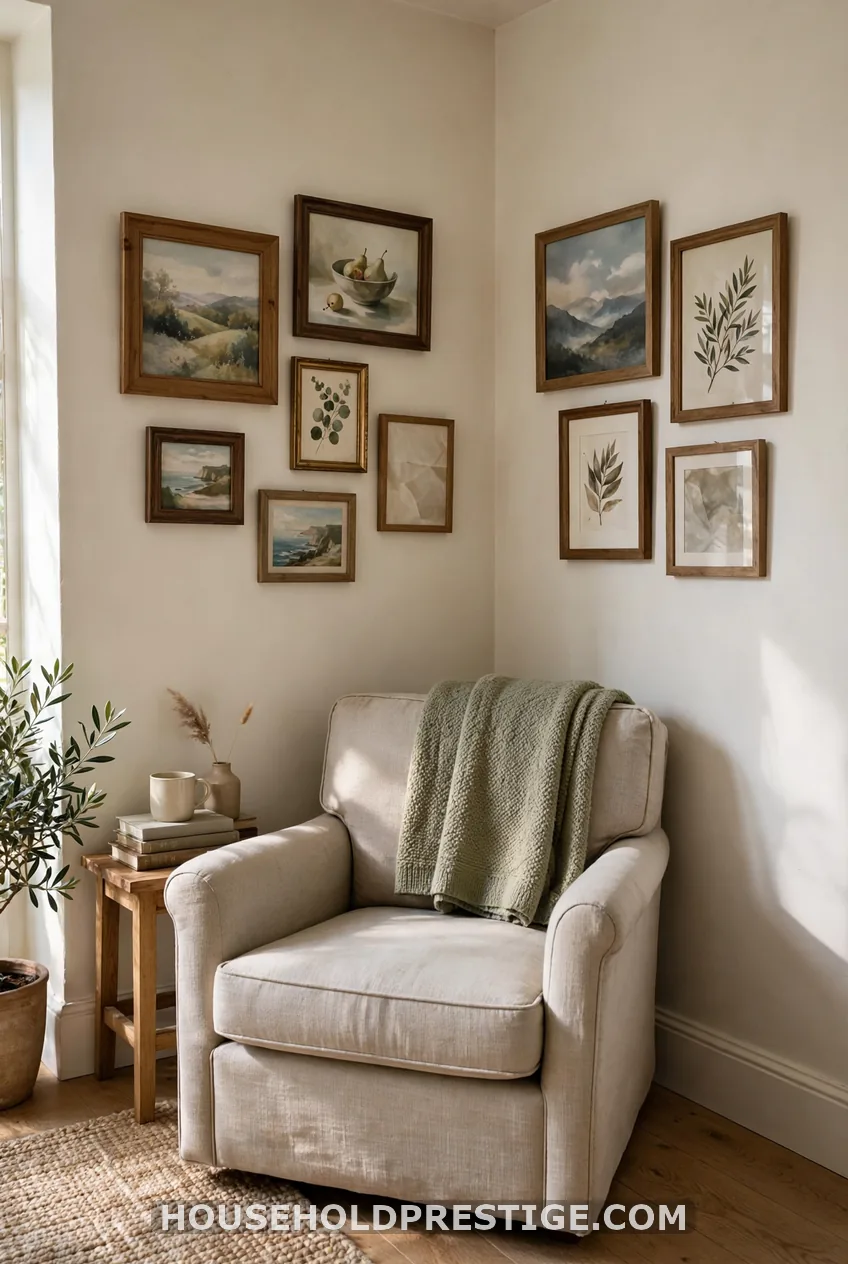
A reading corner is a place you sit, so hang for sitting. Put your anchor frame at seated eye level, about 42 to 46 inches to center, not 57. Everything else steps up and around from there.
Build the cluster loose. Use five or six frames in an offset pattern, with 2 to 3 inches between them but no strict grid. It should feel cozy, not like a museum wall.
Add a floor lamp or a plug-in sconce and let the frames step up and around the light. Finish the corner with a throw on the chair and a small side table. When the pieces work together, the nook feels like a destination.
The catch: lamp shades heat paper
Keep frames at least 6 inches from a bulb or shade edge. Warm light can fade prints over time. LED bulbs run cooler and help.
Dining Room Corner Gallery Wall Ideas
8. Go Larger and Fewer
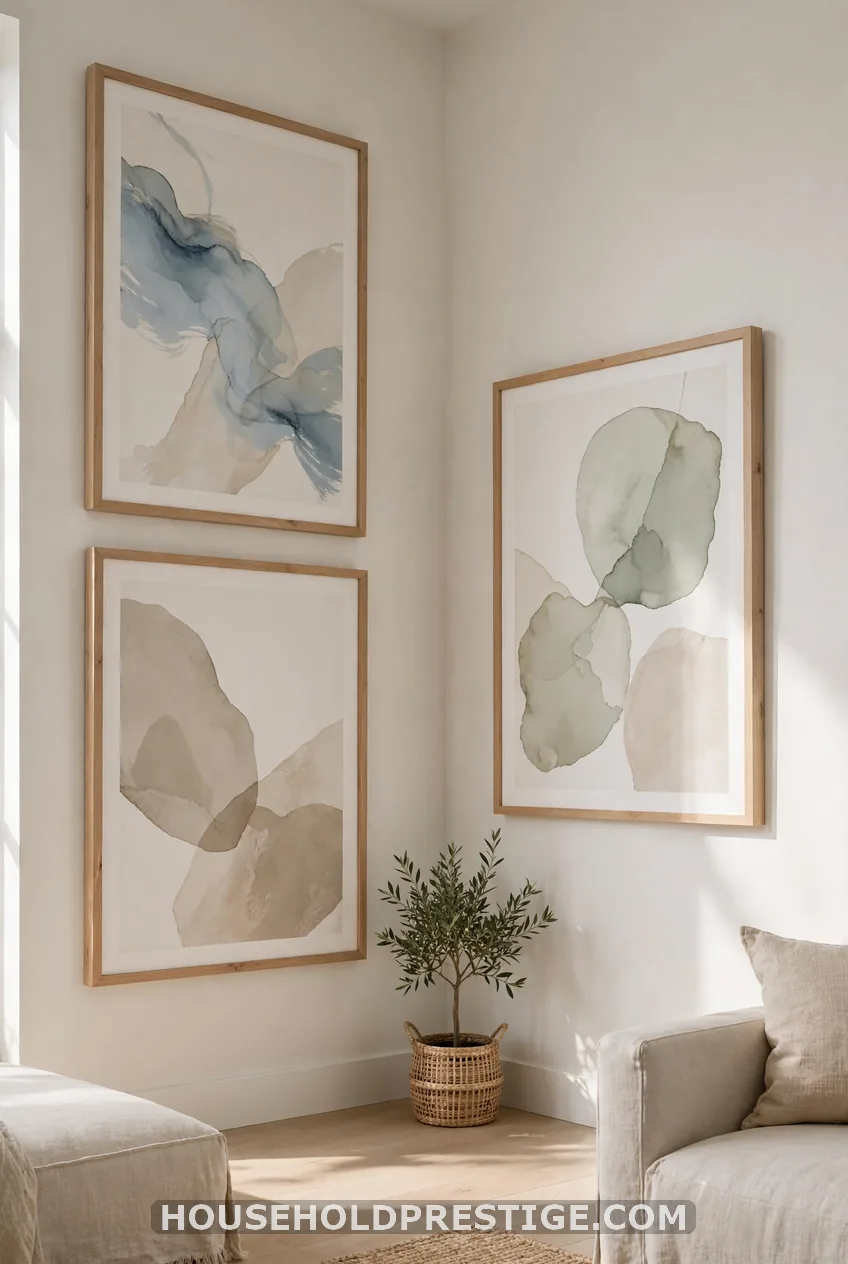
You view dining room walls from across a table, so small frames vanish. Use three or four big frames, each at least 16 by 20 inches. Wrap them behind a bar cart or buffet so the vignette has a base.
Keep the gap identical on both walls, 3 inches works well. Repeat one color from your chairs or rug in at least two pieces of art.
Home Office Corner Gallery Wall Ideas
9. Grid on One Wall, Cluster on the Other
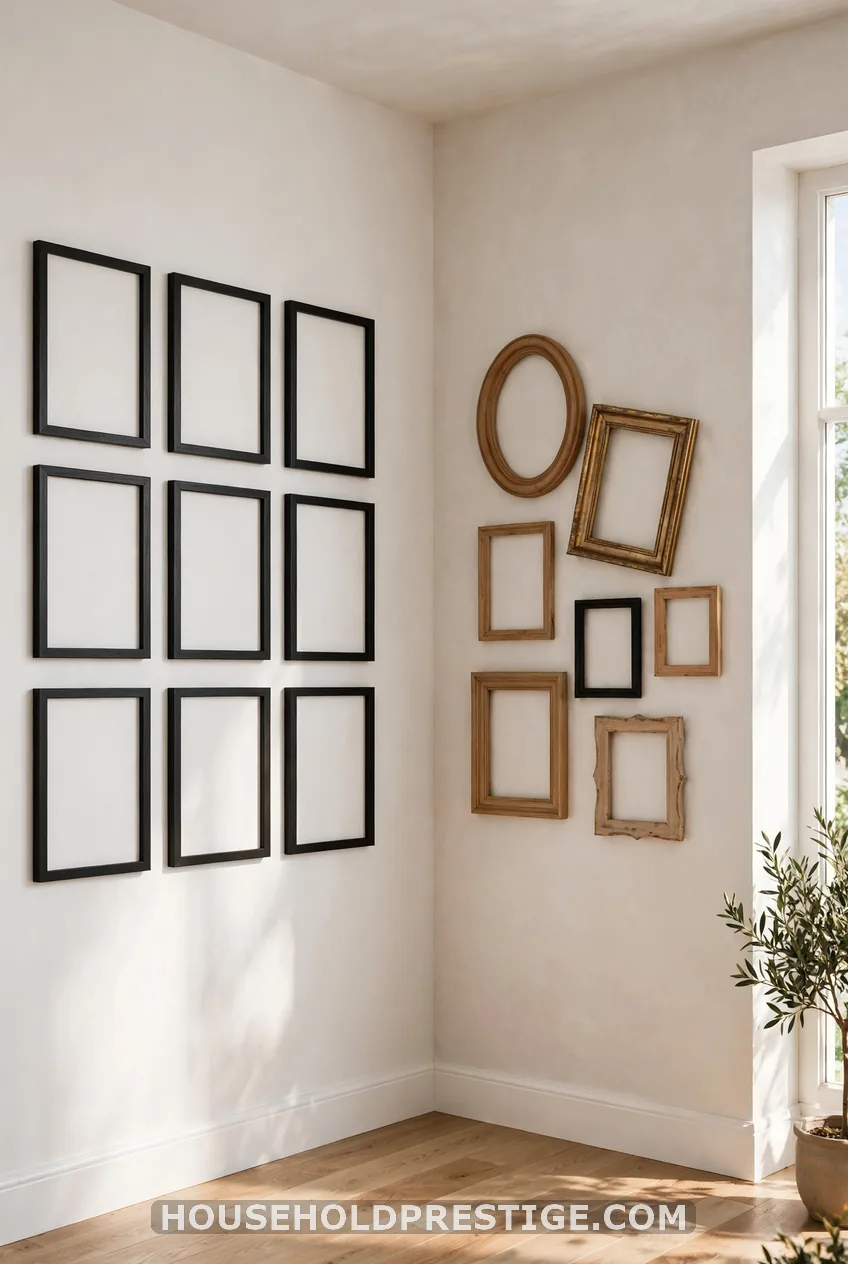
Behind a monitor, a busy wall gets loud on camera. Hang a tidy two-by-three grid of six matching frames on the wall behind your desk. Put a looser cluster of three on the side wall.
Stand where your camera sits and check the frame. Make sure the anchor shows in the video-call view and nothing sits right behind your head. Mix one or two typography prints with a personal photo, and keep everything in one palette.
Have a tall bookshelf beside the desk? Run a column stack next to it. The vertical strip makes a cramped desk corner look wider.
Bathroom Corner Gallery Wall Ideas
10. Myth: “Art Doesn’t Belong in a Bathroom”
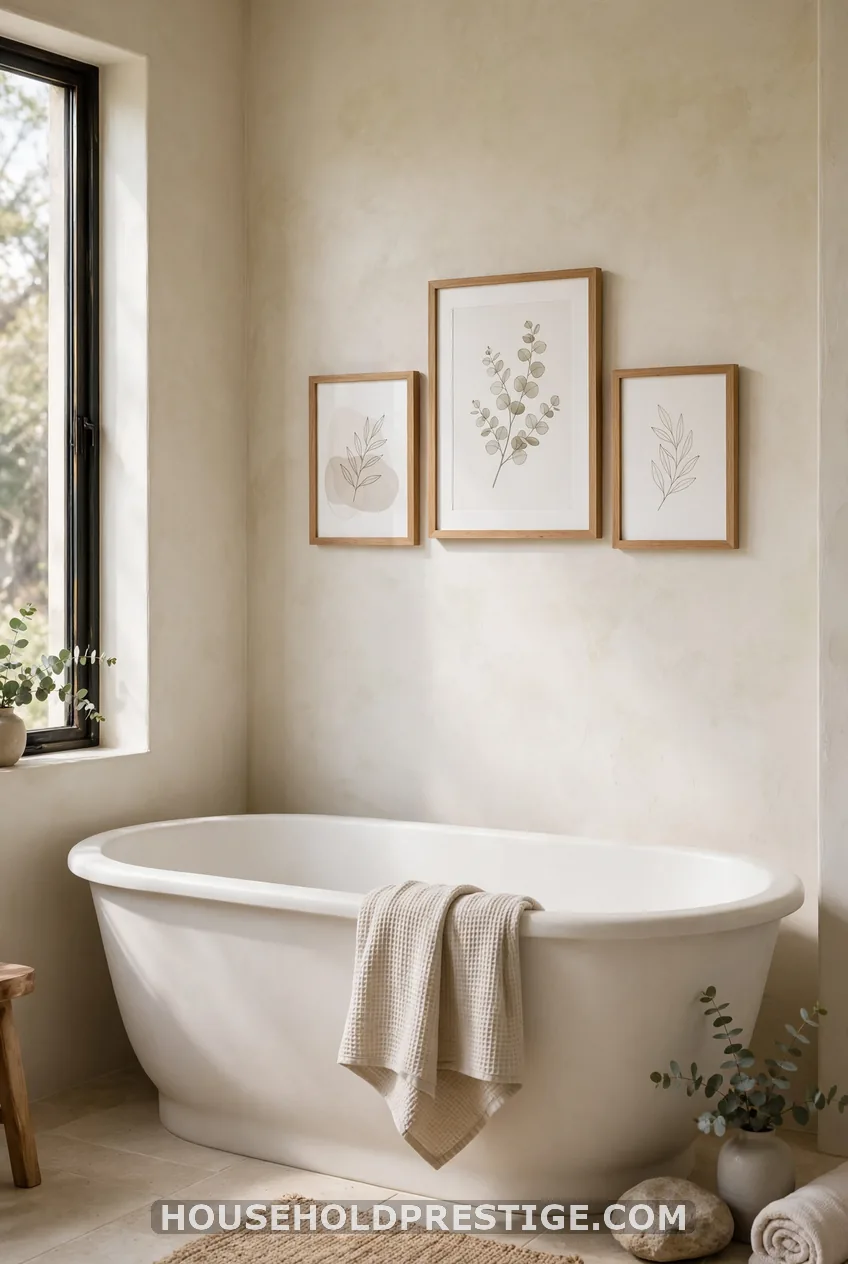
What most people think: Steam ruins everything, so keep walls bare.
Reality: Steam ruins paper mats and open backs. Sealed frames handle it fine. Look for acrylic glazing and a sealed back panel, and print on photo paper or a poster with a protective coating.
Hang three to five frames in a tight cluster above the vanity or beside a freestanding tub. Pick brass, gold or silver frames, which hold up against humidity. Put a mirror on one wall and art on the other so the mirror bounces light into a dim corner.
Keep art at least 3 feet from the shower head. If the room has no fan, crack a window after showers.
Corner Gallery Walls With Shelves, Ledges and Plants
11. Layer a Ledge, a Shelf and a Plant
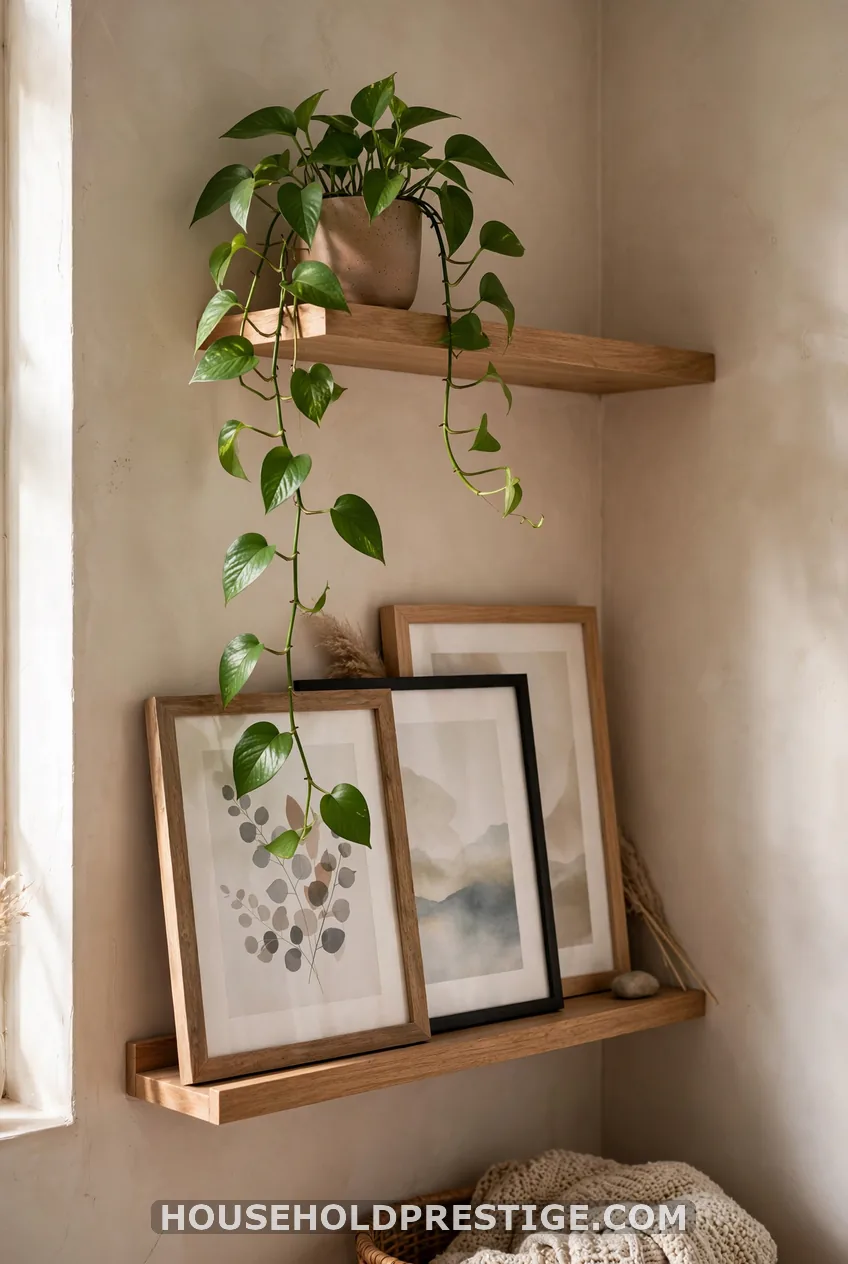
Mount a thin picture ledge about 8 to 10 inches under the lowest frame. Lean small art, a stack of books and a candle on it. A 24-inch ledge holds this comfortably.
Set a trailing pothos or a tall snake plant nearby. Place the tallest plant slightly forward so leaves overlap the frame edges. That overlap softens the corner and hides gaps.
Repeat one material to tie shelf and wall together. Black frames, a black vase and a black-and-white photo do the job.
The catch: leaves and glass don’t mix with damp soil
Water plants at the sink, not in place. Drips down a wall will stain a mat.
12. The Contact-Sheet Wrap
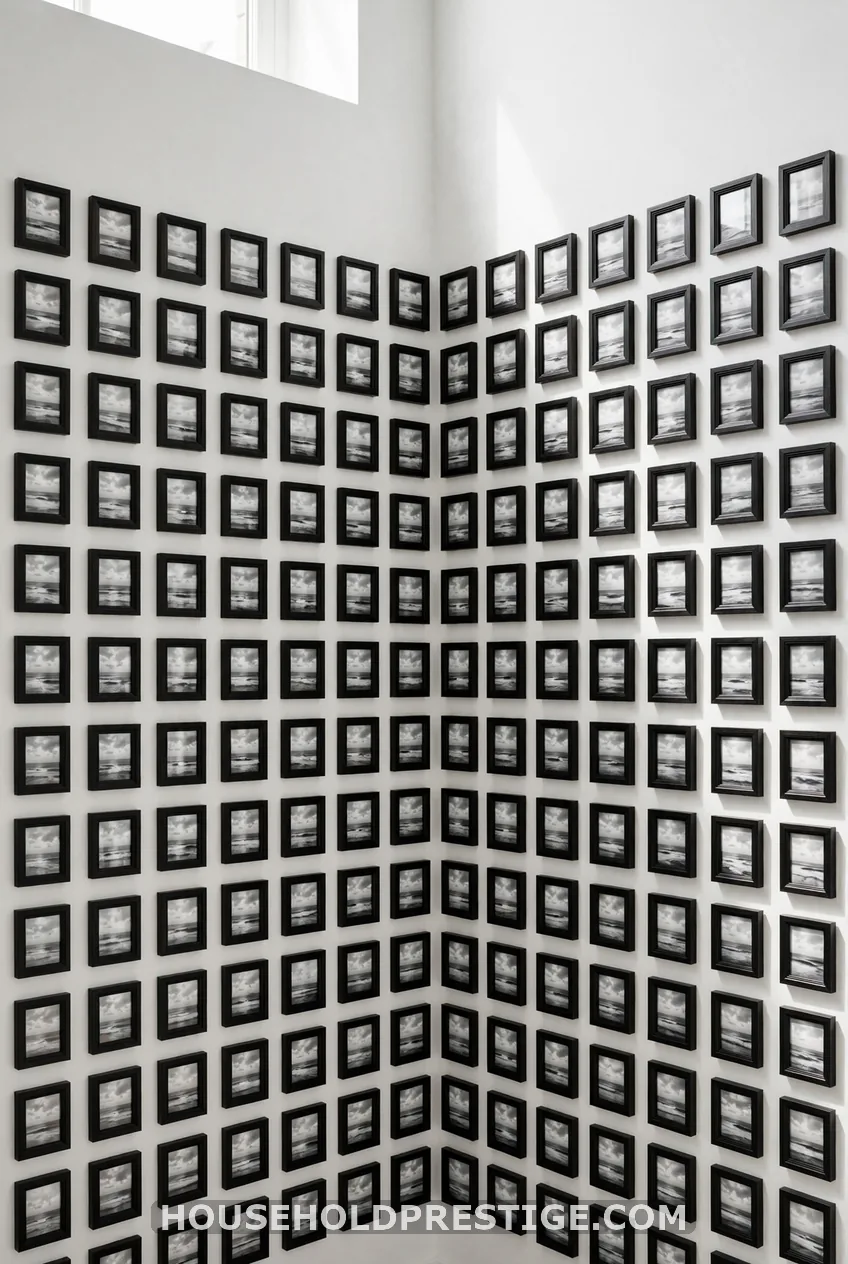
Use eight to twelve identical 8 by 10 frames in a strict grid, 2 inches apart, wrapping the corner. Same finish, same mat, same size. Subject matter does the talking, so a set of black-and-white photos or botanical prints works well.
No-Drill and Rental-Friendly Corner Gallery Wall Ideas
13. Stick It, Don’t Drill It
Adhesive, repositionable photo tiles stick to painted and many lightly textured walls. They let you move the wrap until it feels right. Command picture hanging strips work for frames, but check the weight rating and use more strips than the minimum.
Picture ledges can go up with removable adhesive strips, so you can lean art without a single hole. Keep the ledge light, under the strip rating.
Press strips for 30 seconds and wait an hour before hanging. Test the wall in a hidden spot first. Fresh paint needs a few weeks to cure.
Plan for move-out too. Restick the layout each season rather than starting over.
A Lesson From the Fold
14. Leave Breathing Room at the Corner Point
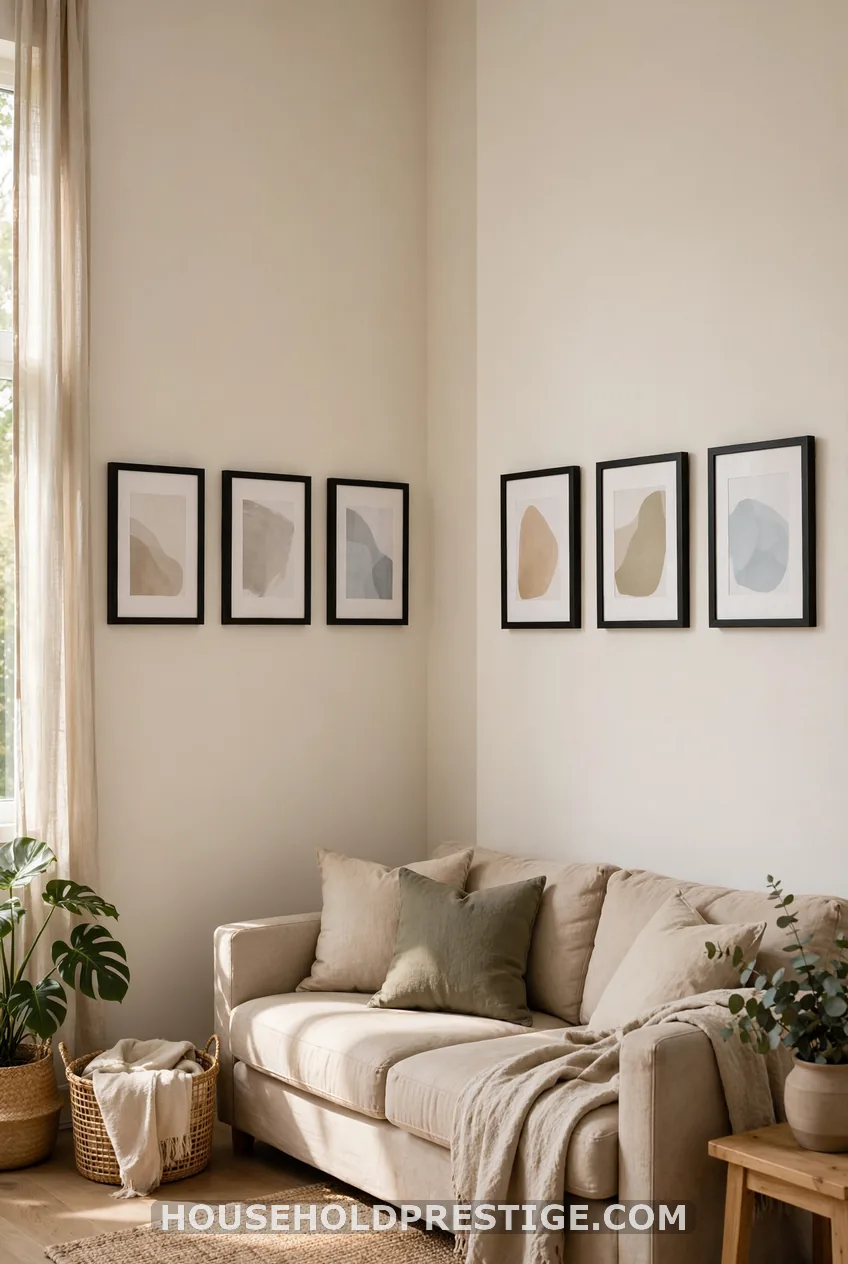
I once crammed three frames right into the corner crease. The edges kissed, the glass rattled whenever someone shut a door, and one frame hung crooked for months. It looked like a mistake because it was one.
Leave about 2 inches at the fold. If a frame crosses the crease, it will not sit flat. Keep every frame fully on one wall and let the gap do the turning.
Corner Gallery Wall Mistakes to Avoid
Before you pick up the drill, scan this list.
- Hanging too high: Center the group at about 57 inches. Lower for seated spots.
- Forgetting the second sightline: A corner is often seen from two rooms. Walk to every entry and look.
- Ignoring switches and vents: Mark them on your paper templates first.
- Mixing too many finishes: Repeat at least one material or color.
Think about cost tiers too. Thrifted frames with a coat of spray paint cost the least. Adhesive tiles cost more but save your walls. A pre-designed 14-frame corner set costs the most and saves you the planning.
FAQs
How many frames do I need for a corner gallery wall?
Six to eleven suits most corners. Narrow nooks can use a five-frame column, while a wrap behind a sectional wants nine or more. Scale up by wall width, using roughly one frame per foot.
What height should a corner gallery wall start at?
Center the whole group at about 57 inches from the floor. Over furniture, start 6 to 10 inches above it. In a reading nook, drop the anchor to seated eye level.
Can I make a corner gallery wall without nails?
Yes. Use adhesive photo tiles or Command strips rated above your frame weight. Keep frames light and test a hidden patch of wall first.
How do I plan the layout before hanging?
Trace each frame onto kraft paper and tape the shapes to the wall. Move them until you like the balance, then nail through the paper. A floor layout with a phone photo also works.
Measure twice, tape paper first, and a corner turns into the best wall in the room.