

My hammer was in one hand and a chipped Delft saucer was in the other. The kraft paper templates were taped to the wall, and I was three nails in. That’s when I saw the middle plate sat two inches too low.
Lesson learned. A vintage plates on wall display looks best when you plan it before you drill. This list gives you 16 looks, each with the layout, the hanger, and a sourcing note you can copy. Some need no holes at all.
Before You Start: The 5-Minute Plate Wall Plan
Do these four things first. They save you from a wall full of extra nail holes.
- Pick a theme. Blue-and-white, florals, transferware, one color family, or one maker.
- Pick a focal point. A big platter, a basket, a shelf, or one center plate.
- Trace each plate on kraft paper. Cut the shapes out and tape them to the wall, or lay them on the floor first.
- Match the hanger to the plate. Weight and value both count before you nail anything.
Plate walls are back because they’re personal. They’re also cheap, and a single plate tells a story. People have hung china on walls for centuries, and the habit never really left.
1. Classic Blue-and-White Vintage Plate Wall
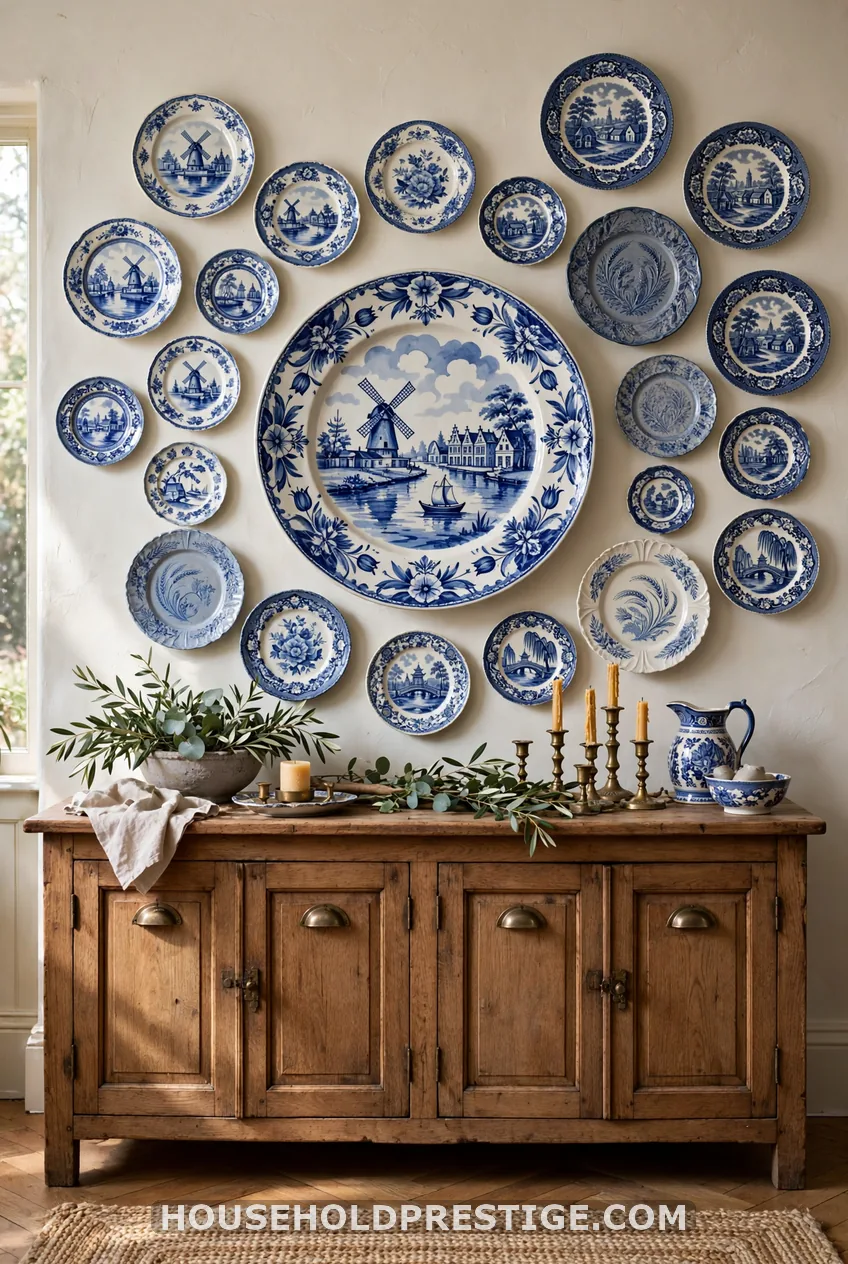
Blue-and-white is the look most people picture. Mix Delft, chinoiserie, transferware, and ironstone, as long as they stay in one blue range.
Hang the largest platter first. Work outward in a loose grid. Center the group over a buffet or dining table.
Keep it to two or three motifs, such as florals, scenes, and borders. Too many patterns turns the wall into noise.
Pro tip:
Lay a cream or white plate in every few spots. The blank spaces give your eye a place to rest.
2. The 3-Plate Vintage Wall Trio for Small Spaces
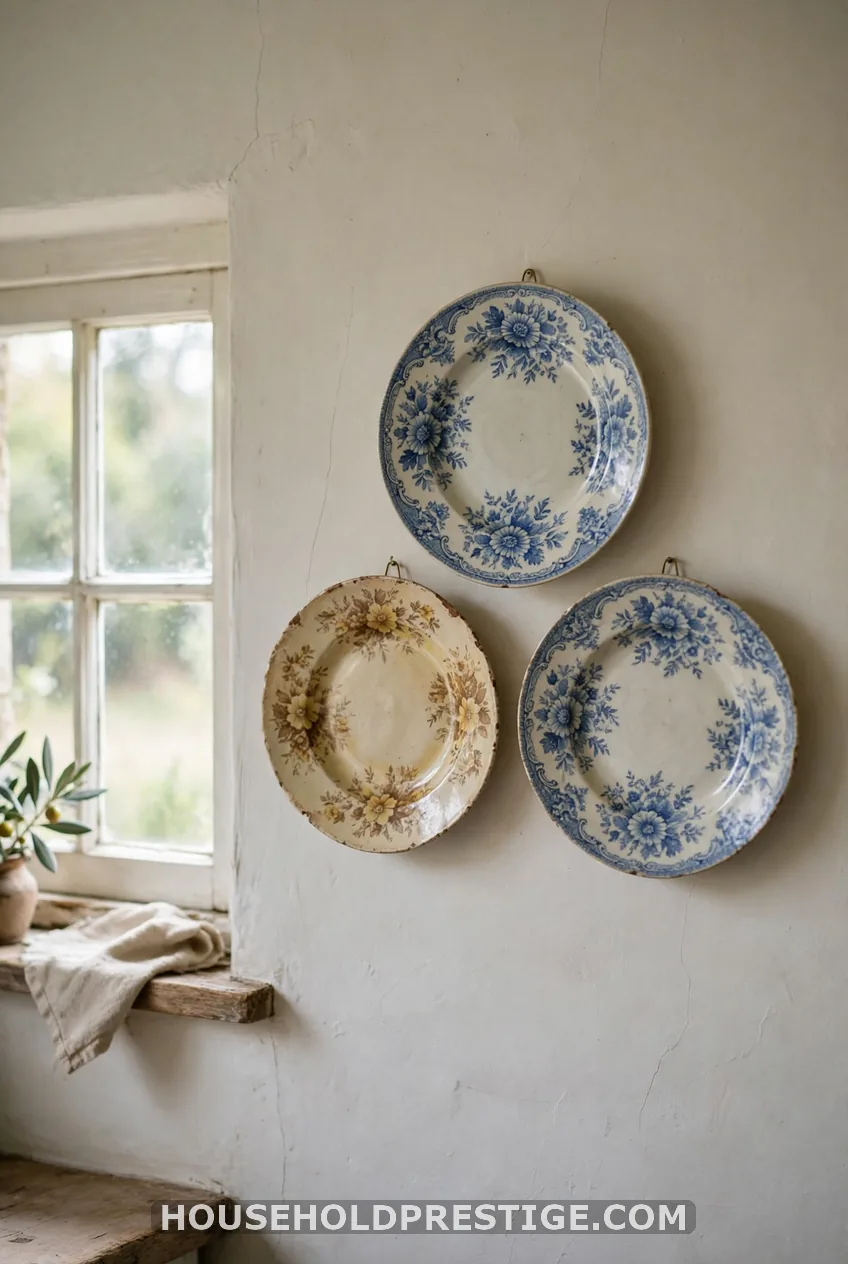
Three plates are enough. Hang them in a vertical line, a horizontal row, or a tight triangle.
Use three same-size plates with different patterns. Or use one pattern in three sizes. Center the trio about 57 to 60 inches from the floor.
Adhesive hooks work here only if the plates are light and low in value.
3. Framed Vintage Plate Gallery Wall
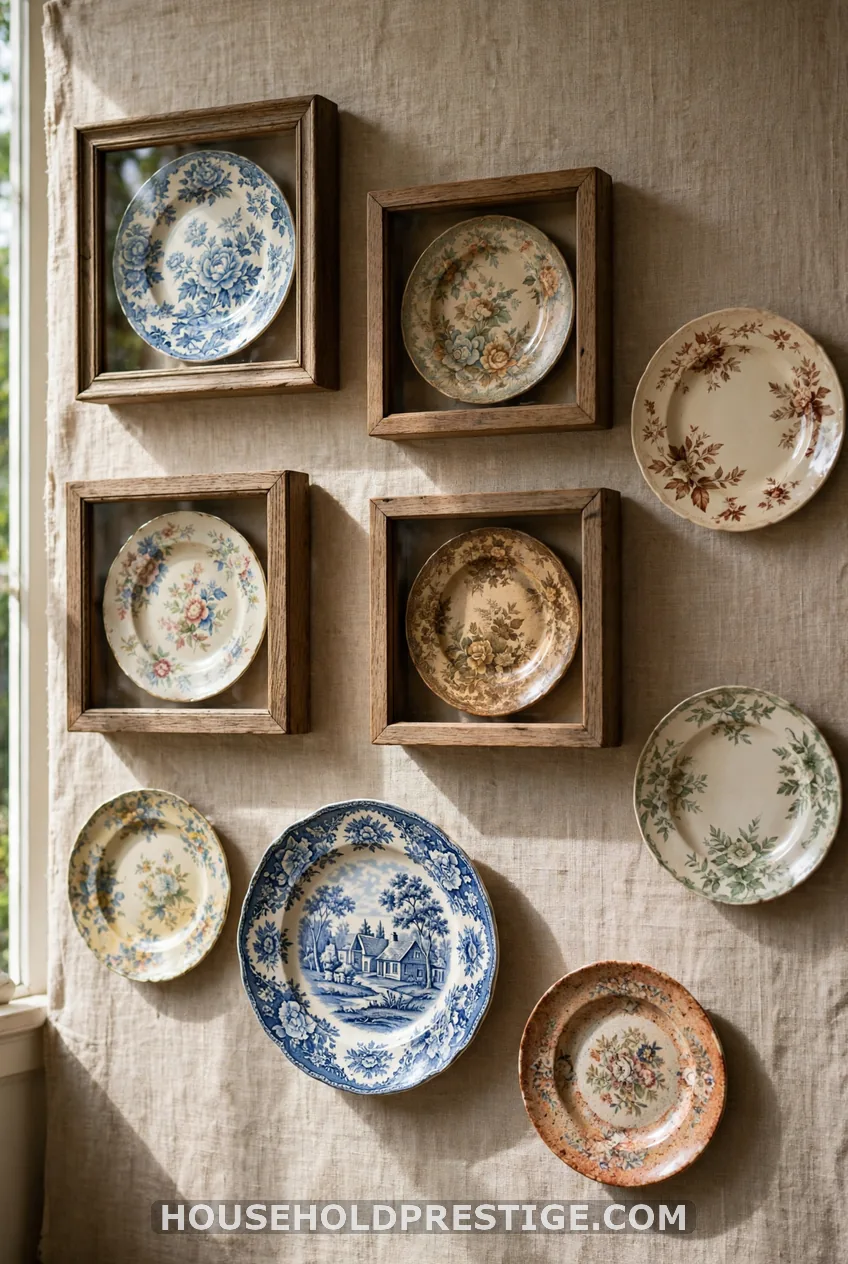
Frames make plates feel like art. Use shadow boxes or plate frames with a linen or mat backing. The frame carries the weight, so the plate never takes the strain.
Mix framed plates with bare ones. The change in depth adds interest. Pick UV-protective acrylic or glass if the wall gets sun, because it protects the pattern.
No nails allowed? Lean small framed plates on a picture ledge instead.
4. Cottage-Style Plate Wall with Baskets and Florals
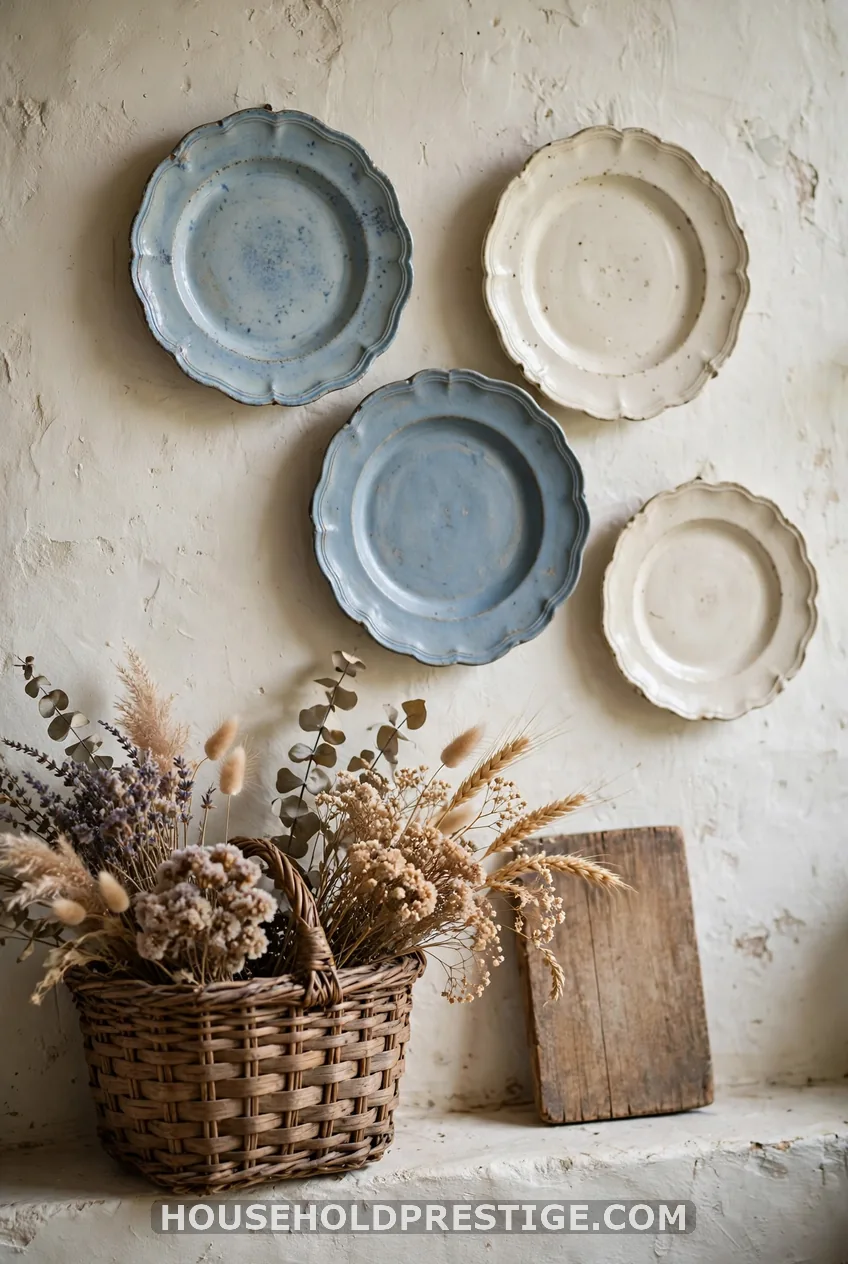
Cottage walls are loose and soft. Mix plates with a vintage basket, a wooden cutting board, or a bundle of dried flowers.
Stick to cream, faded blue, sage, and warm white. Balance heavy textures with small saucers and floral plates.
Leave air around the non-plate pieces. A crowded cottage wall looks like a yard sale.
5. Dining Room Plate Gallery Wall Above the Buffet
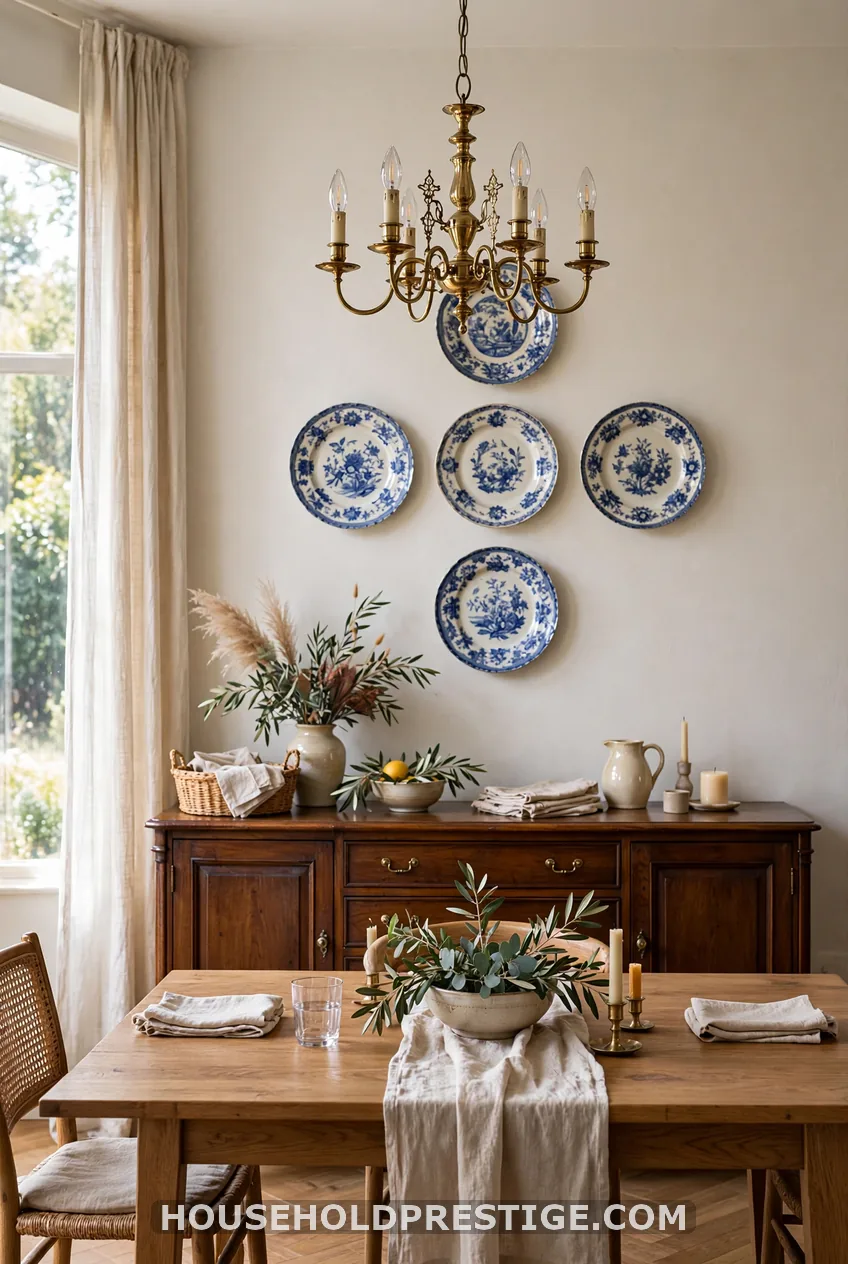
Use the chandelier and the table’s centerline as guides. They keep the wall from drifting off to one side.
Build a cross or a grid with a large platter in the middle. Make the group about two-thirds as wide as the buffet. Leave 2 to 4 inches between plates.
Pro tip:
Cut paper circles for every plate and tape them up first. Move them around until the gaps look even. Then mark your hanger spots right through the paper.
6. Kitchen Vintage Plate Wall Around Open Shelving
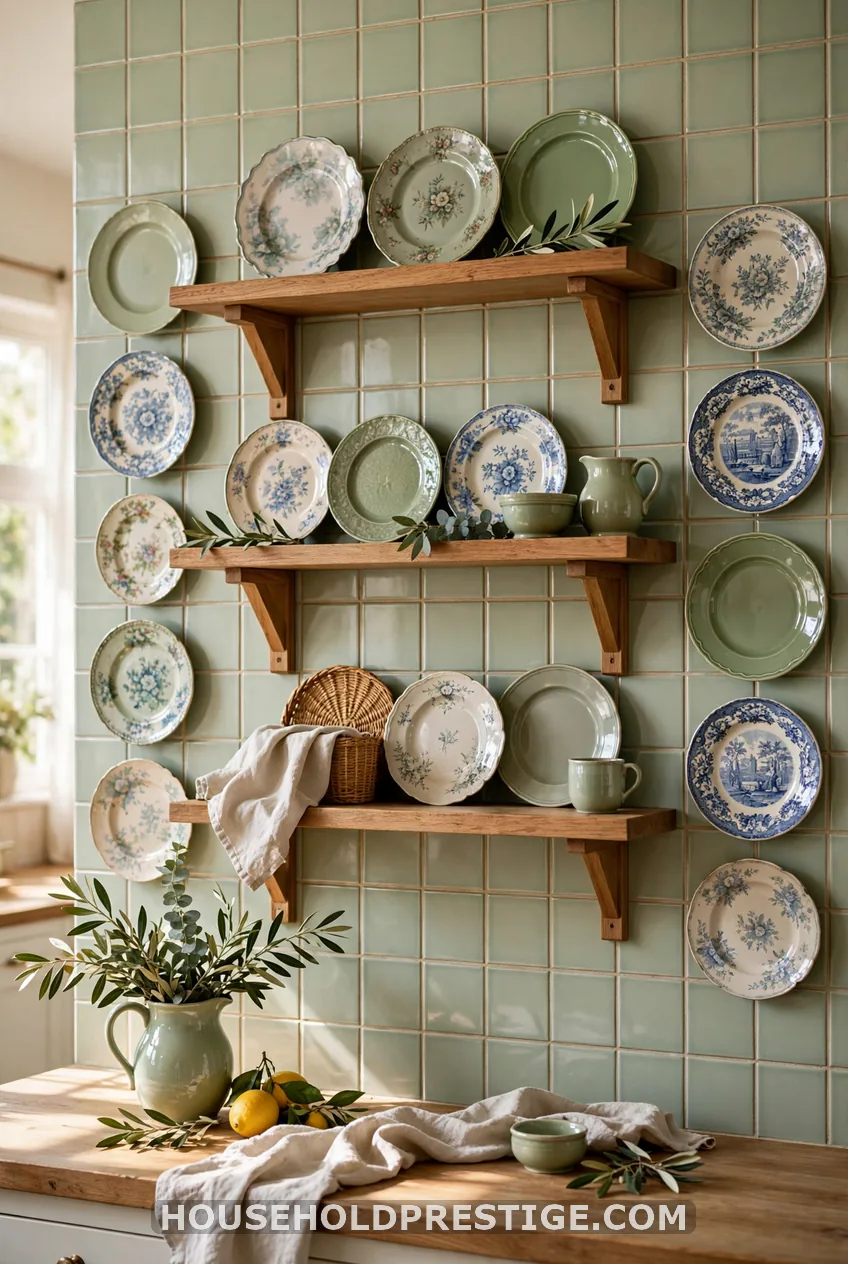
Wrap plates around a shelf, a window, or a range hood. Keep them out of your work zones, where elbows and pans move.
Mix platters, dinner plates, and saucers for rhythm. Repeat one color from your cabinets or tile.
Keep valuable plates away from the stove. Grease and steam don’t mix with old glaze and delicate paper labels.
7. Modern Minimal Vintage Plate Wall
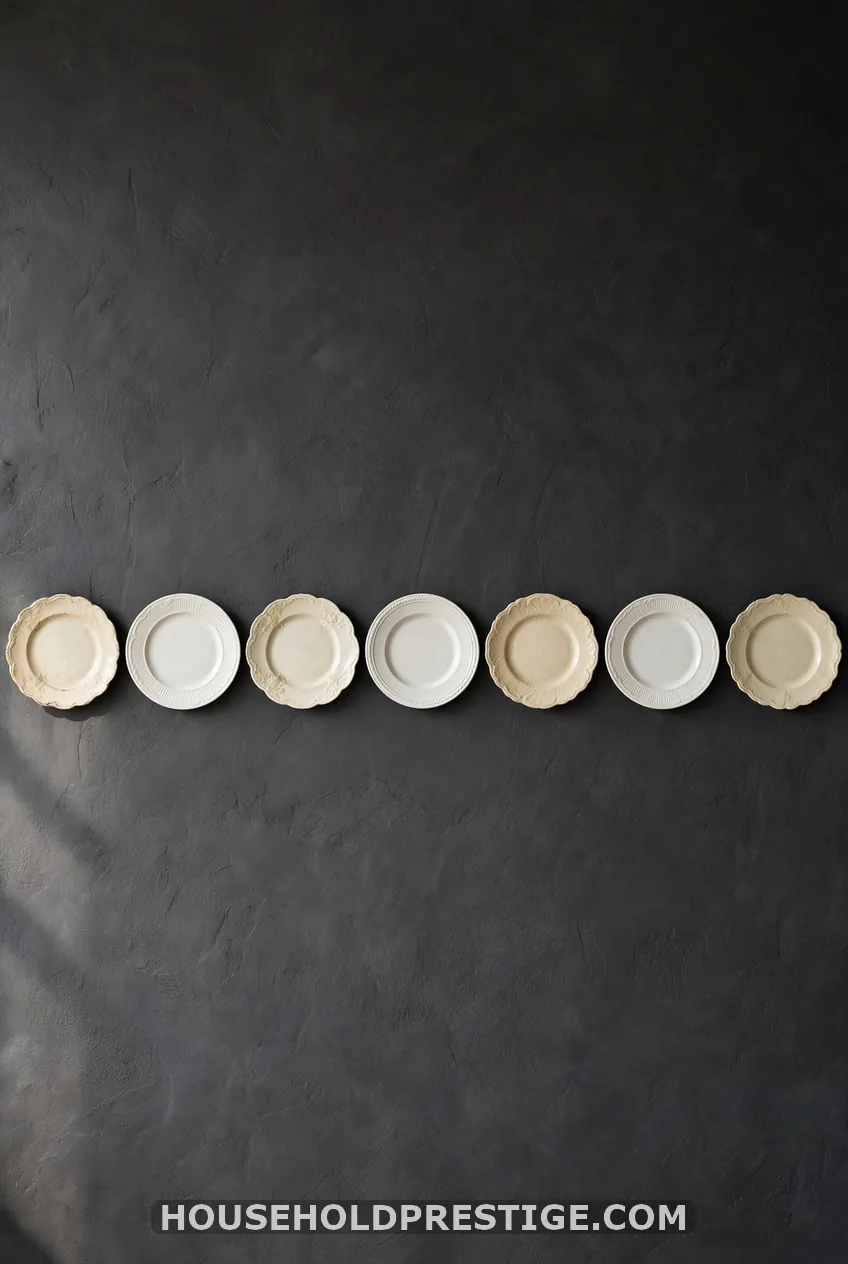
Treat plates like sculpture here. Use a single row, a tight grid, or a spaced line.
Limit the wall to one color family or one maker. Keep 2 to 3 inches between plates. A matte wall in a dark or deep tone makes pale plates stand out.
8. Vintage Plate Wall Shelf or Plate Rail
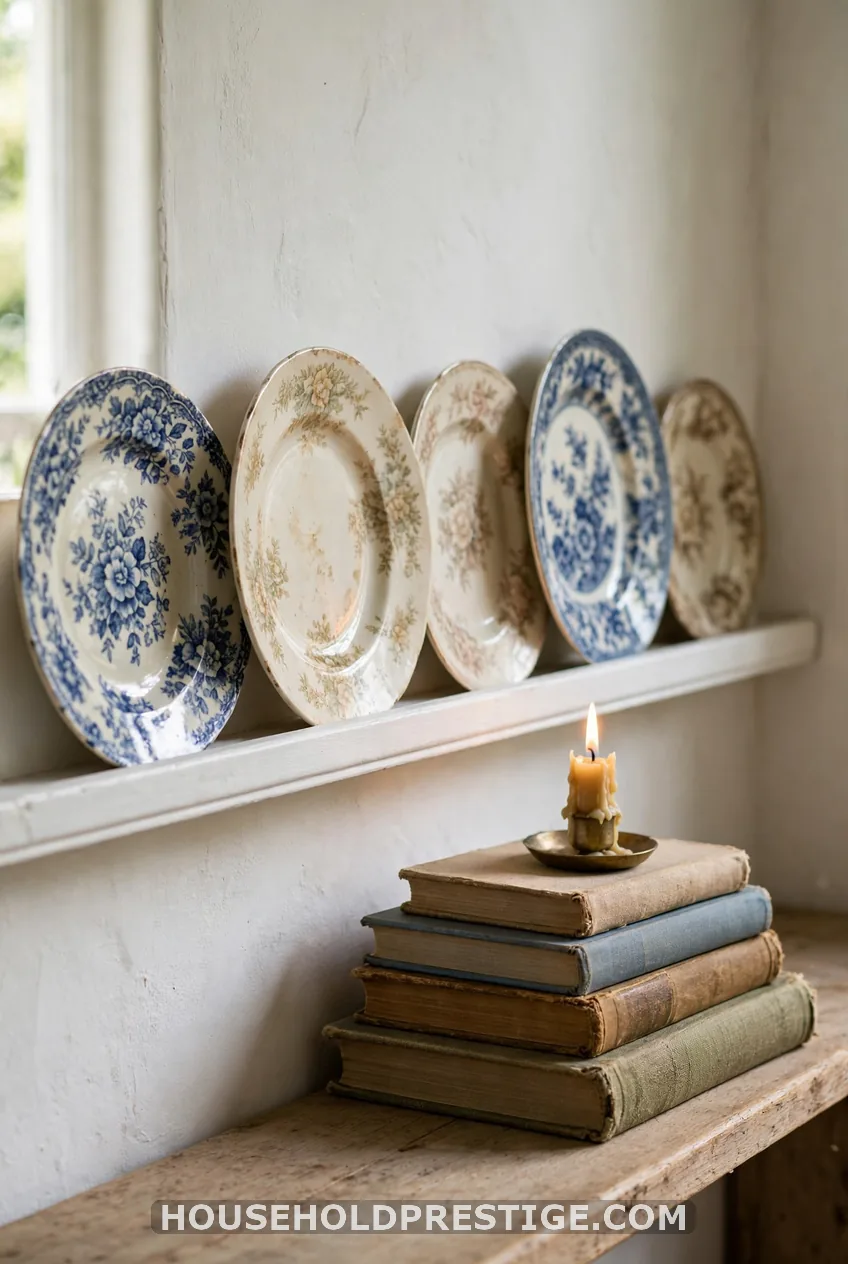
A shallow ledge or plate rail skips the hanger problem. Lean the plates instead of hanging them.
Swapping plates by season takes a minute. Add a small painting, a few books, or a candle for variety.
Choose a rail with a lip. Without one, plates slide.
9. Heirloom Story Plate Wall
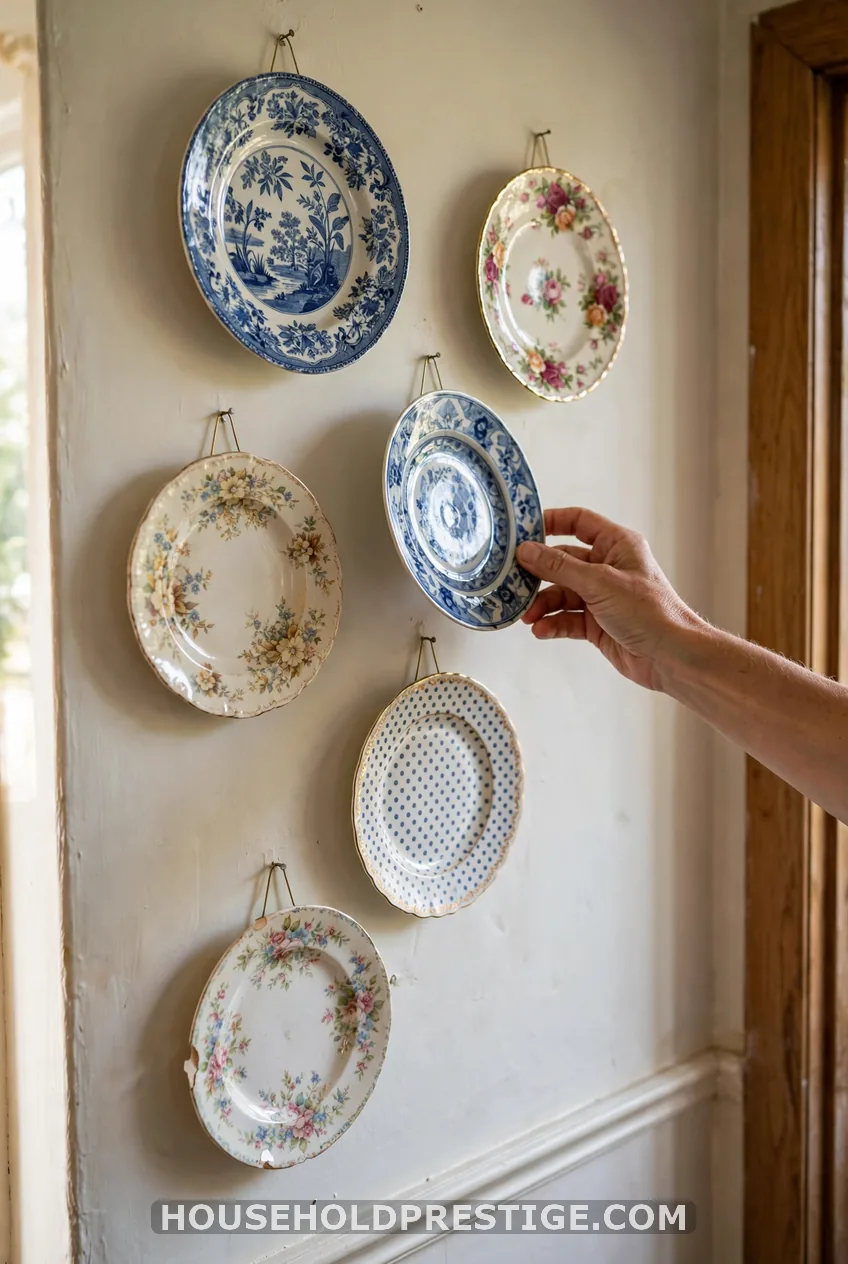
Use wedding china, travel finds, grandma’s dishes, or one plate per family member. Pick one thread to tie them together, such as era, color, or motif.
Write each plate’s story on the back with a soft pencil or a label. Future you will thank you. So will whoever inherits the wall.
Mix eras if you like, but repeat a color or a shape so the group feels planned.
10. Affordable Thrifted Plate Wall Under $30
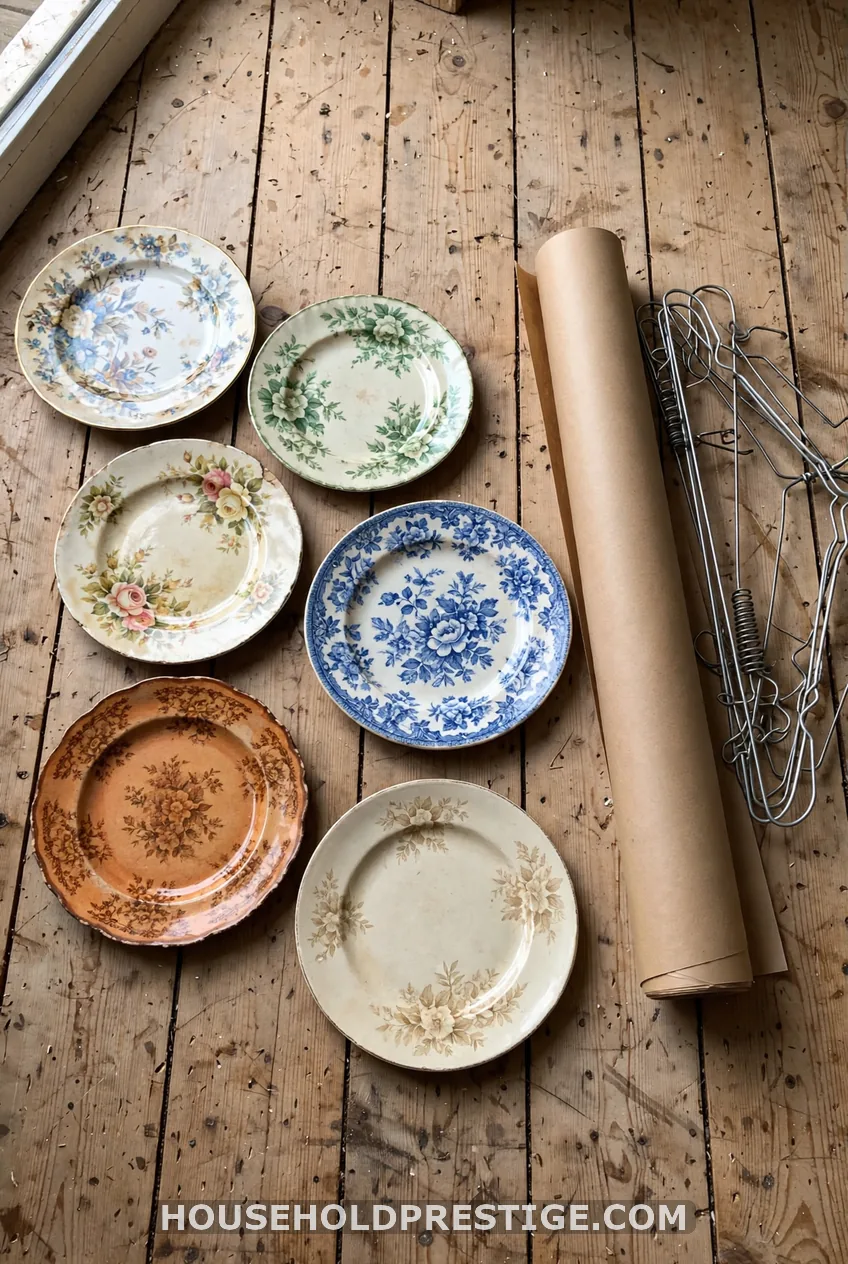
This is the full plan for a thrifted wall at a low price. I use it every time a friend asks me where to start.
- Set a limit of $1 to $5 per plate.
- Buy five to seven plates at thrift stores, estate sales, consignment shops, or flea markets. Etsy and eBay work too.
- Look for orphans from broken sets. They cost less and often have more character.
- Pick up inexpensive wire hangers, about $3 to $6 for a pack.
- Trace each plate on kraft paper and lay out the wall on the floor.
- Hang the largest plate first, then build outward.
The common mistake is buying plates that don’t relate. Carry one plate or a paint swatch to the store. Check every plate for cracks, chips, and a secure hanger ring before you pay.
Total spend: roughly $8 to $41. Time: about an hour for the layout and an hour to hang.
11. Renter-Friendly Vintage Plate Wall
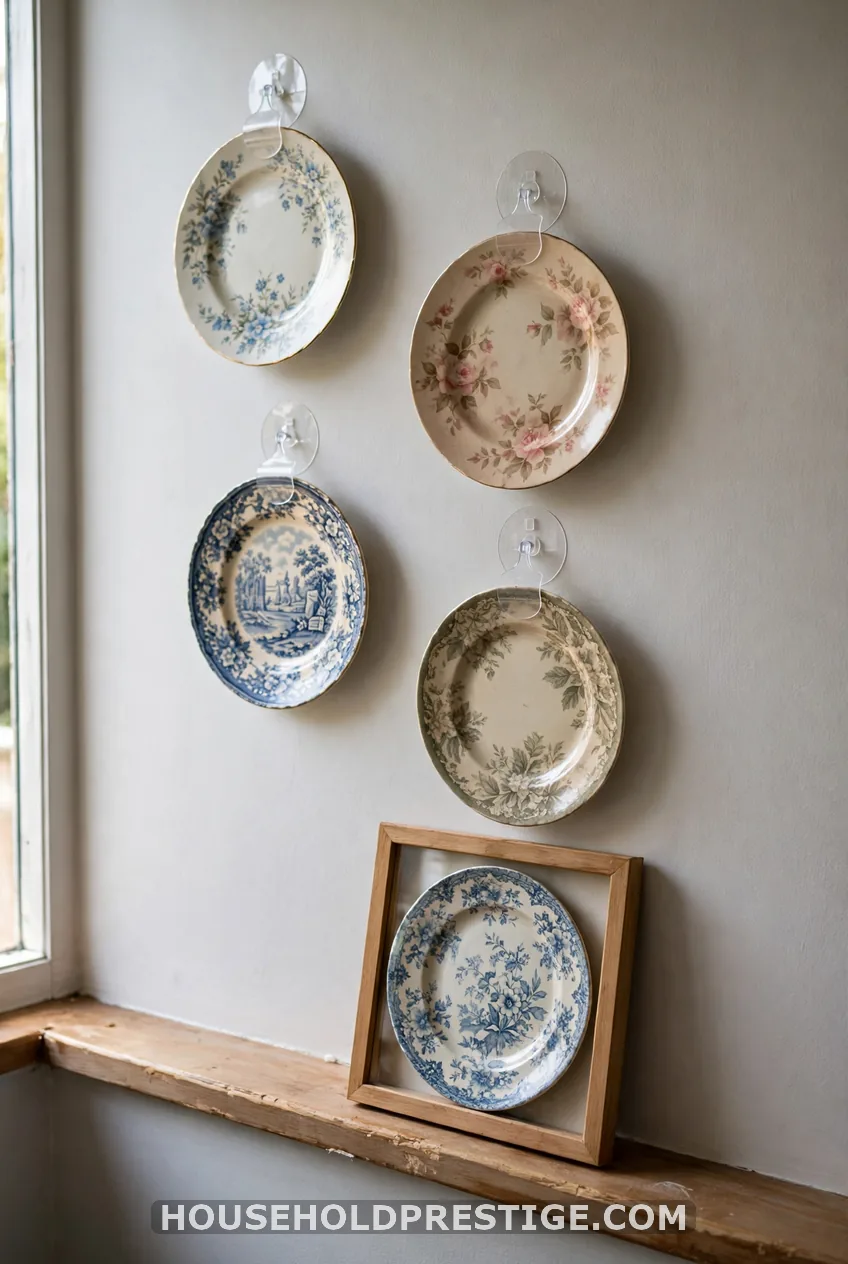
Adhesive disc hangers or Command Picture Hanging Strips hold light plates. Use them only on clean, smooth paint.
Want zero holes? Try a plate ledge, or lean framed plates on a shelf. If your lease allows small nails, use those with wire hangers.
Test the adhesive on a hidden patch first. Skip it in humid bathrooms, where it lets go.
12. Unexpected Rooms: Hallway, Stairwell, and Bathroom
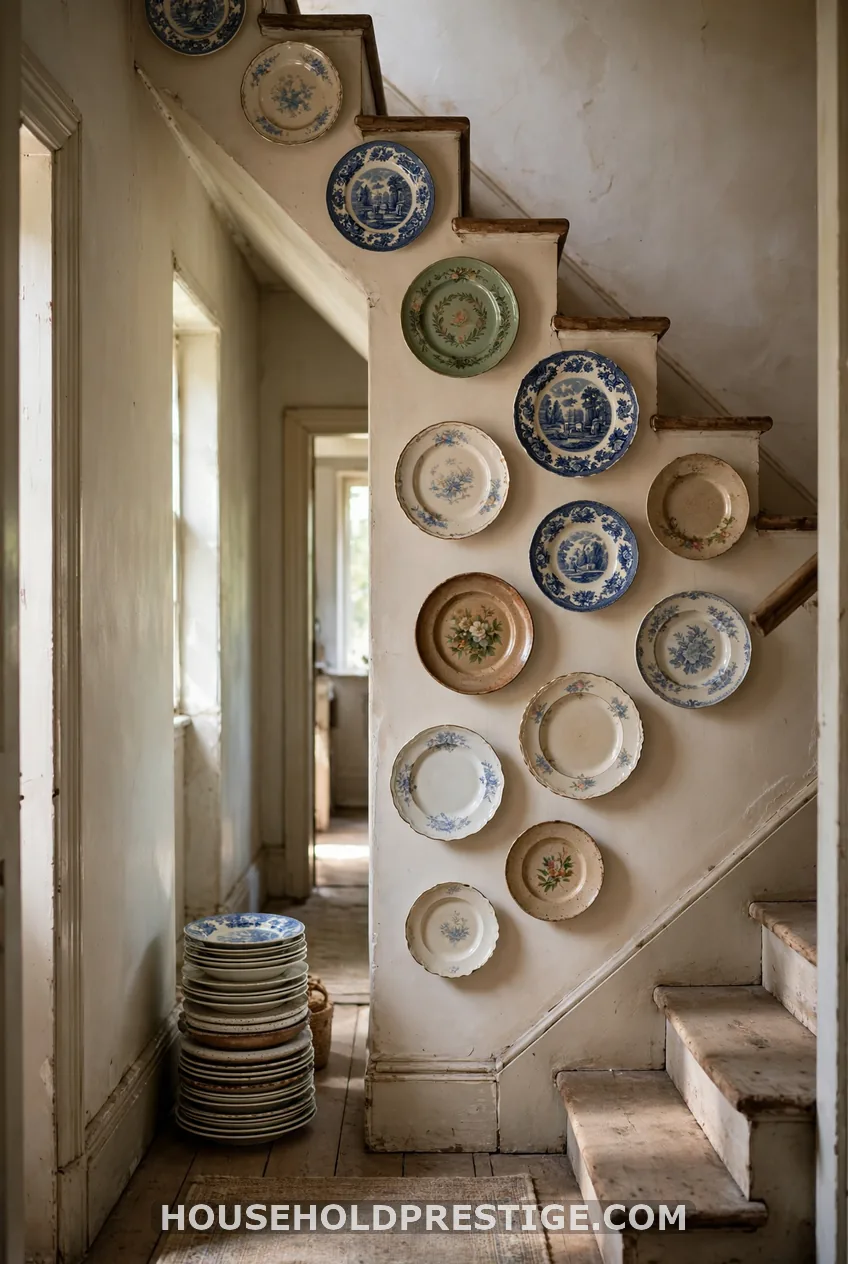
In a narrow hallway, stack plates vertically. In a stairwell, step them up along the slope of the stairs.
A bathroom can work with sealed or low-value plates. Keep them well away from the shower.
A bedroom or sitting room can carry a plate wall too. Treat it as a sculptural focal point above a dresser or a reading chair.
13. Mixed-Size Platter Anchor Wall
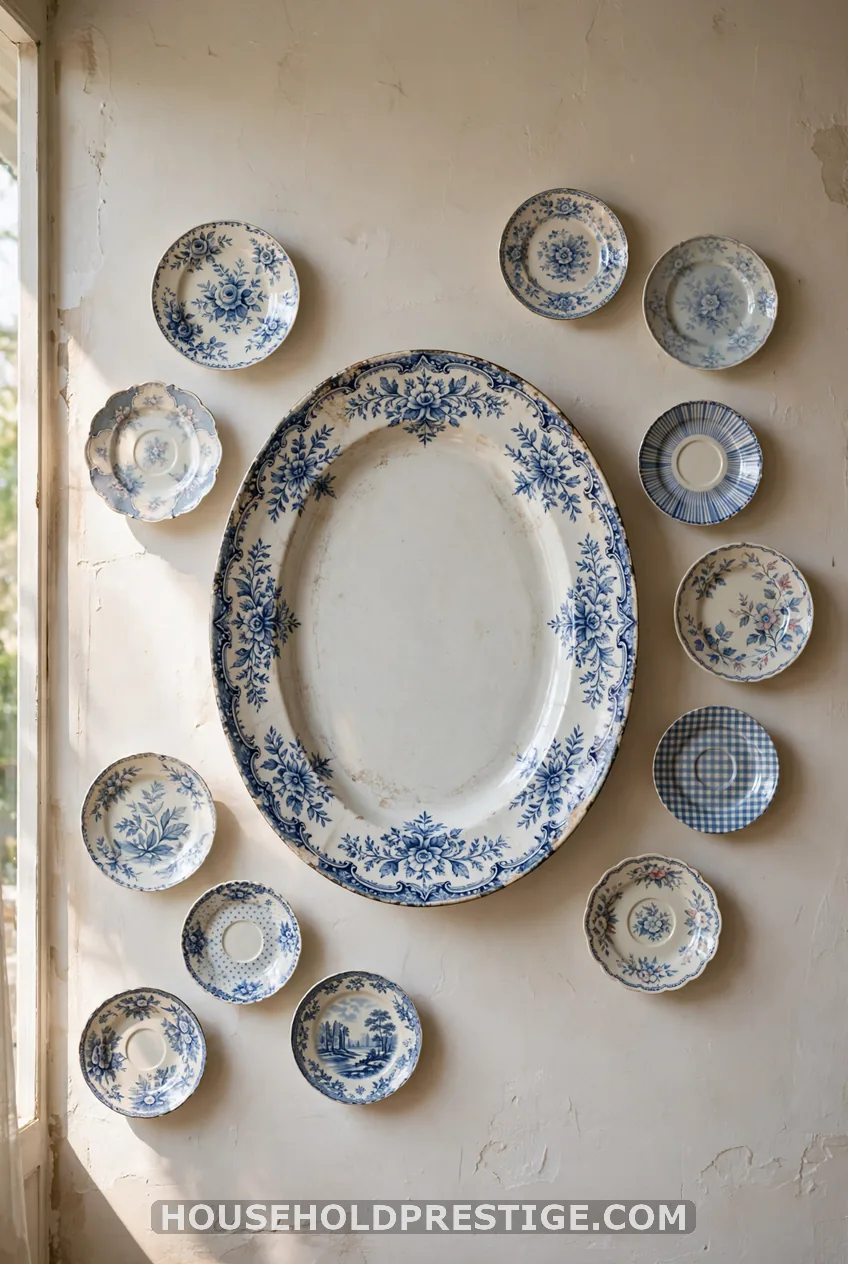
Start with a big platter. Build around it with plates in three sizes: large, medium, and small. The platter gives the group a heart.
14. Majolica and Colorful Folk Plate Wall
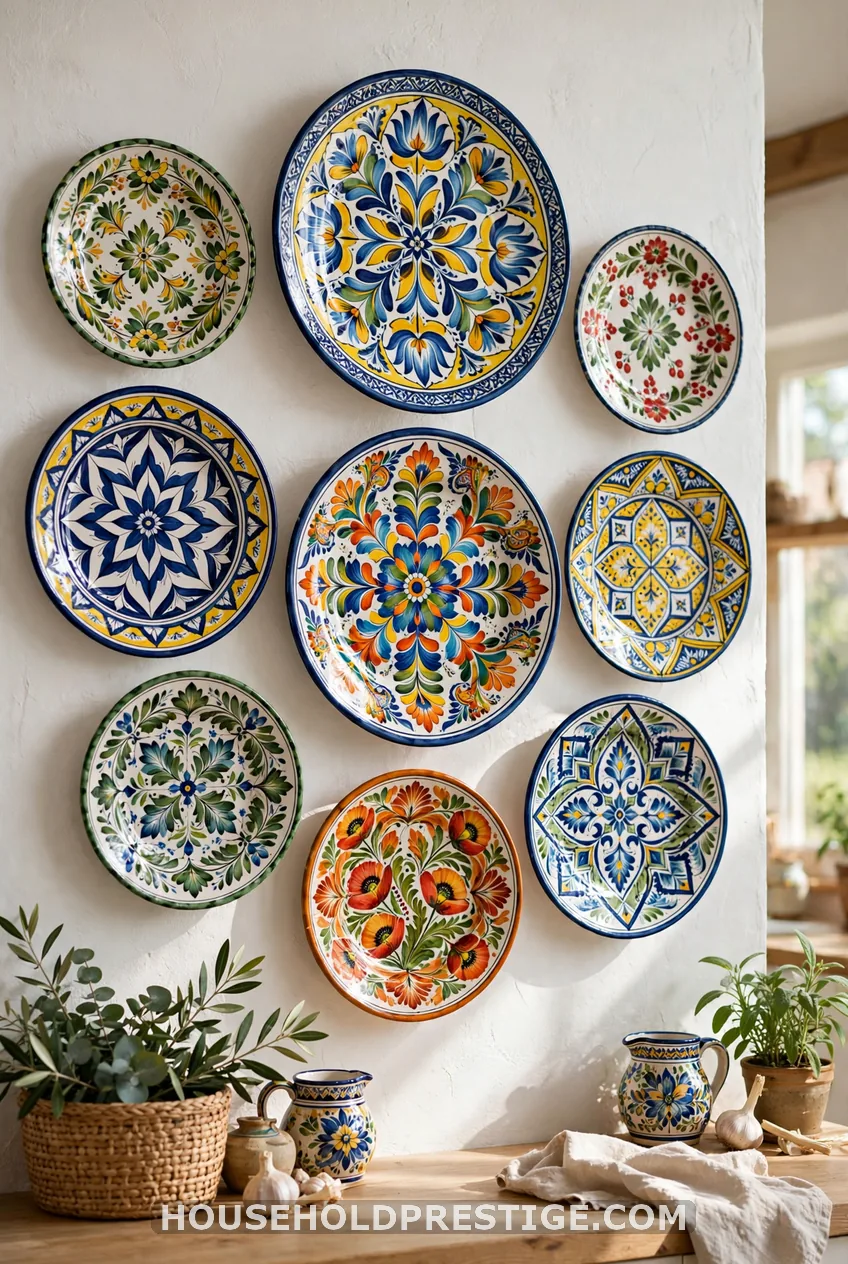
Bold plates like majolica or Michoacán pieces need quiet walls. Paint behind them in white or soft cream. Let the color come from the plates alone.
15. Plates With Mirrors and Art
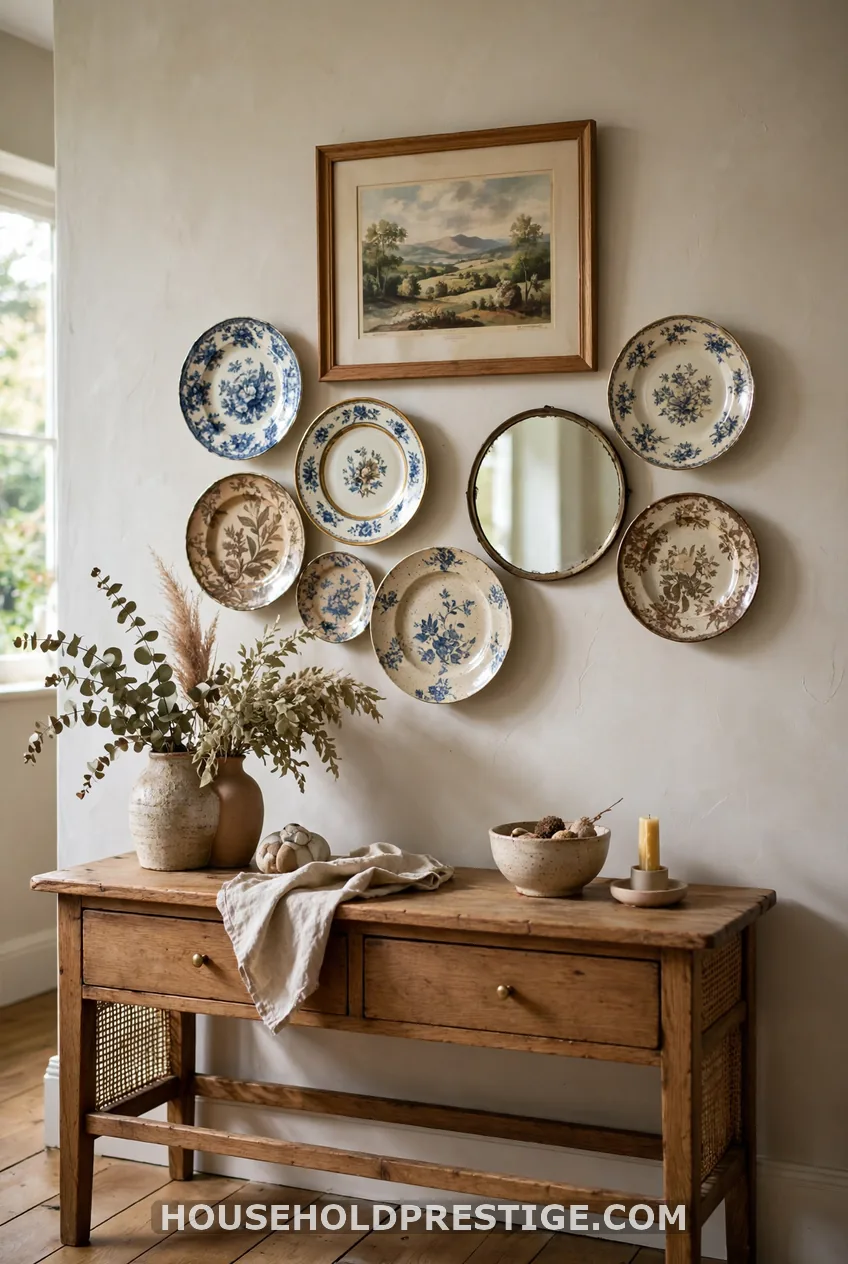
Mix plates into an art wall. A small round mirror echoes the plate shapes. A framed print adds a flat, rectangular edge. Keep plates to about half the group.
16. Seasonal Swap Plate Wall
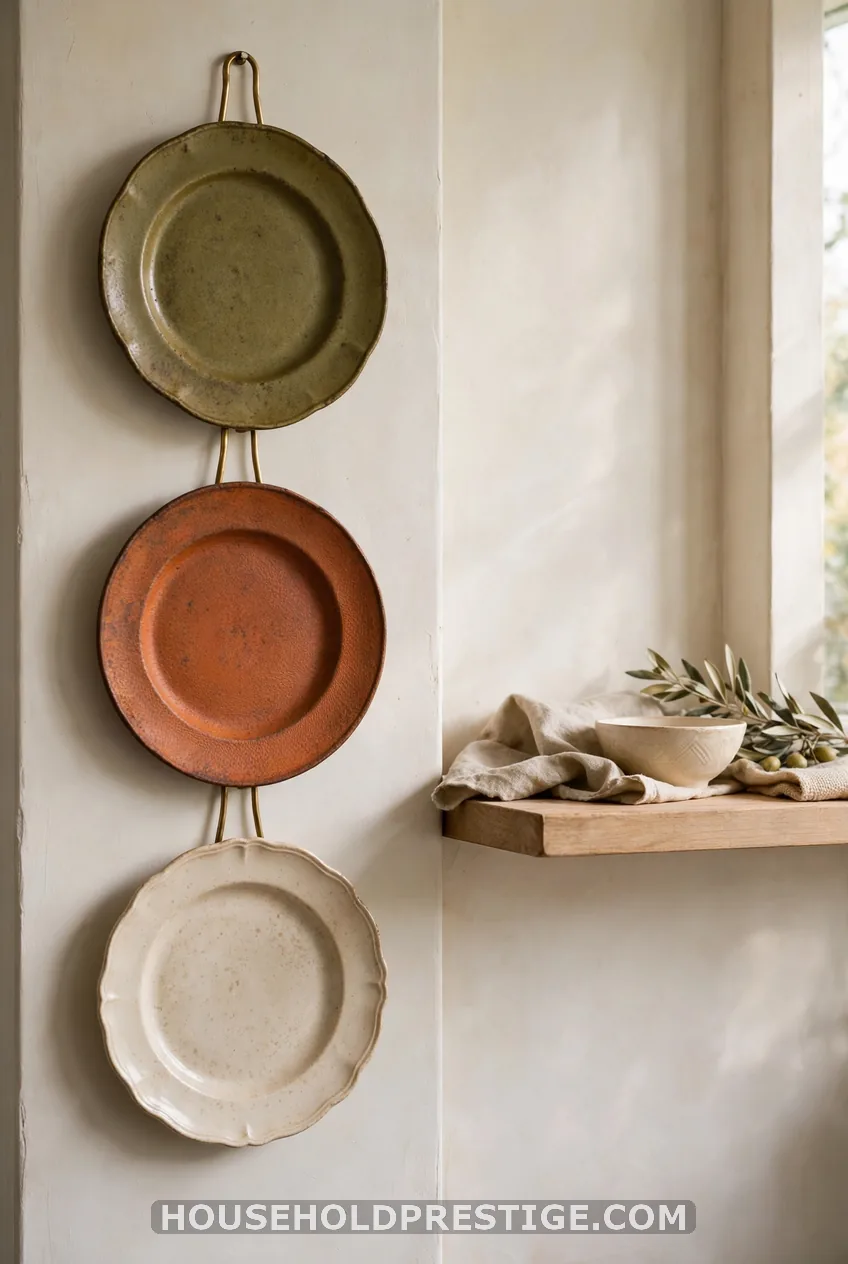
Hang a few plates permanently. Leave room for a few you swap by season. Fall works with warm tones, tan, olive, and white.
Spring suits pale florals. Use a ledge for the swaps so you never add holes.
How to Hang Vintage Plates on Wall Safely
Match the hanger to the plate.
- Adhesive discs: Light, low-value plates on smooth, clean walls.
- Spring-loaded hangers: Medium plates. They grip the rim and need a single nail.
- Wire hangers: Heavy or valuable plates. Size them to the plate and use a nail or screw.
- Plate stands and ledges: Any plate, with no holes.
Mark your hanger spots with a paper template. Use a laser level or painter’s tape for the main rows. Hang the biggest plate first. Step back and adjust the rest.
Color Schemes That Complement Vintage Plates
Pick two or three colors from your plates and repeat them in the room.
- Blue-and-white with warm wood and cream
- Green and cream with brass or ironstone
- Pink and brown with faded florals
- Warm fall tones with white, tan, or olive
Where to Find Vintage Plates
Check thrift stores, yard sales, consignment shops, antique shops, and flea markets. Etsy, eBay, and Chairish are good online. Look for Wedgwood marks if you want a brand name.
Inspect each plate for cracks, crazing, and chips. Buy more than you think you need, then edit at home.
Your Next Plate Wall Plan
This weekend, I’m pulling out the plates I have and tracing them on kraft paper. I’ll tape the paper up and live with it for two days. Then I’ll move any shapes that bother me before I touch a nail.
You can do the same. Pick one idea from this list, gather five plates, and map the layout on the floor first.
Vintage Plate Wall FAQs
How do you hang vintage plates on a wall without damaging them?
Use a wire or spring plate hanger sized to the plate. Trace a paper template first so you drill only once. Save adhesive discs for light, low-value plates.
How many plates should be in a plate wall?
Start with 3 to 5 plates for a small wall. Use 7 to 12 for a dining room focal wall. Odd numbers and one large anchor plate feel intentional.
How high should you hang vintage plates?
Center the group about 57 to 60 inches from the floor. Or align it with the buffet, the table, or the chandelier.
Are adhesive hooks safe for vintage plates?
Only for light, inexpensive plates on smooth, clean walls. Heirlooms and heavy platters need a nailed wire hanger or a plate frame.
Can you display vintage plates in frames?
Yes. Use a shadow box or plate frame with a fabric or mat backing. Let the frame carry the weight rather than pressing on the plate.