

Skip the $80 print. DIY fabric wall art looks richer, costs a fraction, and you can swap it whenever you get bored. I covered a blank bedroom wall with a thrifted tablecloth and a $12 frame, and nobody guessed.
This guide merges two methods into one workflow: fabric glued into a frame, and fabric stapled around a canvas. You’ll get a yardage chart, fabric picks, corner folds, and hanging tips. Plan on about 2 hours, with drying time included.
Why Fabric Wall Art Beats Store-Bought Prints
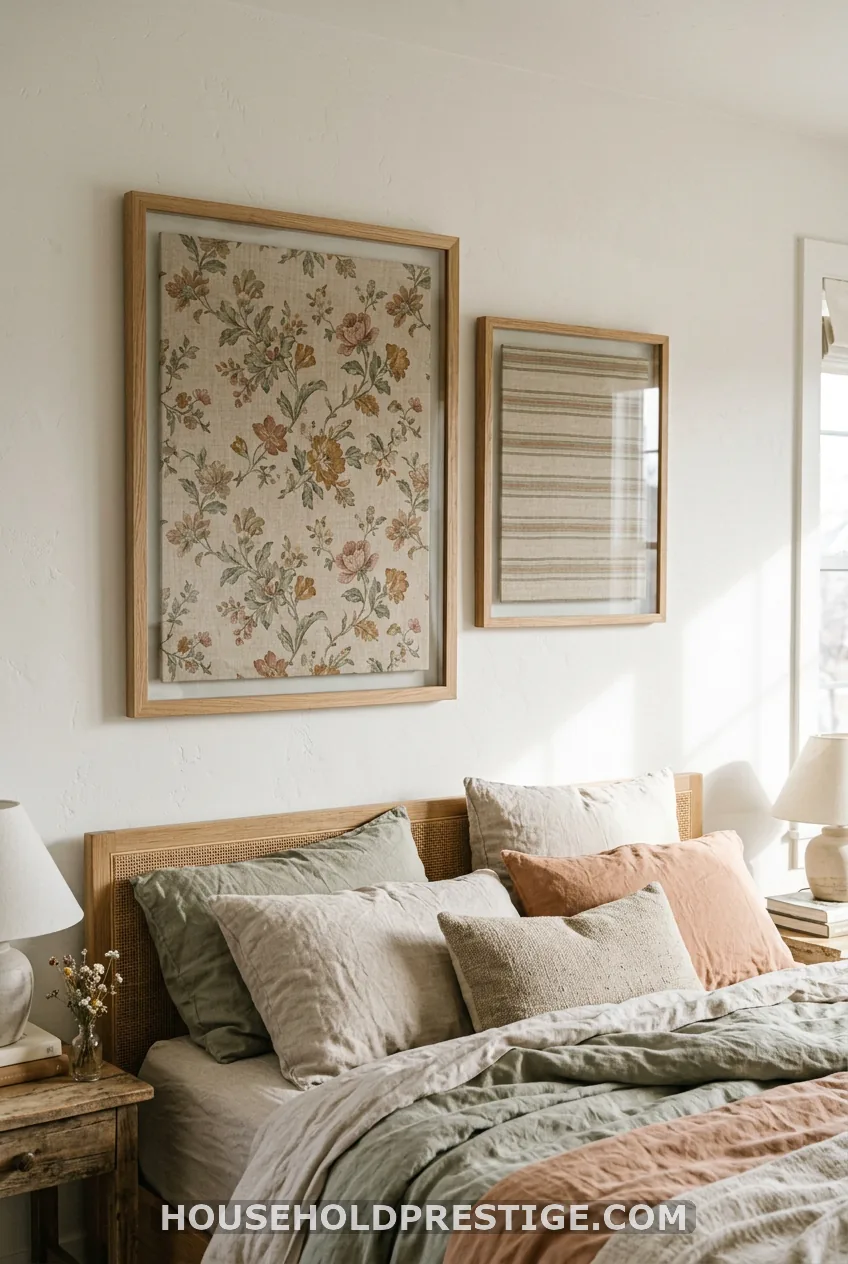
Fabric is cheap per square foot. A large print or gallery canvas often runs $60 to $150. A yard of home decor fabric is usually $8 to $20, and a thrifted frame is $5 to $15.
It also suits renters. A fabric panel is light, so a couple of Command strips can hold it. When you redecorate, you pull the fabric off and start fresh.
Skill level is beginner. If you can iron, cut a straight line, and pull a staple gun trigger, you can finish this.
The catch:
Glue is permanent. If you want to swap fabric each season, use the stapled canvas method or tape the fabric in place. I’ll point out which steps are reversible as we go.
Materials, Tools, and the Yardage Cheat Sheet
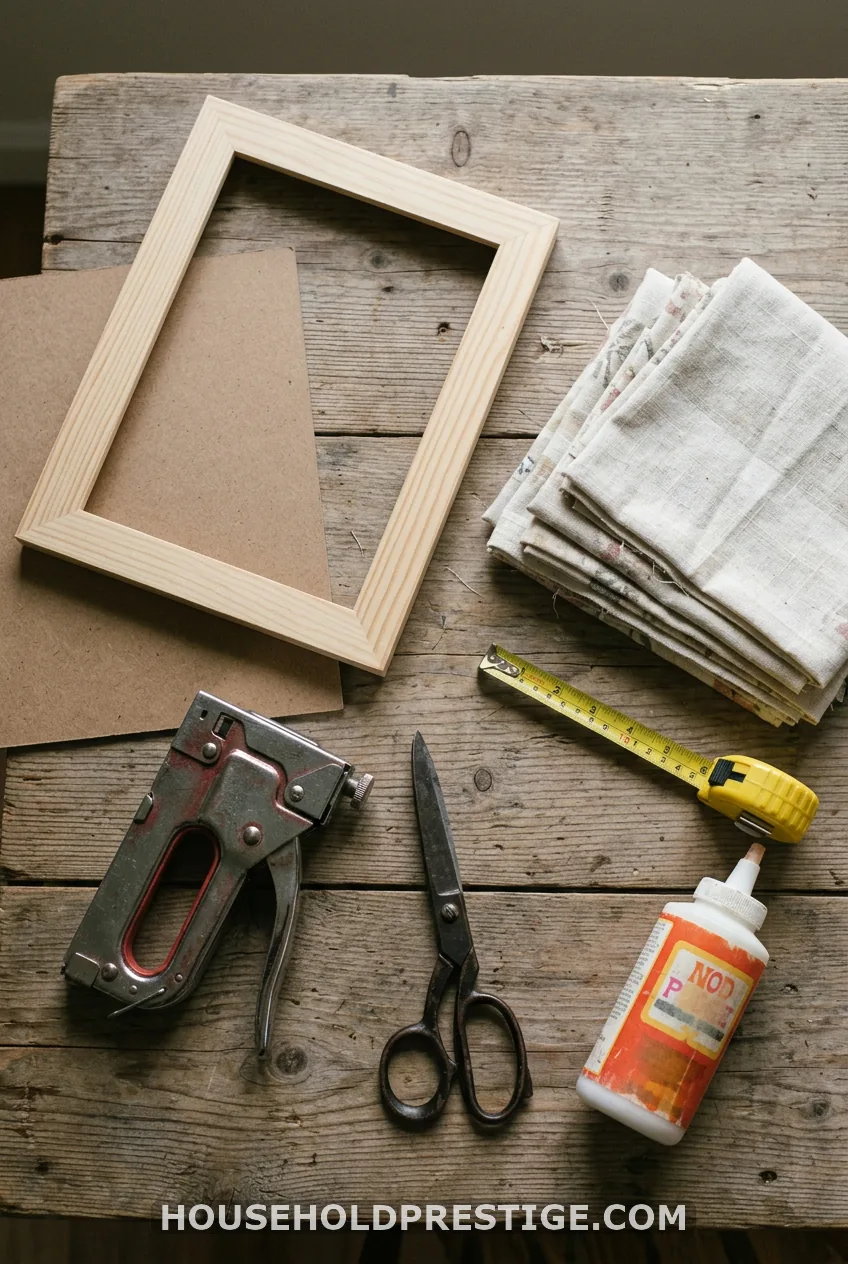
You need these materials:
- Medium-weight fabric (see the chart below)
- A wood picture frame or a stretched canvas
- Backing board (the frame’s original works)
- Mod Podge, spray adhesive, or fabric glue
- Optional polyester batting for a padded look
- Kraft paper or felt for the back
And these tools:
- Staple gun with 1/4 to 3/8 inch upholstery staples
- Iron and ironing board
- Measuring tape
- Scissors, pinking shears, or a rotary cutter
- Painter’s tape
- Utility knife
Expect to spend about $20 to $45 in total if you buy everything. Using a frame or fabric you already own brings that down fast.
Yardage cheat sheet
Add 3 to 4 inches on every side of the frame opening or canvas for wrapping. That means 6 to 8 inches added to each dimension. These numbers assume 44-inch-wide fabric and a solid or small print.
- 8×10: cut about 14×16 inches. A fat quarter works.
- 11×14: cut about 17×20 inches. A fat quarter (18×22) just fits.
- 16×20: cut about 22×26 inches. Buy 3/4 yard.
- 24×36: cut about 30×42 inches. Buy 1 1/4 yards.
For a large pattern, find the repeat. That is the distance from one motif to the next identical motif. Add one full repeat to the length so you can center the design you like best.
Choosing the Right Fabric (This Makes or Breaks It)
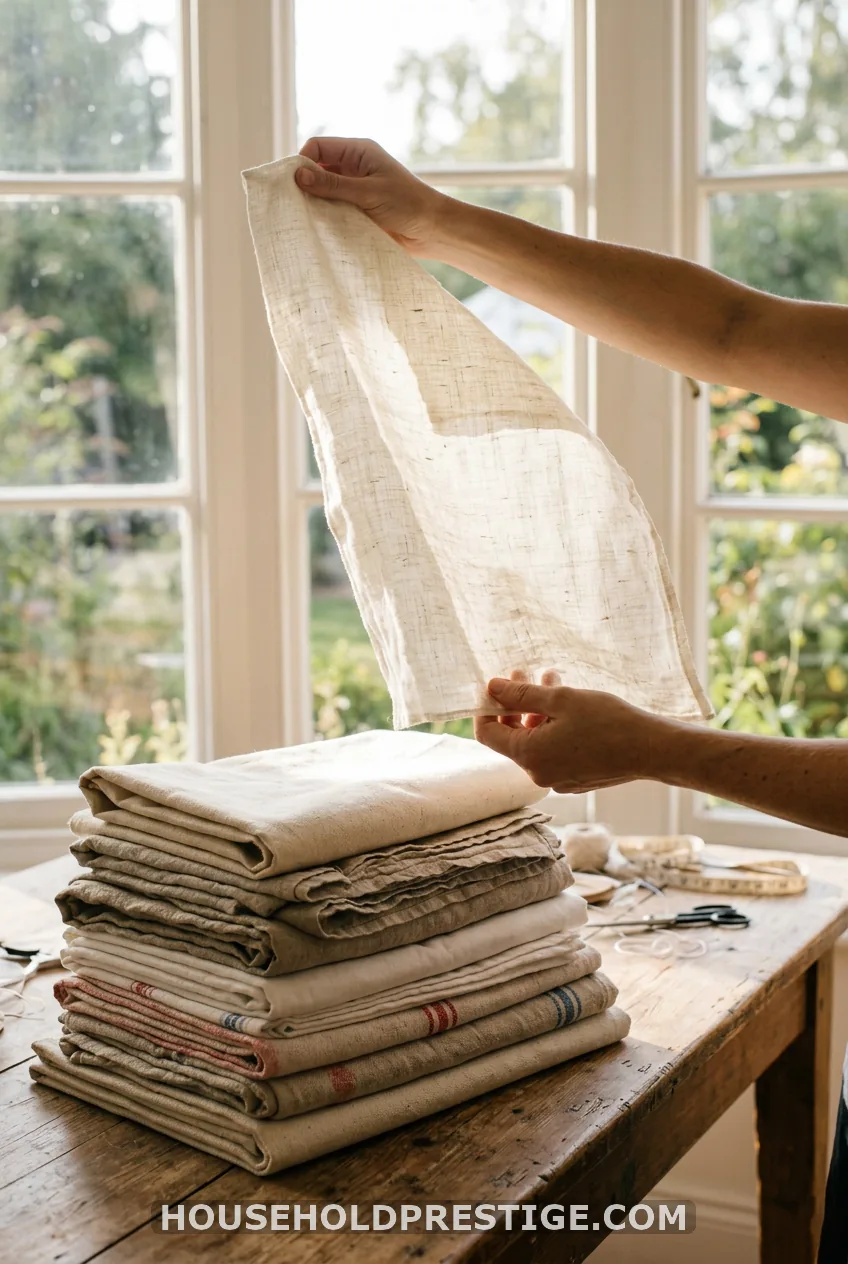
Pick medium-weight cotton, linen blends, cotton canvas, home decor fabric, or upholstery remnants. They hold their shape and fold at corners without bulk. Tea towels and vintage handkerchiefs work well in small frames.
Skip thin or sheer fabric. The frame edge shows through. Skip stiff burlap too, because it won’t fold flat at corners.
Test before you cut. Hold the fabric against a window, or lay it over the backing board. If you can see the board’s edge or any dark lines, add a layer of white cotton or batting under it.
Check the print direction. A directional print, like a bird facing right or a text pattern, needs to sit upright. Pull the fabric flat and decide which way is up before any cutting.
Sentimental fabric works too. Baby clothes, a grandmother’s tablecloth, or leftover curtain panels all make meaningful art. Press them gently and choose the best section, not the whole piece.
Prep, Measure, and Cut Your Backing Board
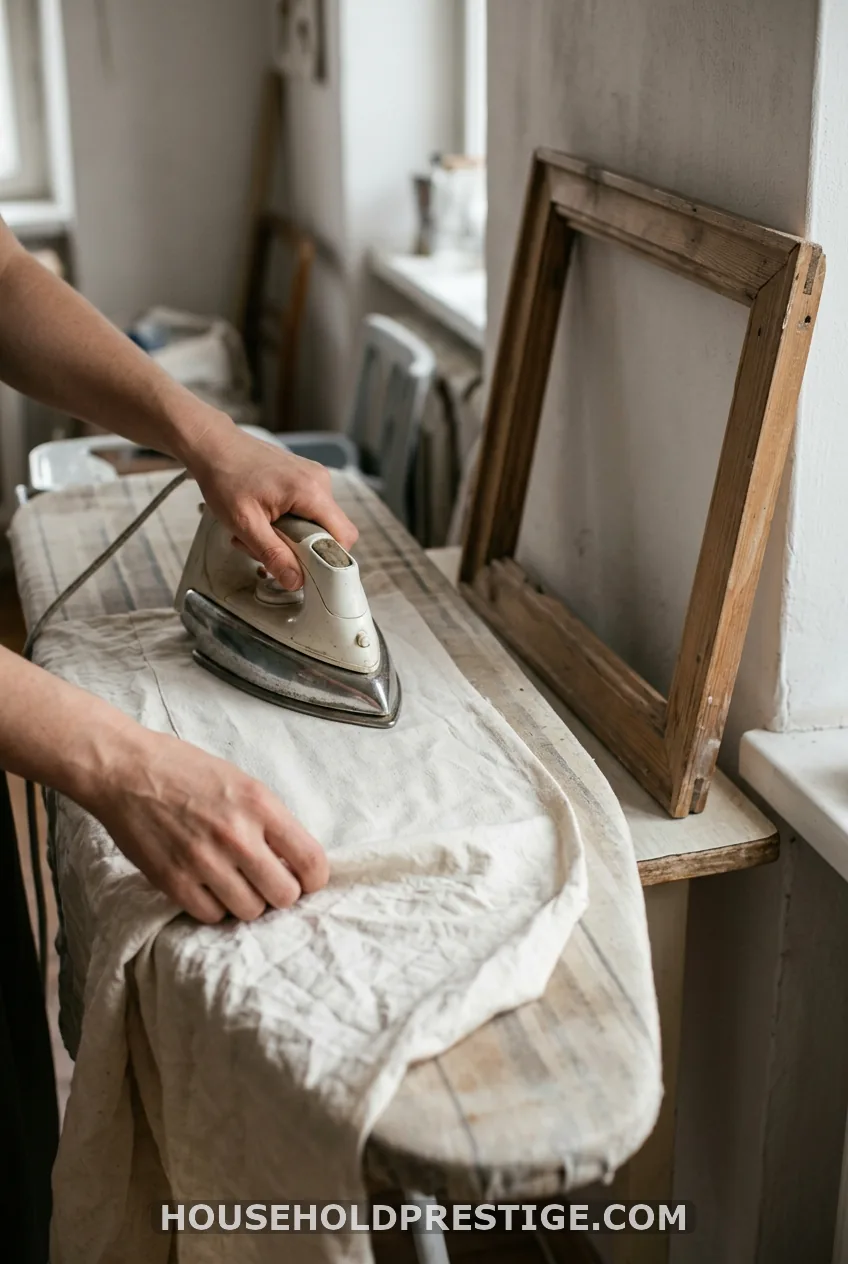
Step 1: Gather and prep
Lay everything out on a table covered with kraft paper or a drop cloth. Glue gets everywhere.
Iron the fabric first. Wrinkles set permanently under glue. Use the heat setting your fabric calls for, and press from the back for delicate prints.
Pre-wash fabric you plan to use for baby items or anything that smells. Thrifted or inherited fabric is better washed and dried first. New home decor fabric can go straight to the iron.
Step 2: Measure the frame and cut the backing
Open the frame and take out the glass. Fabric behind glass looks flat, creates glare, and can trap moisture. Set the glass aside or recycle it.
Measure the inside opening, not the outside edge. Cut the backing board 1/8 inch smaller than the opening so it drops in with no fighting. A utility knife and a metal ruler give a clean edge. Or reuse the backing that came with the frame.
Step 3 and 4: Cut the Fabric and Test the Layout
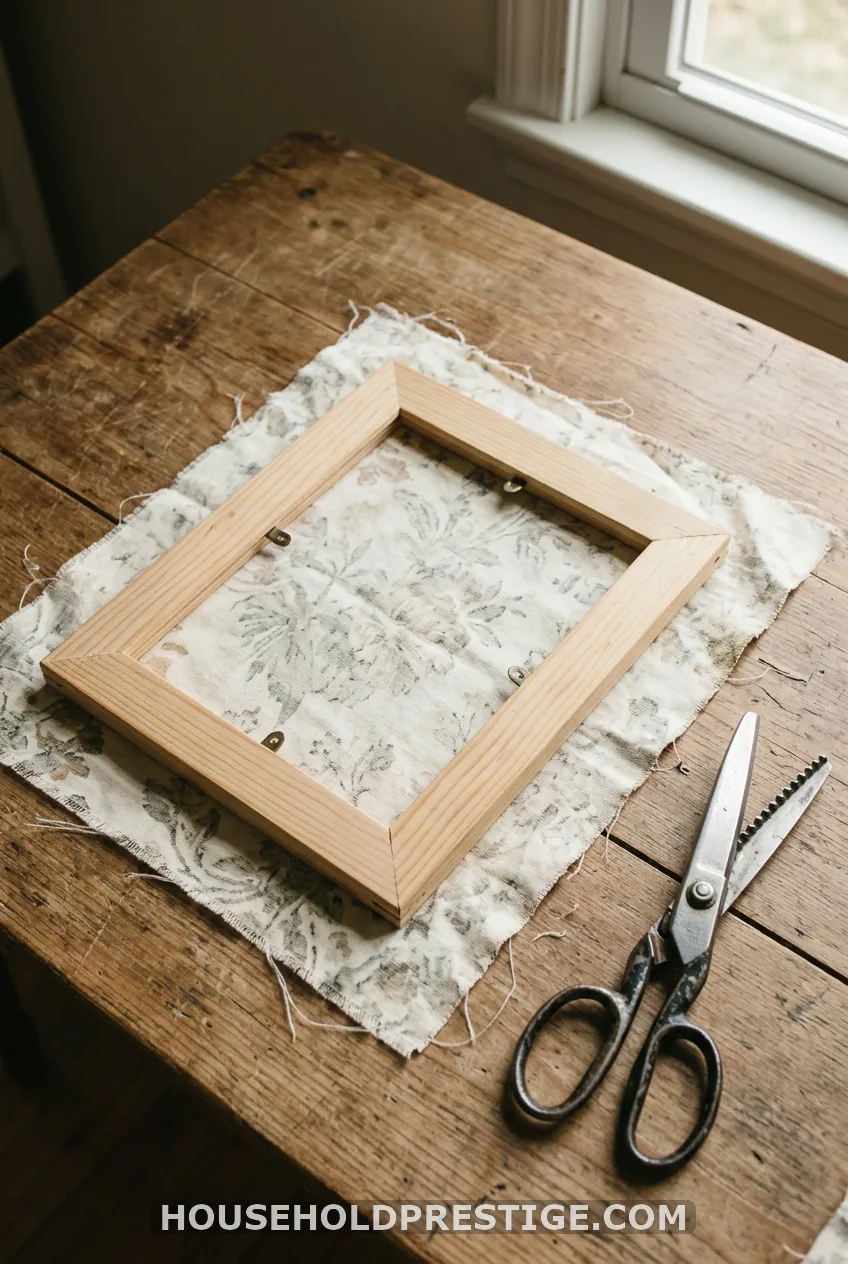
Lay the fabric face down. Center the frame or canvas on top. Add your 3 to 4 inch allowance on every side and mark it with a pencil or a strip of painter’s tape.
Cut with pinking shears or a rotary cutter. Both cut cleaner edges that fray less. Cut once, with a steady hand.
Now dry-fit. Place the fabric face up over the backing board and step back about six feet. Check centering and motif placement. Take a photo of it, because the camera shows tilt your eye misses.
Planning a gallery wall of two to four pieces? Lay all the panels on the floor first. Alternate bold and quiet patterns, and keep frame colors in the same family so the group feels planned.
The Frame Method: Glue and Wrap
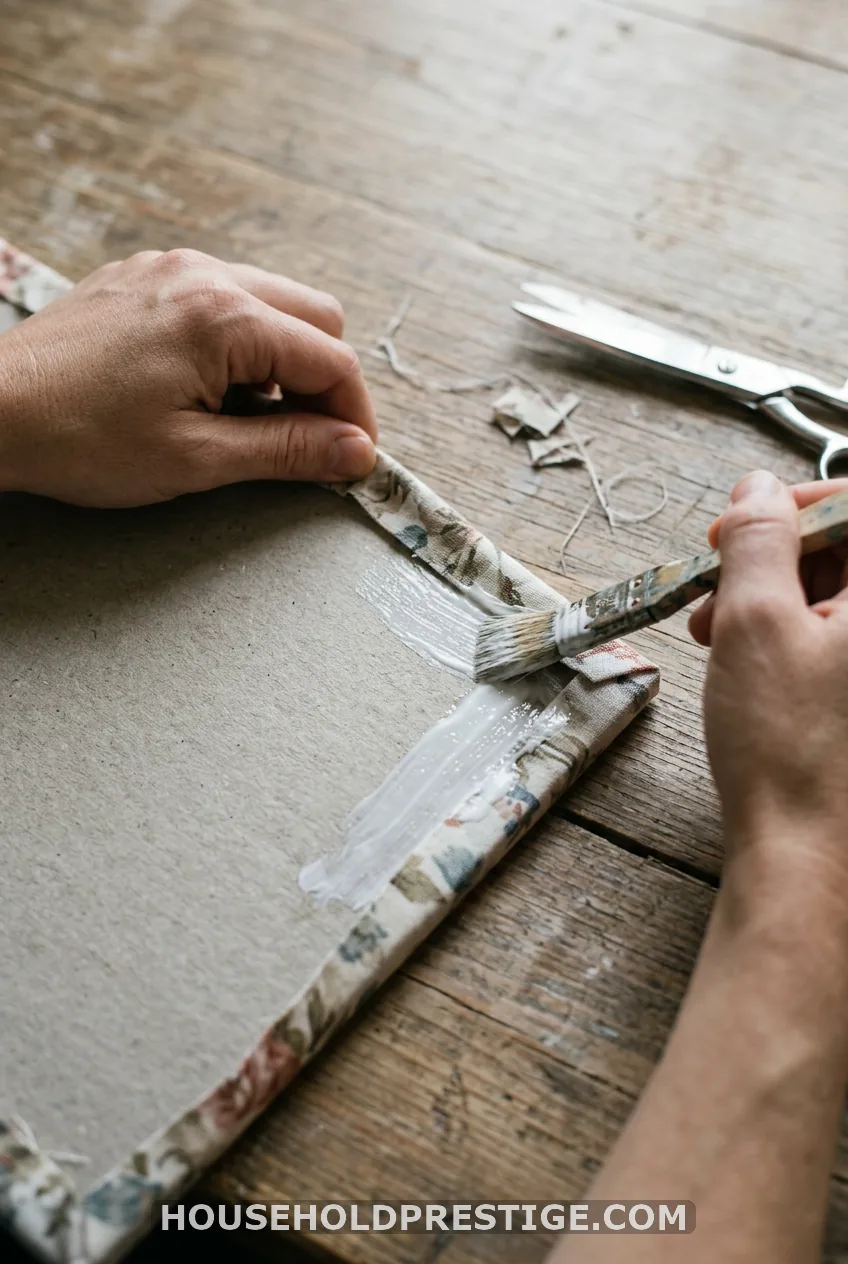
Pick your adhesive. Mod Podge and fabric glue are good for edges. Spray adhesive spreads fast but needs ventilation. Double-sided tape works for a lighter, removable hold.
Glue the edges only. Full-surface gluing is more likely to bubble and wrinkle, and it makes the fabric impossible to remove.
Work in this order:
- Lay the fabric face down and center the backing board on top.
- Fold the top edge over the board and glue it down along the back.
- Pull the bottom edge taut, like wrapping a present, and glue it.
- Repeat with the left side, then the right.
- Trim the corner bulk to about 1/2 inch from the board’s corner, then fold and glue.
Give it 20 to 30 minutes to set. For a reversible hold, use painter’s tape on the back instead of glue.
One caveat:
Pull the fabric firmly but not hard. Overstretching warps stripes and checks, and the pattern stays crooked once the glue dries.
The Canvas Method: Staple, Fold, Finish
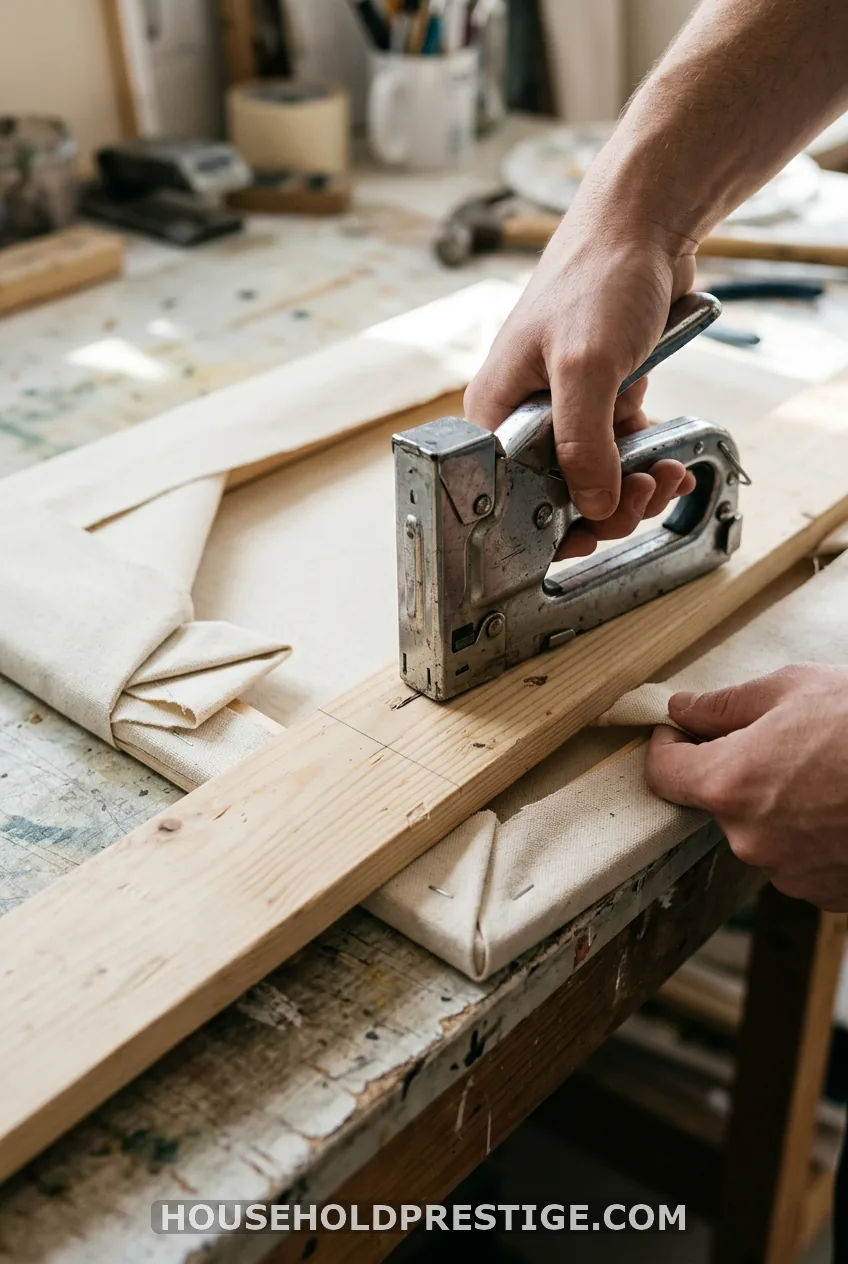
Want zero glue? Staple the fabric around a stretched canvas. This is the fully reversible method.
Lay the fabric face down, then center the canvas face down on it. For a padded, upholstered look, add a layer of polyester batting between the two.
Put one staple in the middle of the top bar. Flip to the bottom, pull taut, and add one staple. Do the left side, then the right. Work outward from each center staple, about every 2 inches, alternating sides.
For corners, use the hospital corner fold. Pull the fabric point straight in over the corner. Fold one side flat, then the other, like wrapping a gift, and staple it down. Trim leftover fabric on the back.
Cover the raw edges and staples with felt or kraft paper. Glue it down or use double-sided tape.
Insert, finish, and label
For the frame method, set the wrapped board back into the frame and press the tabs closed. Trim anything that keeps the frame from sitting flush. Cover the back with kraft paper to hide edges.
Write the fabric name and date on the back. It helps when you swap later.
Hang It Straight and Fix Common Problems
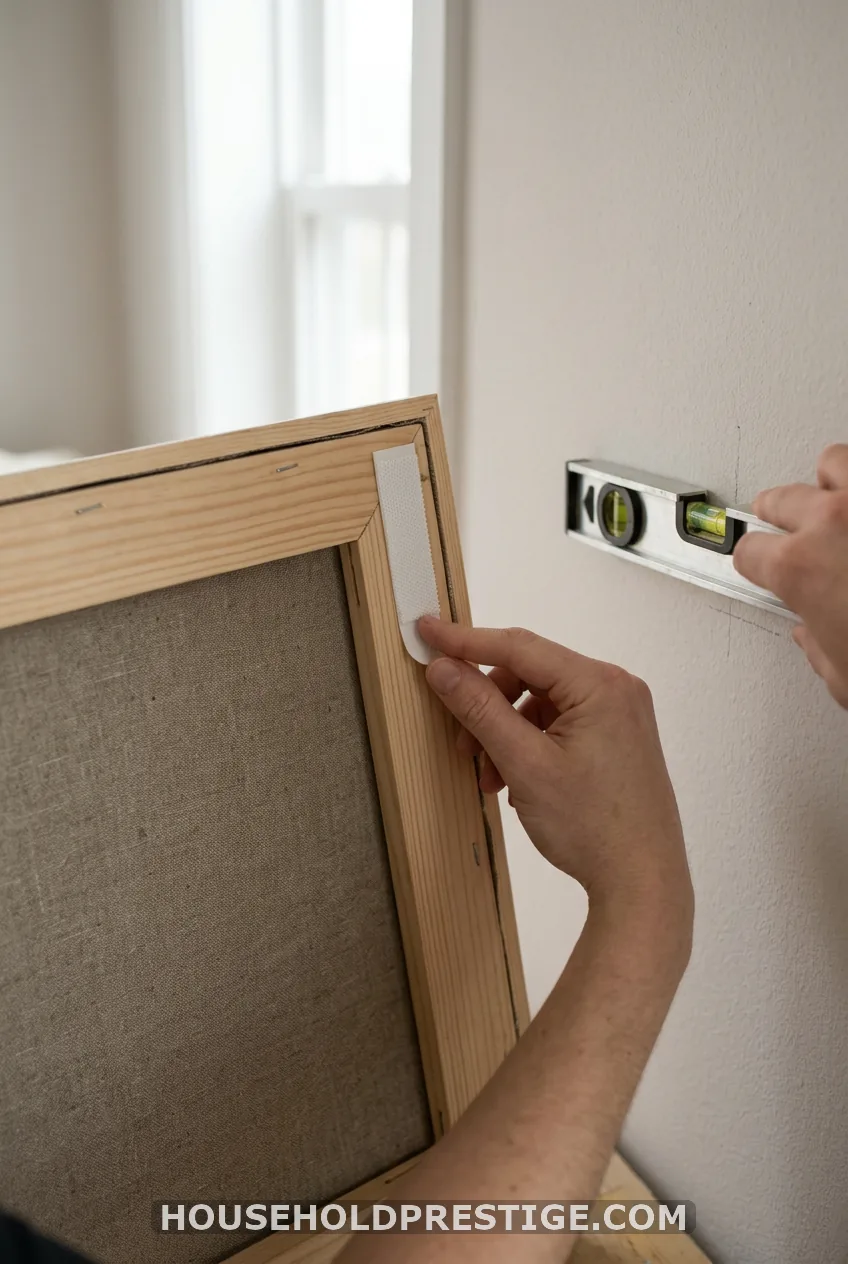
Hang it level
Center the piece at 57 to 60 inches from the floor. Over a sofa or bed, hang it 6 to 8 inches above the furniture.
Frames up to 16×20 usually work with heavy-duty Command strips. Match the weight rating on the package to the piece. A 24×36 canvas should hang on D-rings with a wall anchor in drywall. Sawtooth hangers suit smaller frames.
Add a dot of picture-hanging putty on each bottom corner. It stops drift. Check the level with a phone app before you step back.
Troubleshoot
- Wrinkles: Dampen a cloth, press from the back, and let it dry. With stapled canvas, remove a staple, re-stretch, and re-staple.
- Sagging: Add staples to the loose side and pull harder in the sagging direction.
- Frame lines showing: Slip a layer of white cotton or batting under the fabric.
- Redecorating: Remove staples or tape, swap the fabric, and reuse the frame.
Variations to try next
- An embroidery hoop with a fabric scrap. It’s a great use for leftovers.
- A fabric-covered memo board with a ribbon grid.
- Patchwork from several coordinating scraps.
- Fabric applied directly to a wall as renter-friendly faux wallpaper.
- Plaster-dipped draped fabric. It sets in about 6 to 10 minutes, so work fast and in small sections.
Back to That Blank Wall
I started this guide by telling you to skip the $80 print. Now you have the better option on your wall. It cost less, took an afternoon, and it’s yours.
Pick your fabric tonight, iron it, and measure the frame. Tomorrow you’ll be hanging it.
FAQ
How much fabric do I need for DIY fabric wall art?
Add 3 to 4 inches on every side of the frame or canvas. A 16×20 piece needs about 22×26 inches, so buy 3/4 yard of 44-inch fabric. Add a full pattern repeat if you want a large motif centered.
Should I keep the glass in the frame?
No. Take it out. Fabric behind glass looks flat, picks up glare, and can trap moisture.
What fabric works best for wall art?
Medium-weight cotton, linen blends, canvas, and home decor remnants are your best bets. They wrap corners cleanly and hold their shape. Avoid sheer fabrics and stiff burlap.
Can I change the fabric later?
Yes, if you used staples or painter’s tape. Glue of any kind is hard to undo, so use staples or painter’s tape if you redecorate often.