

A typical shower head pushes water through dozens of holes, each about as wide as a pencil lead. It takes only a few flakes of limescale to block one. Block enough of them and your shower sprays sideways, dribbles, or hits you with one hard jet.
Here is how to clean a shower head with vinegar without taking it off the wall. You’ll get exact soak times for chrome, brass, nickel and plastic. You’ll also learn what to do when cleaning alone doesn’t bring the pressure back.
Signs Your Shower Head Needs Cleaning
Hard water carries calcium and magnesium. Every time the water dries on your nozzles, it leaves a little of that mineral behind. Over weeks, those leftovers harden into limescale.
Look for these signs:
- Weak or uneven pressure
- Spray that shoots off at odd angles
- White or chalky crust around the nozzles
- Green or blue crust on brass or copper parts
- A musty smell when the water first turns on
Cleaning fixes mineral buildup. It won’t fix a cracked face or a worn-out fixture, and I’ll cover that near the end.
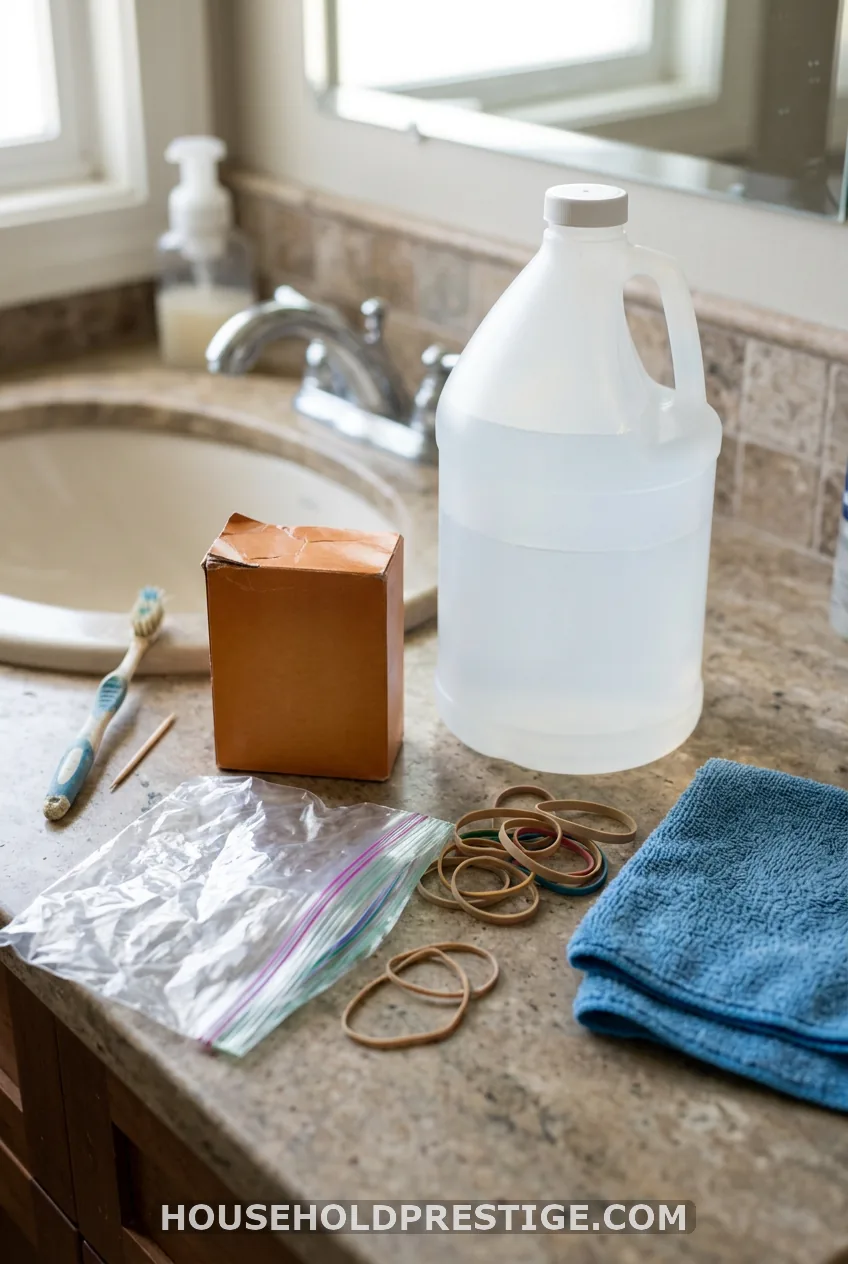
What You’ll Need for the Vinegar Bag Method
Most of this is already in your kitchen. Gather it before you start so you aren’t hunting for a rubber band with a dripping bag in one hand.
- Distilled white vinegar (about 1 cup)
- A sturdy plastic bag, sandwich size for most heads and a gallon size for rainfall heads
- A rubber band, zip tie or bungee cord
- An old toothbrush
- A toothpick
- A microfiber cloth
Optional extras are baking soda, lemon juice, an adjustable wrench, plumber’s tape and a pH-neutral bathroom cleaner. Skip bleach, steel wool, abrasive powders and harsh chemicals. They scratch finishes and some give off nasty fumes.
Check Your Finish Before You Soak
This is the step most guides skip. Vinegar is an acid, and some finishes don’t like long baths in it.
Here are the soak limits I follow:
- Chrome: overnight is fine, about 8 to 12 hours
- Plastic: overnight is fine, about 8 to 12 hours
- Brushed nickel: about 30 minutes, checking every 15
- Brass: about 30 minutes, checking every 15
- Unknown or coated finish: start with 15 minutes and look
Read the care card or the maker’s website first. If it says no vinegar, use a pH-neutral bathroom cleaner instead. Also note what you have: a fixed head, a handheld, or a rainfall head. The setup changes in Step 2.
Step 1: Mix the Cleaning Solution
For heavy limescale on chrome or plastic, pour in 1 cup of plain white vinegar. For brushed nickel, brass or anything delicate, mix 1/2 cup vinegar with 1/2 cup water.
Baking soda is optional. A tablespoon makes a satisfying fizz, but it also neutralizes some of the vinegar’s acid. That means less scale-dissolving power. I save the fizz for light cleaning and use plain vinegar for crusty heads.
Never mix vinegar with CLR or any other cleaner. If you use CLR, follow its label and leave the vinegar out.
Step 2: Attach the Vinegar Bag Without Removing the Shower Head
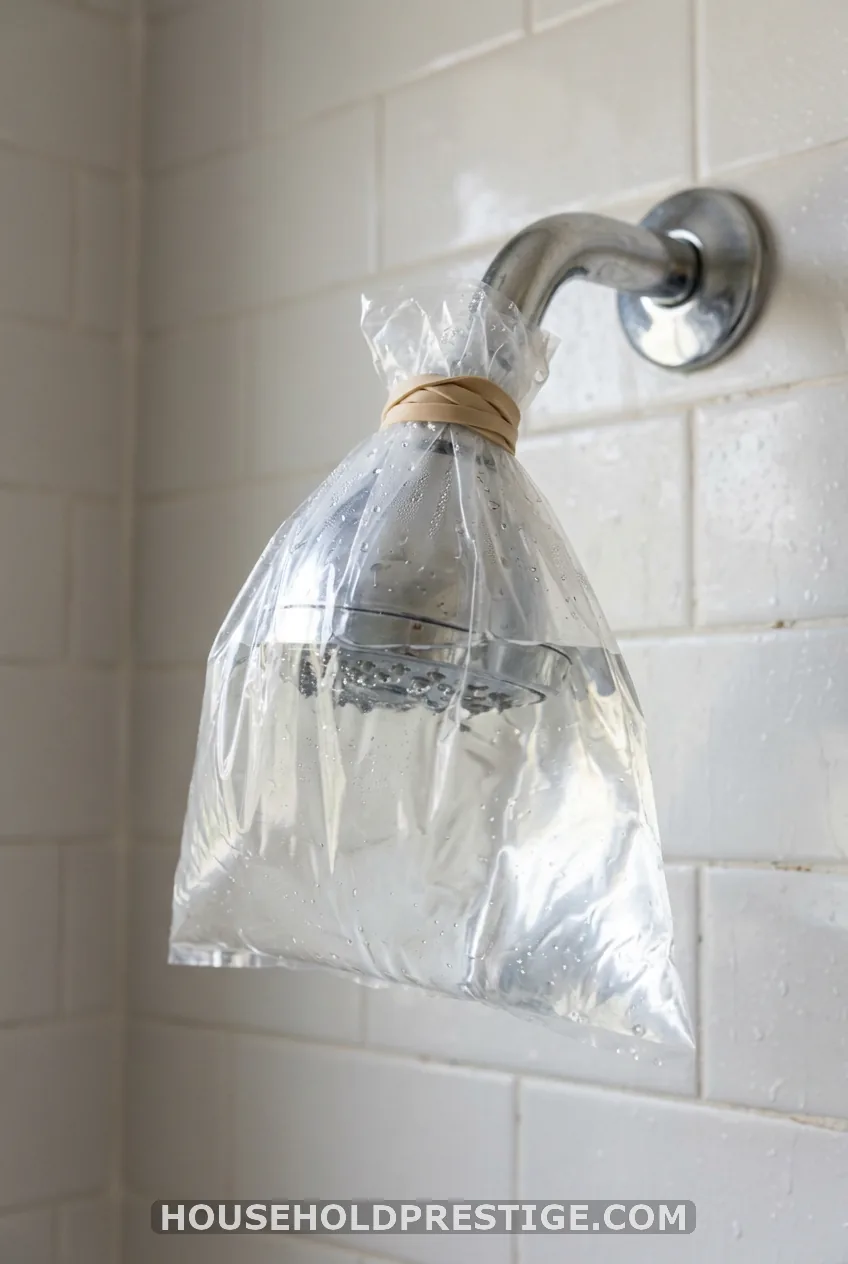
Pour the solution into the bag. Add enough that the nozzles will sit fully under the liquid, but don’t fill it so high that it’s heavy.
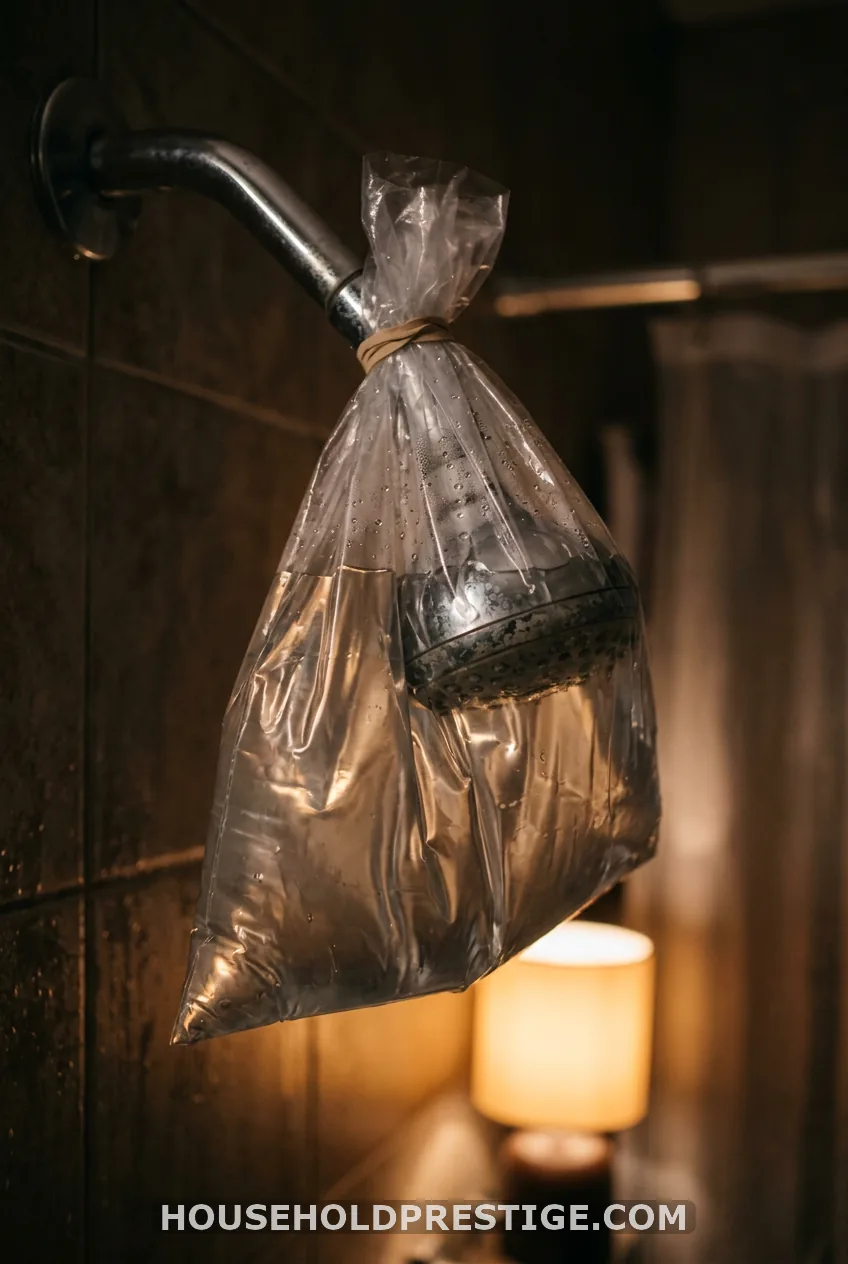
Lift the bag up over the head. Wrap the rubber band, zip tie or bungee cord around the shower arm, behind the head. Snug is right. If you cinch it hard, you can crush the bag or scratch the finish.
For a handheld, skip the bag. Unhook it and set the face down in a bowl of solution. For a rainfall head, use a large bag or a wide bowl so the whole spray face is covered. Try to keep vinegar off any decorative trim.
Step 3: Soak for the Right Time
Match the time to your finish from the list above. Chrome and plastic can stay in overnight. Brass and brushed nickel get about 30 minutes.
For a quick refresh on light buildup, 30 to 60 minutes on chrome or plastic is plenty. If a brass or nickel head is still crusty after 30 minutes, don’t extend the soak. Do a second round later instead. Repeating short soaks protects the finish better than one long one.
Open the bathroom window or run the fan. Vinegar smells sharp in a small room.
Step 4: Scrub the Nozzles and Clear Clogs
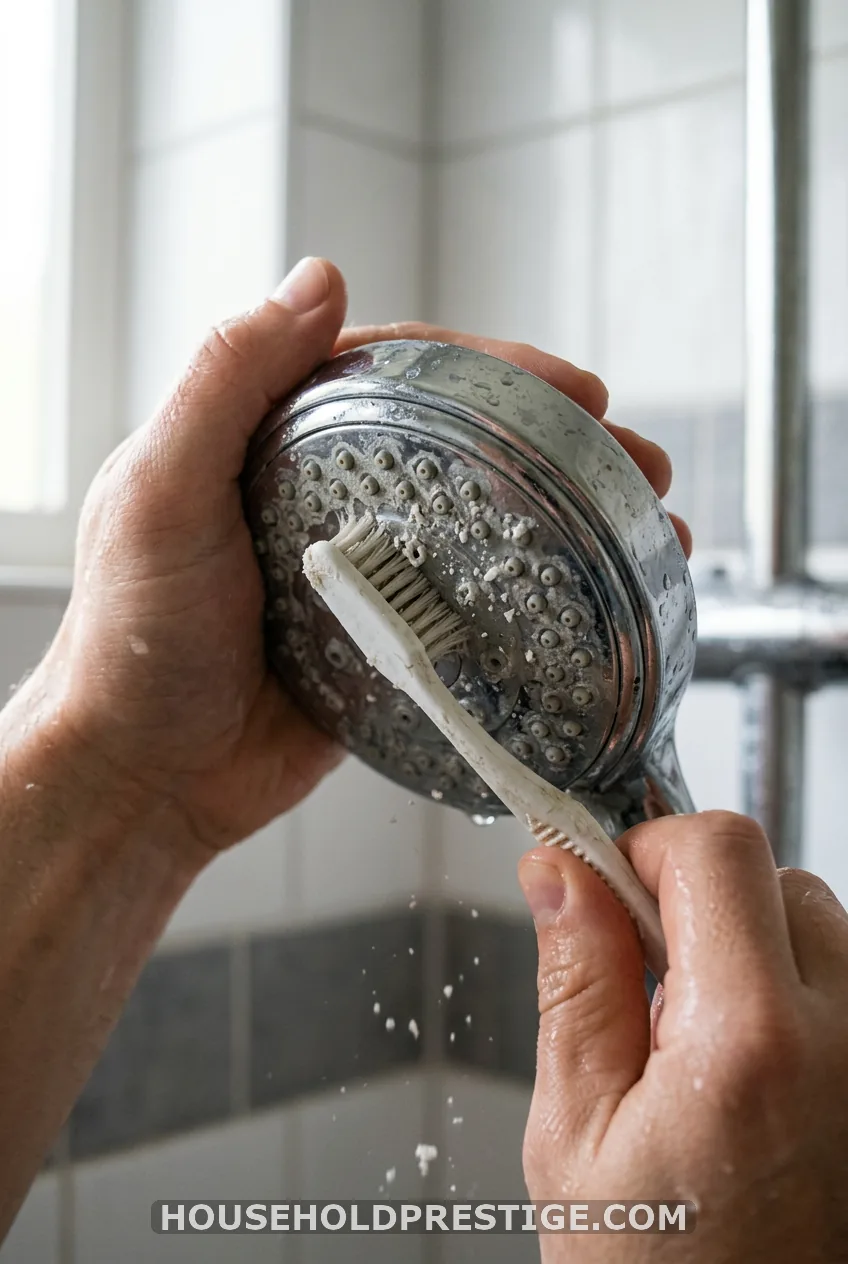
Take off the bag. Scrub the spray face with an old toothbrush, using small circles. The loosened scale should wipe away.
Poke a toothpick into any hole that still looks blocked. Go gently. Silicone nozzles on many modern heads can also be rubbed clear with your thumb.
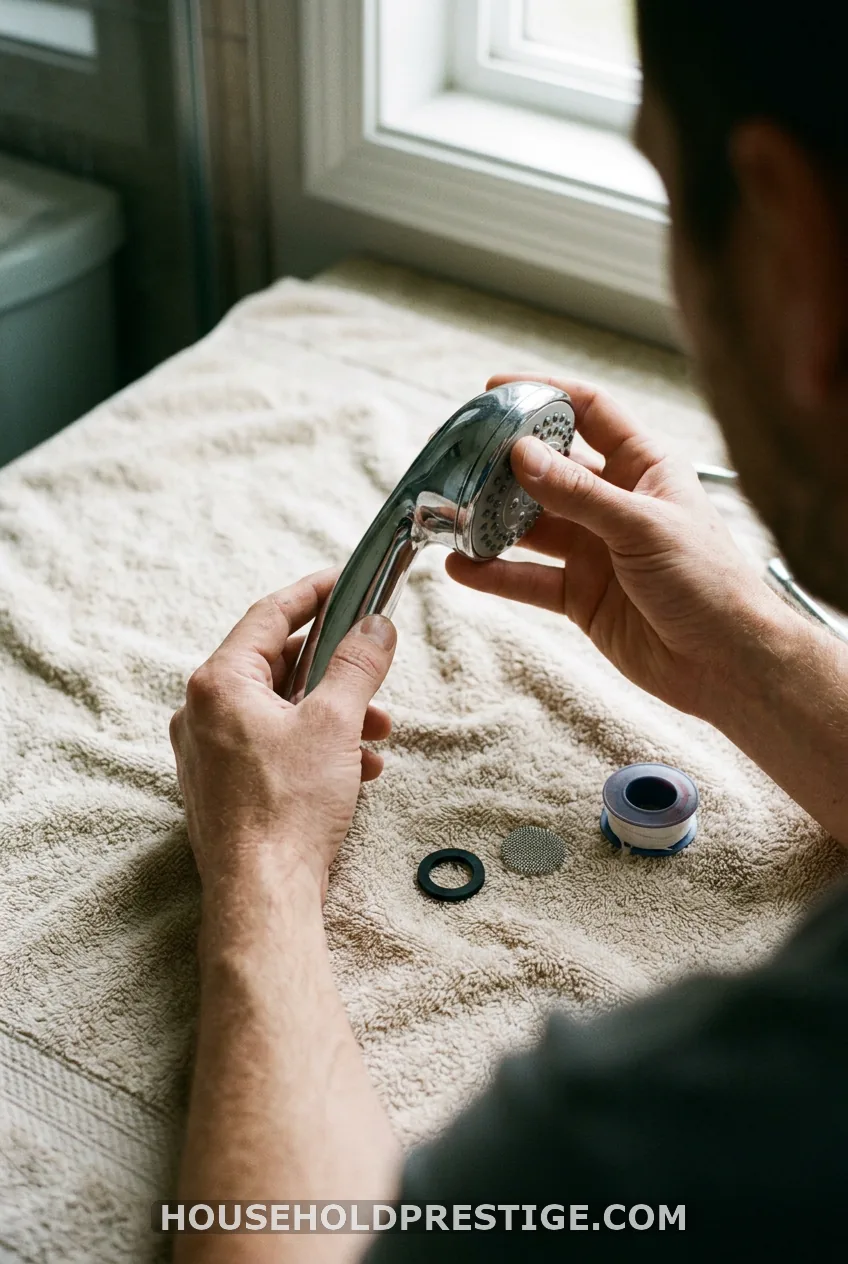
If your head comes off, check inside it too. Look at the rubber gasket, the debris screen and the filter. Rinse those under the tap and clear any grit. Then wipe the outside with a microfiber cloth, never a rough sponge.
Optional Deep Clean for a Detachable Shower Head
If yours unscrews, you can clean it more thoroughly. Wrap the connection with a cloth, then turn the head counterclockwise by hand. Use an adjustable wrench only if you must, and protect the finish with the cloth.
Soak it fully submerged in a bowl for the time your finish allows. Scrub, clear the holes, and rinse the screen and gasket. When you put it back, wrap the threads with plumber’s tape, clockwise, two or three times.
Step 5: Rinse, Reinstall, and Test Water Pressure
Run hot water through the head for 2 to 5 minutes. Stand outside the stream. This flushes out the last bits of loosened mineral.
If you removed the head, hand-tighten it only. Over-tightening can crack plastic and crush the gasket. Check the connection for drips while the water runs.
Then compare. Is the spray even? Does the pressure feel stronger? A clean head should fan out in a smooth, full pattern.

How Often Should You Clean a Shower Head?
It depends on your water. In hard-water areas, clean every 3 to 4 weeks. With soft water, every 2 to 3 months is enough.
If you’d rather keep it easy, do one deep clean every 3 months with quick refreshes between. Clean sooner whenever you see crust, uneven spray or dropping pressure.
How to Prevent Limescale Between Cleanings
A little daily care slows the buildup.
- Squeeze or wipe water off the nozzles after your shower
- Run hot water for a few seconds before you finish
- Keep the fan running so the bathroom dries faster
- Do a 30-minute vinegar refresh monthly
- Consider a filtered shower head if your water is very hard
Troubleshooting: Still Weak, Leaking, or Vinegar-Sensitive
Weak flow after cleaning usually points inside. Check the debris screen, then look for a flow restrictor, a small plastic disc that limits water use. Rinse the screen and make sure nothing is stuck behind the disc.
Leaks at the connection usually mean a missing gasket, a loose fit or no plumber’s tape. Add the tape and tighten by hand.
For vinegar-sensitive finishes, use a pH-neutral bathroom cleaner. CLR works too if the maker allows it. Follow the label exactly, never mix it, and rinse well.
Replace the head if the nozzles are cracked, broken or permanently clogged. A new one costs less than a long fight with a dead fixture.
Back to Those Tiny Holes
Remember those dozens of pencil-lead holes? Now you know how to open every one of them. A bag, a splash of vinegar and the right wait time do the work while you sleep. Tomorrow’s shower should feel like water, not a dribble.
FAQ
How often should I clean my shower head?
In hard-water areas, clean it every 3 to 4 weeks. With soft water, every 2 to 3 months works. Clean sooner if the spray turns uneven.
Can I use baking soda and vinegar together on a shower head?
Yes, but the baking soda neutralizes some of the vinegar. The fizzing mix suits light cleaning. For heavy limescale, plain white vinegar works better.
Is vinegar safe for brushed nickel or brass shower heads?
Both can react to acid, so limit soaks to about 30 minutes and check every 15. If the maker says no vinegar, use a pH-neutral bathroom cleaner.
What if my shower head does not detach?
Use the bag method. Fill a plastic bag with vinegar, pull it over the head and secure it to the shower arm with a rubber band. For a handheld, submerge the face in a bowl instead.