

Your car turns into a junk drawer on wheels, doesn’t it? One school year, one road trip, one drive-thru run gone wrong, and suddenly there are crumbs in the seams and a mystery sticky spot on the console. You don’t need a $150 detailing appointment to fix that. You need your pantry, your junk drawer, and about twenty minutes.
I’ve spent more Saturday mornings than I’d like to admit scrubbing cup holders with a butter knife before I figured out there was a better way. These 17 car cleaning hacks use ordinary household stuff, cost next to nothing, and hold up over time. No specialty sprays required.
1. Line Cup Holders With Silicone Cupcake Liners
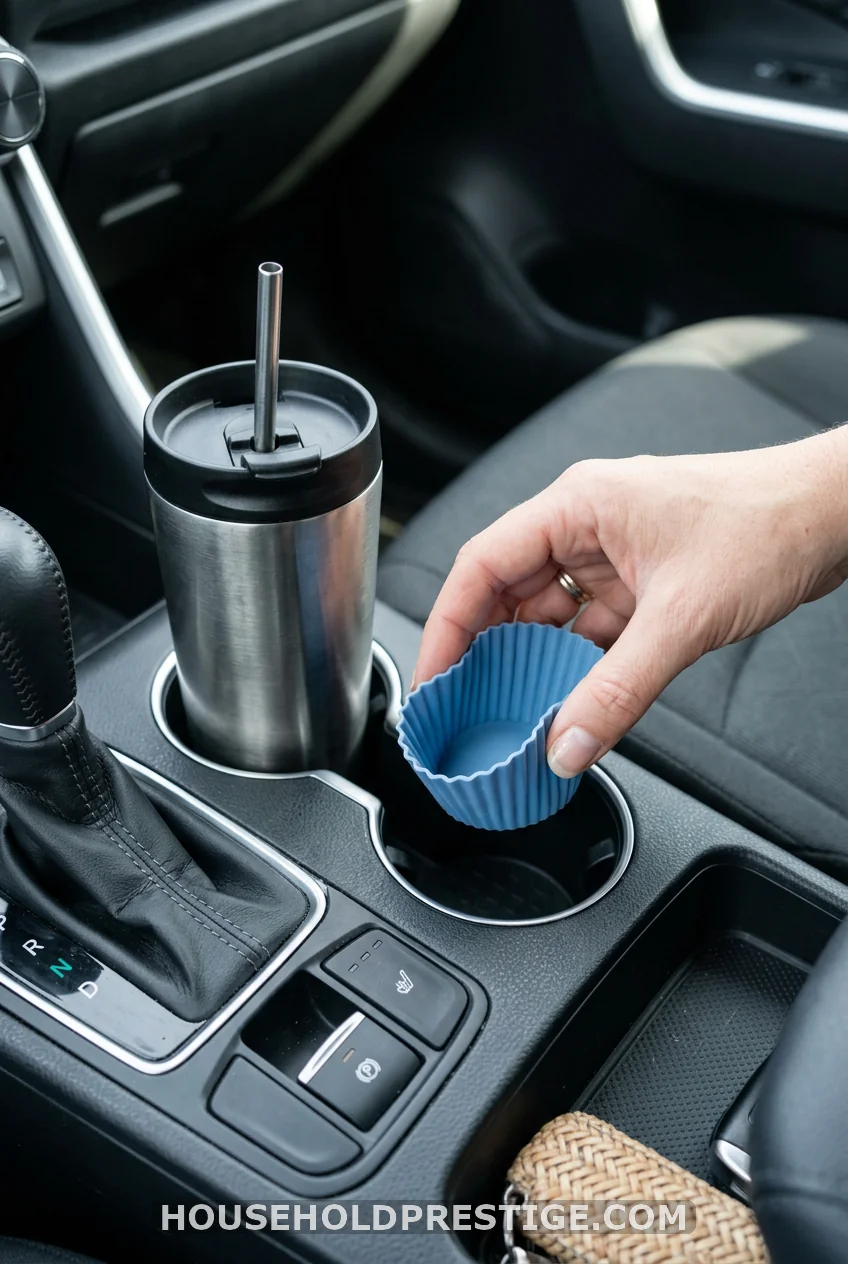
Cup holders collect every drip, crumb, and sticky ring your drinks leave behind. Drop a silicone cupcake liner into each one. When it gets grimy, pull it out, rinse it in the sink, and pop it back in. No scrubbing, no butter knife, no drama.
2. Mix a DIY All-Purpose Cleaner From Vinegar and Dish Soap
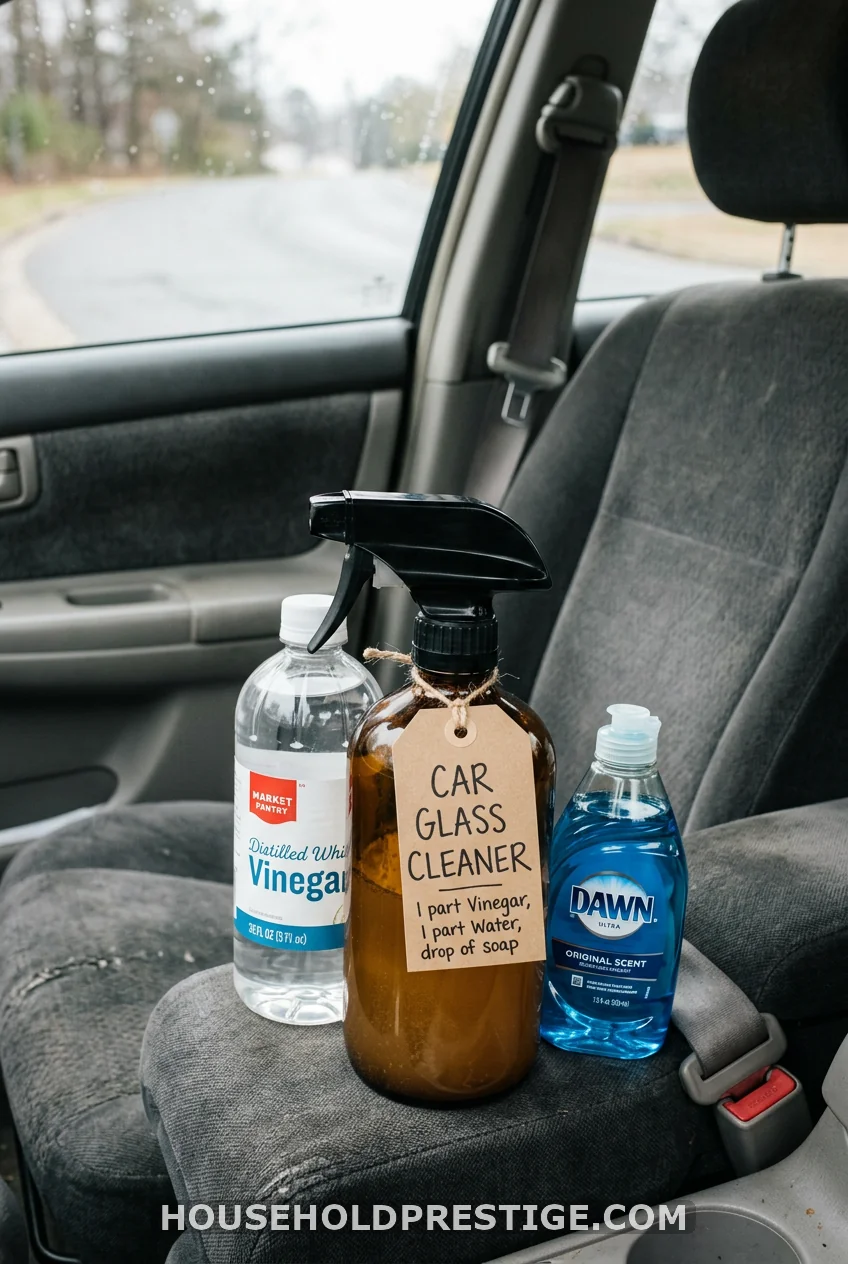
Combine one cup of water, one cup of white vinegar, and a few drops of dish soap in a spray bottle. Shake it up before every use. Spray it on the dashboard, door panels, or plastic trim, then wipe with a microfiber cloth. It cuts through dust and handprints, and it costs about a dollar to make instead of six dollars a bottle at the store.
Cost reality:
A bottle of name-brand interior cleaner runs $6 to $9. This homemade version costs closer to $0.75 per bottle, and you already own the ingredients.
3. Clear Vents With a Foam Paintbrush
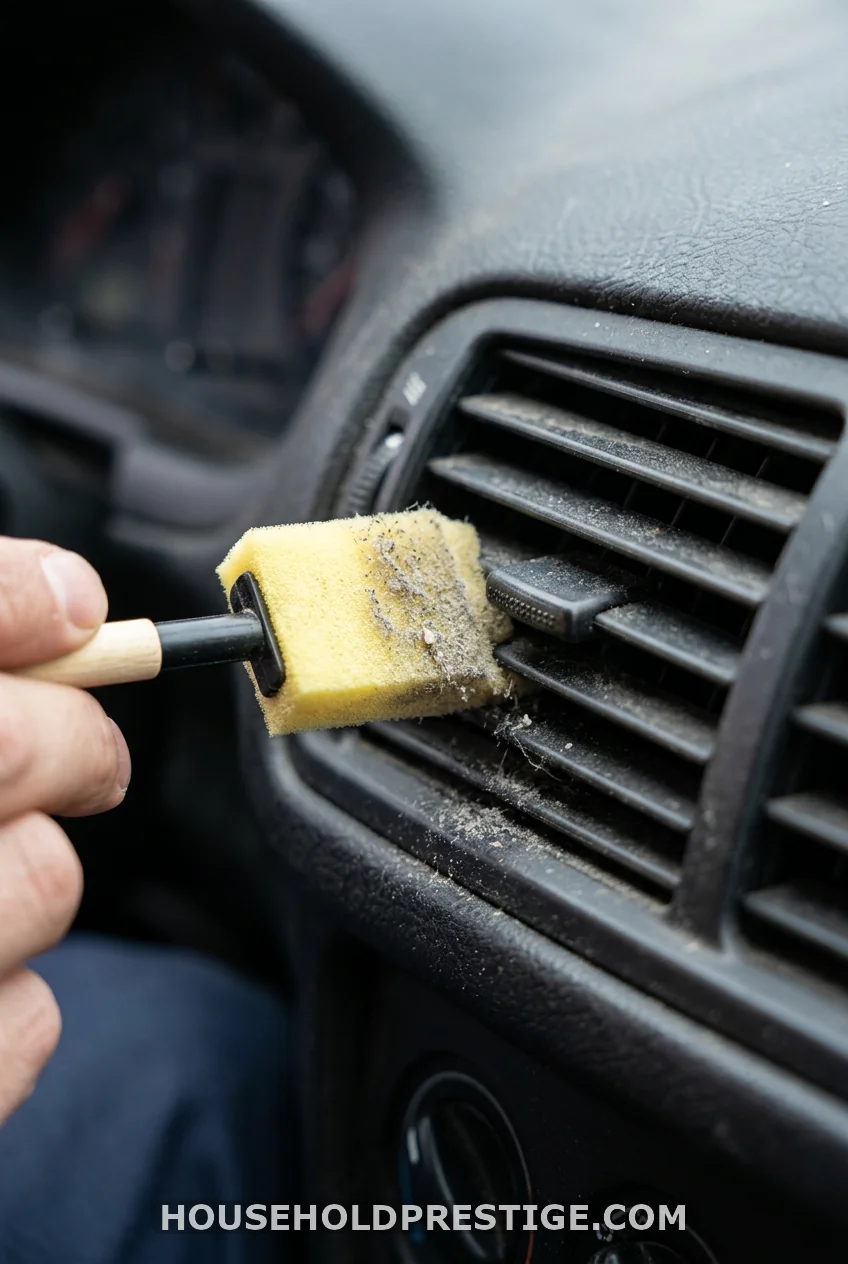
Dust loves to hide in the tiny slats of your air vents. A cheap foam paintbrush, the kind sold in packs of ten at any craft store, fits perfectly between the slats. Swipe it through, and the dust comes right out.
4. The Full At-Home Detail Session (Do It Once, It Lasts for Months)
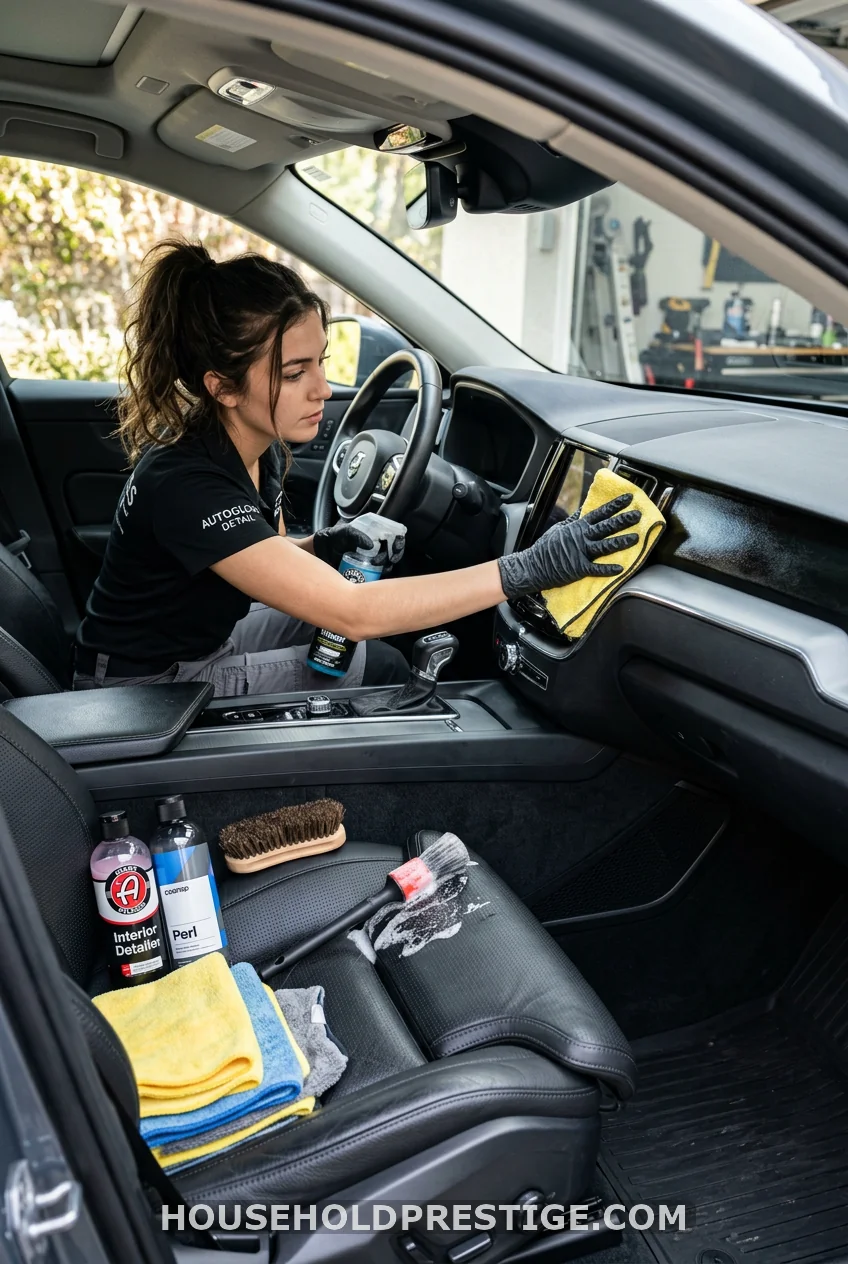
If your car hasn’t seen a real cleaning in longer than you want to admit, this is the one worth sitting down and doing. It takes about two hours from start to finish, but the results last three to four months with light upkeep in between.
Why This Works
Professional detailers charge $100 to $250 for exactly this process. You’re paying for their time and products, not for anything you can’t replicate at home. Breaking it into stages keeps it from feeling like a weekend-eating chore.
What You’ll Need
- Shop vacuum or a vacuum with a hose attachment (around $40 if you don’t own one)
- Microfiber cloths, at least six
- Distilled water and white vinegar (for a homemade glass cleaner)
- Baking soda
- Mild dish soap
- A soft-bristled brush or old toothbrush
- A leather or vinyl conditioner if your seats are leather (about $12)
Step-by-Step Process
- Empty everything first. Pull out floor mats, trash, reusable bags, and anything loose in the door pockets or console. You cannot clean around clutter effectively.
- Vacuum top to bottom. Start with the ceiling and dashboard, then move to seats, then floors last. Dust and debris fall downward as you go, so cleaning in the wrong order means redoing work.
- Deep clean the floor mats. Hose them off outside or scrub with dish soap and a brush, then let them air dry completely before putting them back in.
- Wipe every hard surface with your vinegar and water mix, working section by section: dashboard, console, door panels, steering wheel.
- Treat fabric or leather seats. For fabric, a baking soda sprinkle followed by vacuuming lifts odors. For leather, apply conditioner with a soft cloth in circular motions.
- Clean the windows inside and out with a lint-free cloth and equal parts water and vinegar. Wipe in one direction on the inside and the opposite direction outside, so you can spot streaks and know which side they’re on.
- Finish with the vents and crevices using the foam paintbrush trick from #3, then do a final once-over with a dry microfiber cloth to catch any leftover residue.
Common Mistakes to Avoid
- Skipping the “empty everything” step. Cleaning around loose items just pushes crumbs into new hiding spots.
- Using ammonia-based glass cleaner on tinted windows. It can damage the tint film over time. Stick with the vinegar mix.
- Soaking leather seats. Leather absorbs moisture and can crack or discolor if it gets too wet. Damp cloth, not dripping.
- Skipping the drying step for floor mats. Putting damp mats back in traps moisture and creates a musty smell within days.
Pro Tip
Do this on a mild, overcast day if possible. Direct sun causes cleaning products to dry too fast on the glass and dashboard, which leaves streaks and residue behind.
5. Erase Stubborn Marks With a Magic Eraser
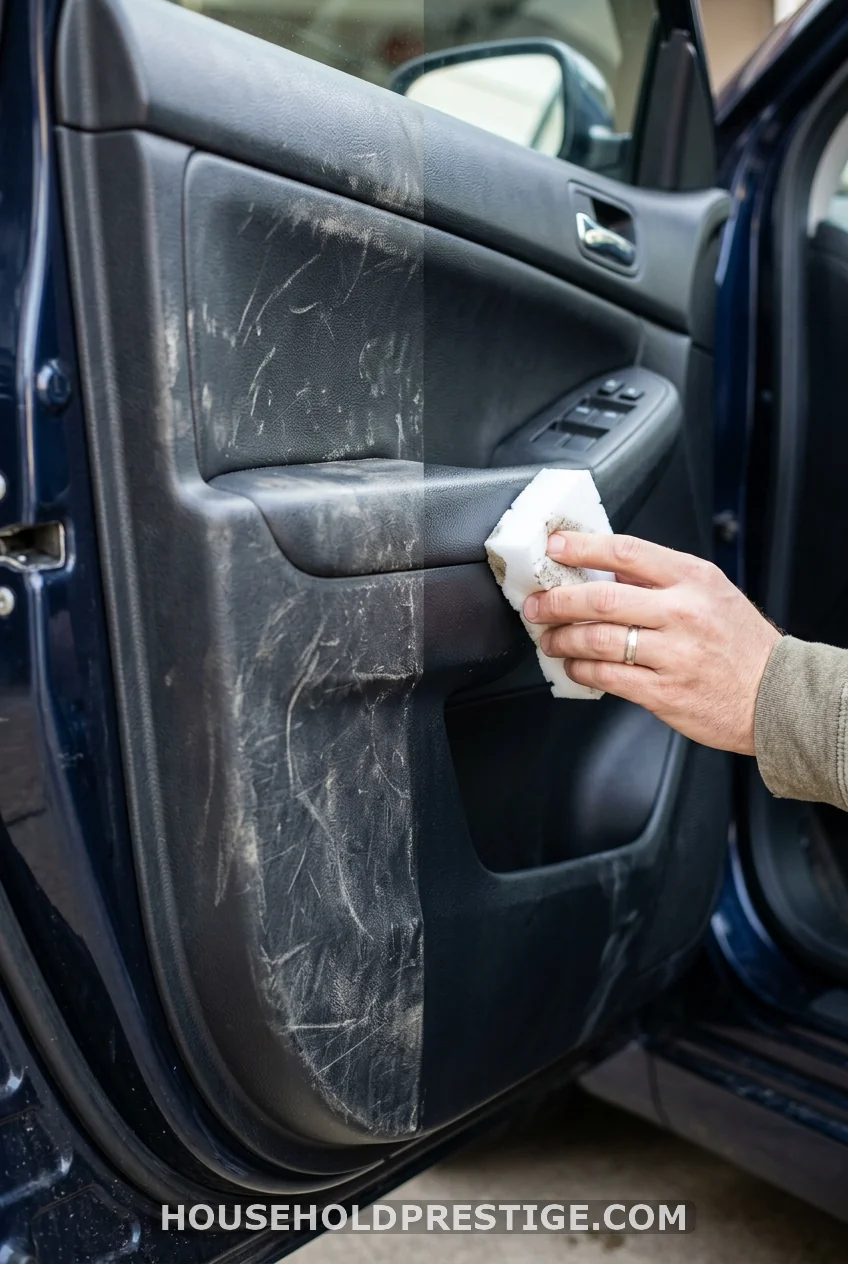
For scuffs on plastic or vinyl trim, a melamine foam sponge works like fine sandpaper on grime. Dampen it, rub gently, and watch marks lift that regular wipes won’t touch. Skip it on painted surfaces, though. It can dull the finish.
6. Lift Carpet Stains With Baking Soda and Vinegar
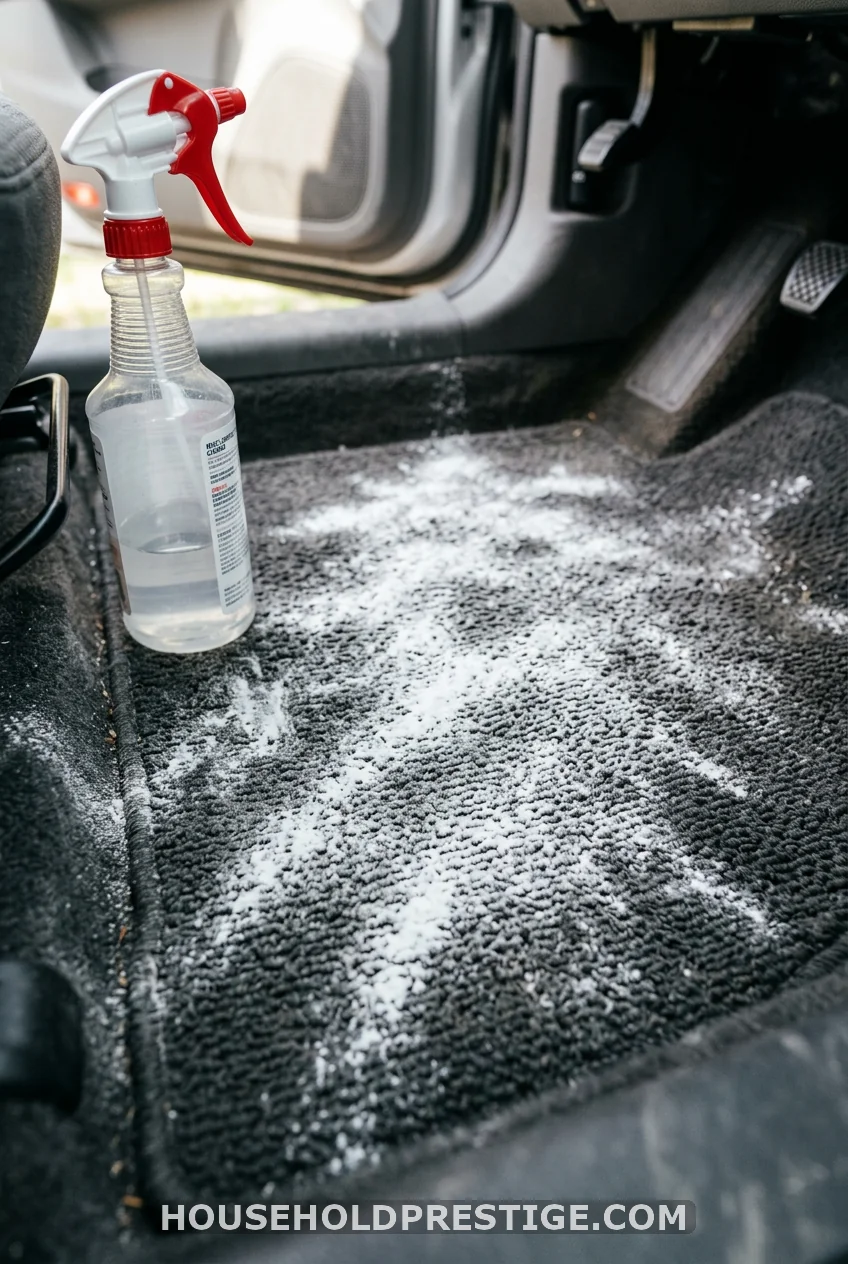
Sprinkle baking soda over the stain and let it sit for fifteen minutes. Spray lightly with white vinegar, and you’ll see it fizz as it lifts the grime. Blot with a damp cloth, then vacuum once dry. This combination handles coffee spills, muddy footprints, and the mystery stains that show up after every road trip.
7. Skip the “Any Cleaner Works” Myth (A Cautionary Tale)
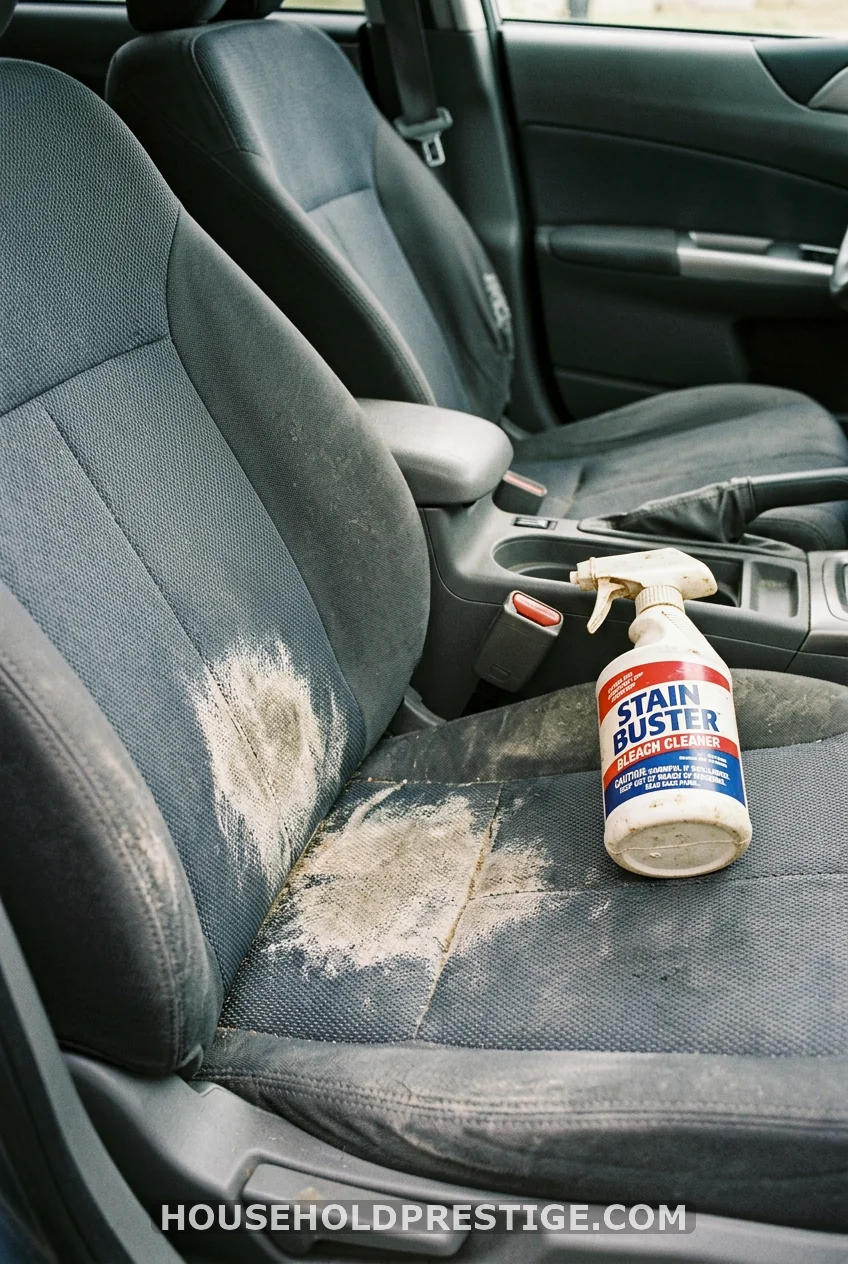
A friend of mine once grabbed a bleach-based bathroom cleaner to tackle a coffee stain on her cloth seats. Within a week, the spot had faded to a pale gray blotch, permanent, right in the middle of the driver’s seat.
Here’s what most people assume: if a cleaner works in the kitchen or bathroom, it’ll work in the car too. That’s not true. Household bleach, ammonia-heavy glass cleaners, and anything labeled “bathroom strength” are formulated for tile and porcelain, not automotive fabric, vinyl, or the UV-treated plastic used on dashboards.
What happened next: the bleach broke down the dye in the fabric fibers, and no amount of scrubbing brought the color back. She ended up paying $180 for a professional seat dye job, more than ten times what a bottle of car-safe upholstery cleaner would have cost.
The fix takes no extra effort. Stick to products made for cars, or the homemade vinegar and dish soap mix from #2, and always spot-test any new cleaner on a hidden patch of fabric first, like the underside of a seat, before treating a visible stain.
8. Dust Tight Spots With a Coffee Filter
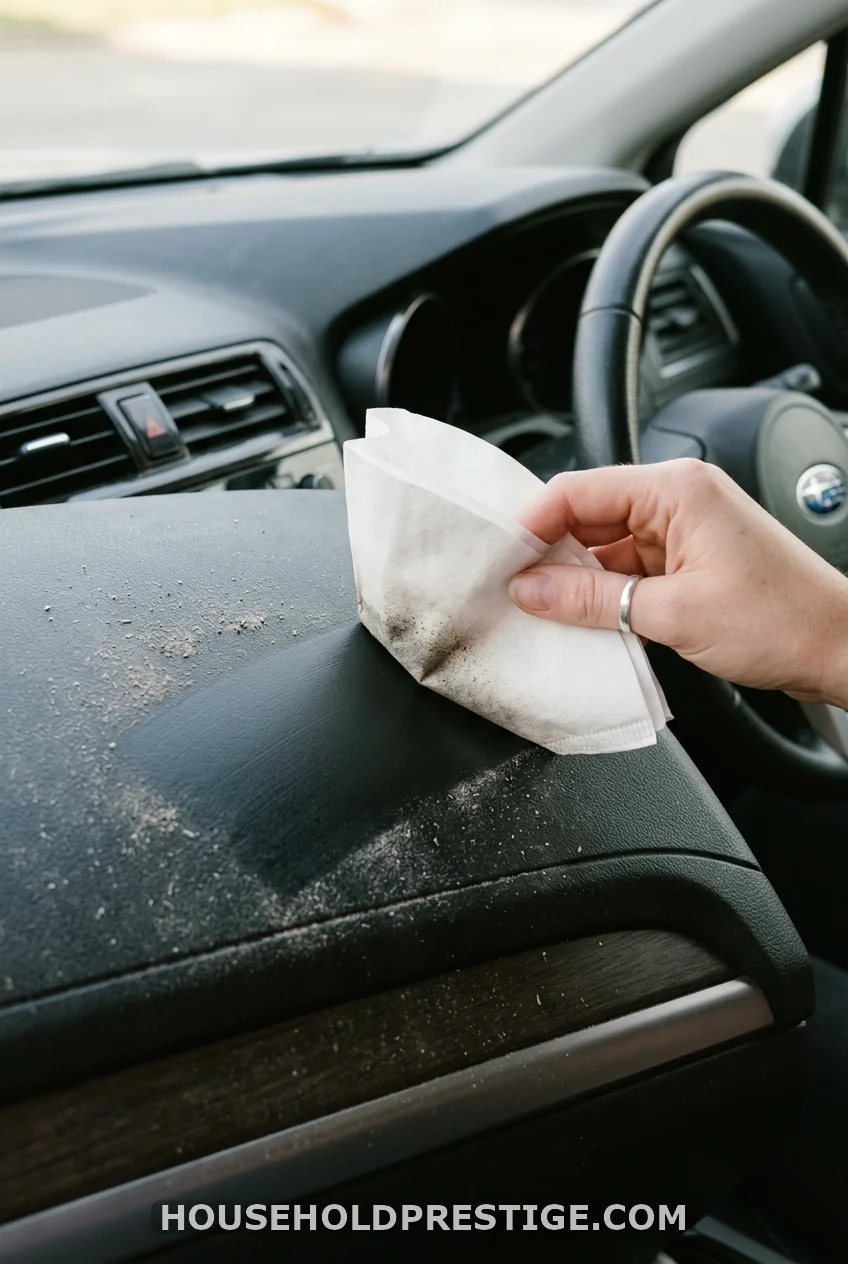
Coffee filters are lint-free, which makes them oddly good for dusting screens, dashboards, and mirrors without leaving fuzz behind. Keep a small stack in the glove box.
9. Make a Dashboard Polish From Olive Oil and Vinegar
Mix equal parts olive oil and white vinegar in a small bowl. Apply a thin layer with a soft cloth, then buff. The vinegar cuts through dust and grime while the oil leaves a light, non-greasy shine. Use it sparingly. A little goes a long way, and too much oil attracts more dust later.
10. Turn a Cereal Container Into a Car Trash Can
Line an empty plastic cereal container with a grocery bag, and you’ve got a trash bin with a lid that contains smells and spills instead of letting them spread. It fits neatly in a cup holder or between the front seats.
11. Pull Pet Hair Out With a Rubber Squeegee
Regular vacuuming barely touches embedded pet hair. Drag a rubber window squeegee across the seat or carpet in short strokes, and the hair balls up into clumps you can lift right off. It works because the rubber creates just enough static and friction to lift hair that vacuum suction alone leaves behind.
12. Repel Dust With a Dryer Sheet
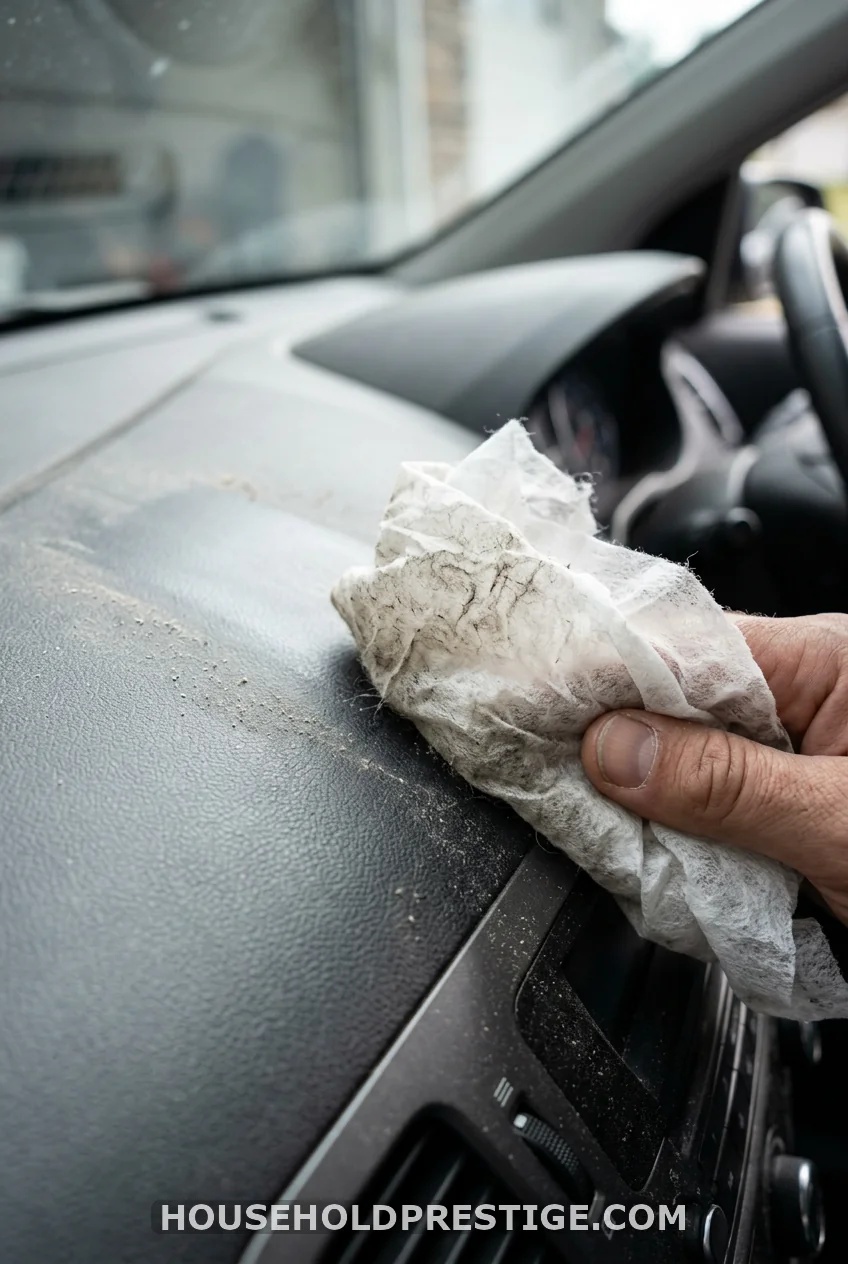
Wipe a used dryer sheet across your dashboard and console after cleaning. It leaves behind an antistatic layer that slows down how fast dust resettles, so your dashboard stays cleaner for days instead of hours.
13. Scrub Grille Vents With an Old Toothbrush
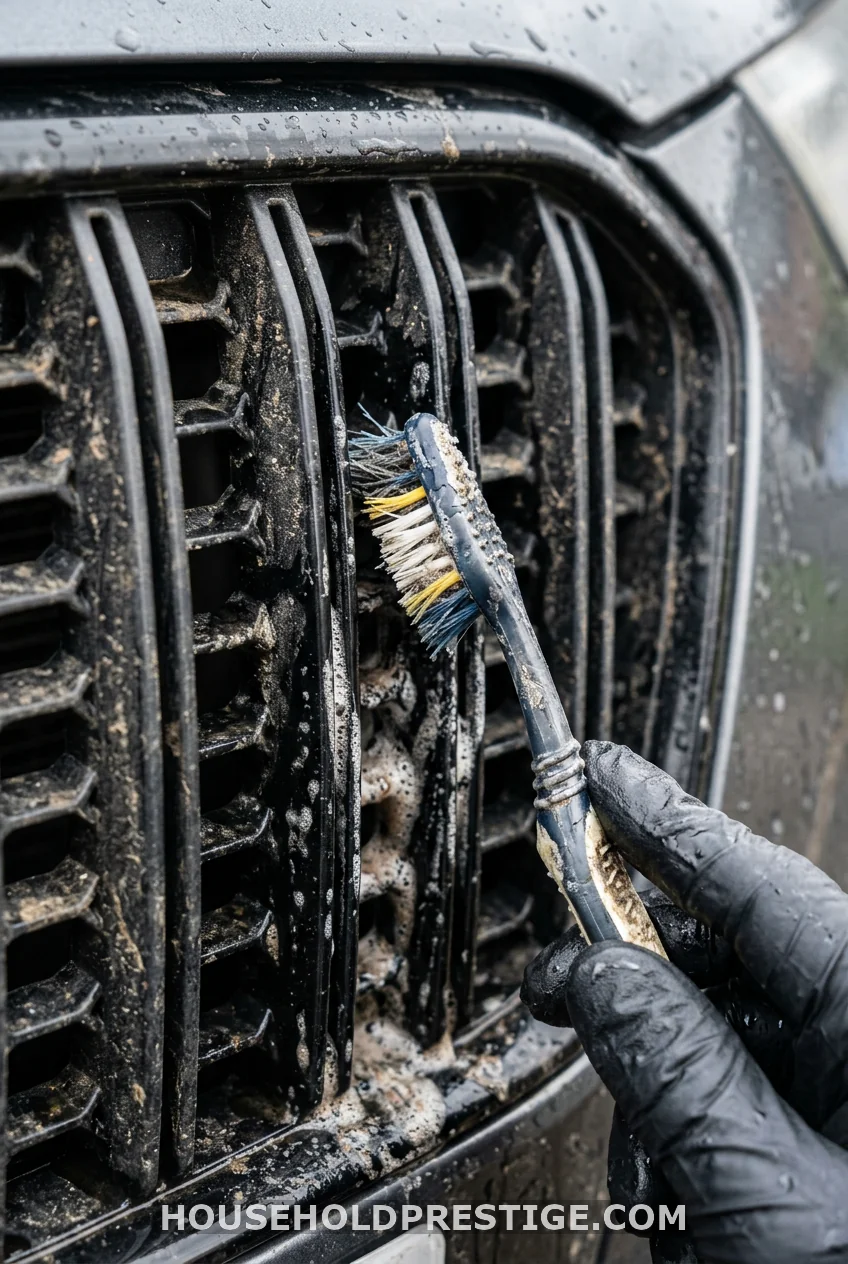
Those tiny grooves around badges, grilles, and door handles trap dust and bugs that a sponge can’t reach. Dip an old toothbrush in soapy water and scrub the grooves directly. It takes five minutes and makes a noticeable difference in how detailed the car looks overall.
14. Remove Old Stickers With a Hair Dryer
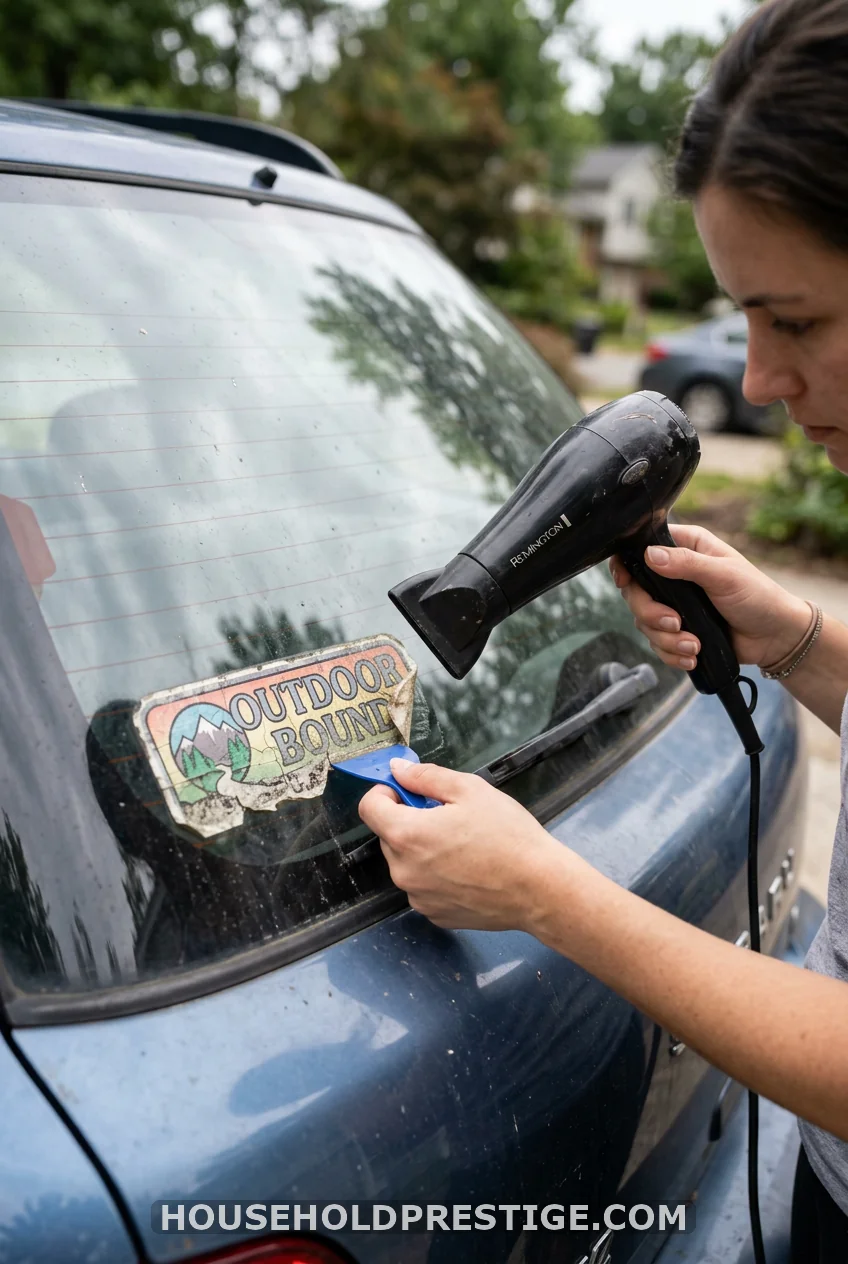
Heat softens sticker adhesive fast. Run a hair dryer over the sticker for thirty seconds on medium heat, then peel from one corner using an old gift card or plastic scraper. If residue remains, a dab of the vinegar mix from #2 wipes it clean.
15. Keep Wiper Blades and Mirrors Streak-Free With Rain Repellent
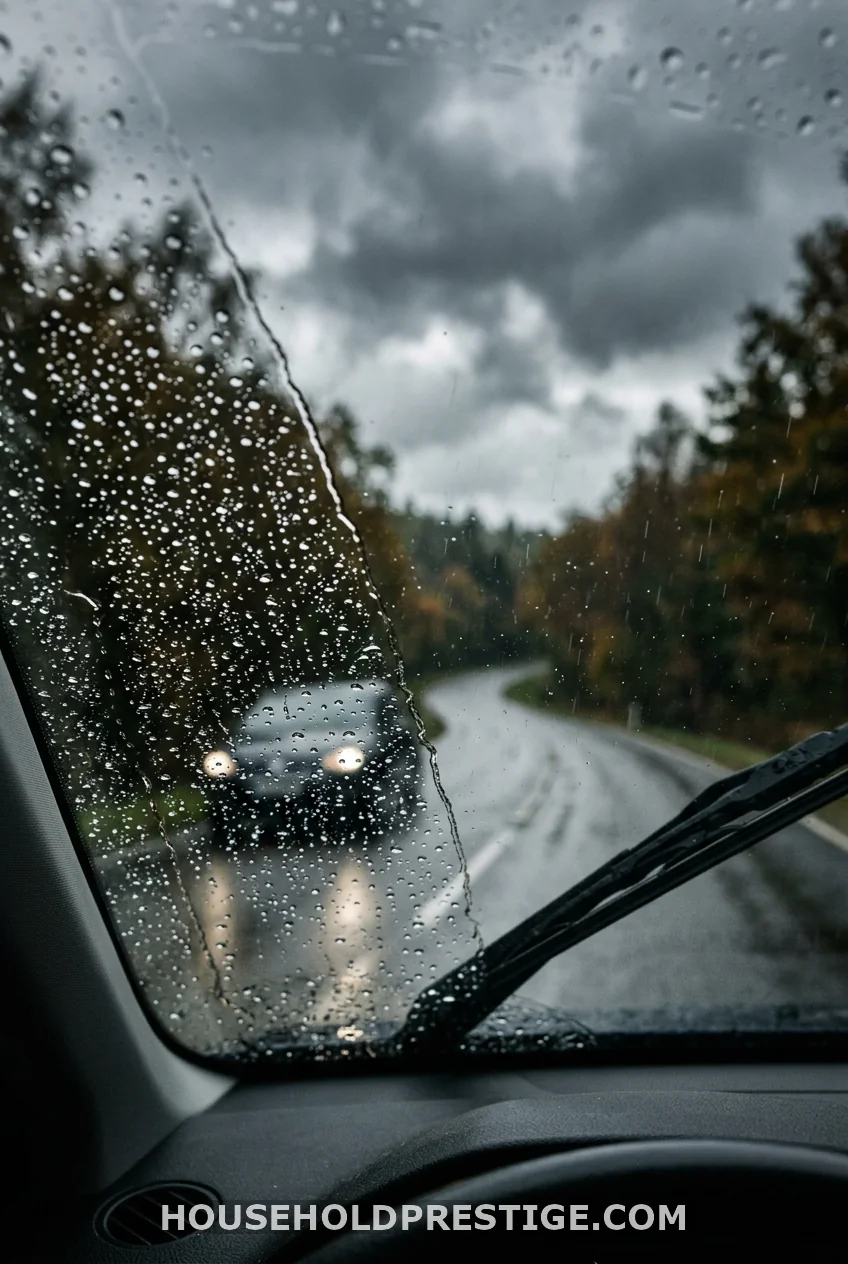
A rain-repellent treatment applied to your windshield and side mirrors causes water to bead up and slide off instead of smearing. It takes ten minutes to apply and lasts two to three months per coat, which cuts down on how often your windshield needs a full wipe-down.
16. Twist a Sock Into a Cup Holder Scrubber
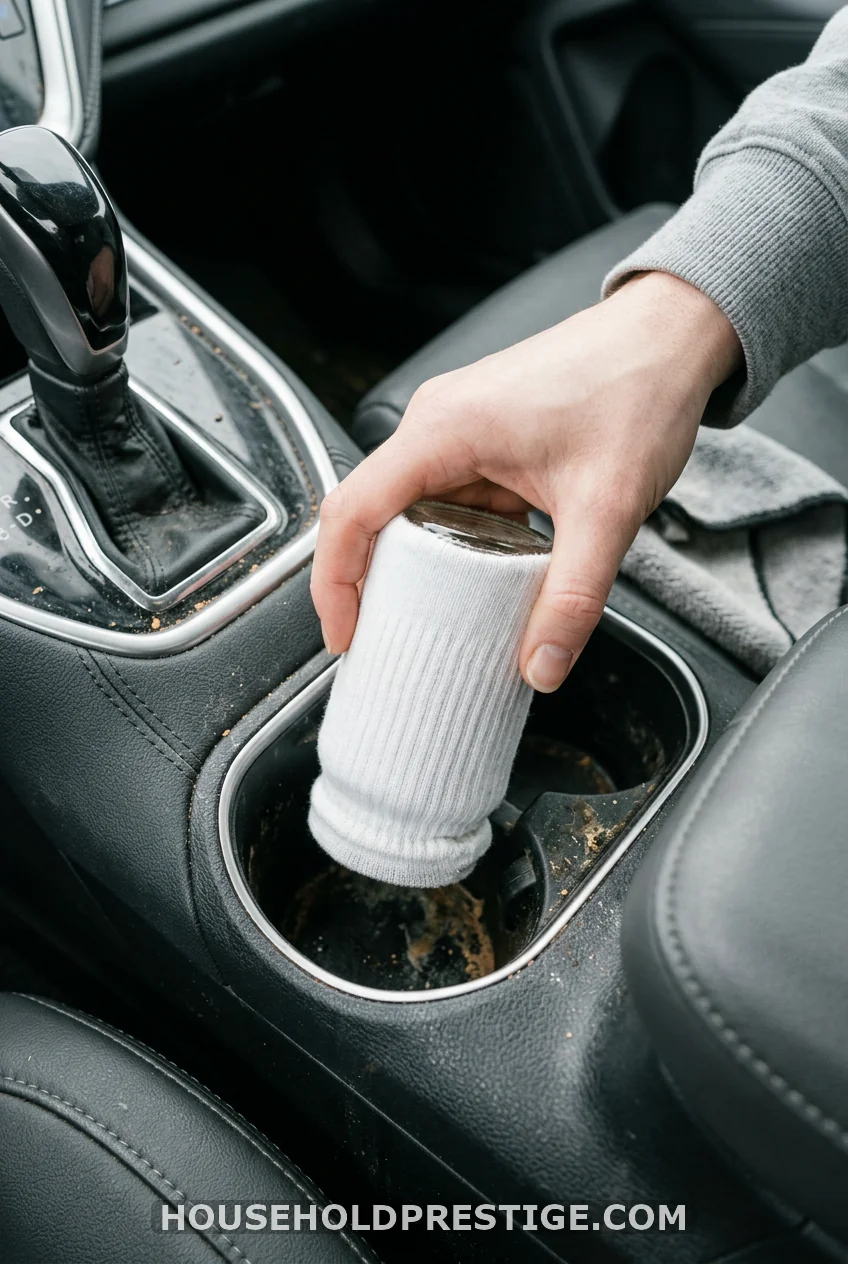
Stretch a clean sock over the bottom of a small jar, spritz it with your all-purpose cleaner, then press and twist it inside the cup holder. The fabric reaches every curve and lifts out gunk that a cloth alone can’t grab.
17. Wax Twice a Year to Make Future Cleanups Faster
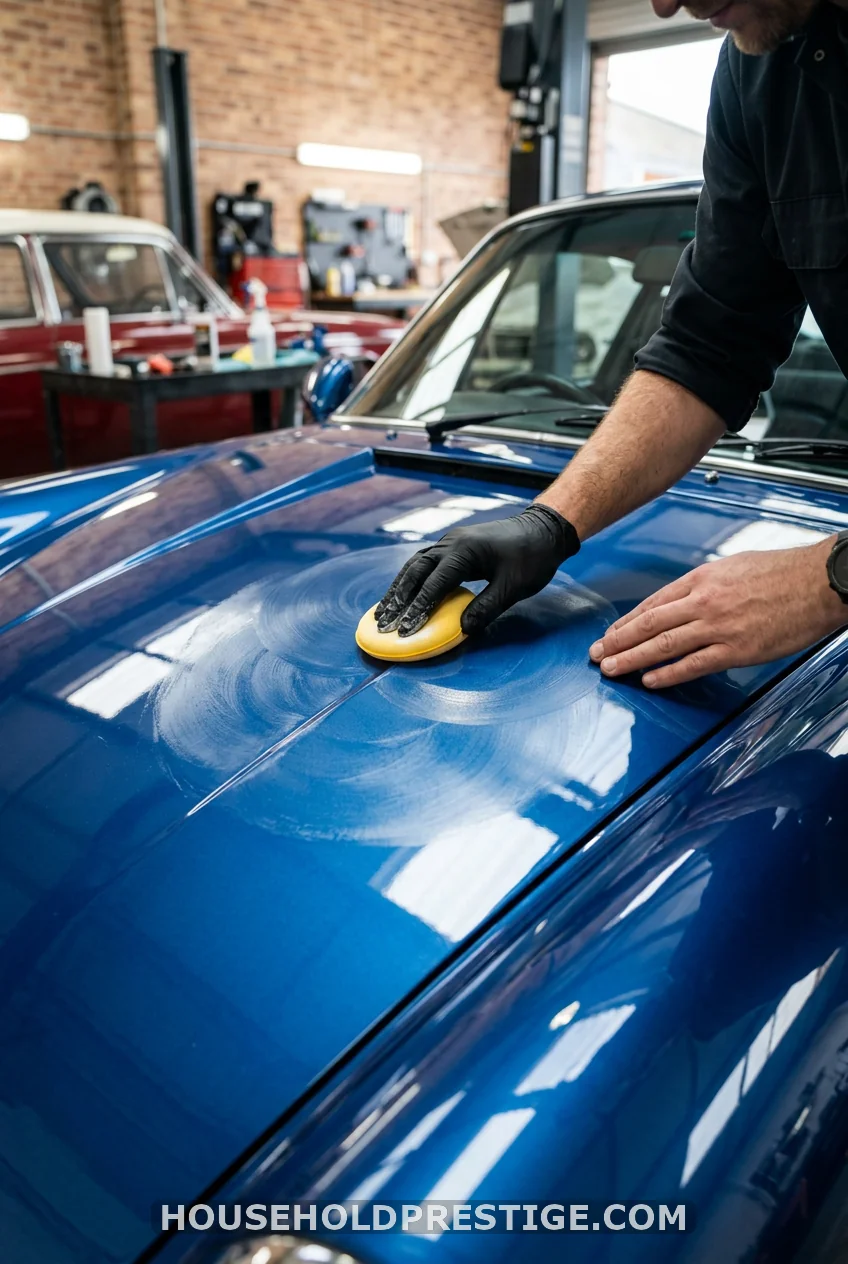
A coat of wax in spring and fall does more than add shine. It creates a barrier that keeps dirt and grime from bonding to the paint in the first place, so every wash after that takes less scrubbing. Apply with a foam applicator in small circular sections, let it haze, then buff with a microfiber cloth.
The Bottom Line
None of these hacks require a trip to a specialty store or a Saturday you don’t have to spare. Pick two or three that match whatever’s bothering you most right now, whether that’s the cup holder situation or dashboard dust, and build from there. A car that stays clean is one you enjoy getting into, not one you apologize for every time someone rides along.
Frequently Asked Questions
How often should I deep clean my car’s interior?
Every three to four months for regular use, and sooner if you have kids, pets, or a long commute that adds wear and mess faster than average.
Is vinegar safe on all car interior surfaces?
Diluted white vinegar is safe on glass, plastic, and vinyl. Avoid using it undiluted on leather, since the acidity can dry out the material over time. Always spot-test first.
What household item removes the worst car odors?
An open box of baking soda left in the car overnight, or a light sprinkle on fabric seats before vacuuming, pulls out most lingering smells, including pet odor and smoke residue.
Can I use regular dish soap to wash my car exterior?
It’s better to avoid it long-term. Dish soap strips wax protection faster than car-specific soap, which means more frequent waxing to keep your paint protected.
How do I keep my car smelling fresh between deep cleans?
A few drops of essential oil on a cotton pad tucked into a vent clip, or a homemade sachet in the glove box, keeps things smelling clean without the overpowering scent of commercial air fresheners.