

I was halfway across the kitchen with a soaking mop when I saw it. A cloudy, streaky film trailing behind me like a snail. My store-bought wood floor cleaner had left a layer of residue, and the bottle cost more than my lunch. That day I started mixing my own DIY wood floor cleaner from things already in my pantry.
Here are 25 recipes and tricks, with exact ratios. You will find a daily spray, an olive oil polish, a heavy-traffic scrub, pet-safe formulas, a spray-mop refill and gentle options for delicate finishes. Pick the one that fits your floor and your mess.
Before You Mix Anything: Know Your Finish
Every recipe below cleans the finish on top of your floor. It does not clean the wood itself. Most modern hardwood has a sealed coat of polyurethane, and that coat is what takes the mopping.
Not sure what you have? Rub a drop of water on the floor and wait a few minutes. If it beads up, the floor is sealed and these recipes are fine.
If it soaks in or darkens the wood, the floor is waxed or unsealed. Skip the water-based recipes and ask a flooring pro about paste wax care.
Three rules apply to every recipe:
- Test first. Try the cleaner in a hidden spot, like inside a closet or under a rug, and let it dry.
- Damp mop only. The mop or cloth should feel barely wet. Standing water seeps into seams and warps planks.
- Sweep or vacuum first. Grit under a mop acts like sandpaper on your finish.
Worth knowing:
Some floor manufacturers say not to use vinegar at all, and some warranties follow that advice. Check your warranty or the maker’s care sheet before you commit to a vinegar recipe. If vinegar is out, jump to the seltzer and castile recipes.
Everyday Sprays for Daily Maintenance
1. The Everyday Vinegar Spray
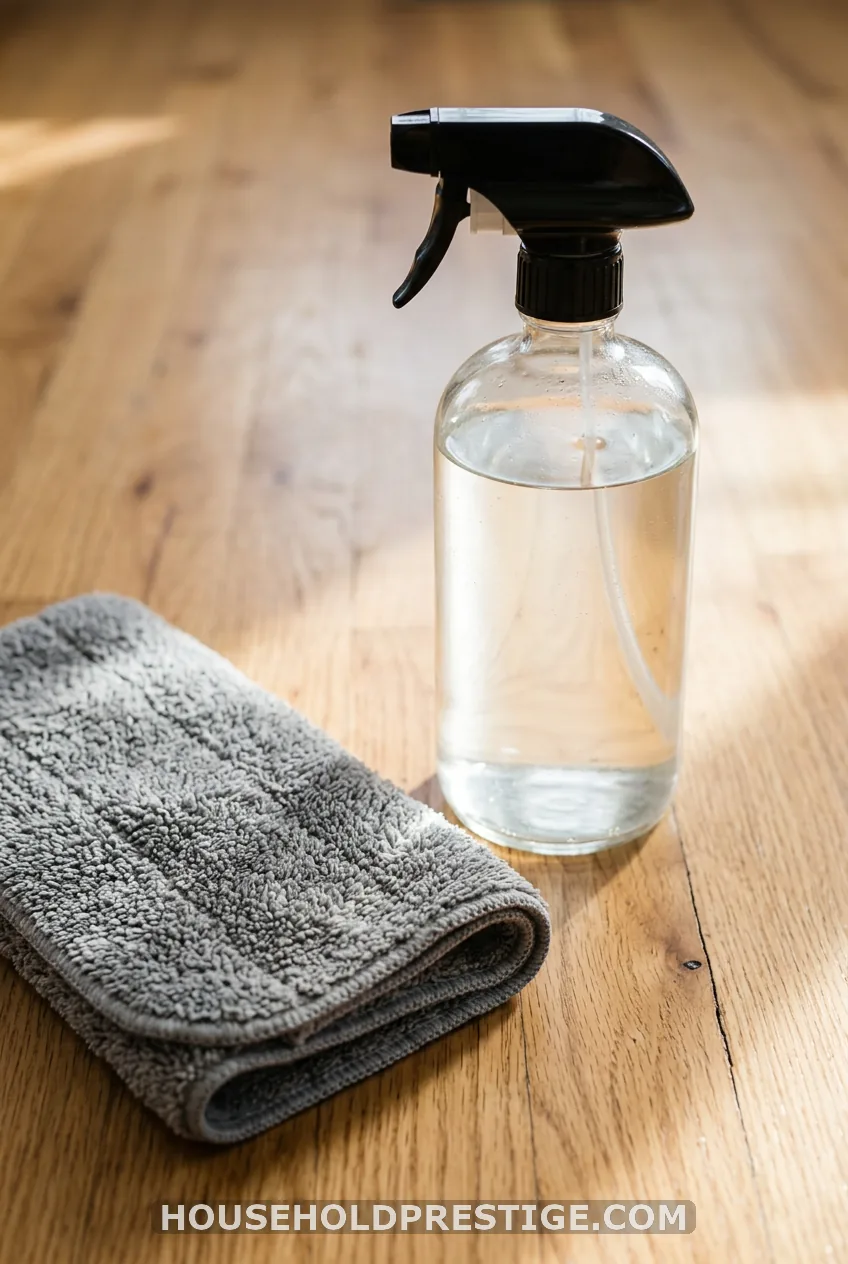
This is the base recipe. Almost every other formula in this list starts here.
Fill a 32-ounce spray bottle with 1/4 cup distilled white vinegar and the rest warm water. If you would rather use a bucket, stir 1/4 cup vinegar into 1 gallon of warm water. The bucket mix is milder than the spray bottle mix, which is fine for light cleaning.
Spray a small section, about 3 by 3 feet. Wipe it with a dry or barely damp microfiber mop. Move on. Never spray the whole room first and come back, because the liquid sits and soaks in.
Pro tip:
Use distilled white vinegar, not apple cider vinegar. Cider vinegar can leave a sticky film and a faint smell.
2. Lemon-Lavender Scented Spray
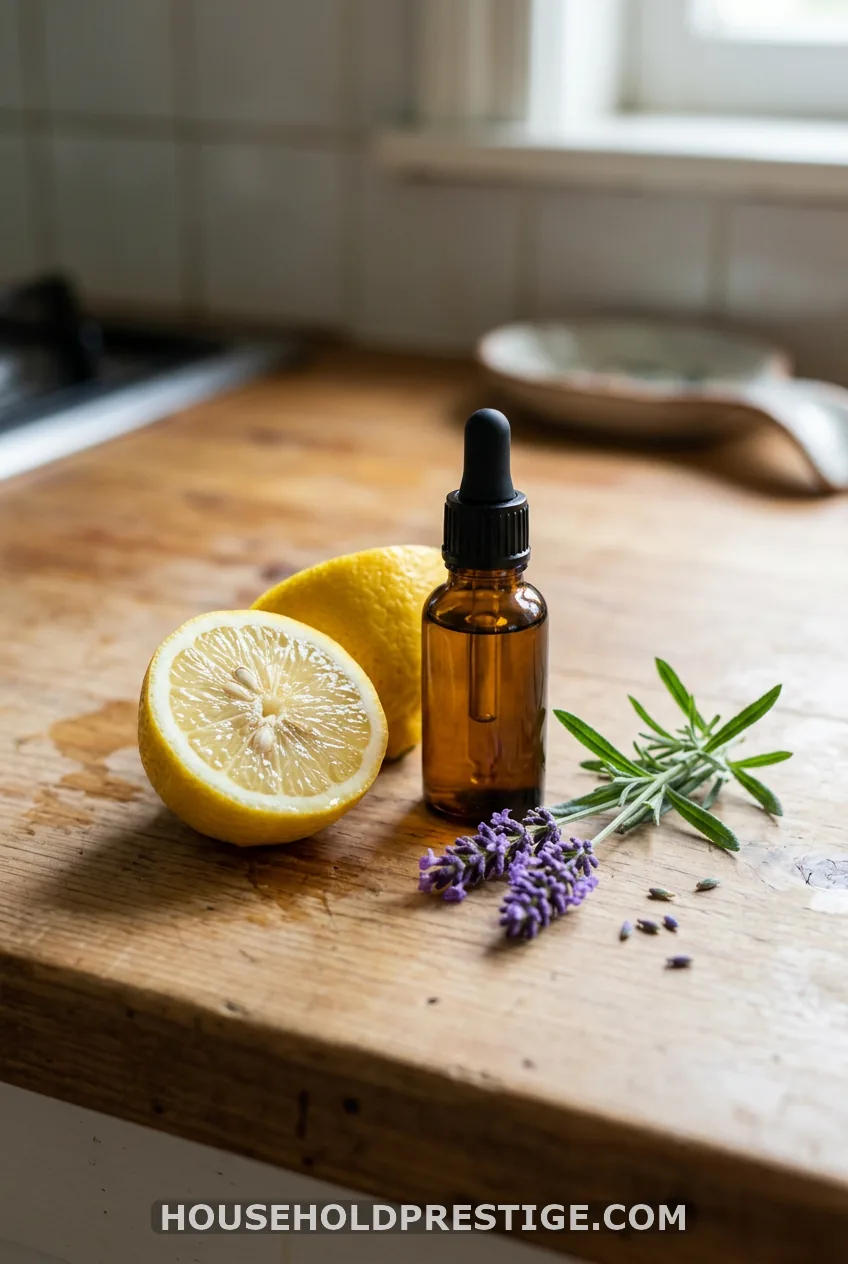
Add 10 drops of lemon or lavender essential oil to the 32-ounce bottle from recipe 1. Shake well. That is the whole trick.
Oil and water do not mix, so shake before every spritz. If you have cats or dogs, skip this one and go to the pet section.
3. The Three-Ingredient Cleaner
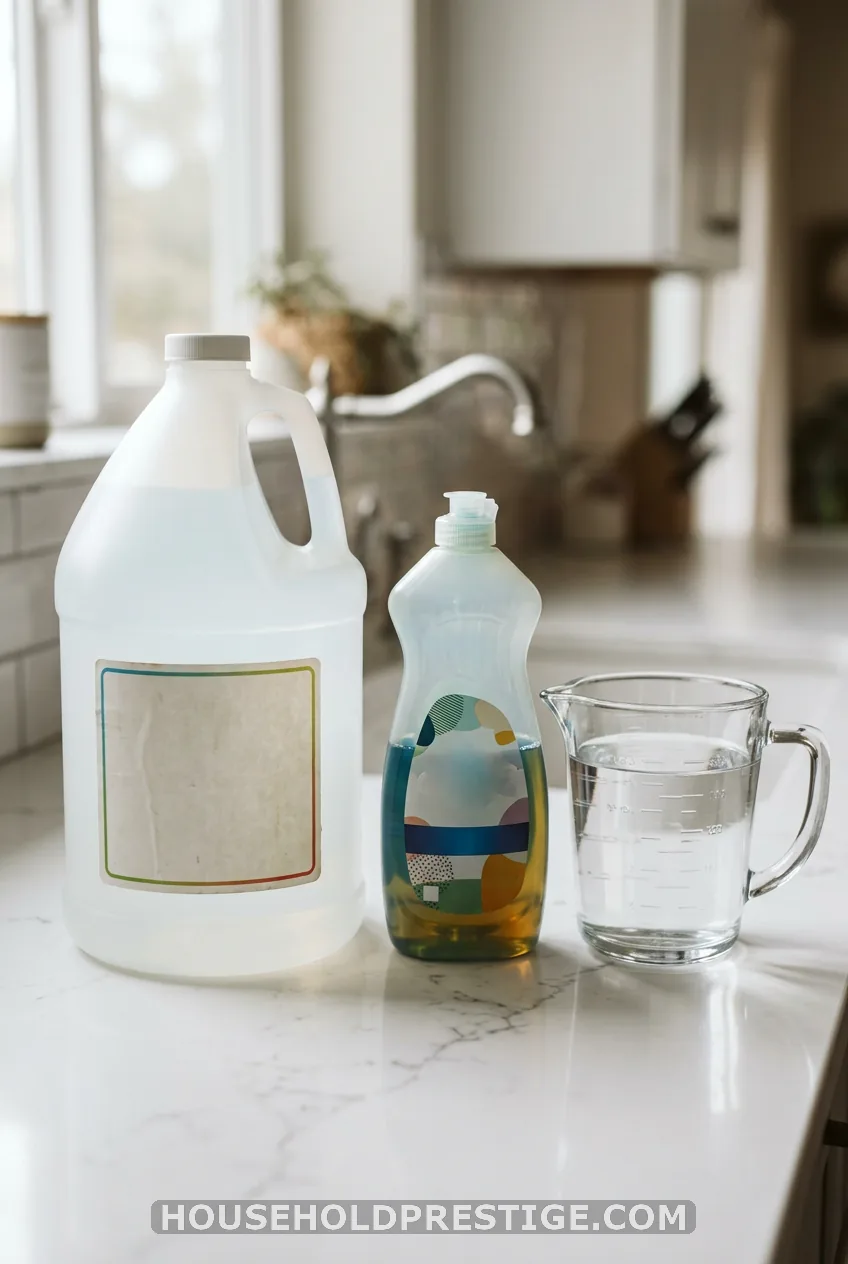
Three ingredients, five minutes, about 30 cents a bottle. Combine 2 cups warm water, 1/4 cup distilled white vinegar and 2 drops of mild dish soap in a spray bottle. Swirl it gently so it doesn’t foam up.
The soap helps lift the light film that builds up where people walk and cook. Two drops is the limit. More soap leaves a cloudy haze that takes three rinse passes to remove.
Use this one weekly, not daily. Daily cleaning with soap builds up faster than you think.
4. Plain Warm Water and a Microfiber Cloth
What most people think: A floor only counts as clean if it smells like something.
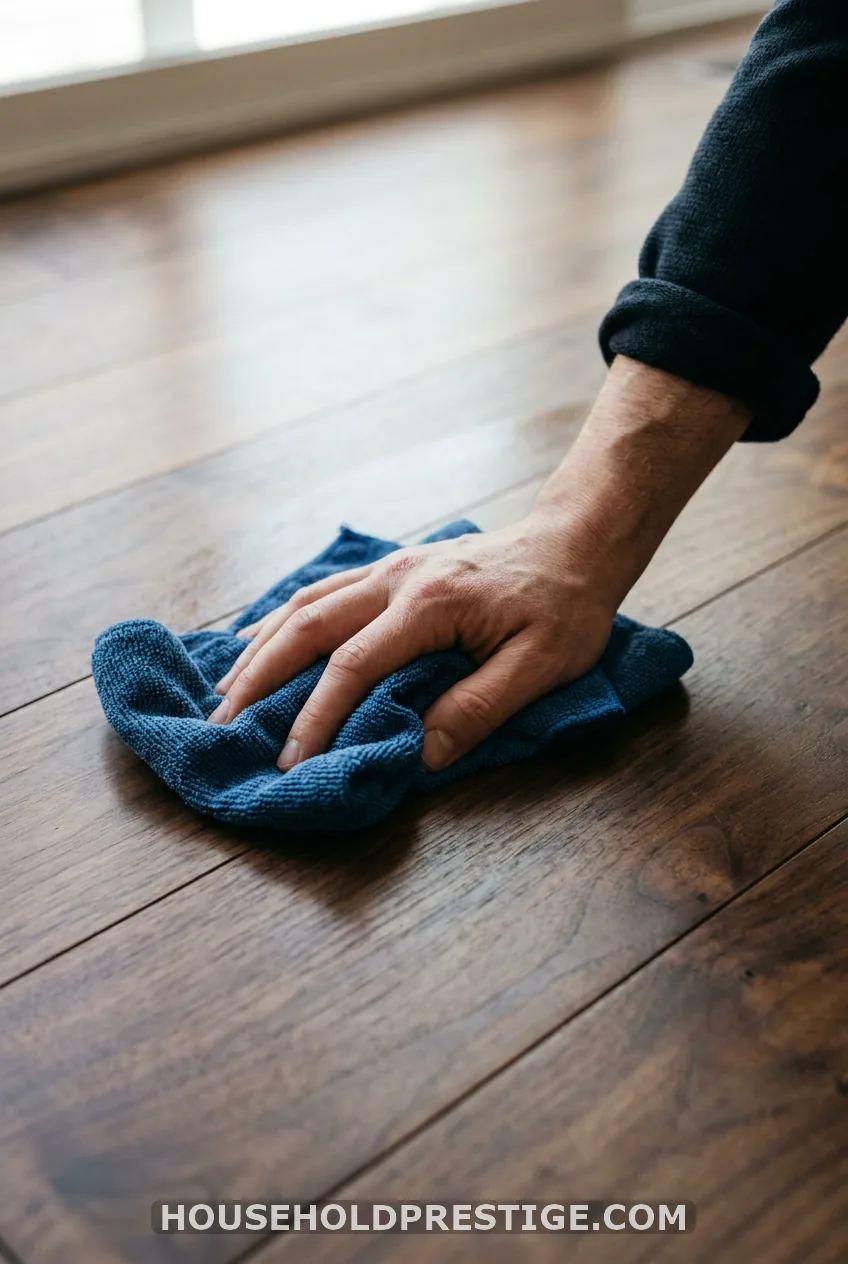
Reality: Most days, dust and a few footprints are all you’re fighting. A well-wrung microfiber cloth and plain warm water pick that up with zero residue. Save the recipes for the days you need them.
5. Spray Bottle vs. Bucket: The Full Method
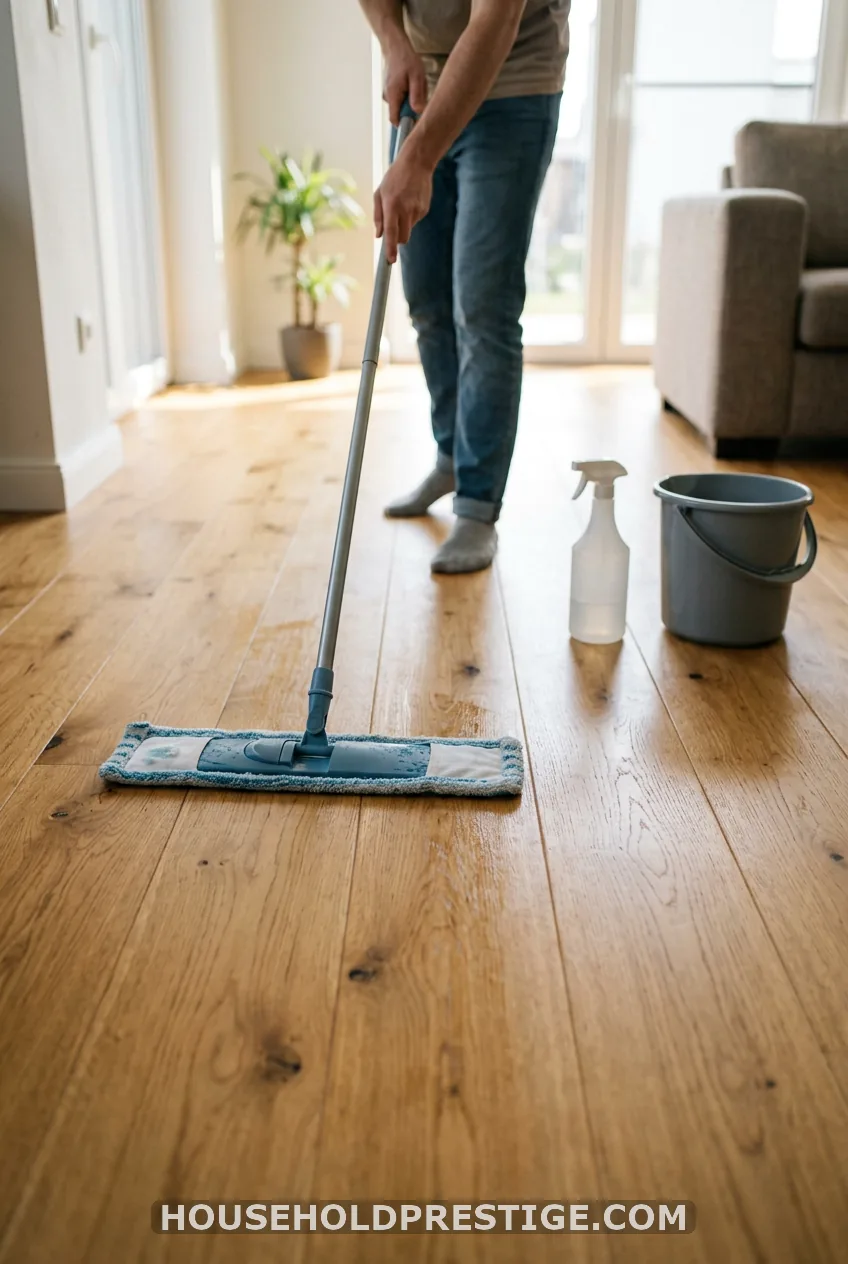
I used a bucket for years and sprayed for years after that. Each works. Here is how to pick, and how to use either one well.
Spray bottle: Best for daily and weekly cleaning and for rooms under 200 square feet. You control exactly how much liquid hits the floor. This is my default.
Bucket: Best for a big open floor plan. Use a flat microfiber mop, not a string mop. A string mop holds too much water.
Here is the bucket method, step by step:
- Sweep or vacuum the whole floor with a soft-bristle attachment.
- Mix 1/2 cup vinegar into 1 gallon of warm water (not hot).
- Dunk the mop pad, then wring it until no drops fall when you squeeze.
- Mop in the direction of the wood grain, in long, straight strokes.
- Rinse and wring the pad every 100 square feet or so.
- Open a window or run a fan so the floor dries in under a minute or two.
Common mistake: Wringing “mostly” dry. If you see a wet trail behind the mop, wring more. The floor should look slightly damp and dry within about 60 seconds.
Pro tip:
Two pads cut the work. Wash one while you mop with the other.
Polishes for Shine and Conditioning
6. Olive Oil and Vinegar Polish
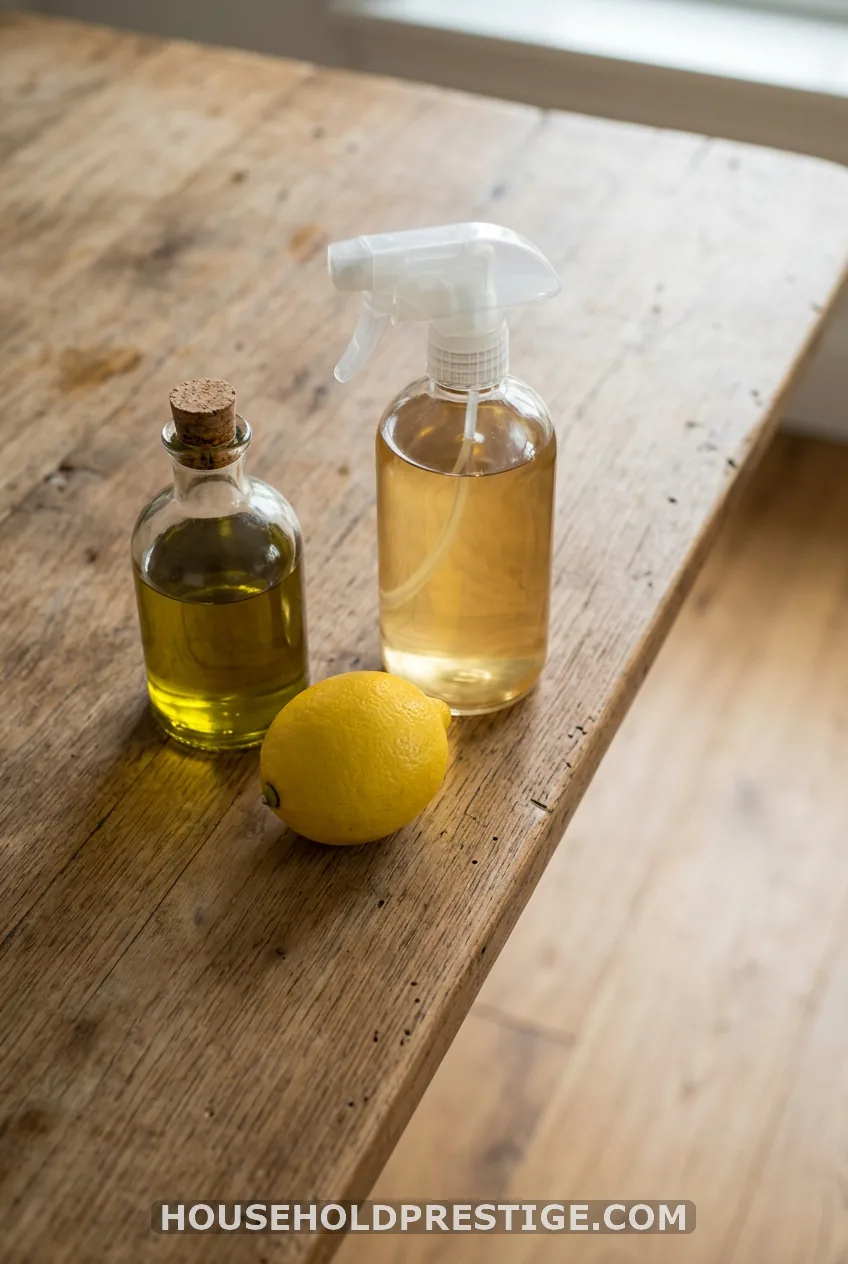
This is the popular shine formula. In a spray bottle, combine:
- 2 cups hot water
- 1/4 cup distilled white vinegar
- 1/4 cup olive oil
- 2 tablespoons lemon juice
- 5 drops essential oil (lemon or lavender)
Shake hard before every use. A little goes a long way. Spritz lightly, then buff with a dry microfiber cloth.
Too much oil leaves a slippery, dust-attracting film. Skip this recipe on waxed floors, and test it first on matte or oil-rubbed finishes. Use it once a month, not every week.
7. Citrus Peel Vinegar Concentrate
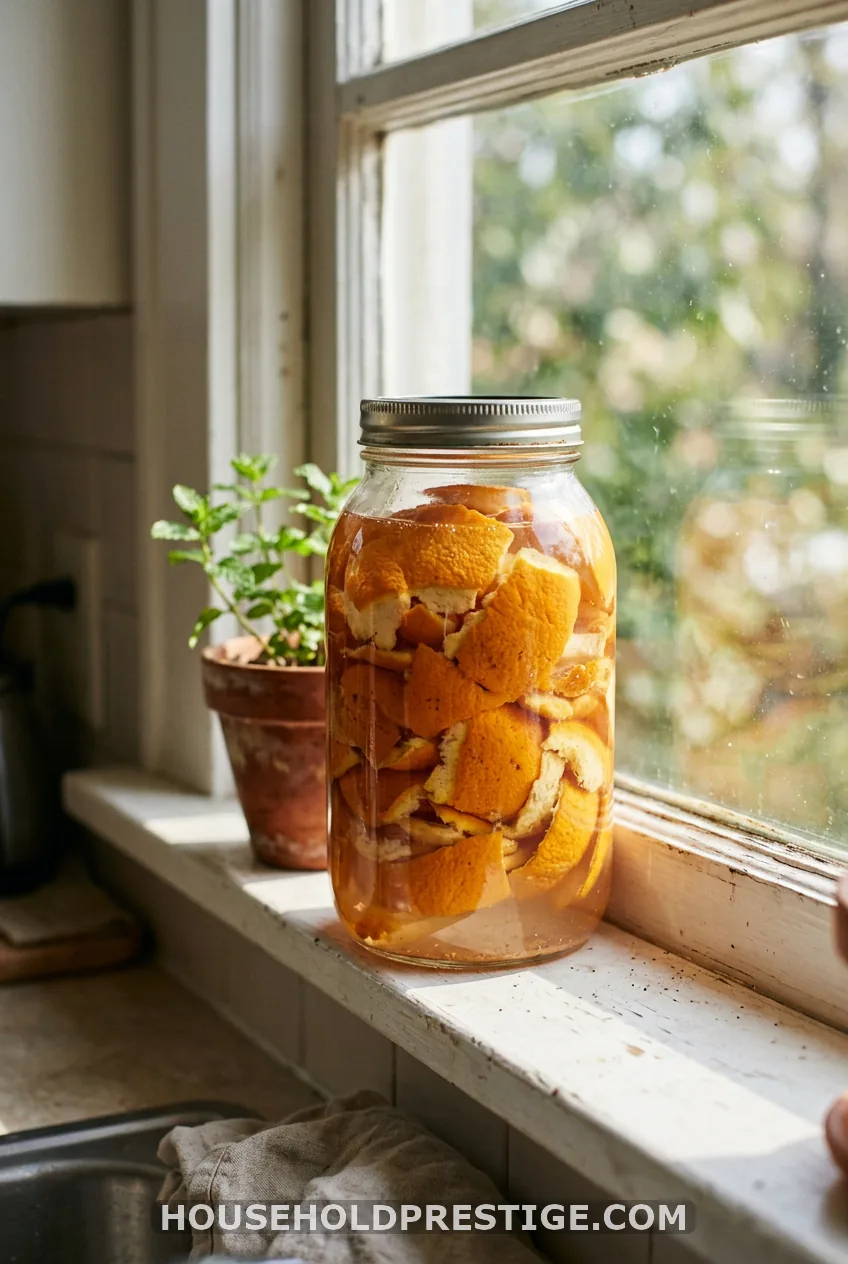
Stuff a quart jar with orange or lemon peels. Cover with distilled white vinegar and let it sit for 2 weeks. Strain.
Dilute 1/4 cup of the concentrate into a 32-ounce bottle of warm water. Your floors get a fresh citrus smell with no oils. Keep the jar in the fridge.
8. Black Tea Rinse for Dark Floors
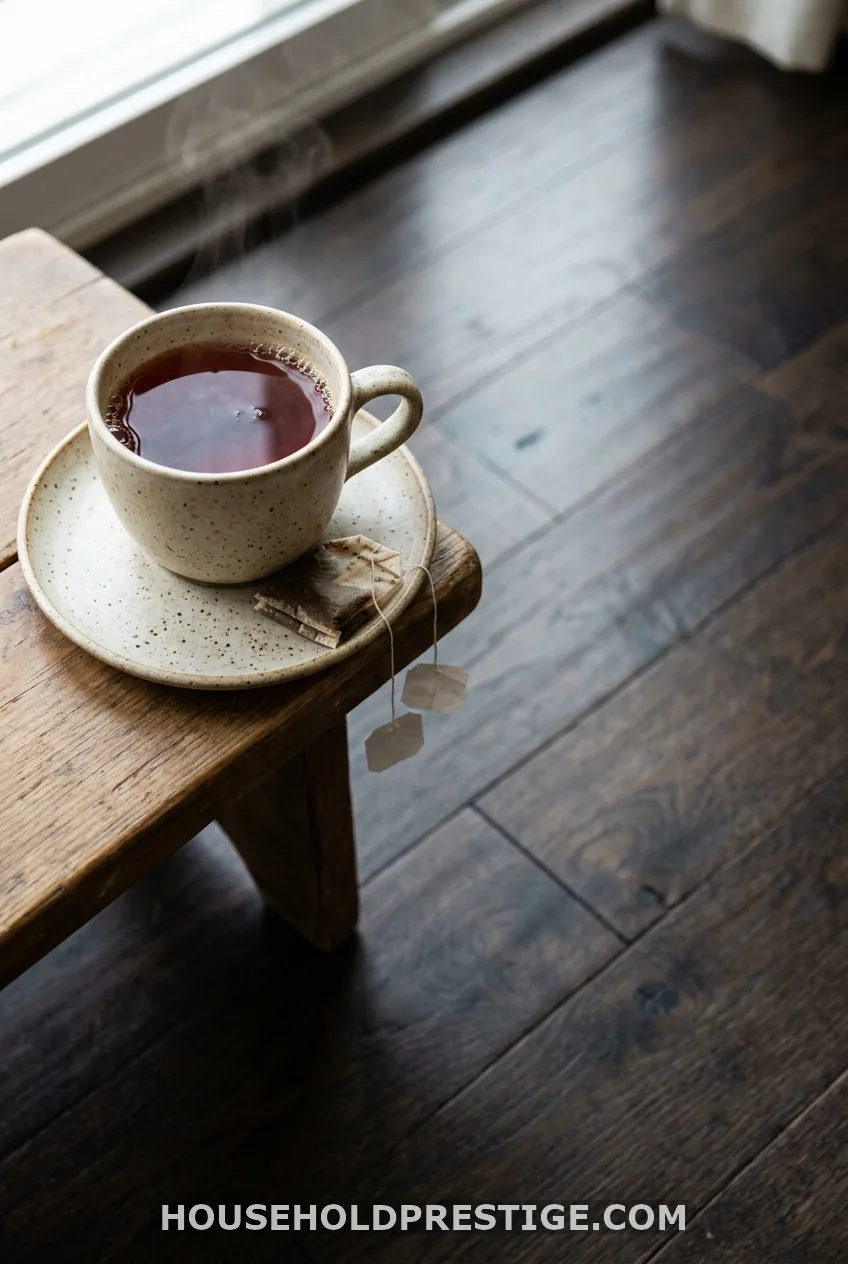
Steep 2 black tea bags in 2 cups of boiling water for 10 minutes. Let it cool completely. Pour into a spray bottle with 2 more cups of cool water.
The tannins can deepen the look of dark floors and hide dull patches. Do not use this on light oak or maple, because tea can tint them. Test first, and wring your cloth until it barely feels damp.
9. The Day I Over-Oiled My Floors
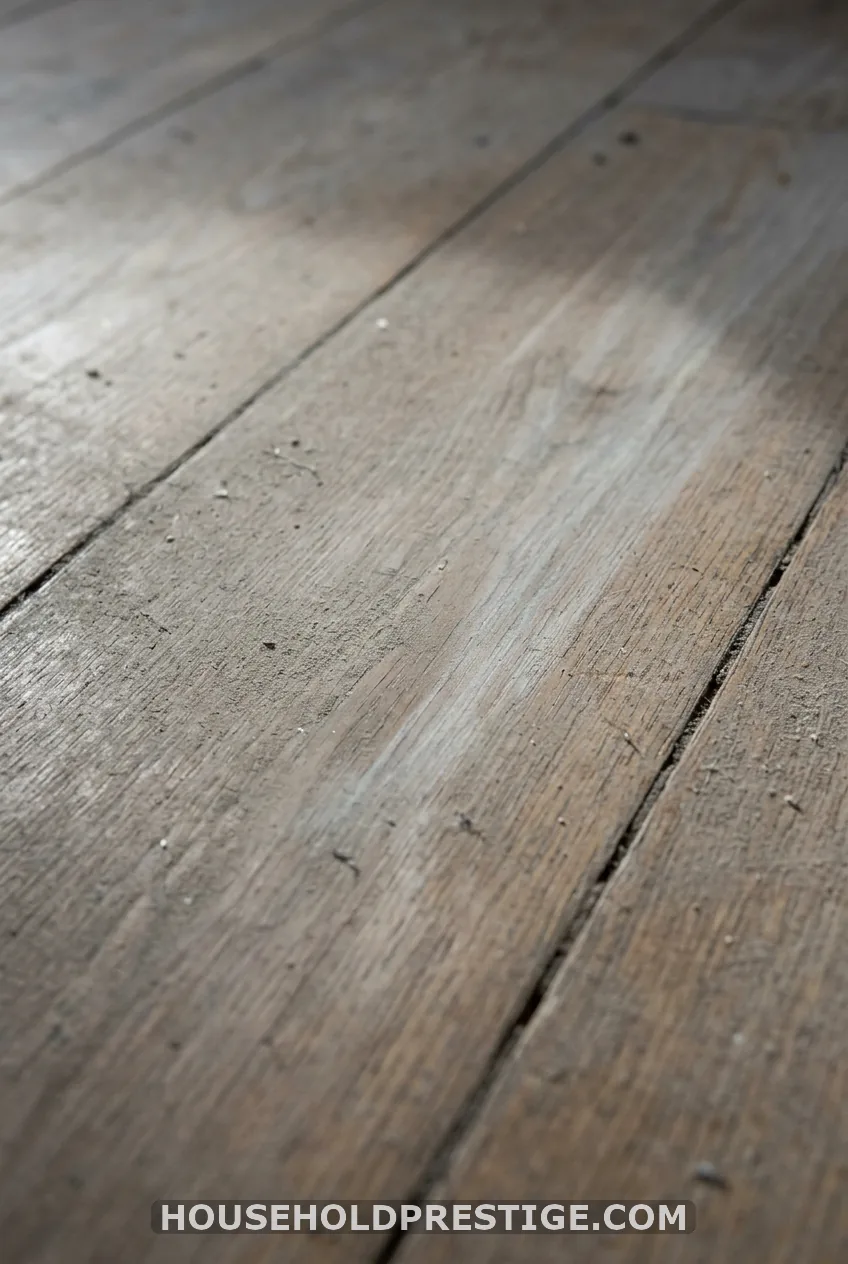
I’ll admit it. After I made my first olive oil polish, I figured more oil meant more shine. I doubled it.
The floor looked glossy for about a day. Then the dust arrived. Every footprint showed, socks slid across the hall, and the film grabbed pet hair like glue. I spent a Saturday stripping it off with plain vinegar-water.
The lesson: follow the ratio exactly. If a floor looks hazy, clean with recipe 1 twice and stop polishing for a few months.
10. Dry Buffing for Streak-Free Shine
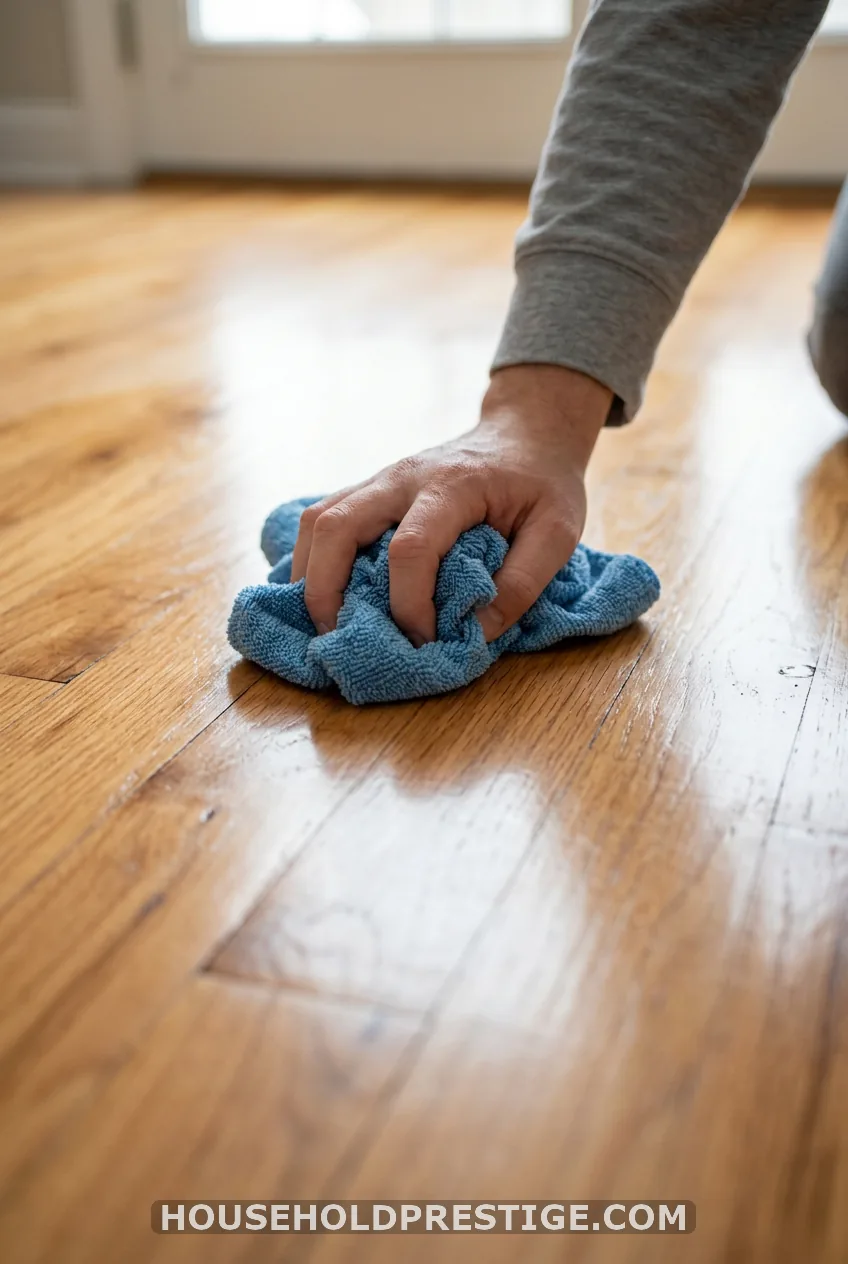
After any wet cleaning, follow with a dry microfiber pass. It lifts the last moisture and removes streaks. Takes two minutes in a hallway.
Heavy-Traffic and Sticky Messes
11. The High-Traffic Deep Cleaner
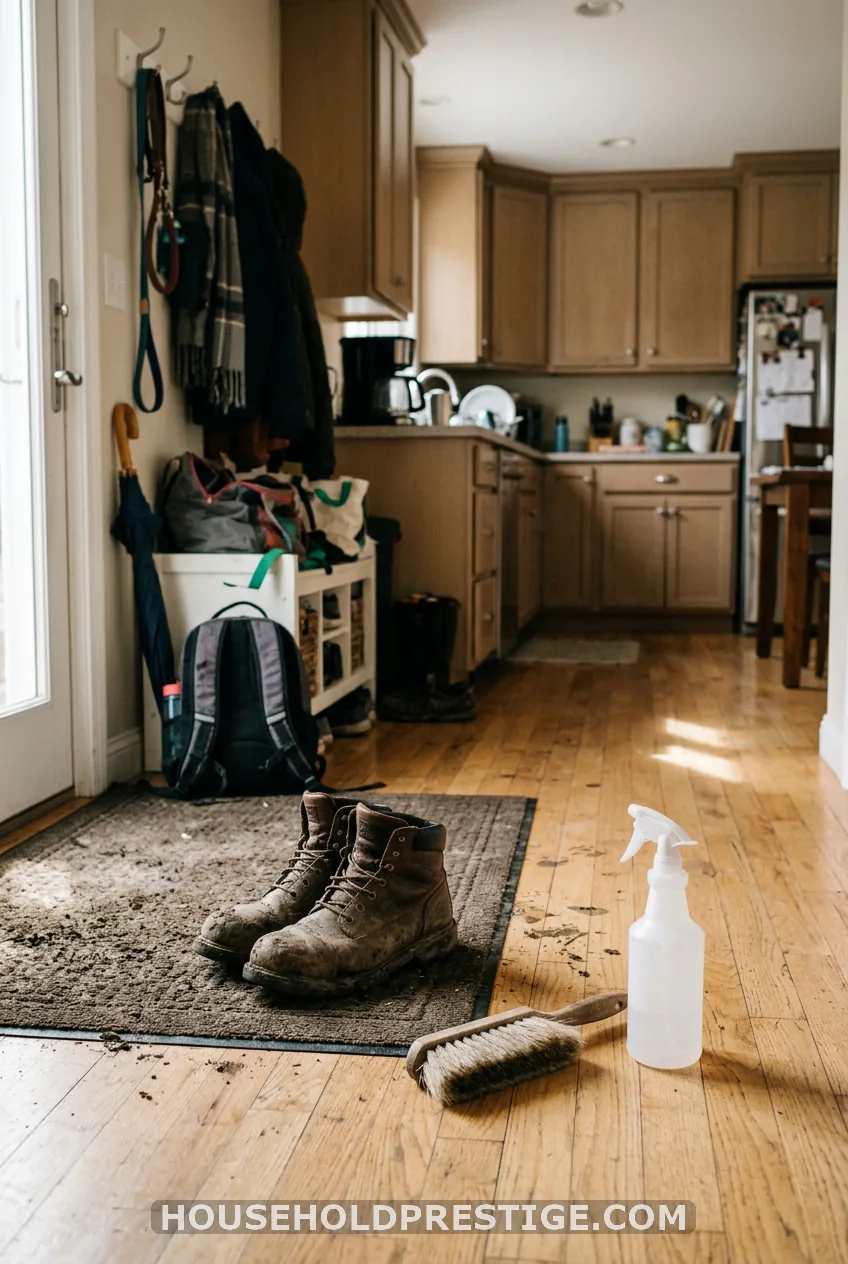
For kitchens and entryways, build on recipe 1. In a 32-ounce bottle, combine 1/4 cup vinegar, 1/2 teaspoon mild dish soap and warm water to fill. Swirl, don’t shake.
Spray a section. For stubborn spots, scrub gently with a soft-bristle brush, then wipe the area clean with a damp cloth. Dry it right away. Standing water is what dulls the finish and warps planks.
Don’t use castile soap in this one. Castile and vinegar don’t mix. The acid breaks the soap down into a white, greasy scum.
12. Baking Soda Paste for Scuffs
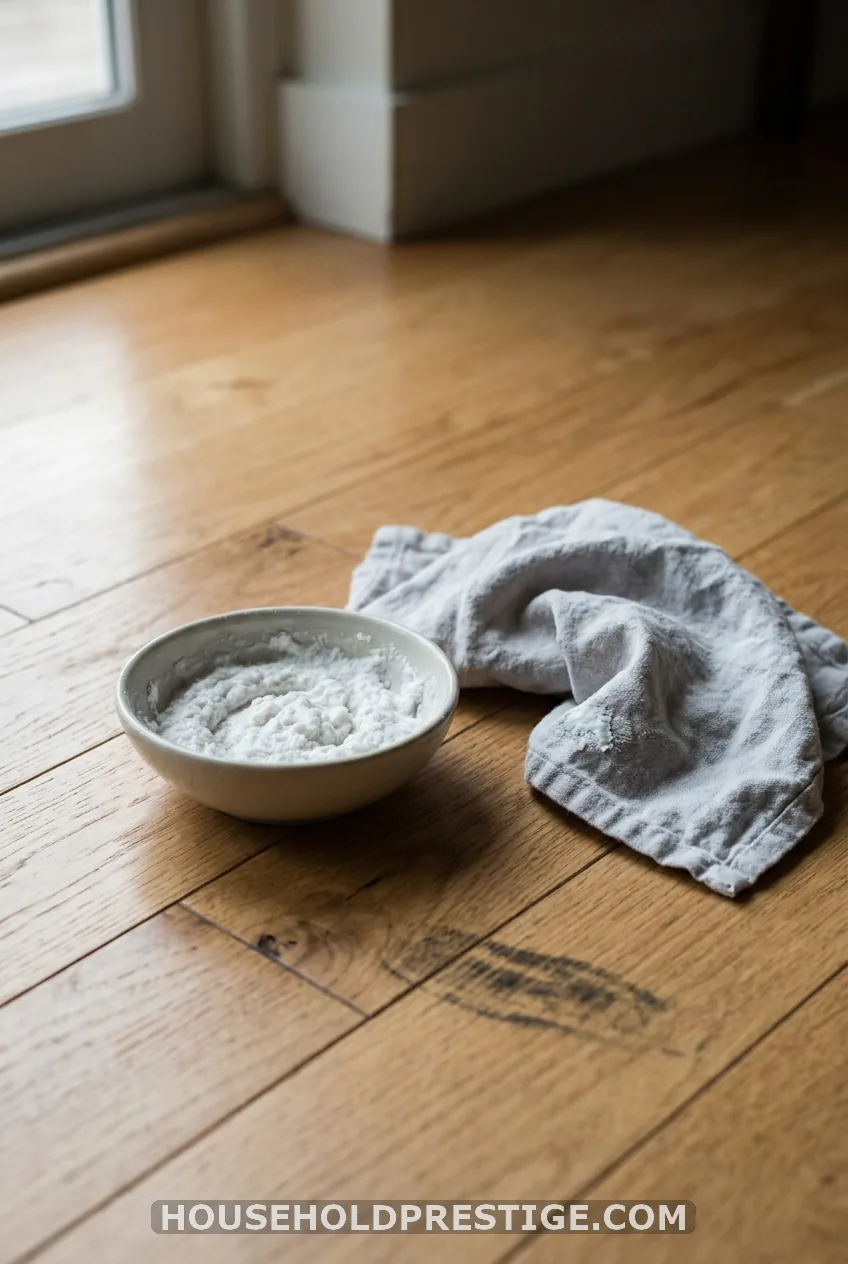
Mix 1 tablespoon of baking soda with 1 teaspoon of water until it forms a loose paste. Rub it onto the scuff with a soft cloth in small circles. Wipe clean with a damp cloth, then dry.
Use this as a spot treatment only. Baking soda is mildly abrasive, so keep it off glossy finishes except for a tiny spot. Never put it in the same bottle as vinegar. They just fizz and cancel out.
13. The Warm Compress for Stuck-On Food
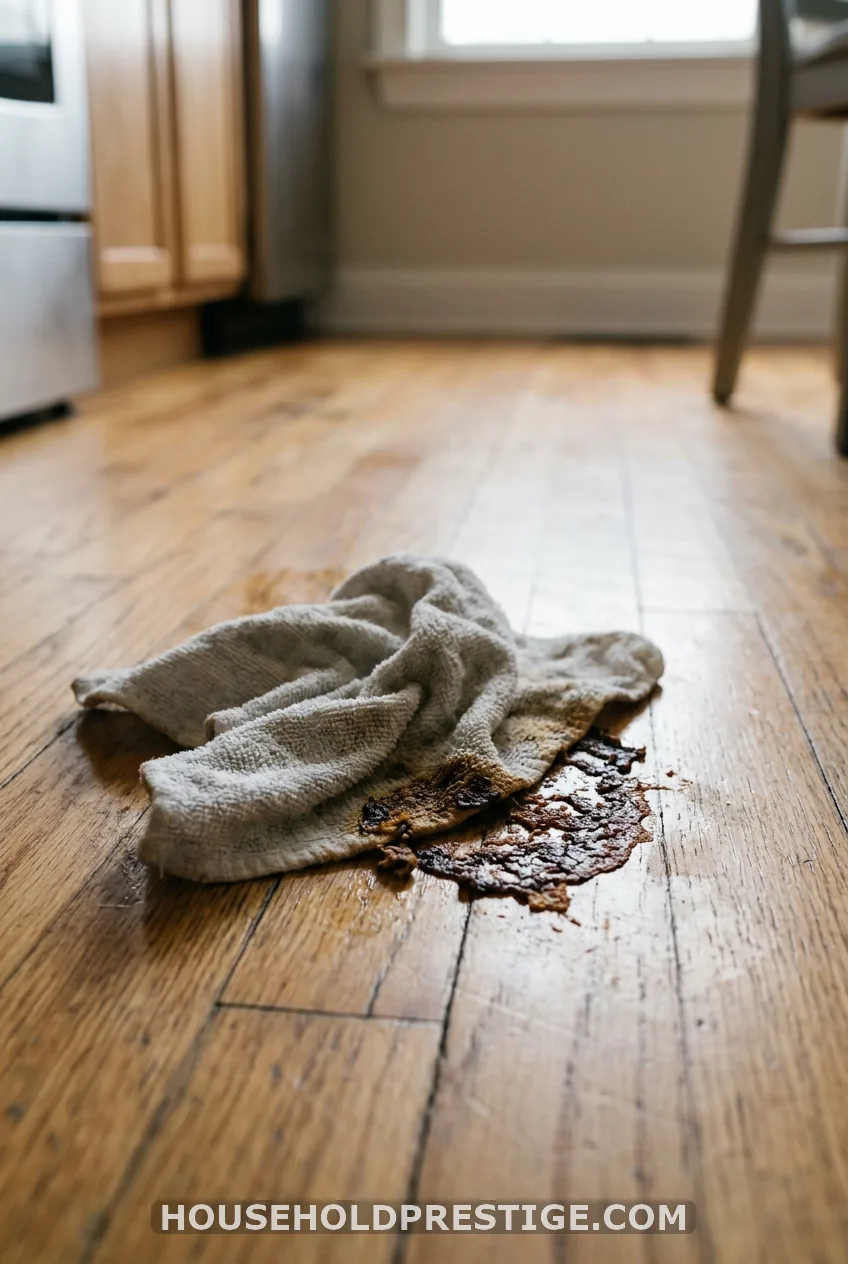
Dried jam, syrup and cereal need patience, not scraping. Lay a warm, damp cloth over the spot for two minutes. The mess softens. Wipe it up, then dry.
14. Grease-Cutting Kitchen Formula
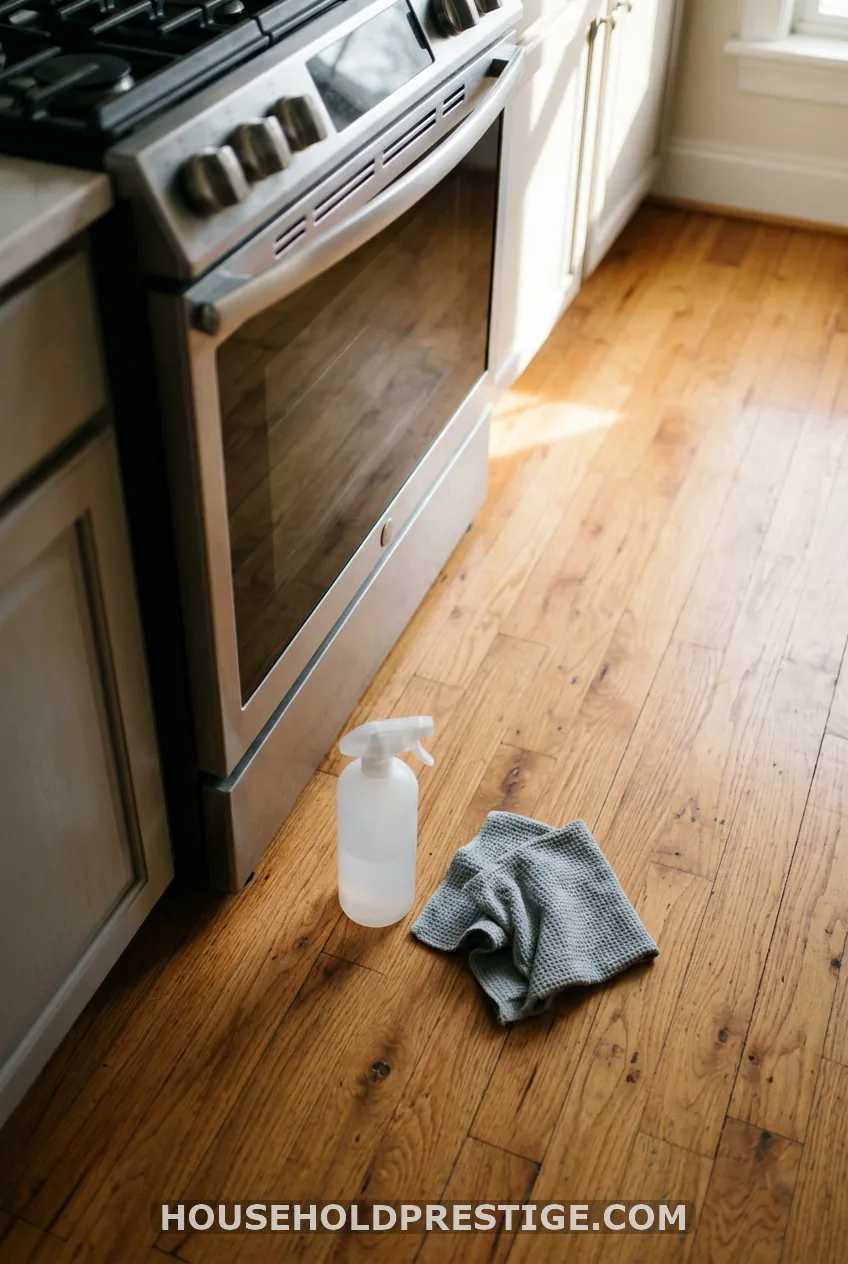
Cooking oil drifts onto the floor in front of the stove. Use recipe 11, but wipe that zone twice: once with the cleaner, once with a cloth dampened in plain warm water to pick up the leftover soap.
Do this once a week. Between times, a dry cloth catches fresh splatter.
15. Heel Marks and Rubber Scuffs
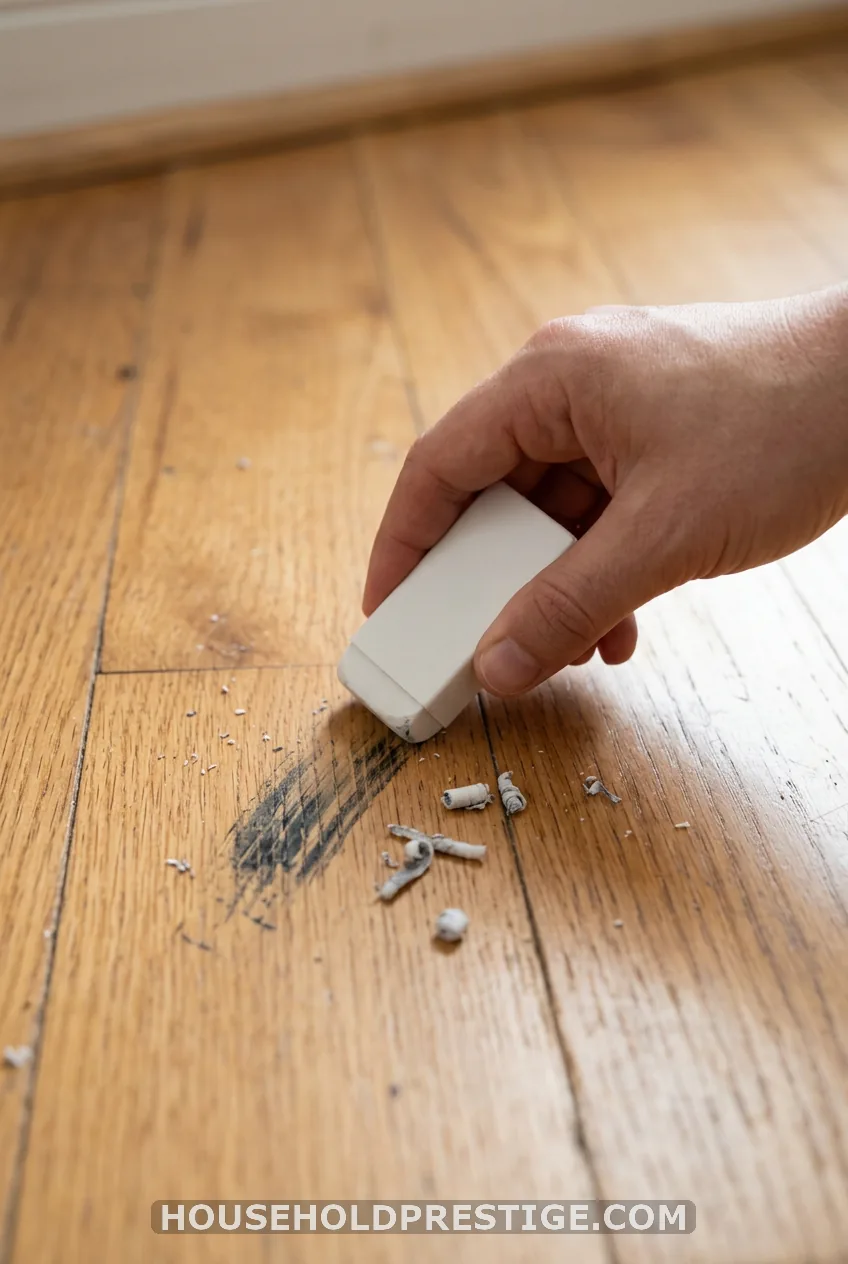
A clean white art eraser lifts black rubber marks with no liquid at all. Rub lightly, then wipe the crumbs away. A tennis ball pushed on a broom handle works for big marks.
Pet-Safe and Kid-Safe Formulas
16. The Vinegar-Only Pet-Safe Cleaner
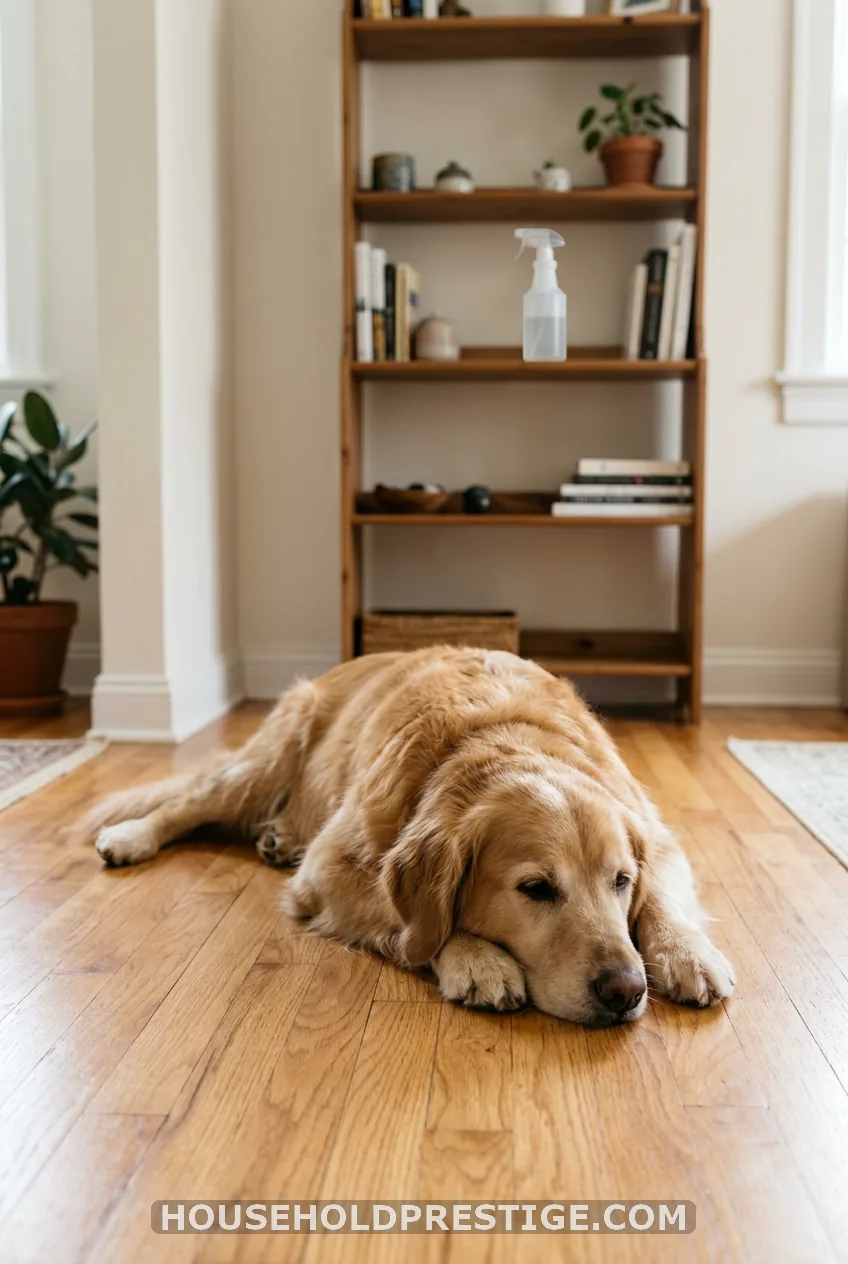
Use recipe 1 with no essential oils. That is the whole recipe. Skip tea tree, eucalyptus, citrus, pine and peppermint oils, which can harm cats and dogs. Cats are especially at risk because their livers process oils slowly.
Keep pets and kids off the floor until it is fully dry. Store the bottle on a high shelf.
17. Unscented Castile Cleaner
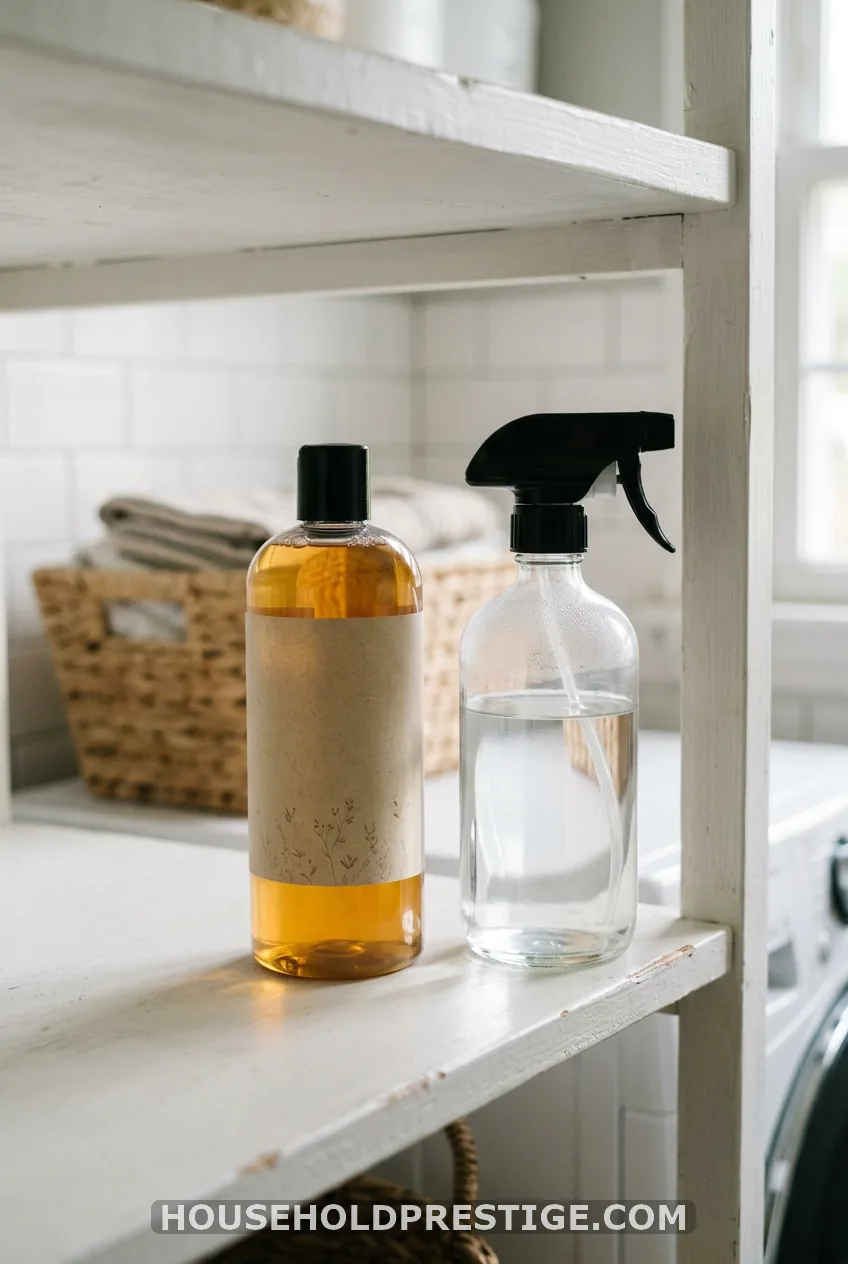
Castile soap, like Dr. Bronner’s unscented baby formula, is a milder choice for newer or satin finishes. Mix 1/2 teaspoon into a 32-ounce bottle filled with warm water. Do not add vinegar.
Spray, wipe, then follow with a clean damp cloth. Buff dry. Too much soap leaves a film, so measure it.
18. Enzyme Spot Treatment for Accidents
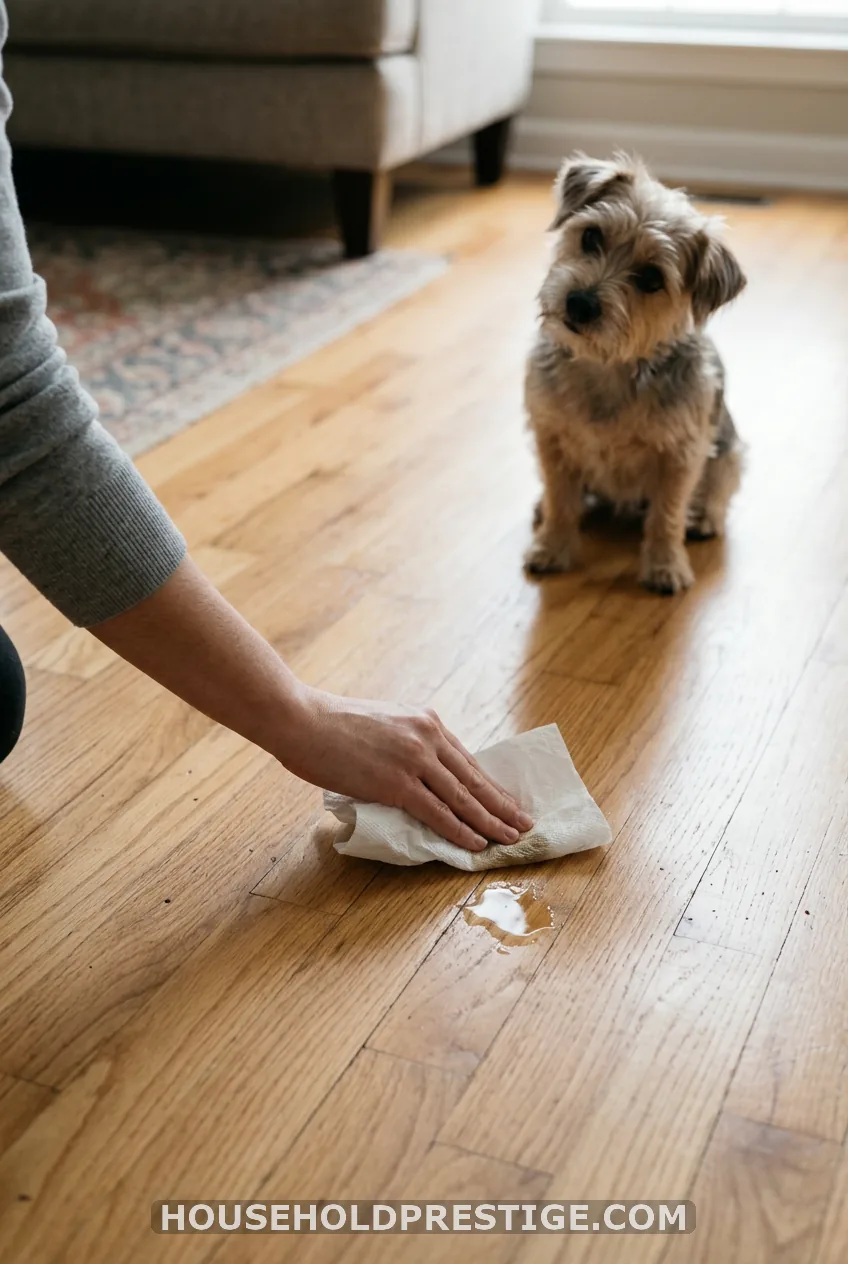
Vinegar covers a smell. An enzyme cleaner breaks down the cause. For pet accidents, blot (never rub), spray the spot with a pet enzyme cleaner and follow the label’s wait time. Then dry the area fully.
Moisture that lingers under the finish leaves dark stains and a smell that comes back. Don’t skip the drying step. This is the one place I buy a product instead of making it.
19. The Paw-Wipe Station
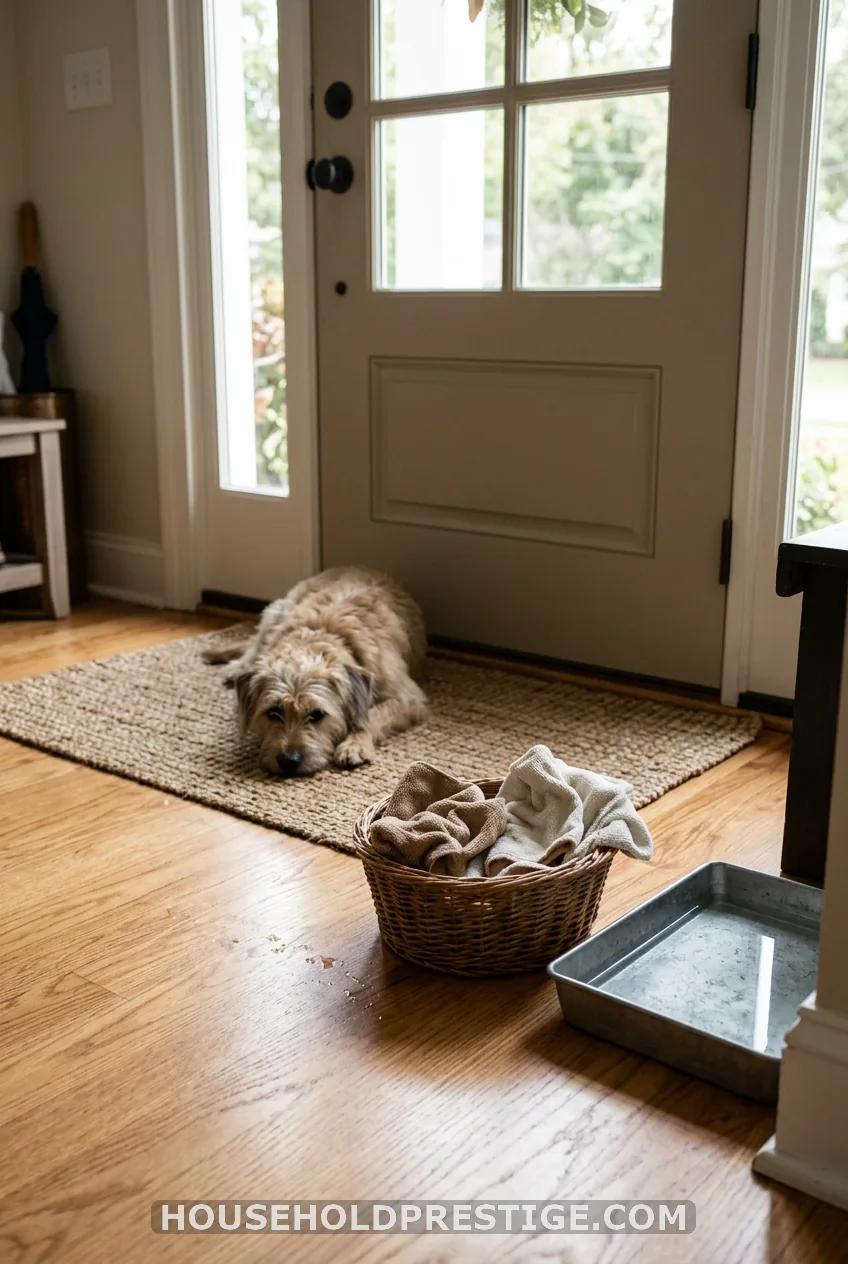
Keep dirt off the floor and you clean less. Set a basket of rags and a shallow dish of warm water by the door. Wipe paws and boots before anyone steps on wood.
Spray-Mop Formulas and Tools
20. Refill Formula for Swiffer-Style Spray Mops
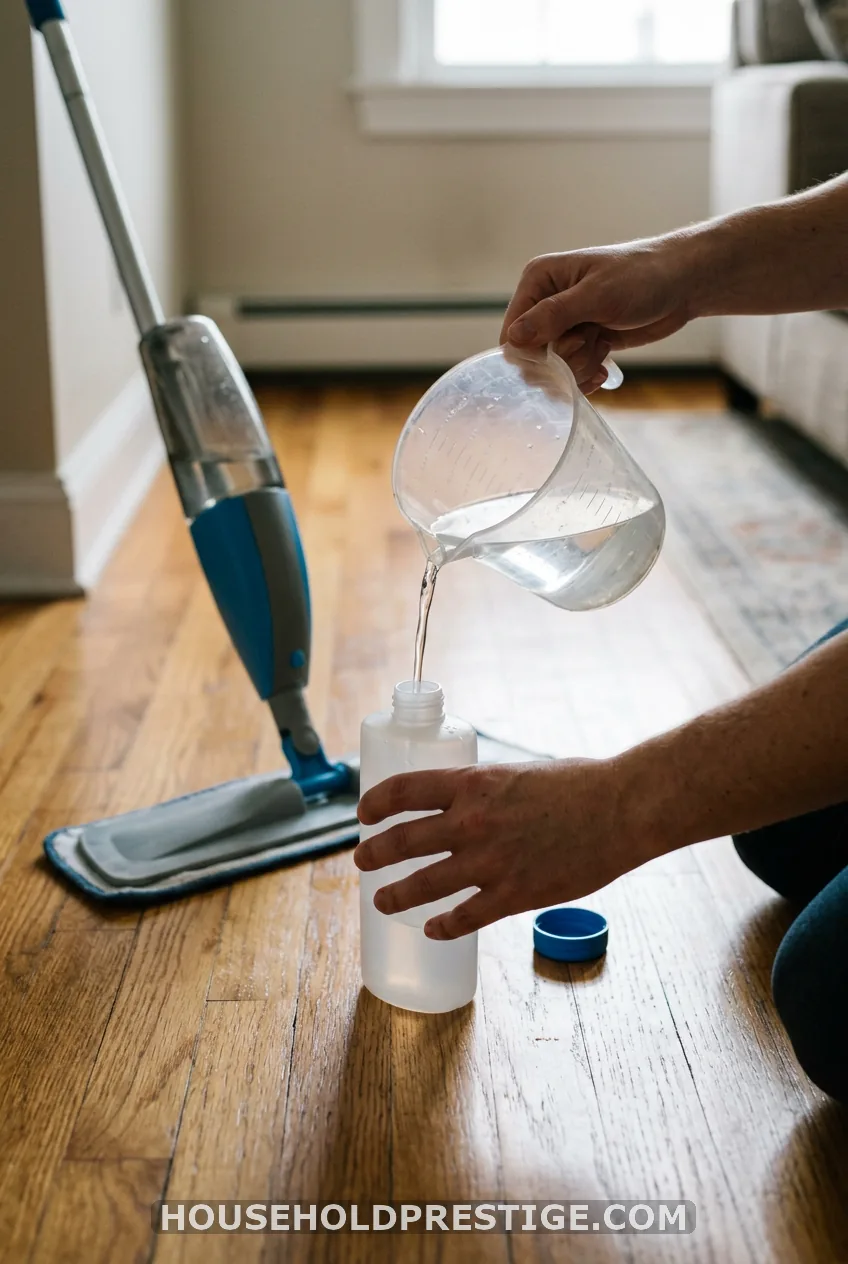
Spray mops need a thinner mix, because the nozzle can clog. Fill the reservoir with 2 cups warm water, 1/4 cup distilled white vinegar and one drop of dish soap. Check your mop’s manual first, since some brands void the warranty if you use third-party solutions.
Shake gently and refill when it’s low. Rinse the reservoir monthly to keep the nozzle clear.
21. Reusable Microfiber Pads
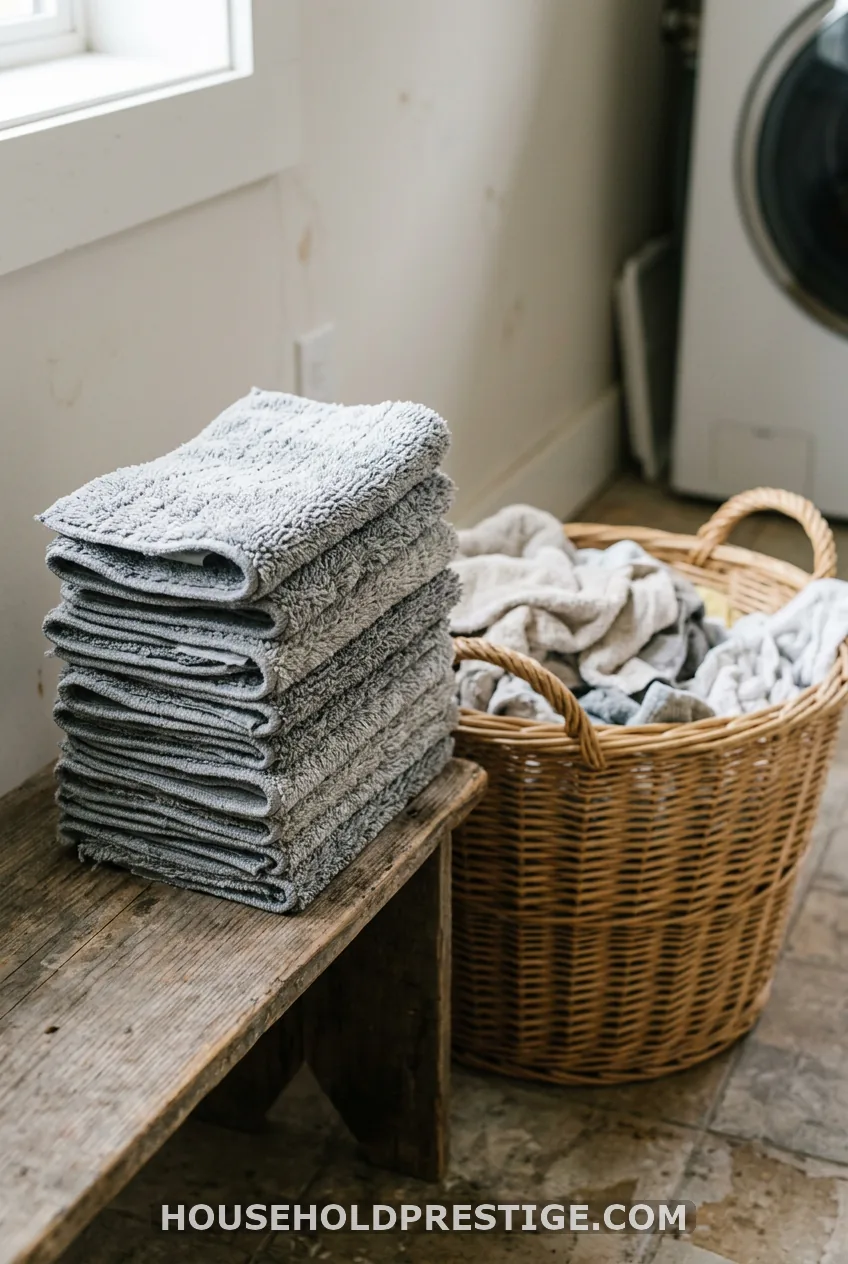
Buy a set of 4 to 6 washable pads for about $10 to $15. Machine wash them with no fabric softener, which clogs the fibers. Air dry or tumble low.
They replace months of disposable pads.
22. Follow the Grain, Swap the Pad
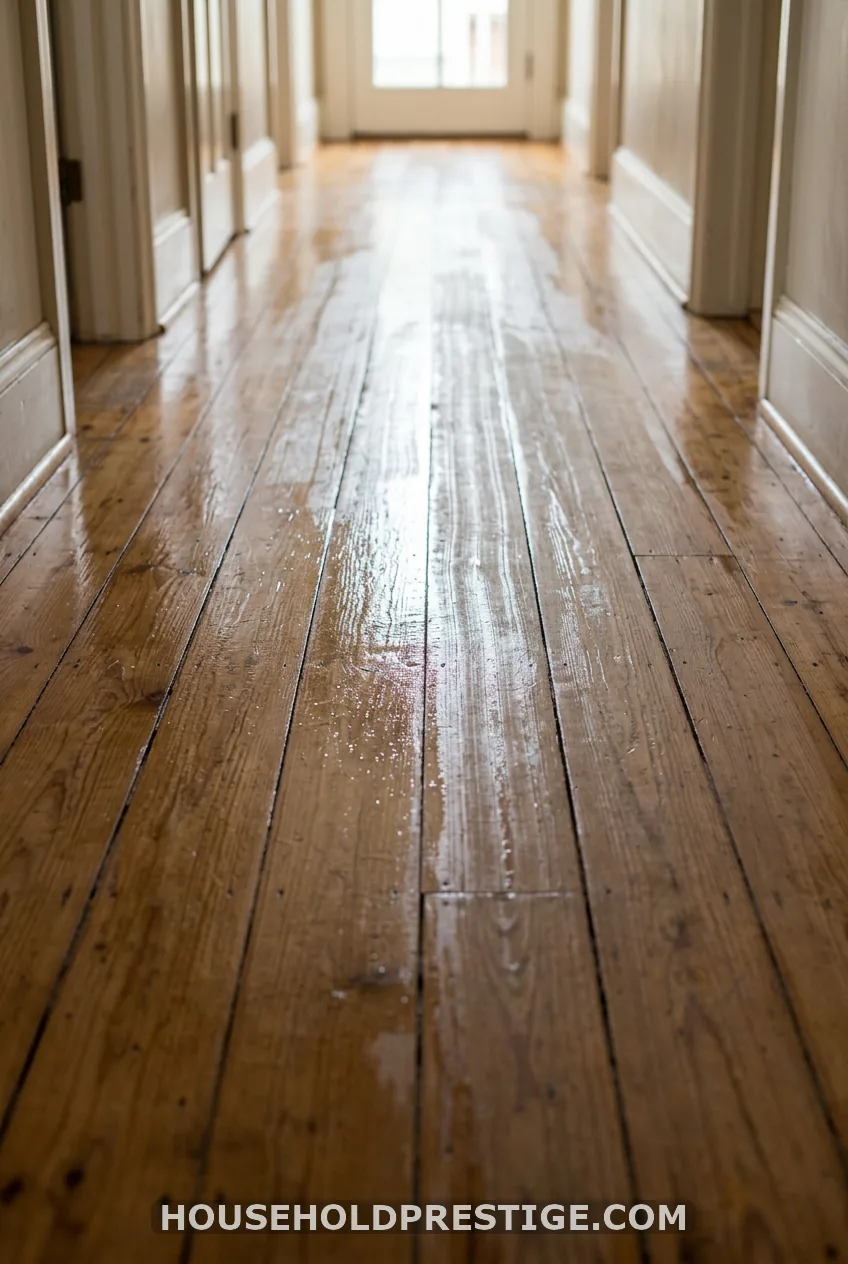
Mop with the grain, in the direction the planks run. It slides along the seams and keeps water from pooling in them.
Swap to a fresh pad halfway through a big room. A dirty pad just spreads grime.
Gentle Options for Delicate Finishes
23. Plain Seltzer Water
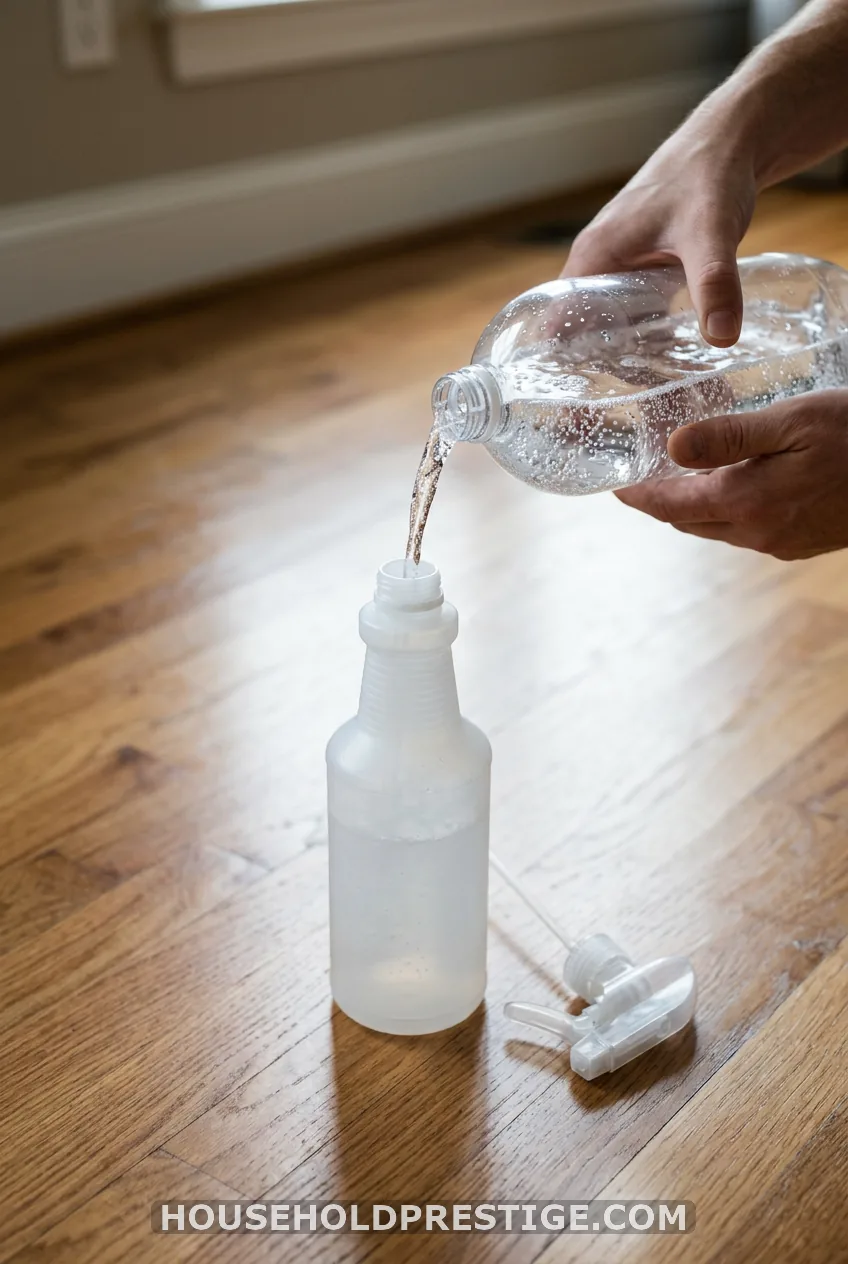
Fill a spray bottle with plain, unflavored seltzer. Spritz, wipe with a microfiber cloth, done. It lifts light grime and leaves zero residue.
24. Seltzer and a Drop of Dish Soap
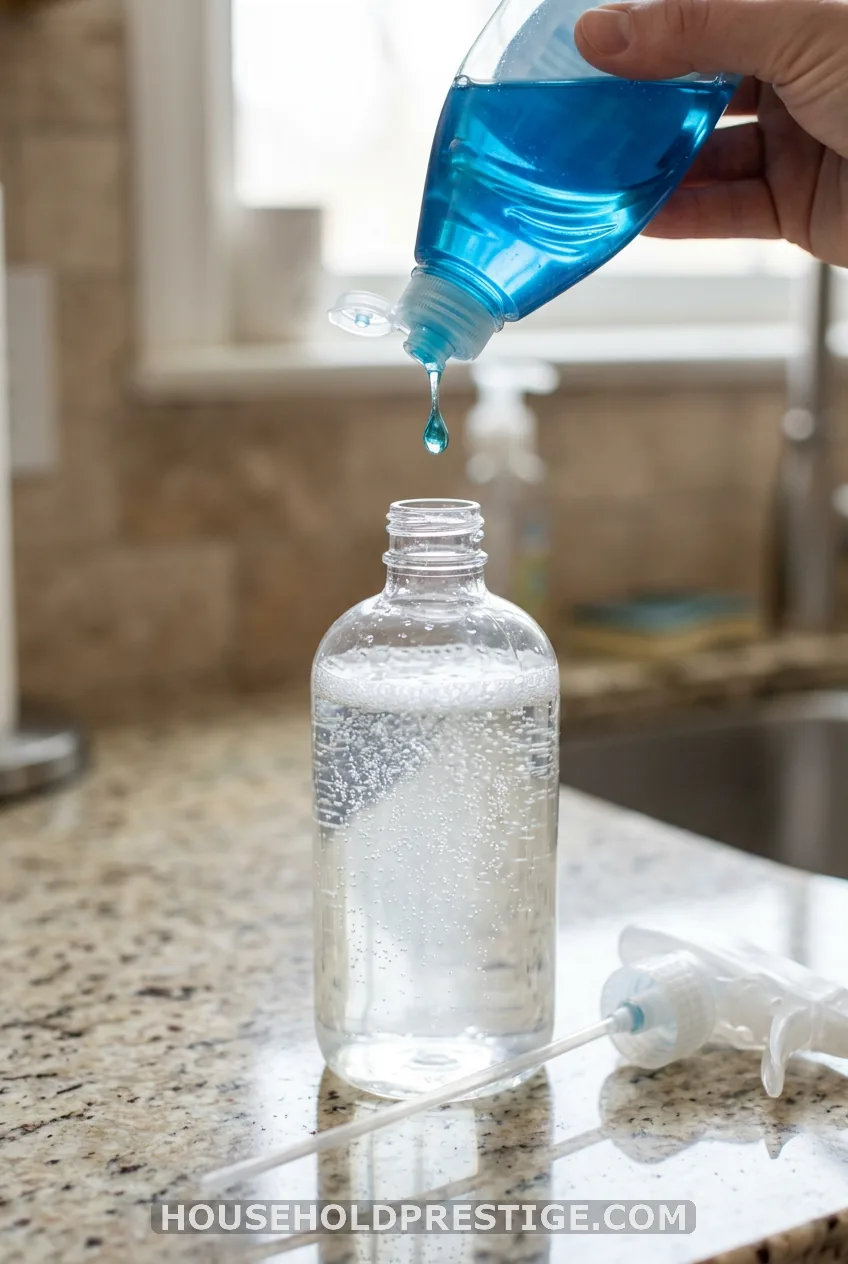
For a greasy film, add 2 drops of mild dish soap to 32 ounces of plain seltzer. Don’t shake, or it foams over. Wipe and buff dry.
I reach for this on newer floors and after a big family dinner.
25. The Weekly Routine That Keeps It All Working
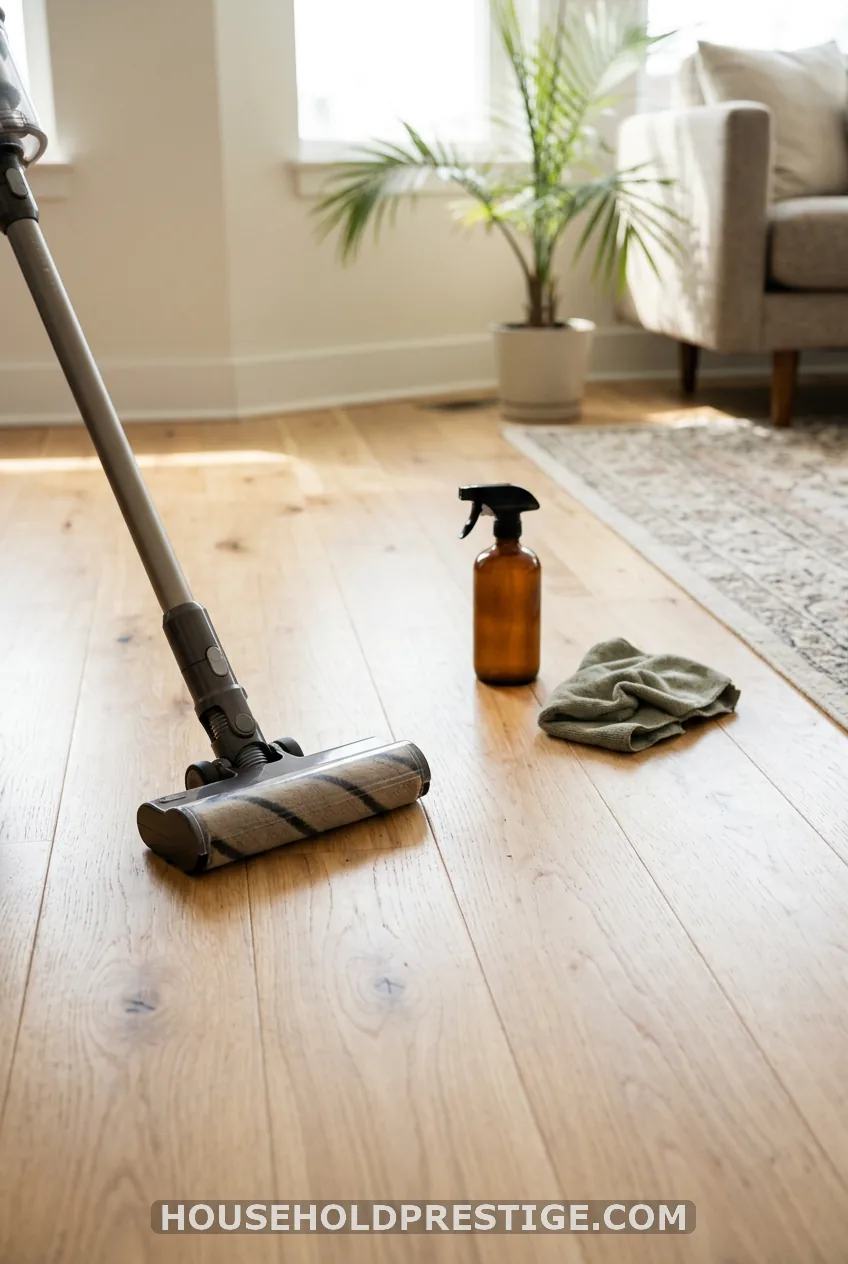
The best cleaner is a good routine. Here is mine:
- Daily: Sweep or dust-mop the high-traffic zones. Wipe spills within a few minutes.
- Weekly: Vacuum with a hard-floor setting, then use recipe 1 or recipe 23.
- Monthly: Use recipe 6 on floors that look dull, or recipe 11 in the kitchen.
- Always: Use felt pads under furniture and keep a mat at every door.
Spills are the real enemy. Water left sitting even an hour can mark a floor.
What NOT to Put in Your DIY Wood Floor Cleaner
Some things don’t belong anywhere near finished hardwood:
- Ammonia and bleach. Both dull and damage the finish.
- Abrasive powders. Scouring powder scratches.
- Soaking or steam mops. Steam forces moisture into seams and can cloud or lift the finish.
- Too much oil. Excess oil builds up and attracts dust, as I learned the hard way.
- Vinegar and castile soap together. They react and leave a scummy film.
- Baking soda and vinegar in one bottle. They cancel each other out.
Also, vinegar can damage marble and unsealed stone, so keep splashes off those.
How to Store, Label and Rotate Your Cleaners
Mix small batches. Vinegar water can grow bacteria when it sits for weeks, and mixes with oil or soap separate and go off. Make a bottle, use it within about two weeks and mix a fresh one.
Use glass bottles or sturdy spray bottles, and label each with the recipe name and the date. Store them out of sunlight and out of reach of kids and pets, especially anything with essential oils. Shake before every use, even recipes that look clear.
Which Recipe Should You Use? Quick Match Chart
| Your problem | Use recipe |
|---|---|
| Daily dust and footprints | 1, 4 or 23 |
| Greasy kitchen film | 11, 14 or 24 |
| Dull finish | 6 (once a month) |
| Scuffs and sticky spots | 12, 13 or 15 |
| Pet accidents and odor | 16 and 18 |
| Newer or satin finish | 17 or 23 |
| Spray-mop routine | 20 |
Match the finish, too. Sealed polyurethane handles all of them. Waxed floors need paste wax care, not these sprays.
Oil-rubbed finishes need a test patch before any liquid. And if your floor is laminate, skip the olive oil.
Five pantry staples cover almost every recipe here: distilled white vinegar, olive oil, mild dish soap, baking soda and unscented castile soap. Add a few microfiber pads and a glass spray bottle and you’re set.
Final Thoughts
My floors have been streak-free since I stopped drowning them and started measuring. A cheap spray bottle, a damp microfiber pad and one of these recipes does the job.
Start with recipe 1 and a test patch in a closet. Which recipe are you going to mix first?
FAQ
Is vinegar safe for hardwood floors?
Diluted vinegar is fine on most sealed hardwood. Use 1/4 cup per 32 ounces of water, and never mop with straight vinegar. Check your floor maker’s care sheet, because a few brands advise against it.
Can I use a DIY wood floor cleaner in a spray mop?
Yes, with a thin mix. Use 2 cups warm water, 1/4 cup vinegar and one drop of dish soap. Check the mop’s manual first, because some brands void the warranty if you use third-party solutions.
What’s the best DIY wood floor cleaner for pets?
Vinegar and water with no essential oils is the safest everyday choice. Skip tea tree, citrus, pine and eucalyptus oils around cats and dogs. For accidents, blot, use an enzyme cleaner and dry the spot fully.