

Your laundry room is probably the smallest room you own. Mine sure is. It’s the size of a coat closet, and for two years, every bottle of detergent lived on top of the dryer in a wobbly little tower.
Sound familiar?
Here’s the good news. Laundry room shelf ideas don’t need a big budget or a big room. A few boards, some brackets, and a weekend afternoon can turn wasted wall space into a spot for everything you own. By the end of this list, you’ll have more than a dozen ways to do it, from a five-minute fix to a full weekend build.
Let’s get into it.
1. Float a Shelf Right Above the Machines
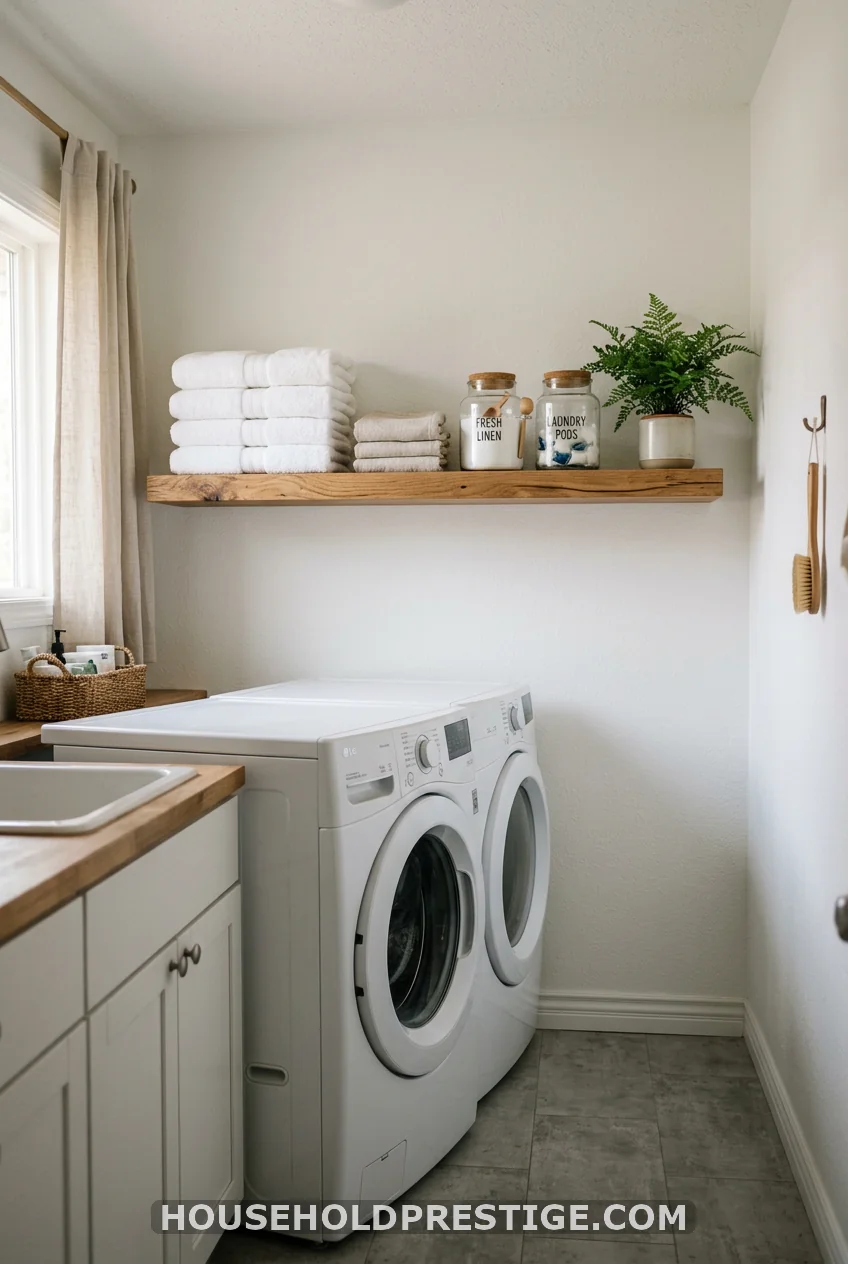
This is the fix almost every competitor blog leads with, and for good reason. It works. A single floating shelf above your washer and dryer catches every inch of air space you’re currently ignoring.
Go with a shelf that’s at least 10 inches deep. Anything shallower and your detergent bottles will hang off the edge. Mount it high enough to clear the dryer lid when it’s open. That one detail trips people up more than any other.
2. Tuck a Corner Shelf Into the Gap Nobody Uses
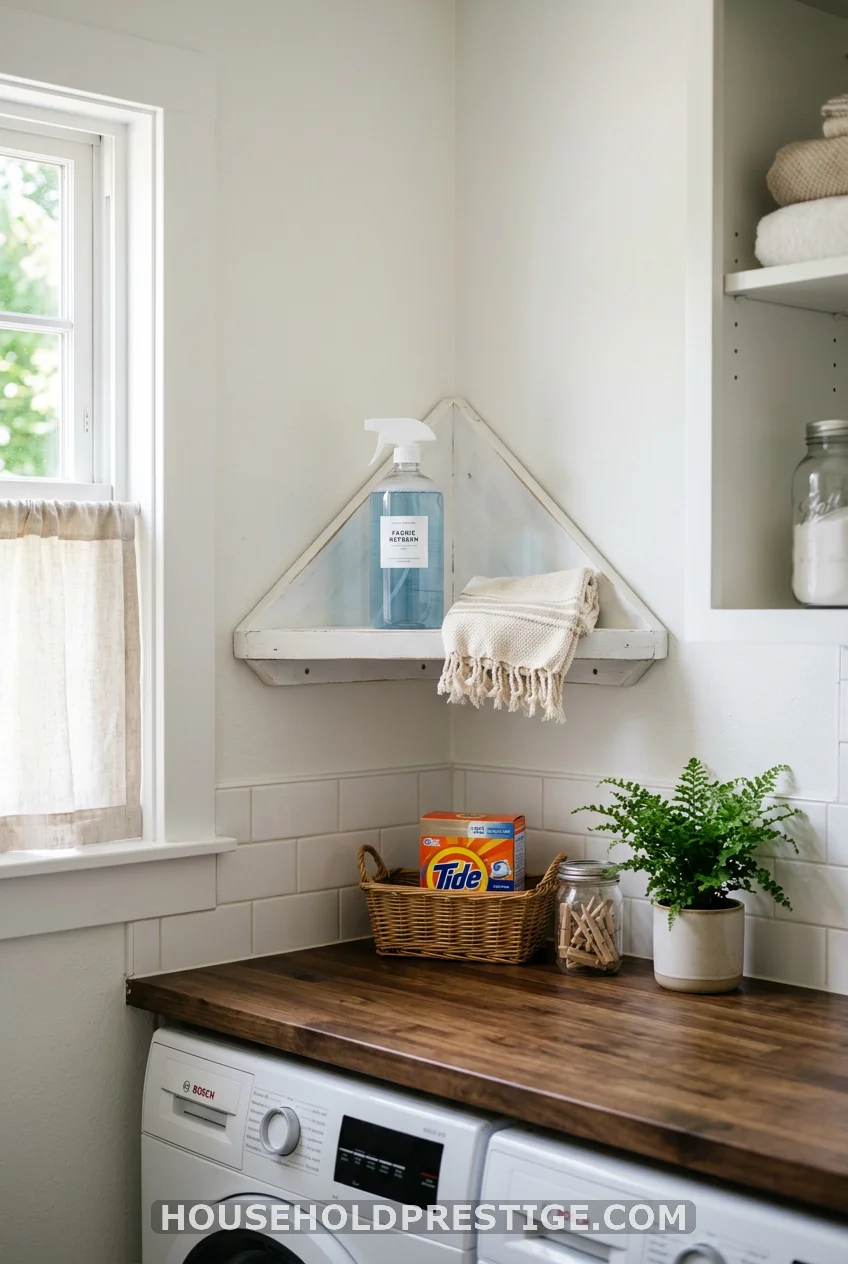
Every laundry room has a dead corner. You know the one. A corner shelf, even a tiny 8-inch triangle, gives that space a job. It’s a natural fit for a spray bottle and a rag you reach for daily.
3. Swap Wire Shelving for Solid Wood
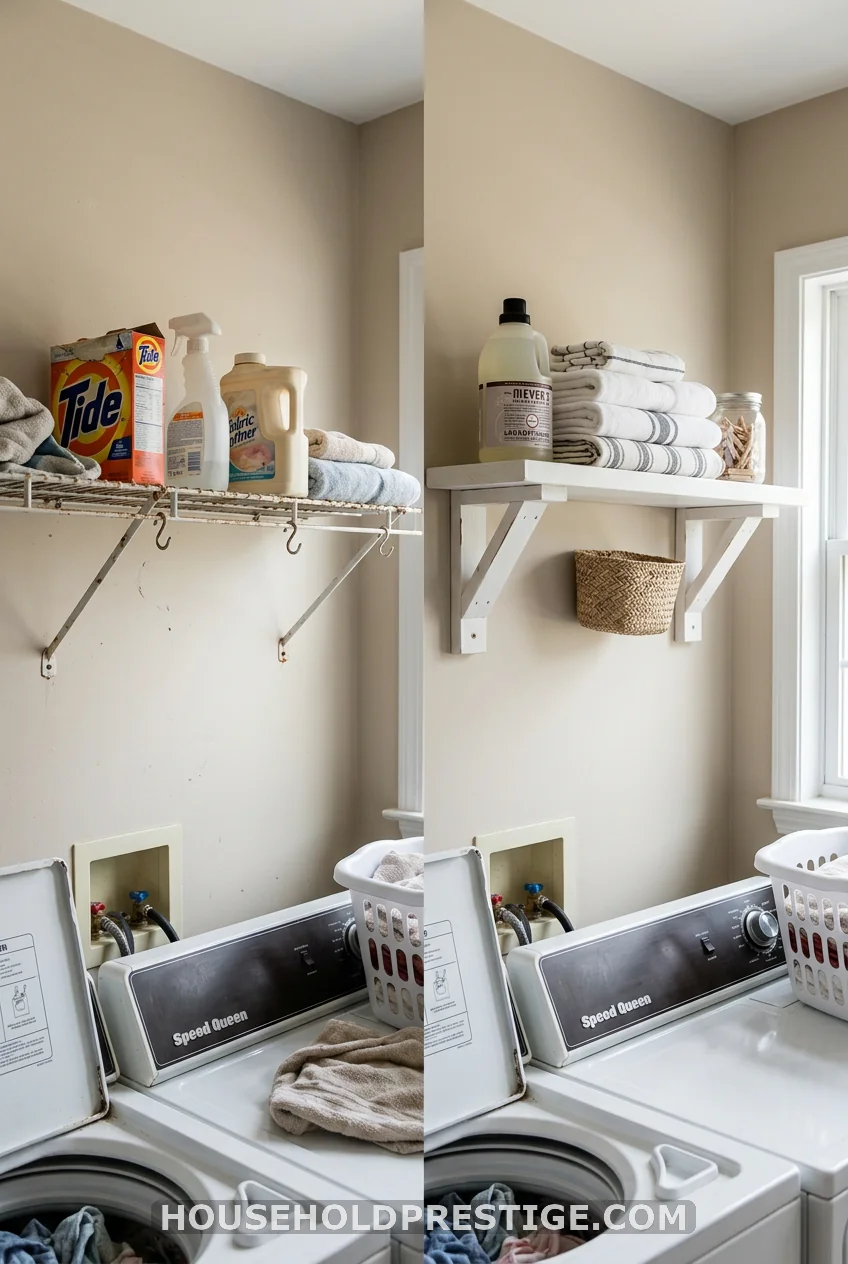
If your laundry room came with builder-grade wire shelving, you already know the problem. Small items slip through the gaps, and everything looks a little dingy no matter how tidy you keep it.
Swapping that wire rack for a solid wood or MDF plank is one of the highest-impact updates you can make, and it costs less than you’d think. A single 1×10 board, sanded and painted, will outperform a wire shelf in almost every laundry room. Bins sit flat instead of tipping. Small bottles stop toppling into the gaps. And the whole room reads as finished instead of half-built, which matters more than people admit when this is a space guests sometimes see on their way to the garage.
Why a Solid Shelf Beats Wire
Wire shelving was designed for closets, not laundry rooms. It handles hanging clothes fine. It handles a detergent jug badly, because the base doesn’t have a flat, continuous surface to rest on.
Dimensions That Work
For a shelf above a standard washer and dryer, aim for these numbers:
– Length: match your machine width, usually 54 to 60 inches for a side-by-side pair
– Depth: 10 to 12 inches, deep enough for a detergent jug without overhang
– Height above machines: 14 to 18 inches, enough to clear an open dryer lid
– Board thickness: 3/4 inch plywood or MDF, thinner will sag over a 5-foot span
Materials and Cost Breakdown
| Item | Cost Range |
|---|---|
| 3/4-inch plywood or MDF board | $25-$45 |
| Heavy-duty L-brackets (4) | $12-$20 |
| Wood filler and sandpaper | $8 |
| Paint or stain | $15-$25 |
| Wall anchors (if no studs) | $6 |
| Total | $66-$104 |
Step-by-Step Installation
- Measure the full width between side walls and cut your board to size, or have the hardware store cut it for you.
- Find your wall studs with a stud finder and mark them in pencil.
- Sand all edges and any rough spots on the face of the board.
- Prime and paint or stain, then let it cure fully before moving on. Rushing this step is the most common mistake on this whole list.
- Attach L-brackets to the studs first, spaced no more than 24 inches apart.
- Rest the board on the brackets and check it with a level before securing from underneath.
- Add a bead of wood glue between the board and each bracket for extra hold, then let it set overnight before loading it up.
Common Mistakes to Avoid
Skipping stud placement is the big one. A shelf full of gallon jugs is heavy, and drywall anchors alone will eventually fail. Also skip glossy paint if you can. Semi-gloss or satin hides brush marks far better and still wipes clean.
4. Add a Hanging Rod Under the Shelf
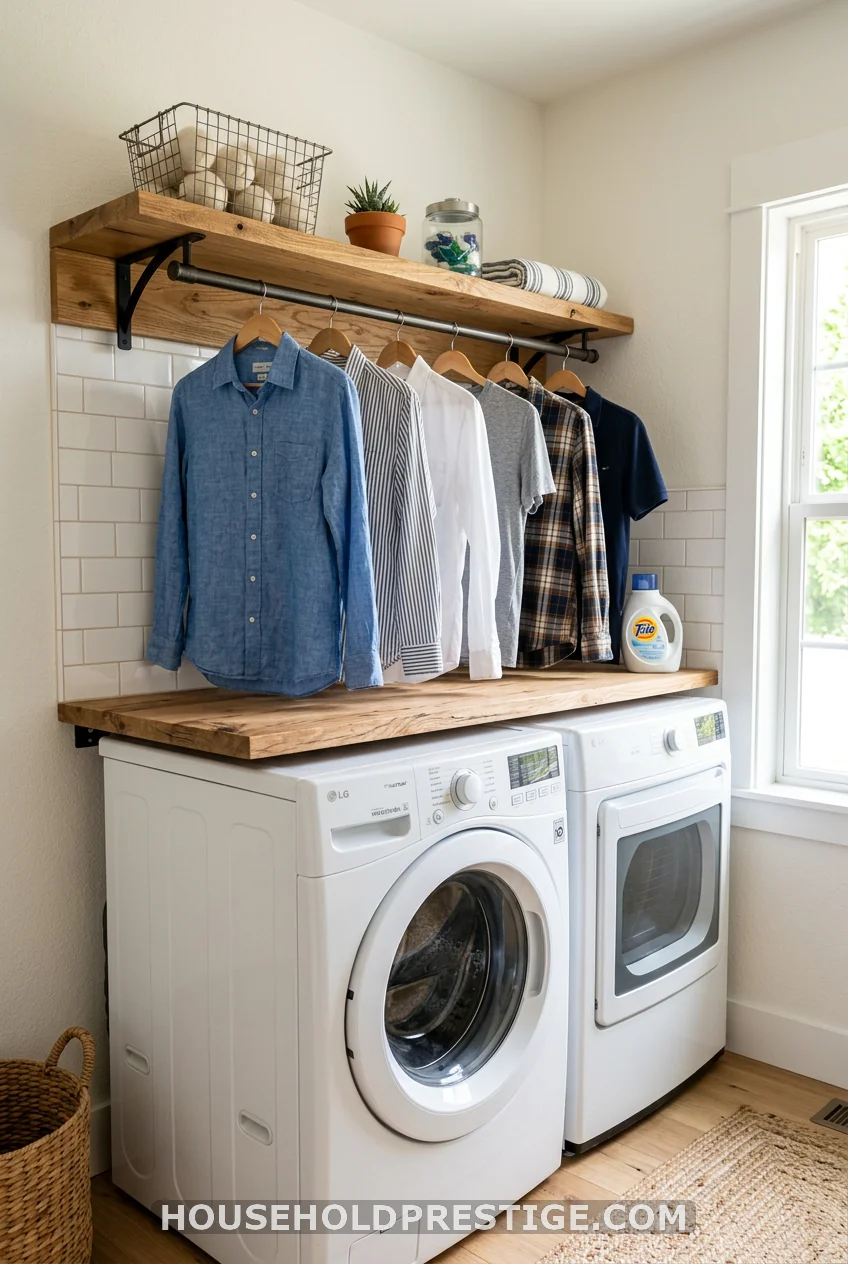
Two problems solved with one bracket set. The shelf holds supplies, and the rod underneath gives you a spot to hang shirts straight from the wash. No wrinkle-drying on a doorframe ever again.
5. Roll In a Slim Cart for the Forgotten Gap
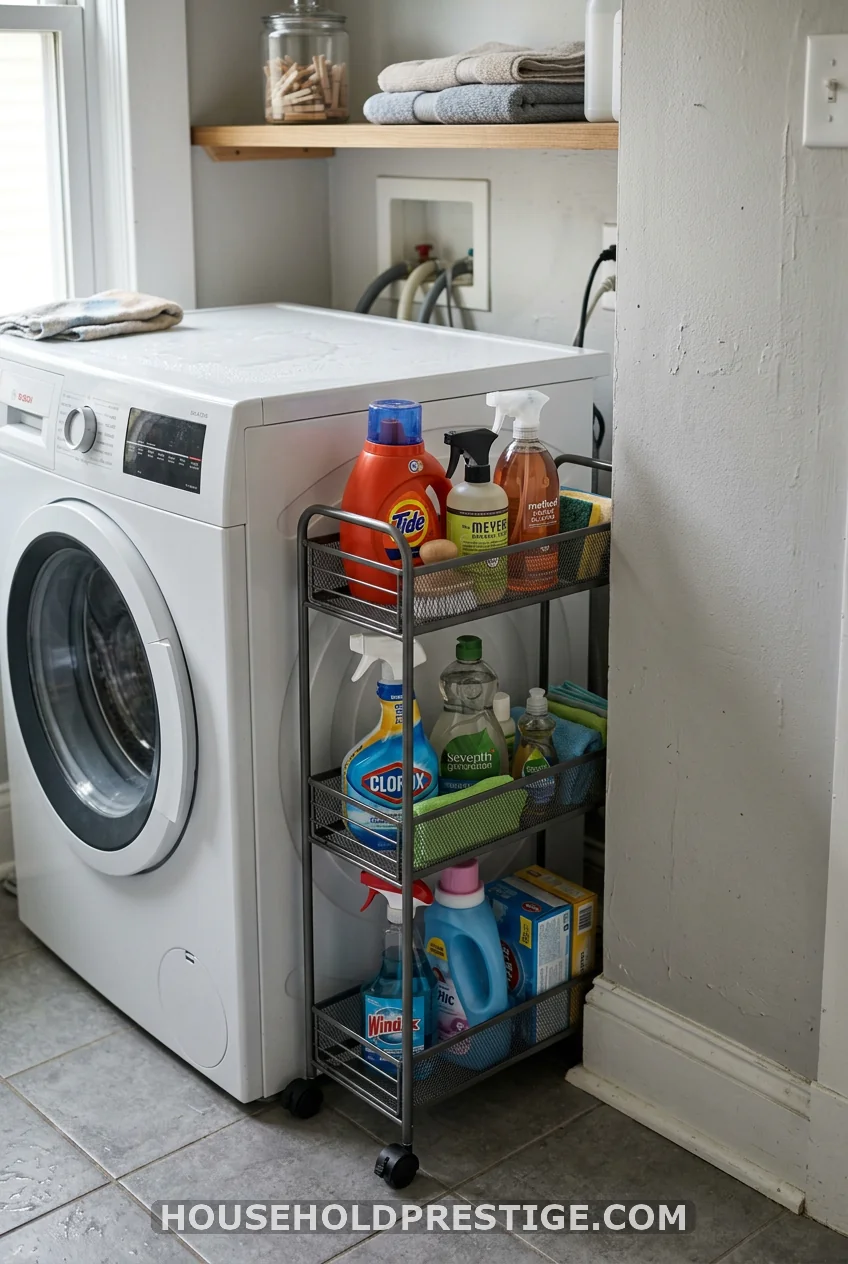
Got 6 inches between your washer and the wall? That’s storage, not wasted space. A slim rolling cart with wheels tucks in and pulls out for cleaning behind the machine, something a fixed shelf can never do.
6. Build a Tiered Shelf for Laundry Baskets
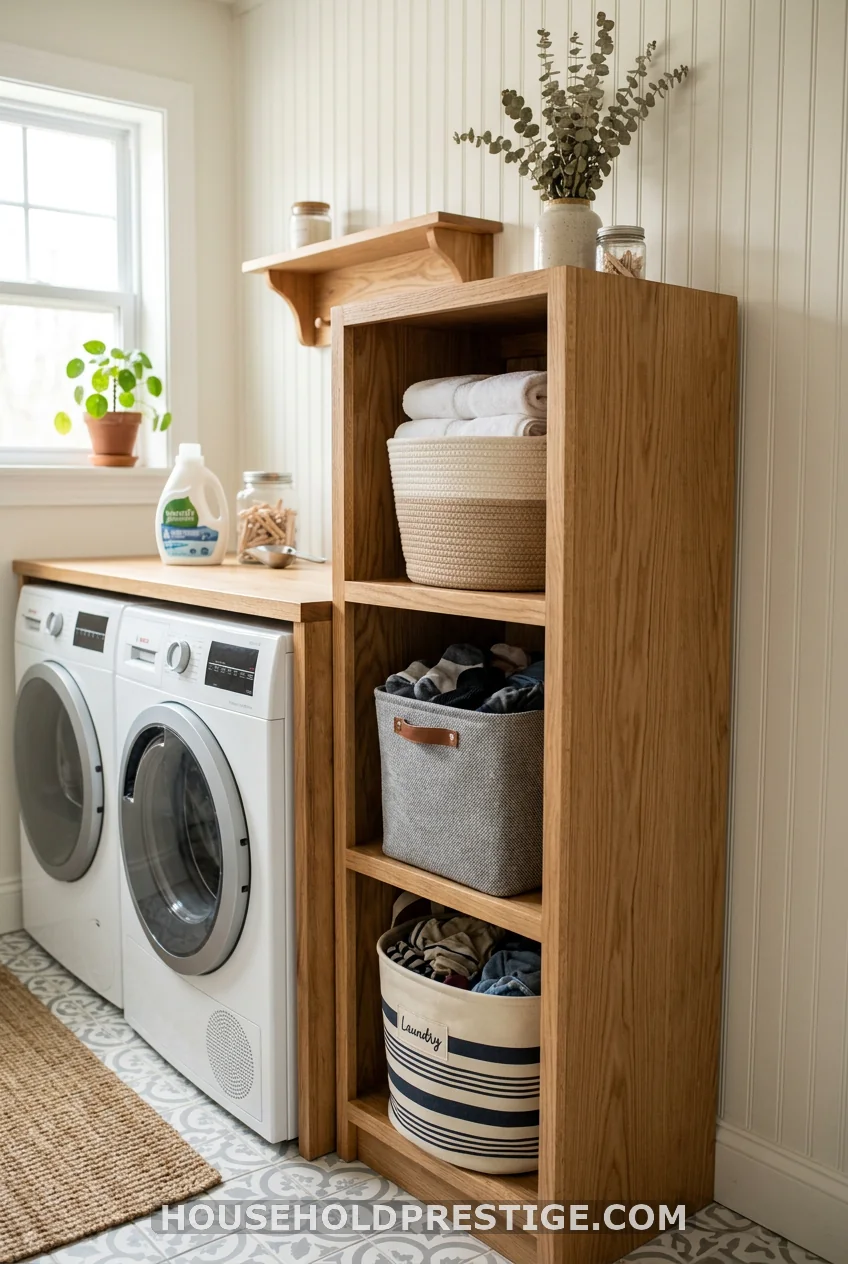
A basic three-cube shelf, sized to the height of your washer and dryer, gives every family member their own basket. No more digging through one giant pile to find your socks.
7. Label Every Shelf
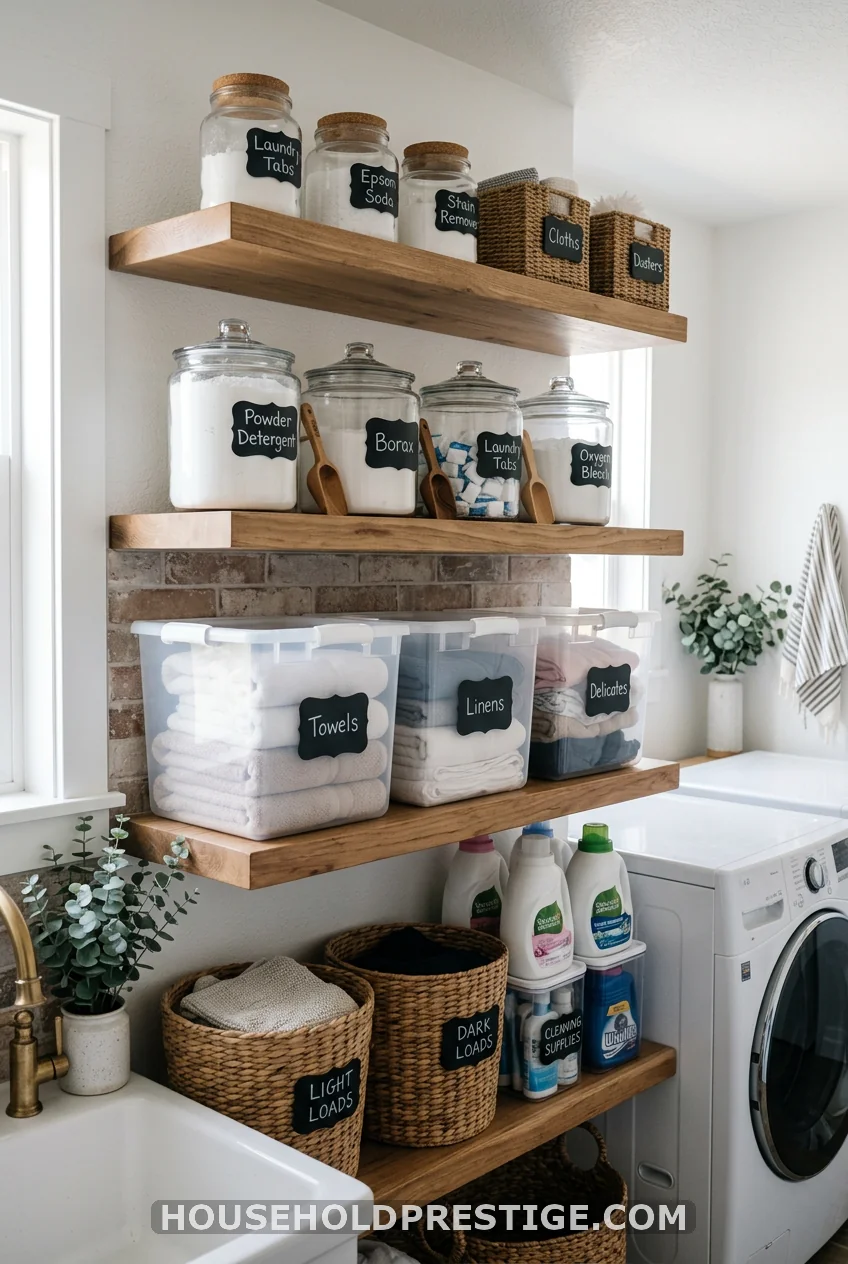
Labels sound small, but they save real arguments. A shelf labeled “stain treatment” means nobody digs through three bins looking for it on laundry day.
8. The Shelf I Regret (A Cautionary Tale)
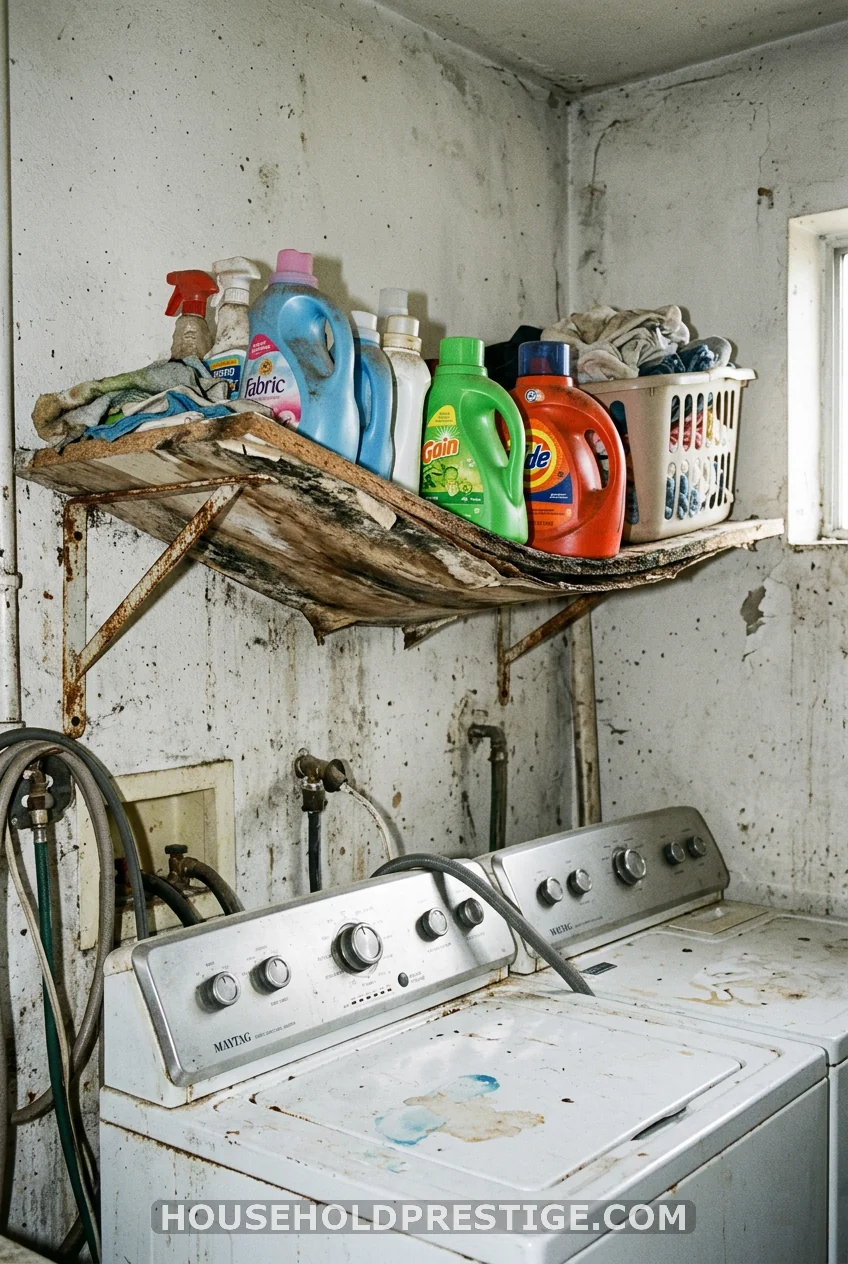
I want to tell you about the shelf I installed in my first house, because it still bothers me.
I grabbed the cheapest particleboard shelf I could find at a big-box store. No sealant, no primer, just raw board straight onto brackets above the washer. Six months later, steam from the dryer vent had warped one end so badly that a bottle of fabric softener slid right off and cracked open on the floor.
Particleboard and moisture do not mix. Ever. If your laundry room shelf sits anywhere near a dryer vent or a utility sink, use solid wood, MDF sealed on every edge, or a moisture-rated material. The five dollars you save on cheap board costs you a lot more the day it fails.
9. Add a Small Shelf Above the Utility Sink
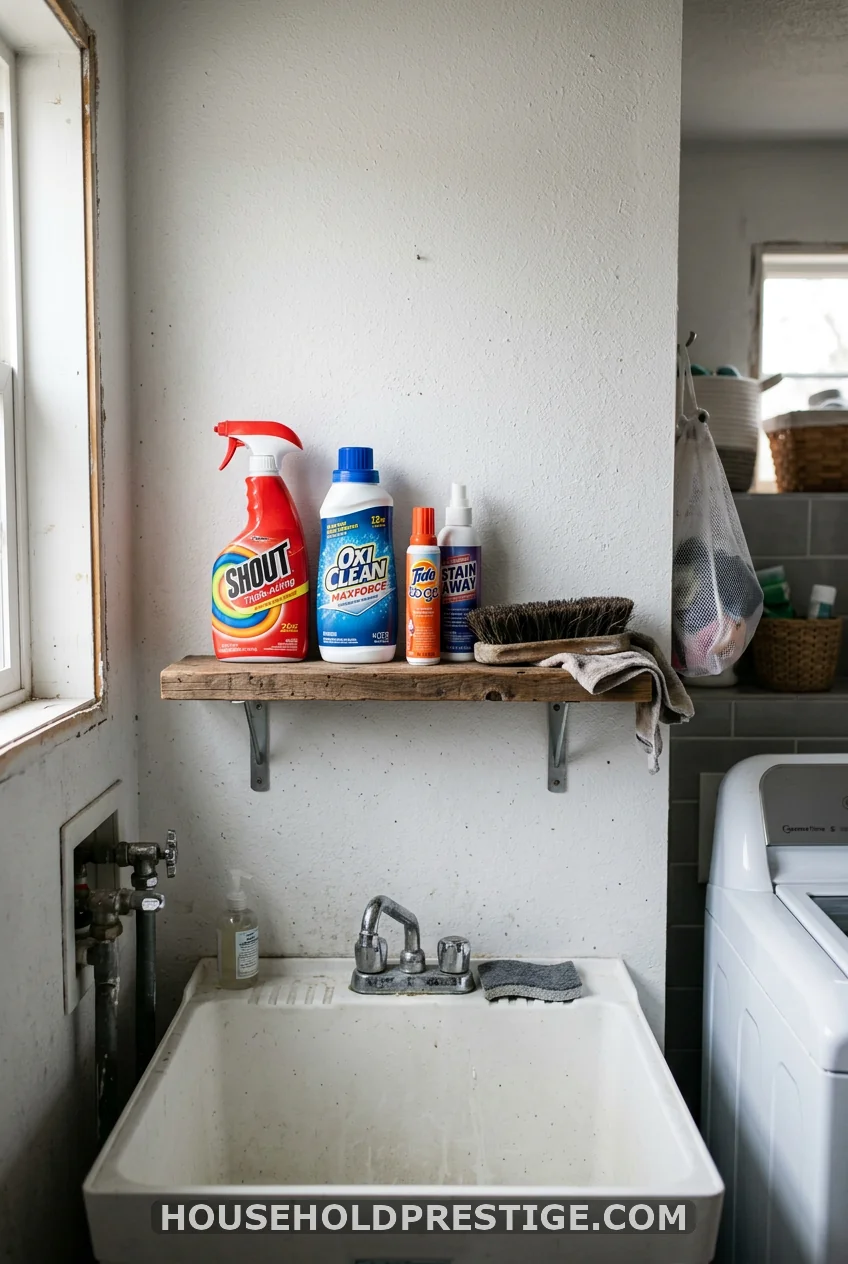
If your laundry room has a sink, don’t waste the wall above it. A narrow 6-inch shelf holds stain remover and a brush right where you need them, instead of stashed in a cabinet across the room.
10. Go Closed With Cabinets Instead
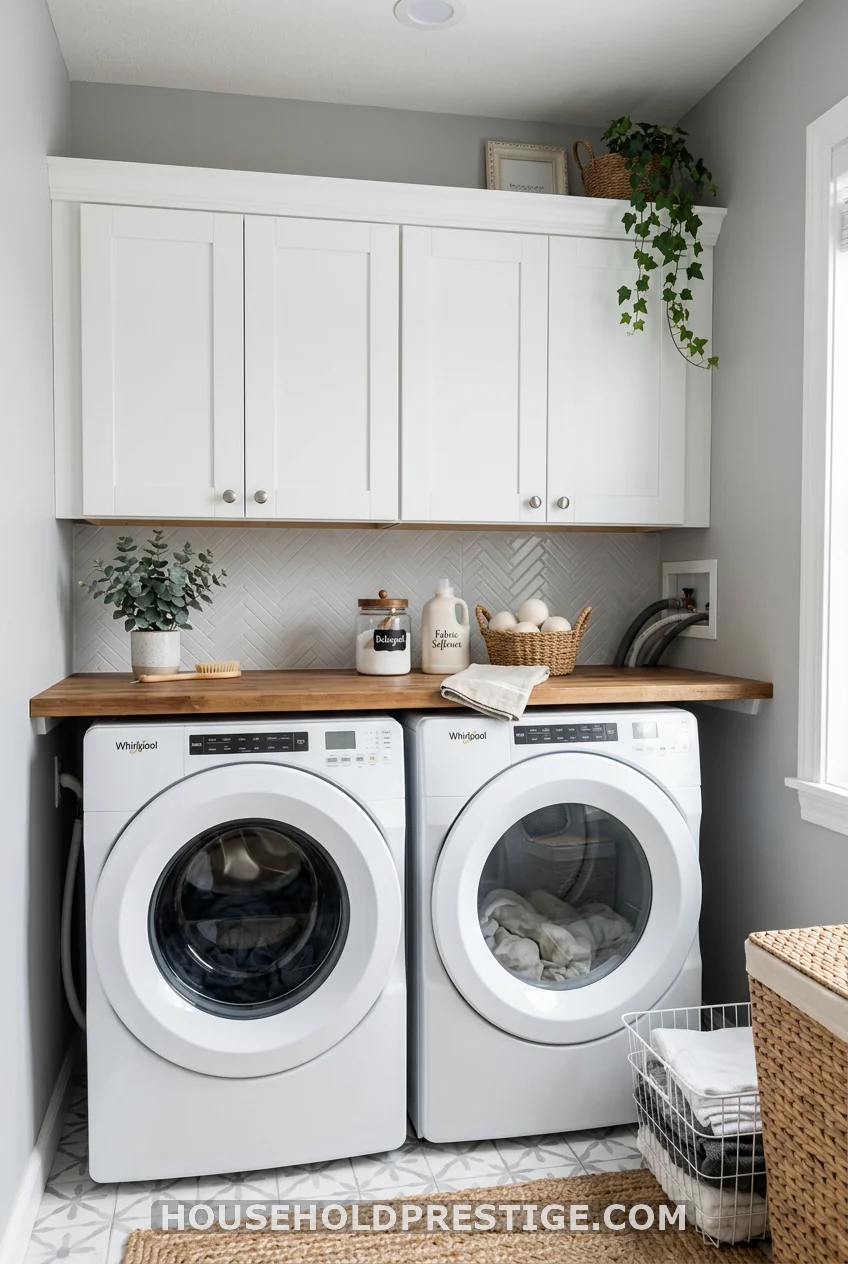
Upper cabinets hide the clutter completely and give the room a finished, kitchen-like look. The tradeoff is cost. Cabinets run higher than open shelving, and you lose the quick at-a-glance access that makes open shelves so convenient on busy mornings.
11. Open Shelving Always Looks Messy: True or False?
What most people think: Open shelves turn into visual clutter the moment real life happens.
The reality: Open shelves only look messy when everything on them is a different shape, color, and size. Decant detergent and pods into a few matching jars, keep bins on the bottom row for anything that doesn’t look pretty, and the same open shelf that seemed chaotic suddenly reads as styled. It’s not about hiding your stuff. It’s about giving it a uniform.
12. Add a Mini Shelf Just for Stain Removers
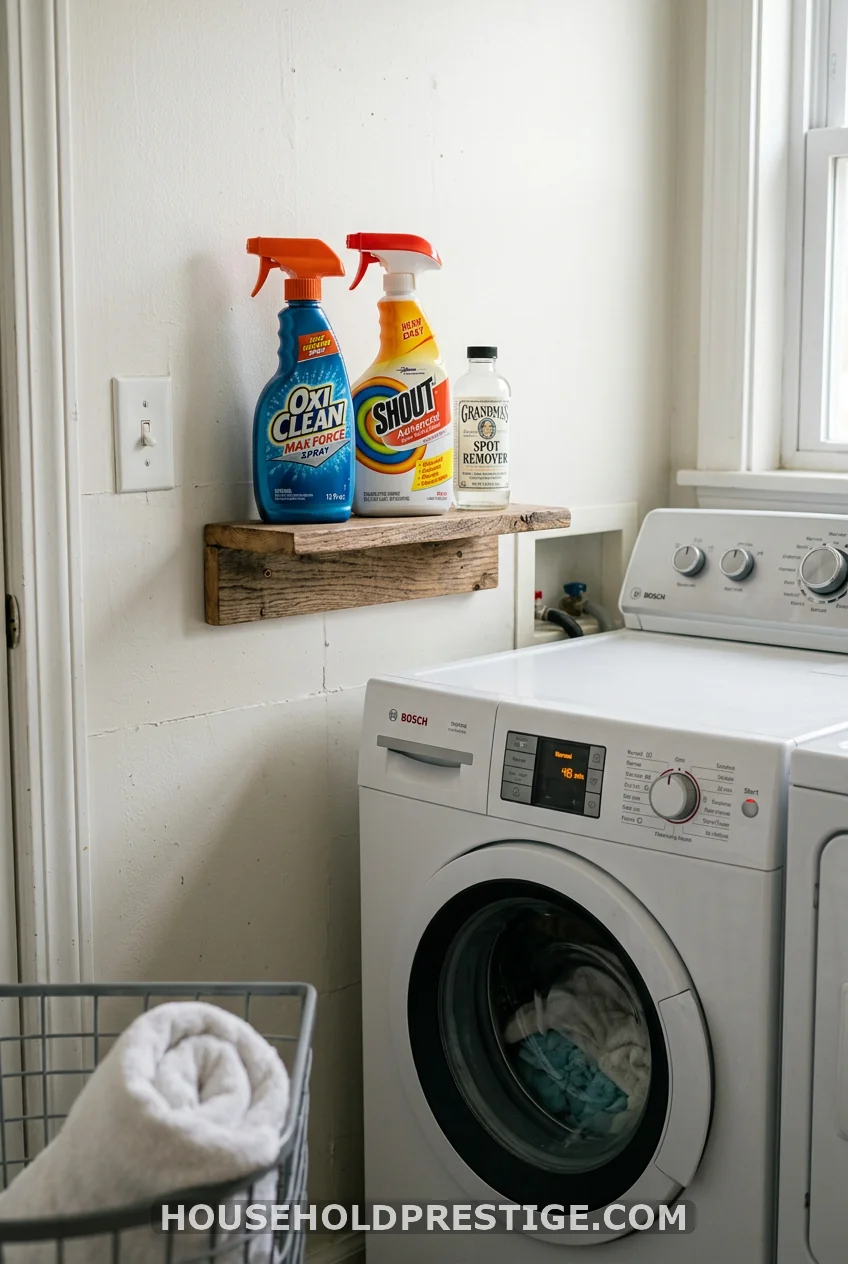
Not every shelf needs to be big. A single 4-inch ledge right next to the washer door keeps your go-to stain treatments within arm’s reach, no bending or reaching required.
13. Repurpose an Old Bookshelf
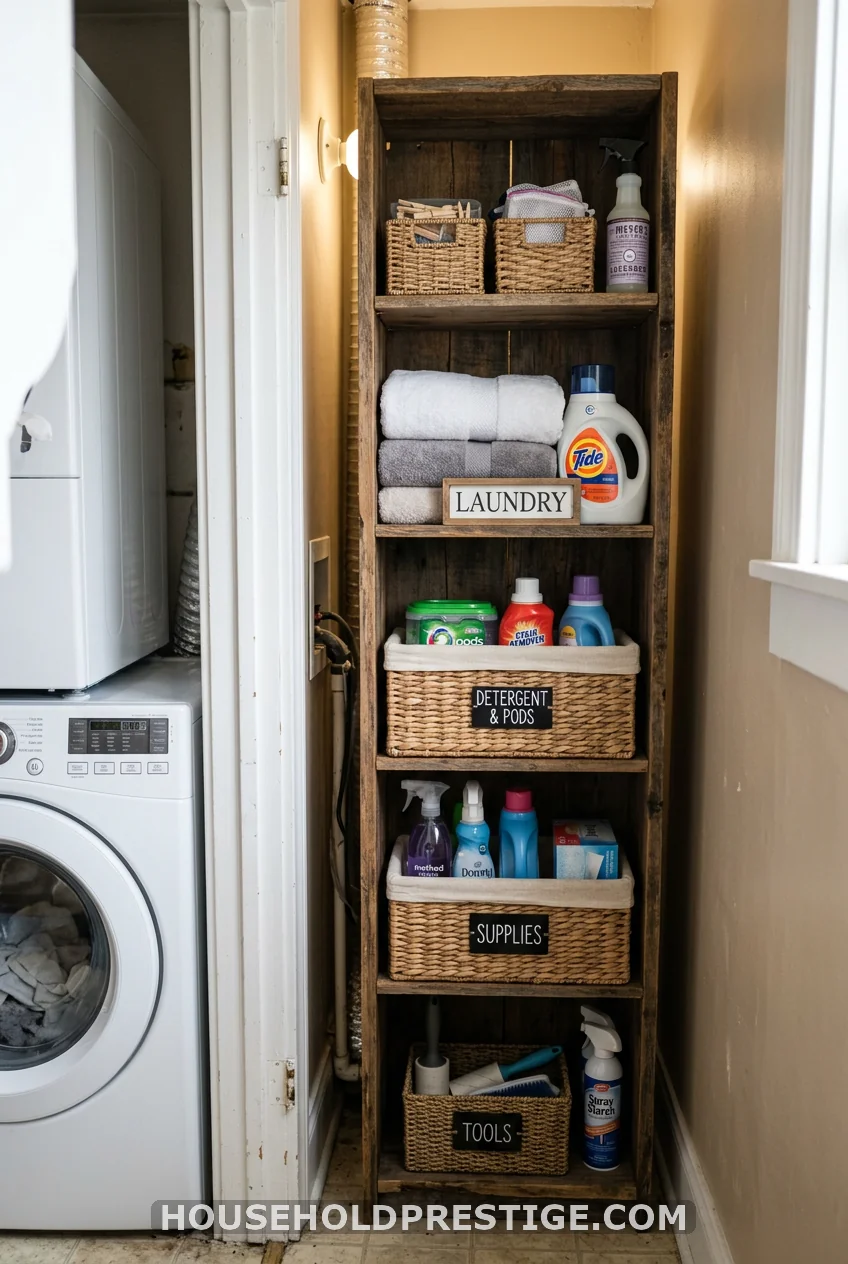
Got a narrow bookshelf sitting in a garage somewhere? A laundry closet with no built-in storage is a natural home for it. Slide it into any gap wider than 12 inches, and you’ve got instant shelving with zero installation.
14. Combine a Shelf With Over-the-Door Storage
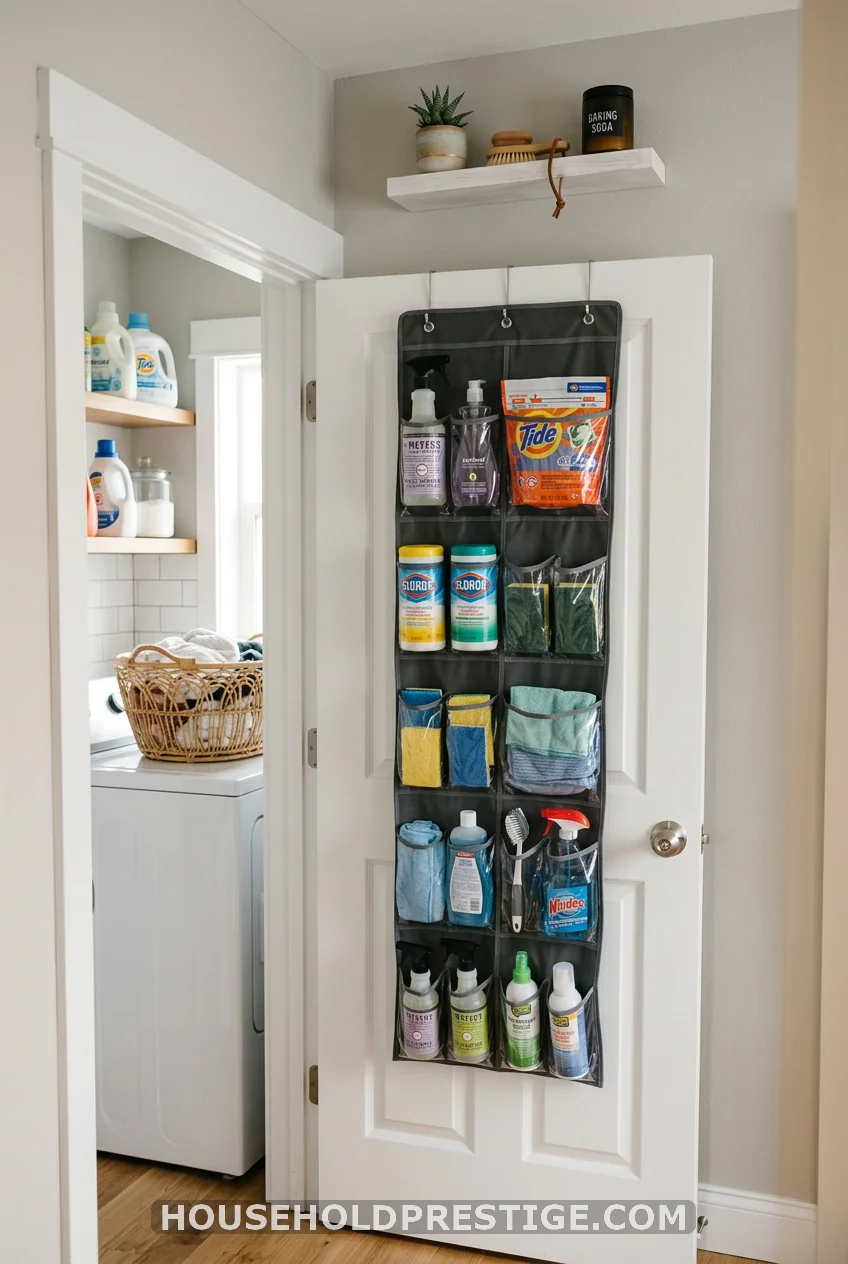
Your door is prime real estate that most people ignore completely. An over-the-door organizer handles small bottles and clothespins, while a slim shelf mounted right above the door frame catches items you only reach for once a month, like a spare iron or seasonal supplies.
15. Paint the Brackets a Bold Color
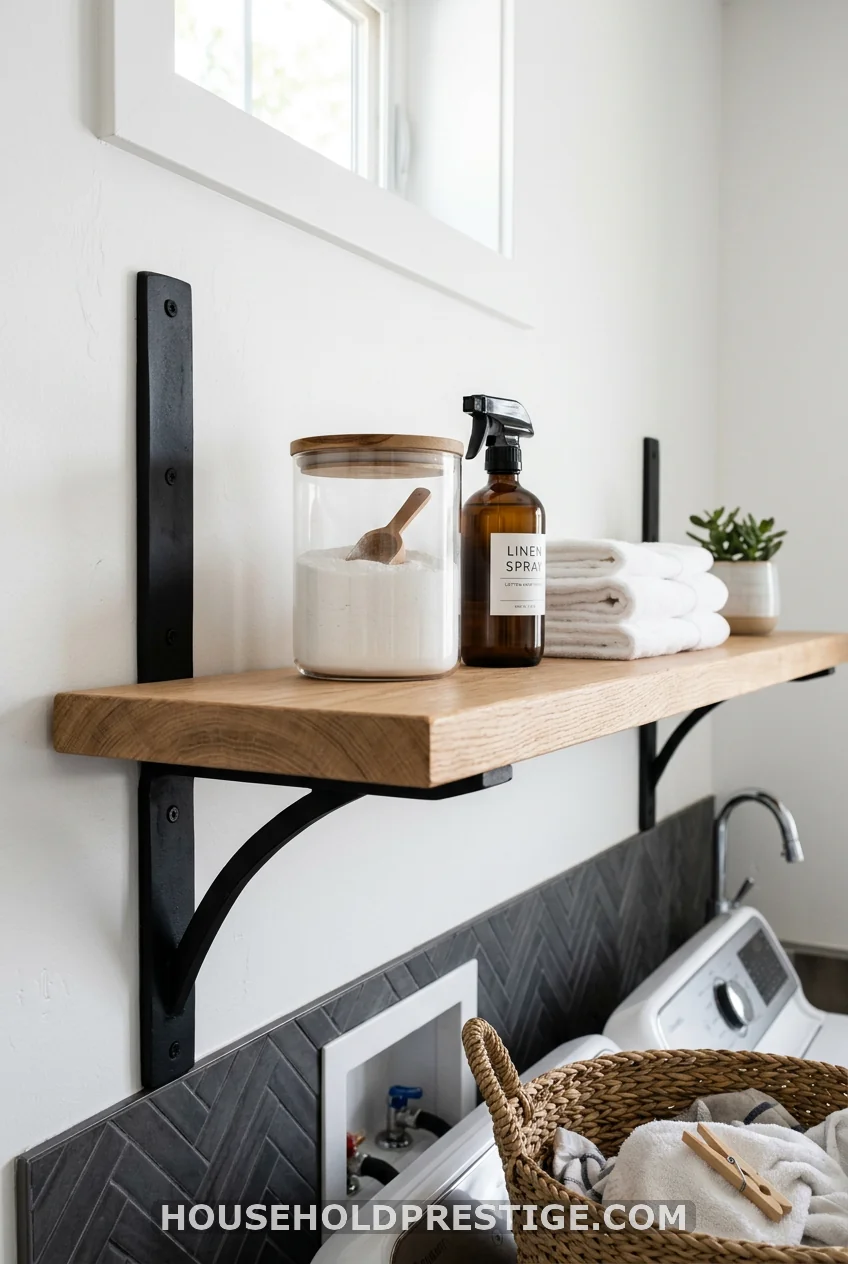
Matching brackets to the wall color is the safe choice. Painting them black or brass instead turns a purely functional shelf into a design moment, and it costs nothing but a small can of spray paint.
16. Add a Fold-Down Shelf for Folding Laundry
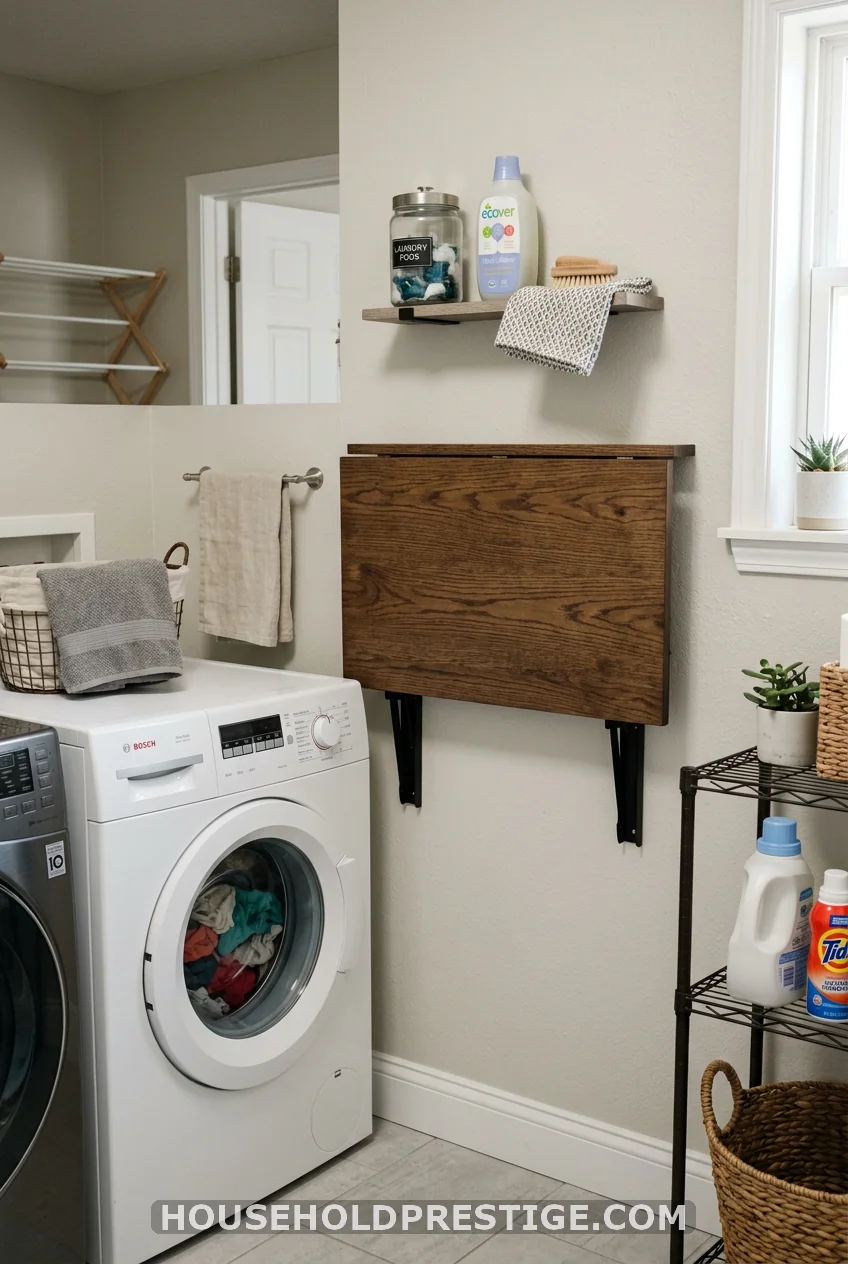
No floor space for a folding table? A hinged, fold-down shelf gives you a flat surface when you need it and disappears against the wall the second you don’t.
17. Choose an Adjustable System So You Can Grow Into It
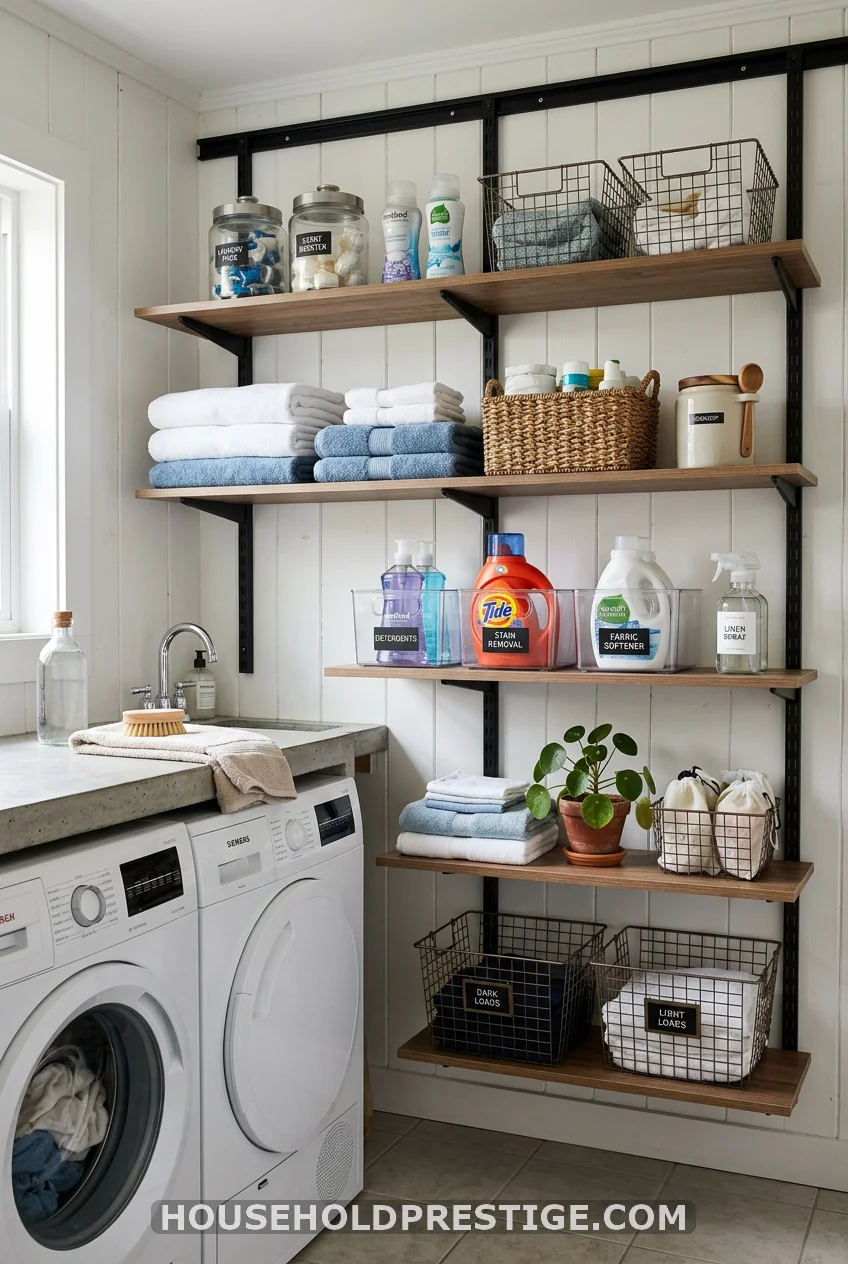
Your storage needs today aren’t your storage needs in five years. A track-and-bracket system lets you move shelves up, down, or out entirely as your laundry room’s job changes, whether that means more cleaning supplies, a growing family, or a new pet’s towel stash.
Your Laundry Room Deserves Better Than a Wobbly Tower
A laundry room doesn’t need square footage to work well. It needs a wall that’s being put to use. Pick two or three ideas from this list, start with the cheapest one, and build from there. That wobbly detergent tower on top of the dryer? It doesn’t stand a chance.
Frequently Asked Questions
What’s the best material for laundry room shelves?
Solid wood or sealed MDF holds up best. Raw particleboard warps quickly near dryer heat and steam, so avoid it unless every edge is sealed.
How high should a shelf sit above a washer and dryer?
Leave 14 to 18 inches of clearance above the machines so the dryer lid can open fully without hitting the shelf.
How deep should laundry room shelves be?
Aim for 10 to 12 inches. Anything shallower won’t hold a standard detergent jug without it hanging off the edge.
Can I install laundry room shelves myself?
Yes, for most floating shelf and bracket projects. You’ll need a stud finder, a level, and basic tools. Cabinet installation or anything requiring plumbing changes is a better job for a professional.
Do open shelves work in a small laundry room, or should I use cabinets?
Both work. Open shelves cost less and keep items visible for quick grabs. Cabinets cost more but hide clutter completely. Choose based on whether you’d rather save money or save appearances.