

Your microwave door won’t shut without a wince, will it? Grease clings to the ceiling. Sauce splatters harden into something close to cement. I get it, and these microwave cleaning hacks need zero scrubbing and about ten minutes of your time.
No harsh sprays. No scouring pads. Just steam, a splash of vinegar, and a little patience while your kitchen does the work for you. By the end of this guide, you’ll have a microwave that looks (and smells) like you just unboxed it.
Why Your Microwave Gets Gross So Fast
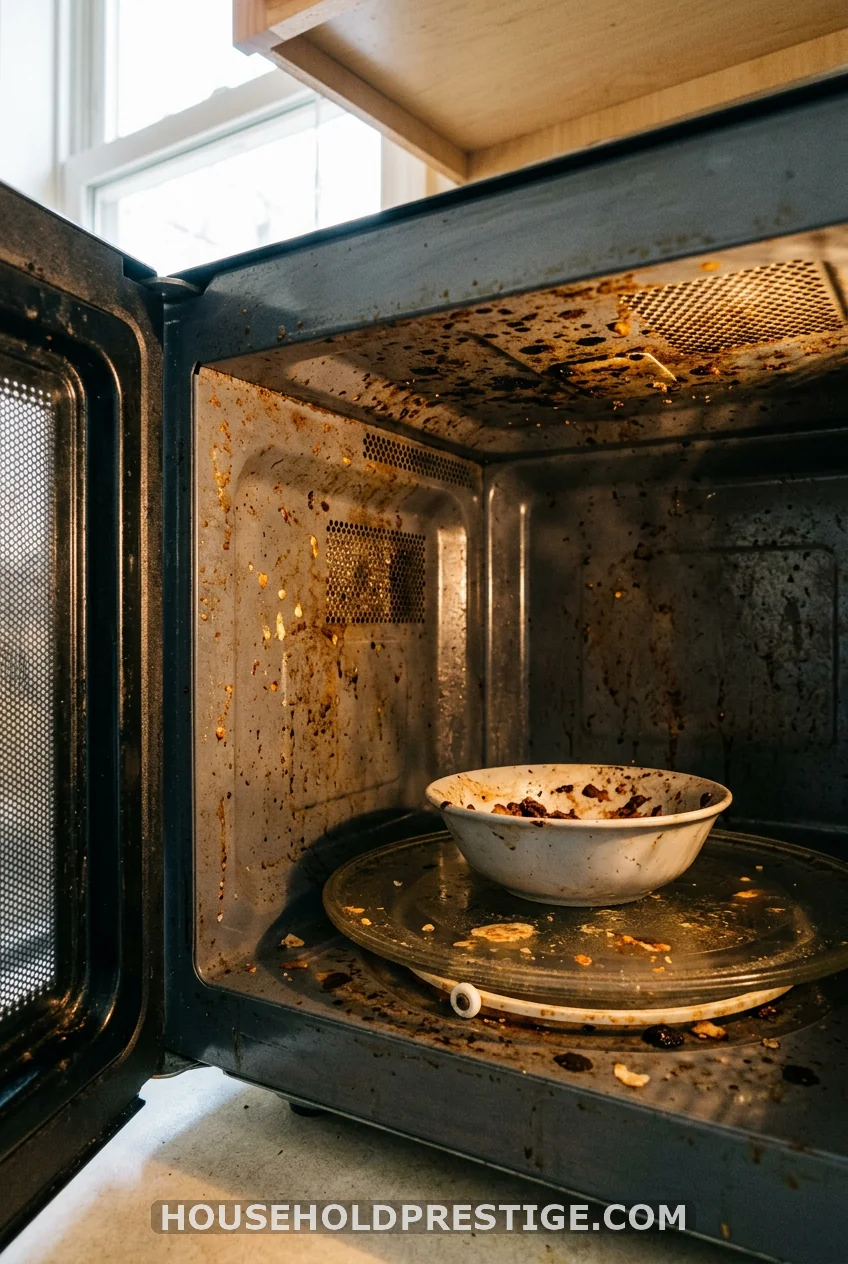
Think about what actually happens in there. Sauce explodes mid-heat. Soup bubbles over the rim. Steam rises, hits the ceiling, and cooks itself onto the surface like a second coat of paint.
Every splatter that dries becomes harder to remove than the last. That’s the trap. A five-second wipe today beats a ten-minute scrub next week. Most of us skip the five seconds, though. Life happens, and the microwave waits.
What You’ll Need Before You Start
Here’s the whole supply list, and yes, it’s this short:
- A microwave-safe bowl or glass measuring cup
- White vinegar
- Water
- A microfiber cloth or sponge
- A dish towel for the final pass
No specialty gadgets required. If you’ve got a kitchen, you’ve probably got everything on this list already.
The Steam Method, Step by Step
Step 1: Mix Your Solution
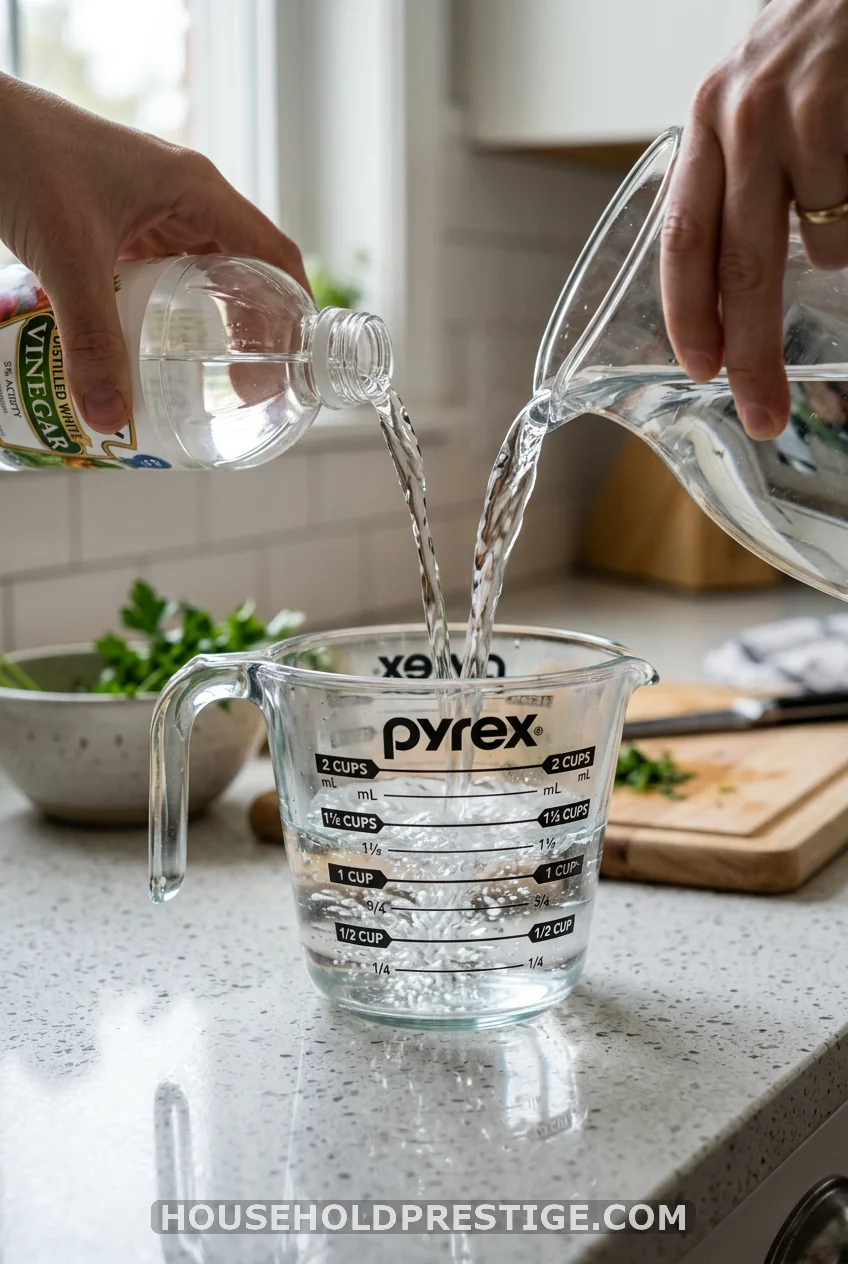
Pour 2 cups of water and 2 tablespoons of vinegar into your microwave-safe bowl. That ratio matters. Too much vinegar, and the smell lingers. Too little, and the acid won’t cut through grease the way you need it to.
Want extra freshness? Toss in a few lemon slices. The citrus oil masks the vinegar tang and leaves a cleaner scent behind.
Step 2: Heat It Until It Boils
Place the bowl inside and run the microwave on high for five minutes. Watch for the window fogging up. That fog is steam, and steam is the entire secret here.
Don’t open the door the second the timer beeps. That’s the mistake most people make, and it costs them the whole benefit of the steam.
Step 3: Let the Steam Sit
Leave the door shut for two to three more minutes. The trapped steam keeps working, softening every stubborn bit of dried food clinging to the walls.
Patience pays off in this step more than any other. Rushing it just means more elbow grease later.
Step 4: Wipe the Inside Clean
Open the door and pull out the bowl carefully. It’s hot. Grab your microfiber cloth and start at the ceiling, since that’s where the worst splatters usually land.
Work your way down the sides, across the floor, and don’t skip the door seal. Food hides in that little groove more often than you’d think.
Step 5: Handle the Turntable
If your microwave has a removable glass tray, take it out and wash it separately in warm, soapy water. It’s basically a small plate at this point, covered in the same grime as the walls.
Dry it fully before you put it back. A wet tray just reintroduces moisture you spent all that time steaming away.
Step 6: Finish the Outside
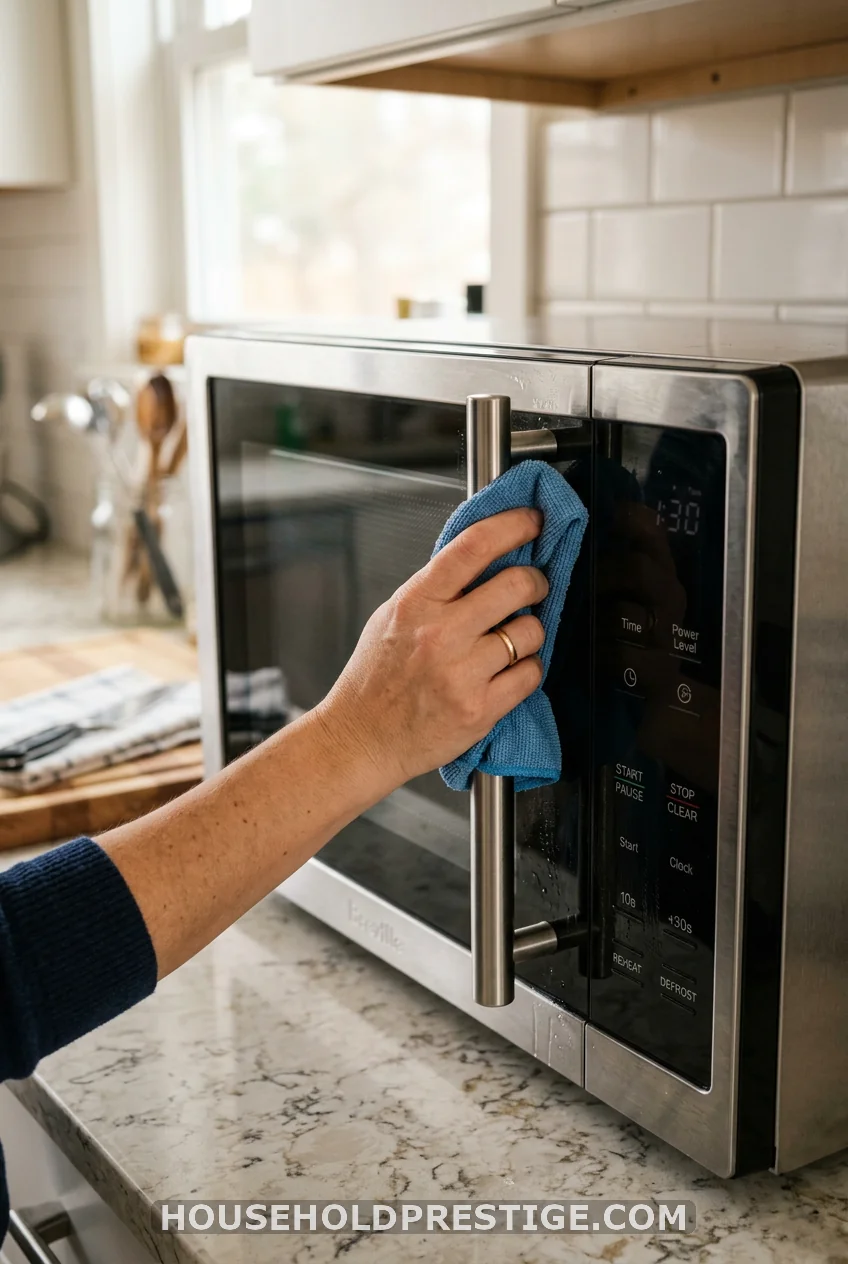
Grab a dry dish towel and go over the door, the handle, and the control panel. These spots collect fingerprints and grease from everyday use, even though they never touch food directly.
Ten minutes in, and your microwave looks like it belongs in a showroom.
Troubleshooting Stubborn Stains and Smells
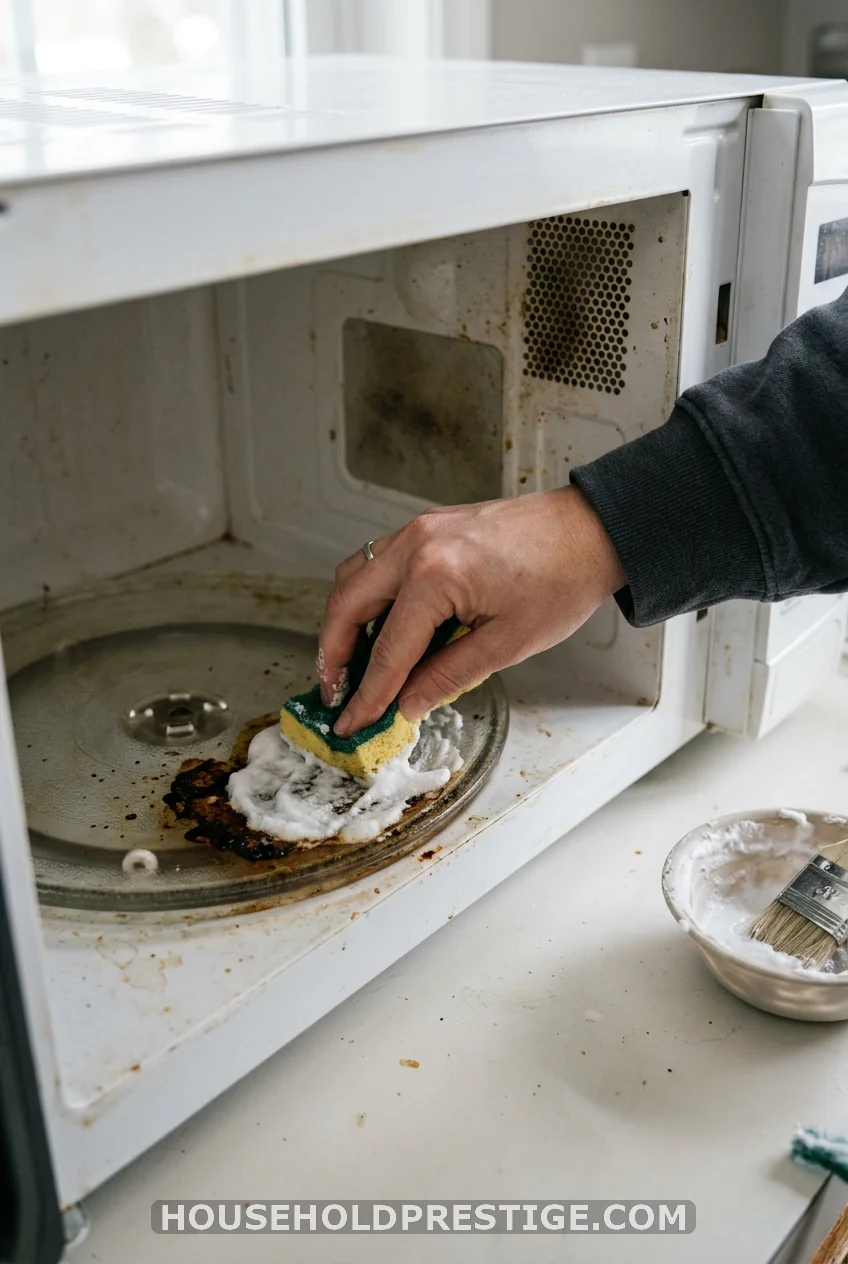
Sometimes the steam method alone won’t beat a stain that’s been baking on for weeks. Here’s your backup plan.
Mix baking soda with a small amount of water until it forms a paste. Apply it directly to the stubborn spot, let it sit for five to ten minutes, then wipe with a damp cloth. Baking soda works as a gentle abrasive, so it lifts grime without scratching the interior coating.
For lingering odors, run the steam method again using lemon instead of vinegar. Leave the door propped open for an hour afterward so fresh air can finish the job.
Keep It Clean Longer
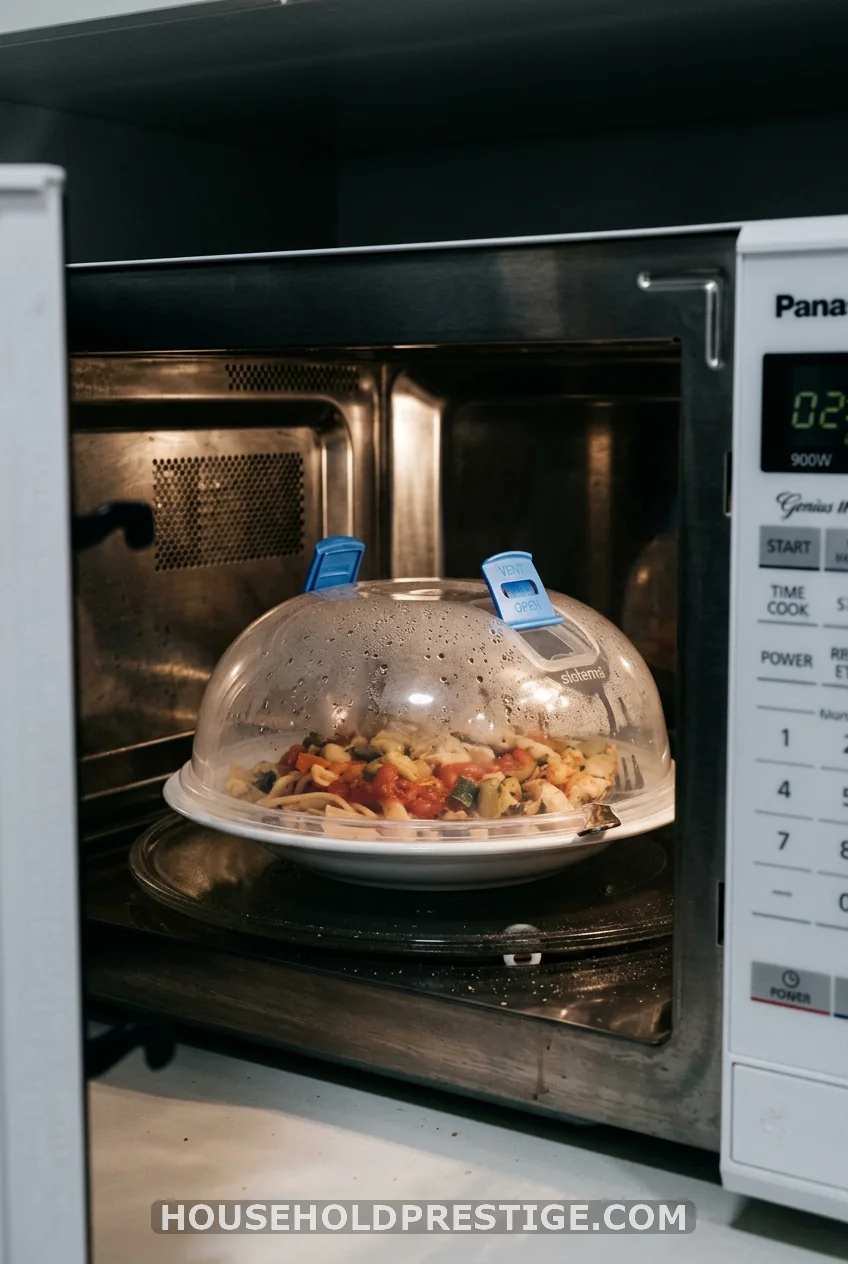
Prevention beats cleanup every time. Cover anything saucy or splatter-prone with a microwave-safe lid or a paper towel before you hit start. That single habit stops most messes before they happen.
Keep a cloth near the microwave and wipe fresh spills the moment you spot them. Warm splatters wipe away in seconds. Cooled, dried splatters turn into a project.
You’ve Got This
A gross microwave feels like a small thing until you’re the one scrubbing it. Steam does the heavy lifting here, and you barely have to touch a sponge. Ten minutes, a splash of vinegar, and you’re done.
Try it once, and you’ll wonder why you ever reached for a scouring pad in the first place.
Frequently Asked Questions
How often should I clean my microwave?
Once a week keeps buildup manageable. A quick wipe after any spill prevents most deep-cleaning sessions altogether.
Can I use just water without vinegar?
Water and steam alone will loosen some grime, but vinegar’s acidity breaks down grease and disinfects at the same time. Skipping it means more scrubbing.
Does vinegar damage the inside of a microwave?
No. Diluted vinegar is safe on the glass, plastic, and metal interior surfaces found in standard microwaves. Just avoid pouring it directly onto exposed metal parts undiluted.
What gets rid of a burnt popcorn smell fast?
Run the steam method with lemon instead of vinegar, then prop the door open for an hour once you finish wiping. Repeat if the smell persists after a day.
Is it safe to clean a microwave while it’s plugged in?
Yes, as long as you’re not spraying liquid directly onto the control panel or vents. For the exterior buttons, unplug the unit first as an extra precaution.