

Open the closet door and something falls out. A hanger clatters to the floor. A shoe rolls under the rack you forgot you owned. You catch a smell you can’t quite place, and you shut the door a little faster than you meant to.
A deep clean closet fixes more than clutter. It clears the dust, the musty air, and that small flinch every time you reach for a sweater. Most guides stop at “get rid of clothes you don’t wear.” That’s half the job. The other half is the actual cleaning: the shelves, the rod, the corners where dust and stray socks collect.
Grab a trash bag and a cloth. By the end of this, your closet will be sorted, scrubbed, and set up so it stays that way past next Tuesday.
What You’ll Need
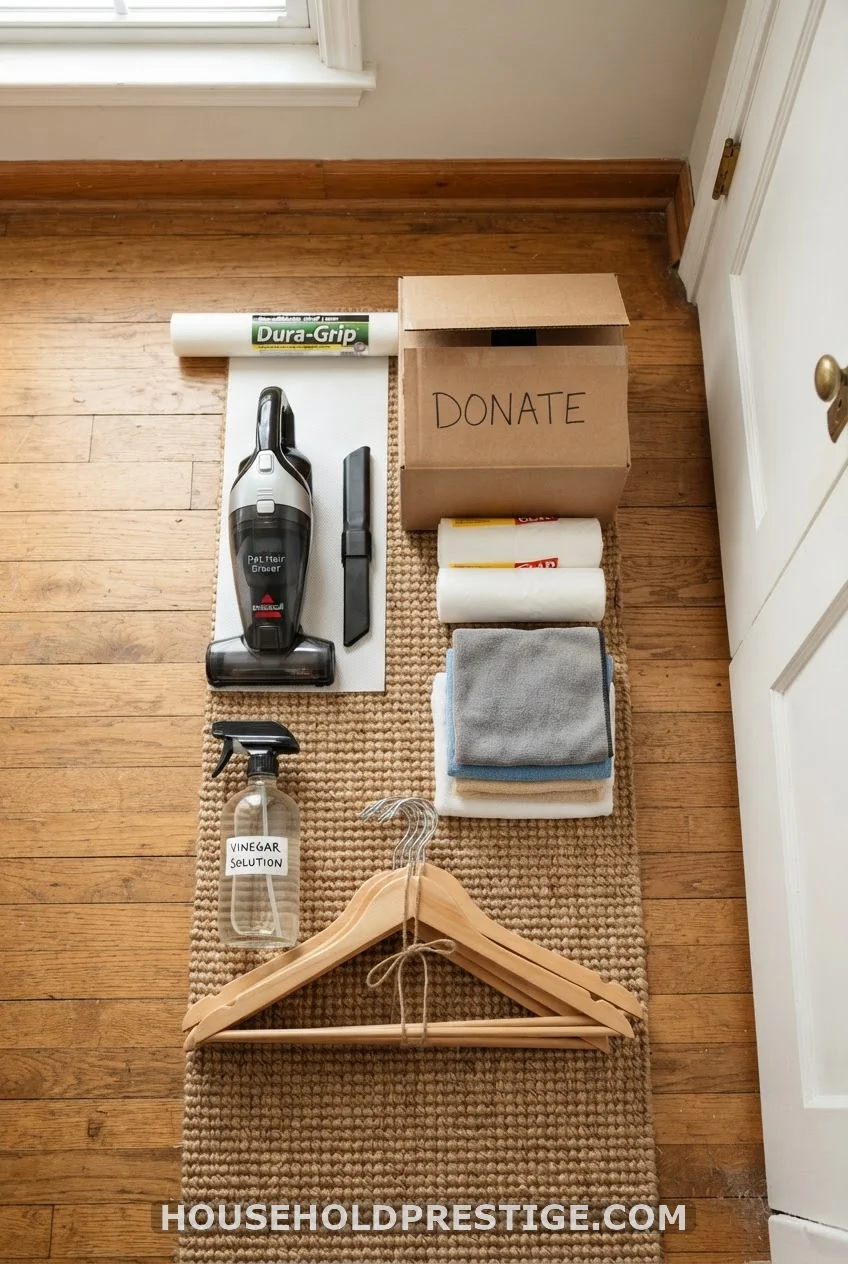
Here’s the short list. You probably own most of it already.
- Two large trash bags (one for donate, one for actual trash)
- A box or basket for “repair” items
- A microfiber cloth or two
- An all-purpose cleaner, or a mix of water and white vinegar
- A vacuum with a hose attachment
- A screwdriver, for tightening loose hardware
- Matching hangers, if yours are a mismatched pile of wire and plastic
- A moisture absorber or a few cedar blocks
That’s it. No specialty gear, no trip to a container store required before you start.
Step 1: Pull Everything Out

Take everything out. Clothes, shoes, the boxes on the top shelf you haven’t opened since a move. Put it all on the bed or the floor, grouped loosely by type: tops here, bottoms there, shoes in their own corner.
This step does two things. It shows you the true volume of what you own, which is usually more than you’d guess. And it gives you a bare, empty box to work with in Step 3, which is where the actual deep clean happens.
Don’t sort yet. Just empty it.
Step 2: Sort Into Four Piles

Now work through everything you just pulled out. Four piles: Keep, Donate, Repair, Toss.
Ask three questions per item:
- Have I worn this in the last year?
- Does it fit, right now, not the size I’m hoping for?
- If I saw it in a store today, would I buy it again?
Two or three no’s, and it’s not a Keep. A stain that won’t come out or a hem that’s given up goes to Toss, not Donate. Nobody wants your damaged goods, and donation centers spend real money hauling away what they can’t sell.
If you’re stuck on an item, set it aside instead of forcing a decision. We’ll handle that pile in Step 6.
Step 3: Deep Clean the Empty Shell
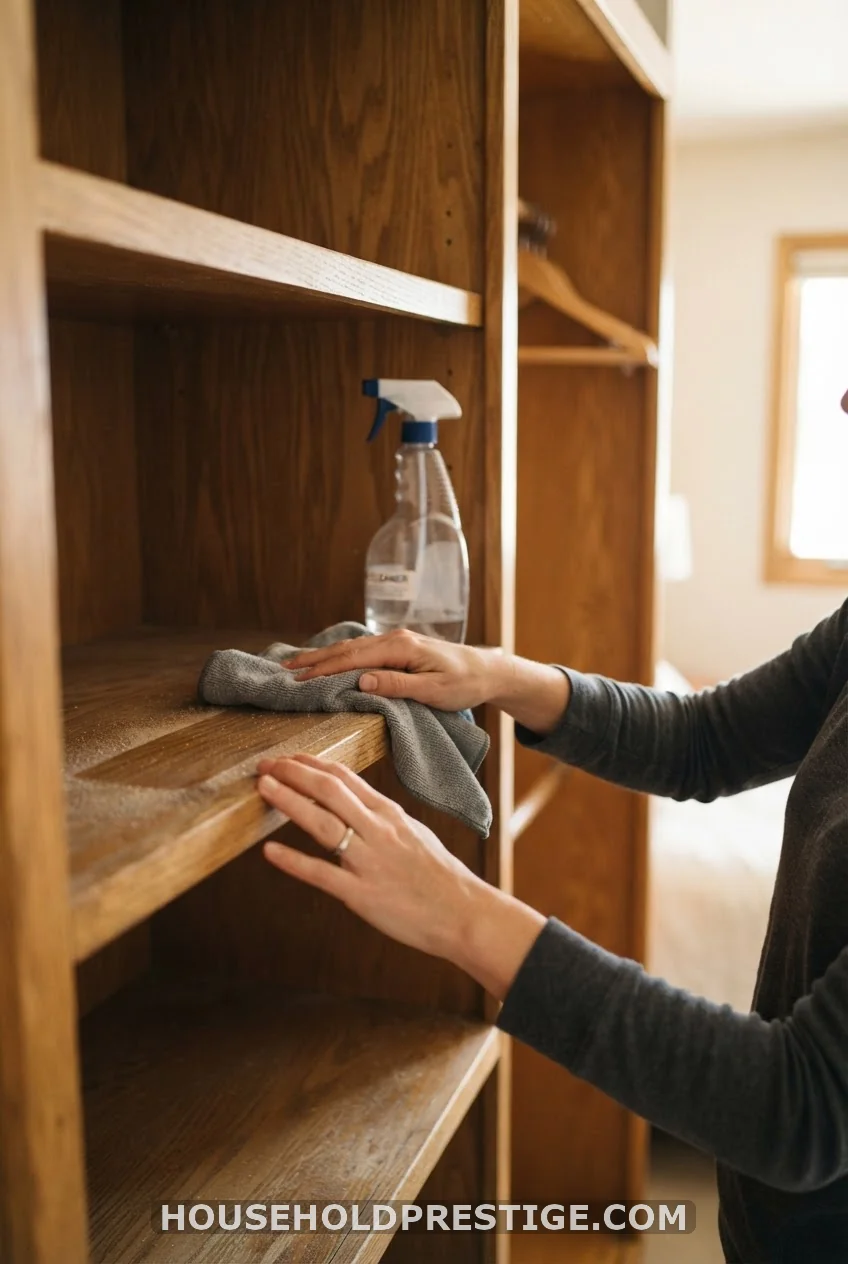
This is the step most closet guides skip, and it’s the whole point of a deep clean.
With the closet empty, vacuum the floor first, including the corners and along the baseboards where lint and dust build up fastest. Use the hose attachment to get into shelf seams and the track of a sliding door.
Wipe every shelf and the hanging rod with your cleaner or vinegar solution. Rods get a thin film of oil and dust from clothes brushing against them all year, and it transfers straight onto whatever you hang next.
Check the corners and back wall for a musty smell or any dark spotting. That’s often mildew from trapped moisture, especially in closets on an exterior wall. Wipe it down with the vinegar solution, then let the closet air out with the door open for a couple of hours before you put anything back. A cracked window nearby helps.
Pro tip: if the closet backs onto a bathroom or laundry room, this moisture check matters more. Those walls run humid more often than you’d think.
Step 4: Fix What’s Broken

While the closet is empty, take two minutes to fix the small stuff you’ve been stepping around for months.
A wobbly shelf bracket usually just needs its screws tightened. A rod that sags in the middle can take a center support bracket, sold cheap at any hardware store. A sticking door track often just needs a wipe and a drop of silicone lubricant, not a replacement.
None of this takes long, and it’s the difference between a closet that looks reset and one that functions better than it did before.
Step 5: Rebuild With Zones, Not Just Piles

Now put the Keep pile back, but with intention this time. Group by how you get dressed on a real day, not just by garment type: work clothes together, weekend clothes together, the handful of pieces you wear for everything in between.
Put what you reach for daily at eye level and within arm’s reach. Off-season items and anything worn once a year can go up high or to the back. This single change, eye level for daily wear, does more for a closet staying organized than any bin or divider you could buy.
Swap in matching hangers if you have a drawer full of mismatched ones. It sounds cosmetic, but a uniform row of hangers makes everything easier to see at a glance, and gaps show up immediately instead of getting lost in visual noise.
Step 6: Give the Maybe Pile a Deadline
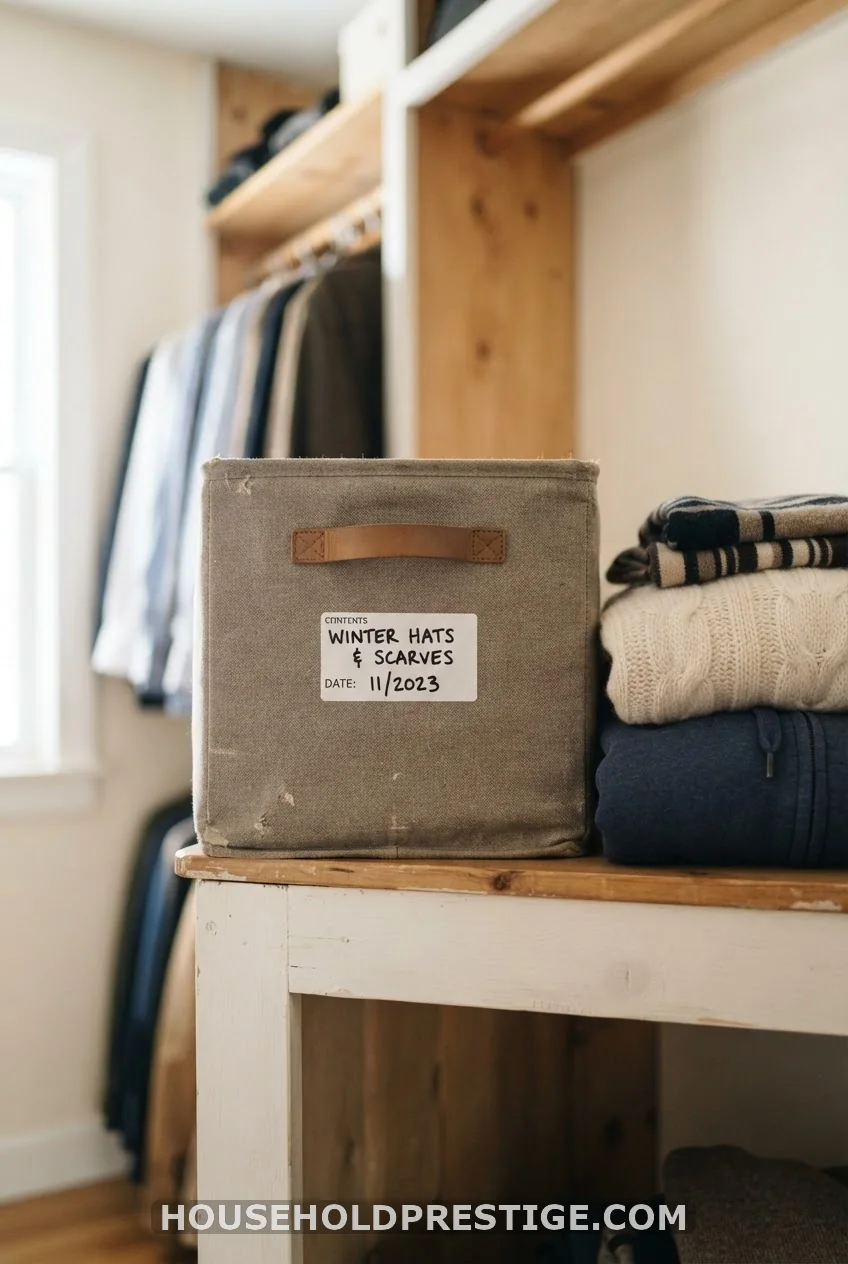
For anything you couldn’t decide on in Step 2, box it up and write today’s date plus 30 days on the outside. Store it somewhere out of your daily rotation, a shelf in a guest room, the top of the closet, anywhere you won’t see it constantly.
If a month passes and you haven’t gone looking for anything inside, that’s your answer. Donate it without opening the box again. If you do dig something out to wear, it earns its spot back in the closet.
This one step removes almost all the second-guessing that stalls a closet clean-out halfway through.
Step 7: Close the Loop the Same Day

Donation bags left in a corner of the bedroom have a way of quietly working their way back into the closet within a week. Load them into the car before you do anything else, even if the drop-off happens tomorrow.
Take the trash bag out right away. And drop the Repair pile somewhere visible, like the passenger seat or by the front door, so it makes it to the tailor or the shoe repair shop instead of living on a shelf for another year.
Common Closet Problems (And What Fixes Them)
The musty smell won’t go away. Vinegar handles surface mildew, but a lingering smell usually means trapped moisture somewhere you can’t see, often behind the back wall or under flooring. Leave an open box of baking soda or a moisture absorber on a shelf for ongoing upkeep, and if the smell persists past a week of airing out, it’s worth checking for a leak nearby.
The closet is too small for any of this to matter. Vertical space is the fix. Add hooks to the inside of the door, a hanging shelf organizer for shoes, or an over-the-rod divider. Small closets waste more space vertically than they lack horizontally.
Moths or other pests keep showing up. Cedar blocks placed on a few shelves work as ongoing prevention, not a cure for an active problem. If you’re seeing damage to clothes, wash or dry clean everything in that area before it goes back in, since eggs survive a quick wipe-down.
Off-season clothes take over half the space. Store them somewhere else entirely, a bin in a closet you use less or under a guest bed, and rotate twice a year. Your daily closet only needs to hold what you’re wearing this season.
You’re Done, and It’ll Stay This Way
A deep-clean closet isn’t a one-afternoon miracle that fades in a month. It’s the combination of clearing what you don’t wear, cleaning the space itself, and setting up zones that match how you get dressed every morning.
Give it a quick five-minute reset once a week, put things back where they belong instead of on a chair, and this whole process won’t need repeating for a long while. Open that door tomorrow morning and notice the difference. That’s the whole point.
Frequently Asked Questions
How often should you deep clean a closet?
Twice a year works well for most people, lining up with a seasonal wardrobe swap. If you share a closet or have kids growing out of clothes constantly, a quick check every few months helps too.
What do you use to deep clean a closet?
A vacuum with a hose attachment for the floor and corners, plus a microfiber cloth and either an all-purpose cleaner or a water and vinegar mix for shelves and the rod. Nothing specialized required.
How do you get rid of a musty smell in a closet?
Wipe down any visible mildew with a vinegar solution, air the closet out with the door open for a few hours, and leave an open box of baking soda or a moisture absorber on a shelf going forward. If the smell keeps coming back, check nearby walls or flooring for a hidden leak.
How long does a full closet deep clean take?
Budget two to four hours for an average closet, done in one sitting. Splitting it across two or three shorter sessions, one category at a time, works just as well if a single block of time is hard to find.
What’s the difference between decluttering and deep cleaning a closet?
Decluttering is deciding what stays and what goes. Deep cleaning is the physical part, vacuuming, wiping down shelves and the rod, and addressing any musty smell or mildew. A closet clean-out that skips the second part still ends up dusty within a season.