

Utility closet organization gets urgent the second a mop handle smacks your shin. Again. The one thing you came for sits somewhere behind three boxes of light bulbs and half a roll of paper towels.
I lived with that closet for two years. I figured a tidy closet needed a bigger house, a bigger budget, and a much bigger weekend. It didn’t. It took one afternoon and a few cheap fixes.
Below you’ll find 15 ideas, each under $40, with sizes, prices, and the mistakes I made so you can skip them. Some take two minutes. One takes an hour and a drill. Pick the ones that fit your closet and ignore the rest.
Before You Buy a Single Bin
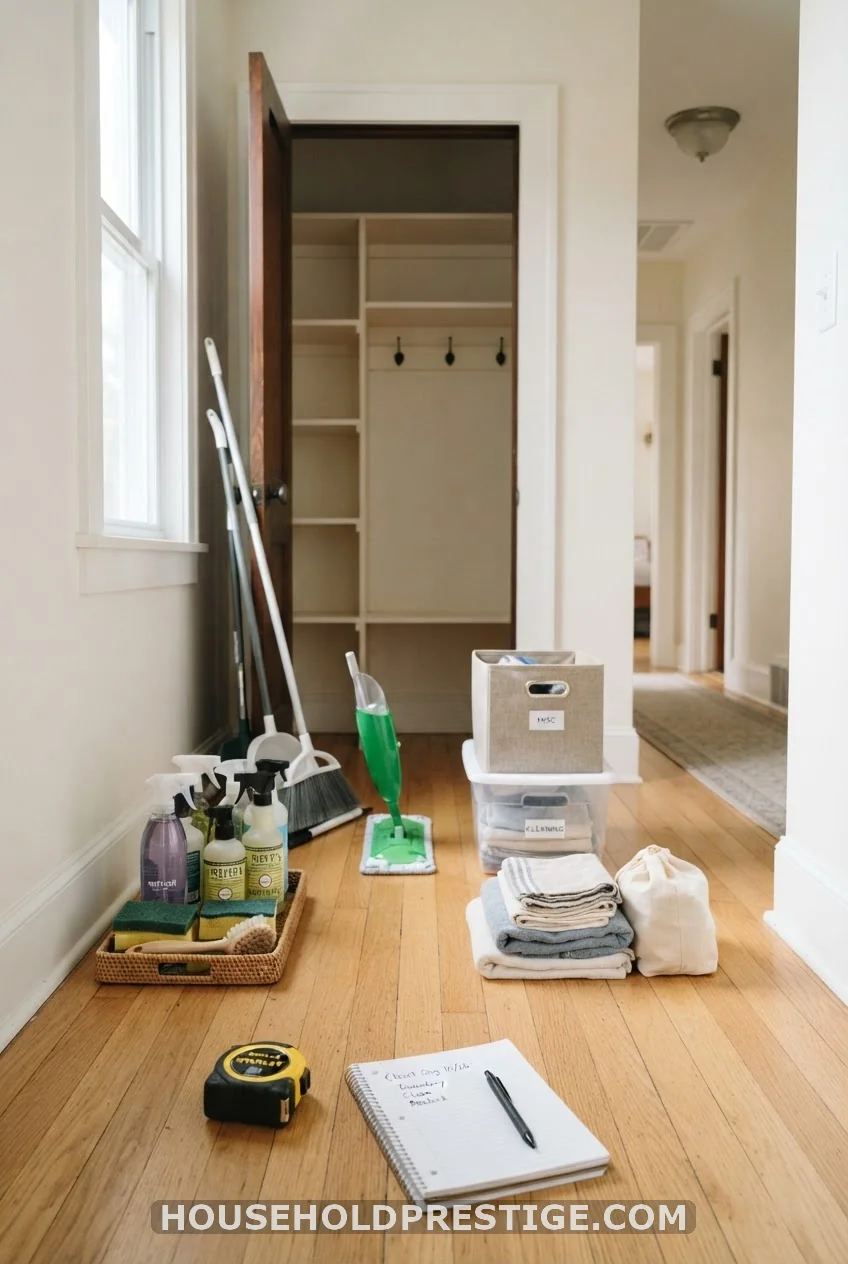
Empty the whole closet. Yes, all of it. Sort everything into four piles: keep, toss, move elsewhere, and donate. Dried-up glue, crusty sponges, and dead batteries go first. Take the batteries to a recycling drop-off instead of the trash.
Now measure. Write down the width, depth, and height. Note the gap between the door and the first shelf. A bin that runs one inch too deep means a return trip, and I have made that trip more than once.
Last, look for a water heater, furnace, or breaker panel. Those need clear space. Idea 15 covers the rules.
1. Give Every Shelf One Job
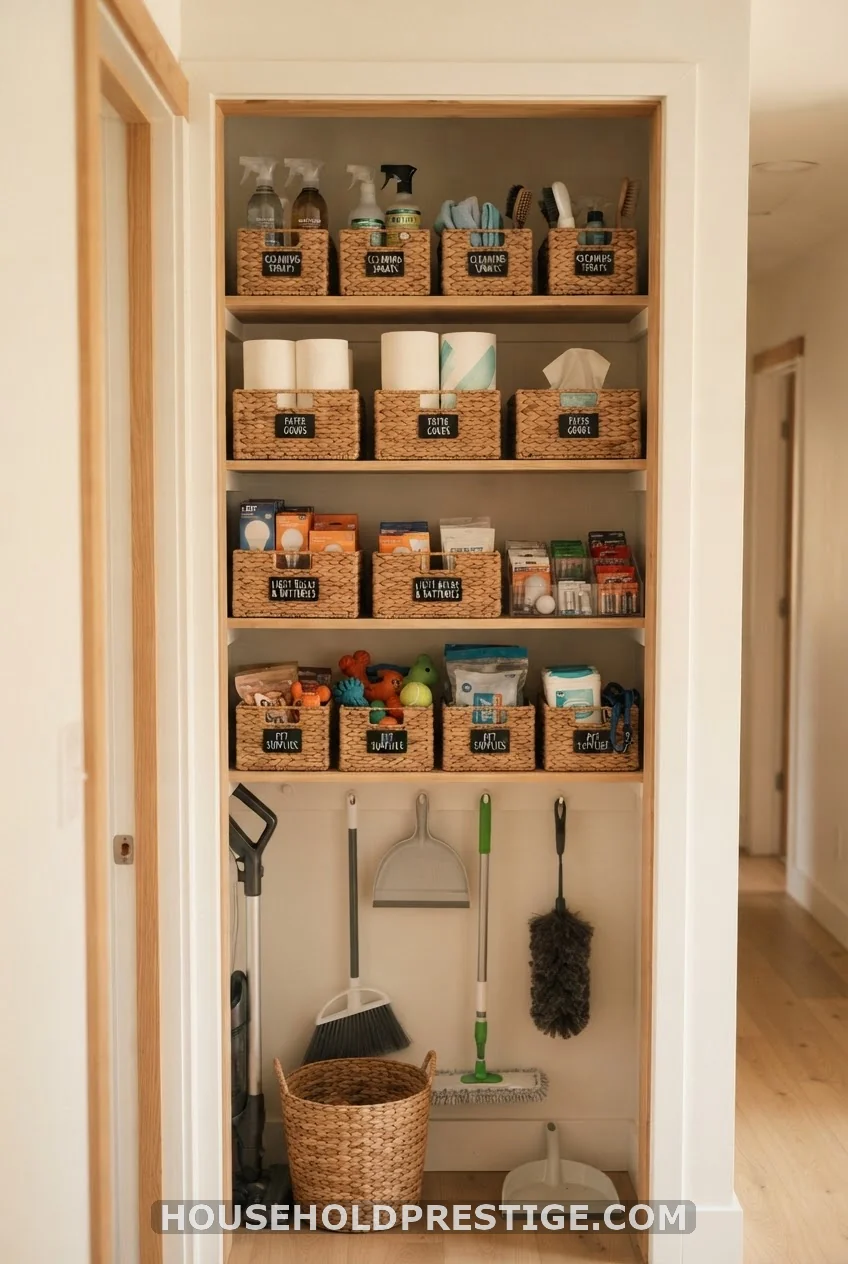
Shelves fail when they hold a mix. Pick one category per shelf: sprays, paper goods, bulbs and batteries, pet supplies. Then put the things you grab every week at eye level, about 48 to 60 inches off the floor. Everything else goes higher or lower.
One job per shelf ends the hunting. It also shows you when you’re low on something, which stops you from buying a fifth bottle of glass cleaner. Cost: $0.
2. Heavy Low, Light High
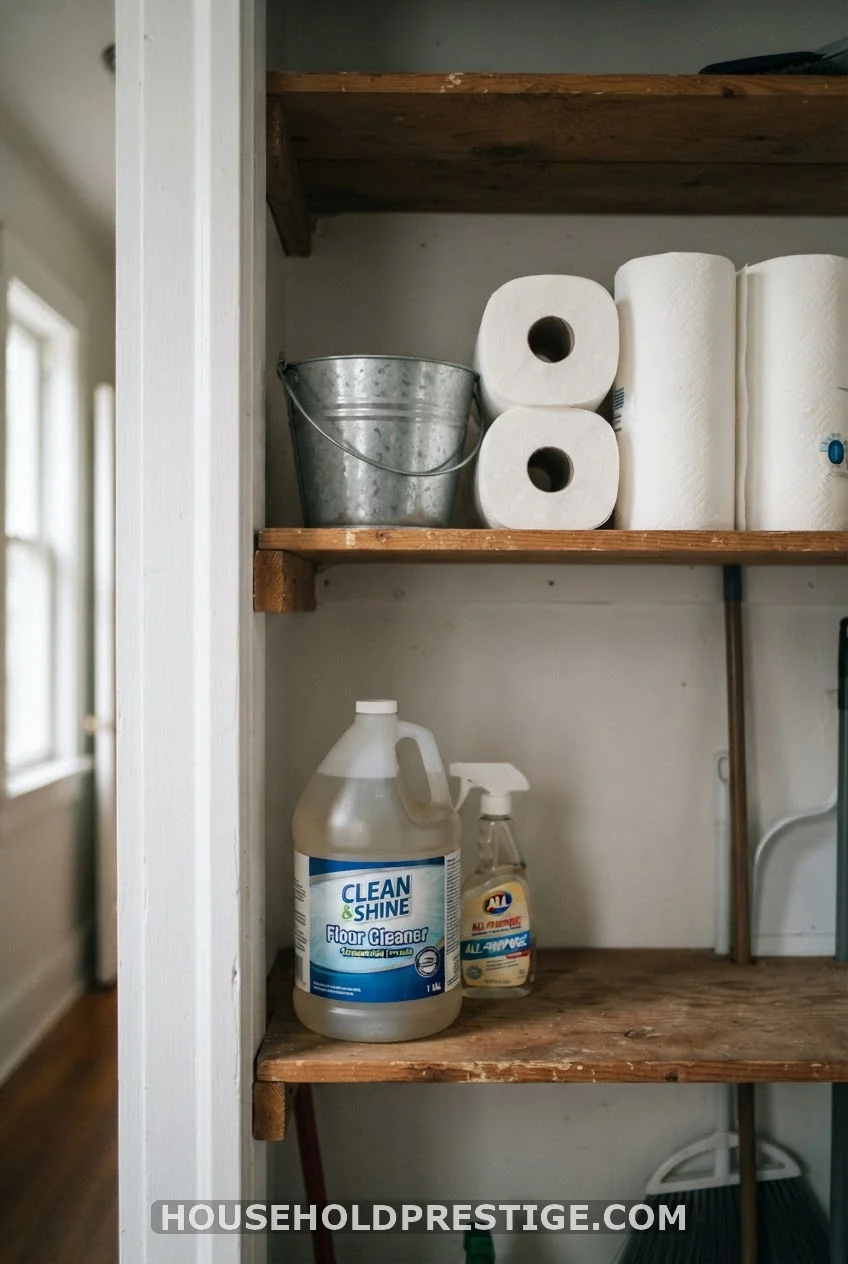
A gallon of floor cleaner weighs about 8 pounds. You don’t want that above your head. Put paper towels and empty buckets up top. Put jugs down low. Cost: $0.
3. Build a Hook Rail for Brooms, Mops, and Dusters
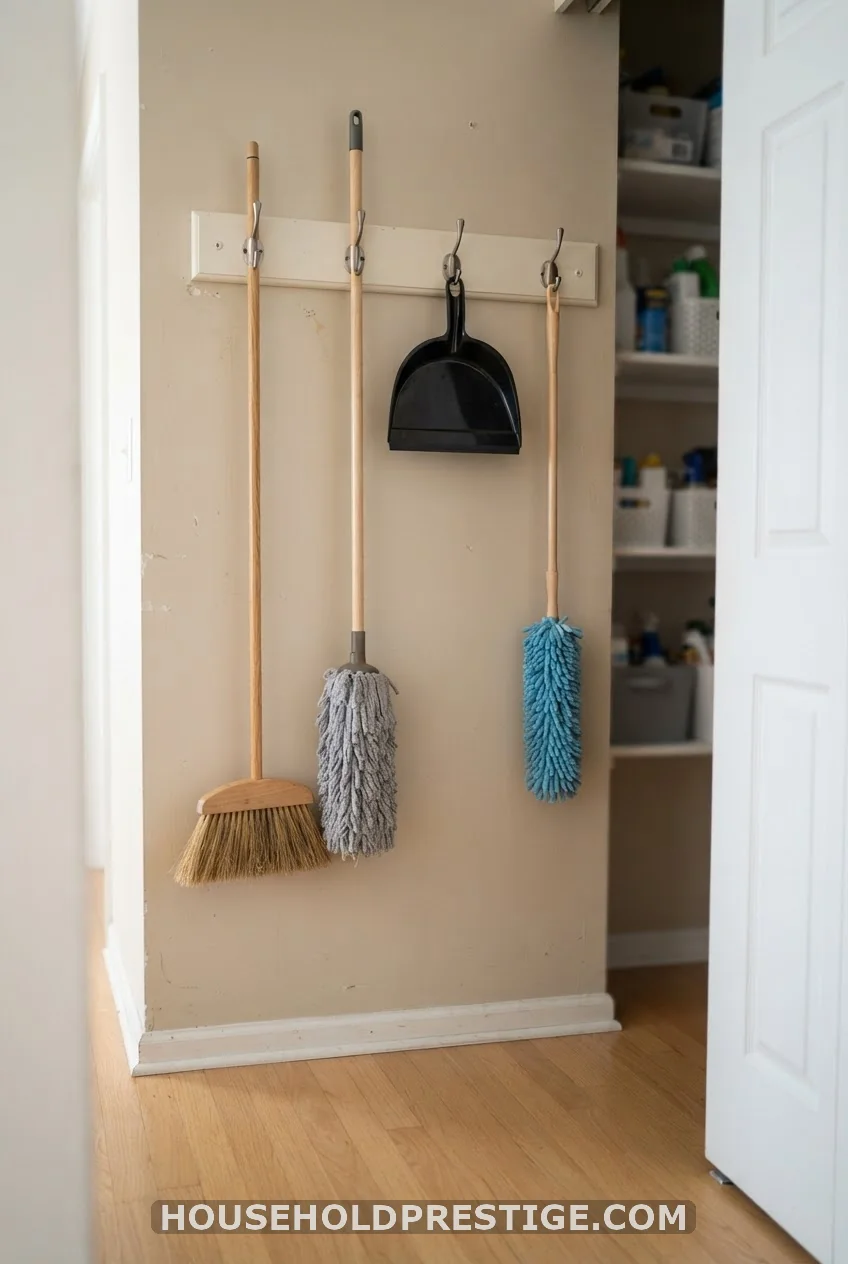
Brooms are the worst tenants. They lean, they slide, and they fall out the second you open the door. A wall-mounted hook rail fixes all of that. This is the one project in the list that takes real work, and it’s the one that changed my closet the most.
Why This Works
A hanging tool takes up wall space instead of floor space. Bristles stay off the ground, so they keep their shape longer. And you can see every tool at a glance.
Dimensions to Know
- Rail: a 1×3 pine board, 24 to 36 inches long (a 1×3 measures 3/4 inch thick and 2 1/2 inches wide)
- Height: mount the rail so the hooks sit about 60 inches off the floor
- Hook spacing: 6 inches apart for brooms and dusters, 8 inches for dust mops with wide heads
- Studs: most walls have them every 16 inches, so a rail of 24 inches or more will catch two
Materials and Cost
| Item | Cost |
|---|---|
| 1×3 pine board, 4 feet | $6 to $8 |
| 4 to 6 heavy-duty utility hooks | $8 to $12 |
| #8 wood screws, 2 1/2 inch | $3 to $4 |
| Stud finder (skip if you own one) | $10 to $15 |
| Total | $17 to $24, or up to $39 with a stud finder |
Check the package on your hooks. Most utility hooks hold 15 to 30 pounds, which is plenty for a wet mop.
Step by Step
- Use the stud finder to locate two studs on the side wall. Mark each one with a pencil at 60 inches from the floor.
- Hold the board against the wall with the marks near each end. Set a level on top and check that the bubble sits in the middle.
- Drill two pilot holes through the board at the stud marks. This keeps the pine from splitting.
- Drive the 2 1/2 inch screws through the board and into the studs. Snug is enough. Cranking them down cracks the wood.
- Mark the hook spots along the board with a pencil, using the spacing above.
- Screw the hooks in. Hang the heaviest tool near a stud and the lightest at the far end.
- Hang everything up and open and close the door twice. If a handle hits the door, shift that hook over an inch.
Plan on about an hour, start to finish.
Renter Version
Skip the drill. Use Command Large Utility Hooks, which are rated for about 5 pounds each, and hang one tool per hook. Wipe the wall with rubbing alcohol first so the strip sticks.
Pro Move
Paint the rail the same color as the wall. It fades from view, and the tools become the only thing you see.
Common Mistakes
- Screwing into drywall with no stud behind it. The rail will sag within a month. If a stud isn’t there, use drywall anchors rated for 50 pounds.
- Hanging the rail too low. A broom that touches the floor collects dust and bends its bristles.
- Skipping the door test. I hung one mop where the door handle hit it. I found out at 7 a.m. with coffee in my hand.
4. Label the Shelf, Not Just the Bin
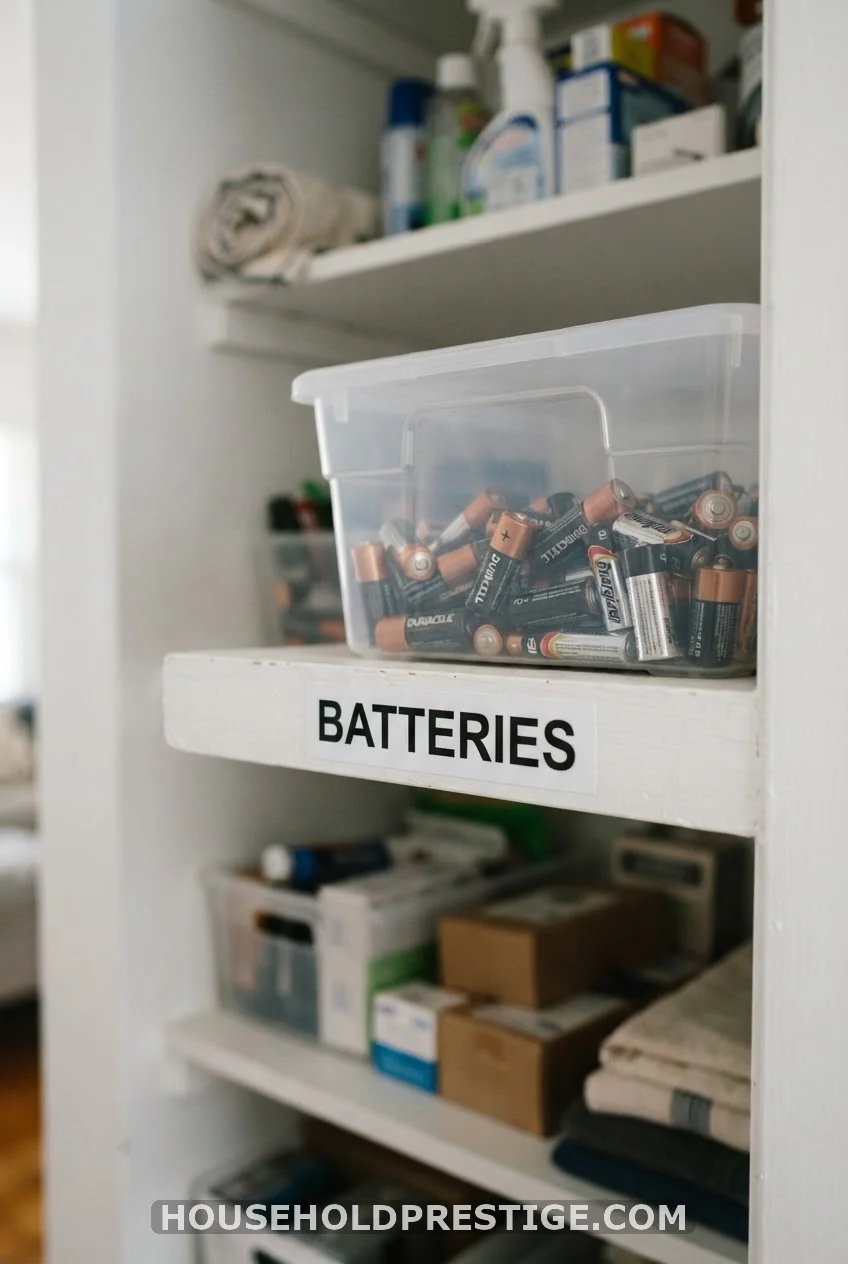
Bins move. Shelves stay put. A label on the shelf edge shows where each thing lives, even when the bin is out on the counter. A label maker like the Brother P-touch PT-D210 runs about $25 to $30. Masking tape and a marker cost $3 and work fine.
5. The Bleach Shelf I Got Wrong
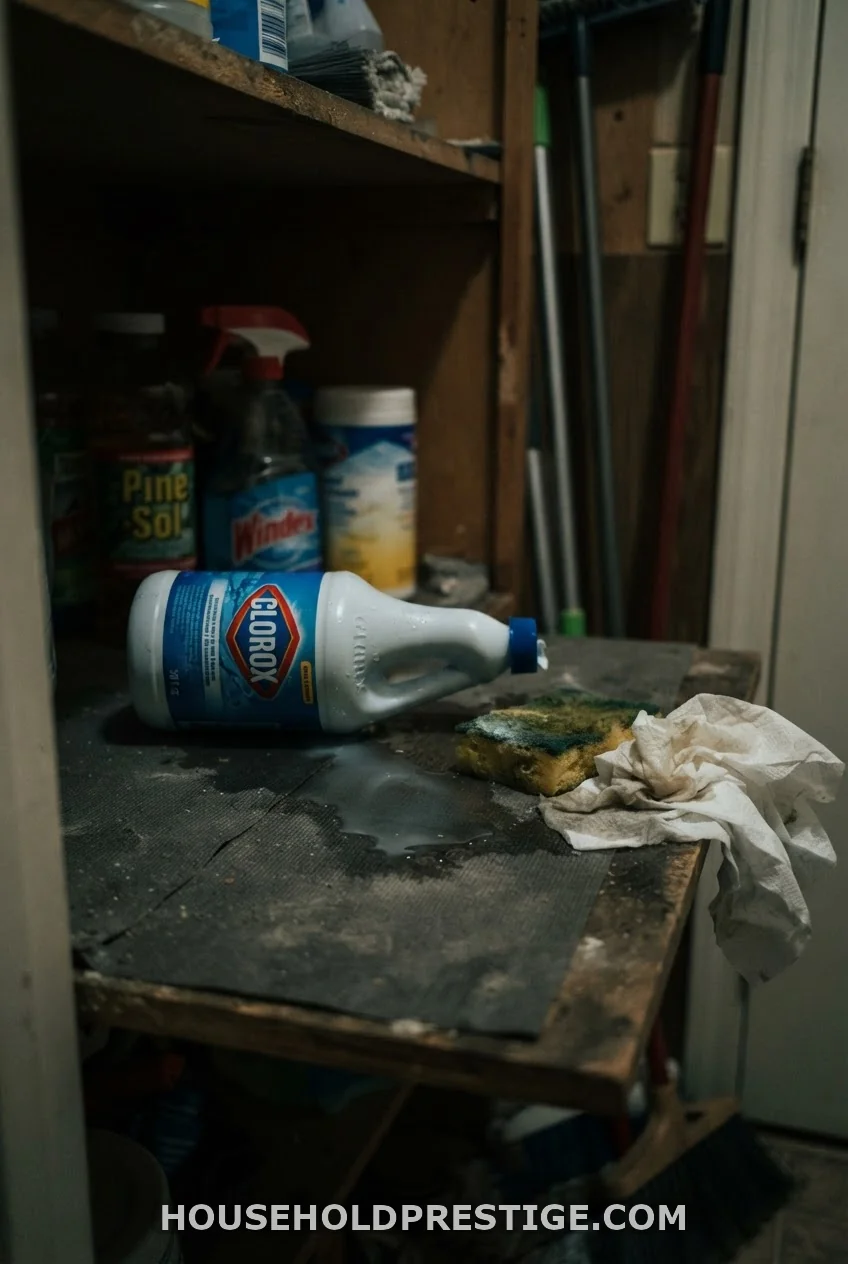
Back when I started organizing, I lined up my cleaners by size. Tallest on the left, shortest on the right. It looked great. It was also a mistake.
A bottle of bleach ended up next to a bottle of ammonia-based glass cleaner. The bleach cap had a hairline crack. One morning I opened the door, smelled something sharp, and felt my eyes sting. The bleach had leaked across the shelf and stopped a few inches from the ammonia. A few inches.
I opened every window in the house and ran a fan for an hour. Then I wiped the shelf with water and threw out the soaked liner.
Here’s what I do now:
- Bleach lives alone, on a low shelf, inside a plastic bin that catches leaks
- Ammonia cleaners and acidic toilet bowl cleaners sit on a different shelf
- Every cap gets checked when I put the bottle back
Never mix bleach with ammonia or acids. The fumes are dangerous. Sort by hazard first and by height second.
6. Clear Latching Boxes for Small Stuff
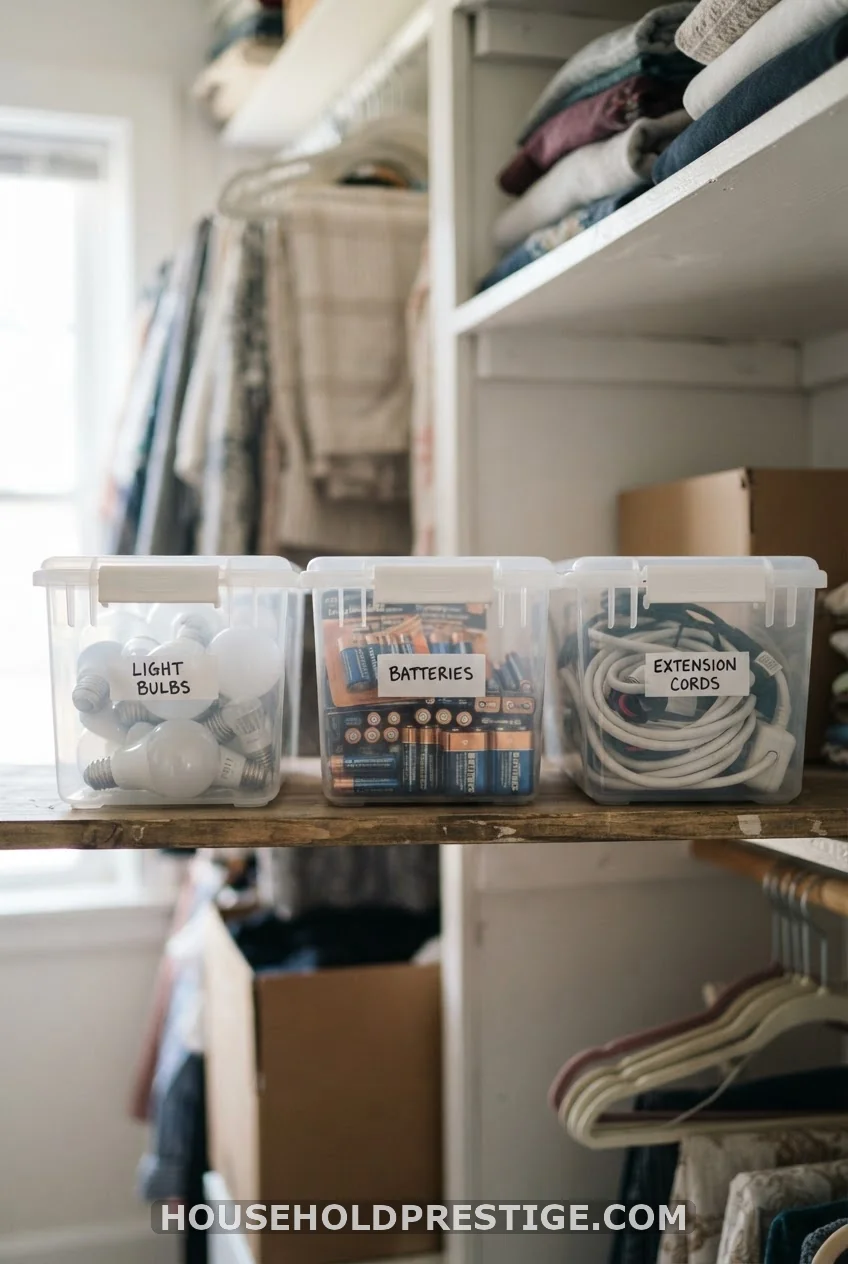
Loose bulbs roll. Batteries scatter. Cords tangle into a knot the size of a football. Clear latching boxes solve all three. A 6-quart box, such as the Sterilite ones sold at most big-box stores, costs about $3 to $5 and stacks two or three high.
Go clear, not solid. You can read the contents without opening a lid, and that saves you from a lot of pointless digging. Use one box for bulbs, one for batteries, and one for cords and tape.
7. Hang Spray Bottles From a Tension Rod
Wedge a tension rod between the closet walls and hang spray bottles by their triggers. Bottles come off the shelf, and you gain a whole row of space. A rod runs $5 to $8. Check the weight rating first.
8. The Matching Bin Myth
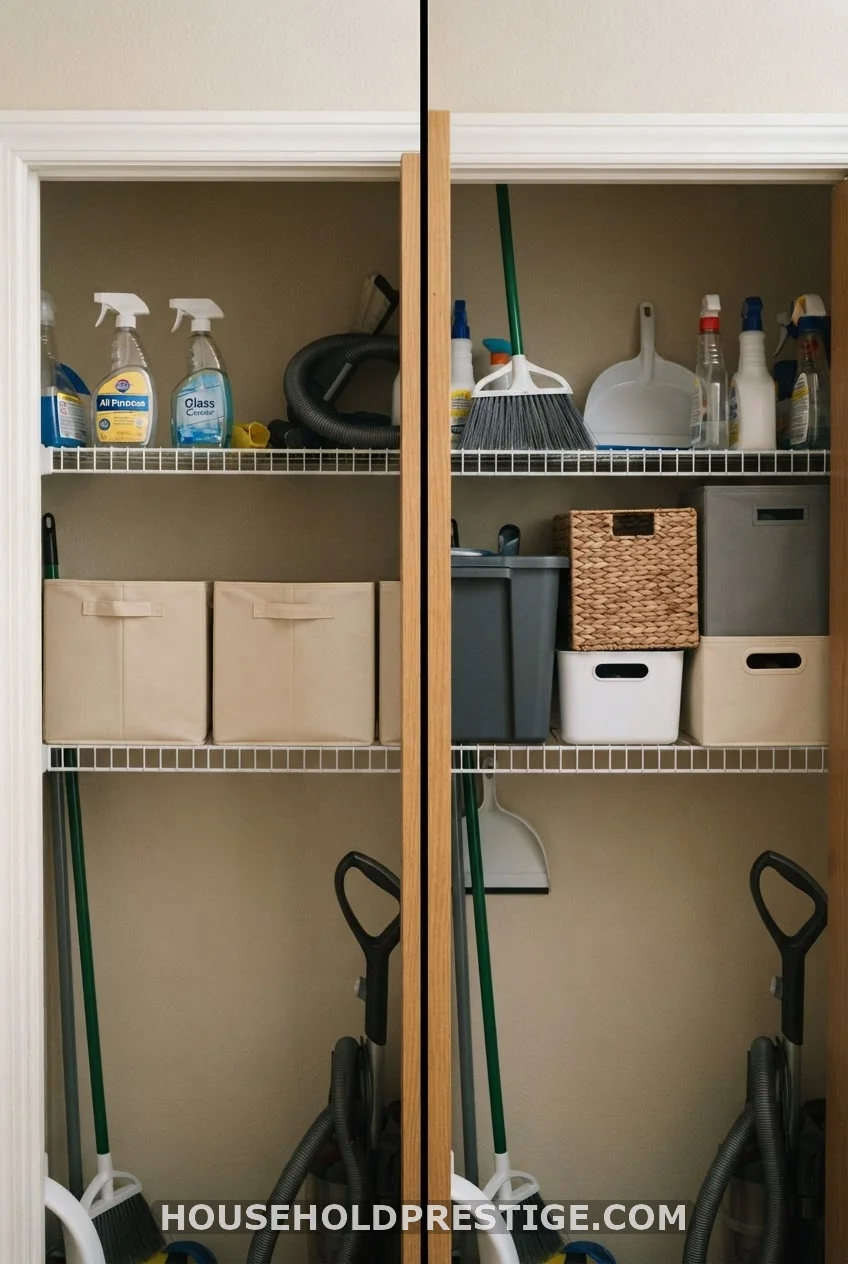
What most people think: Buy a set of matching bins first, and the closet will look organized.
What works: Measure your shelves, then buy bins that fit them.
Matching bins look great in a store photo. In your closet, they leave gaps, tip over, or refuse to slide in. I once bought eight matching baskets for a shelf that was 11 inches deep. The baskets were 12 inches. All eight went back.
Here’s the order that works:
- Empty and sort
- Measure each shelf’s width, depth, and height
- Decide what each shelf will hold
- Buy bins that fit those numbers
Matching comes last. If you want a uniform look, spray paint mismatched baskets one color for about $7 a can. That costs less than a set, and it fits.
9. Use the Back of the Door
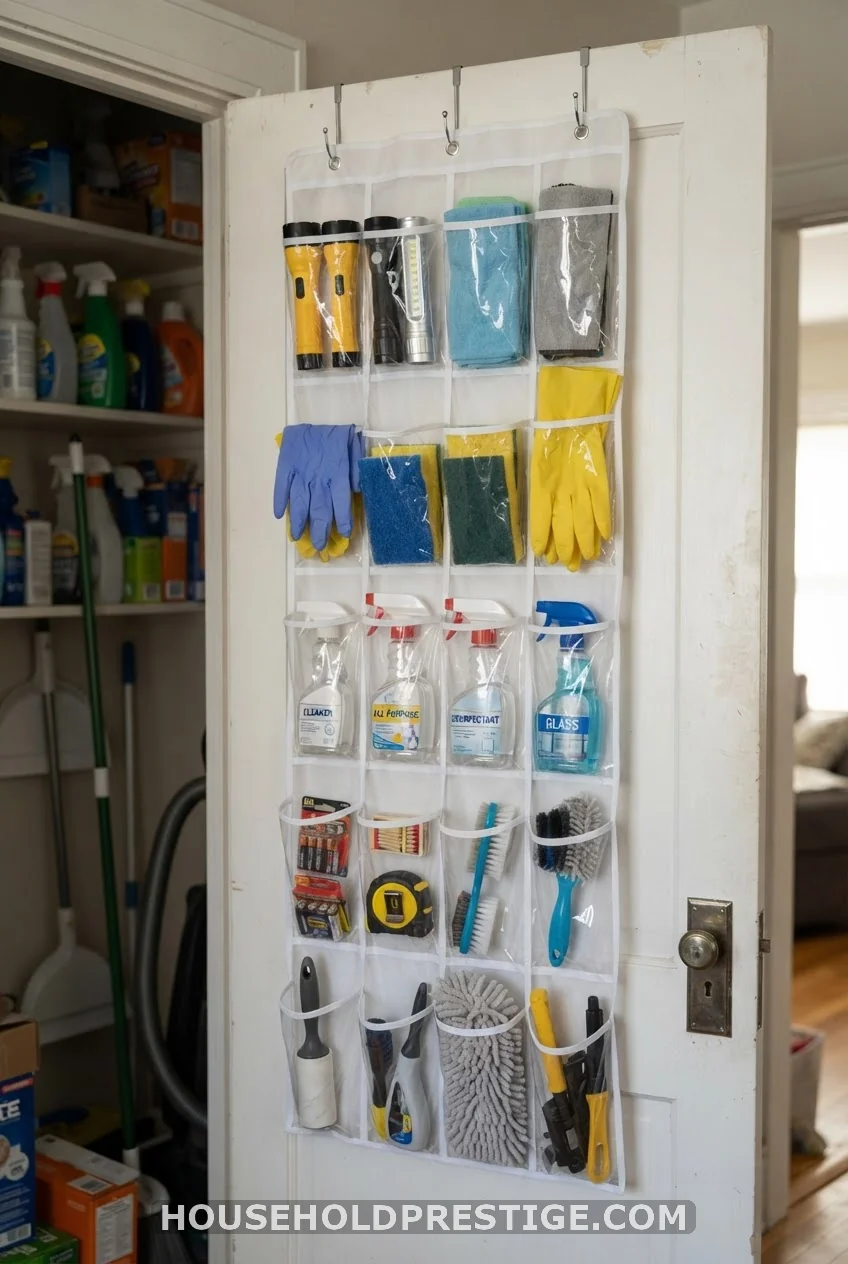
The back of the door is the most wasted spot in the closet. An over-the-door pocket organizer, about 50 inches tall and 16 inches wide, gives you 12 to 24 pockets for $12 to $20. Choose clear pockets so you can see the contents.
Fill it with small, light things: flashlights, gloves, sponges, sunscreen, and lint rollers. Keep it light. Most interior closet doors are hollow, and a heavy load can warp them.
The catch: check the gap between the door and the shelves. If the organizer is thick, it may hit the shelf edge and keep the door from closing.
10. Slide In a Slim Rolling Cart
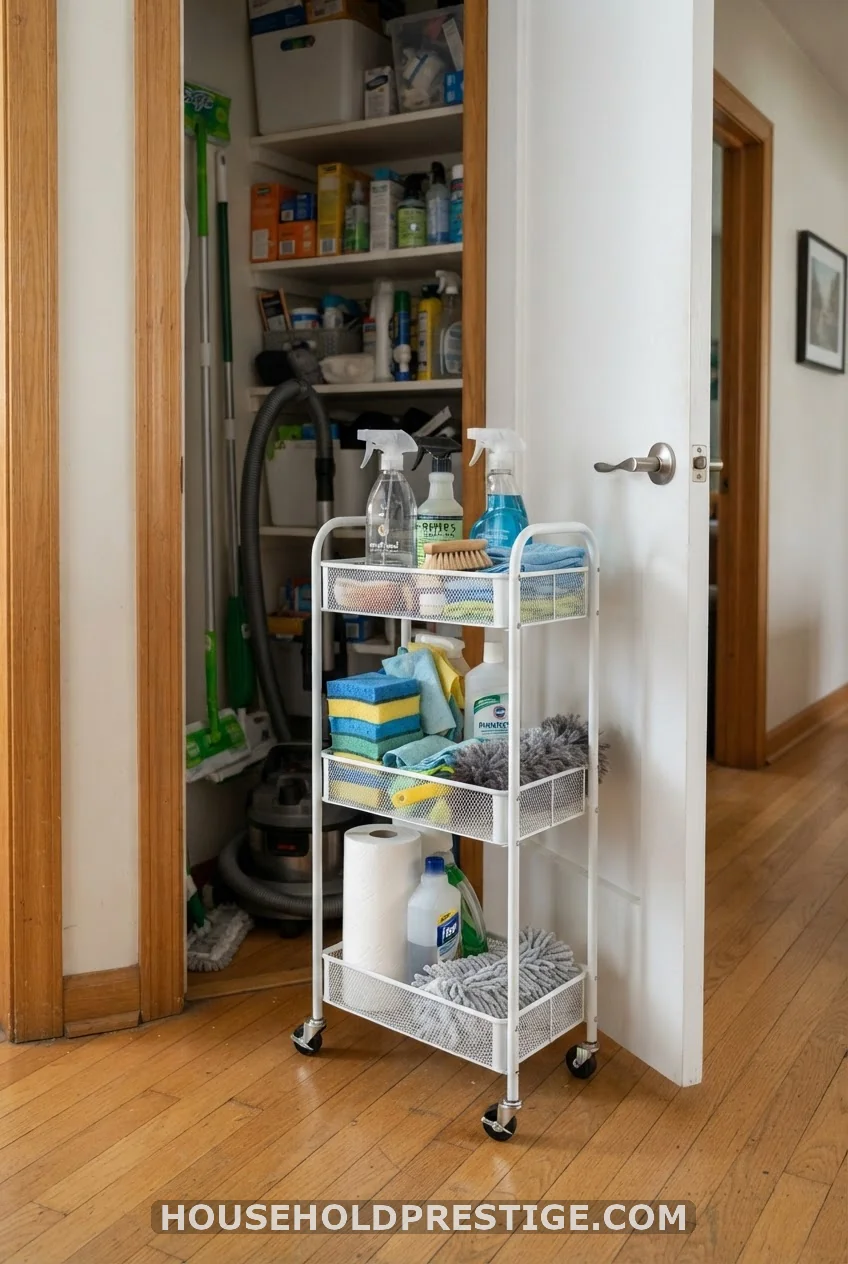
A rolling cart turns a dead-end gap into a drawer. If you have 8 to 14 inches of floor space beside a shelf unit, a slim cart will fit. Carts of this size cost around $25 to $40. The IKEA RÅSKOG is a common pick, though it measures about 14 inches wide, so measure before you buy.
Store the things you grab most on the cart: sprays, rags, and sponges. Pull it out on cleaning day and roll it back in when you’re done.
11. Get the Vacuum Off the Floor
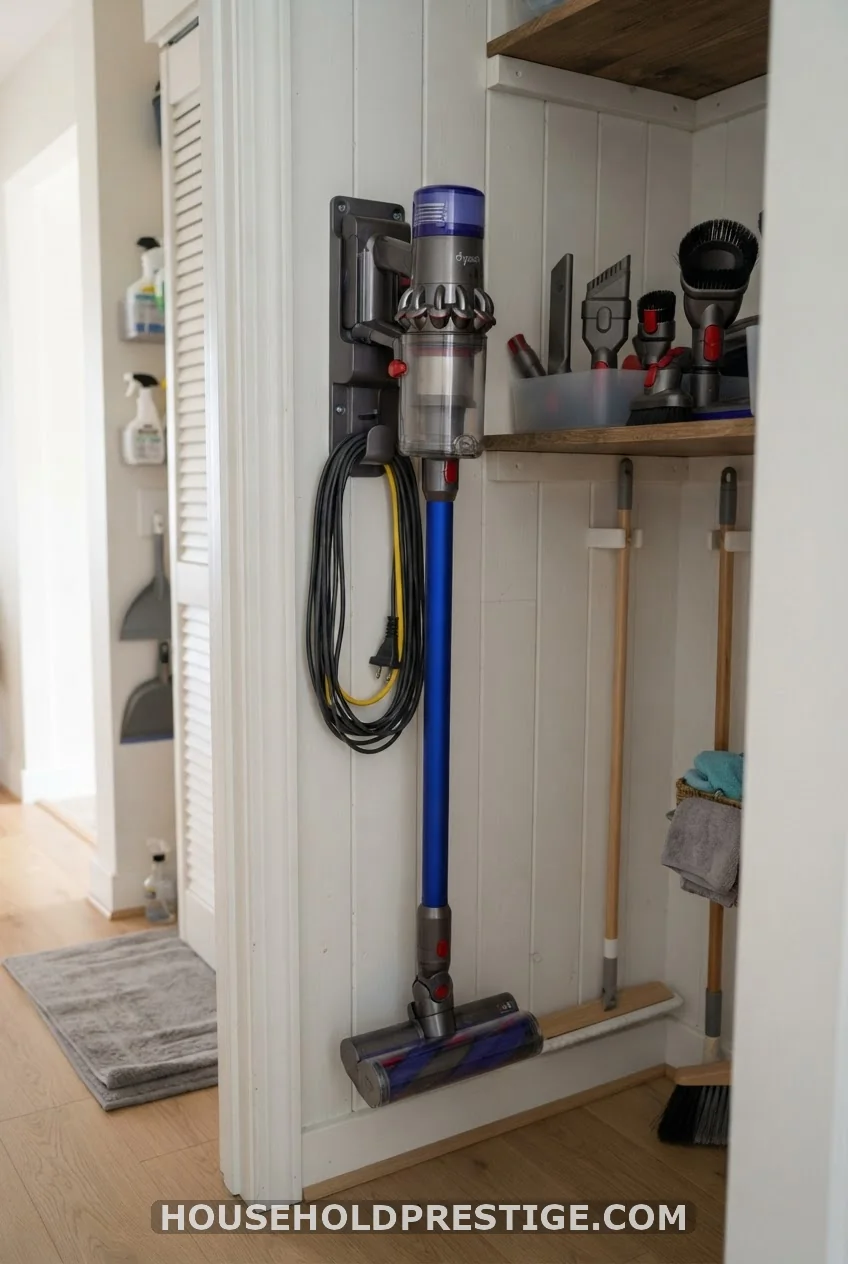
The vacuum takes up more floor than every other item combined. An upright model stands 40 to 48 inches tall and 12 to 14 inches wide, and it’s the reason most closet doors won’t close.
A wall-mounted bracket lifts it off the ground. Brackets cost $15 to $30. Most hold the vacuum by its handle or body, and the wheels hang free.
- Measure your vacuum from the floor to the top of the handle.
- Choose a spot on a stud wall where the handle will sit at about shoulder height.
- Mount the bracket into a stud. A vacuum weighs 10 to 20 pounds, and drywall alone won’t hold it.
- Hang the vacuum, wrap the cord around the body, and store the hose and attachments in a bin on the shelf beside it.
Once the vacuum has a home, you’ll use it more often. Nobody wants to wrestle a machine out of a pile of junk.
12. Line the Shelves
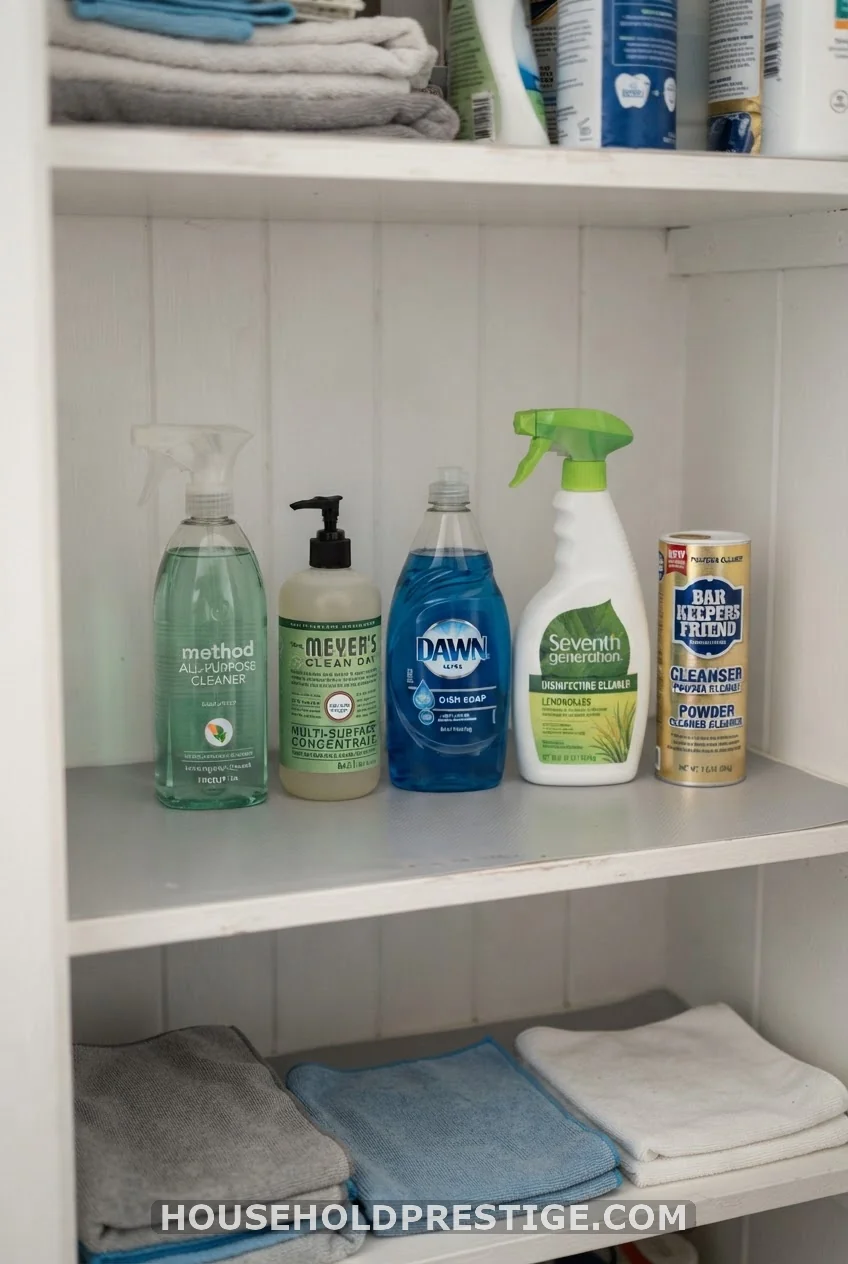
Adhesive liner catches drips and wipes clean in seconds. An 18-inch-wide roll runs about $8 to $12. Cut it 1/2 inch short of the shelf edge so it won’t peel.
13. Before and After: My 30-Inch Rental Closet
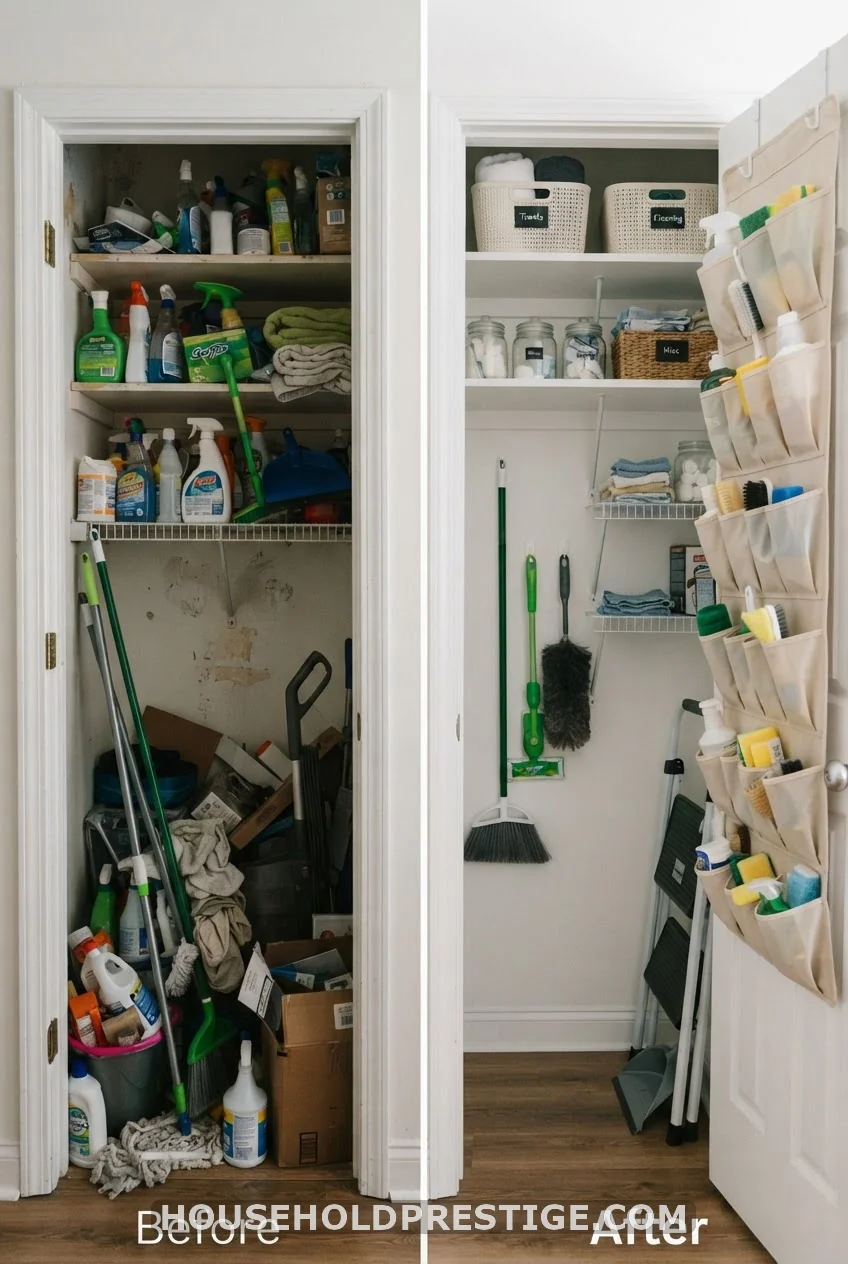
Before: The closet was 30 inches wide and 24 inches deep, with one wire shelf at chest height. Everything else lived on the floor. I counted 43 items down there. The vacuum lived on top of a bucket, and I couldn’t shut the door without a shove and a prayer.
What I did: I emptied it and tossed 11 things: dried paint, three dead sponges, and a fan I hadn’t used in years. I added a second shelf, hung a pocket organizer on the door, and put up four adhesive hooks for the broom, the mop, and two dusters. The vacuum went to the closet’s back corner on a wall bracket.
After: The floor is clear. The door closes with one finger. I can name where every item lives, and so can my partner, which matters more than the bins.
Cost: About $34. That covered the shelf, the pocket organizer, the hooks, and a roll of liner.
Renter note: Everything came out with no holes. I peeled the hooks off with dental floss slid behind the strip.
14. Pack a Cleaning Caddy by Room
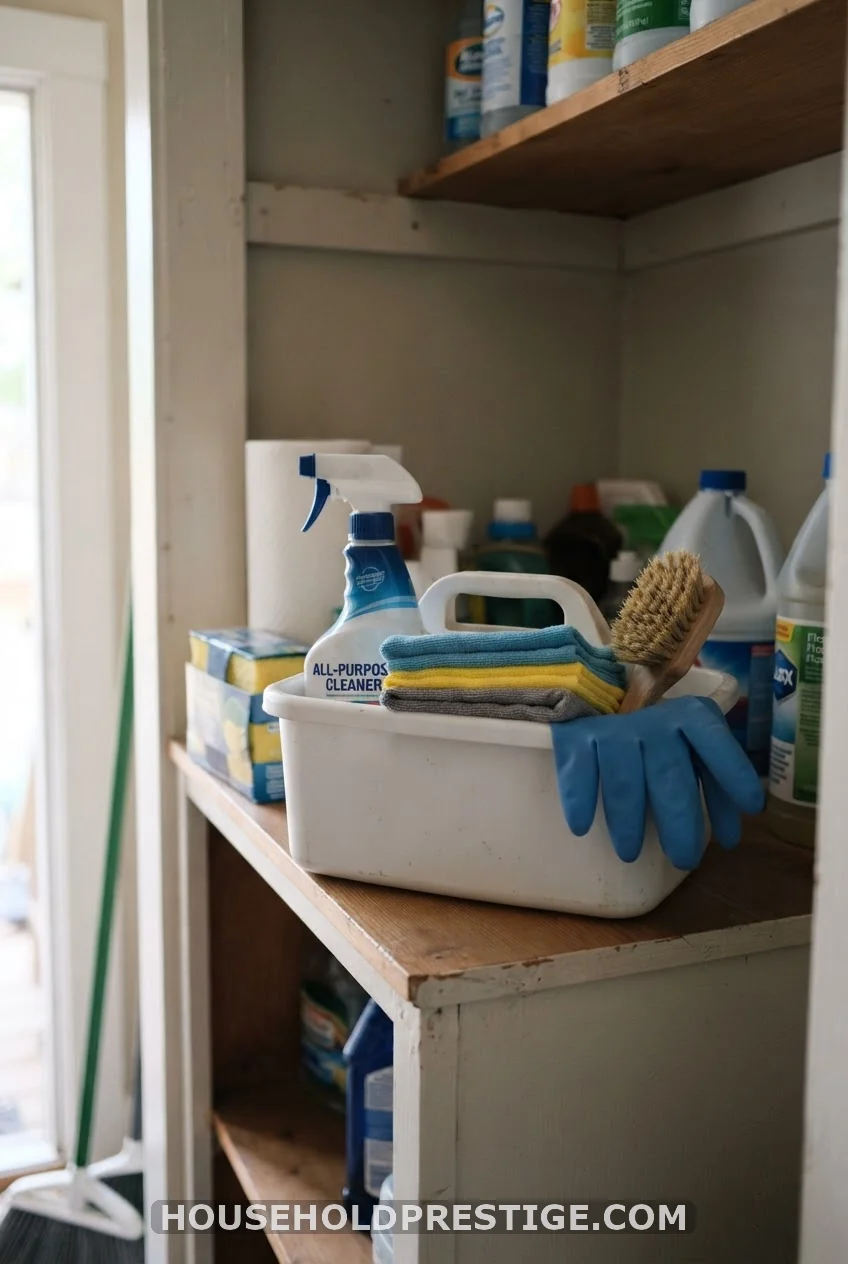
A caddy saves you from making five trips to the closet. Build one per job, such as a bathroom caddy with toilet cleaner, a scrub brush, and gloves, and a dusting caddy with a duster, polish, and two cloths. A handled caddy costs $10 to $15. Keep it on a shelf at eye level and grab it on your way out.
15. Give the Water Heater and Panel Breathing Room
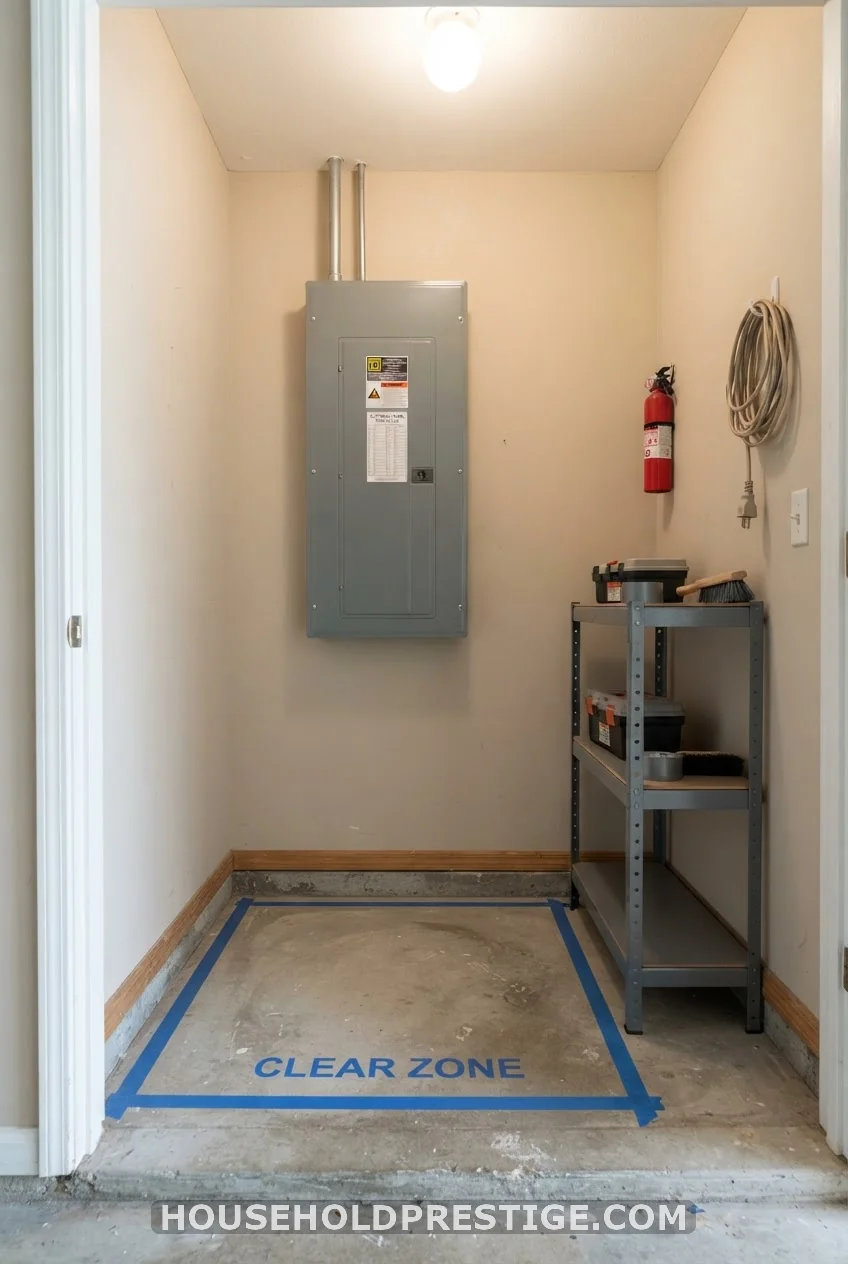
Some utility closets hold more than mops. They hold a water heater, a furnace, or a breaker panel. Storage has to work around all three.
Electrical panel: In most of the US, the National Electrical Code (Section 110.26) calls for a clear space at least 30 inches wide and 36 inches deep in front of the panel. Nothing goes in that space, not even a broom. Mark it with painter’s tape on the floor so nobody forgets.
Gas water heater or furnace: Keep gasoline, paint thinner, aerosol cans, and other flammables far from the burner. Your manual lists the exact clearances. If you’ve lost it, search the model number online.
When it’s worth it: Do this check before you buy a single shelf. A code inspector will flag a blocked panel, and a blocked panel is a real hazard in an emergency. Cost: $0 and a roll of tape.
Your Closet, Your Rules
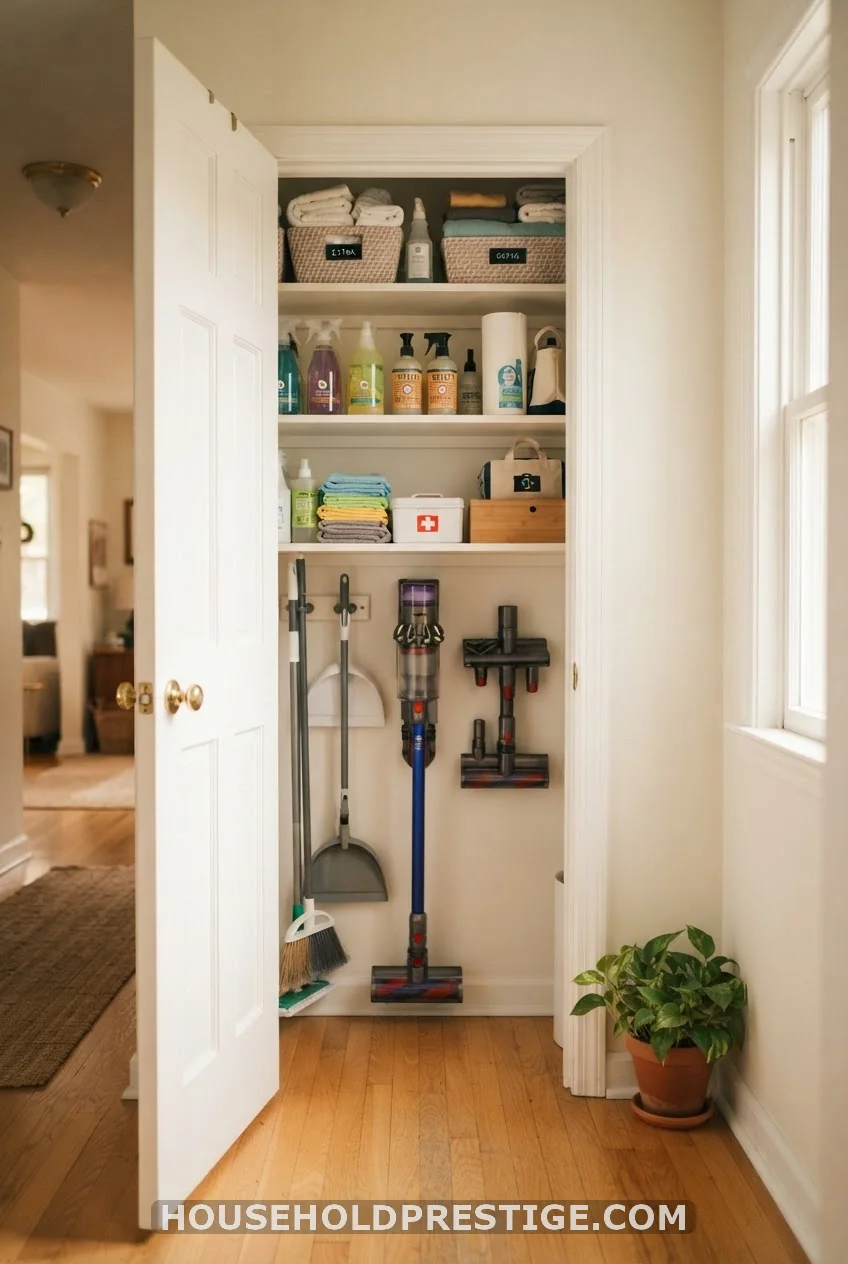
You don’t need all 15 of these. I didn’t use them all in my own closet. Start with the free ones: give each shelf a job, put heavy things low, and check your panel clearance. Then add one small buy at a time.
A good utility closet doesn’t have to look like a magazine shoot. It has to open without a fight and give you the mop when you reach for the mop. Pick one idea tonight, and give it twenty minutes. Future you will be glad.
FAQ
How do I organize a small utility closet?
Start by emptying it and measuring the space. Use the walls and the back of the door for tools and small items, keep the floor as clear as you can, and give each shelf one job. Slim carts and wall hooks work best in tight closets.
What should you keep in a utility closet?
Keep cleaning supplies, brooms, mops, the vacuum, paper goods, light bulbs, batteries, and basic tools. Store anything flammable, such as paint thinner, in a garage or shed, away from a water heater or furnace.
How do I organize a utility closet with no shelves?
Add a freestanding shelf unit or a set of wall-mounted shelves, and hang tools from a hook rail. A tension rod also works for spray bottles. Renters can use adhesive hooks and a rolling cart with no drilling.
How do I keep cleaning supplies safe from kids and pets?
Put chemicals on the highest shelf or inside a bin with a latching lid, and add a child-safety latch to the closet door. Store bleach apart from ammonia and acidic cleaners. Keep the poison control number posted inside the door.