

Your closet floor is not a purse graveyard. It just feels like one right now.
If you’ve ever dug through a pile of totes to find the one crossbody you need, you already know the problem with purse storage ideas for a closet: most bags don’t stand up on their own, they don’t stack well, and they definitely don’t like being crammed onto a shelf meant for sweaters. By the end of this, you’ll have seventeen ways to fix that, from five-minute fixes to a full weekend project, so every bag has a spot, and you can see what you own.
1. Leather-Padded Purse Hooks
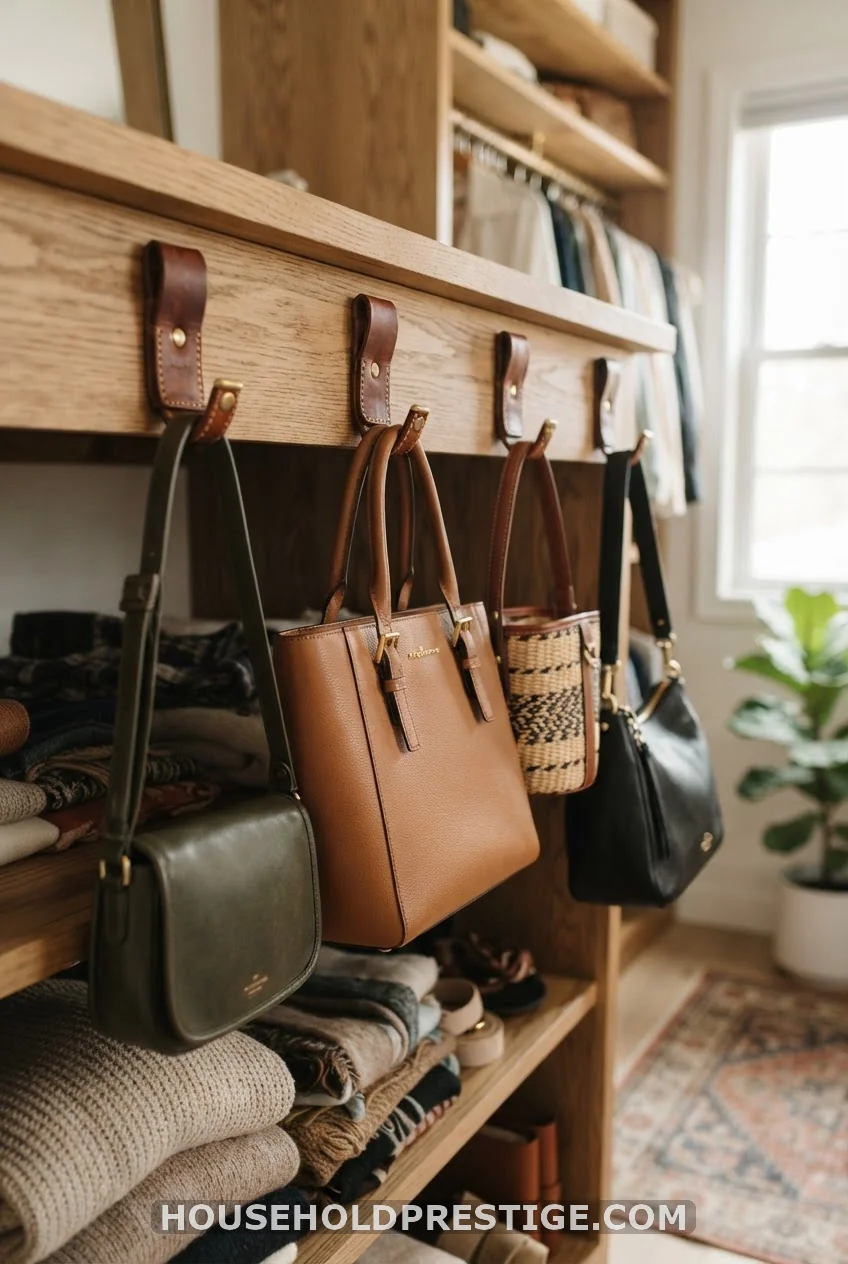
Screw in a row of leather-padded hooks along the underside of a shelf. The padding matters here. Bare metal hooks stretch and crease handles over time, and a $20 fix now beats a warped strap later. Spacing them four inches apart keeps bags from crowding each other.
2. Clear Acrylic Shelf Dividers
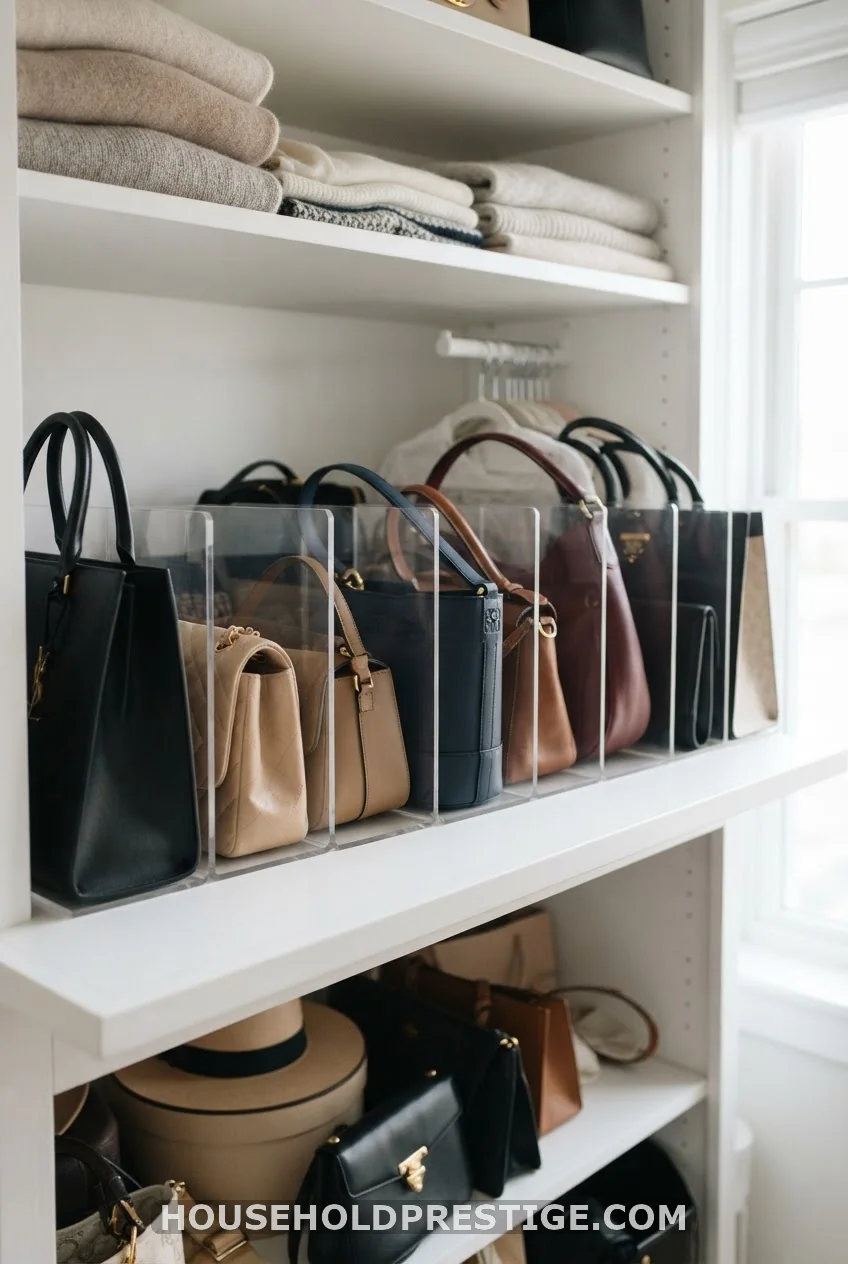
Turn one flat shelf into six narrow slots by adding acrylic dividers every five to six inches. Structured bags stand upright instead of toppling sideways, and because the dividers are clear, you still see color and shape at a glance. A four-pack runs around $18 to $25 online, and installation is just a slide-and-screw job, ten minutes tops.
3. Over-the-Door Wire Rack
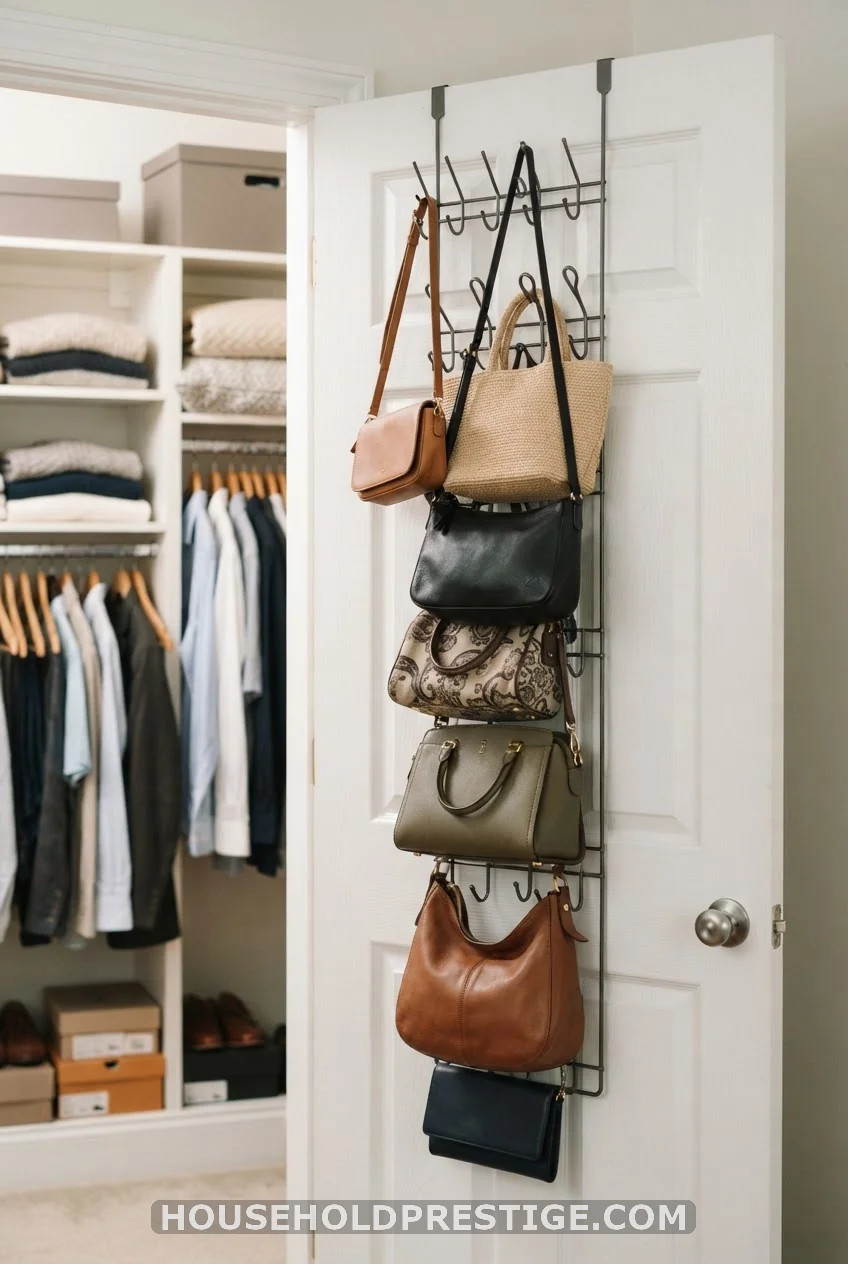
The back of your closet door is free real estate. An over-the-door wire rack hangs without tools, holds four to six bags, and adds storage without taking an inch of shelf or floor space. Pro tip: measure your door thickness before buying. Most racks fit doors up to 1.75 inches, but older homes sometimes have thicker doors that won’t clear the bracket.
4. Build a Dedicated Purse Cubby Wall
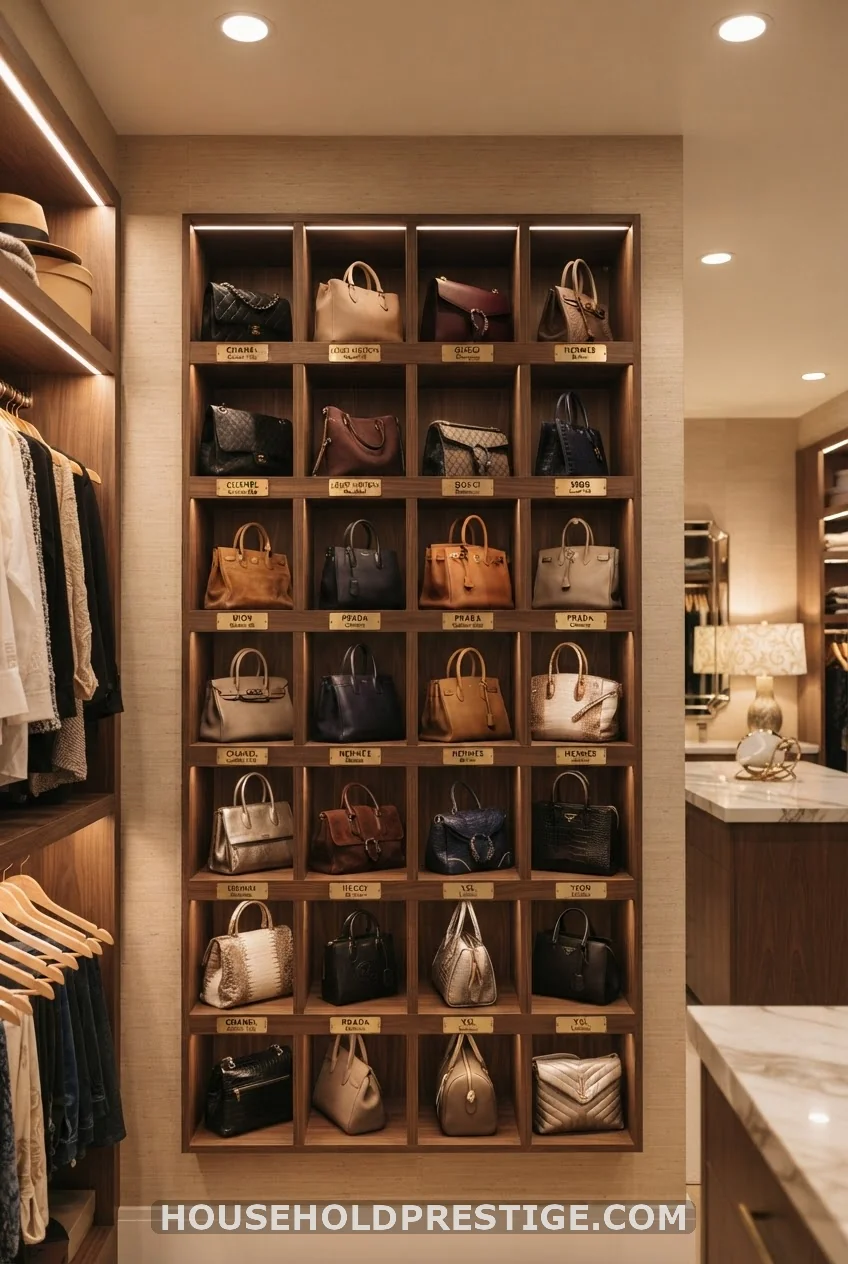
This is the project worth doing once and never revisiting. A cubby wall gives every bag its own square, so nothing touches, nothing slouches, and nothing gets buried under three other totes.
Why This Works
Bags lose shape fastest when they’re stacked or squeezed against each other for months. A cubby separates each one completely, and the open front means you’re not digging blind. It’s the same logic shoe cubbies use, just scaled up for handbags.
Dimensions
Standard handbag cubbies run 12 to 14 inches wide, 12 inches tall, and 10 to 12 inches deep for most everyday bags. Oversized totes or weekenders need at least 16 inches of depth, so measure your largest bag before you buy or build.
Step-by-Step
- Measure your closet wall width and divide by 13 inches (average cube width) to get your cube count.
- Choose a modular cube shelf (IKEA’s Kallax series is the most common pick here) or build from ¾-inch plywood if you want custom depth.
- Mount a French cleat or wall anchors rated for at least 50 pounds. A full unit loaded with bags is heavier than it looks.
- Level the unit with a bubble level before final anchoring. Even a slight tilt becomes obvious once bags are loaded.
- Stuff each bag with a rolled towel or bubble wrap before placing it, so it holds its shape inside the cube.
- Load heaviest bags at the bottom third of the unit to keep the center of gravity low.
Materials & Costs
A pre-built Kallax-style unit runs $50 to $90 depending on size. Wall anchors and a French cleat add another $10 to $15. Budget $70 to $110 total for a six- to eight-cube wall, or less if you already own plywood and tools.
Common Mistakes to Avoid
Skipping the wall anchor step is the most common one. A loaded cube unit can weigh 40 pounds or more, and drywall alone won’t hold that long-term. The second mistake is buying cubes too shallow for your biggest bag, so measure first. The third is loading bags without any internal support, which lets them slump against the cube walls over time.
Installation Note
If you’re not comfortable anchoring into a wall, freestanding cube units skip the mounting step entirely. You lose a little stability but gain the option to move the whole thing later.
5. Nest Small Bags Inside Large Ones
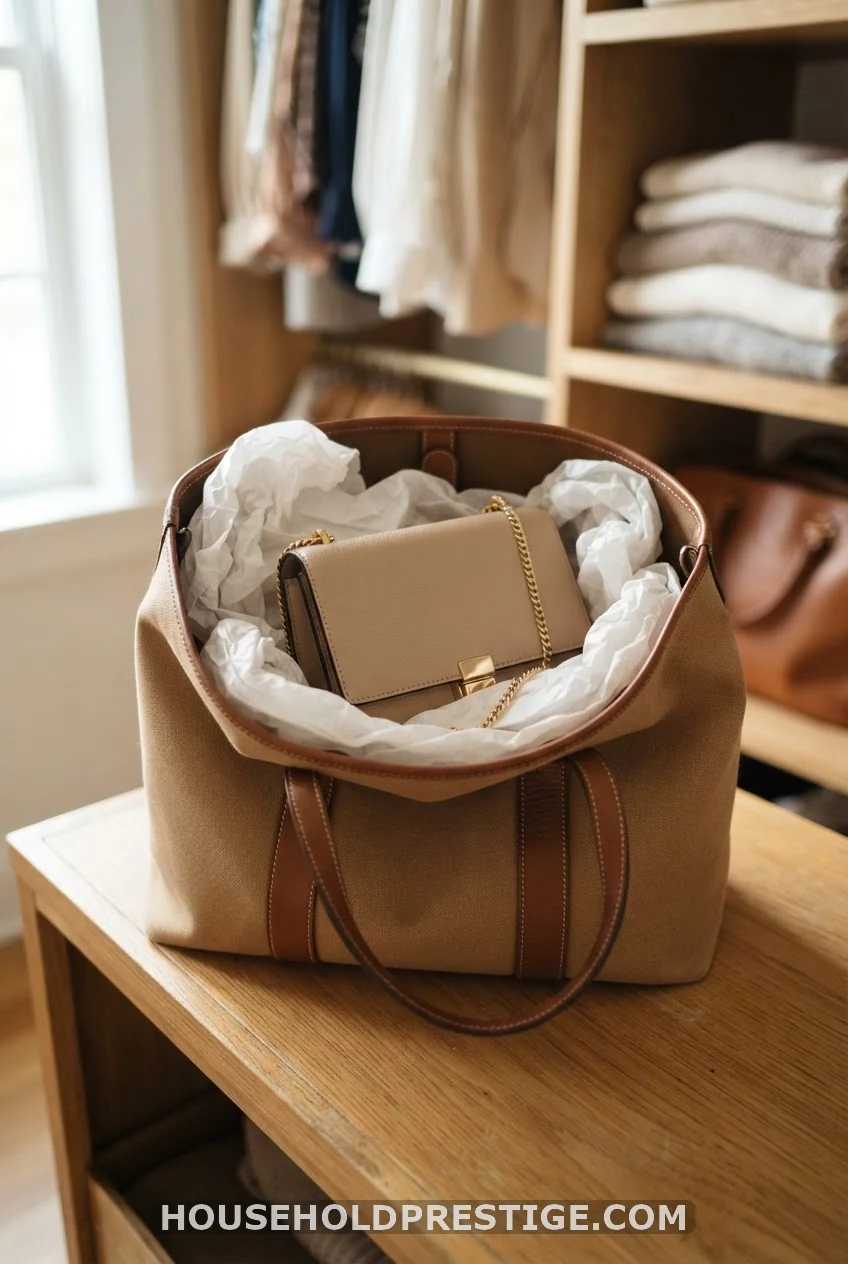
Clutches and mini bags take up almost no shelf space, so tuck them inside a larger tote with a sheet of acid-free tissue paper between the two. It doubles your storage without adding a single shelf.
6. Closet Rod with S-Hooks
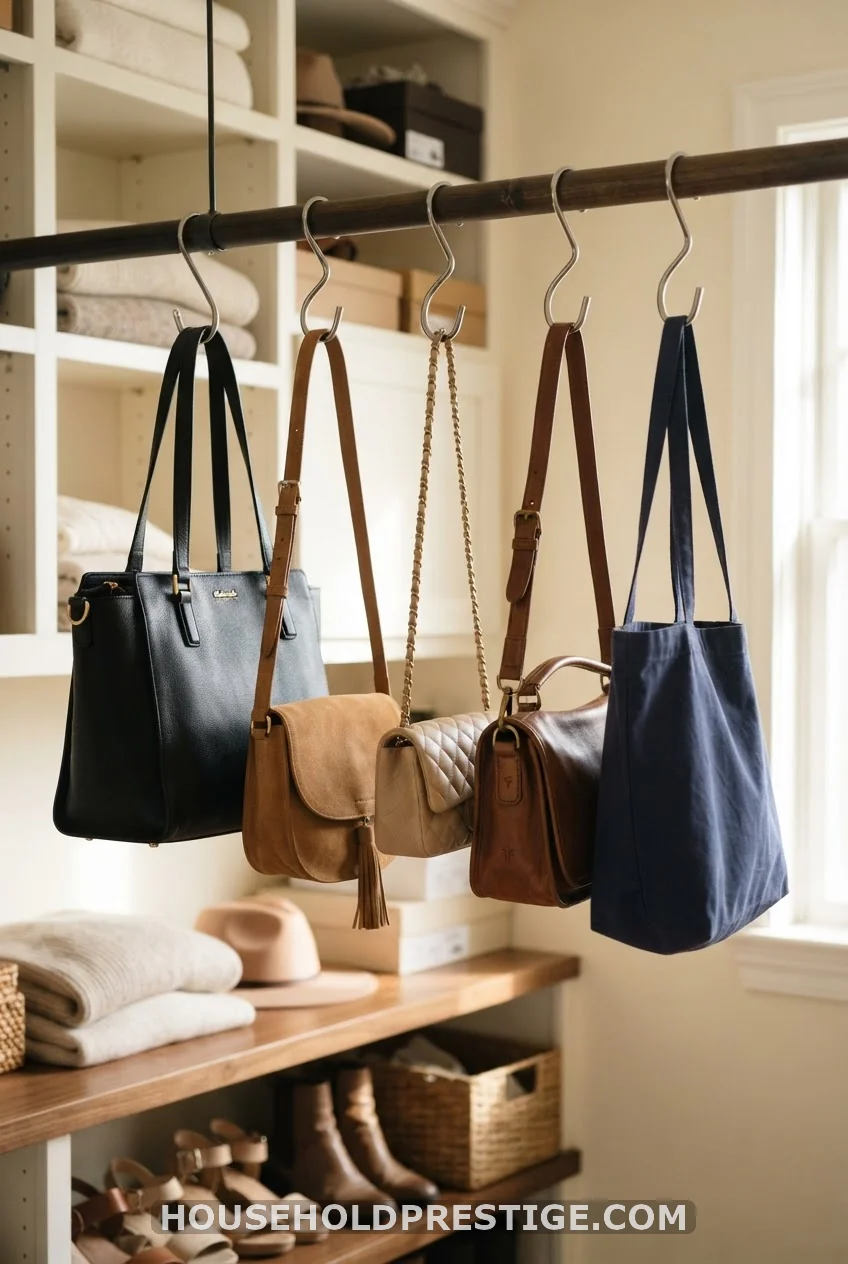
If you’ve got an unused second rod, or room to add one, S-hooks turn it into instant purse storage. Space hooks three to four inches apart so straps don’t tangle, and stick to bags with sturdy straps since thin chain straps can slip off narrower hooks.
7. The Season I Stacked Everything (And Regretted It)
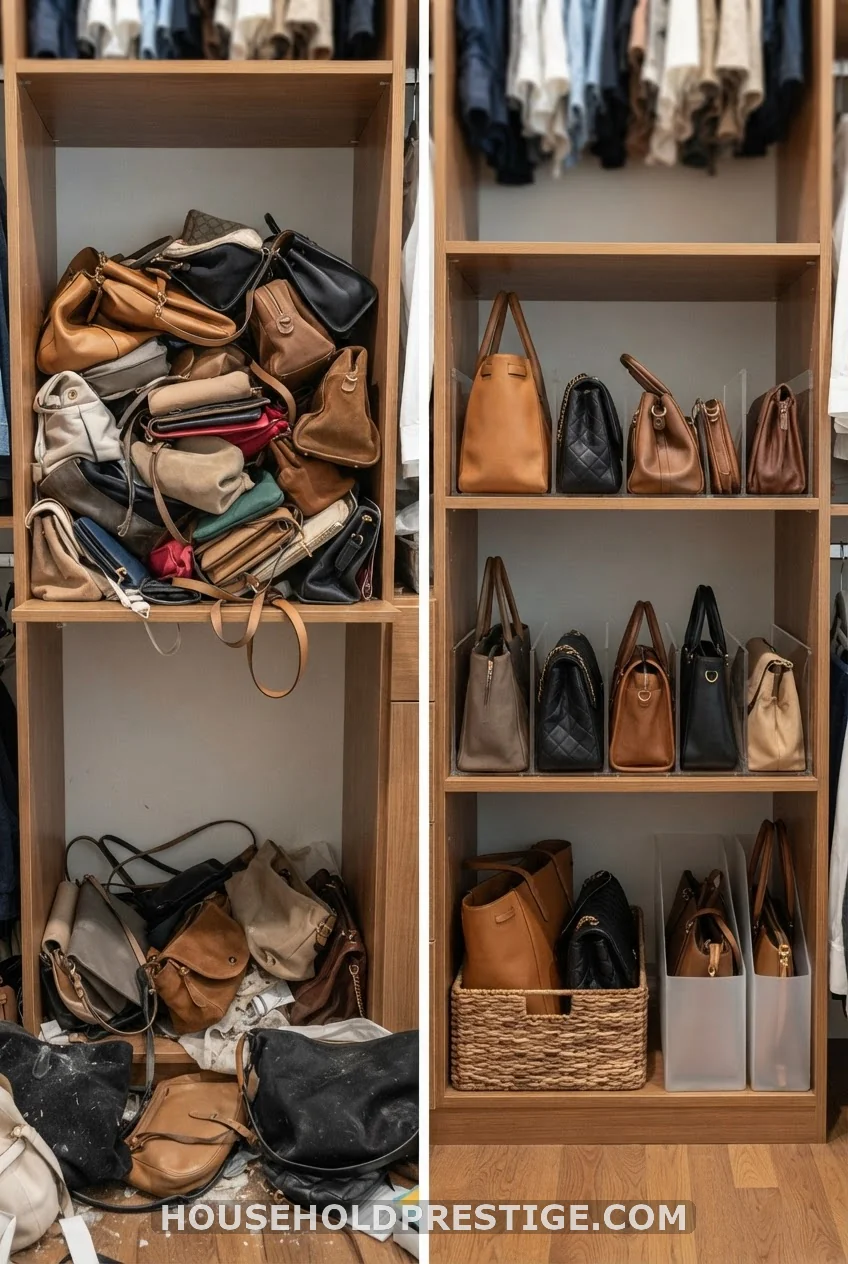
I used to stack my bags three high on one shelf because it looked tidy from a distance. It wasn’t. Six months in, I pulled out my favorite structured tote and the bottom panel had a permanent dent from the weight above it. The leather on a second bag had creased where a buckle from the bag on top pressed into it every day.
What I know now: weight is the enemy of shape. Bags stacked on top of each other take on the pressure of everything above them, and structured leather doesn’t bounce back the way canvas does. I moved to individual dividers the next weekend, and nothing has dented since. If you’re short on space and tempted to stack, at least put your least structured, least precious bags on the bottom and keep anything with a rigid base or delicate leather stacked alone or standing upright.
8. Cotton Dust Bags
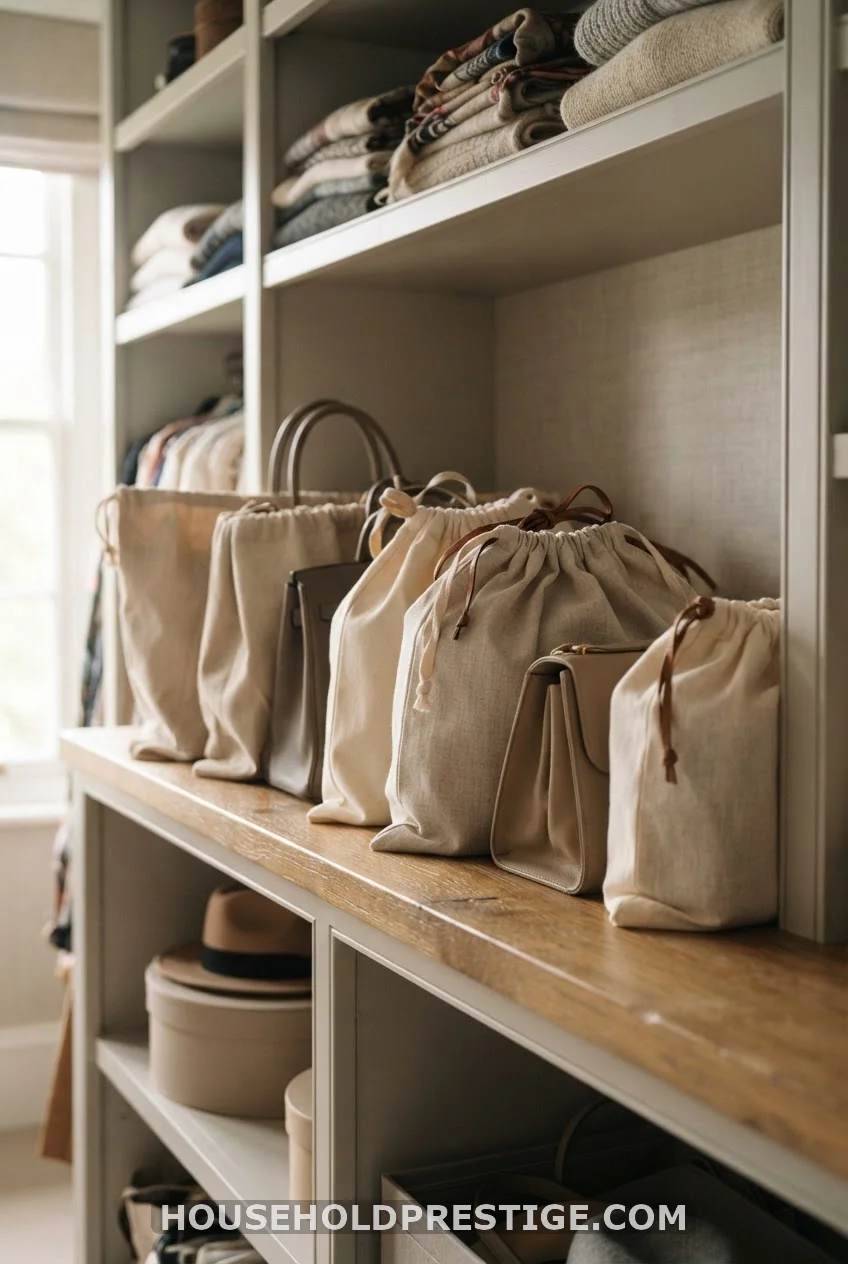
A cotton dust bag protects against dust, light fading, and surface scuffs from neighboring items. Skip plastic bags for anything leather, since trapped moisture can lead to mildew over a long stretch of storage.
9. Color-Coded Cube Shelving
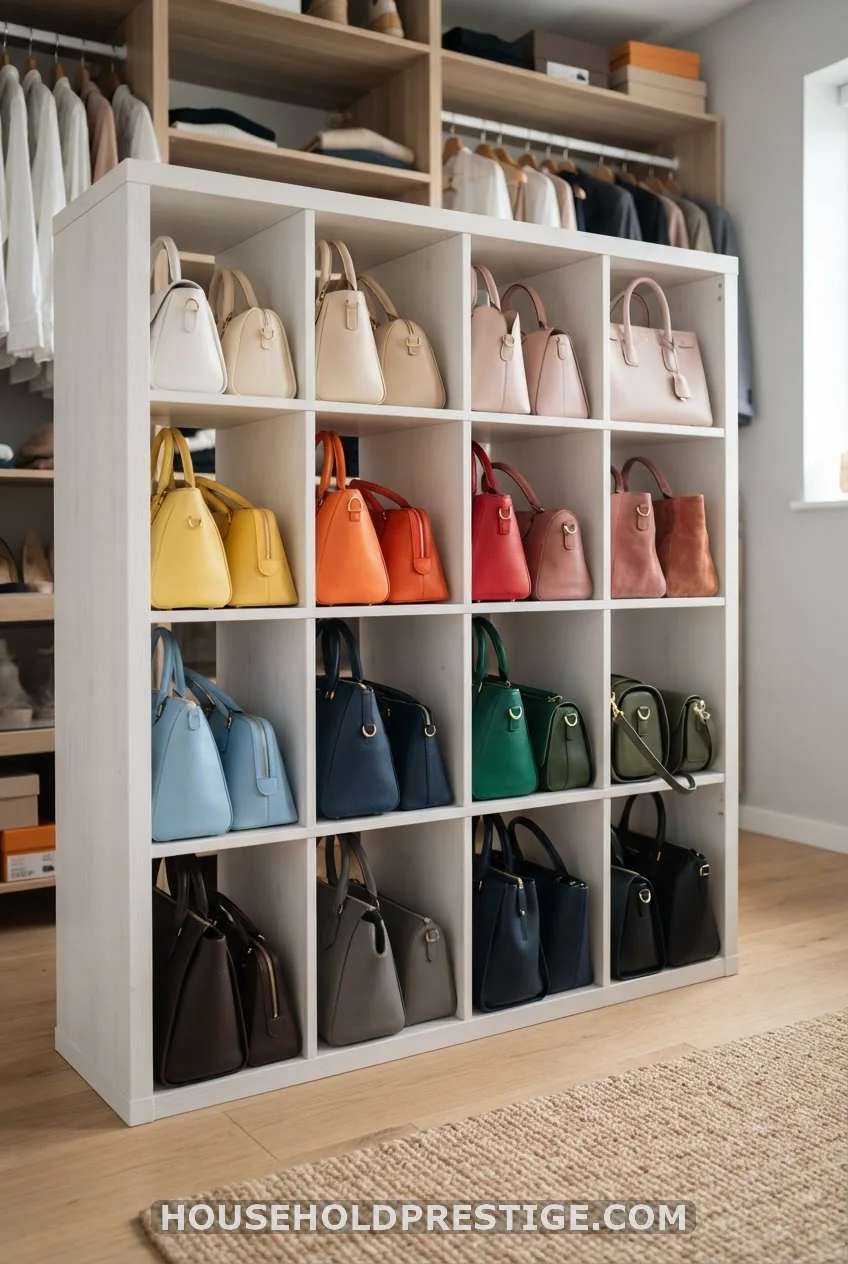
Group bags by color inside open cube shelving and the whole closet reads calmer immediately. It’s not just aesthetics. Color-coding also means you find the right bag faster, since your eye scans for a shade instead of reading labels or digging through a pile.
10. Vertical Hooks on the Closet Wall
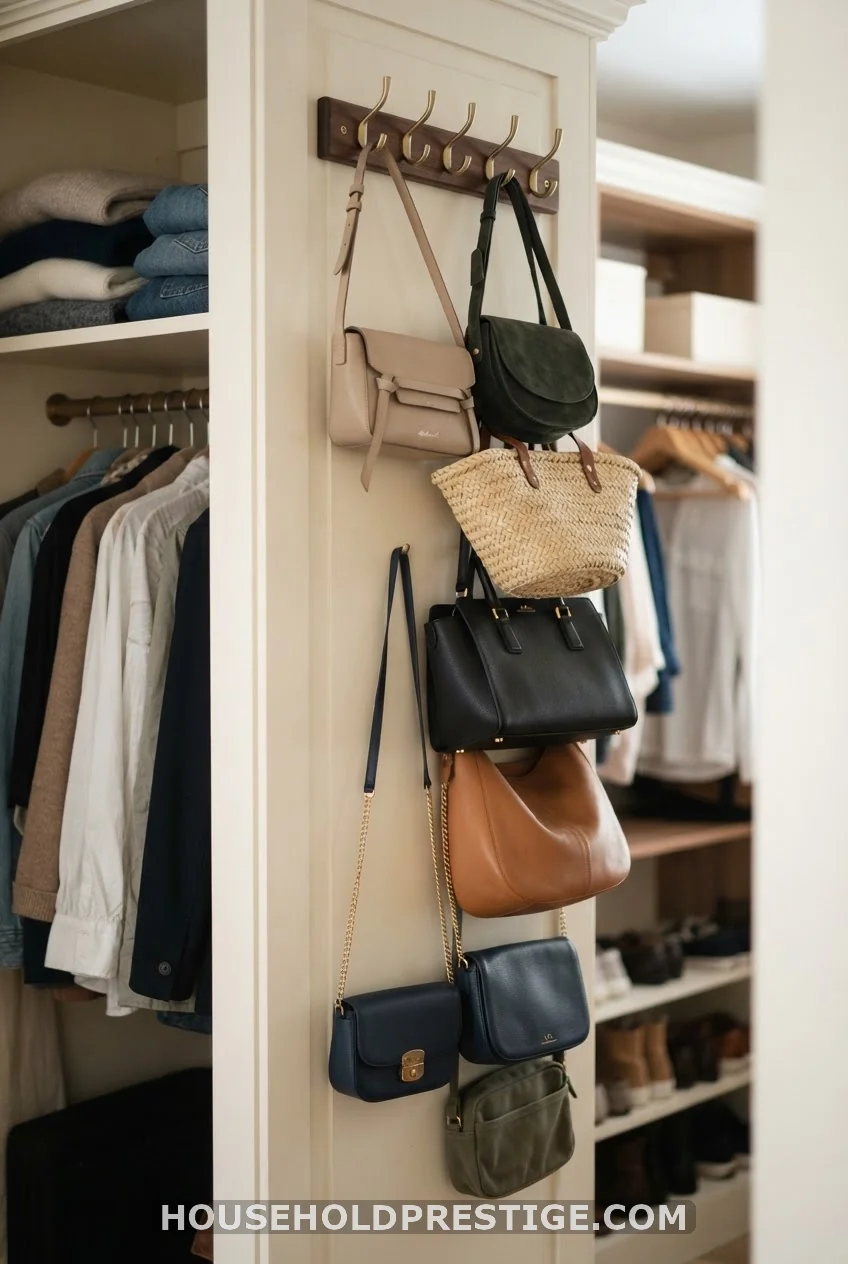
The side walls of a closet, the parts perpendicular to your hanging clothes, usually sit empty. A vertical strip of hooks there adds storage without touching your existing shelves or rod. This spot works especially well in a reach-in closet where floor space is tight.
11. Match Shelf Depth to Bag Size
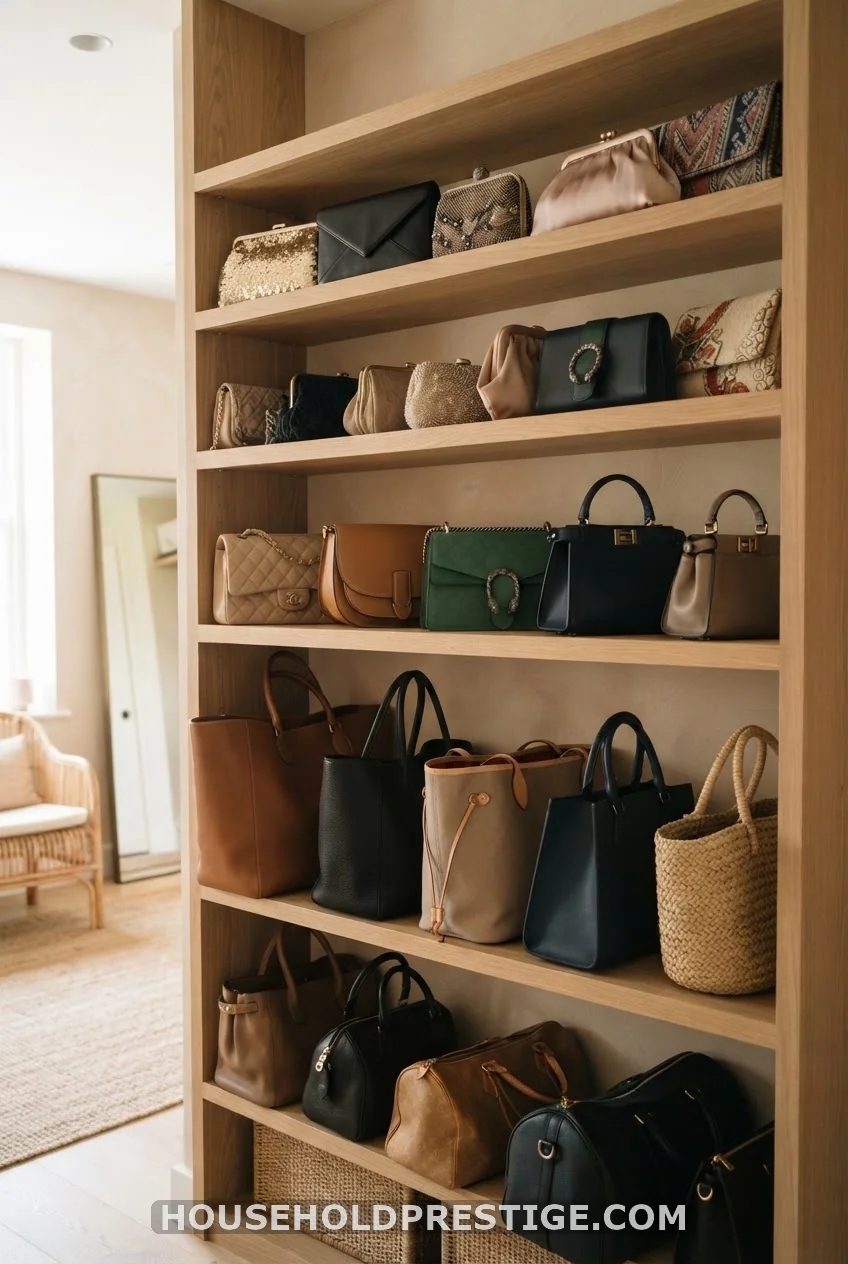
Shallow shelves, around 10 to 12 inches deep, work for clutches and small crossbodies. Deeper shelves, 14 to 16 inches, are for totes and weekenders. The catch: cramming an oversized tote onto a shallow shelf means it hangs off the edge, catching on things and slowly stretching its own base. If your closet only has one shelf depth, put the bags that fit closest to that depth on it and find another spot, like a floor basket, for the rest.
12. Pull-Out Drawer for Small Bags
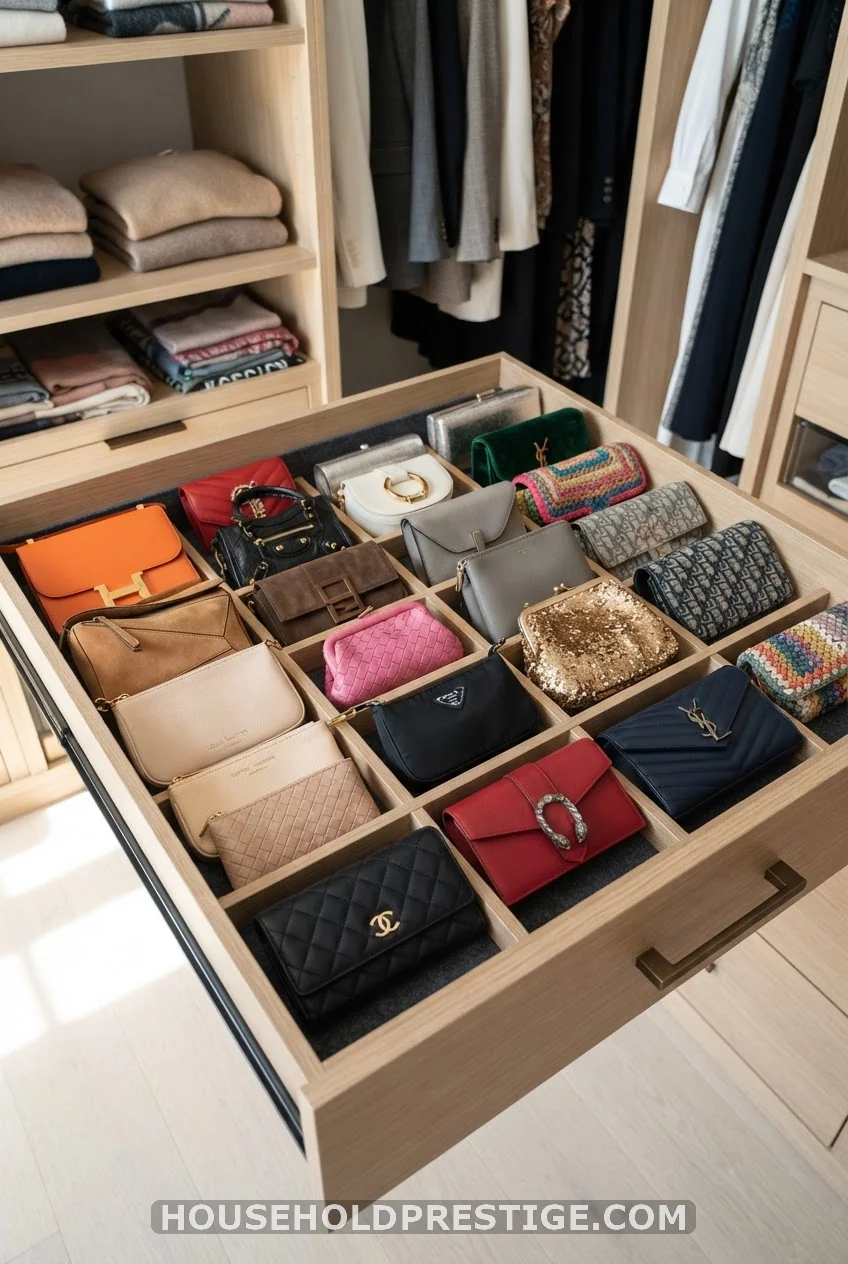
A shallow pull-out drawer, four to six inches deep, keeps small bags and clutches dust-free and out of sight while still being quick to reach. This works well in a built-in closet system where you can add a drawer insert without major renovation.
13. Floating Shelf With a Lip
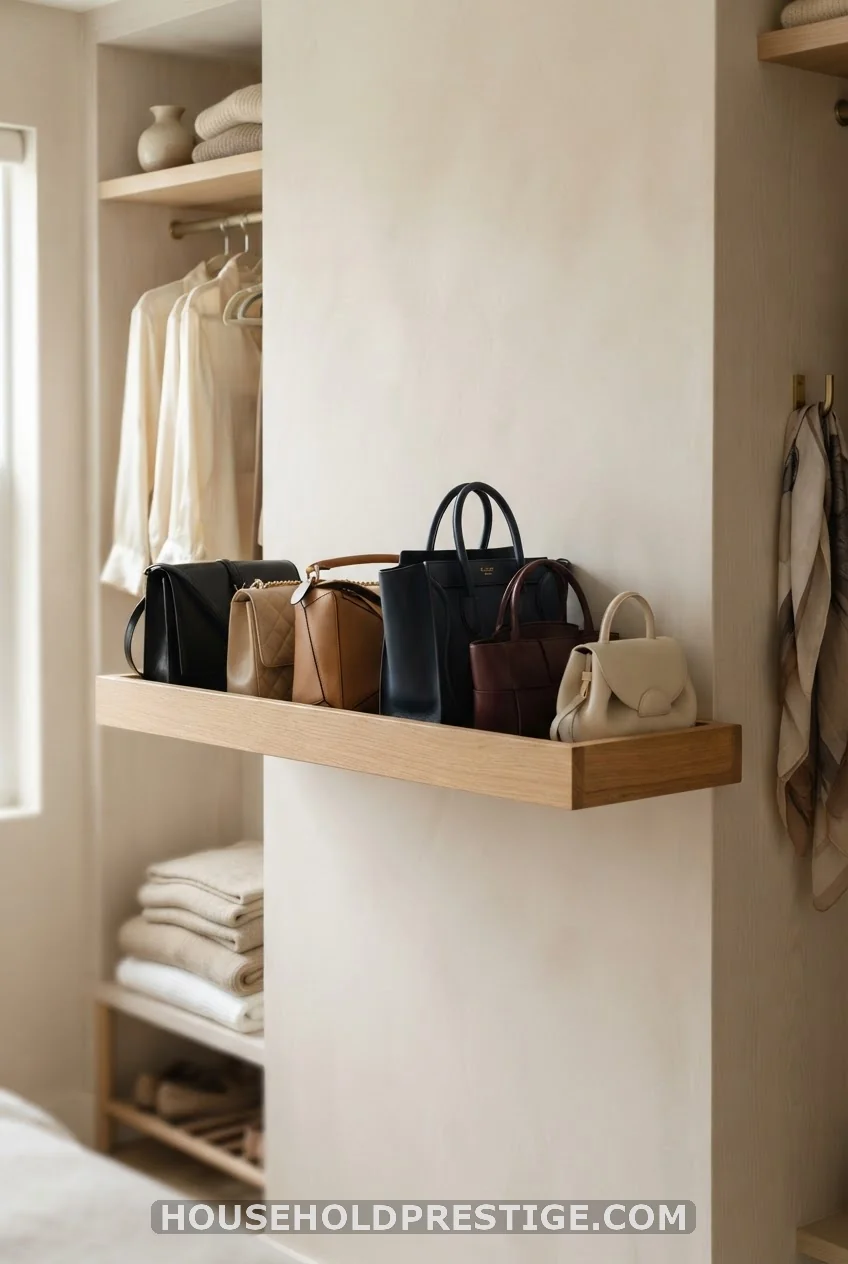
A floating shelf with a raised front edge stops bags from sliding forward when you grab the one behind them. Look for at least a half-inch lip, or add a thin wood strip to an existing shelf yourself.
14. Rotate Bags by Season in Labeled Bins
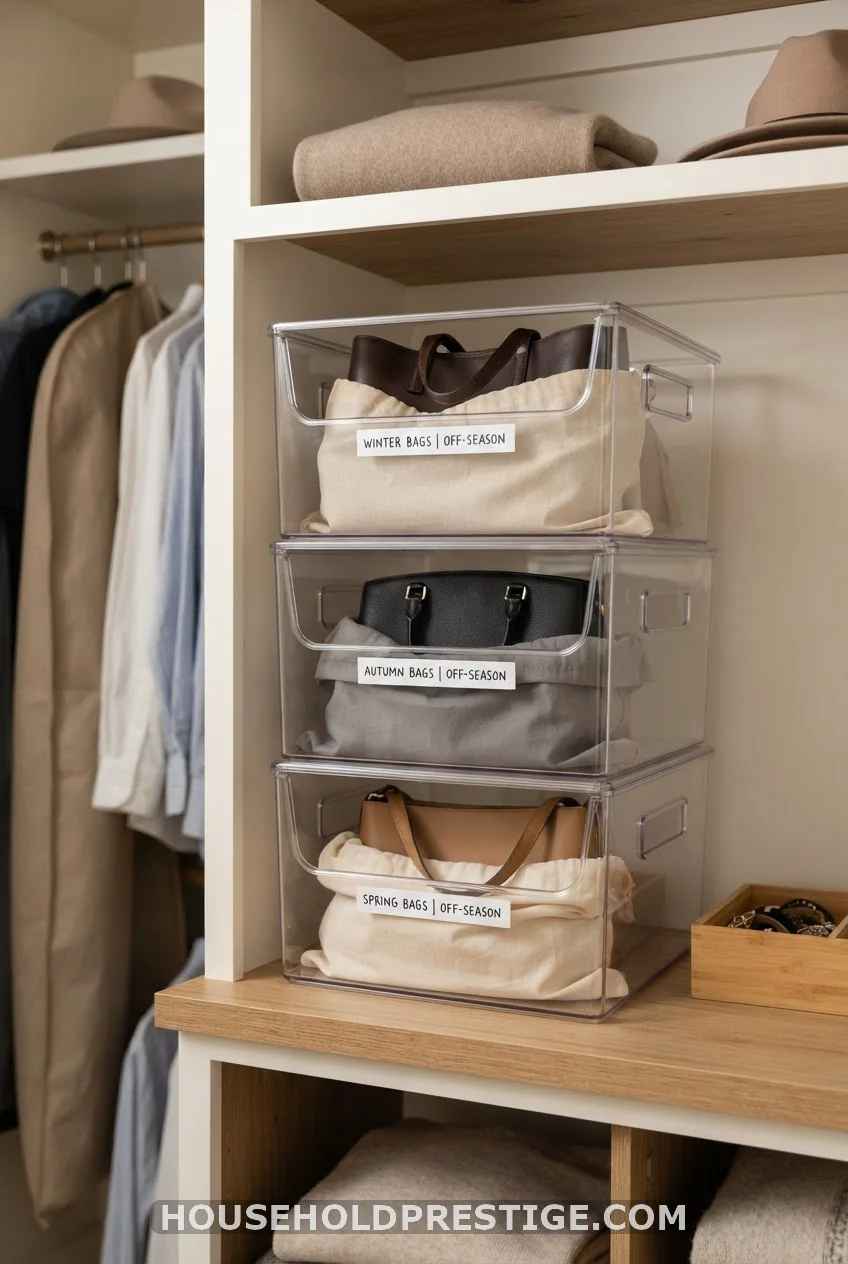
Keep your current season’s bags out and accessible, and box the rest in labeled bins on a higher shelf. This alone can free up a third of your usable shelf space, since most people only reach for four or five bags in any given month regardless of how many they own.
15. Glass-Front Display Cabinet
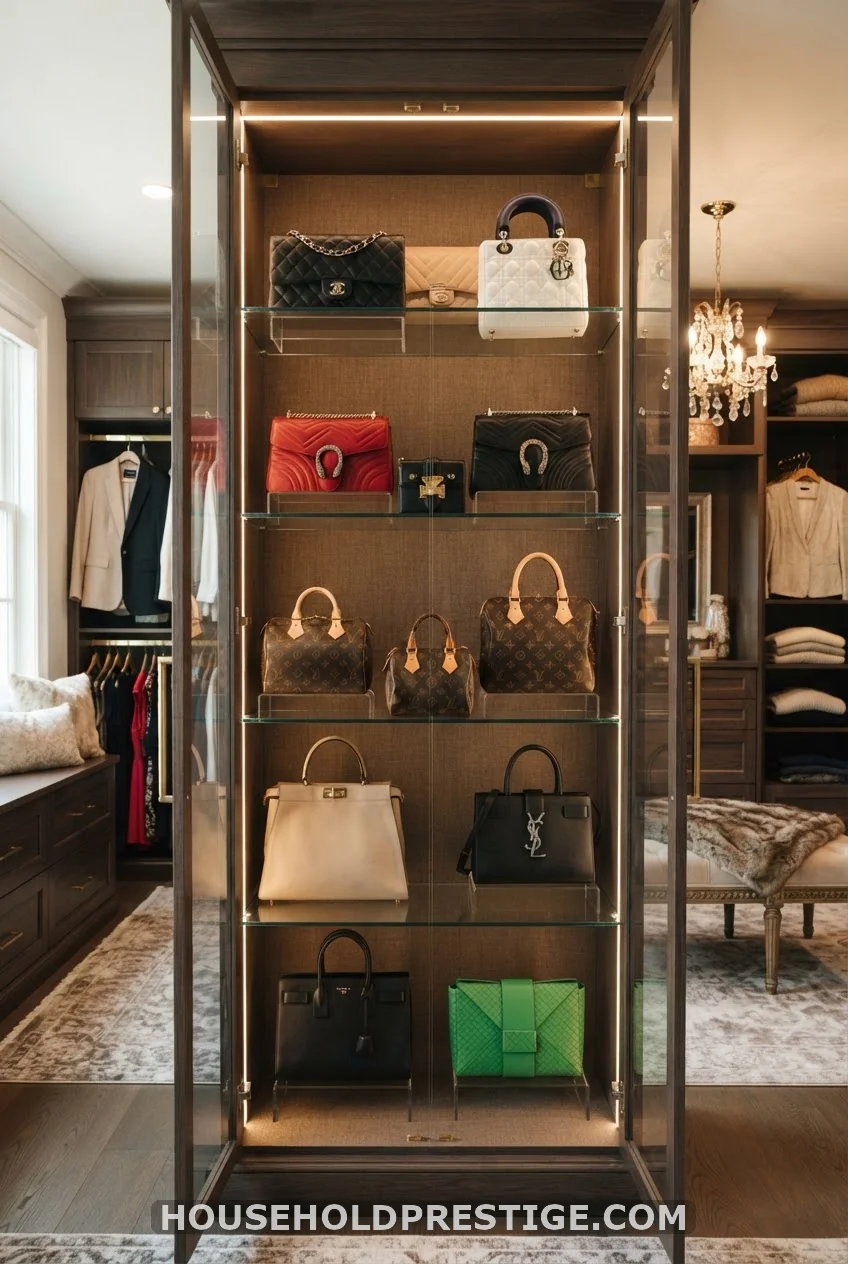
For a smaller, well-loved collection, a glass-front cabinet turns storage into display. It keeps dust out while still letting you see every bag, and it works especially well for structured bags with interesting silhouettes worth showing off. Expect to pay $150 to $400 for a cabinet sized for eight to twelve bags, depending on materials.
16. Command Hooks for Renters
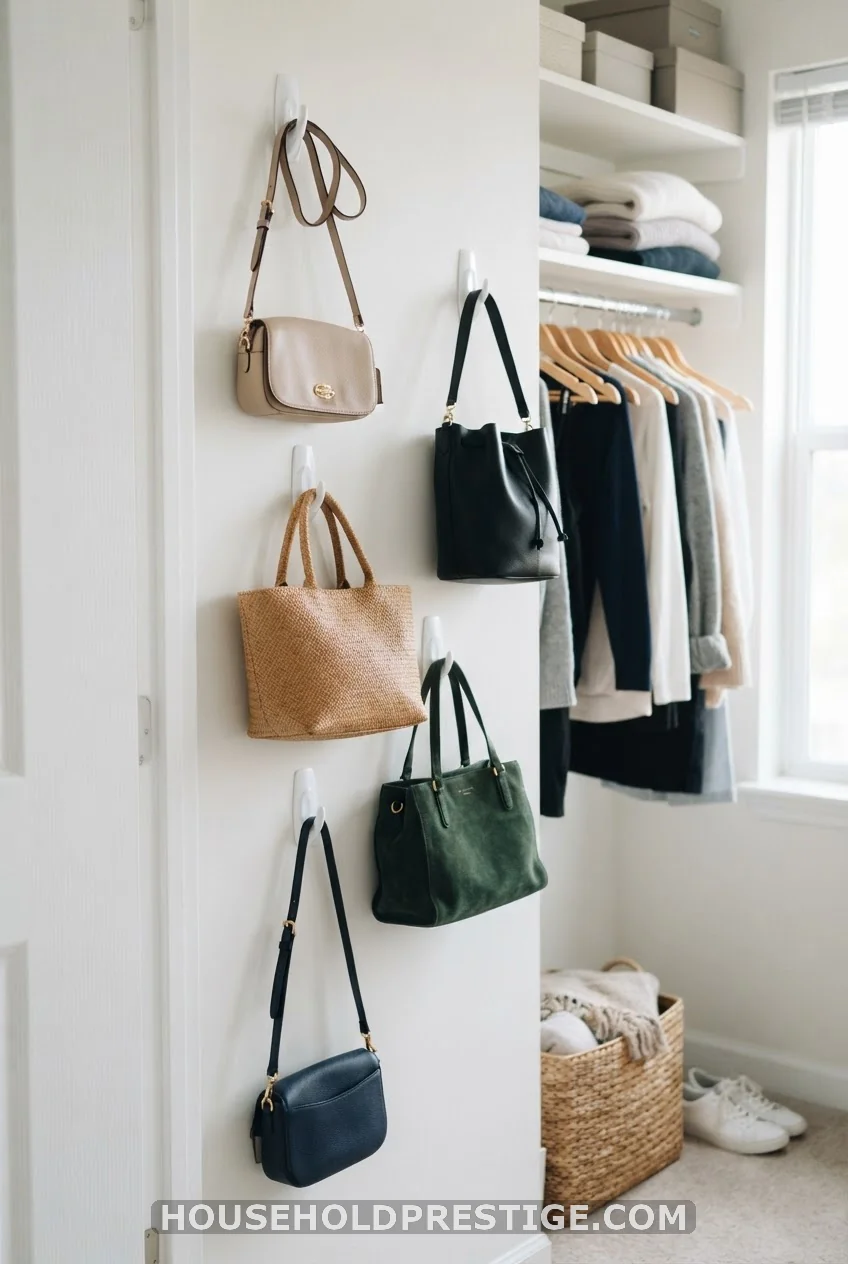
When it’s worth it: if you can’t drill into your closet walls, heavy-duty adhesive hooks rated for five to seven pounds hold most everyday bags without leaving marks at move-out. They cost about $2 to $4 per hook and come off clean if you follow the pull-tab removal method instead of yanking them straight off the wall.
17. Stuff Bags to Hold Their Shape
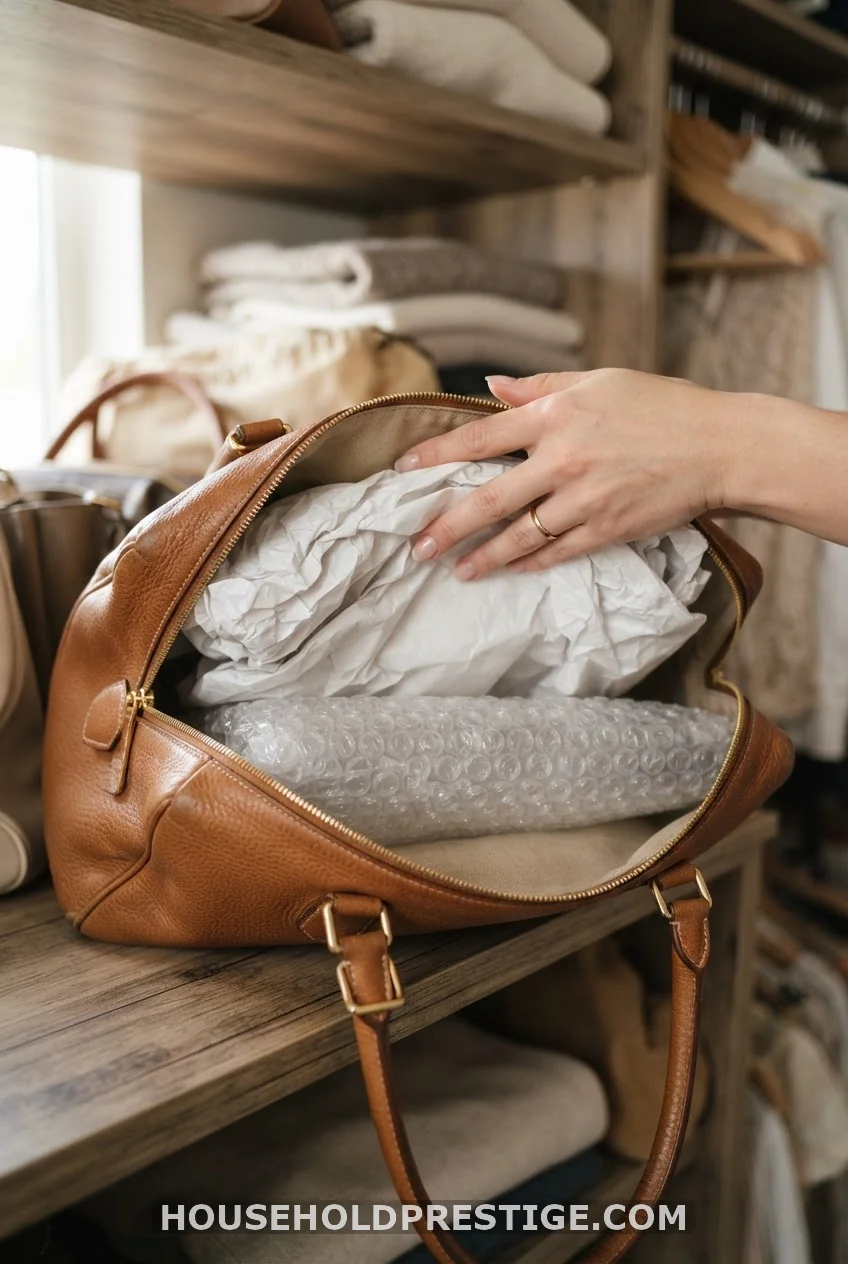
Before any bag goes into storage for more than a few weeks, stuff it. Rolled-up tissue paper, a small towel, or a bubble wrap insert keeps the base from collapsing and the sides from creasing inward. It takes thirty seconds per bag and it’s the single easiest way to keep a structured handbag looking new for years instead of months.
Bringing It All Together
Pick two or three of these that match your actual closet, not the one you wish you had. A few dividers and a row of hooks solve most small-closet problems without a single power tool. The cubby wall is there for when you’re ready to commit a Saturday to it. Either way, every bag gets a spot, you can see what you own, and nothing has to slouch under the weight of everything on top of it anymore.
Frequently Asked Questions
How do I store purses in a small closet with limited shelf space?
Prioritize vertical solutions like door racks, wall hooks, and closet side hooks before adding new shelving. These add storage without eating into your existing shelf footprint.
What’s the best way to keep leather purses from losing their shape in storage?
Stuff each bag with tissue paper or a bubble wrap insert and avoid stacking heavy bags on top of them. Weight and empty air pockets are the two biggest causes of sagging.
Should I use plastic bags or fabric dust bags for purse storage?
Fabric dust bags are the better choice for leather, since plastic can trap moisture and lead to mildew over time. Save plastic bins for canvas or synthetic bags instead.
How many purses should I keep in regular rotation versus stored away?
Most people only reach for four or five bags in a typical month. Keep those accessible and box the rest by season to free up shelf space.
Is it worth building a dedicated purse cubby wall?
If you own more than eight or ten bags and have wall space to spare, yes. It’s the most protective option long-term, since every bag gets its own compartment with no contact from neighboring bags.