

One pothos vine can grow 3 to 6 feet in a year, and most of us let it dangle off a shelf. Pothos wall climbing puts that growth to work. Give the vine something to grip and it heads up the wall, and the leaves get bigger as it goes.
Below are 15 setups sorted by room and mounting method. Each one names the hardware to search for and tells you how to protect your paint. Pick your wall first, then pick the look.
Three Rules Before You Pick a Look
Pothos (Epipremnum aureum) is a natural climber. In the wild it grips tree trunks with aerial roots, the small brown nubs along the stem. Three rules make any wall work.
- Light decides the shape. Pothos climbs toward the brightest light source. Put your support between the plant and the window, or add a small grow light above it.
- Smooth paint is not enough. Aerial roots need something to grab. On flat painted drywall they rarely hold, and they can lift paint when you pull them off. Use hooks, wire, or a trellis.
- Start with a full plant. A 6-inch pot with long vines gives you something to train on day one. Anchor the first vine at a node (the bump where a leaf meets the stem), never at the leaf.
Climbing and hanging are both fine. Hanging vines stay smaller-leaved and look soft. Climbing vines give you bigger, more mature leaves and use floor space well, which suits small rooms.
No-Drill Ideas for Renters
These five leave your walls alone or close to it. Start here if your lease worries you.
1. The Command-Hook Vine Ladder
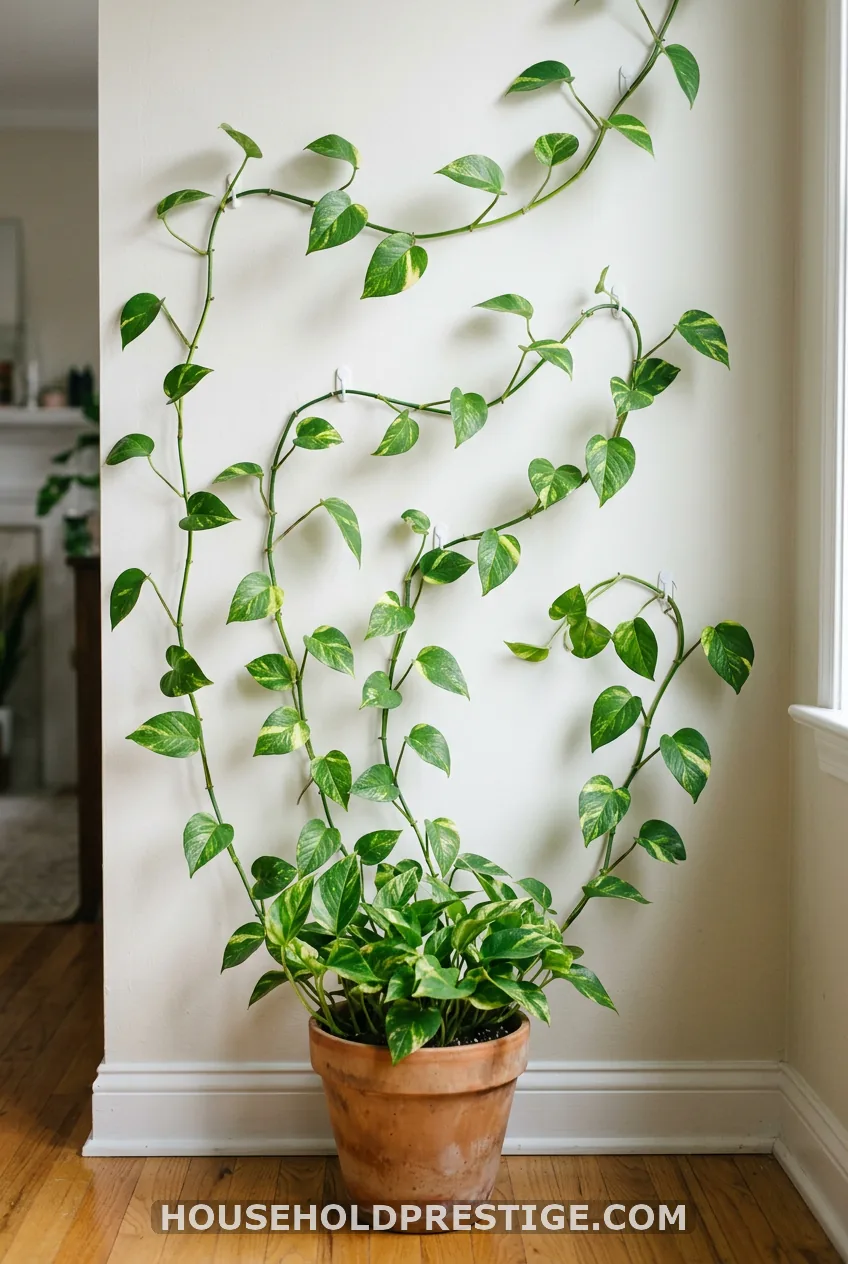
This is the best first project. You draw the path with hooks, and the vine follows it. It costs about $8 to $12 and takes 20 minutes.
Supplies:
- A pack of 3M Command small wire hooks (or OOK removable hooks)
- Garden twine or green plant clips
- A pencil and a level
Steps:
- Lay the plant on the floor against the wall and decide the shape: straight up, a V, or a diagonal.
- Mark hook spots 10 to 12 inches apart with a pencil.
- Clean each spot with rubbing alcohol and let it dry. Dust is what makes strips fail.
- Press each strip firmly for 30 seconds, then wait an hour before hanging anything.
- Loop the longest vine through the first hook loosely, then clip it at a node.
- Move to the next hook every few days as the vine reaches.
The common mistake is using hooks that are too big or too few. Vines weigh little, but wet soil does not, so never hang the pot from adhesive.
Cost reality:
Removable strips are cheap, but a failed strip can pull paint. Test one on a hidden spot for a week first. When you take it down, pull the tab straight down, slowly, parallel to the wall.
2. Corner Moss Pole Totem
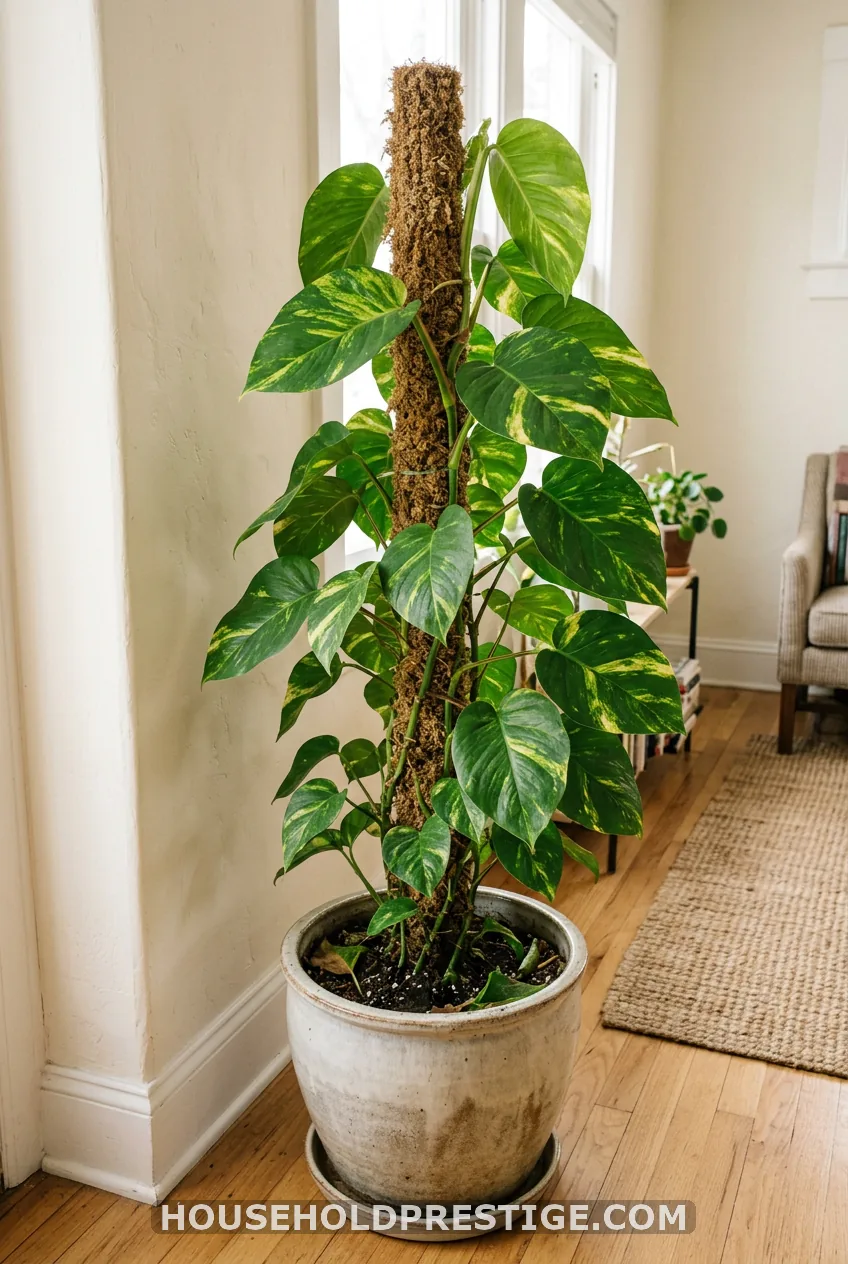
A moss pole turns a dead corner into a green column. Push the pole deep into a heavy pot, then wrap the longest vine around it with the aerial roots facing the moss. Hold it in place with soft Velcro plant ties.
Keep the moss slightly damp, not soggy. A few sprays from a spray bottle every few days is enough. The roots dig in, and the leaves size up.
3. Wire Grid Panel Wall
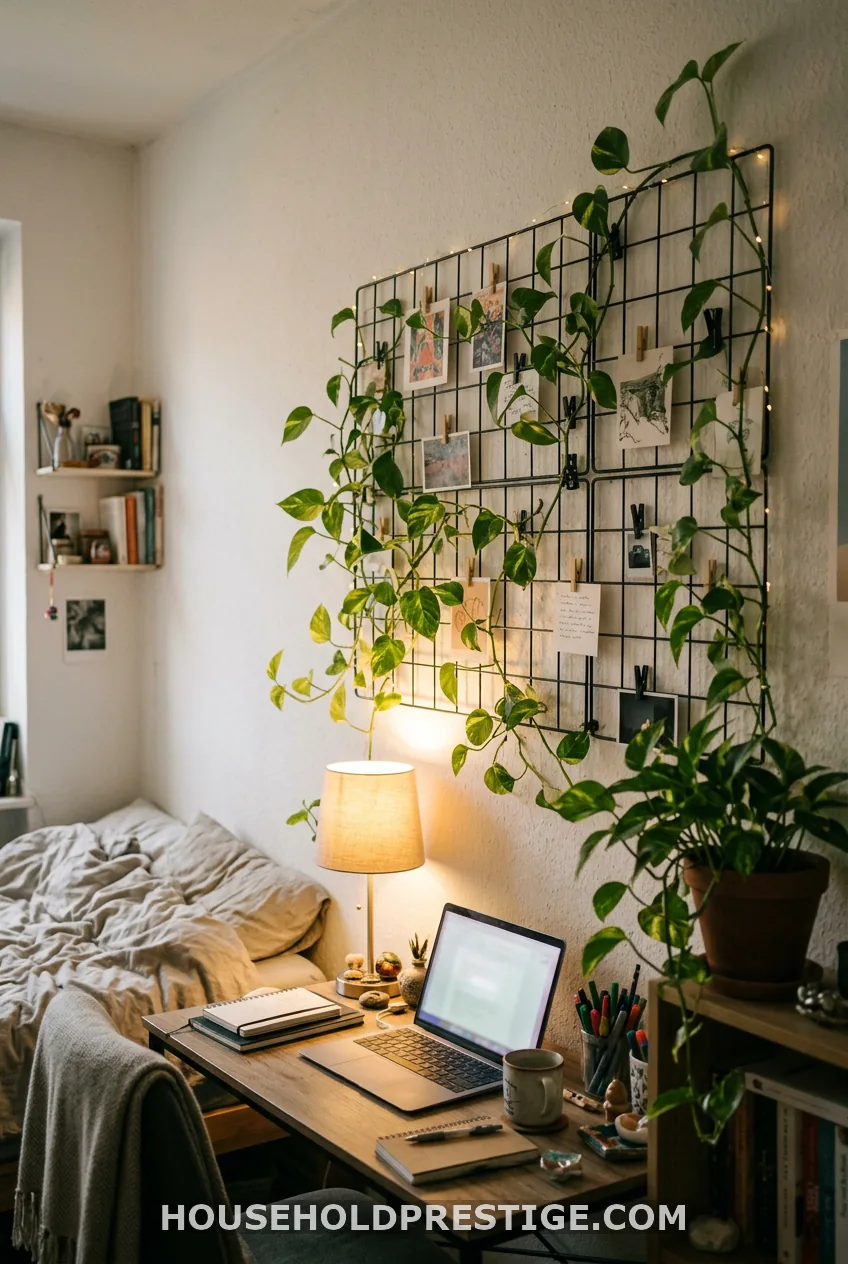
Grid panels suit dorms and desk corners. Mount one with grid wall hooks or adhesive mounts, and set the pot on a shelf or the desk. The grid also hides the pot.
Do not weave every leaf. Use a few clips or zip ties per vine and let the plant fill the gaps.
4. Picture-Frame Trellis
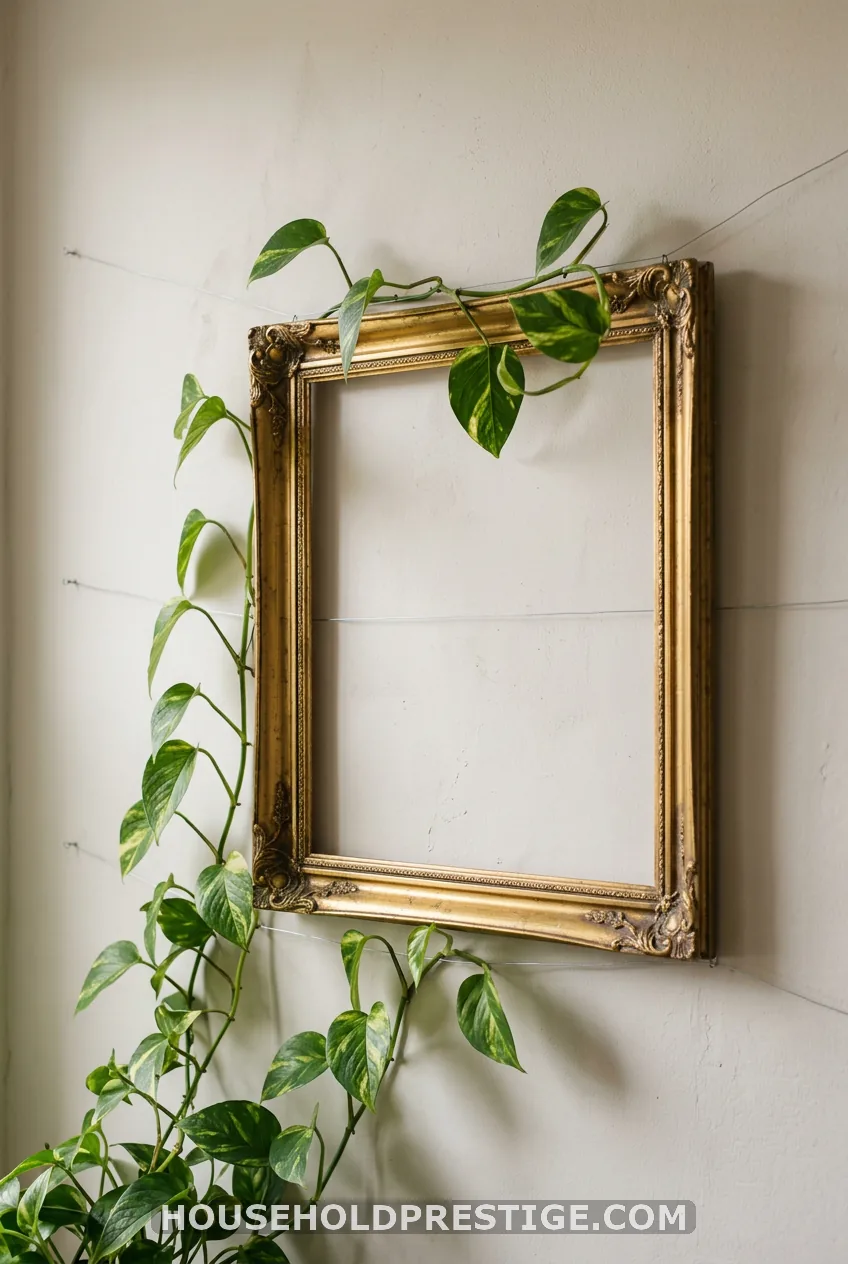
Remove the glass and back of an empty frame. String wire or fishing line across it in rows. Hang it above the plant with a picture hook and let the vine climb into it. It reads like art in a gallery wall.
5. Bamboo Cane Fan
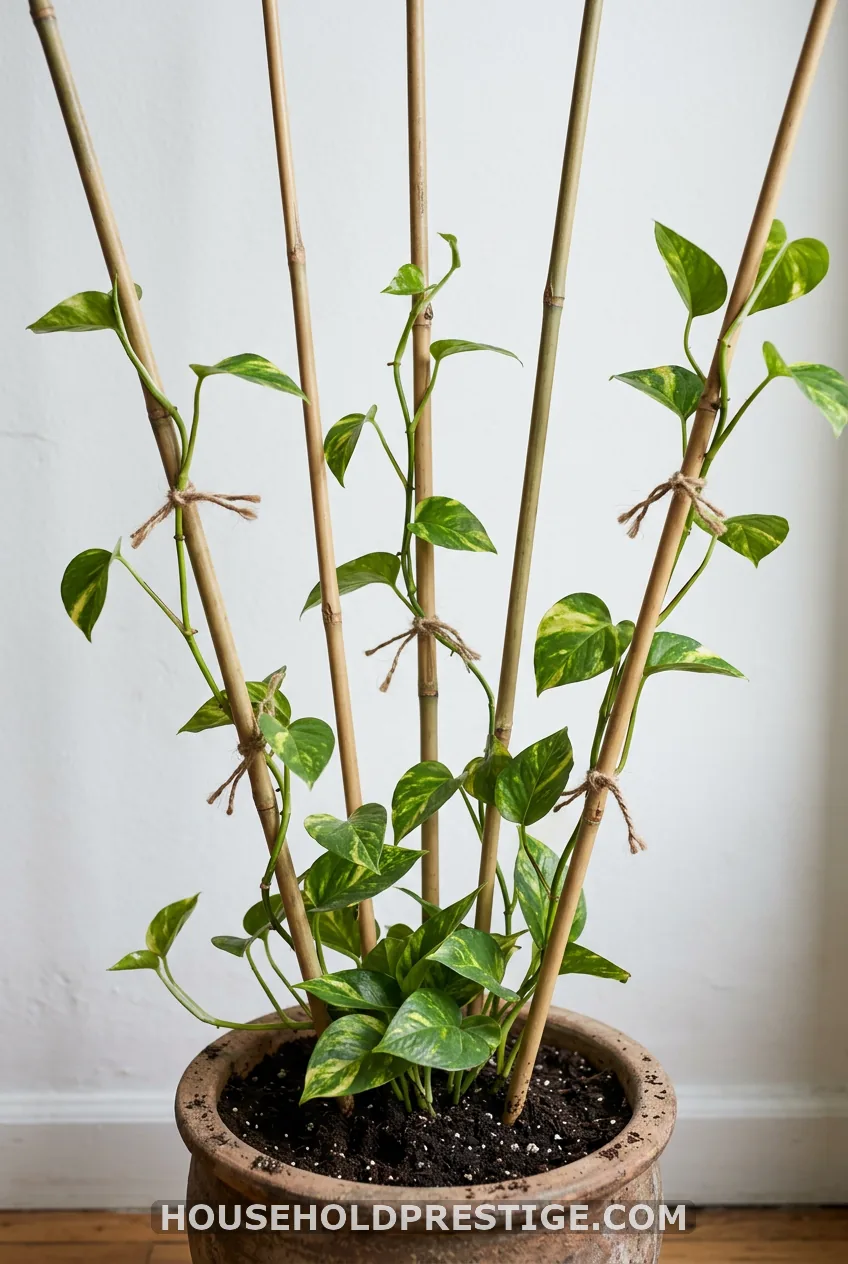
Push three to five bamboo stakes into the pot in a fan. Tie the vines loosely with twine. It takes 10 minutes and costs a few dollars. Use it while you decide on a permanent plan.
Room-by-Room Setups
Now we match the look to the room. Light, humidity, and traffic change what works.
6. Tension Rod Window Curtain of Vines
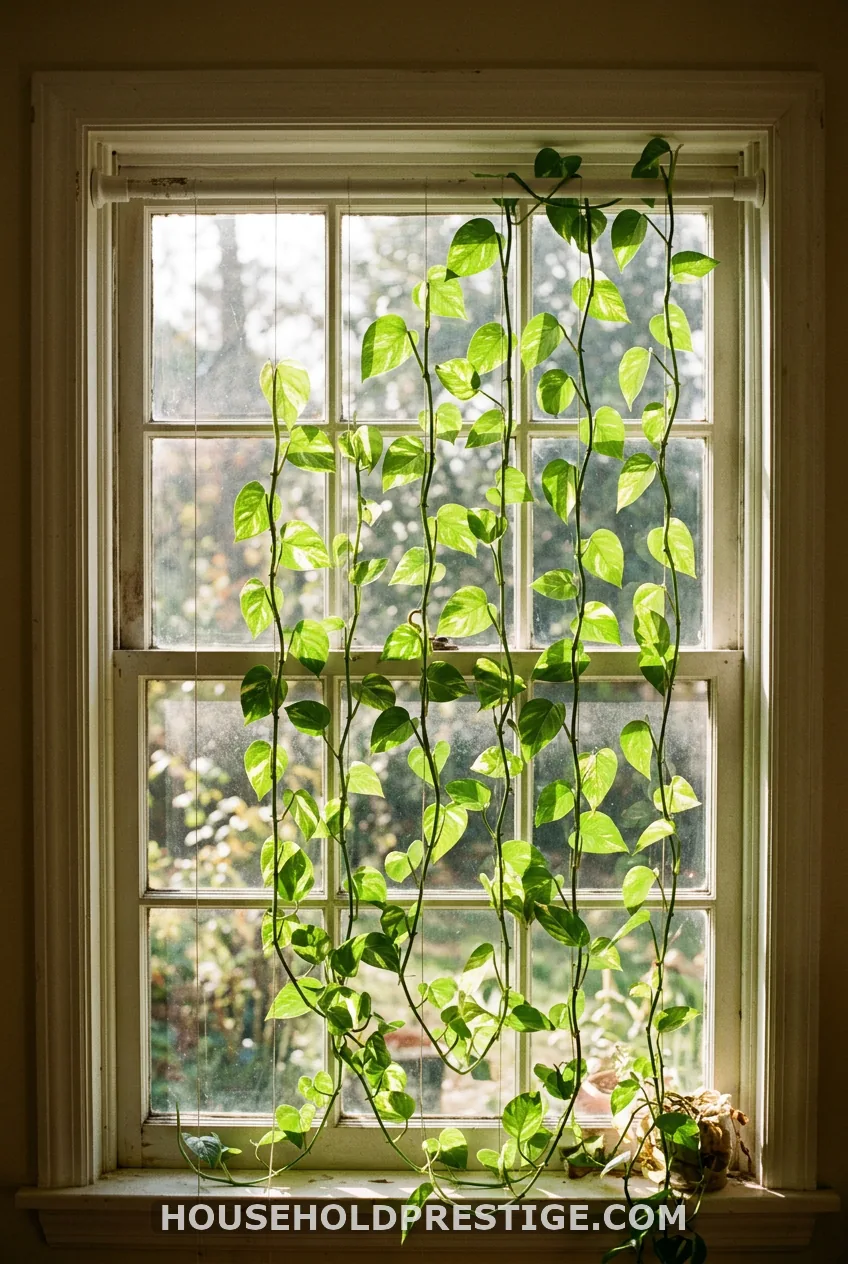
Fit a tension rod inside the window frame. Hang lightweight wires or fishing line from it, and clip the vines to them. No holes needed.
A bright window is the best spot because the plant climbs faster toward the glass. Keep leaves from touching cold panes in winter.
7. Over-the-Door Arch
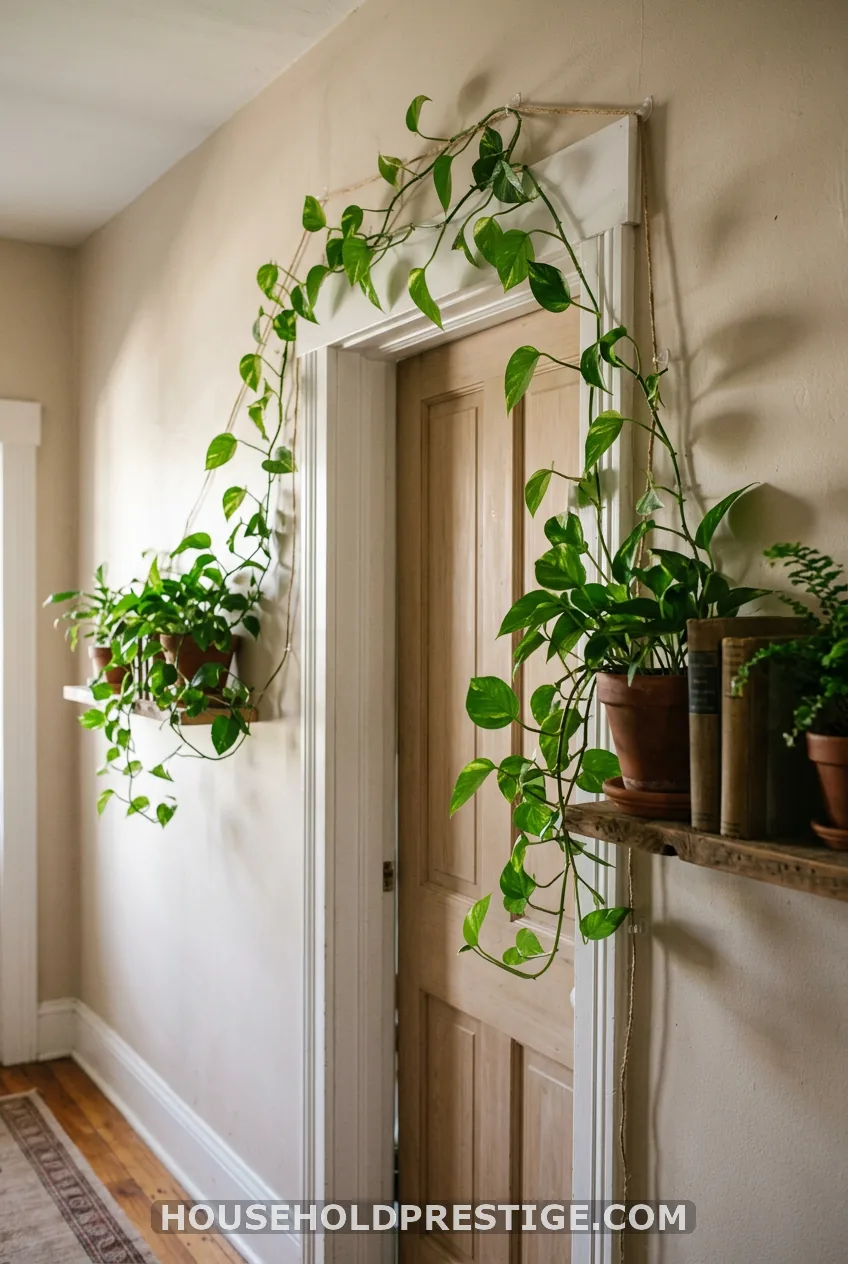
Run twine from a high shelf up and over the frame, held by adhesive cable clips. Keep the vines loose so the door still closes and the leaves do not get crushed.
8. Bedroom Headboard Canopy
I learned this one the hard way. I once taped a vine above my bed with plain masking tape. It held for two weeks, then the whole thing slid down onto my pillow at 3 a.m. and took a strip of paint with it.
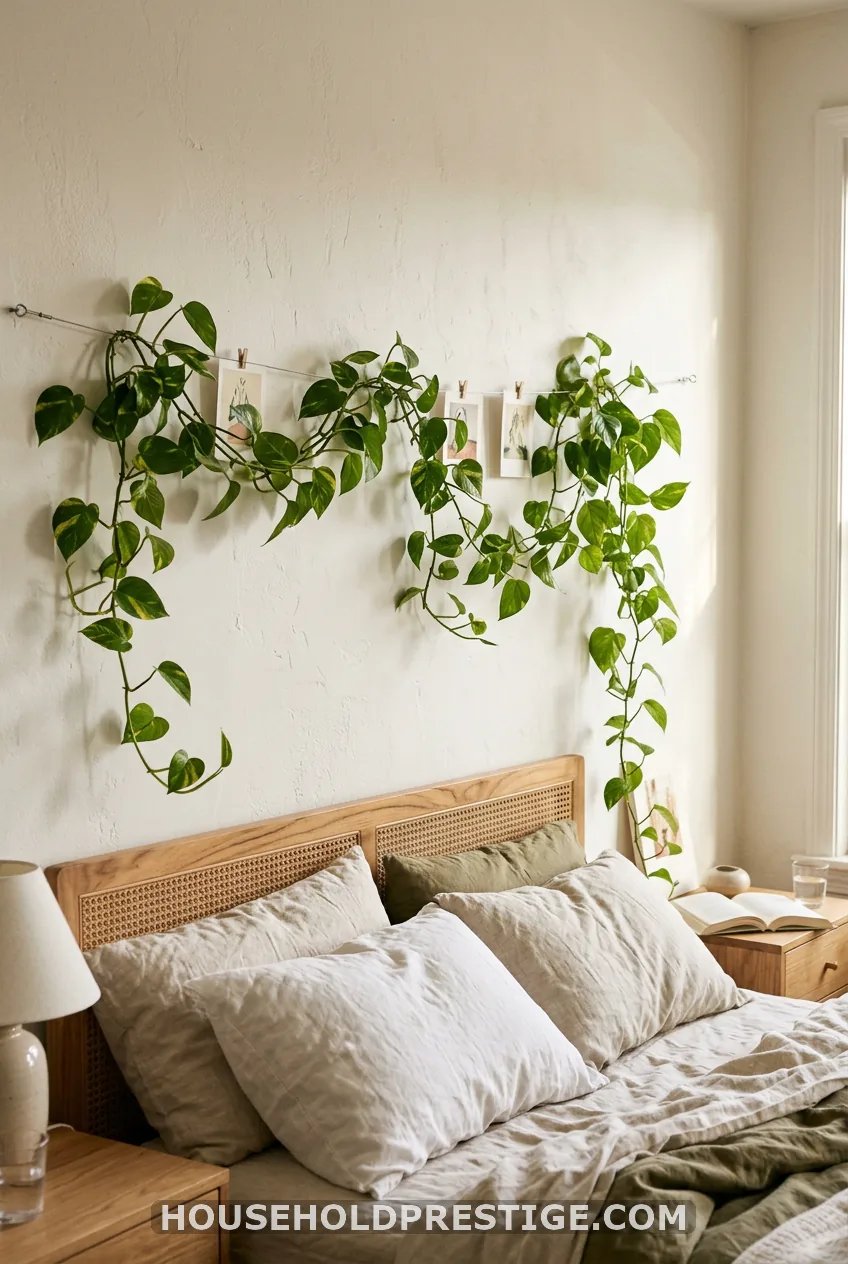
Do it right. Put a high ledge or shelf behind the headboard for the pot. Run picture wire between two picture-hanging hooks.
Train the vine in a gentle swag. Small nails or removable strips hold far better than tape.
Keep the plant out of pillow reach if anyone sleeps with a cat.
9. Living Room Media Wall Greenery
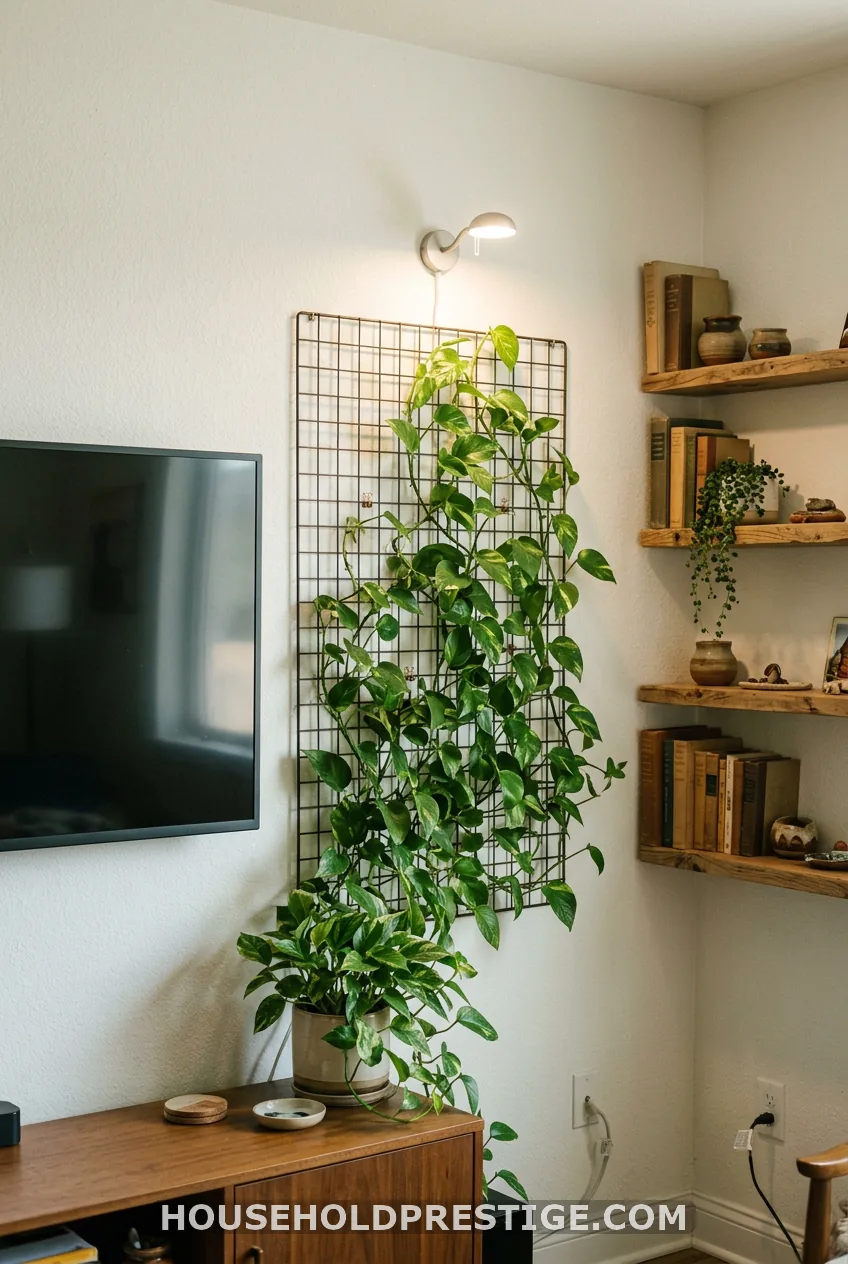
Frame the TV with greenery on one side, not both. Use a wire grid or floating shelves with cord clips. Keep leaves off the screen and the cables.
TV walls are often dim. A small grow light such as a Sansi or Mars Hydro clip-on, set 12 to 18 inches above the plant, keeps vines climbing instead of reaching sideways.
Budget note:
A basic clip-on grow light runs about $15 to $30. It is the cheapest fix for a dim wall.
10. Bathroom Humidity Wall
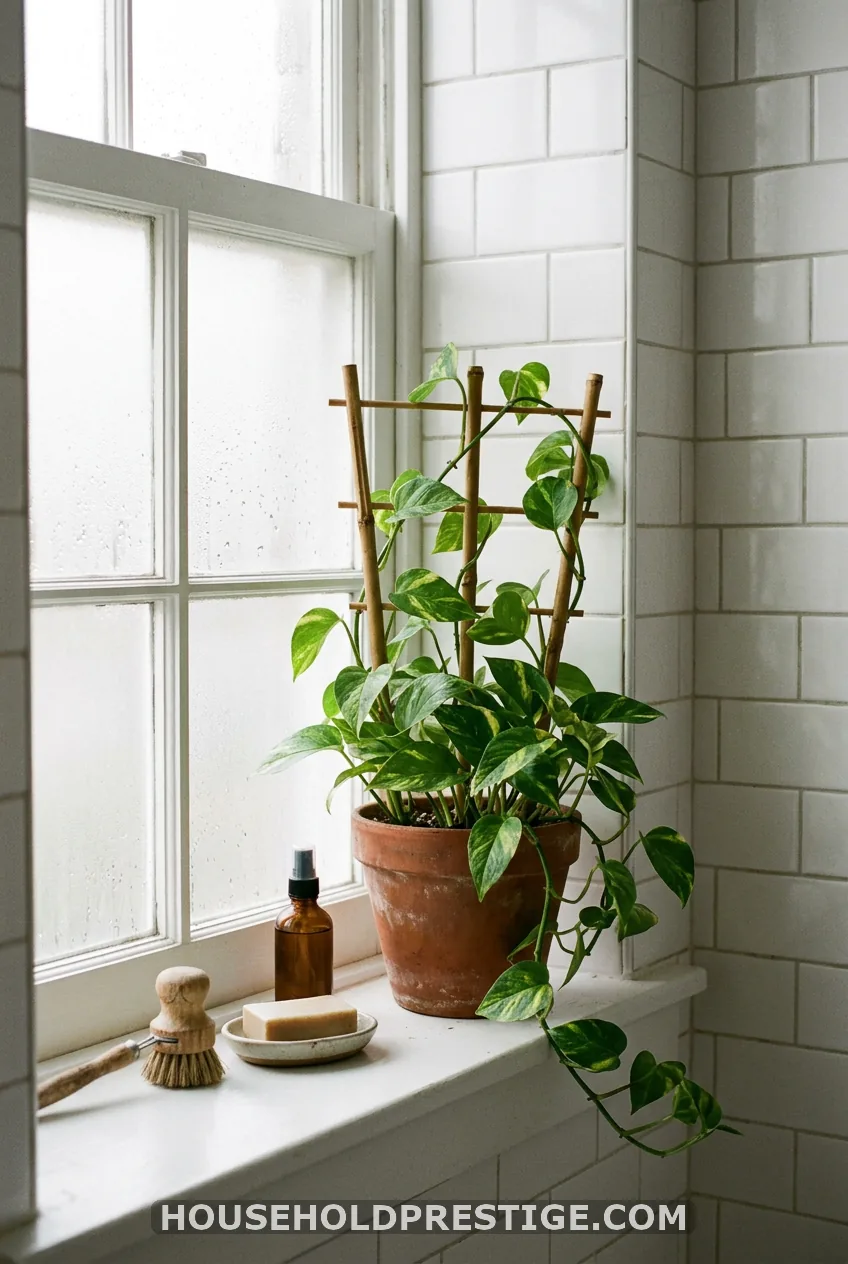
What most people think: Bathrooms are too damp for plants, so skip it.
Reality: Steam is what aerial roots love. Vines grip faster here than in a dry living room.
Use suction-cup hooks on tile or adhesive hooks on a painted wall, with a small trellis. Keep the vines out of direct shower spray. Check the drywall behind the plant now and then for soft or bubbled spots.
11. Macrame Wall Hanger Plus Upward Tie
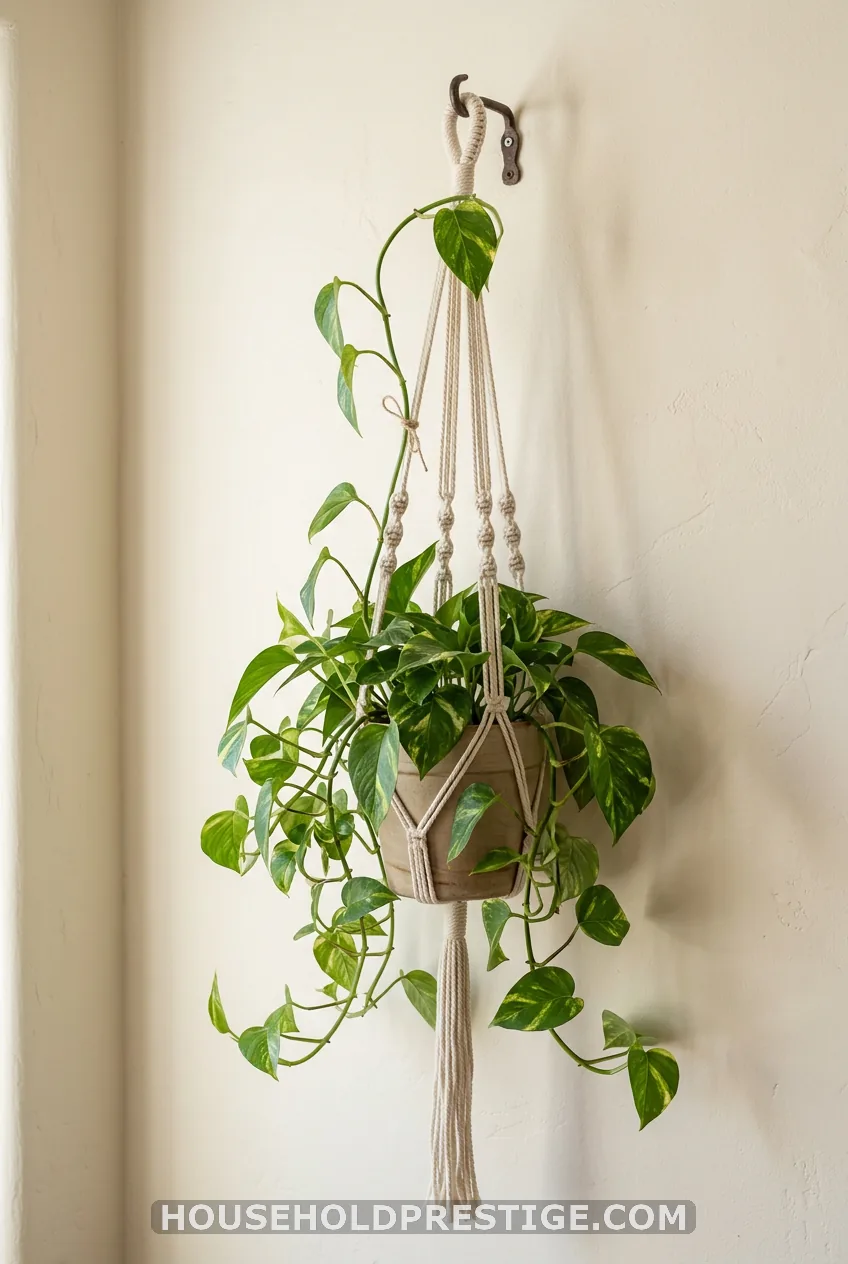
Hang the pot at eye level from a wall hook. Train one vine up and over the macrame, and let the rest trail. The cord hides the plastic nursery pot, so it looks styled. Check the hook’s weight rating, since a wet pot is heavy.
Bigger Builds and Tricky Spaces
These take more money or planning. Each one pays you back with a full, finished look.
12. Copper Pipe Trellis
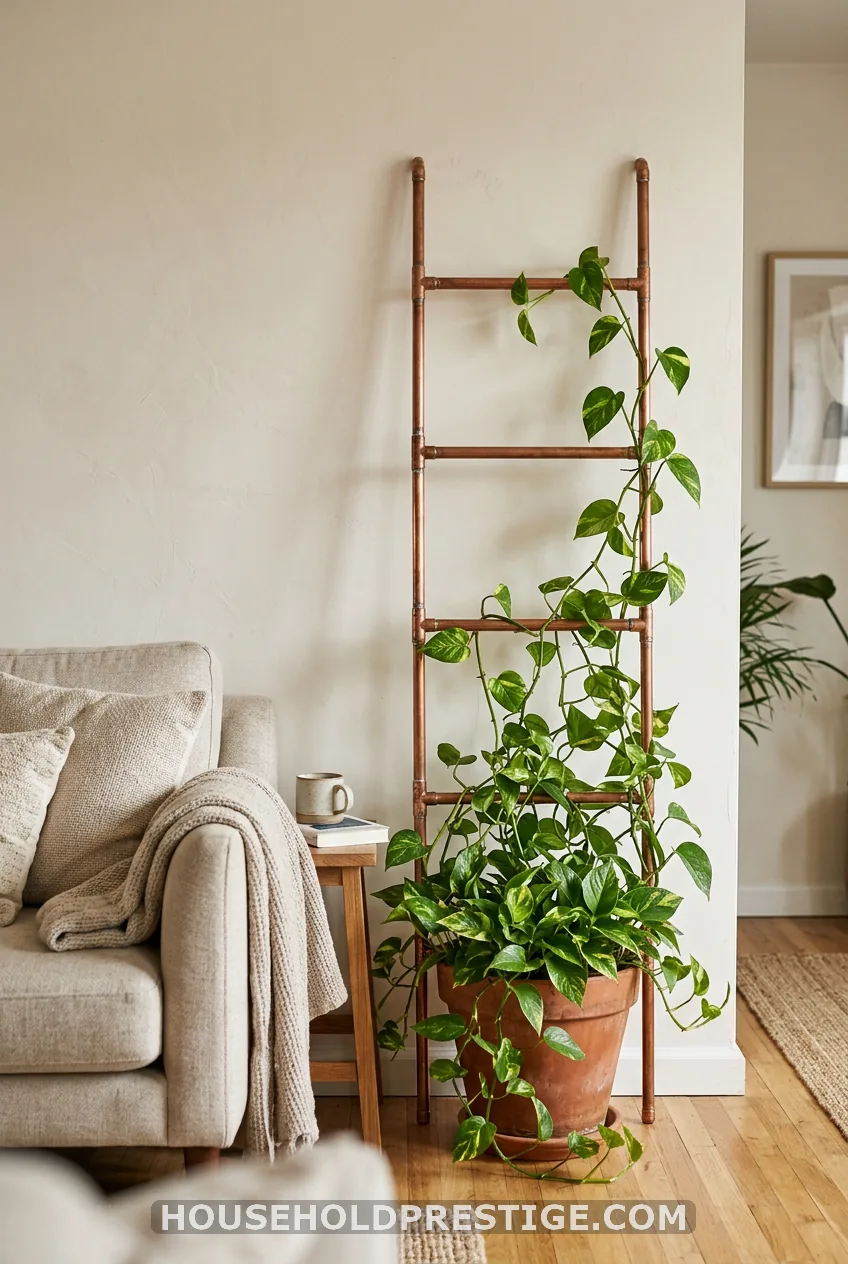
Copper warms up a neutral wall and looks like decor, not plant gear. Cut half-inch copper pipe with a pipe cutter and build a simple ladder. Anchor it with pipe straps, or stand it in a large planter with a floor flange.
Plan on $40 to $70 for materials and an afternoon of work. Screws mean holes, so this one suits owners more than renters.
13. Lattice or Pegboard Panel
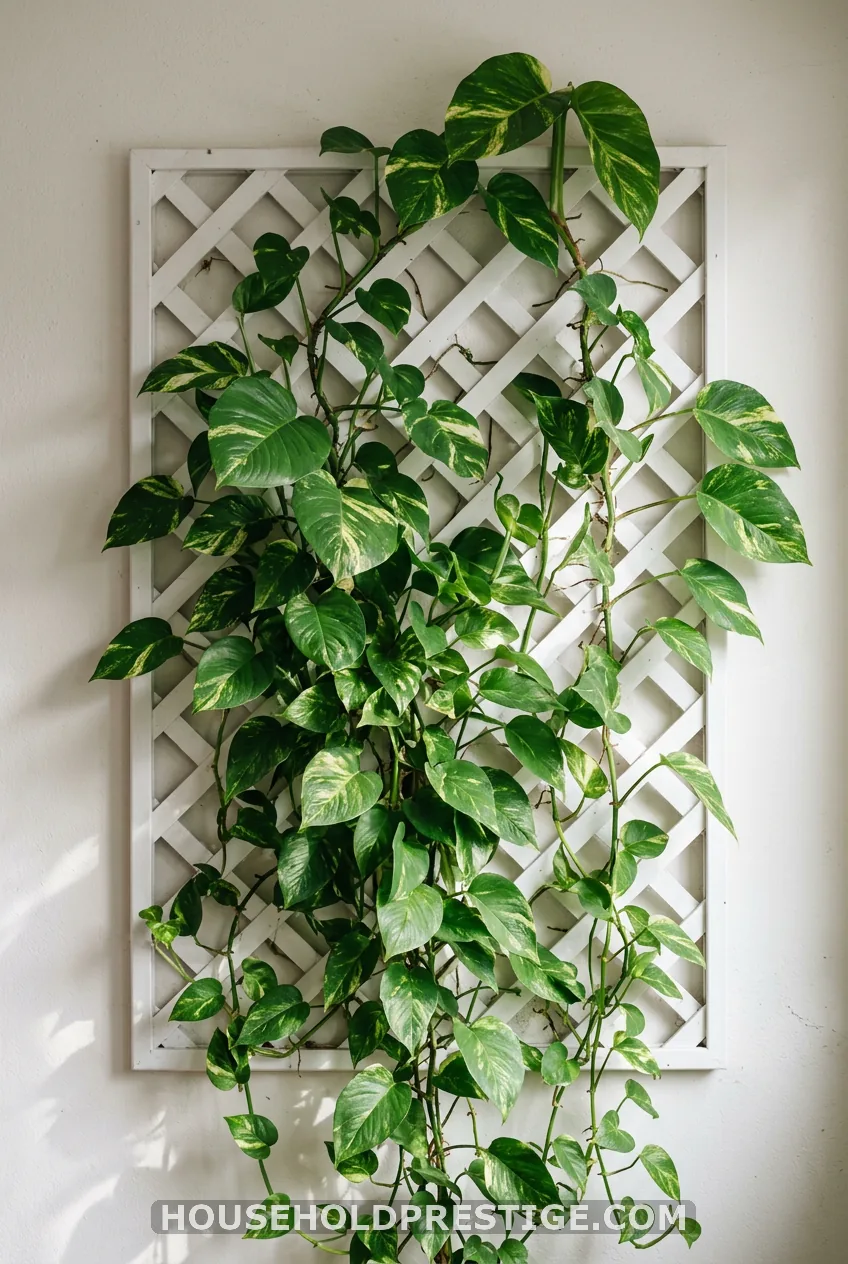
This gives the most coverage. Mount the panel on standoffs so there is a small gap behind it. Then you can tuck vines through, and air moves behind the leaves.
Use screws and wall anchors, or heavy-duty adhesive for light panels. A 2 by 4 foot panel costs about $20 to $40.
14. Balcony or Patio Wall Climb
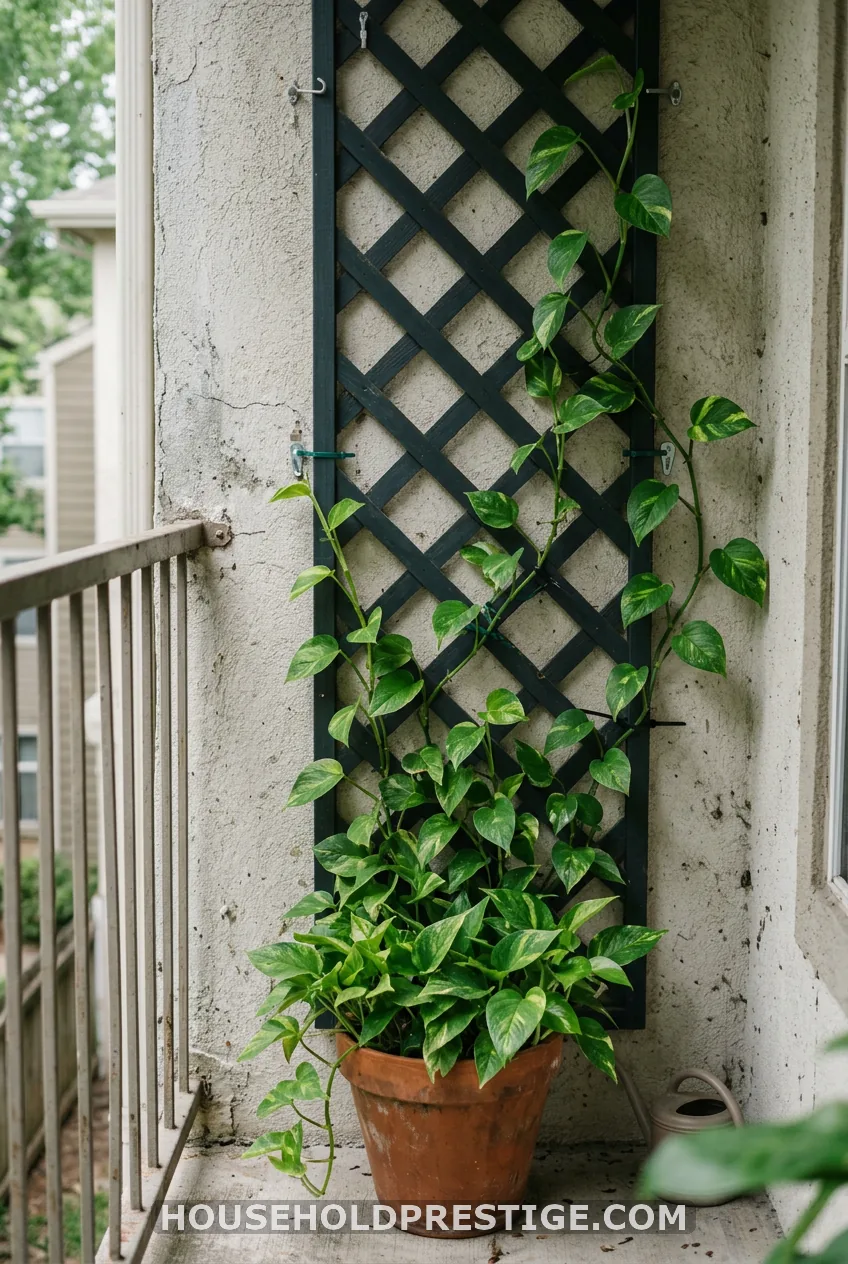
Pothos does well outdoors in warm, humid shade. Use outdoor-rated hooks, a trellis, and zip ties. Keep it out of direct sun, which scorches the leaves.
Bring it inside before nights drop below 50 F.
15. High Wall Shelf for Pet and Kid Homes
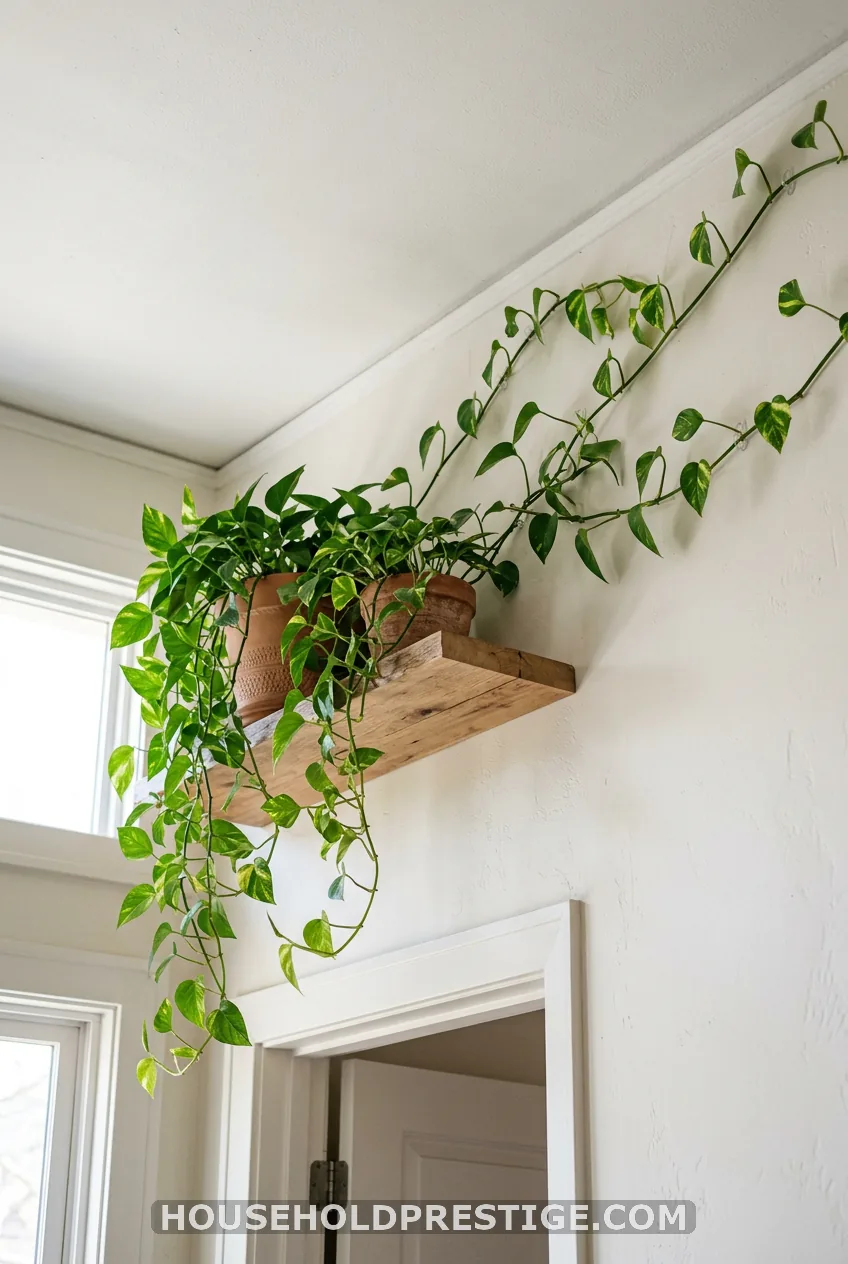
Pothos is toxic to cats and dogs if chewed. Start it high and let it climb across. Use a heavy-duty bracket for the shelf. Add adhesive clips to guide the vines sideways, not down.
Paint-Safe Mounting and Training Cheat Sheet
Which Mount Goes Where
- Painted drywall: removable strips for light loads, small nails or picture hooks for anything heavier.
- Tile: suction-cup hooks or adhesive hooks made for tile.
- Wallpaper: a few picture hooks, since strips often tear it.
Test one hook in a hidden spot for a week before you commit. To remove, pull strip tabs slowly, then soften leftover aerial roots with warm water before you pull. Patch small marks after.
Train a Vine in 5 Minutes
- Find a vine with visible aerial roots.
- Anchor it loosely at a node.
- Repeat every few days as it reaches for the next hook.
Keep It Full, Not Leggy
Bright indirect light keeps vines climbing. Water when the top inch of soil is dry. A moisture meter helps if you guess wrong often.
If a vine snaps or gets leggy, cut it below a node. Root the cutting in water and plant it back in the pot to fill gaps.
The One Thing to Remember
Pick the wall, check the light, and give the vine a path before you buy anything fancy.
FAQ
Will pothos climb a bare wall on its own?
Not well. Aerial roots can grip rough or porous surfaces, but on smooth painted drywall they rarely hold and can peel paint. Use hooks, wire, or a trellis to guide it.
How long does it take for pothos to cover a wall?
With bright indirect light and a full 6-inch pot, expect 3 to 6 feet of growth a year. A full wall usually takes 12 to 24 months. Overhead light and a moss pole speed it up.
Which pothos variety is best for wall climbing?
Golden and Jade pothos are the most vigorous. Marble Queen and Neon grow slower. Satin pothos (Scindapsus pictus) is a lookalike that also climbs well.
Can pothos climb in low light?
It survives, but it will not climb with much energy and may get leggy. A small overhead grow light keeps the vines reaching up.