

“Don’t toss that bag,” my sister said, pulling a tangle of old curtain cutoffs out of the donation pile. “That’s a wall hanging. You just haven’t made it yet.
She was right. A fabric wall hanging DIY project can start with almost anything in your closet.
This list sorts 13 ideas by what you already own, how much sewing you want to do, and how you will hang the finished piece. Each one gives you fabric type, rough size, and the hanging method. Pick the one that matches your stash and start this weekend.
Match the Project to Your Fabric Stash
Not sure where to start? Look at what is in your bin.
- Small scraps and fat quarters: projects 1, 2, 12, and 13
- Old sheets, clothes, or baby outfits: projects 3 and 4
- Curtain panels, drop cloth, or tea towels: projects 9, 10, and 11
- Upholstery samples or one pretty print: projects 5, 6, 7, and 8
Materials Checklist for Any Fabric Wall Hanging
You do not need all of this. Grab what fits your project.
Fabric: Medium-weight cotton, canvas, upholstery fabric, unwaxed drop cloth, curtain panels, flour sack tea towels, muslin, linen, old sheets, and sturdy old clothes. Skip thin, slippery fabric unless you back it with fusible interfacing.
Layers and fusibles: Polyester batting, fusible fleece, HeatNBond Lite for applique, fusible interfacing for stretchy or thin fabric, and backing fabric.
Frames and hangers: Canvas frames, wood frames, backer board, dowels, garden sticks, grommets, and twine.
Tools: Iron, rotary cutter, fabric scissors, pinking shears, sewing machine with a walking foot, and a staple gun. A short-nose upholstery staple gun, like the Sailrite one, fits tight frame edges well.
Hanging hardware: Level, drywall anchors, small nails, and adhesive strips.
Budget ranges:
- Scrap or old-cloth projects: $0 to $15
- No-sew framed pieces: $10 to $30
- Sewn mini quilts with new batting: $10 to $25
- Large wall flags: $25 to $60
Prewash and iron everything before you start. Fabric that shrinks after you finish will pucker the whole piece.
Mini Quilts and Sewn Pieces
These need a sewing machine and a little patience. They also look the most like boutique art.
1. Mini Quilt Wall Hanging
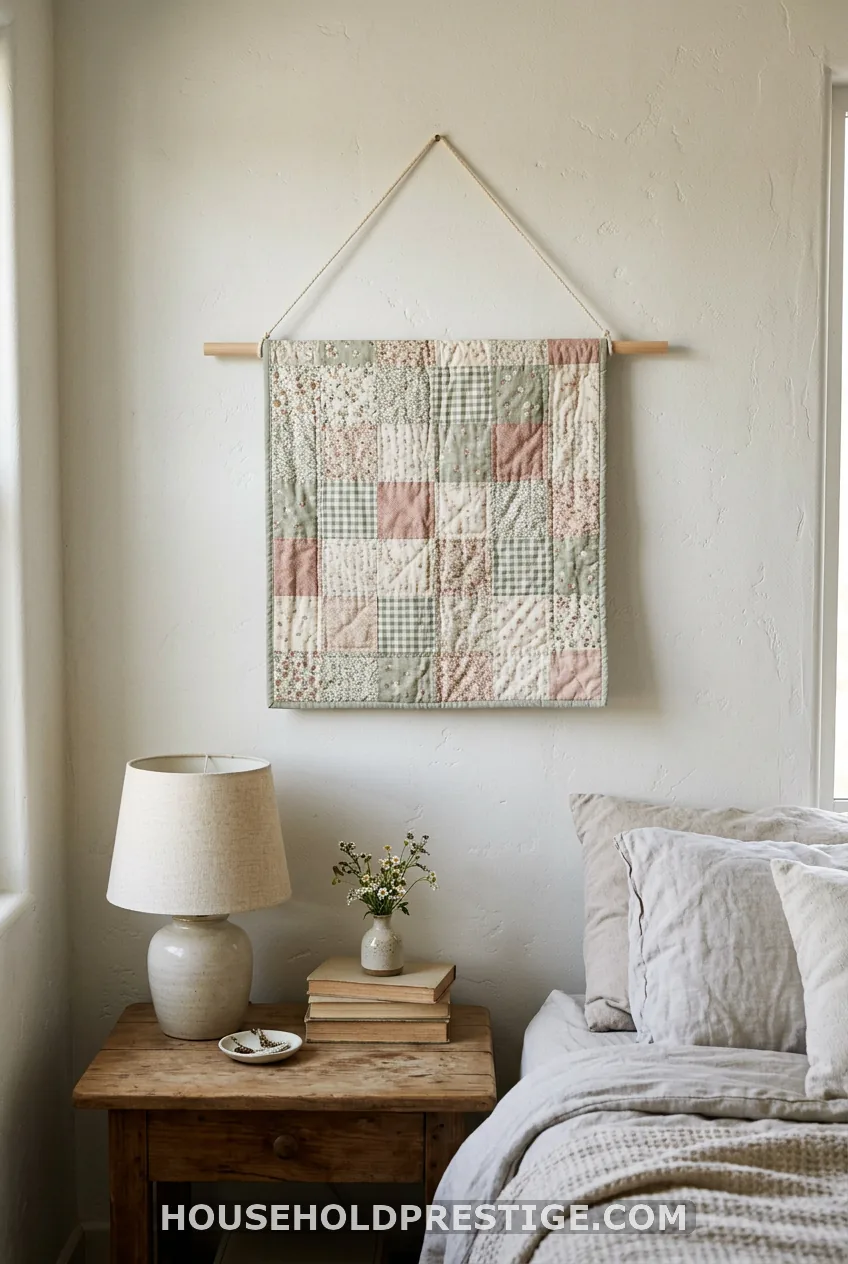
A mini quilt is a small quilted piece, usually 12 to 24 inches square, built from a top, batting, and backing. It is the cozy favorite for a reason. It adds color and softness to a wall without taking over the room.
For an 18-inch piece, cut the top, batting, and backing each to 19 inches square. Use the pillowcase turn. Lay the batting down, put the backing on it right side up, then the top face down. Sew around the edges with a quarter-inch seam and leave a 4-inch gap.
Trim the corners, turn it right side out, press, and topstitch around the edge to close the gap. Then quilt a simple grid with straight lines 2 inches apart. Sew a 4-inch-wide fabric strip to the back top as a dowel sleeve, and slide in a 3/8-inch dowel.
Hang it over a bed, in a nursery away from the crib, or tuck several into a cozy gallery wall.
2. Scrap-Fabric Confetti Mini Quilt
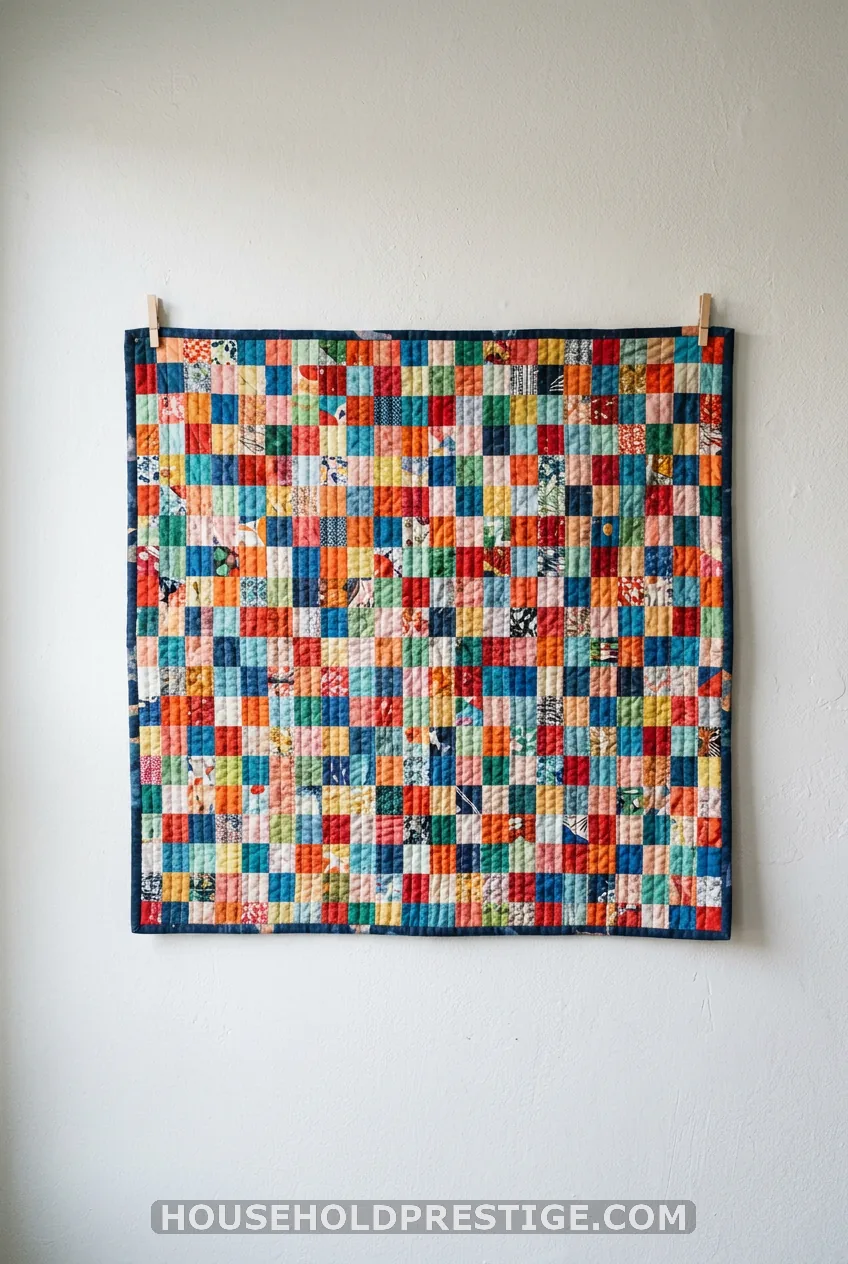
This one uses up the scrap bin. Cut 2.5-inch squares from leftovers. Sew 8 rows of 8 squares, and you get a quilt top that is about 20 inches square before seams. After sewing, it will measure slightly less, around 18 inches.
Sort your colors first. Tonal piles (all blues, all rusts) look modern. A true scrappy mix looks playful. Quilt it densely, with lines every half inch, and the piece hangs flat and looks polished.
A cautionary tale: I once skipped the walking foot on a scrap quilt. The layers shifted and I ended up with a wavy back and three pleats I had to rip out. A walking foot feeds all layers evenly. Use it, or pin every 3 inches.
3. Fabric Panel Kid’s Wall Hanging from Old Cloth
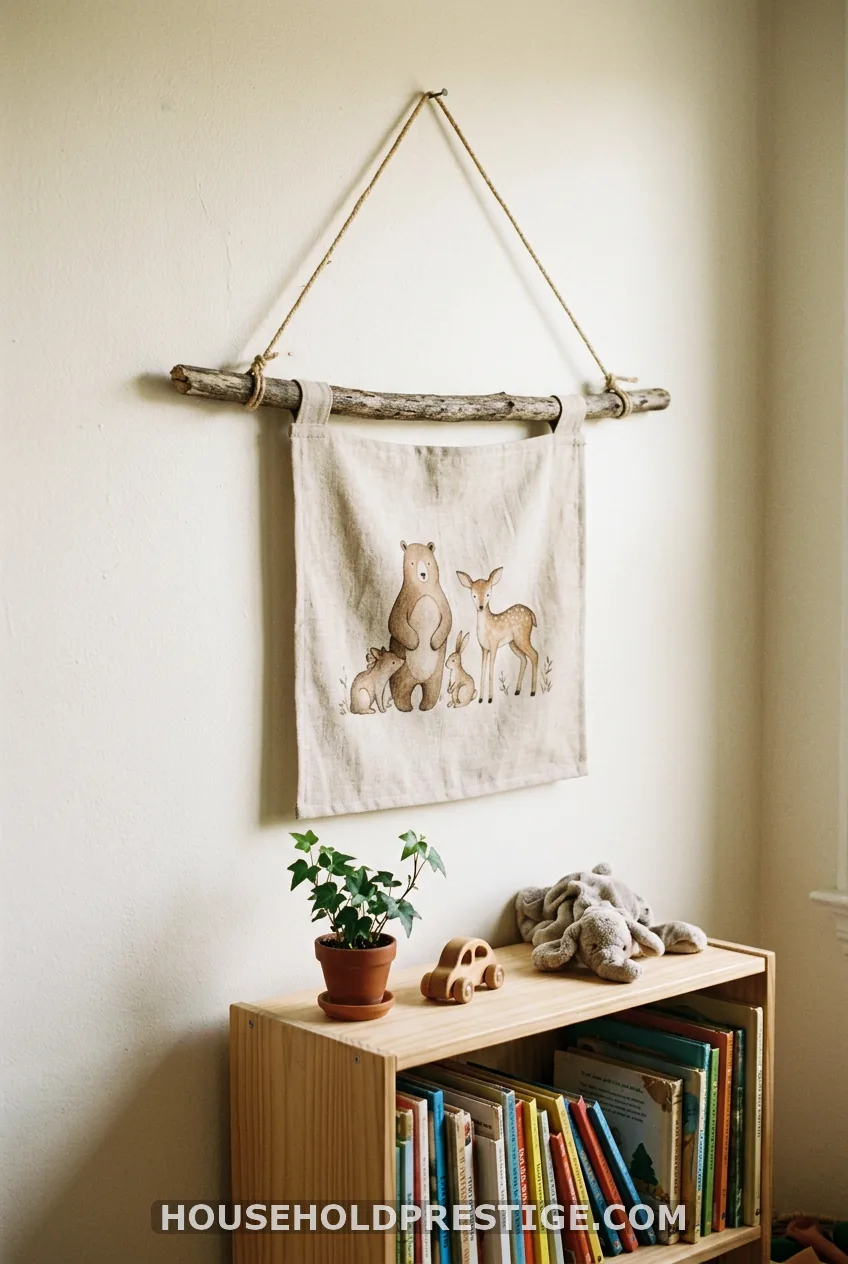
A cute panel, an old sheet with a pretty print, or a leftover remnant becomes wall art in about an hour. Cut your motif with a 1-inch border. Iron fusible fleece to the back so the fabric stands up straight.
Pin backing fabric to the front, right sides together, sew around three sides, turn, and press. Fold the top edge over to make a casing. Topstitch around the whole edge, then outline-quilt around the motif so it pops.
Slide a garden stick through the casing. Tie twine to both ends and hang. A $2 garden stick costs less than a store-bought dowel and looks more rustic.
4. Old Cloth Memory Wall Hanging
Myth: “Old clothes are too stretchy to sew into art.”
Reality: Iron fusible interfacing onto the back of any thin or stretchy fabric before you cut it. It acts like a stabilizer. Knit baby clothes then cut and sew like quilting cotton.
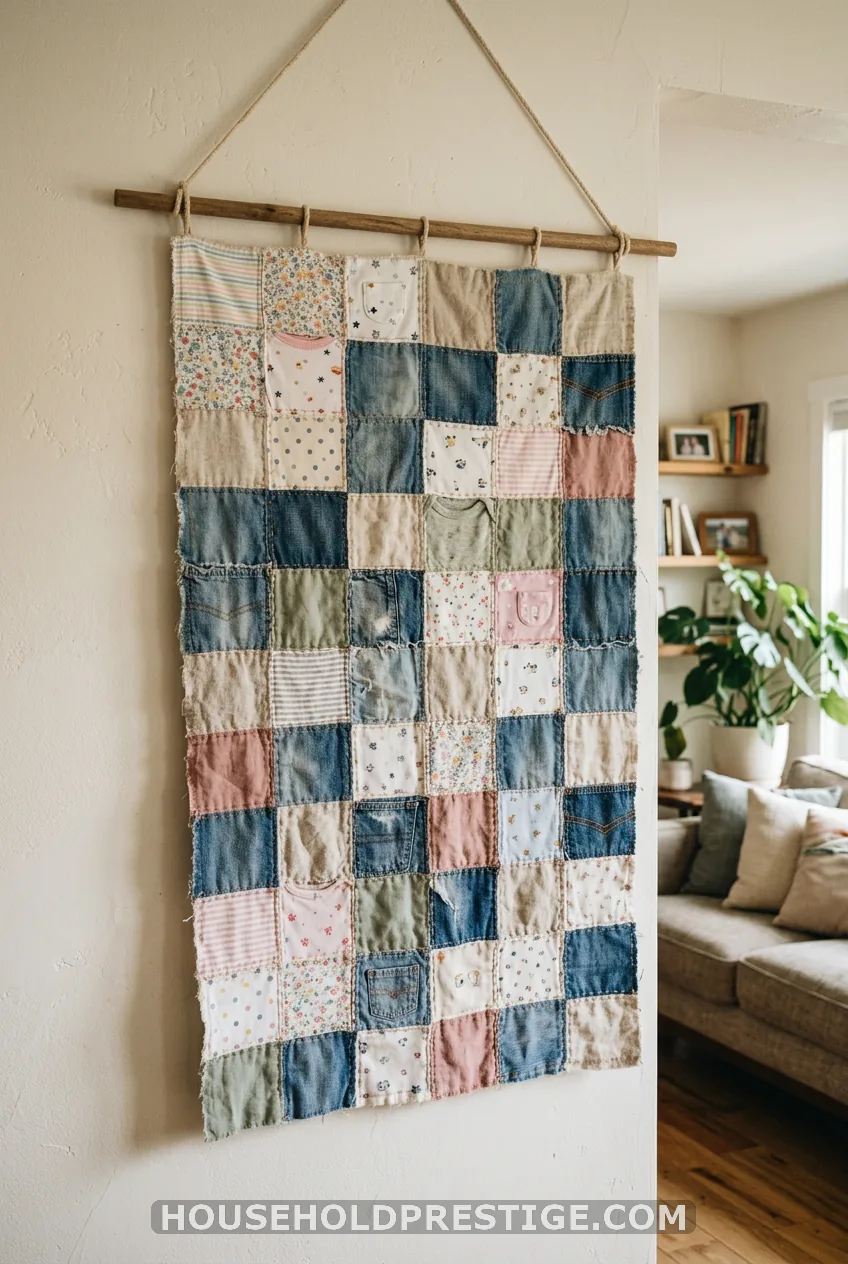
Cut 4-inch squares from baby outfits, a denim shirt, and a linen apron. Sew them into a 3-by-4 block layout for a 12-by-16-inch finished size. Back it with batting and fabric, and add a small fabric label stitched on the back with names and the date.
Keep this one in the family room or hallway, not over a crib.
No-Sew Framed and Wrapped Projects
No machine? Good news. A staple gun and an iron do the work here.
5. No-Sew Framed Fabric Art
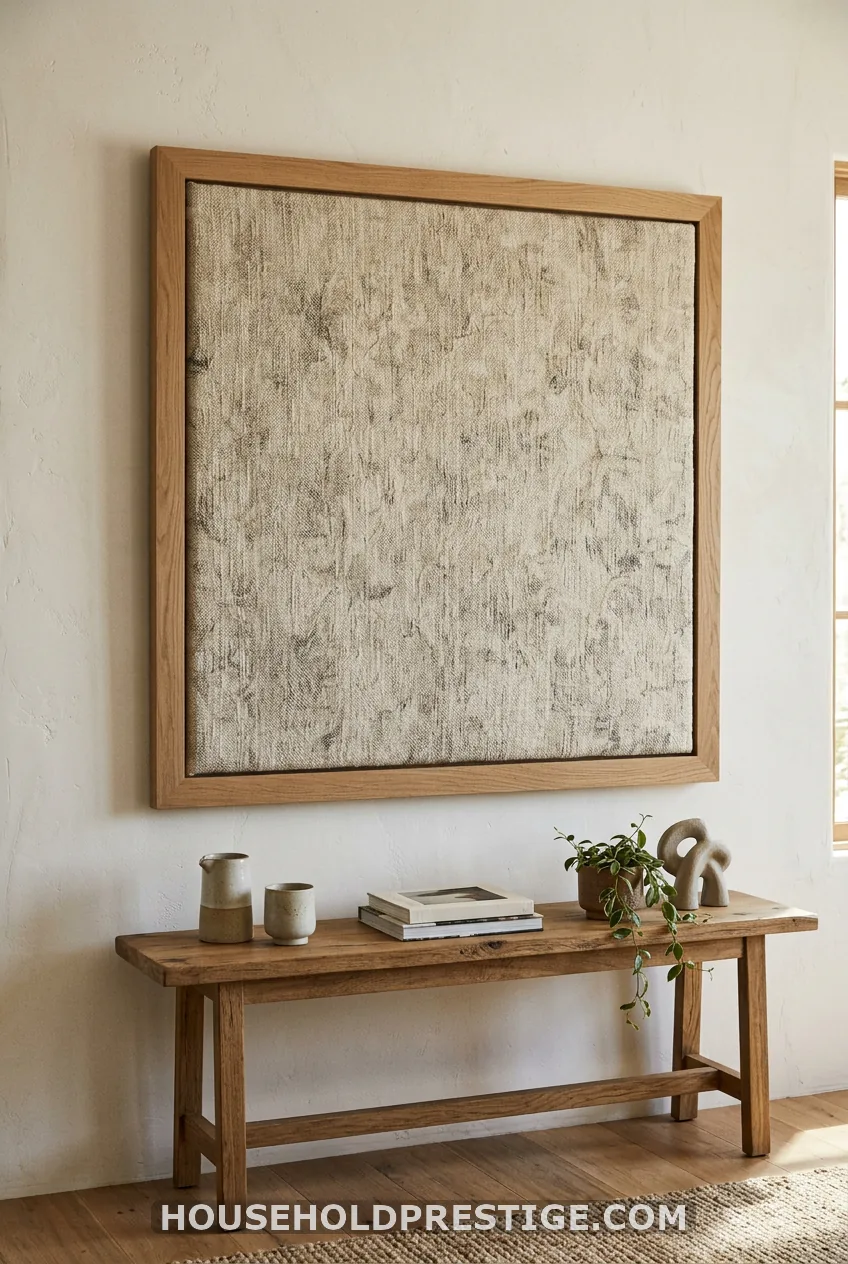
This is the deep-dive project, and it works for most fabrics. Use upholstery fabric or heavy cotton. It stays taut and hides staples well.
What you need ($15 to $30):
- A wood frame or a 16-by-20-inch canvas with the canvas removed, or a piece of 1/4-inch backer board
- 1 yard of fabric (cut 3 inches larger than the board on every side)
- Polyester batting cut to the board size
- Staple gun with 1/4-inch staples
- Picture-hanging wire or a sawtooth hanger
Steps:
- Iron the fabric flat. Lay it face down and center the batting, then the board, on top.
- Pull the fabric over the top edge and put one staple in the middle. Do the same on the bottom edge, pulling firmly.
- Do the left and right edges the same way, one staple in the center each.
- Work outward from each center, adding staples every 2 inches. Stop 3 inches from each corner.
- Fold the corners like a gift, pull tight, and staple them last.
- Trim extra fabric, attach hanging hardware, and use a level to hang.
The mistake to avoid: Stapling from one corner across to the other. The fabric pulls crooked and shows wrinkles. Always start at the center of each side and work outward.
Want a design? Cut shapes from a second fabric with HeatNBond Lite and iron them on before you wrap.
6. Renter-Friendly Fabric-Covered Canvas
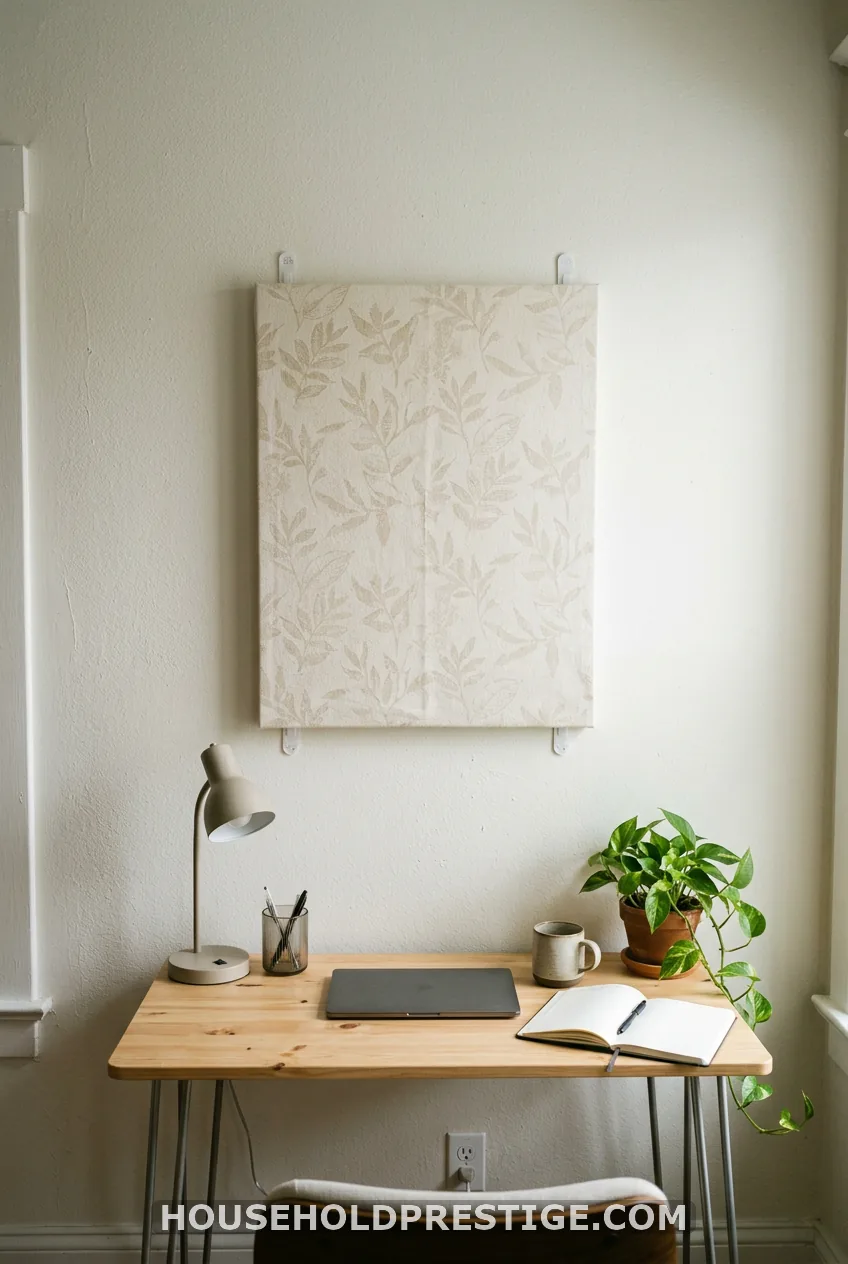
Cover a cheap 12-by-16-inch canvas with fabric, using the staple method from project 5. The whole thing weighs under a pound. Hang it with adhesive strips rated for the weight, or a single small nail.
Dorm, apartment, bedroom, done. Skip the holes, keep the deposit.
7. Fabric Picture and Applique Wall Art
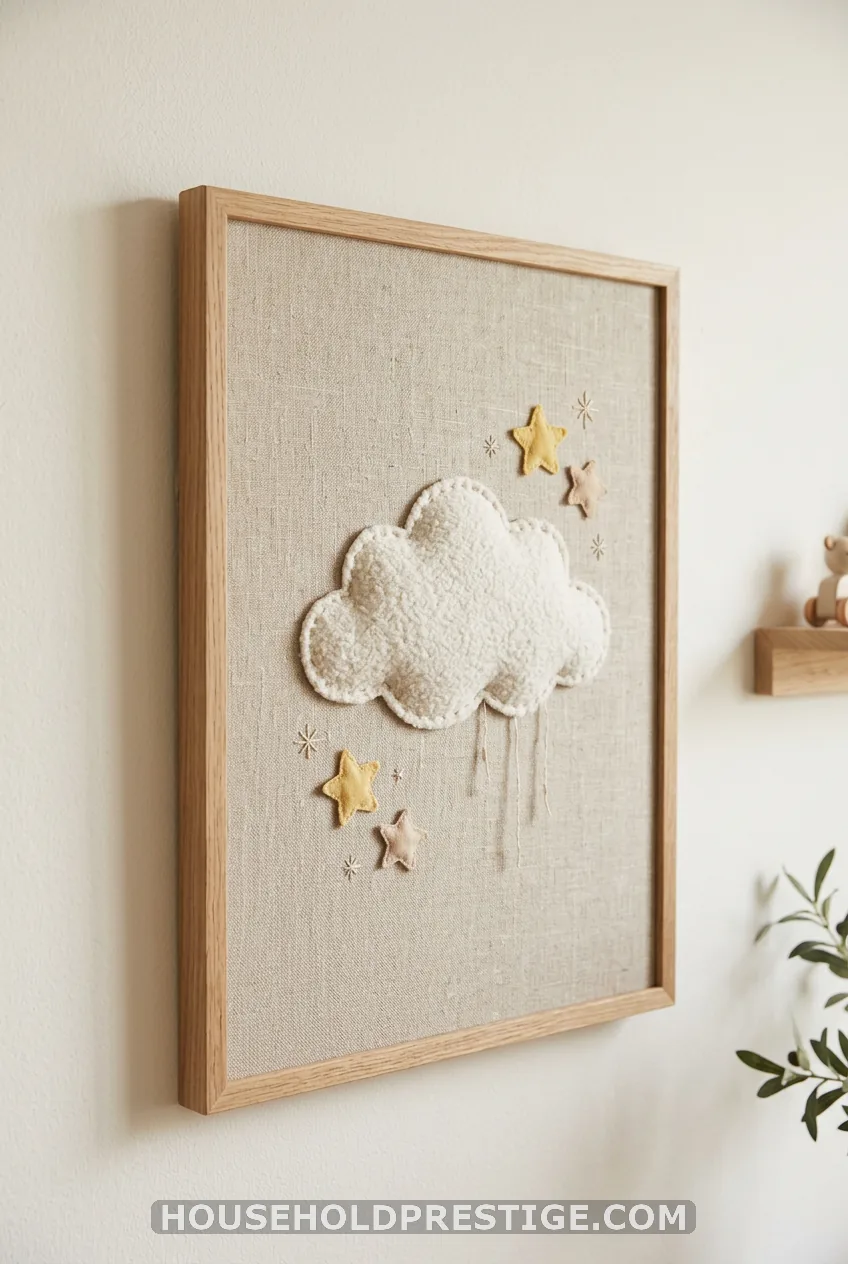
This is where you personalize. Pick a background fabric, like linen or plain cotton. Then cut shapes from a second fabric. Hearts, letters of a name, leaves, a house shape, it all works.
Iron HeatNBond Lite to the back of your fabric, trace your shape, cut it out, peel off the paper, and iron it in place. Press for about 10 seconds per section, and do not slide the iron. A Cricut can cut letters cleanly, and a paper stencil works for freehand shapes.
Stretch the finished piece over a canvas or put it into a frame. If you see puckering around the shape, you used too much heat or slid the iron. Cover with a pressing cloth and re-press.
8. Upholstery-Sample Color-Block Panel
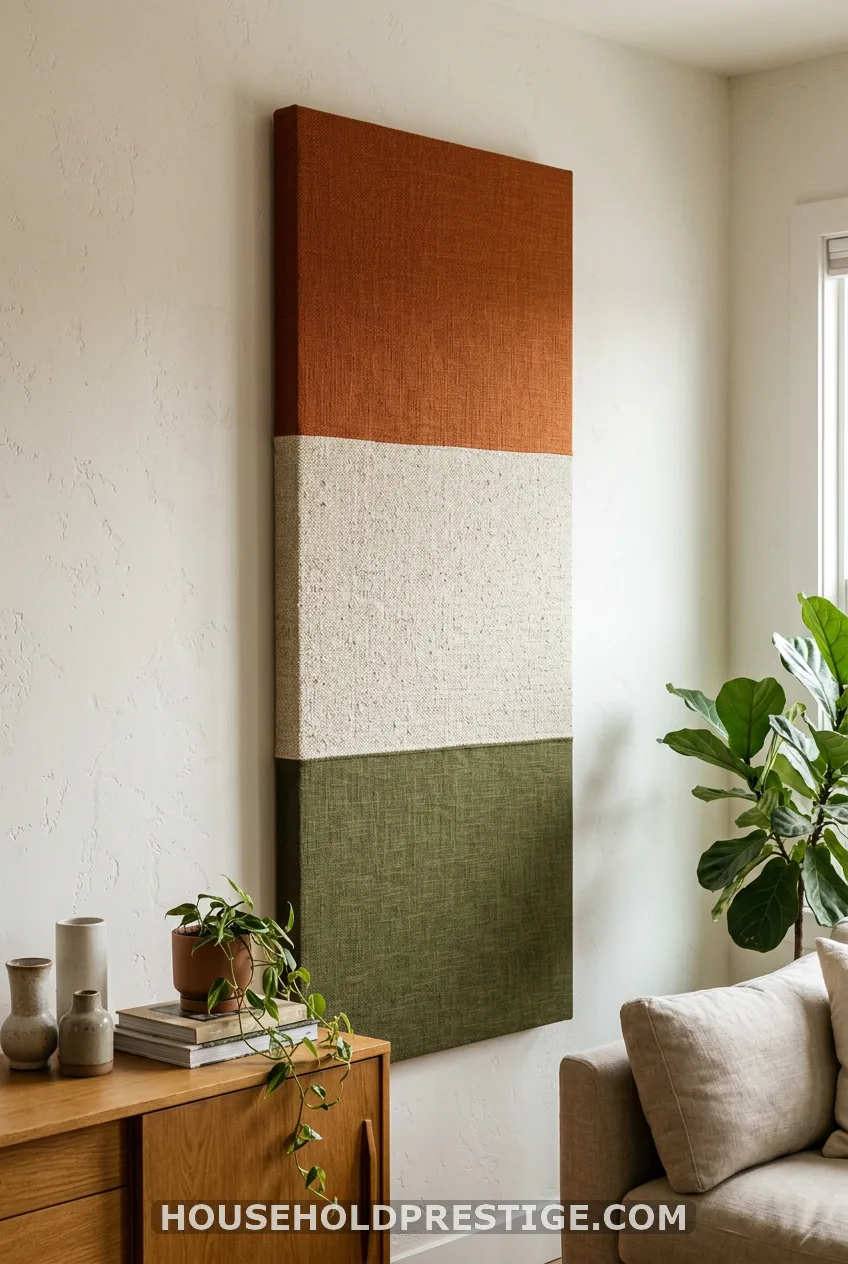
Cut three upholstery samples into equal strips and tape the edges to a tall backer board. Staple the outer edges around the back. No sewing, no frame. It reads as modern art.
Big, Boho, and Floral Hangings
Large hangings change a room fast. Small florals fit small walls.
9. Large Drop-Cloth Wall Flag
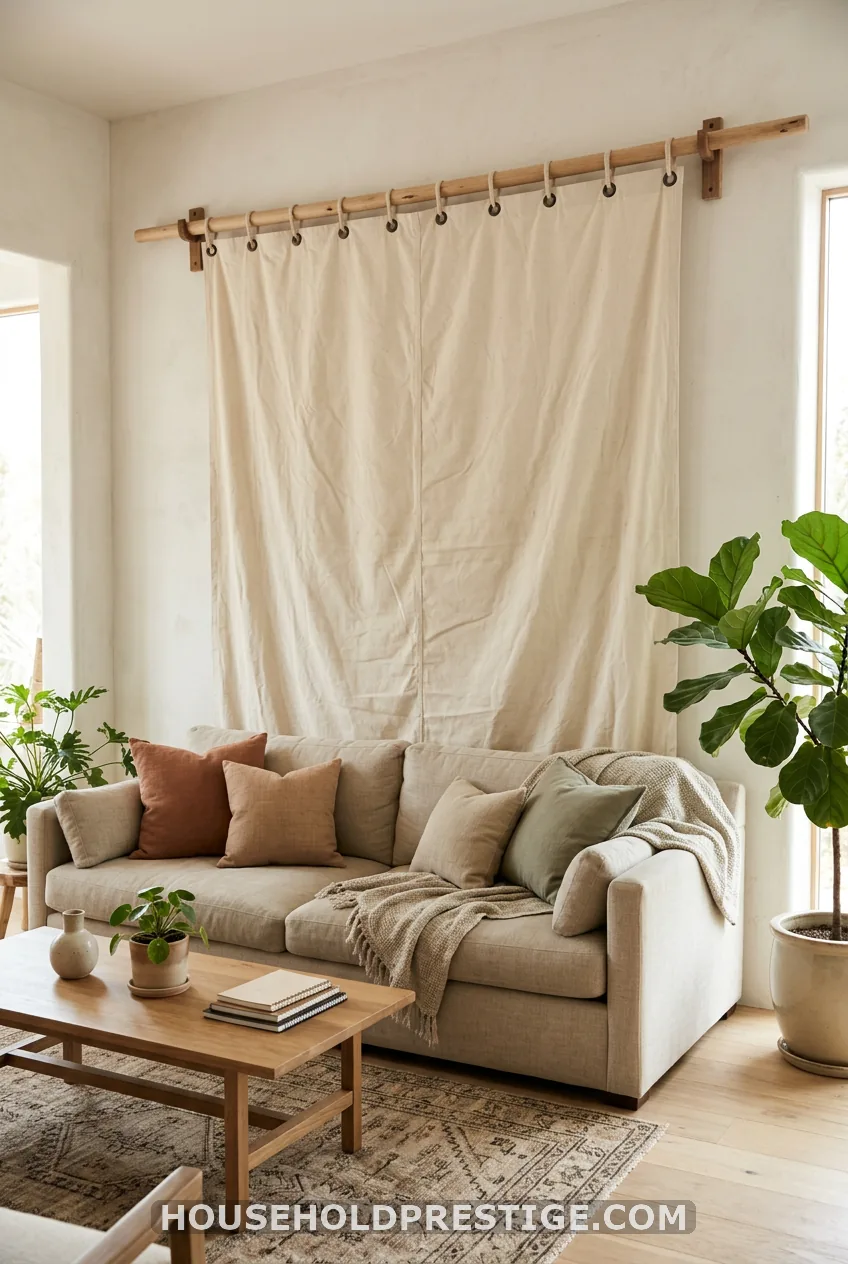
Want big impact on a budget? A 4-by-5-foot piece of unwaxed drop cloth covers a wide wall for around $15 to $25. Curtain panels and flour sack towels sewn together work too.
Hem the edges with a 1-inch fold. Add grommets across the top, every 6 to 8 inches, and thread them onto a dowel or tie to a dowel with twine. For a 3-by-4-foot size, use a 36-inch dowel. Paint lettering with a stencil, add Cricut vinyl, or brush an abstract shape.
A cautionary tale: I bought a painter’s drop cloth without reading the label. It was coated and stiff and smelled like a hardware store. Buy plain cotton canvas, unwaxed, and wash it first.
10. Dowel-Hung Fabric Banner
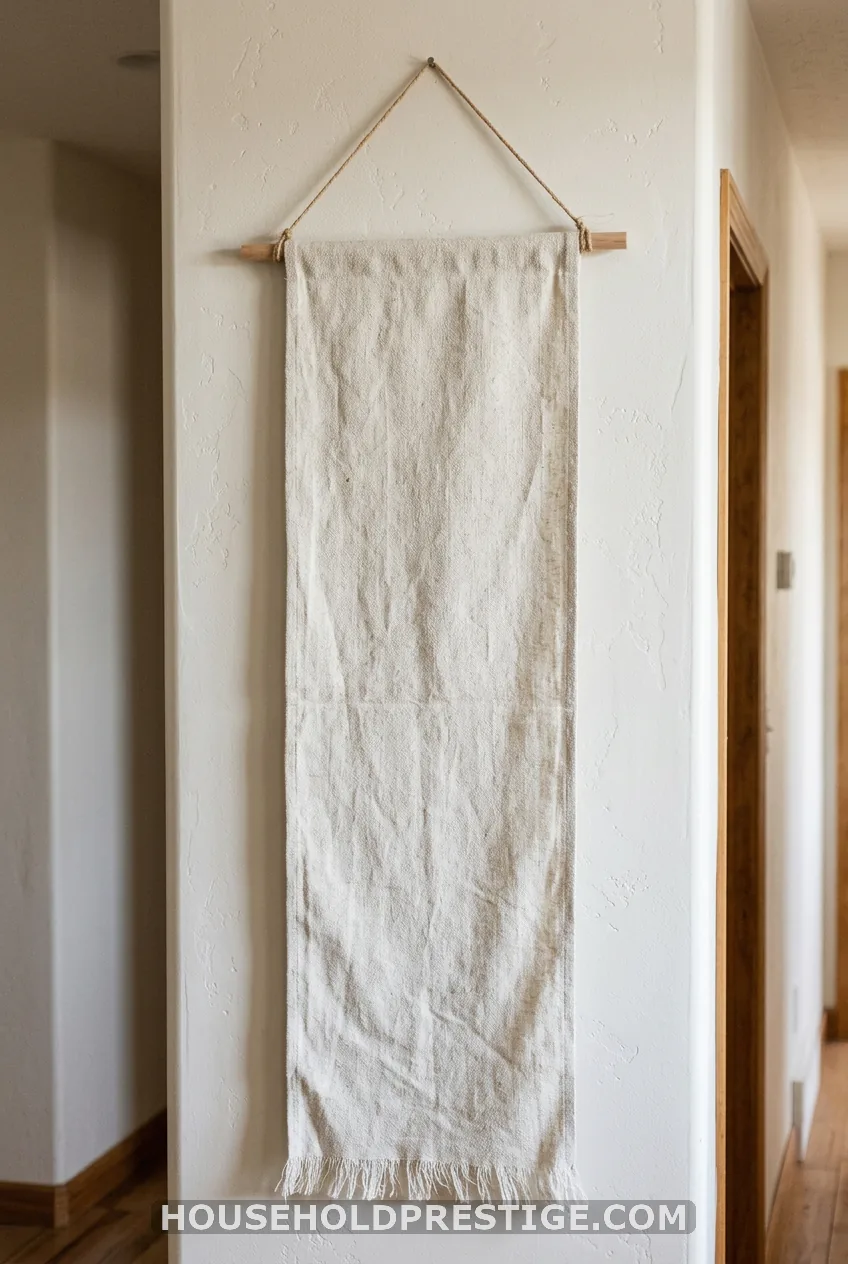
Hem a tea towel or curtain remnant, sew a 2-inch sleeve at the top, and add fringe at the bottom. Slide a dowel through and tie twine to the ends. Swap it out each season.
11. Boho Layered Fabric Wall Hanging
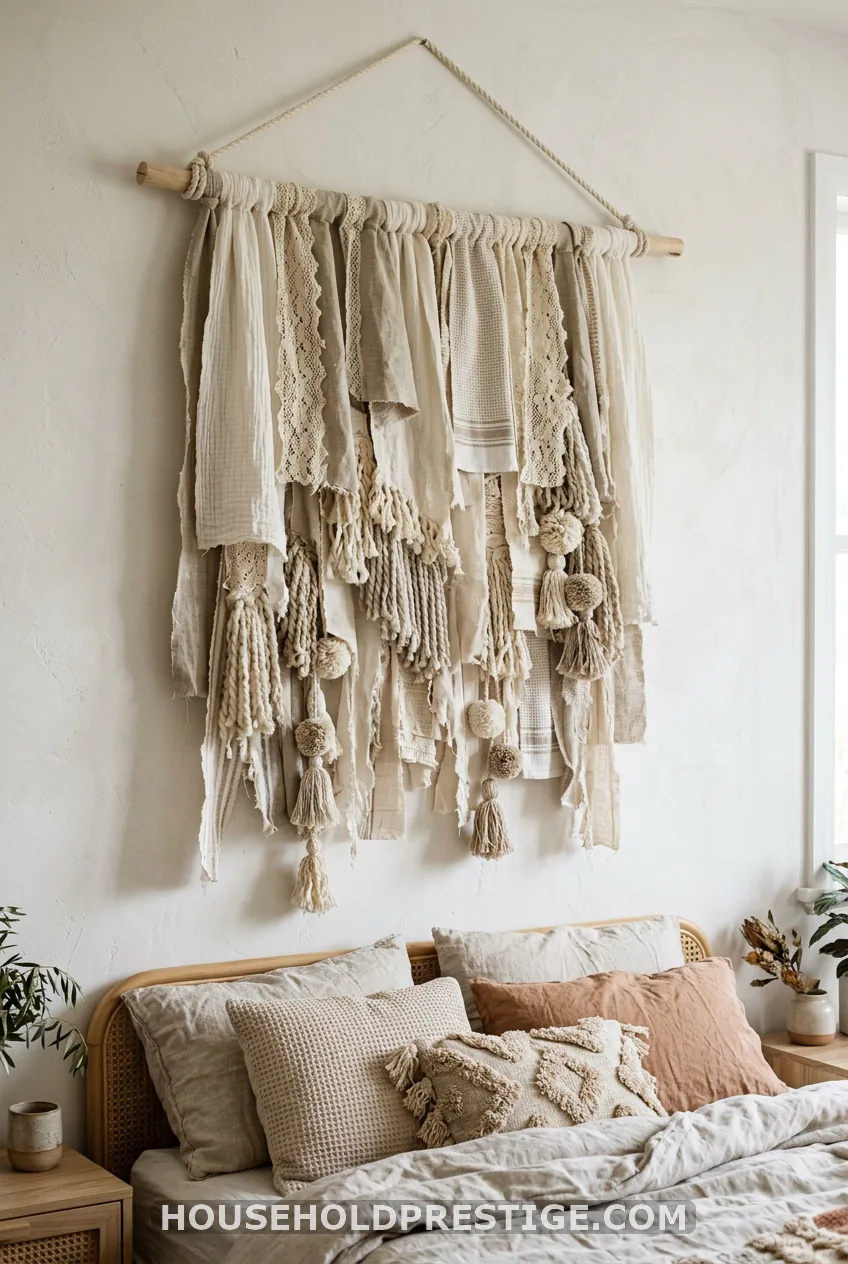
This is the texture play. Stick with a warm palette of cream, oatmeal, terracotta, and rust. Cut strips of muslin, linen, tea towels, and lace in different lengths, from 14 to 30 inches.
Fold each strip over a 24-inch dowel, and sew or glue it in place with fabric glue. Stagger the lengths so the bottom looks uneven in a good way. Add yarn fringe and a few pom-poms, then tie on twine to hang.
It looks best above a bed or on the empty wall by a living room chair. Pinking shears on the strip ends give a zigzag edge without hemming.
12. Floral Fabric Wall Hanging
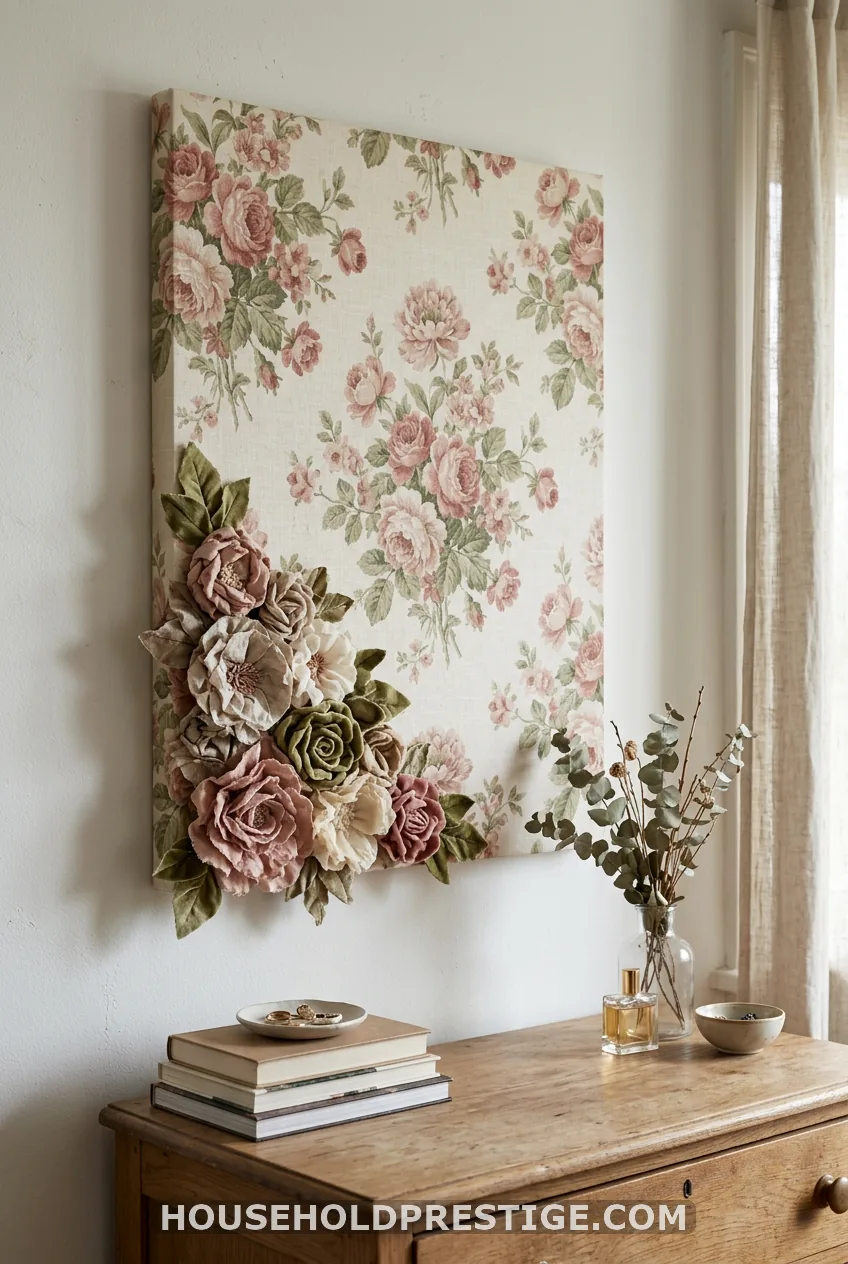
Pick one large-scale floral print and let it be the star. Stretch it on a canvas using the method in project 5. A print with blooms the size of your hand looks dramatic. A tiny print reads like wallpaper.
Add a few raw-edge applique flowers or rolled fabric roses along one corner for depth. Keep your palette to three colors, and match one of them to a pillow or throw in the room.
13. Fabric Flower Hoop or Crochet Bloom Hanging
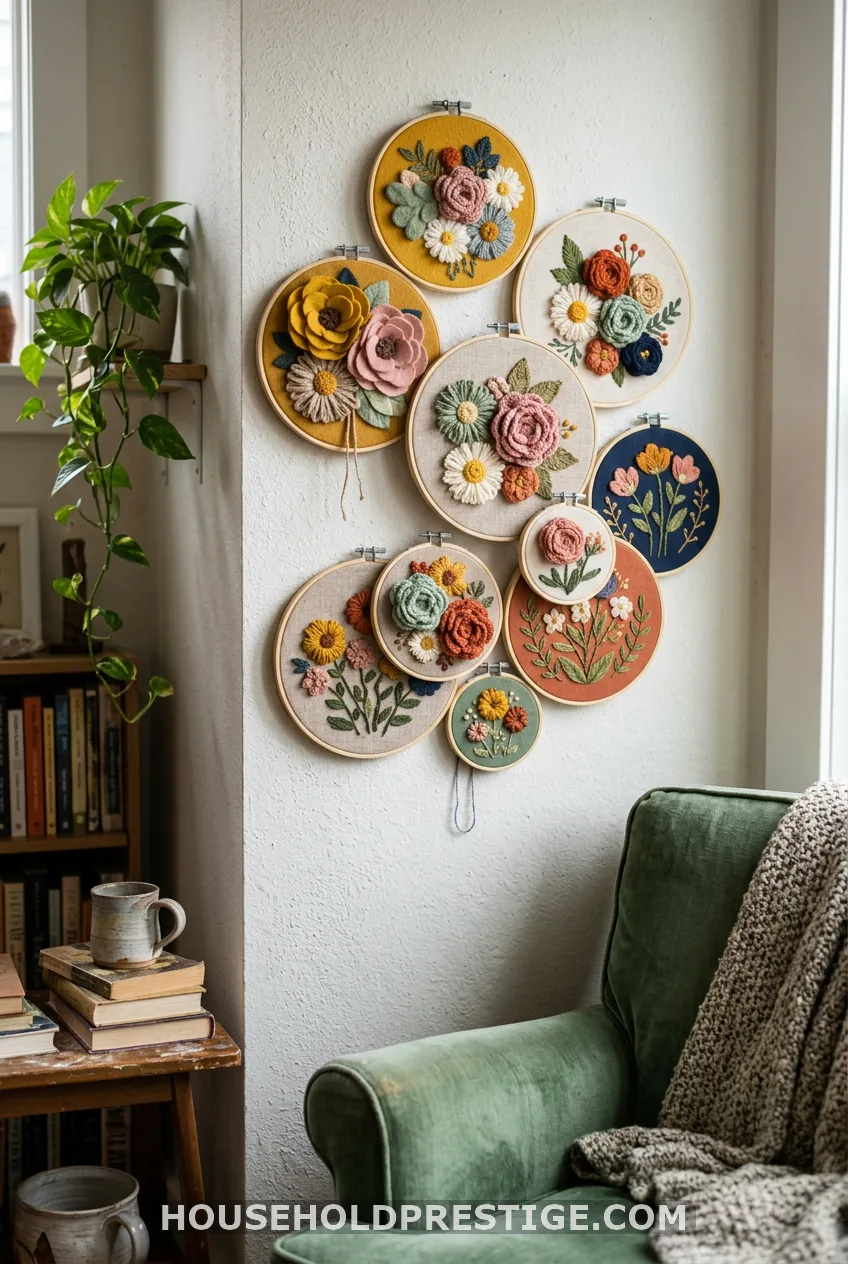
Small wall? Try hoops. Stretch fabric in a 6-inch embroidery hoop, trim the extra on the back, then glue or hand-sew fabric flowers on top. Cut circles from scraps, gather the edges with a running stitch, and pull tight to make a bloom.
Crochet blooms also work. Make a few in bright colors, stitch them to a stick, and let them hang in a row. Group three to five hoops in different sizes for a mini gallery.
How to Hang and Style Fabric Wall Hangings by Room
How you hang matters as much as what you make. A sagging piece looks tired no matter how nice the fabric is.
Bedroom: Hang a large piece 6 to 10 inches above the headboard. Center it on the bed, not the wall.
Nursery: Never hang anything above the crib. Keep hangings on a different wall, out of reach, and lightweight.
Living room: Behind a sofa, leave 6 to 8 inches between the bottom of the piece and the cushions. Large flags need a wide wall.
Gallery walls: Mix mini quilts with frames. Leave 2 to 3 inches of space between pieces.
Weight and hardware:
- Under 1 pound: adhesive strips rated for the weight or a small nail
- 1 to 5 pounds: a nail into a stud, or a drywall anchor
- Over 5 pounds: stud, or a rated anchor
Stop the sag: Use a dowel or grommets across the whole top edge. Add fusible fleece to light fabrics. For pieces over 3 feet wide, add a second dowel at the bottom as weight. Use a level before you commit to holes.
Sewing or no-sew? No-sew is faster (1 to 2 hours) and cheaper, with a firmer, flatter look. Sewn pieces take 3 to 6 hours and feel softer. Choose by the look you want.
Pick one project and make it this weekend.
Fabric Wall Hanging DIY FAQ
What fabric is best for a DIY fabric wall hanging?
Medium-weight cotton, canvas, upholstery fabric, drop cloth, and curtain panels hold their shape best. Avoid thin or slippery fabric unless you back it with fusible interfacing. Prewash and iron every piece first.
Can I make a fabric wall hanging without sewing?
Yes. Wrap fabric around a canvas or backer board and staple it from the center of each side outward. Use HeatNBond Lite to iron on applique shapes. You do not need a machine.
How do I hang a large fabric wall hanging without sagging?
Use a dowel or grommets across the entire top edge, and keep the fabric taut. Anchor into a stud, or use drywall anchors rated for the weight. A second dowel along the bottom hem adds weight and keeps the piece flat.
How much does a DIY fabric wall hanging cost?
With scraps, old clothes, or curtain cutoffs, you can spend $0 to $30. A large piece made with new fabric and batting can run $40 to $60.
A sewn mini quilt or a stapled frame, made with what you own, is the cheapest wall art you will ever hang.