

Your closet door barely closes. You know this feeling. Clothes spill off hangers, shoes pile on the floor, and somewhere in that mess is the shirt you wanted to wear today. A closet remodel fixes this, but only if you plan it right before you touch a single board.
I redid my own closet last spring, and I made every mistake in this guide before I figured out the shortcuts. Wasted lumber. A drawer that didn’t fit. A rod hung so low I kept whacking my head on it. So let’s skip that part. By the end of this guide, you’ll have a clear plan, a real budget, and a step-by-step path from disaster zone to a closet that works for your stuff.
What You Need Before You Start
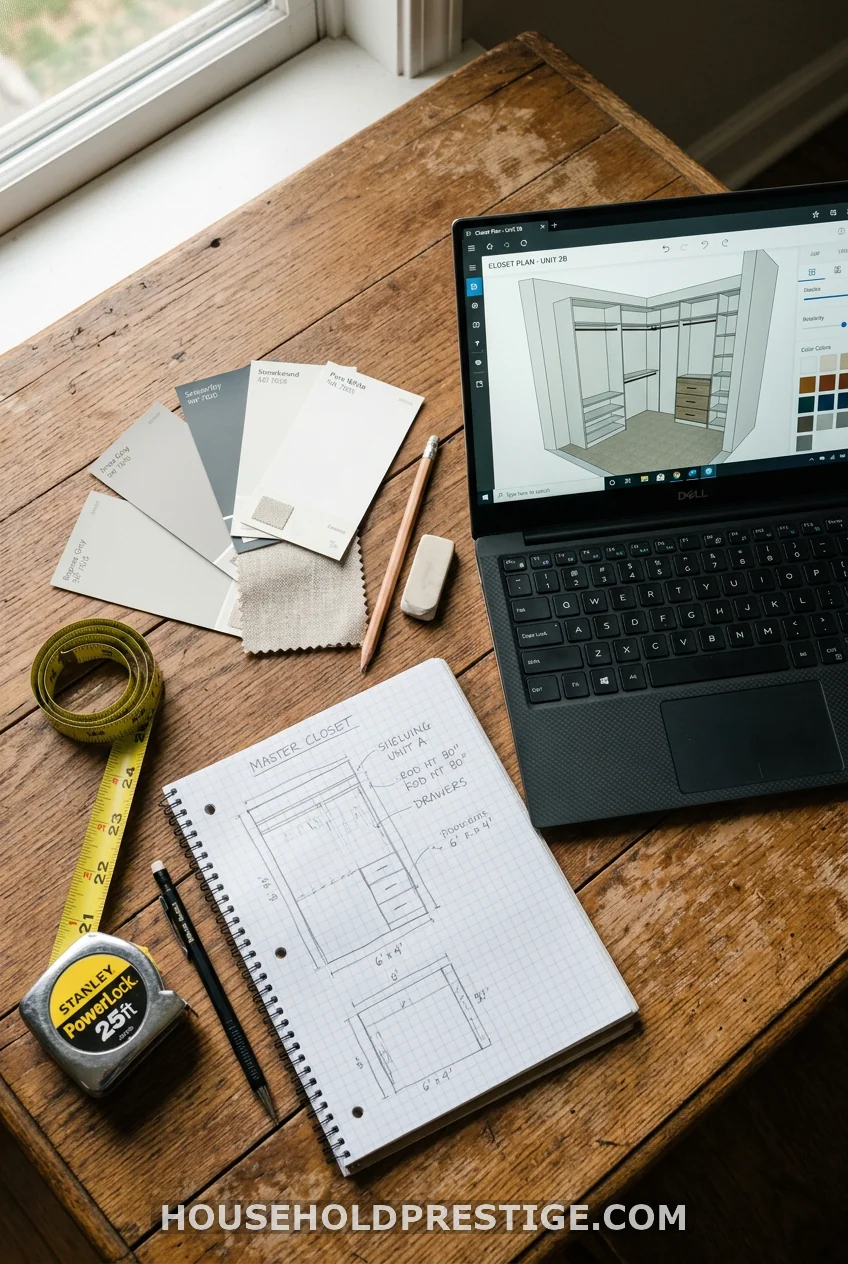
Before you buy a single shelf bracket, gather three things: a tape measure, a plan, and a real number for your budget.
Start with measurements. Write down the width, depth, and height of your closet. Note where the door swings, where any vents or outlets sit, and whether your walls are perfectly square (most aren’t). A closet that looks like a plain rectangle often hides a few inches of slope or bump-out you won’t notice until your shelves don’t fit.
Next, sketch your layout. You don’t need fancy software. Graph paper works fine, though free tools like the IKEA Planner or SketchUp let you test a few configurations before you commit. Sketching first saves you from a mistake nearly every closet remodeler makes: building the whole thing around clothes you own today, not the mix you’ll own in five years.
Then set your budget honestly. A DIY closet remodel using modular units like IKEA’s PAX system typically runs $300 to $1,200, depending on size and finishes. A from-scratch plywood build costs less in materials, usually $150 to $600, but takes more of your time and tools. A fully custom, professionally installed system runs $1,500 to $10,000 or more. Know which lane you’re in before you start designing, because the materials you choose depend on it.
Tools you’ll likely need: drill, level, stud finder, miter saw or circular saw, tape measure, wood filler, sandpaper, and paint or primer if you’re customizing a laminate system like PAX.
How to Remodel a Closet, Step by Step
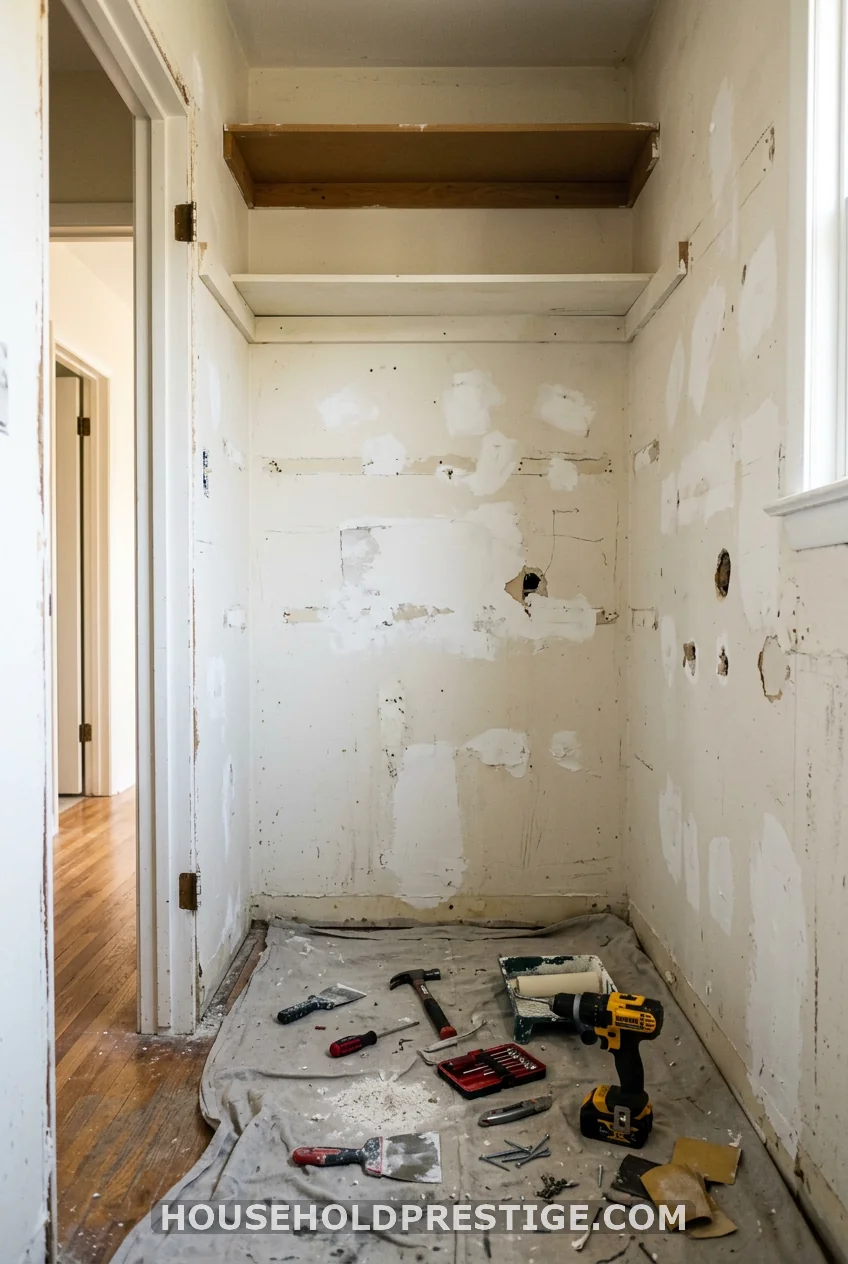
Here’s the process broken into manageable steps. Follow them in order, and you’ll avoid most of the rework that turns a weekend project into a month-long one.
Step 1: Empty the Closet and Audit What You Own
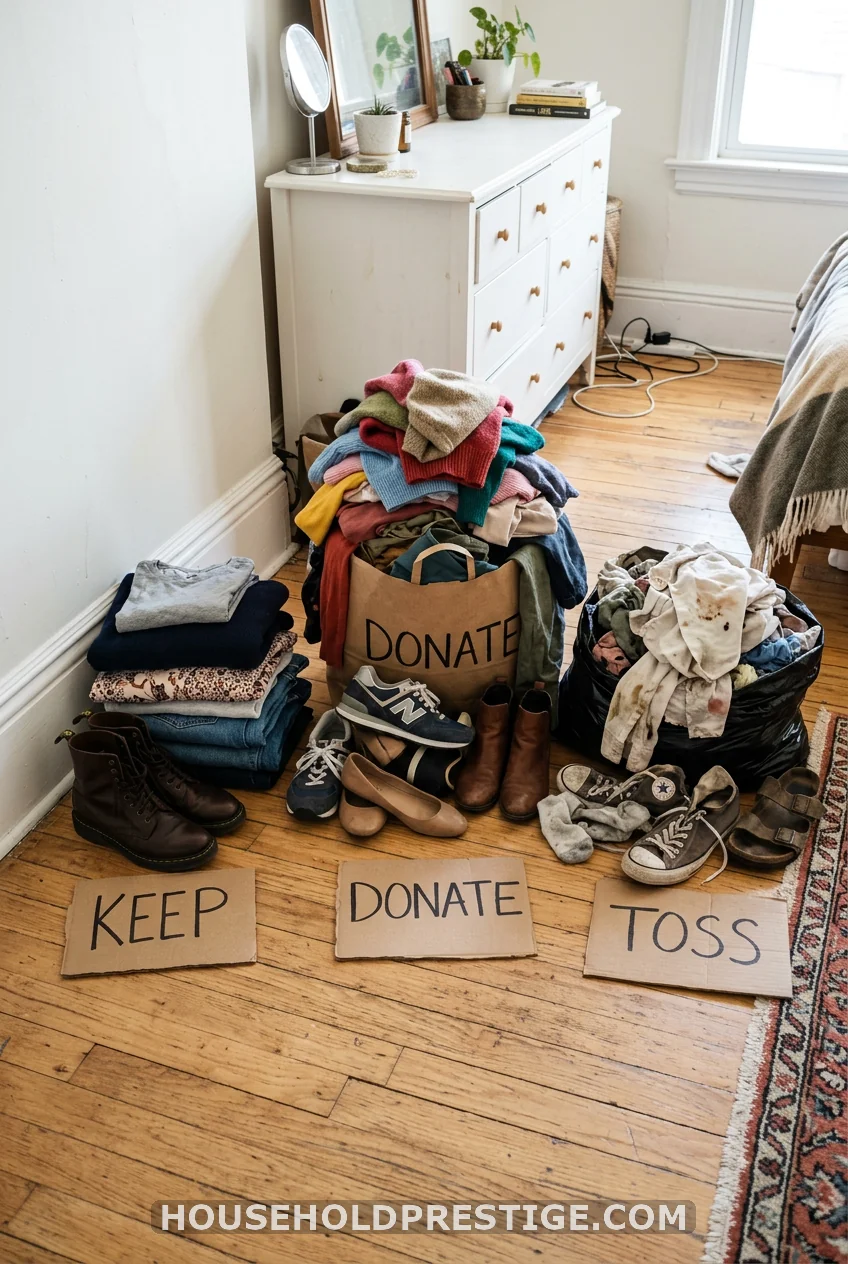
Pull everything out. Every hanger, every shoebox, every mystery item shoved in the back corner. This step feels tedious, but it’s the one that determines your design. Sort into keep, donate, and toss piles. Most people find they’re designing storage for 30% more clothing than they wear.
Count what’s left. How many hanging items need long space (dresses, coats) versus short space (shirts, folded pants)? How many pairs of shoes? This number drives every measurement that follows.
Step 2: Measure Everything Twice
Grab your tape measure again, this time with your keep pile in mind. Standard rod heights work as a starting point: hang rods for shirts and folded pants at around 40 to 42 inches off the floor for double hanging, or 66 to 70 inches for a single long rod meant for dresses and coats. Shelf depth for folded clothes usually runs 12 to 16 inches. Drawer stacks work best between 26 and 34 inches high, roughly waist level, so you’re not bending or reaching awkwardly every morning.
Measure your tallest items too. Long dresses and coats need floor clearance, and nothing ruins a new closet faster than a rod placed two inches too low for your winter coats.
Step 3: Pick Your System
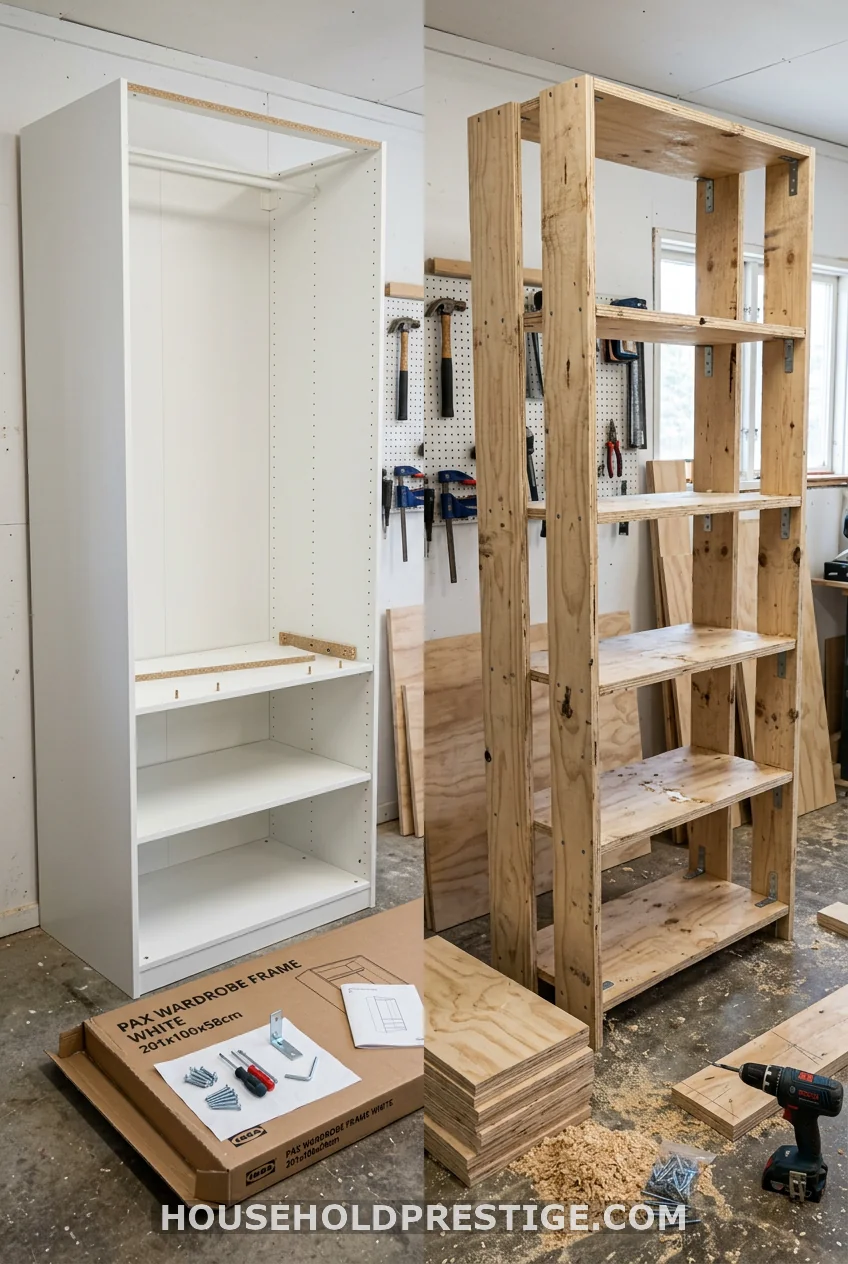
Three main paths exist here, and your budget from earlier decides which one fits.
If you want a built-in look without built-in pricing, IKEA’s PAX system is the workhorse choice among DIYers right now. You buy the frames, then customize with trim, paint, and hardware to hide the fact that it came flat-packed. Assembly on the newer PAX frames takes about 12 minutes per unit, much faster than older versions that needed a hammer and 40 nails per backing panel.
If you want full control over dimensions, plywood construction lets you build shelves and drawers to your exact measurements. This route costs less in materials but takes longer, since you’re cutting, sanding, and finishing every piece yourself.
If your closet has odd angles, sloped ceilings, or a small footprint under 5 by 7 feet, a hybrid approach often works best. Combine PAX units where the space is standard and custom-built pieces for the corners or tight spots PAX can’t handle.
Step 4: Design the Layout
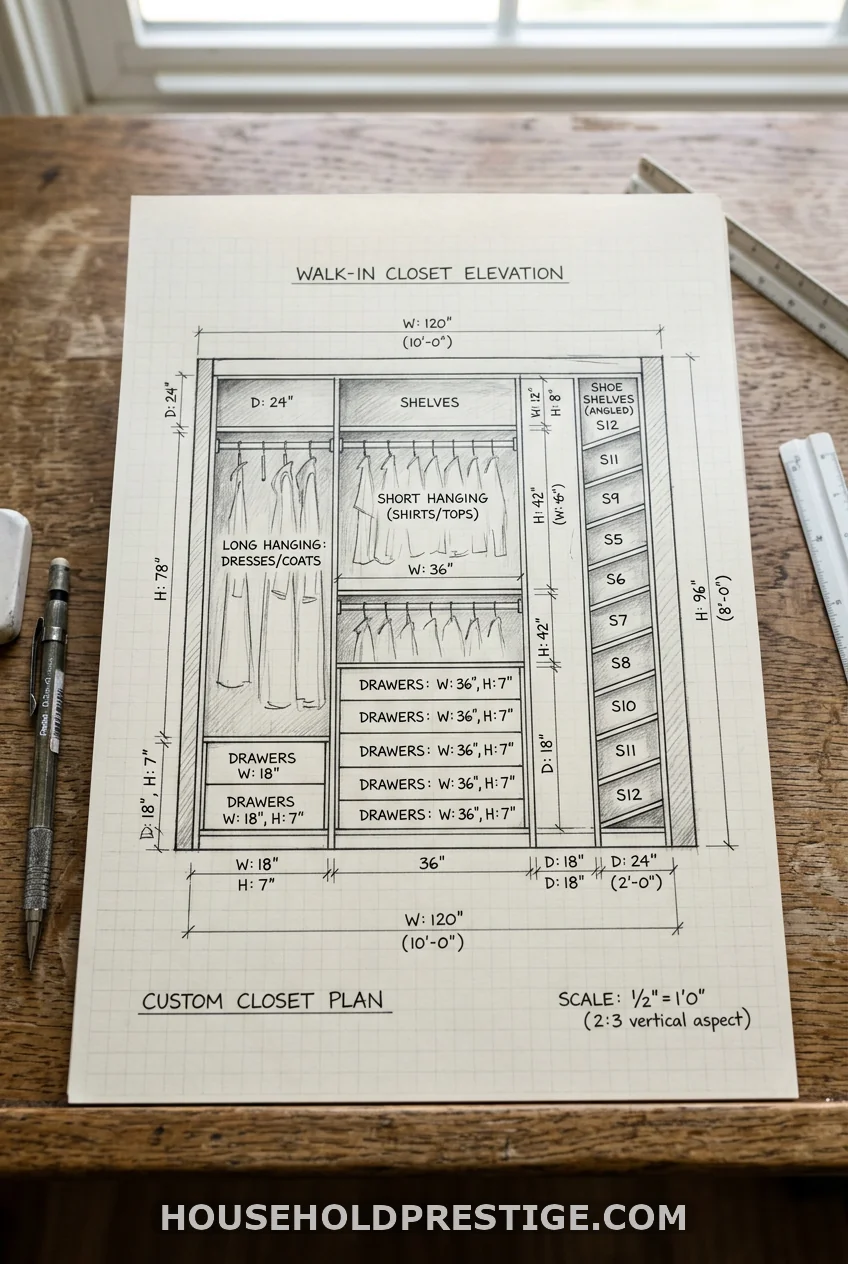
Now put your measurements and system choice together into a real layout. A few rules that hold up across most closets:
Put drawers front and center, not tucked behind the door. Centering them on the door opening looks intentional and keeps them from banging into the door every time you open it.
Give shoes their own zone off the floor. The average closet remodel underestimates shoe storage, and shoes end up back on the ground within a month. Slanted or tiered shelving works better than flat stacking.
Mix your depths. If your closet isn’t deep enough for full-depth units all the way around, use a shallower depth (around 13 inches) on the tighter wall and standard depth (around 22 inches) elsewhere. This is a common trick for narrow closets that still need full storage.
Don’t force modular sizing into a non-modular wall. Most closet walls aren’t exactly 24, 36, or 48 inches wide, which means a straight modular layout leaves dead space at the ends. Plan a custom filler piece or trim strip to close that gap cleanly.
Step 5: Install or Build
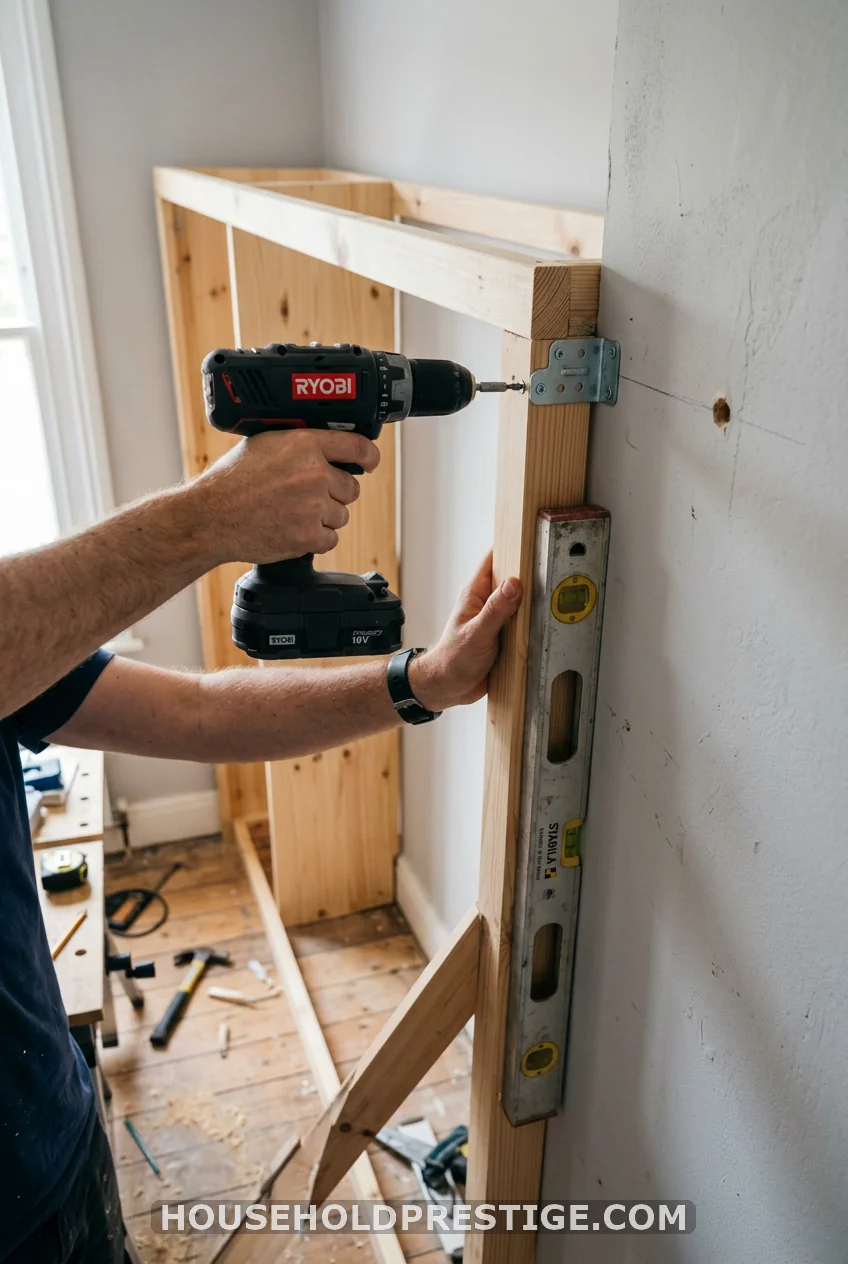
Time to build. Whether you’re assembling PAX frames or cutting plywood, the sequence matters: install upper units before lower ones if your design has both, since you’ll have more room to maneuver hardware and levels before drawers and lower shelves are in the way.
Anchor everything to studs, not just drywall. A loaded closet system holds real weight once it’s full of clothes and shoes, and drywall anchors alone won’t hold that long-term. Use a stud finder before you drill a single hole.
If you’re customizing a laminate system with trim or drawer fronts, prime before you paint. Laminate surfaces resist paint without it, and skipping primer is the single most common reason a DIY paint job on a PAX-style system peels within a year.
Step 6: Add the Finishing Touches
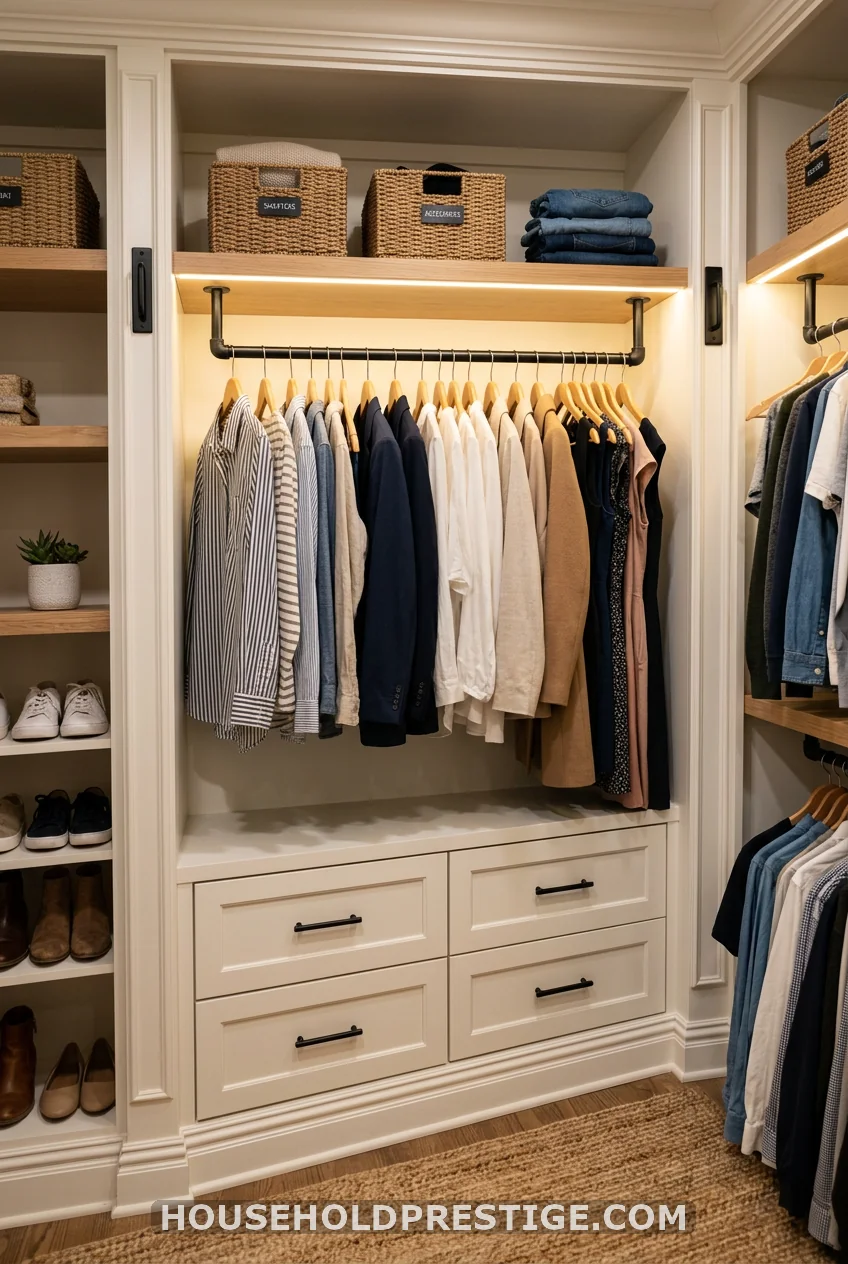
This is where a closet goes from “storage” to “the reason you enjoy getting dressed.” Add baseboard and trim to match the rest of your home, caulk the seams for a built-in look, and swap out plastic knobs for real hardware. Lighting matters more than people expect. A battery-powered LED strip or puck light under the top shelf costs under $30 and makes the whole space usable in the morning before the sun’s up.
Common Closet Remodel Mistakes to Avoid
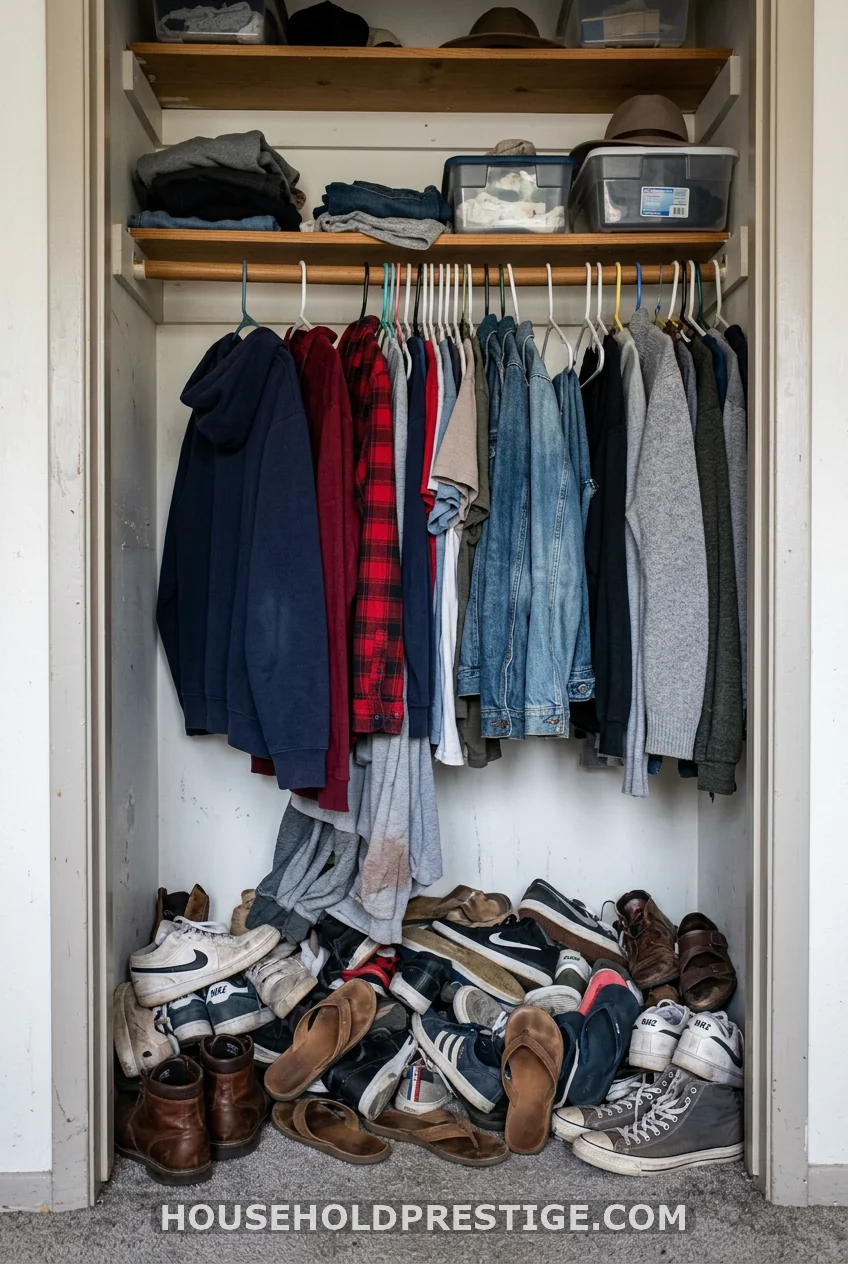
A few mistakes show up over and over in closet remodels, and they’re all avoidable if you know to watch for them.
Skipping the 3D visualization. A flat, hand-drawn sketch tells you almost nothing about how a closet will feel once it’s built. Free planning tools give you a 3D view before you cut a single board, and that view often reveals a layout mistake you’d never catch on paper.
Building for today’s wardrobe only. Clothes and shoe counts change. The average person owns more pairs of shoes than they think, and a design maxed out for your current closet leaves zero room to grow.
Ignoring drawer placement. Drawers stuck in a corner or behind the door become the drawers nobody opens. Keep them accessible and centered.
Going fully floor-based when your budget is tight. Floor-based, cabinetry-style systems look high-end, but they use more material and cost more than wall-hung units. A mix, wall-hung on the sides with one floor-based feature section facing the door, gives you the expensive look for less.
Forgetting the corners. Corner space in a closet is notoriously awkward, and most modular systems don’t have a clean built-in solution for it. Plan your corner treatment early instead of improvising after everything else is installed.
What a Closet Remodel Really Costs
Costs vary widely depending on your approach, but here’s a realistic range based on what DIYers and professionals spend:
| Approach | Typical Cost | Timeline |
|---|---|---|
| IKEA PAX-based DIY | $300 – $1,200 | 1-2 weekends |
| Plywood built from scratch | $150 – $600 | 1-3 weekends |
| Hybrid (PAX + custom corners) | $500 – $1,500 | 2 weekends |
| Fully custom professional install | $1,500 – $10,000+ | 1-4 weeks |
Lighting, paint, and hardware add another $50 to $200 on top of whichever path you choose. Budget for this separately, since it’s the part people forget until the closet’s already built and looks unfinished without it.
Wrapping Up Your Closet Remodel
A closet remodel isn’t complicated once you break it into steps: measure, plan, choose your system, build, and finish. The part that trips people up isn’t the tools or the cuts; it’s skipping the planning stage and hoping the layout works out. Do the sketch first. Set your budget before you shop. Your future mornings, standing in a closet where you can find your favorite shirt, will thank you.
FAQ
How much does a DIY closet remodel typically cost?
Most DIY closet remodels using modular systems like IKEA PAX run $300 to $1,200. A from-scratch plywood build can come in lower, around $150 to $600, but takes more time and tool work.
Is it cheaper to build a closet system myself or hire it out?
DIY almost always costs less in materials, often by half or more compared to a professional install. The tradeoff is your time, plus the learning curve on measuring, cutting, and finishing if you haven’t done a build like this before.
How deep should closet shelves be?
Standard shelf depth for folded clothing runs 12 to 16 inches. Hanging sections typically need at least 24 inches of depth to clear the rod without clothes brushing the back wall.
What’s the biggest mistake people make in a closet remodel?
Designing for the closet they have today instead of the one they’ll need in a few years. Underestimating shoe storage and skipping a 3D layout preview are close behind.
Can I remodel a closet without removing the drywall?
Yes, in most cases. Modular systems like PAX and most shelving builds mount directly to studs without any drywall removal, unless you’re changing the closet’s actual footprint or adding electrical for lighting.