

“I need something on this wall by Saturday,” my sister said. “And my landlord will keep my deposit if I put one nail in it.”
She had a stack of printer paper, a pair of scissors and about an hour. That was enough. These easy wall decoration ideas with paper all start with paper you probably own, need no Cricut, and come off the wall without a mark.
Below you’ll find ten projects sorted by how long they take. Each one lists the paper weight, the real working time and the hanging method, so you can pick one and finish it tonight.
Read This First: Paper, Putty and the Fold-and-Cut Trick
Pick the right paper
Paper weight decides whether your project looks crisp or sad. Here is the cheat sheet I use.
- Printer paper (20 lb): Fine for small pieces like ghosts, hearts and garlands. Too floppy for big flat shapes.
- Cardstock (65-80 lb): The best all-round wall paper. It holds a shape, stays flat and takes marker well.
- Construction paper: Good for kids and classrooms. It fades in sunlight, so keep it off sunny walls.
- Tissue and crepe paper: For pom-poms and flowers only. They stretch and fluff.
Hang it without damage
Use a pea-sized dot of poster putty behind small and medium pieces. Use small Command strips for anything bigger than your hand. Washi tape loops work on smooth, cured paint.
Test a hidden spot first on textured walls, fresh paint or wallpaper. Skip double-sided tape on drywall. It can pull paint off when it lets go.
The fold-in-half trick
Half of these ideas use one move. Fold the paper in half, draw only half the shape against the fold, cut along the line, then open it up. You get a perfect, matching shape with no ruler and no machine.
Cut through both layers at once. Never cut the fold itself, or you’ll end up with two halves.
Keep paper from curling
Press cut pieces under a heavy book for a few hours before you hang them. Use glue dots or foam tape instead of liquid glue, which warps paper. Keep decor away from heaters and direct sun.
Supplies you’ll use
Sharp scissors, a pencil, a craft knife (adults only), a paper trimmer if you have one, glue dots, poster putty and a stapler. A bone folder is nice for crisp creases. A fingernail does the same job.
Under 15 Minutes: Fold, Cut, Hang
1. Paper Spiderwebs (5 minutes)
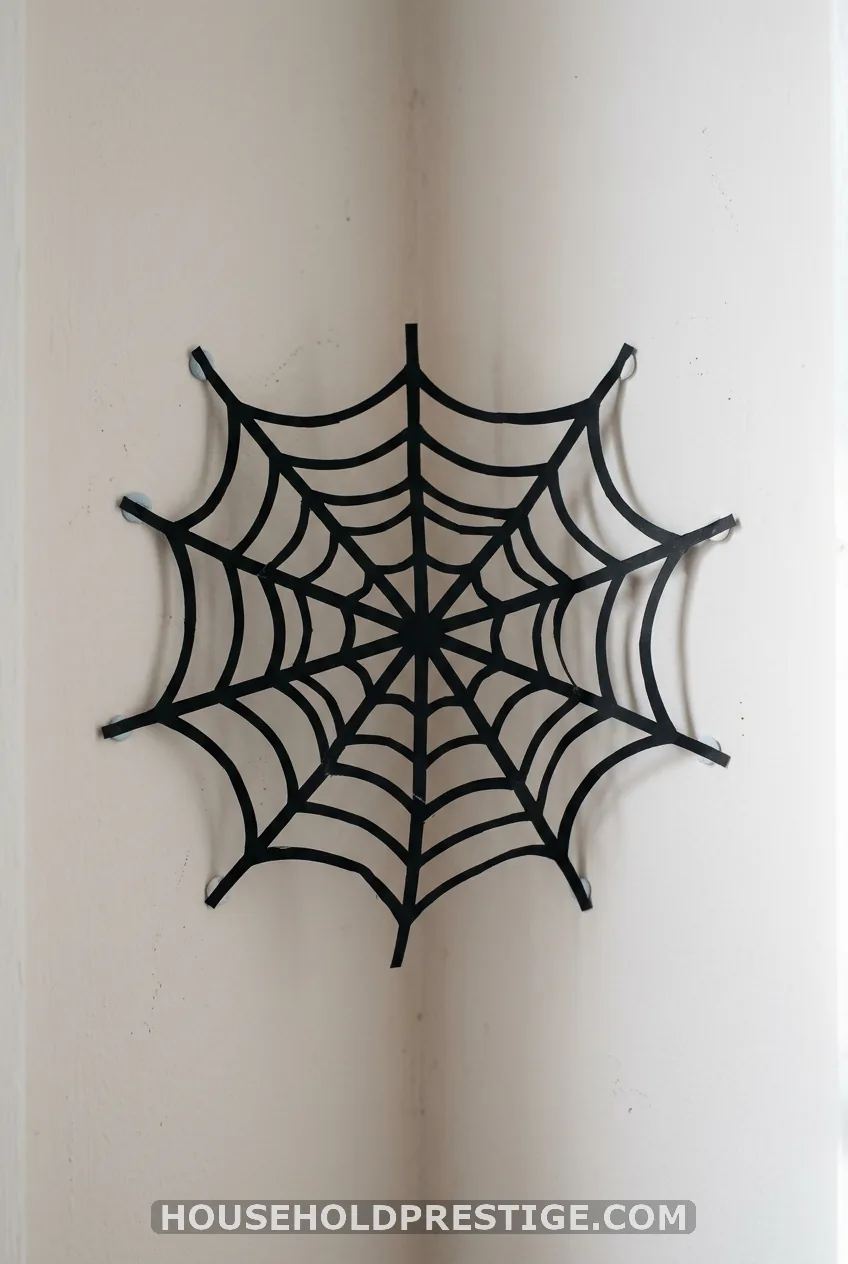
Cut a 6-inch circle from black cardstock. Fold it in half, then in thirds like a wedge. Snip small notches along both folded edges, alternating sides and never cutting all the way across.
Unfold and put a putty dot on each corner. Cardstock holds the web shape. Printer paper sags.
2. Fold-and-Cut Paper Hearts in a Grid (10 minutes)
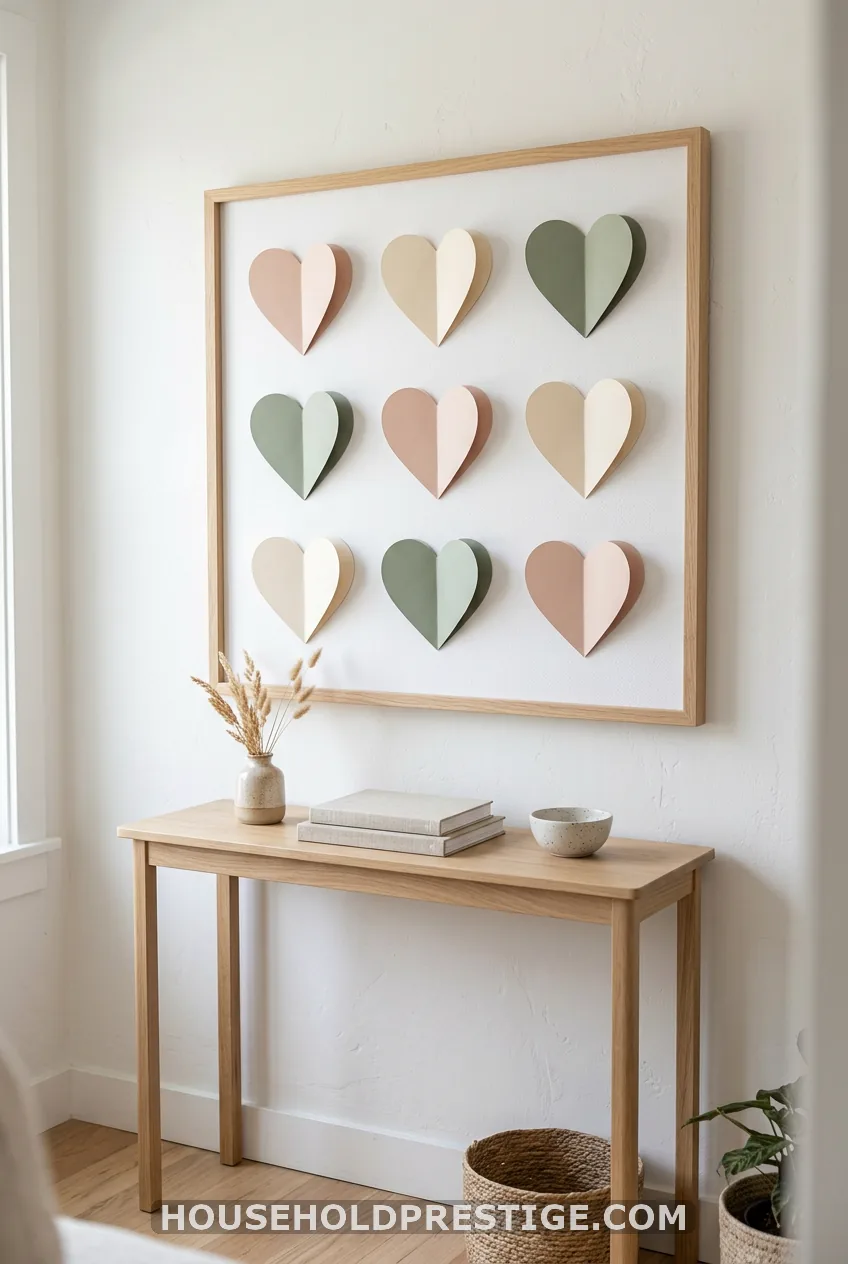
Fold a square in half, draw half a heart against the fold, cut and open. Make nine and hang them in a 3×3 grid with 2 inches between each. Use construction paper for a kids’ room and cardstock for a grown-up look.
3. Fold-and-Cut Ghost Garland (10 minutes)
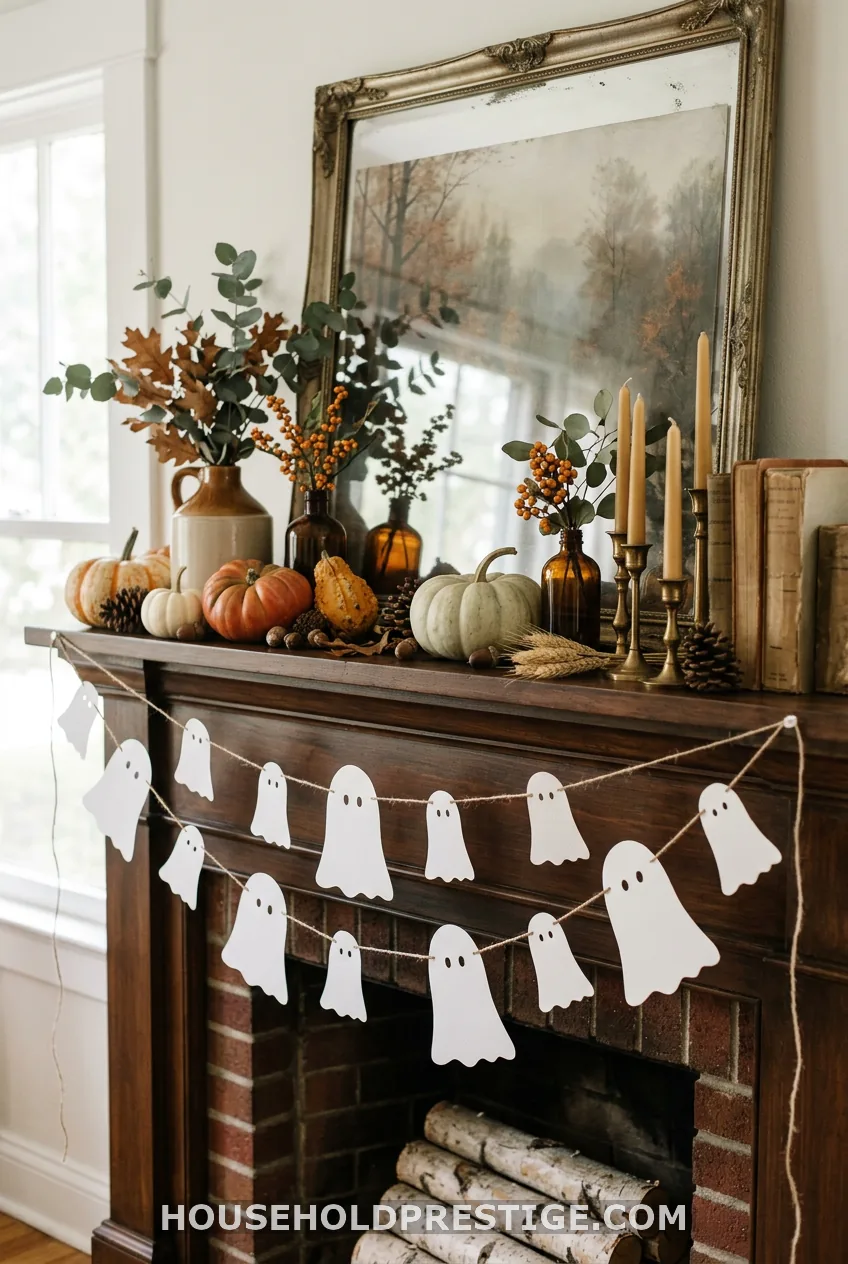
I learned the hard way that ghosts need two things: a wavy bottom edge and a bit of patience with the face. My first batch had eyes so close together they looked worried. Space them wide and they look friendly.
Fold white printer paper in half. Draw half a ghost, with one arm out and a wavy hem, along the fold. Cut along the line and open it up. Add two oval eyes and a mouth with a black marker.
Make three sizes, about 4, 6 and 8 inches tall. Tape them to a length of twine with washi tape and hang the twine from two putty dots or small Command hooks. Kids can cut these with safety scissors. Keep the pieces away from children under 4, since small paper bits and tape are a choking risk.
4. Fold-and-Cut Butterfly Swarm (15 minutes)
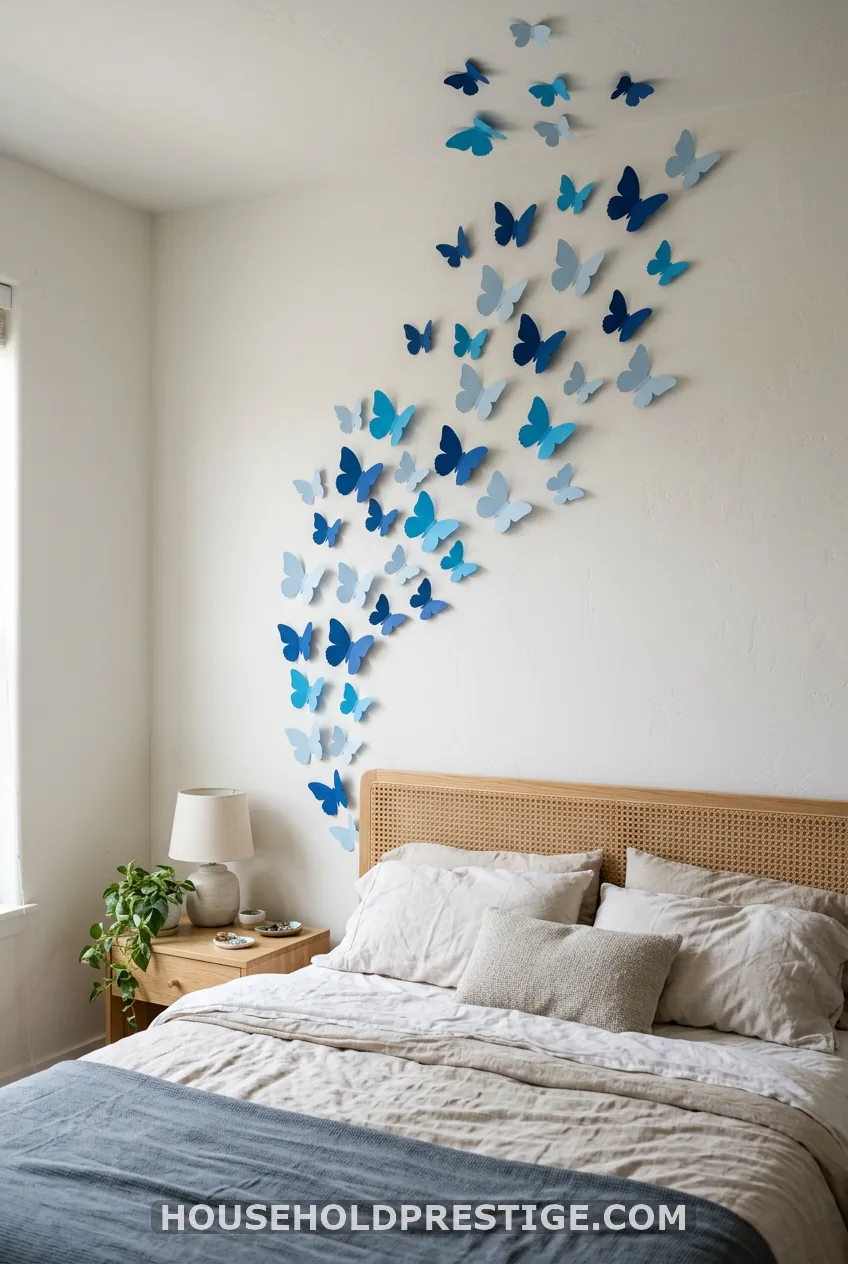
This is the one that makes people ask where you bought it. A swarm of 30 to 50 butterflies covers about 3 feet of wall. Cutting and folding that many takes about 1 to 2 hours, so plan it as a longer project.
For a quick version, make just 12 to 15 butterflies, which takes about 15 minutes. The magic is in the three sizes and the bent wings.
What you need
- 65 lb cardstock in three shades of one color (cost: about $5-8 for a pack)
- Pencil and sharp scissors
- Poster putty
Steps
- Cut cardstock into squares in three sizes: 6, 4 and 3 inches.
- Fold a square in half. Draw half a butterfly with the body on the fold.
- Cut along the line through both layers. Open it up.
- Repeat until you have 30-50, using more of the small size.
- Crease each wing gently along the body so the wings lift off the wall.
- Put a putty dot behind each body and arrange them in a curve or spiral. Start with the big ones, then fill gaps with small ones.
The mistake to avoid
Don’t cut every butterfly freehand. Trace your first good one onto cardstock as a template for the rest. Each size needs only one template, and your swarm looks consistent.
The putty dot lets you move any butterfly later. Rearranging takes a minute.
About 30 Minutes: Mid-Size Projects
5. DIY Paper Leaf Wall Art (20 minutes)
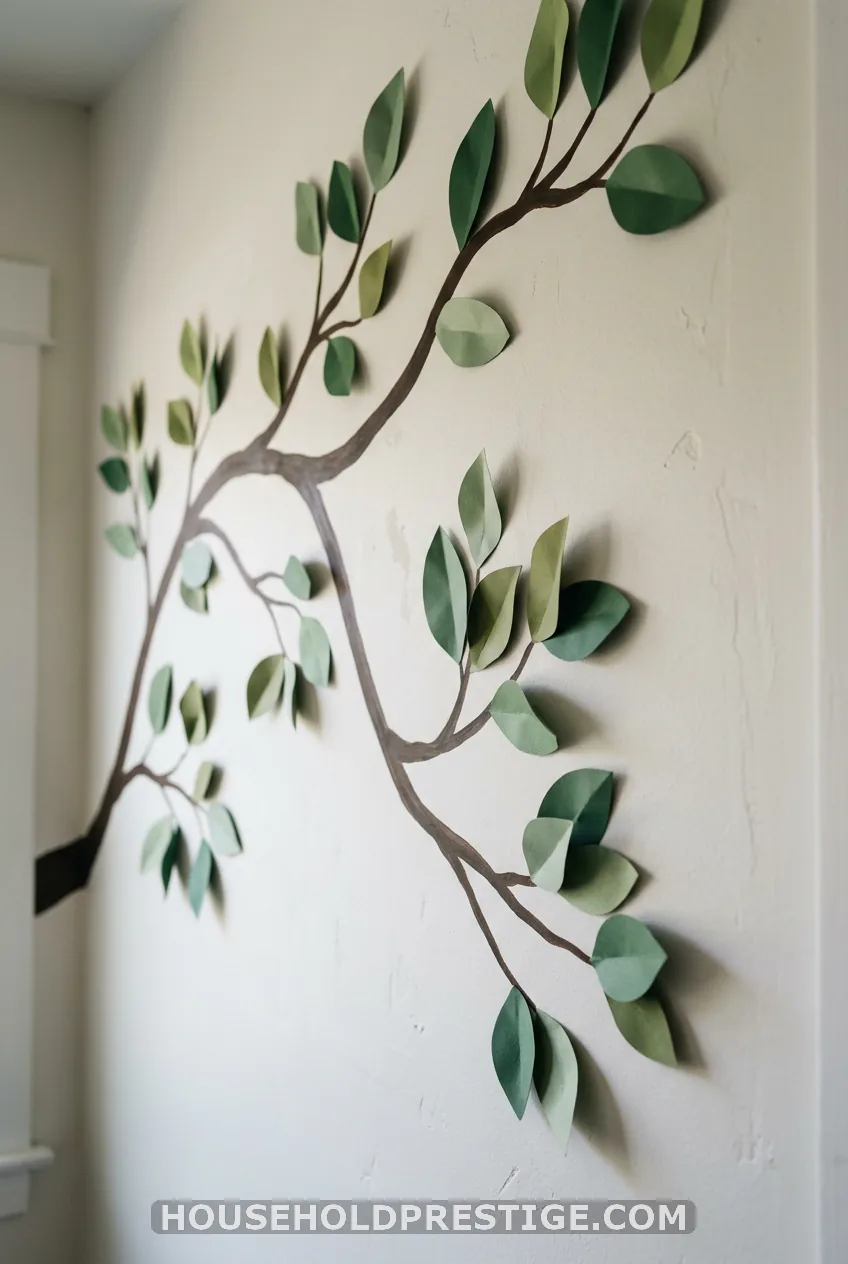
Fold a rectangle of green cardstock in half. Draw half a leaf with a stem at the fold, cut, open, and draw a center vein with a pencil. Curl each leaf around a pencil so it lifts off the wall and casts a shadow.
Mix two or three greens. Hang them in a branch shape with putty dots on each stem. Watercolor paper also works if you want a softer texture.
6. Origami Bat Wall (25 minutes)
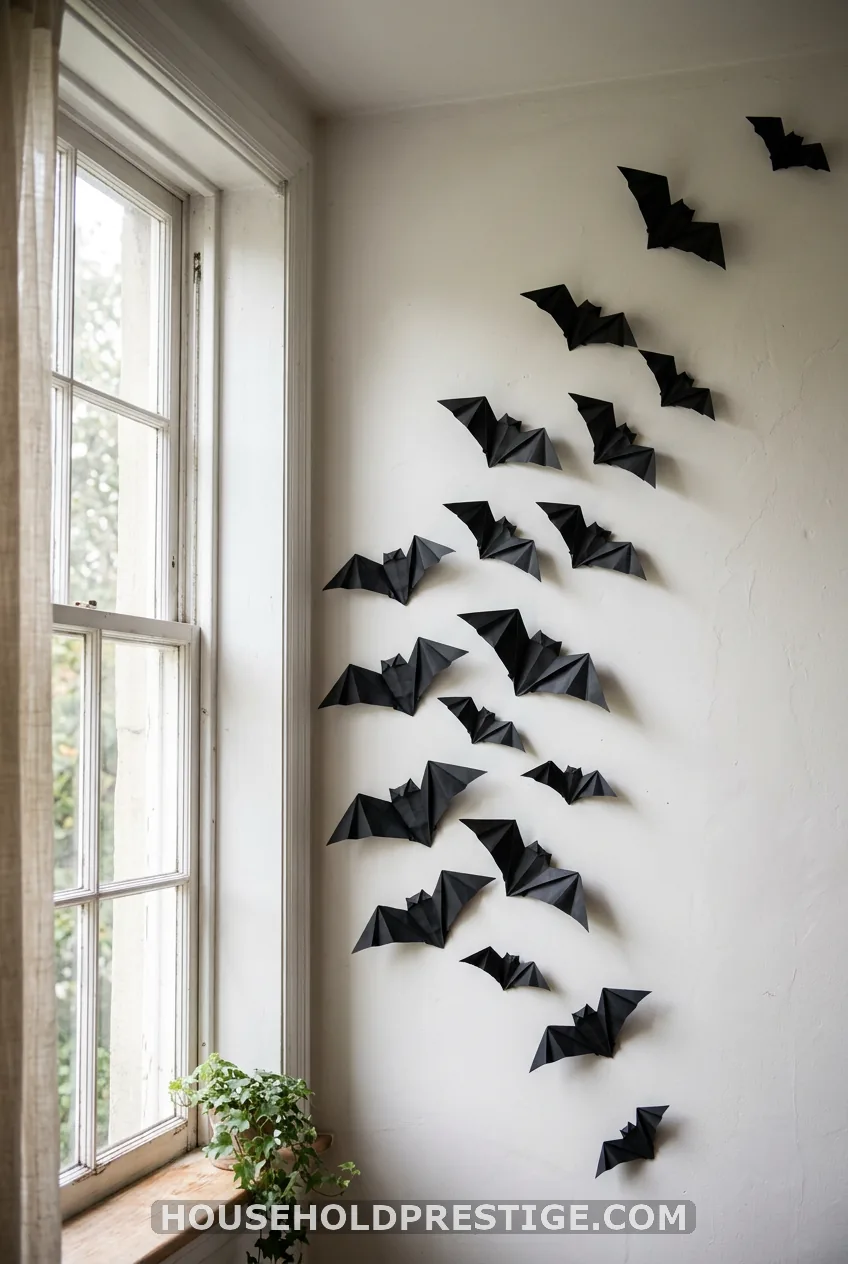
Start with a 6-inch square of black paper. If you have a bone folder, use it. If not, press creases with a fingernail.
- Fold the square diagonally to make a triangle, then open it back up.
- Fold the top two corners to the center crease.
- Fold the bottom point up slightly to make the pointed ears.
- Fold each side down along the lines to shape the wings.
- Flip it over. Add eyes with a white marker if you like.
Press gently so the paper doesn’t tear. Make a dozen and hang them as a garland or a scattered flock with putty. Pack them flat for next Halloween.
7. Coffee Filter Flowers (30 minutes)
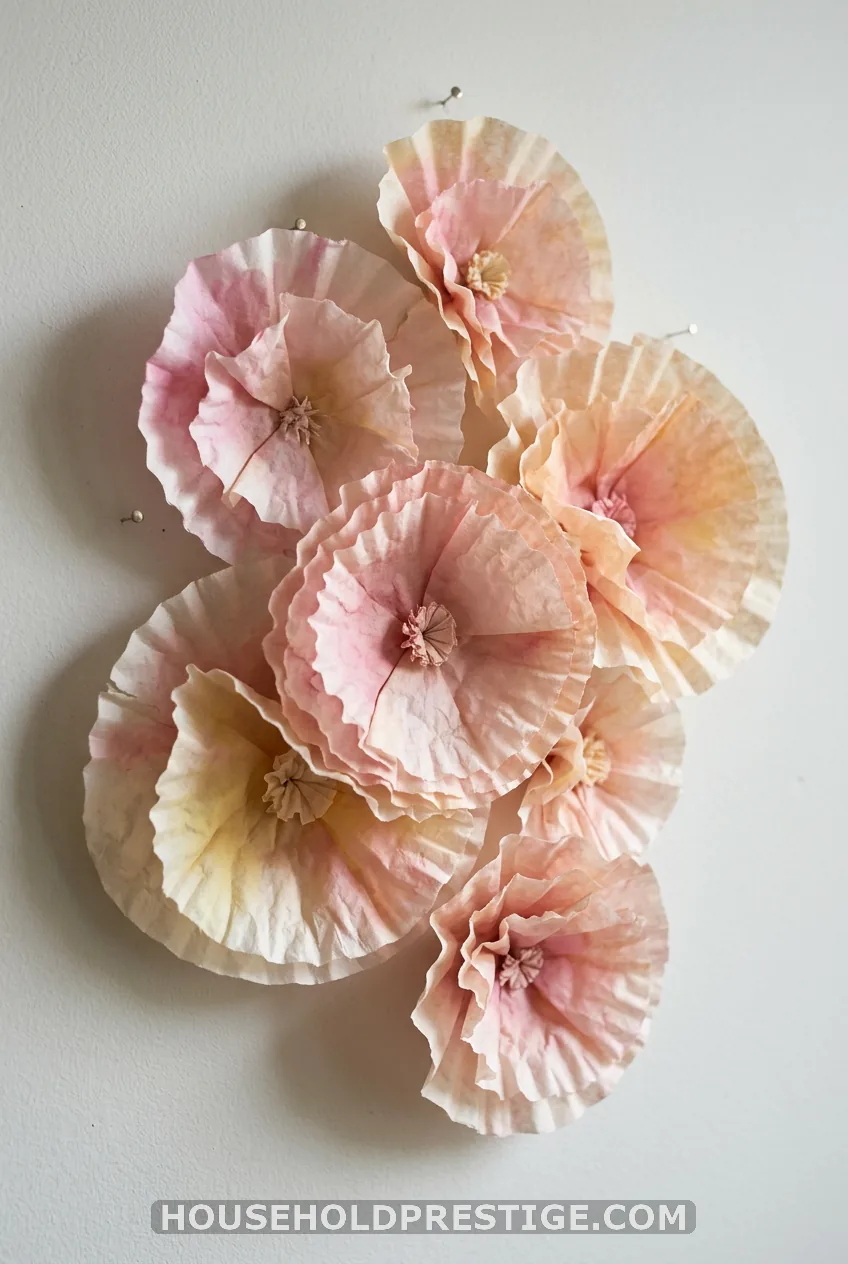
Color a flat filter with washable markers, spritz it lightly with water, and let the colors bleed. Dry it flat. Scrunch the center and fluff the edges.
Layer three sizes with a glue dot in the middle. Kids love this one, and it looks lovely on a wall.
8. Paper Chain Rainbow (30 minutes)
What most people think: Any paper strips will do. Mix thin printer paper with thick construction paper and nobody will notice.
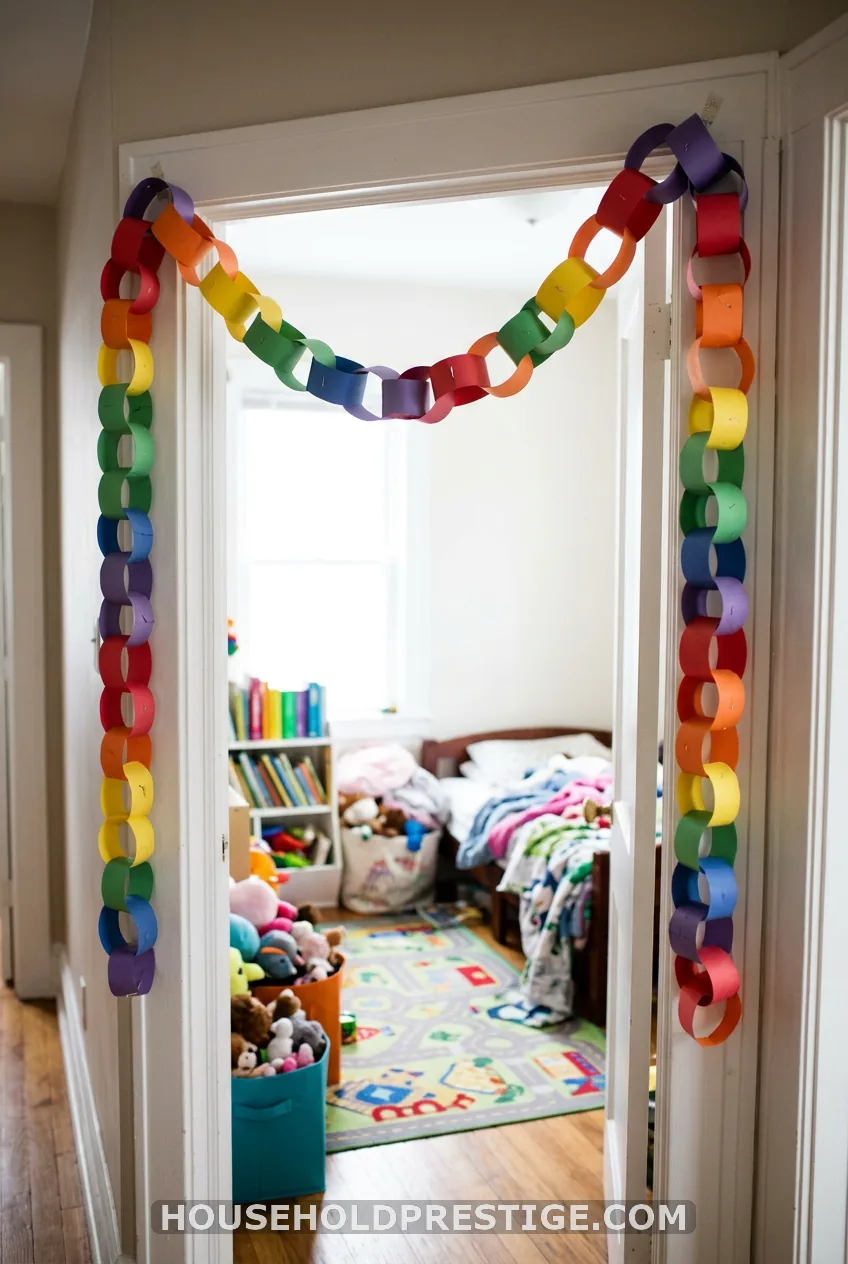
Reality: The chain will sag in the thin links and bow in the thick ones. Cut every strip from the same paper weight, 1 inch wide and 8 inches long. A paper trimmer makes this fast.
Loop each strip through the last one and staple or glue the ends. Staples hold better, but an adult should handle them with young kids. Work in color order for a rainbow, then drape the chain over a frame edge or tape it along a headboard with washi tape. It stores flat and lasts year after year.
One Sitting, Bigger Impact
9. Paper Fan Medallion Cluster (20 minutes)
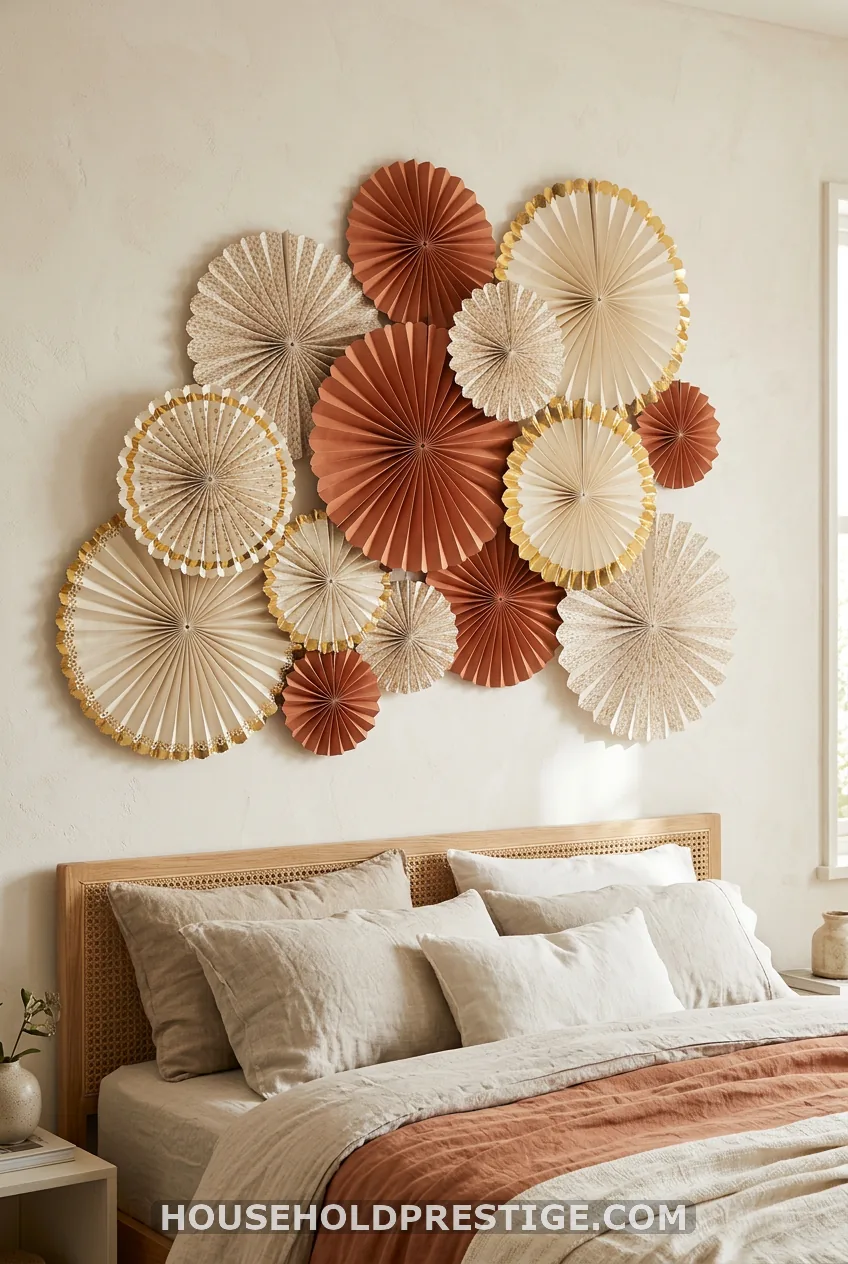
Use heavy gift wrap or cardstock, never printer paper. It collapses. Cut a long strip and pleat it accordion-style in half-inch folds. Fold it in half and staple the middle to make a fan.
Glue two fans together to make a full circle. A 5-inch-long pleat gives roughly a 10-inch medallion, so scale up for bigger circles. Make three or four sizes from 10 to 24 inches.
Overlap them in a cluster. It works well as a headboard stand-in in a rental. Mount each with a small Command strip behind the center.
10. Crepe Paper Flower Wall (30 minutes)
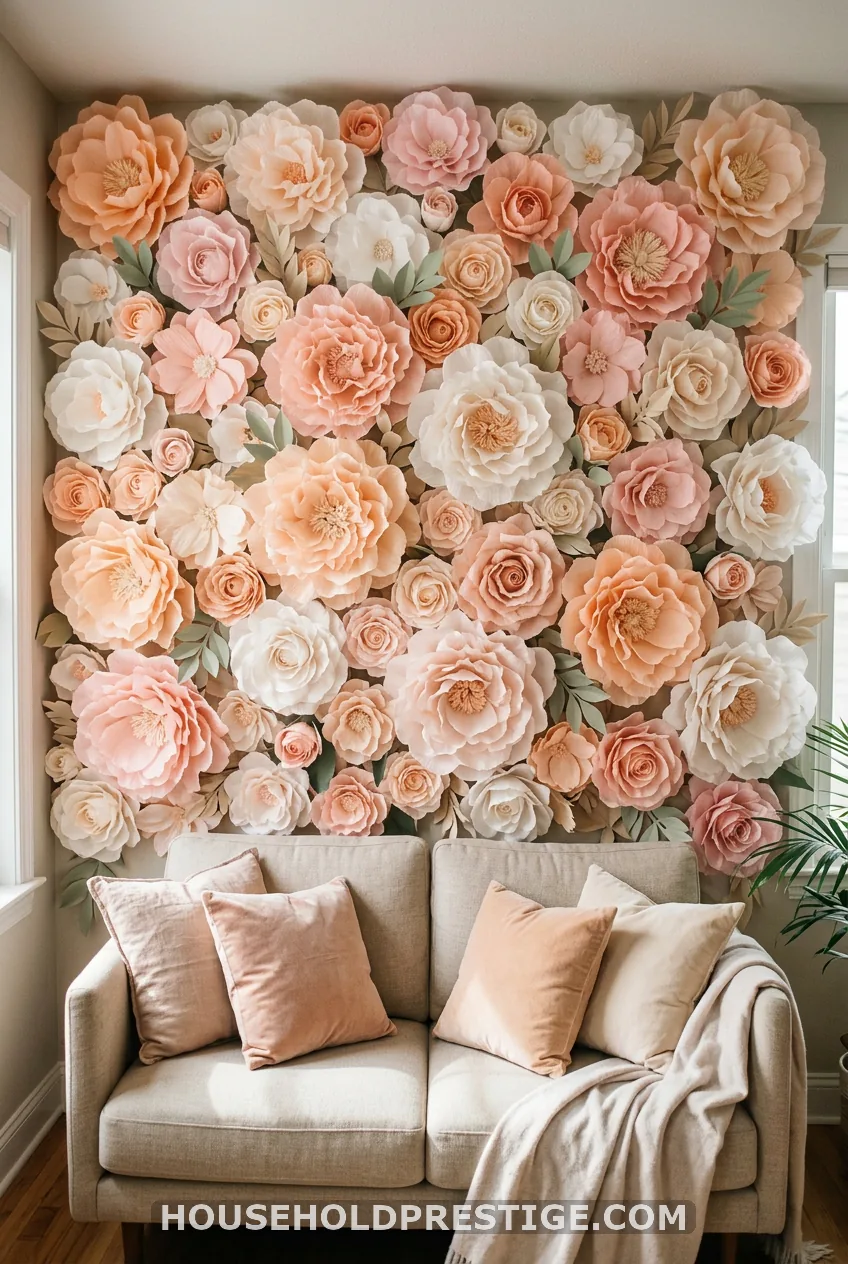
Crepe stretches, and that’s why it works here. Stack five or six 8-inch squares. Pleat them accordion-style, pinch the middle and staple it. Round the ends with scissors.
Fan out the layers and pull each one up toward the center. Fluff until it looks full. Make 15 to 25 flowers for a wall section about 3 feet wide.
Hang them with a putty dot or foam tape on the back. Crepe is lightweight, so putty holds. It’s a good pick for a birthday backdrop or the wall above a bed. Store the flowers loose in a box, not crushed.
How to Choose Your Idea (and Store It)
Pick by time. Have 10 minutes? Make hearts or ghosts.
Have 30? Try leaves or a chain.
Have an afternoon? Go for fans or crepe flowers.
Pick by room. A nursery likes leaves and soft hearts. A dorm likes butterflies or a chain.
A classroom likes chains and coffee filter flowers. A rental likes anything on putty.
Paper cost is small. Most of these run $3 to $10 in supplies.
To store decor, flatten each piece between sheets of tissue. Layer them in a shallow box and keep it somewhere dry. Fans and flowers last better stored open and loose.
Stick to two colors plus white if you want a clean, photo-ready look. A single color in three shades also works well.
The One Thing to Remember
Fold the paper in half, draw only half the shape, and cut, and you can fill a wall tonight.
FAQ
What kind of paper is best for wall decorations?
65-80 lb cardstock is the sweet spot for anything on a wall. It is stiff enough to hold shape and flat enough not to curl. Save tissue and crepe for flowers and pom-poms, and skip thin printer paper for large flat shapes.
How do I hang paper decorations without damaging the wall?
Use a pea-sized dot of poster putty for small and medium pieces, and small removable Command strips for anything bigger than a hand. Test a hidden spot first on textured, freshly painted or wallpapered walls. Avoid double-sided tape on drywall.
How do I stop paper decorations from curling?
Press cut pieces under a heavy book for a few hours before hanging. Use glue dots or foam tape instead of liquid glue, and keep the pieces away from heat. A crease in the paper also helps it hold its shape.
Can I use normal printer paper?
Yes, for ghosts, hearts, garlands and other small pieces. For large butterflies or fans, use cardstock so they keep their shape.
Do I need a Cricut for paper wall art?
No. Sharp scissors, a craft knife and the fold-in-half trick cover every project here. A cutting machine only speeds up intricate silhouettes.