

“Why does my toast smell like a campfire?” my sister asked, waving a hand over her counter.
“When did you last clean that thing?”
“Clean it? You can clean it?”
You can, and you should. Knowing how to clean a toaster oven takes about 30 minutes of hands-on time, and it fixes the burnt smell instead of just hiding it. This guide covers the warning signs, the safe tools, seven clear steps, a steam shortcut for stubborn grease, and a schedule you can stick on the fridge.
Warning Signs Your Toaster Oven Needs Cleaning Now
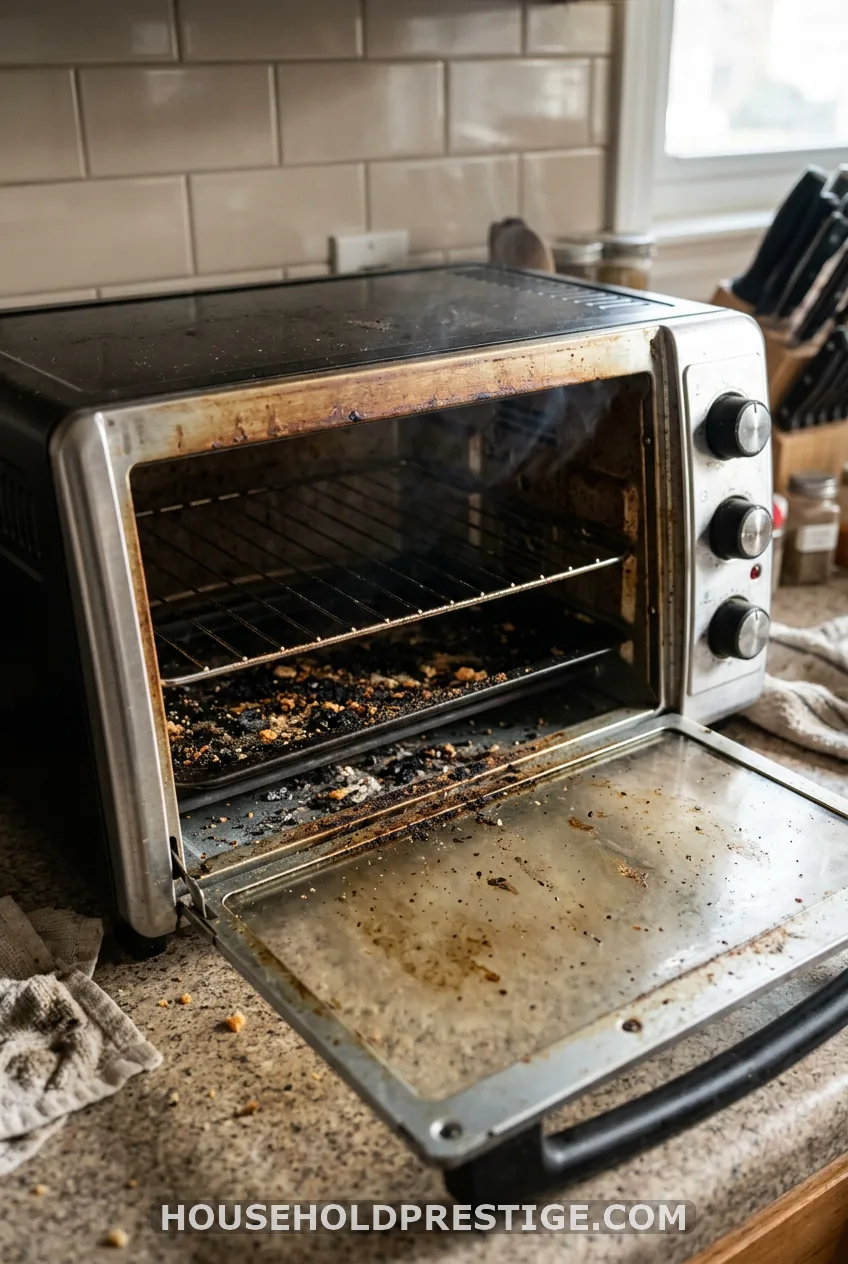
Some signs are just annoying. Others are a real hazard. Check for these four:
- A burning smell or smoke on preheat. Old food is cooking again every time you turn it on.
- Crumbs piled against the heating elements. Trapped crumbs can smoke, and they can catch fire.
- Liquid pooling near the elements. Spilled sauce or cheese melt that sits there can create an electrical risk.
- Uneven toasting, a greasy film on the glass, or a black crust on the bottom plate. These mean grease has built up over weeks.
If you see smoke or flames, stop. Unplug it and keep the door shut until it cools.
The catch: A clean-looking glass door doesn’t mean a clean oven. Crumbs hide in the bottom and behind the elements.
Unplug It and Let It Cool Completely
Pull the plug from the wall. Turning the dial to off isn’t enough.
Then wait at least 30 minutes. A warm oven burns fingers, and a hot metal cavity can crack glass if you hit it with cold water.
Rule one: never spray liquid straight into the cavity. Liquid reaches the elements and the wiring. Put cleaner on a cloth instead, always.
Leave the crumb tray in for now. You’ll slide it out over the sink in Step 1.
The Safe Cleaning Toolkit vs. What to Avoid
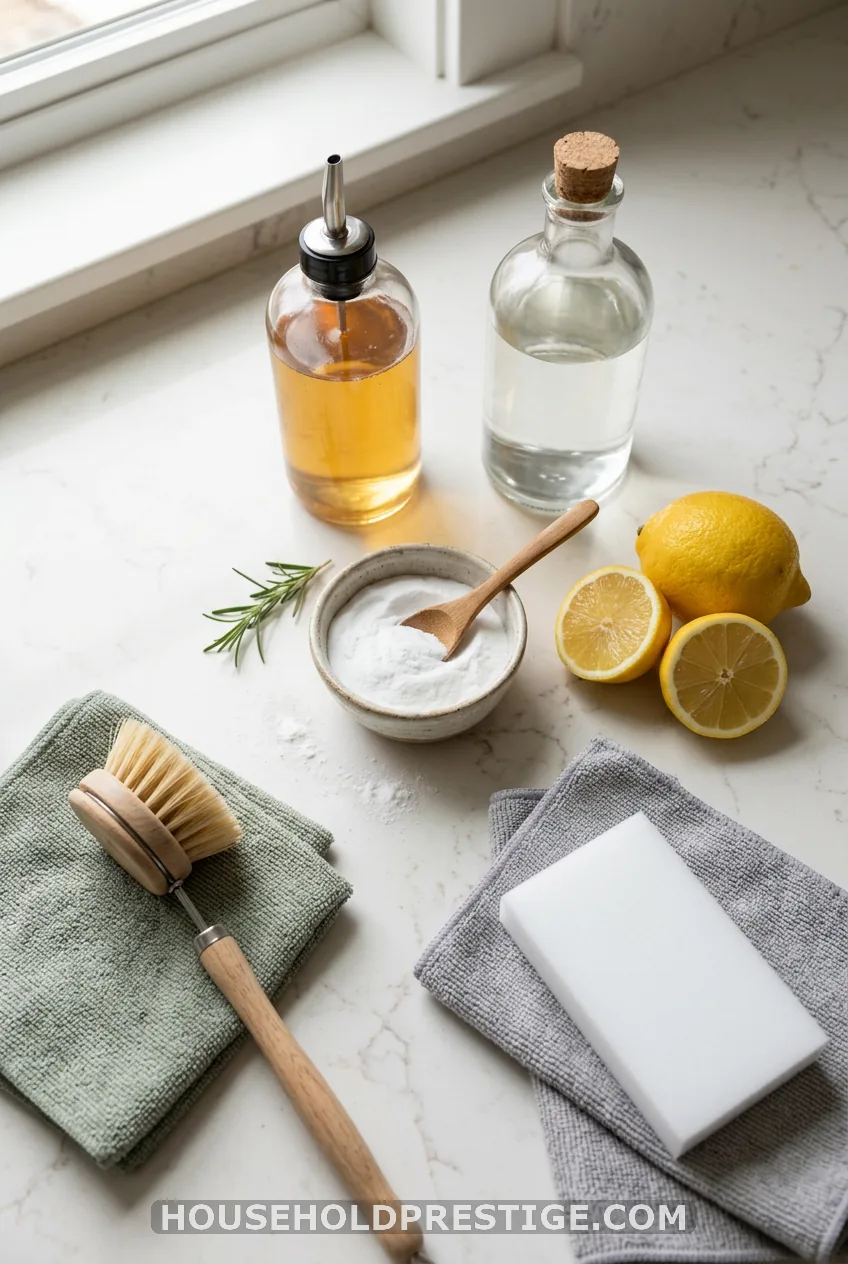
Gather these safe tools:
- Mild dish soap and warm water
- A soft-bristle brush or a toaster brush
- Microfiber cloths
- Baking soda paste: 3 parts baking soda to 1 part water
- White vinegar, diluted half and half with water
- A lemon for grease and smell
- A Mr. Clean Magic Eraser, for the glass only, with warm water
Keep these away from the oven:
- Steel wool and rough scouring pads. They scratch metal finishes and non-stick coatings.
- Commercial oven cleaner spray. It’s too harsh for a small cavity, it can etch non-stick, and the fumes sit near the elements.
- Bleach, or bleach mixed with baking soda. It doesn’t clean better, and it can make hazardous fumes.
- Water for soaking the body. Never submerge the appliance, and never put the oven in the dishwasher.
The catch: Skip the dishwasher for racks and pans too. Heat and harsh detergent wear down non-stick coatings fast.
Step 1: Remove the Crumb Tray, Rack and Pans
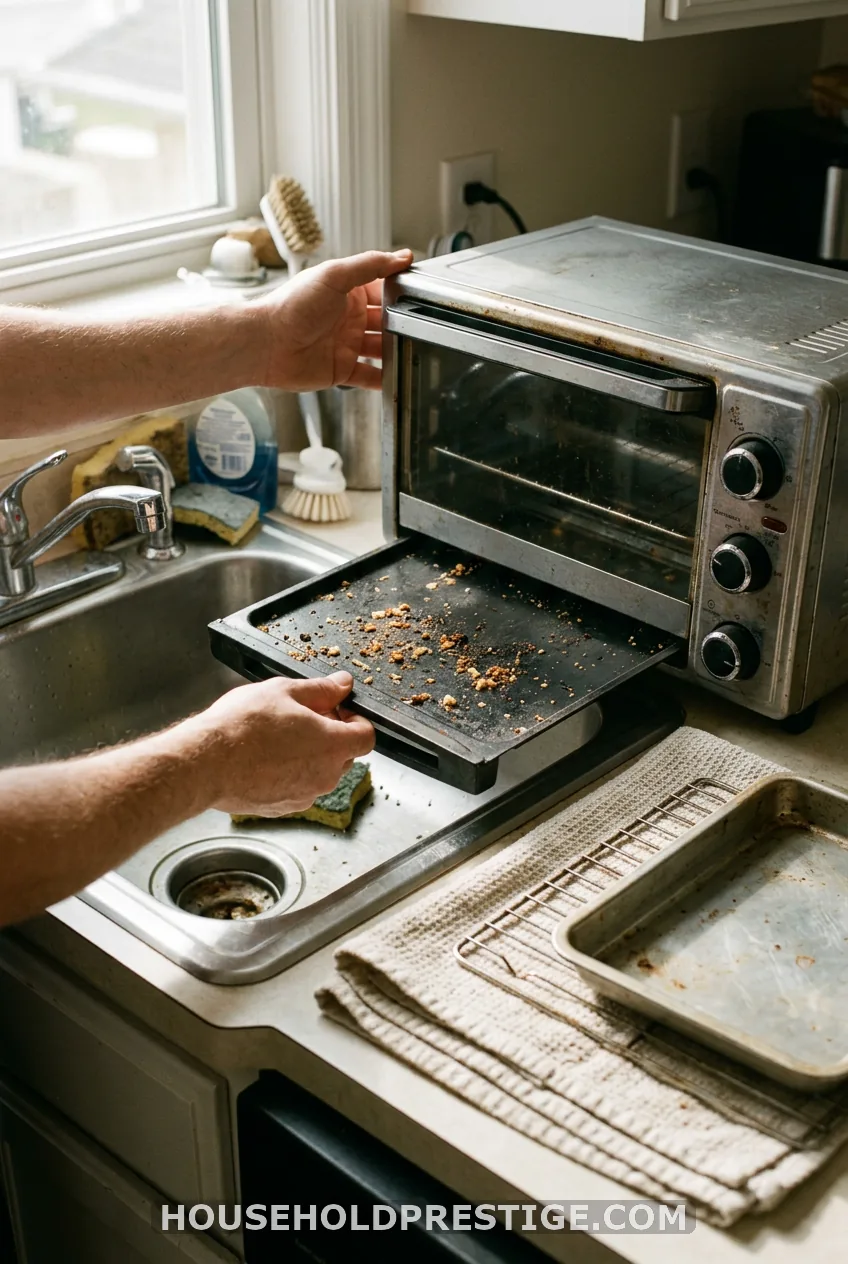
Slide the crumb tray out slowly over the sink or a trash bin. It always has more in it than you expect.
Lift out the wire rack, the baking pan and the air fryer basket, if your model has one. Notice which slot each part uses. A quick phone photo makes reassembly a one-minute job.
Step 2: Wash the Racks, Tray and Pans
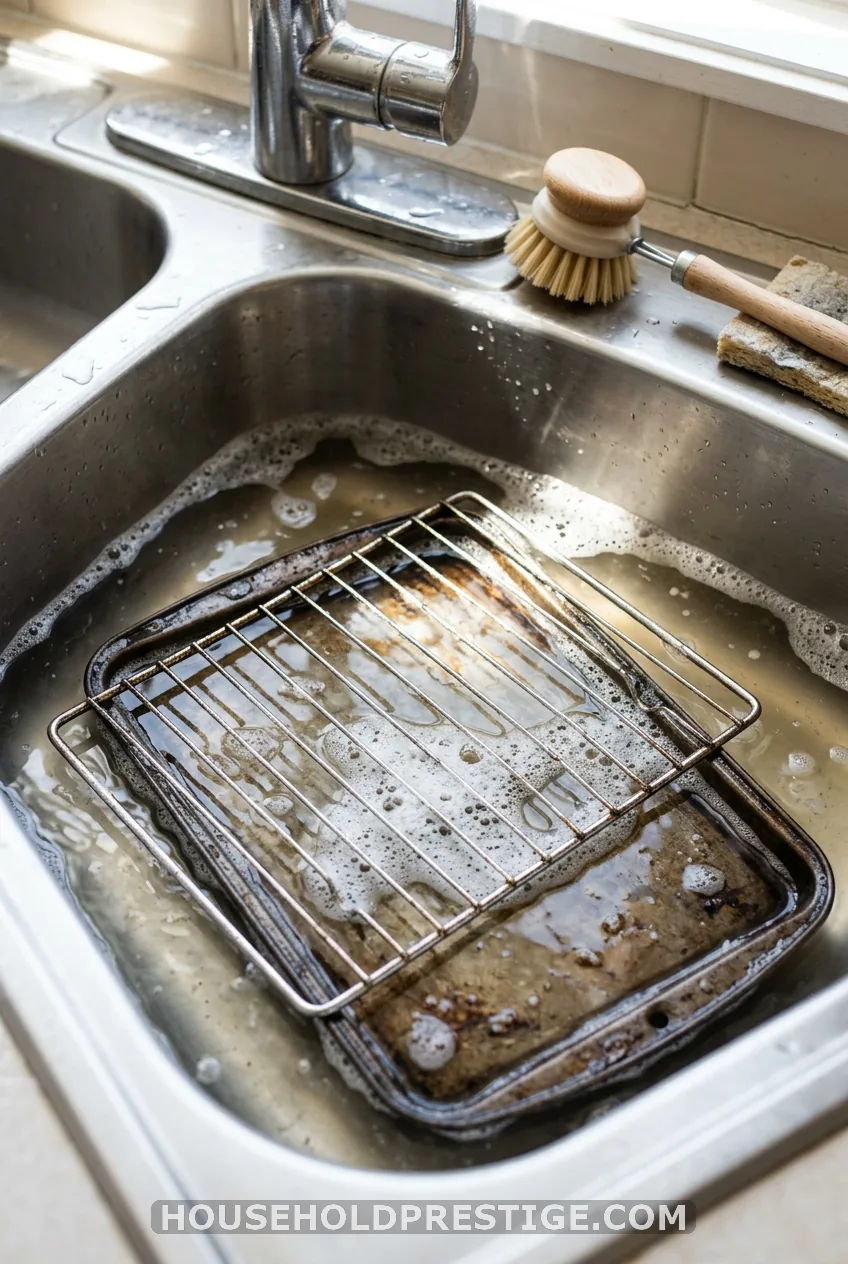
Fill the sink with warm water and a few drops of dish soap. If grease has baked on, soak the parts for 10 to 15 minutes first.
Scrub with a soft brush or a nylon pad. For a stuck patch, dab on baking soda paste, wait five minutes, and scrub again.
Rinse, then dry every part with a towel. Leave them on a rack for another 15 minutes. Moisture plus a hot element is a bad mix.
Step 3: Dry-Brush the Crumbs Out of the Interior
Dry first, wet second. Wet crumbs turn to paste, and paste is a pain.
Turn the oven upside down over the trash or sink. Tap the sides gently. Then sweep the cavity with a soft-bristle brush.
Work along the elements, not across them. Quartz and metal elements can bend or crack if you push hard. Never use a fork, knife or metal scraper.
Step 4: Wipe the Interior Walls, Floor and Ceiling
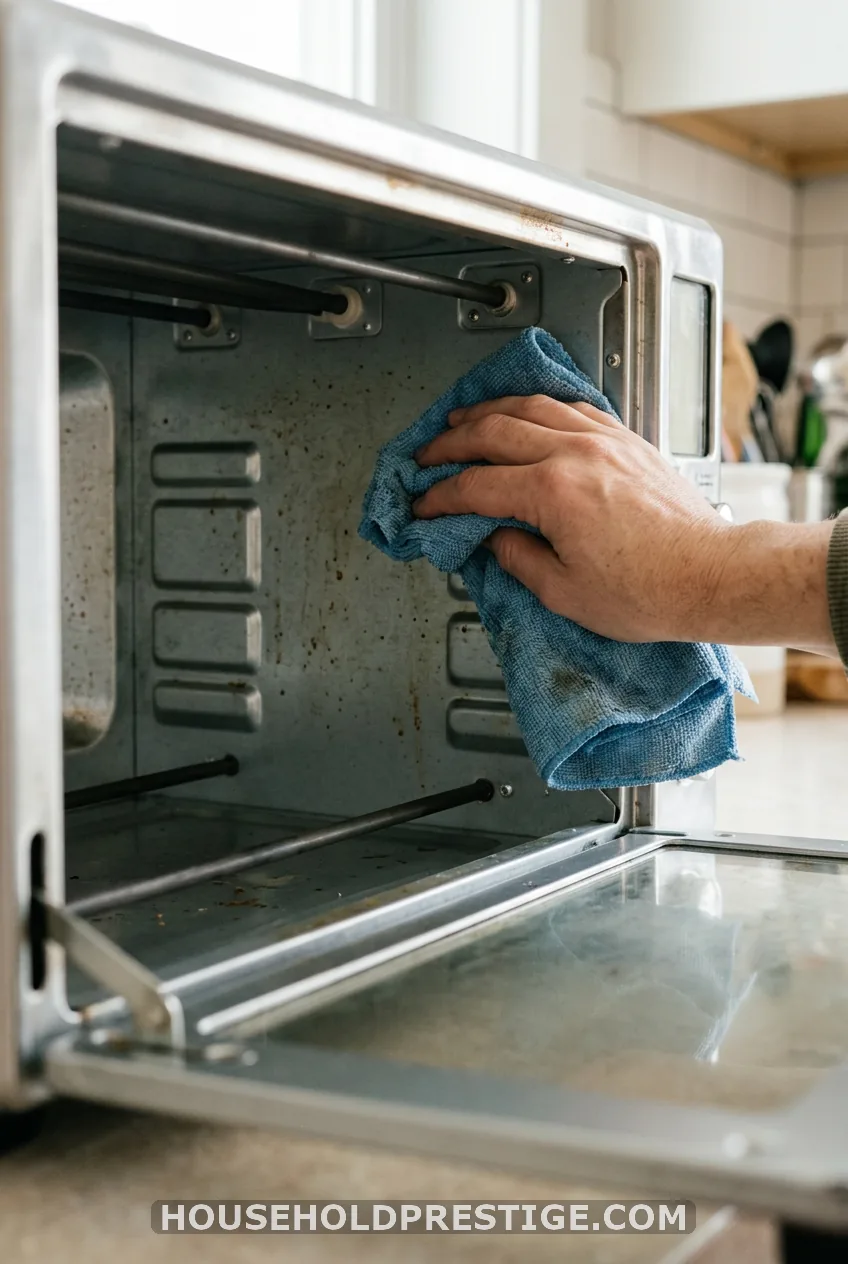
Dampen a microfiber cloth with soapy water or diluted vinegar. Wring it out until it’s barely damp. If water drips, it’s too wet.
Wipe the walls, ceiling and floor. The bottom plate is where grease collects fastest, so give it extra time.
For baked-on spots, spread baking soda paste on the cloth, not into the oven. Press it onto the spot, wait 10 minutes, and wipe away.
For the heating elements, use a soft, barely damp cloth with no cleaner at all. Wipe along the tube, not against it. Let them dry fully before any power returns.
The catch: Breville Smart Ovens and similar models have a non-stick interior. Skip the baking soda paste on the surface and use a gentle liquid cleanser on a damp cloth instead.
Step 5: Steam-Clean the Baked-On Grease
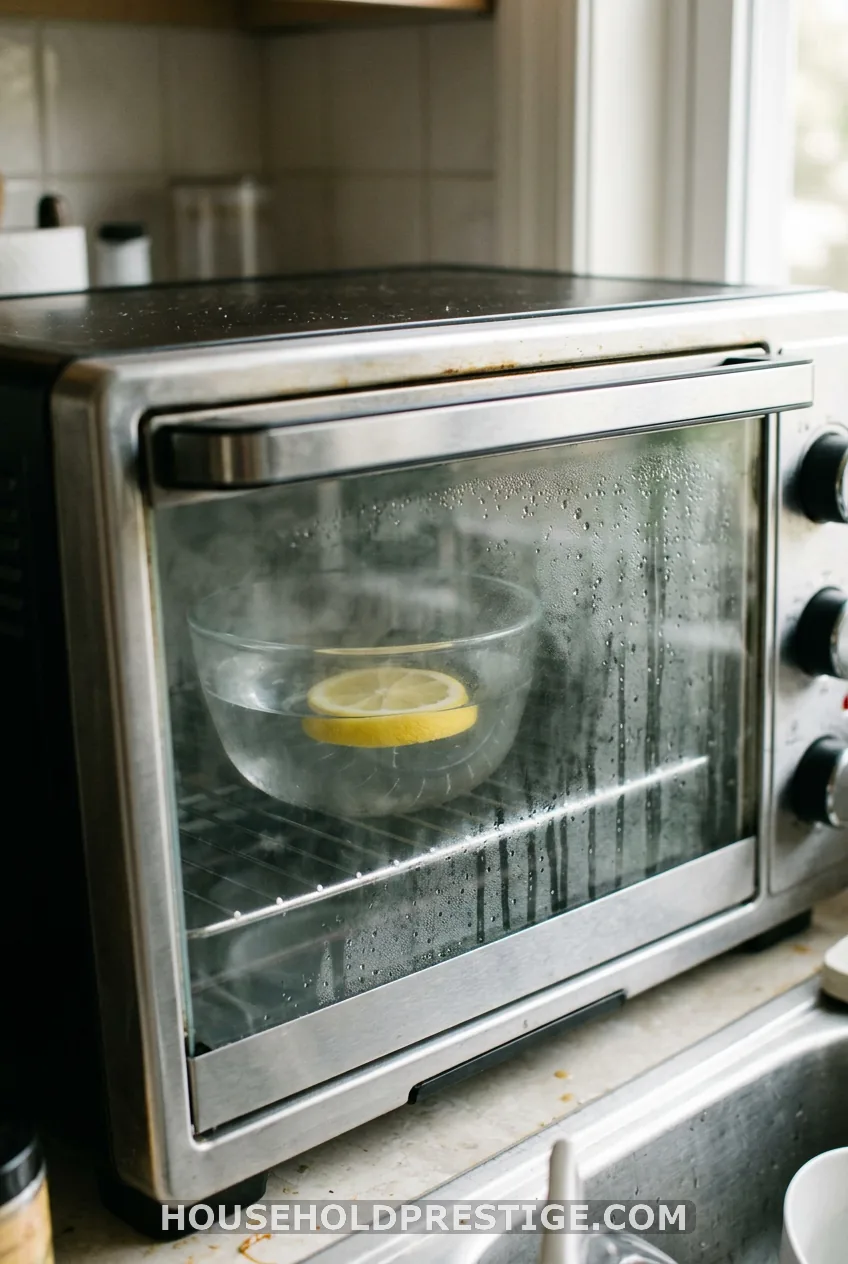
This is my favorite shortcut. The oven does the loosening for you.
- Fill an oven-safe bowl halfway with water.
- Add a splash of white vinegar or a few lemon slices.
- Set it on the rack and close the door.
- Heat at 250 to 300°F for 10 to 15 minutes.
- Turn it off, unplug it, and leave the door closed for 20 minutes.
- Take out the bowl with oven mitts and wipe the softened grease with a microfiber cloth.
Steam is not a license to spray. Even after steaming, put liquid on your cloth, never on the interior.
Step 6: Clean the Glass Door and Controls
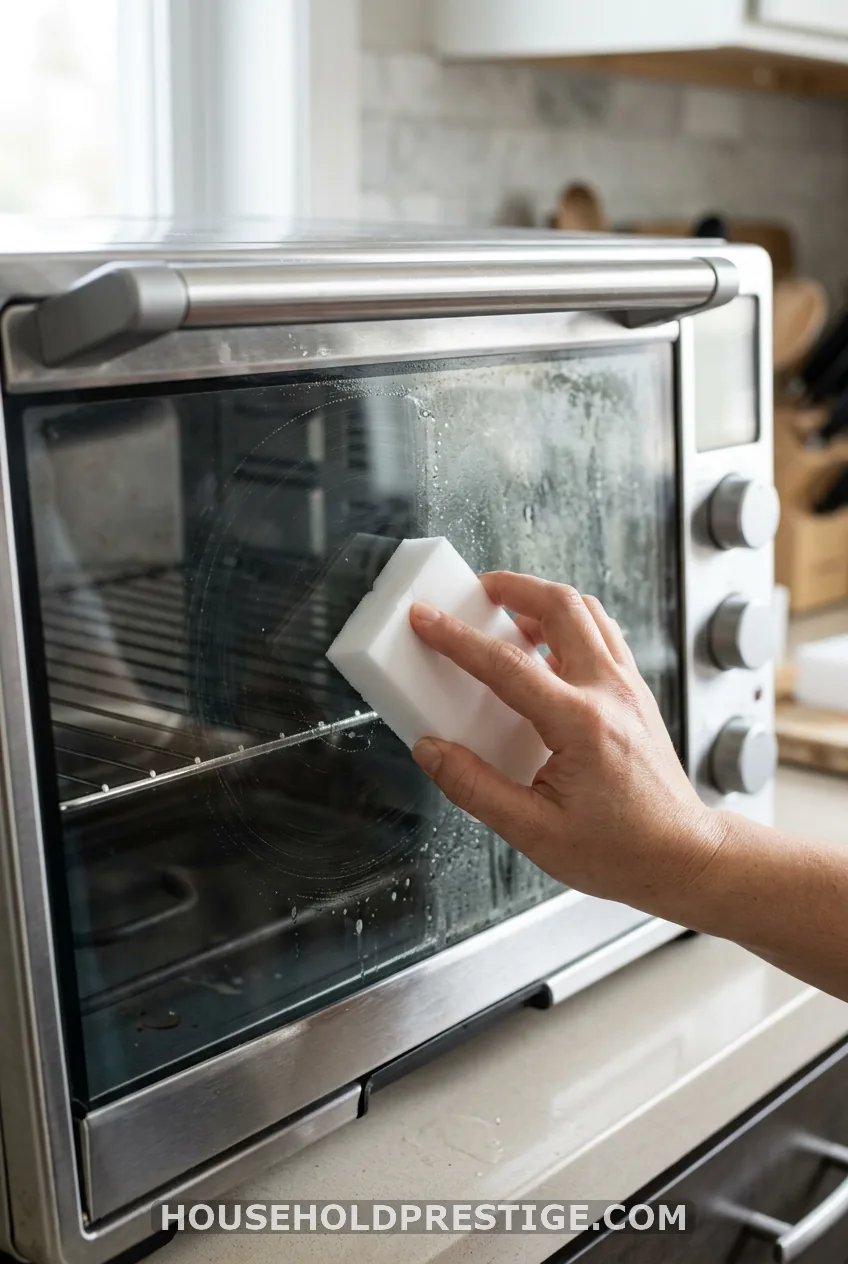
Wet a Magic Eraser with warm water and wring it out. Wipe the glass in small circles. The brown film lifts without scratching.
Buff dry with a microfiber cloth. A vinegar-water mix works too if you have no eraser.
For the exterior, use a cloth with dish soap. A degreaser on the cloth helps with sticky knobs. Wipe screens and dials with microfiber only. Dry paper towel can scratch an LCD.
Step 7: Dry, Reassemble and Test
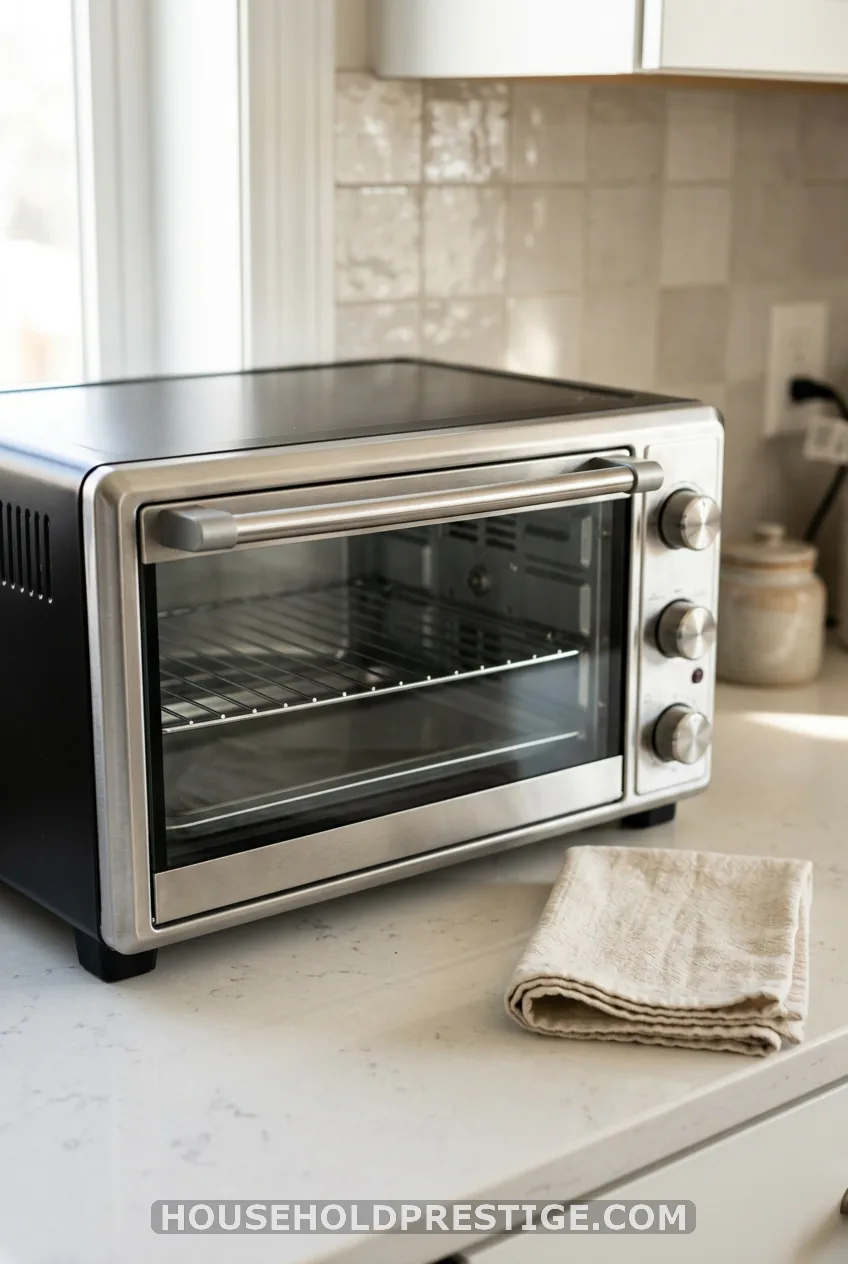
Check every surface with your palm. Walls, floor, trays and racks should feel bone dry.
Put the crumb tray back in its slot. Set the rack in place and make sure nothing touches an element.
Plug it in and run an empty cycle at 350°F for five minutes. A faint smell the first time is normal. If real smoke shows up, unplug it and look for missed crumbs.
How Often to Clean a Toaster Oven
Tape this schedule inside a cabinet door:
- Weekly: empty the crumb tray.
- Every 1 to 2 weeks: wipe the interior and exterior.
- Monthly: wash racks and pans, and scrub the interior.
- Quarterly: do the full seven steps, or after any greasy roast.
If you air fry daily, wash the basket and drip tray after every use. Pre-soak them for 10 to 15 minutes.
Special Cases: Breville, Air Fryer Models and Hazy Glass
Breville Smart Oven and Mini Smart Oven: use a non-abrasive liquid cleanser on a damp sponge, never directly on the surface. Warm soapy water handles racks and trays.
Air fryer toaster ovens: the basket and drip tray hold the grease. Soak, scrub softly, and dry them before they slide back in.
Continuous-clean interiors: a damp sponge only. No pastes, no scrubbing.
How to Keep It Clean Longer
- Line the crumb tray with foil. Never cover the heating elements or block airflow.
- Tent foil over greasy roasts, or use a splatter guard.
- Wipe the door while it’s slightly warm, never hot.
- Empty crumbs after toast, crackers, or breaded food.
One Last Thought
Most advice says to scrub harder and more often. I disagree. Harsh scrubbing wrecks coatings faster than crumbs ever will.
A light weekly tray dump and one slow monthly clean beat any heavy-duty attack. Do less, but do it on schedule, and keep every liquid on the cloth.
FAQ
How often should I clean my toaster oven?
Empty the crumb tray weekly and wipe the inside every one to two weeks. Do a deep clean once a month, or sooner if you roast or air fry a lot.
Can I use oven cleaner spray inside a toaster oven?
No. It’s too harsh for the non-stick interior, and the fumes build up in a small space near the elements. Dish soap, baking soda paste, and white vinegar do the job safely.
How do I clean the heating elements without damaging them?
Unplug the oven and let it cool fully. Wipe the elements with a soft, barely damp cloth and no cleaner. Make sure they’re completely dry before you plug it in.
Can I steam clean a toaster oven?
Yes. Put an oven-safe bowl of water with a splash of vinegar inside and heat at 250 to 300°F for 10 to 15 minutes. After it cools, the loosened grease wipes off with a microfiber.