

The tension pole is halfway twisted to the ceiling, and my shampoo bottles are still crowding the tub edge. Two minutes later, they have a home, and the tub looks twice as wide. That is the magic of a small bathroom DIY. One cheap fix can change how the whole room feels.
You don’t need a $6,000 to $15,000 gut remodel. A $150 pile of smart projects can do more for a tiny bath than most people expect. Below you’ll find 11 ideas, each with a cost range, a time estimate and a drill or no-drill tag. Pick one tonight and finish it this weekend.
What Makes a Tiny Bathroom Feel Bigger
A small room feels bigger when it has more light, more open floor and fewer things in sight. Square footage matters less than you think. A 5×8 bathroom with clear surfaces, a big mirror and a high shower curtain feels roomier than a 6×9 with clutter on every edge.
So these ideas fall into three groups. First you clear the clutter with storage. Then you add light and height.
Last you refresh the surfaces. Don’t try all 11. Pick three, and you’ve covered the 80/20 of a bathroom refresh.
Storage Fixes That Free Up Floor Space
1. Hang a Tension Rod Shower Caddy
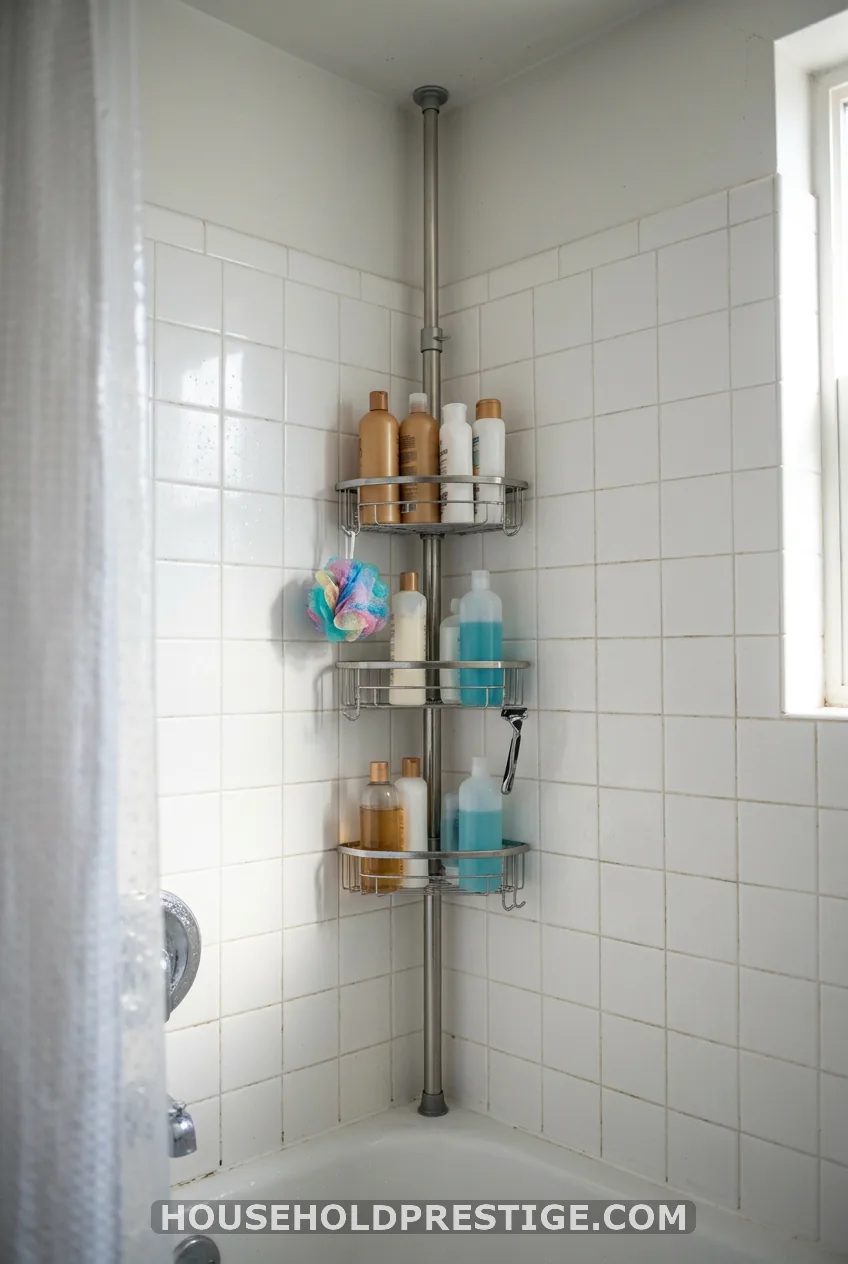
Cost: $15-$30. Time: 15 minutes. Tag: No drill.
A tension pole caddy twists tight between the floor and the ceiling. It leaves no holes and no sticky residue, so your landlord never knows. Most hold 30 pounds or more across three shelves.
Set it in the back corner, away from your elbows. Put the heaviest bottles on the bottom shelf. Wipe the pole ends clean first so they grip.
2. Build a Slim Over-the-Toilet Shelf
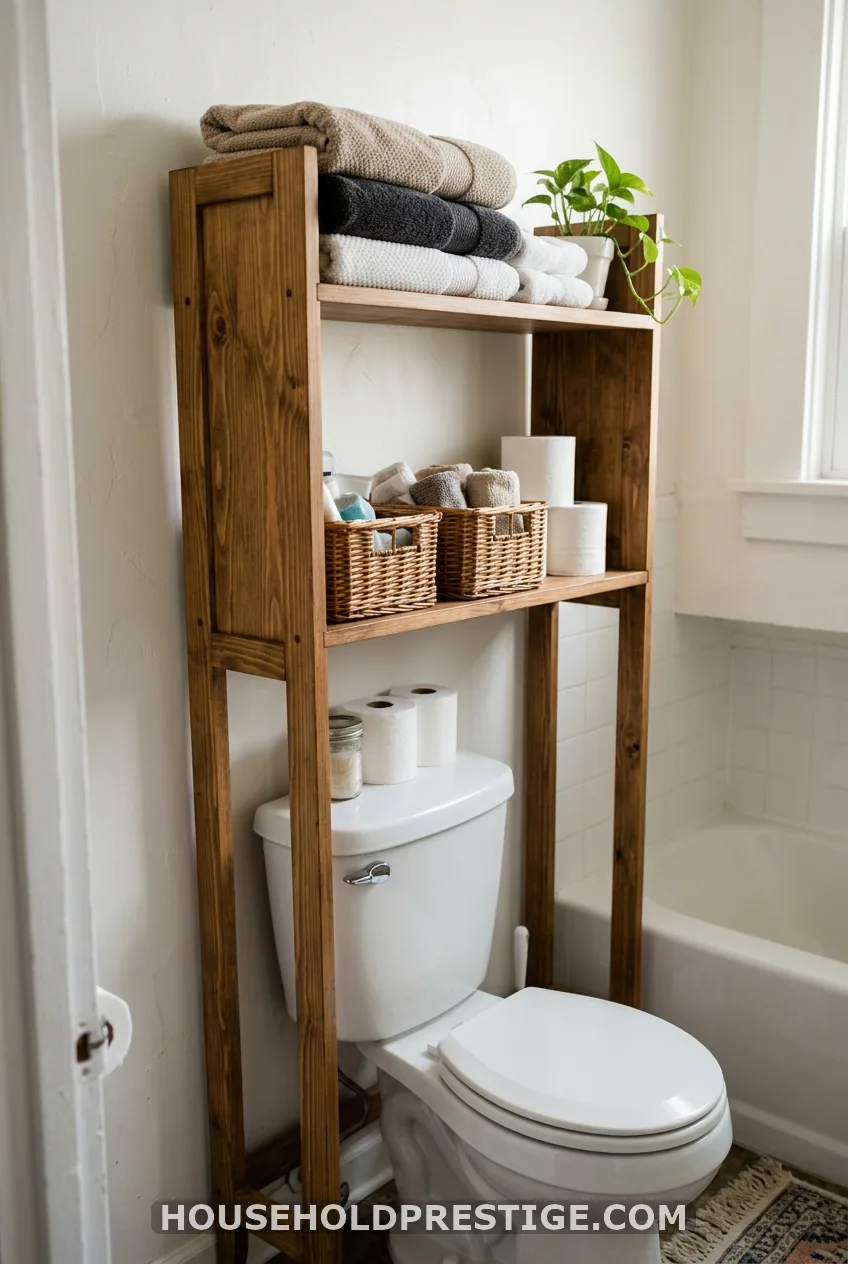
Cost: $40-$65. Time: One afternoon plus stain drying. Tag: Drill for the anti-tip bracket only.
This is the deep-dive project. It looks like a store-bought unit and it fits your exact toilet. The unit stands on the floor on either side of the tank, so it takes up no floor space and needs no wall mounting beyond one safety bracket.
What You’ll Need
- Two 8-foot 1×8 pine boards (the real size is about 3/4 by 7 1/4 inches)
- Wood glue and 1 1/4-inch wood screws
- 120-grit sandpaper and wood stain
- A saw, drill and tape measure
- One anti-tip bracket and strap
Build It in Five Steps
- Measure the width of your toilet tank. Add 1 inch. That is your shelf length. Most tanks run 18 to 20 inches, so you’ll land near 20 to 22 inches.
- Cut two side boards at 48 inches. Cut four shelf boards to your shelf length.
- Sand every piece, then stain and let it dry fully.
- Mark each side board at 33, 38, 43 and 48 inches from the bottom. These are the top edges of your shelves. The 33-inch shelf clears most tanks, which sit about 30 inches high.
- Put glue on each shelf end, set it between the sides, and drive two screws through each side into each shelf.
Finish by screwing the anti-tip bracket into a stud, or use a drywall anchor rated for the load. Check for pipes before you drill.
The Mistake to Skip
Don’t guess the tank width. Measure it. A shelf that is half an inch too narrow won’t slide over the tank, and you can’t un-cut a board.
If you’d rather not build, two floating shelves above the tank give you the same vertical storage. Mount them at least 8 inches above the tank lid, and put the lower one into studs when you can.
3. Add a Magnetic Strip for Small Metal Things
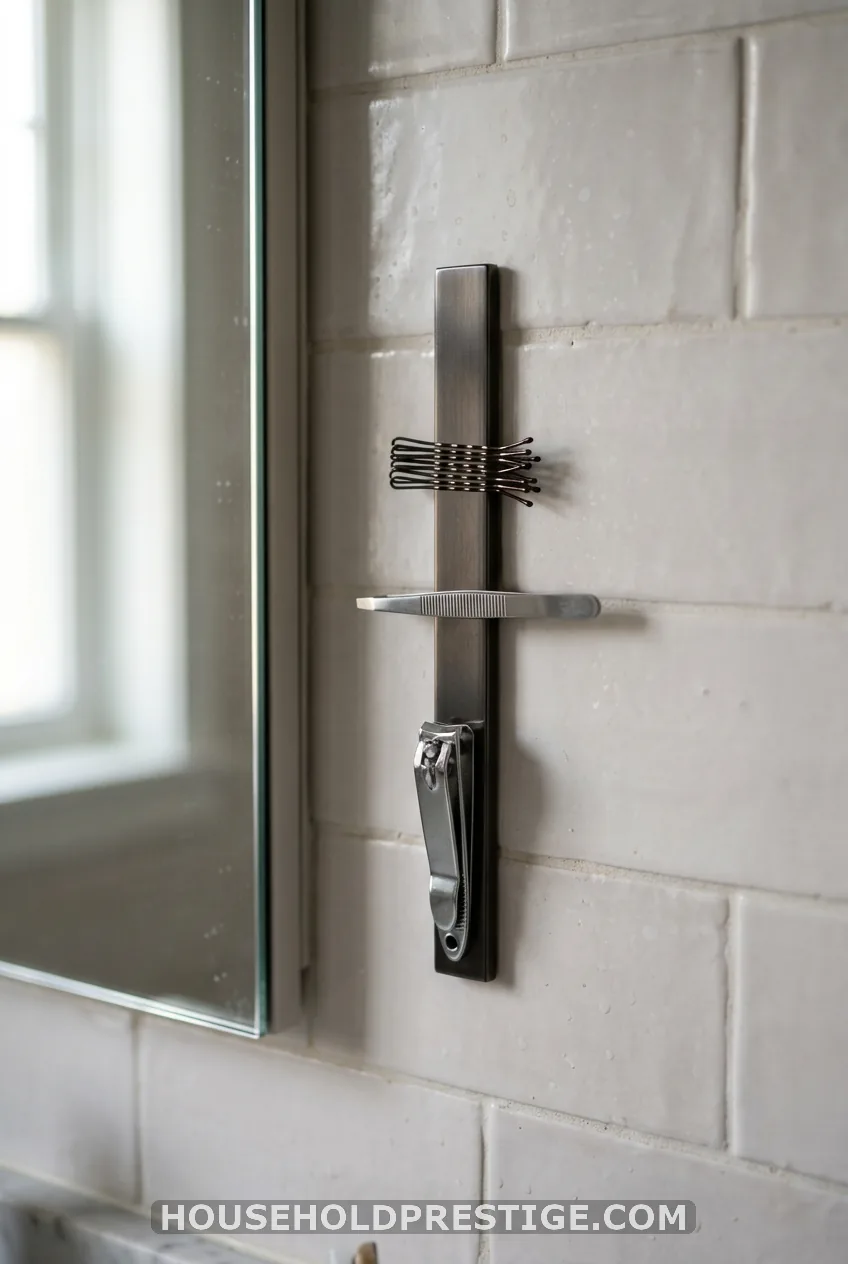
Cost: $8-$15. Time: 10 minutes. Tag: No drill.
Bobby pins, tweezers and clippers clutter a vanity fast. A magnetic knife strip holds them flat against the wall. Mount it with 3M Command strips next to the mirror.
Clean the wall with rubbing alcohol first. Keep it out of the splash zone near the sink.
4. Roll In a Slim Cart
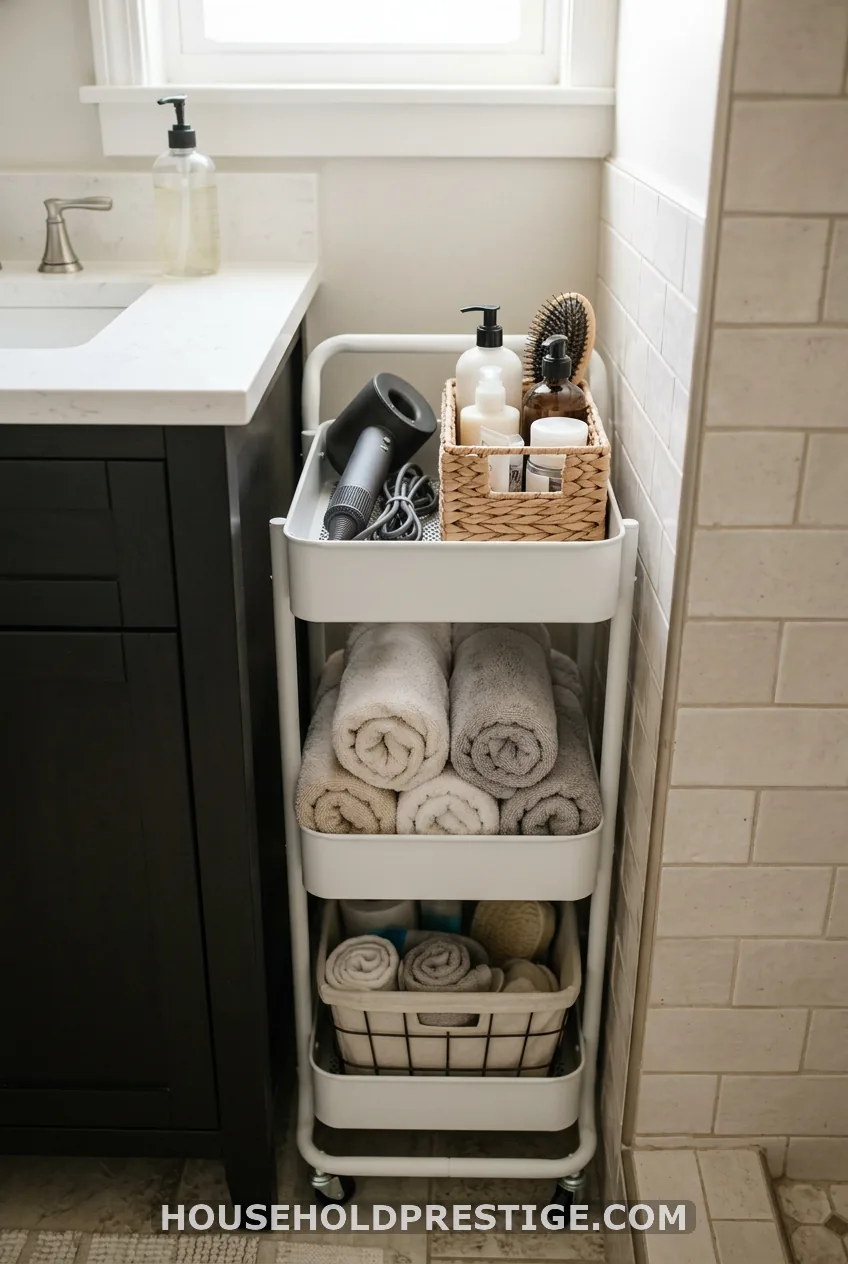
Cost: $20-$45. Time: 5 minutes. Tag: No drill.
Measure the gap beside your vanity or tub. Slim carts start at about 10 inches wide, so they fit spaces a cabinet never could. The three tiers hold rolled towels, hair tools and overflow toiletries.
Here is the best part. When you’re showering, roll it out of the way. When you’re done, roll it back.
Use small baskets on each tier and label the shelves in your head: daily, backup, guest. If something doesn’t fit its basket, something has to leave. That is the one-in, one-out rule for tiny baths.
5. Solve Towel Storage With Hooks and Racks
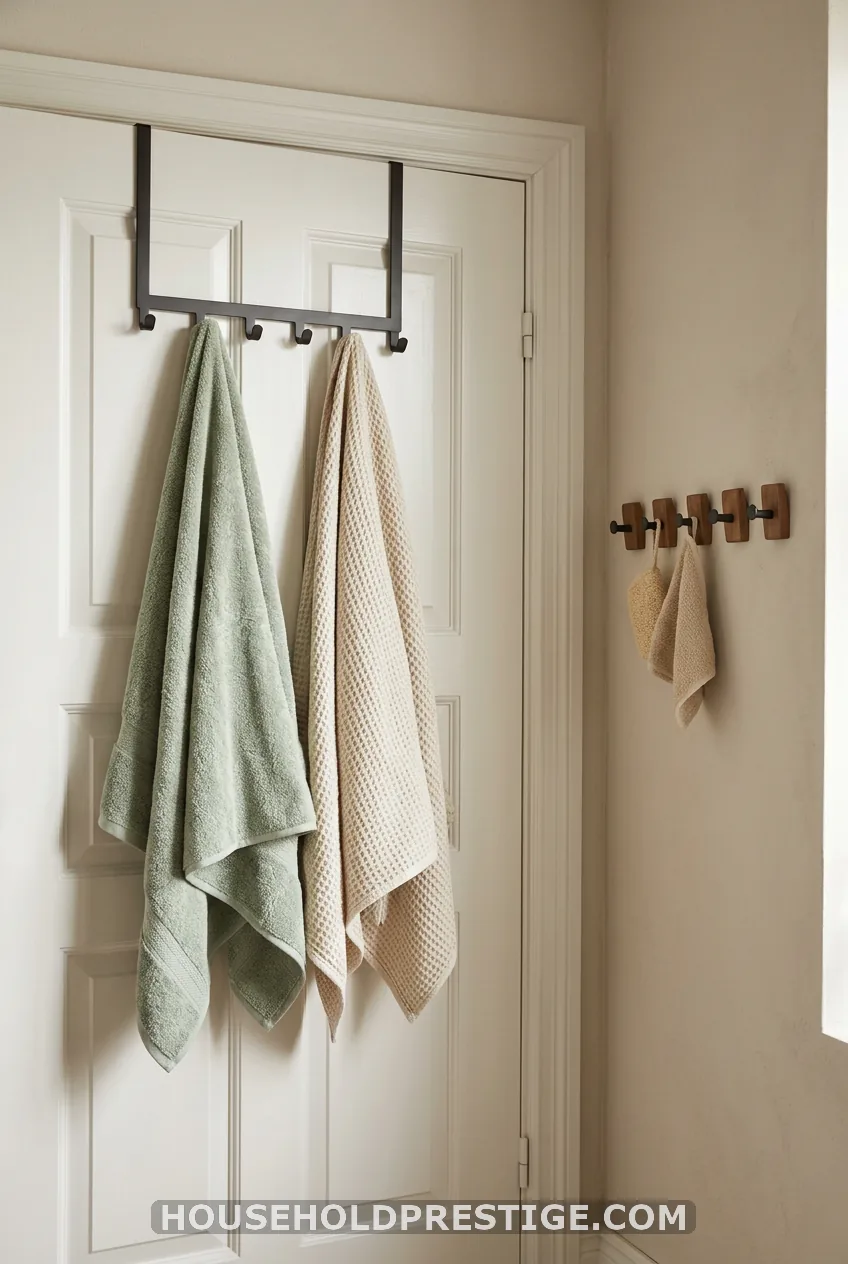
Cost: $10-$25. Time: 10 minutes. Tag: No drill.
No wall space? Use the back of the door. An over-the-door rack holds two or three towels and takes no floor room. Add a row of adhesive hooks beside it for robes.
A leaning ladder rack works too if you have 12 inches of floor along a wall. Hang towels so they dry flat. Folded and bunched towels breed mildew.
Light, Height and Mirrors
6. Swap in a Bigger Statement Mirror
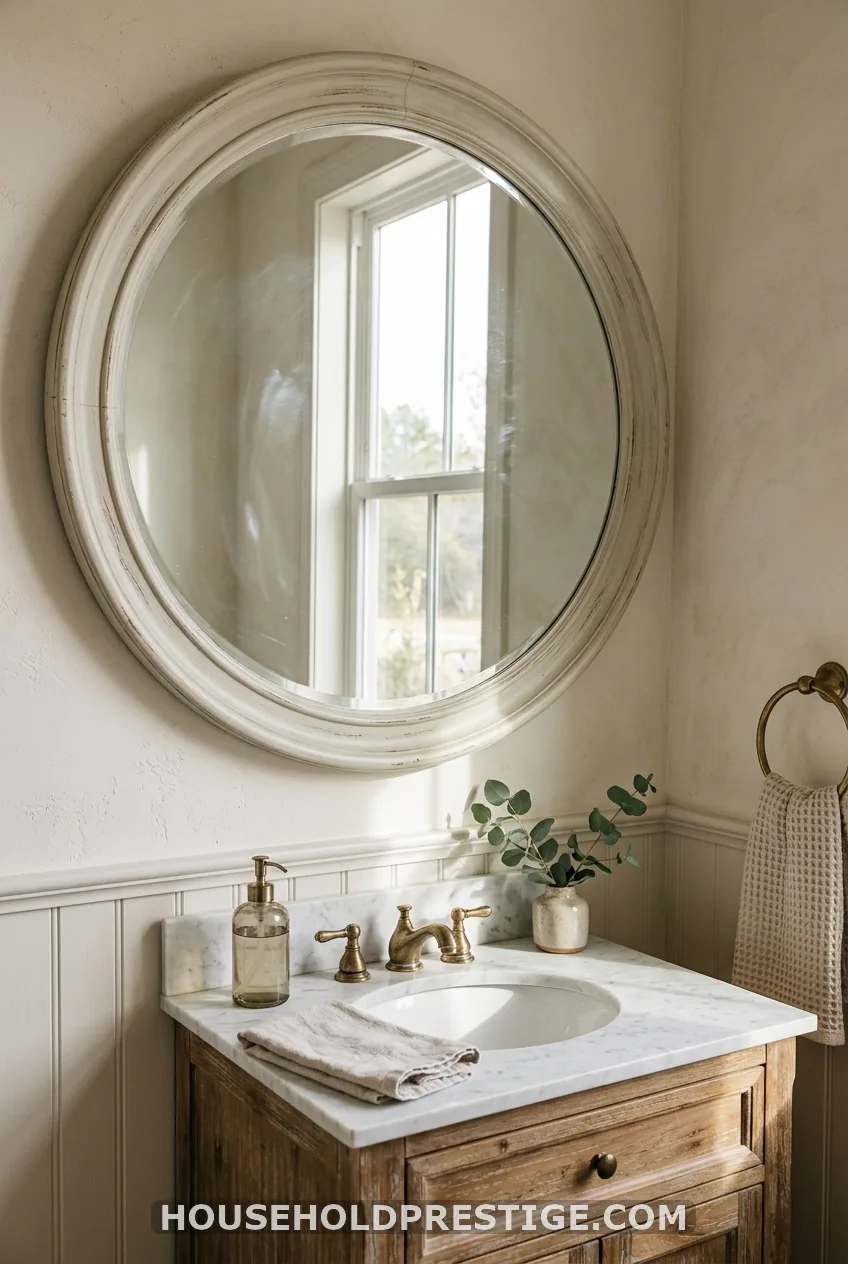
Cost: $0-$60. Time: 30 minutes. Tag: Drill or heavy-duty adhesive hanging kit.
A mirror reflects light, and light fakes square footage. Go bigger than feels natural. A large round mirror or one that nearly spans the vanity width does the most.
Check thrift stores and resale shops for solid frames. Paint the frame matte black or warm brass with spray paint. On a tile wall, use a carbide-tipped bit or choose a rated adhesive kit that matches the mirror weight.
7. Layer the Lighting
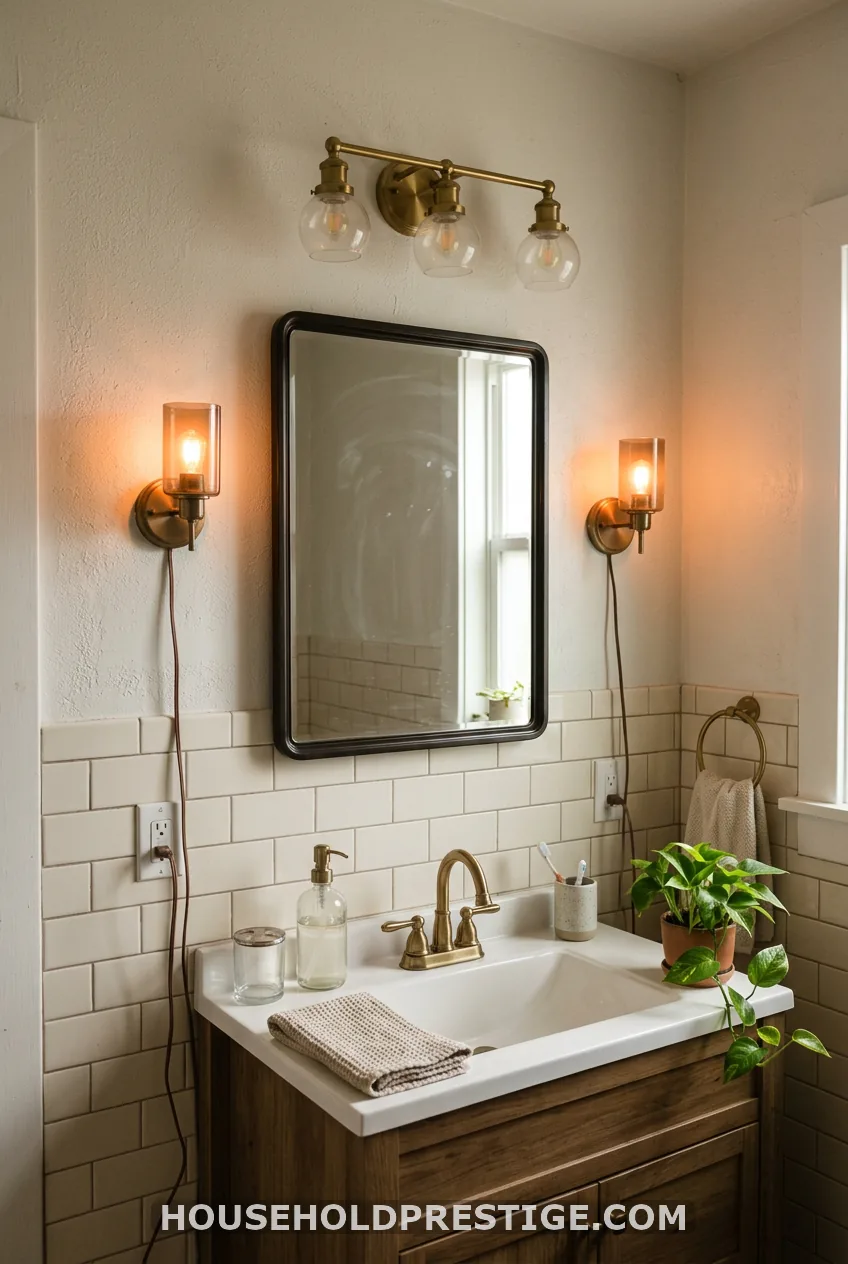
Cost: $25-$80. Time: 20 minutes to 1 hour. Tag: No drill for plug-in options.
One overhead light casts shadows on your face. Add a second and third layer. Plug-in sconces on either side of the mirror give even light with no wiring. A plug-in pendant swag hook works for renters too.
Use warm white bulbs, about 2700K to 3000K. Cool bulbs bounce off mirrors and tile and feel harsh. Swapping a hardwired vanity fixture is fine for a confident DIYer, but turn off the breaker first. If you’re unsure, hire an electrician.
8. Hang the Shower Curtain High and Wide
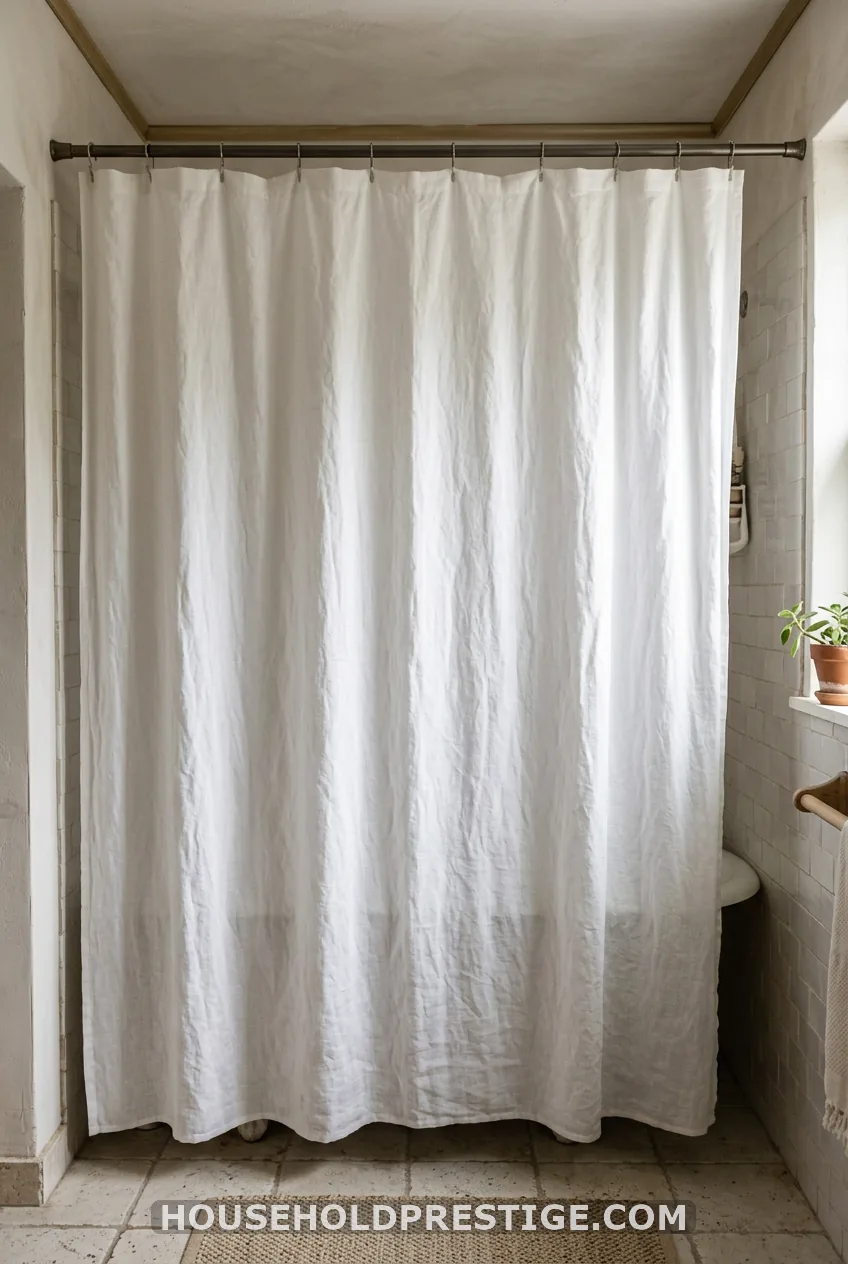
Cost: $20-$35. Time: 20 minutes. Tag: Tension rod, no drill.
Mount the rod just under the ceiling. Use an extra-long curtain, 84 to 96 inches, that skims the floor. Your eye follows the line up, and the walls look taller.
It’s the cheapest bigger-bathroom trick I know. Pick a pale solid or thin stripe. Busy patterns shrink the room.
Surface Refreshes
9. Use Peel-and-Stick Tile (Where It Belongs)
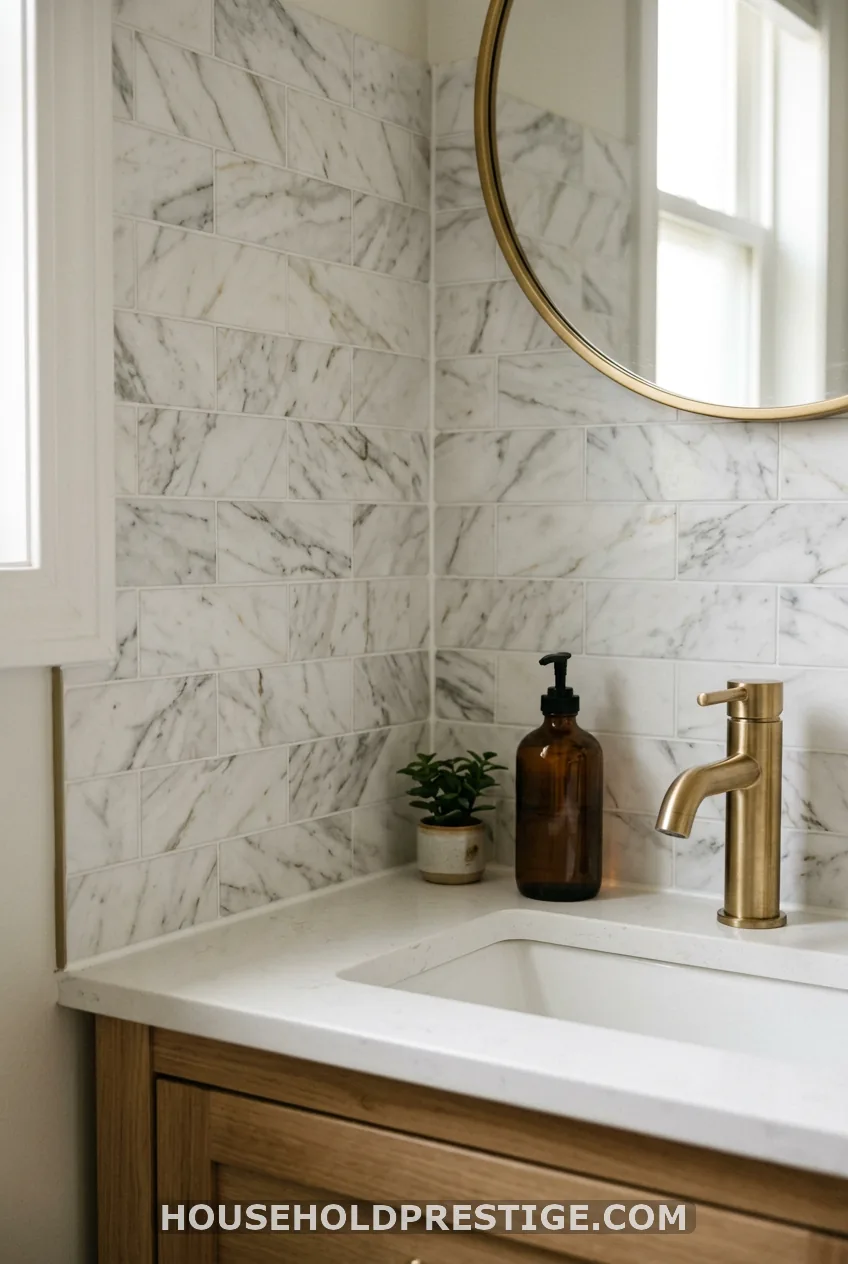
Cost: $40-$120. Time: 2-3 hours. Tag: No drill.
What most people think: peel-and-stick tile works anywhere. Reality: it works on dry or splash-only spots, and fails where water hits it daily.
Use it on a vanity backsplash, a powder-room floor, or an accent wall away from the tub. Brands like Smart Tiles make thick gel versions. Skip the shower walls. Direct water and steam lift the adhesive within weeks.
Clean the surface with degreaser and let it dry. Start at the center and work out. Real tile costs far more per square foot, but this lasts a few years and comes off when you move.
10. Paint the Vanity and Swap the Hardware
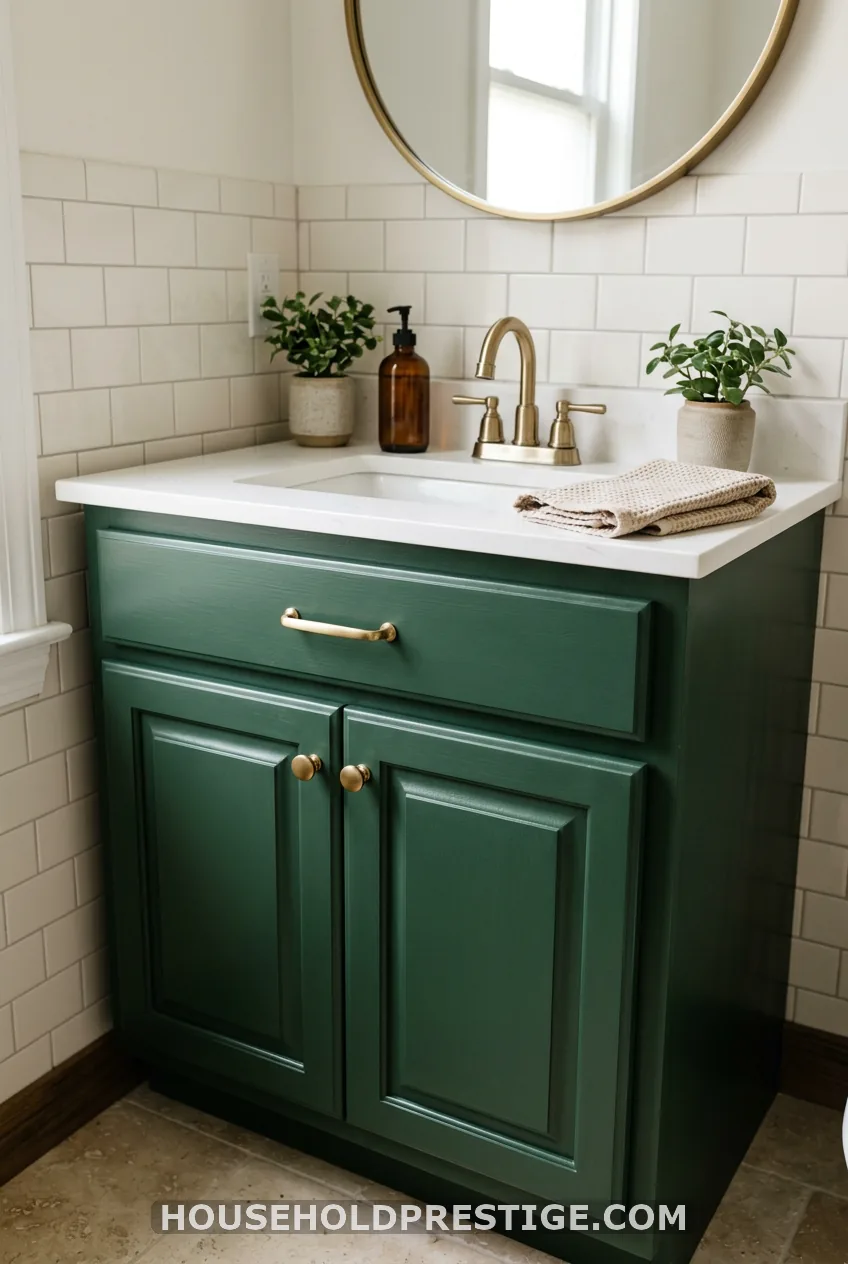
Cost: $50-$90. Time: One weekend. Tag: Drill only if you change hole spacing.
Sand lightly, wipe clean, then prime. Use cabinet-grade paint, such as Rust-Oleum’s cabinet kits, and roll two thin coats. Let each dry fully.
New knobs and pulls are a $20 upgrade. Match the hole spacing so you don’t have to drill new ones. If your countertop looks tired, a peel-and-stick marble film or an epoxy kit covers it for another $30-$60.
11. Add Warmth With a Rug, Wood and Plants
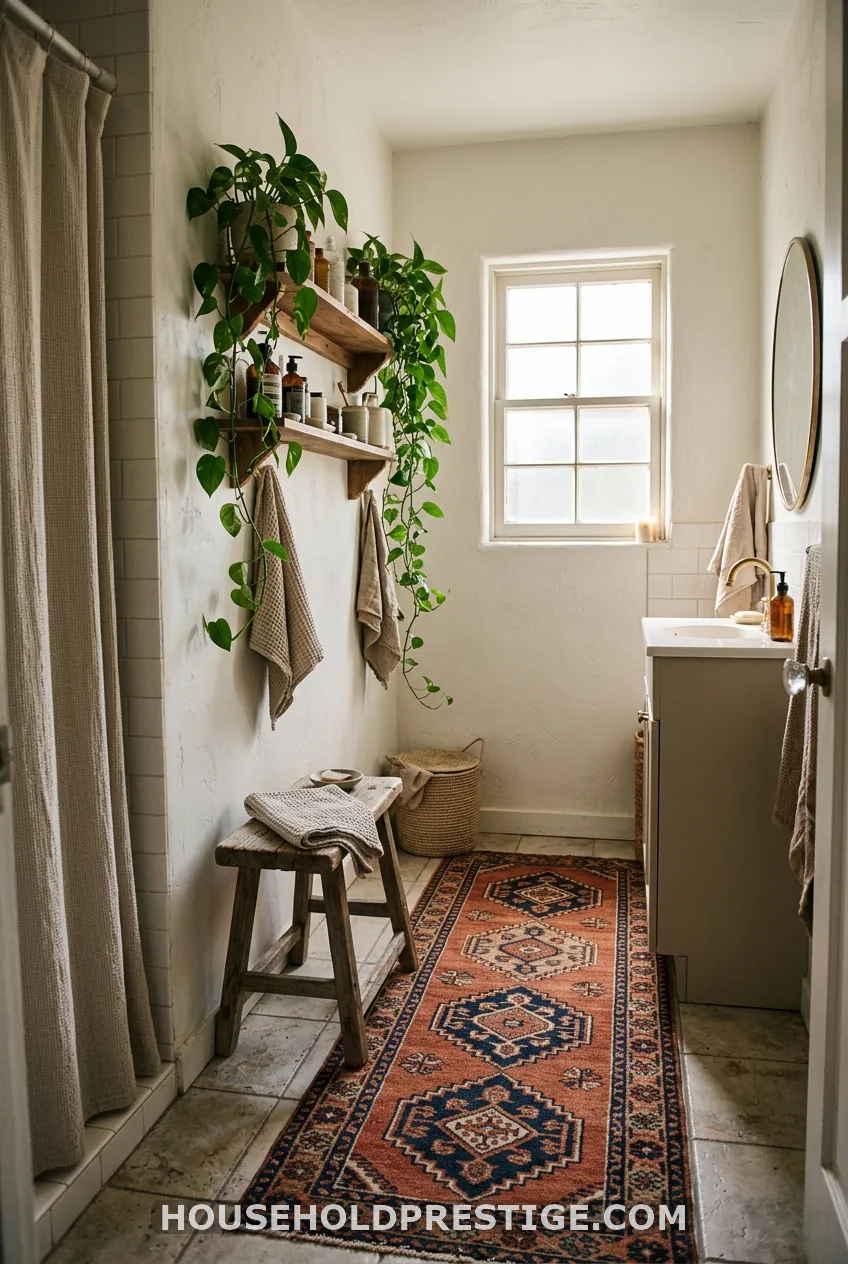
Cost: $30-$100. Time: 1 evening. Tag: No drill.
This is the before-and-after item. Picture a 5×8 bath with white walls, a bare floor and a plastic bin by the tub. Add a patterned runner, a wood stool for towels and a pothos plant on a shelf. The room goes from cold to cozy for under $100.
Pick earthy tones, such as sage, clay and warm wood. They keep a tiny room calm. Bold pattern belongs on one thing only, like the rug. Skip anything that adds visual clutter.
Pothos and snake plants cope with steam and low light. Keep them off the floor and away from the toilet seat.
How to Choose and What to Avoid
Start with light and mirror (items 6 and 7). Then storage (items 1 to 5). Surface finishes (items 9 to 11) come last, so you don’t repaint around new shelves.
Here’s a rough plan by budget:
- About $50, one evening: tension caddy, towel rack, higher shower curtain.
- About $150, one weekend: the above plus a bigger mirror, plug-in sconces and a rolling cart.
- About $500, three weekends: add the over-toilet shelf, vanity paint and hardware, and backsplash tile.
Avoid these mistakes:
- Don’t put peel-and-stick tile in a wet shower zone.
- Don’t drill before checking for pipes and studs.
- Don’t over-style. A 5×8 room with ten decor pieces feels smaller.
- Don’t ignore ventilation. Run the exhaust fan for 20 minutes after every shower. Mold ruins any makeover fast.
- Leave plumbing and wiring to a licensed pro. Outlets near water need a GFCI.
If you’re unsure about a change, test it first. Tape a paper mirror outline to the wall. Clip a lamp in the spot a sconce would go. Live with it for two days.
Your Next Step
You now have a menu of 11 projects with real costs and times. The simplest start is the tension caddy and a higher shower curtain. That’s under $60 and one evening, and you’ll see the difference at once.
Which one will you finish before the weekend ends?
FAQ
What is the cheapest way to make a small bathroom look better?
Hang the shower curtain higher, swap the vanity hardware and add a larger mirror. Together that comes to under $60 and one afternoon of work. It’s the best small bathroom DIY for the money.
Can I do a small bathroom DIY makeover as a renter?
Yes. Tension rods, Command-strip shelves, plug-in sconces and removable peel-and-stick tile all come off without wall damage. Check your lease before painting or drilling.
Does peel-and-stick tile work in a shower?
Generally no. It holds up on vanity backsplashes and dry powder-room floors. Direct shower water and steam will lift the adhesive.
How much does a small bathroom DIY makeover cost?
A cosmetic refresh runs about $50 to $150. A storage and fixture upgrade is about $150 to $500. Adding refinishing or new flooring can reach $500 to $1,500.
How do I store towels in a small bathroom with no wall space?
Use an over-the-door rack, an over-the-toilet shelf or a slim rolling cart. All three keep towels off the floor without giving up floor space. Hang towels flat so they dry fast.