

My second coaster was a mess. The red yarn dangled off the back like a loose tooth, and the whole square leaned left. I tugged the carried strand, the edge puckered, and I said a word my cat did not need to hear.
That was my first week with tapestry crochet. Now I can finish a pillow front in a weekend. This list goes from easiest to hardest, with hours, yarn cost and the chart tricks that fix the exact problems I hit.
What Tapestry Crochet Is (and Isn’t)
You work single crochet and carry the unused color inside each stitch. The hidden yarn makes the fabric dense and solid, like woven cloth. That is why it suits pillows, baskets and bags so well.
It’s easy to confuse with other colorwork:
- Mosaic crochet: colors drop between rows and leave visible vertical lines. Mosaic charts won’t work here.
- Intarsia: each color block gets its own bobbin, and nothing is carried.
- Fair Isle: this is knitting, with floats on the back.
- Corner-to-corner (C2C): diagonal blocks, worked from a corner.
- Tunisian colorwork: a different hook and a different fabric.
The 60-Second Supplies Check
Smooth cotton or cotton blend wins. Scheepjes Stone Washed, Lion Brand 24/7 Cotton and Hobbii Rainbow Cotton all show crisp edges between colors. Skip mohair and fuzzy acrylic for your first chart. The fluff hides your stitches.
Size your hook down half a millimeter from the label. If the yarn calls for 4 mm, try 3.5 mm. A tighter fabric stops the carried color from peeking through. A Clover Soft Touch hook is kind to your hand during the tight stitching.
Also grab these:
- Stitch markers, for the start of every round
- Yarn bobbins or clips, for large color blocks
- A tapestry needle for weaving in ends
- A 12-inch dowel rod for wall hangings
- Graph paper or a printable pixel grid
How to Read the Chart
One square equals one stitch. One color means one color. Rows read like cross-stitch.
In the round, you read every row from right to left. In flat work, you alternate. Right-side rows go right to left, and wrong-side rows go left to right.
Pixel charts and C2C charts are not interchangeable with tapestry charts. A C2C chart counts diagonal blocks. A tapestry chart counts straight stitches. If the grid is labeled with rows and stitches, you’re fine.
You can also turn a cross-stitch pattern into a chart. Grid width equals your stitch count and grid height equals your row count. Swatch first. A big chart at a tight gauge can turn into a rug when you wanted a wall hanging.
1. Two-Color Coasters
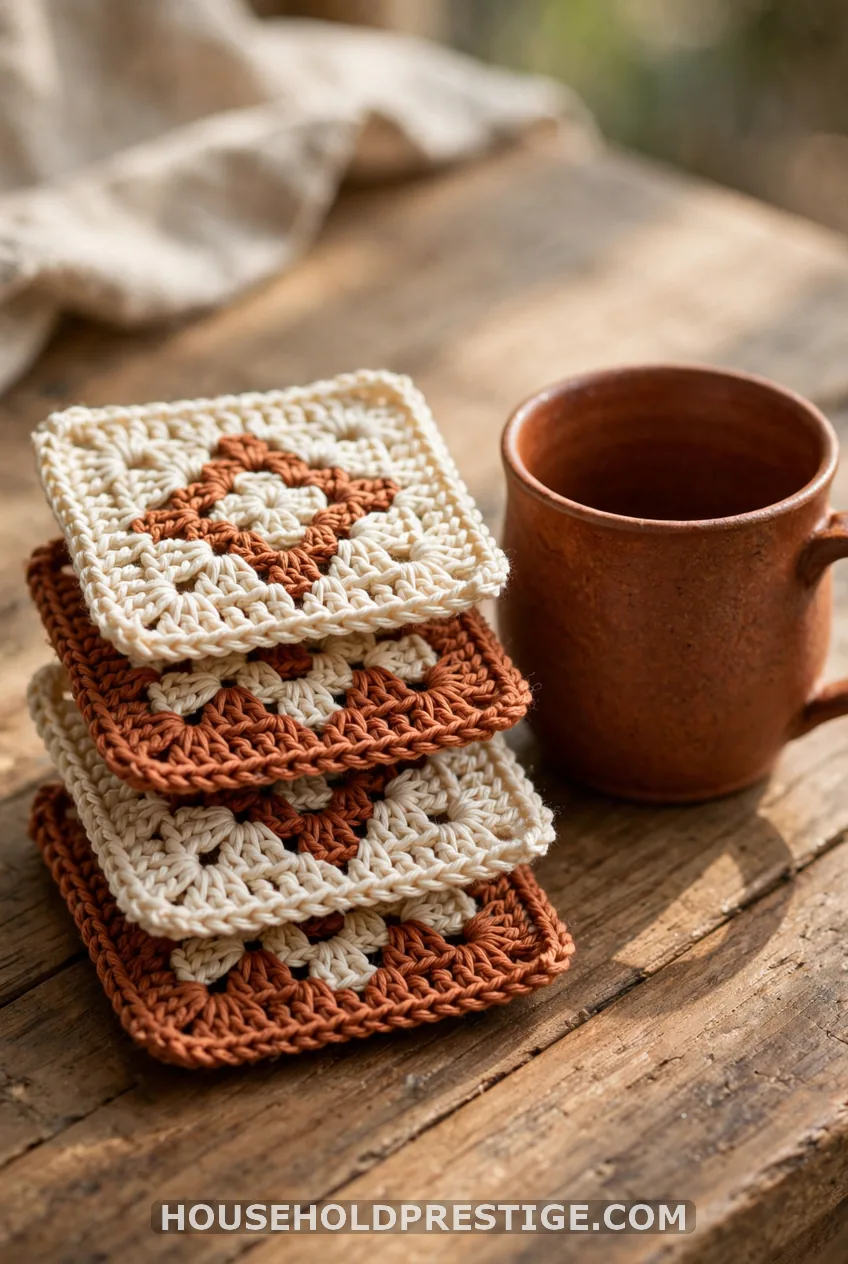
Skill: beginner. Time: 30 to 45 minutes each. This is the lowest-stakes way to learn color changes.
Work a 5-inch square from a 20-stitch chart. If it goes wrong, you’ve lost a few yards of yarn.
Cost reality:
One skein each of two colors makes at least six coasters, about $12 total.
2. Cup Cozy
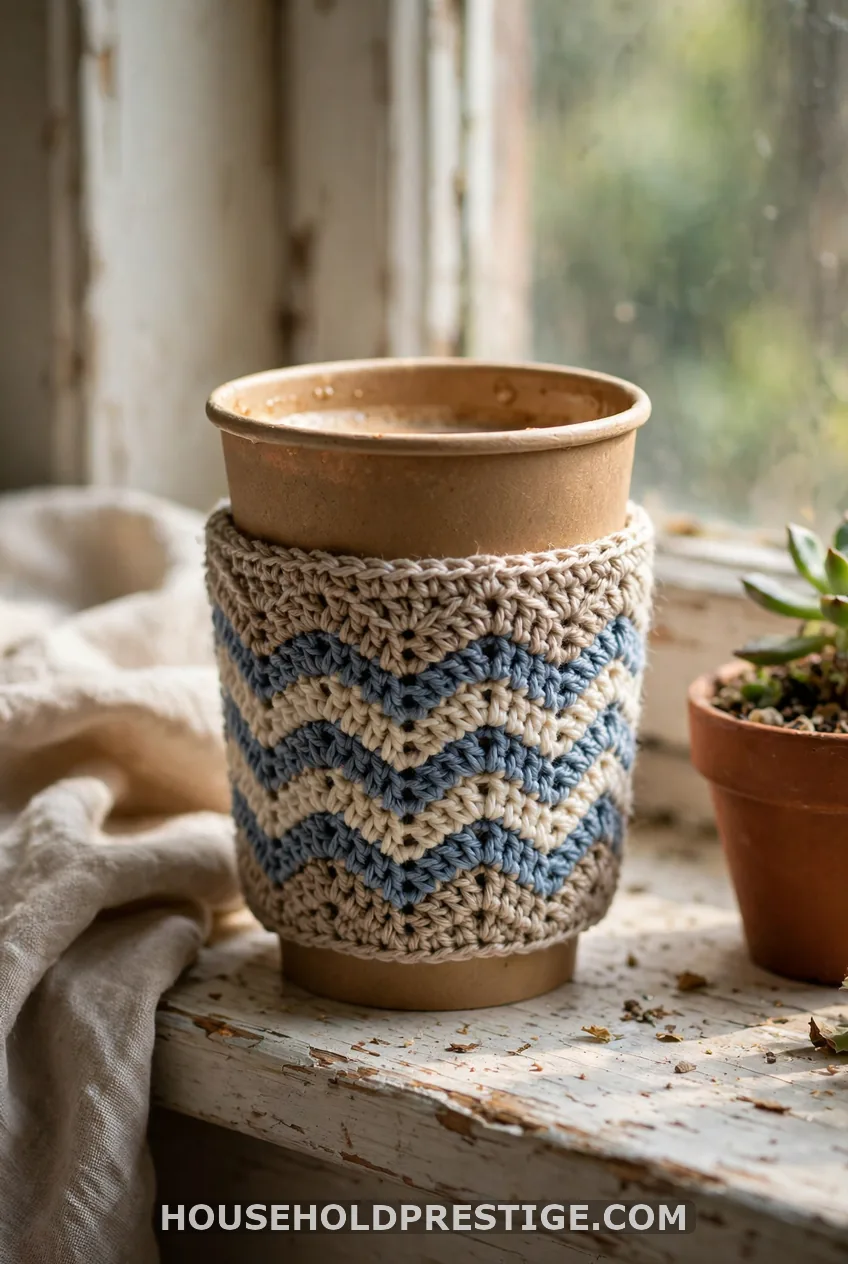
Skill: beginner. Time: 1 hour. Chain 30, work 8 rows of a zigzag chart, add a button loop.
It teaches your first carried float on a longer row. Done by lunch.
3. Heart Wall Hanging on a Dowel
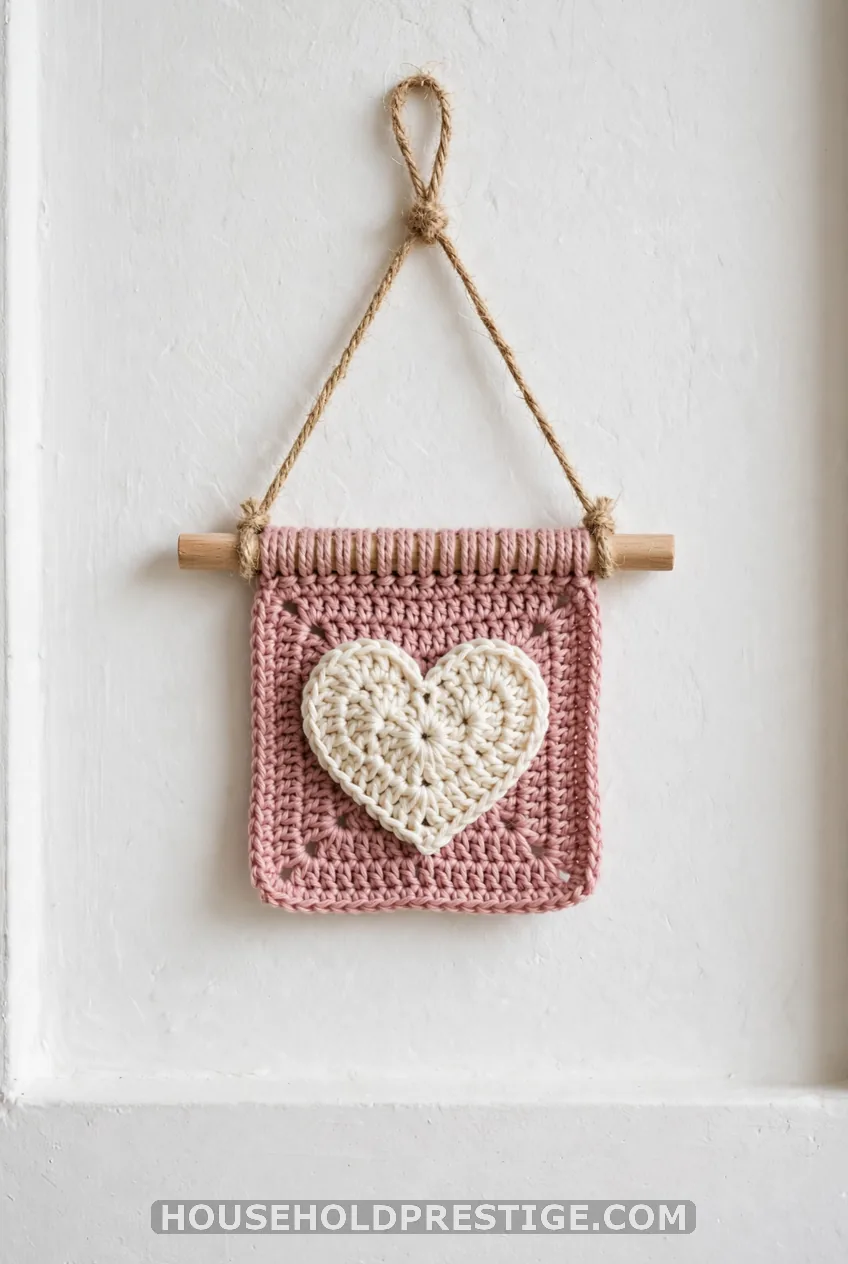
Skill: beginner. Time: 3 to 4 hours. A single motif on a plain background is the gentlest first chart.
A heart, moon or cat silhouette all work. You learn to count rows against a picture.
Work it flat. Hold the unused yarn in front on wrong-side rows and behind on right-side rows. That keeps the front clean. Finish by sliding the top loops onto a 12-inch dowel and tying on a hanging cord.
Budget note:
A dowel from a craft store runs about $2. Use scraps for the motif.
4. Two-Color Pouch With a Wooden Button
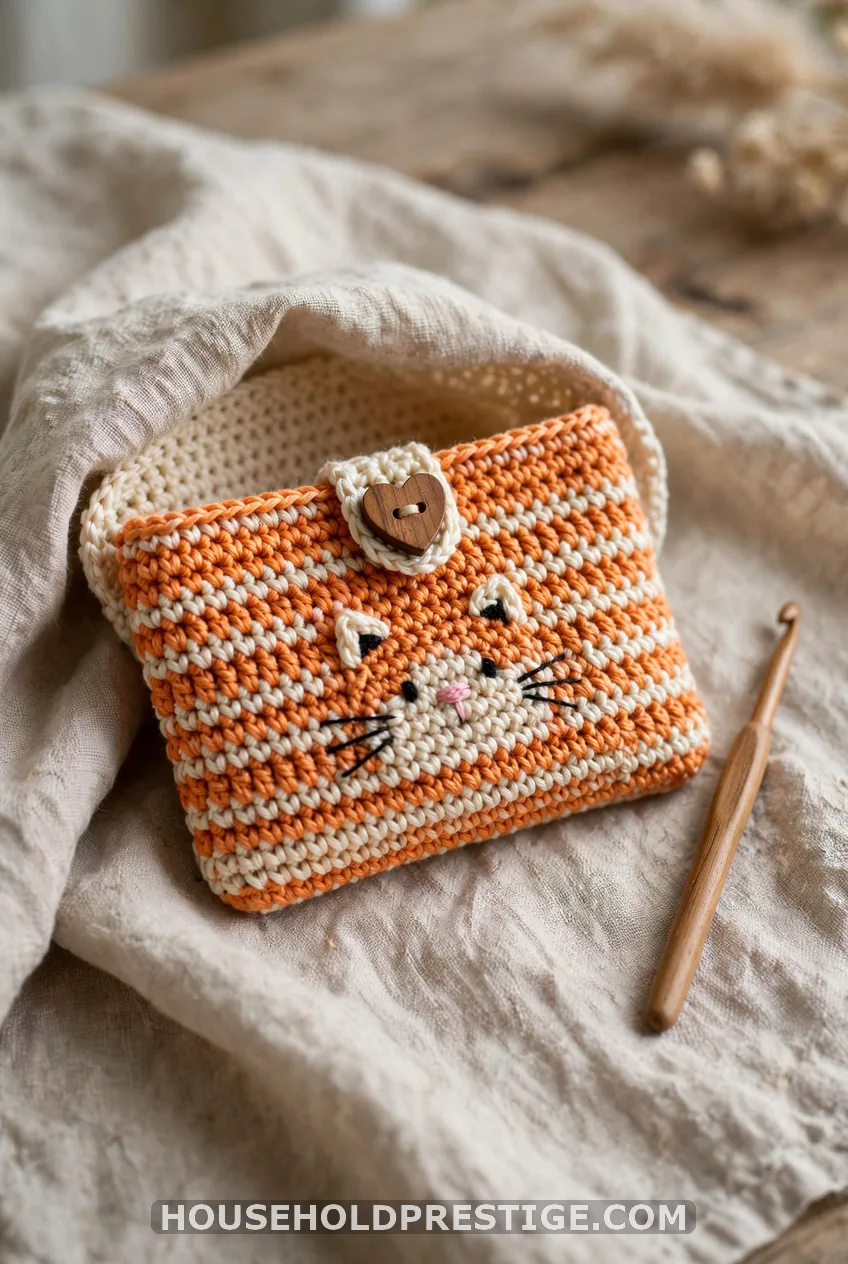
Skill: beginner to intermediate. Time: 4 to 5 hours. This one earns a full walkthrough. It’s the project where everything clicks.
Materials, about $10 to $14:
- Two 50 g skeins of smooth cotton, such as Stone Washed
- A 3.25 mm hook (sized down from 3.5 mm)
- A stitch marker, a tapestry needle and a 20 mm wooden button
The steps:
- Chain 31 and work single crochet back along the chain. You now have 30 stitches.
- Join in the round and mark the first stitch. Work 4 plain rounds in the main color.
- Start the chart. Carry the second color by crocheting over it on every stitch.
- Change color on the last yarn-over of the final stitch in the old color.
- Work about 40 rounds. The pouch should be roughly 6 by 7 inches.
- Fold the top flap over, stitch it to the back, add a button loop and sew on the button.
One mistake to avoid: yanking the carried strand. It narrows the work after a few rounds. Give a gentle tug before each change, then let it rest.
5. Beanie in the Round
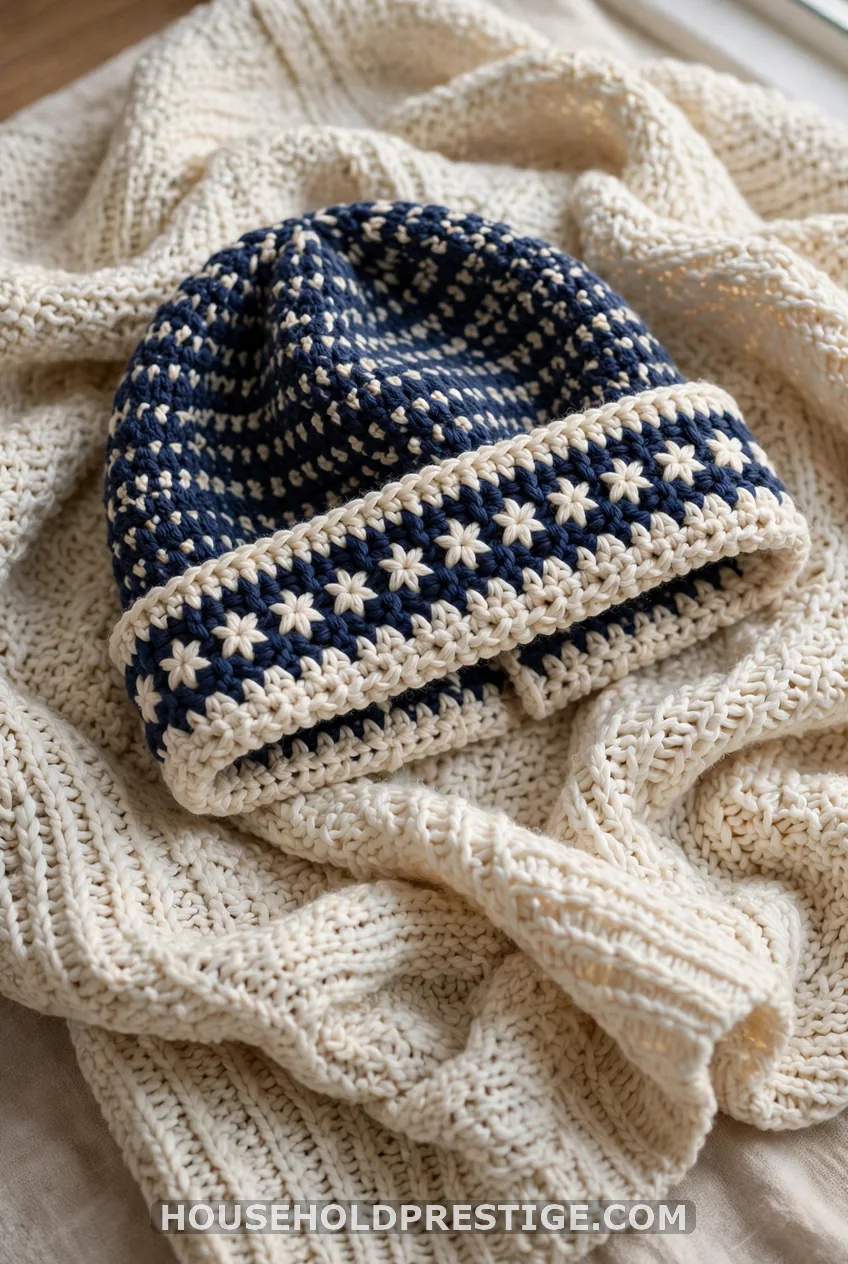
Skill: beginner. Time: 3 to 4 hours. Working in the round hides the floats better than flat rows.
Aim for a band of repeats around the brim and keep the crown plain. Tight gauge makes a stiff hat, so use a hook one size up for the crown shaping.
6. Mochila-Style Shoulder Bag (A Cautionary Tale)
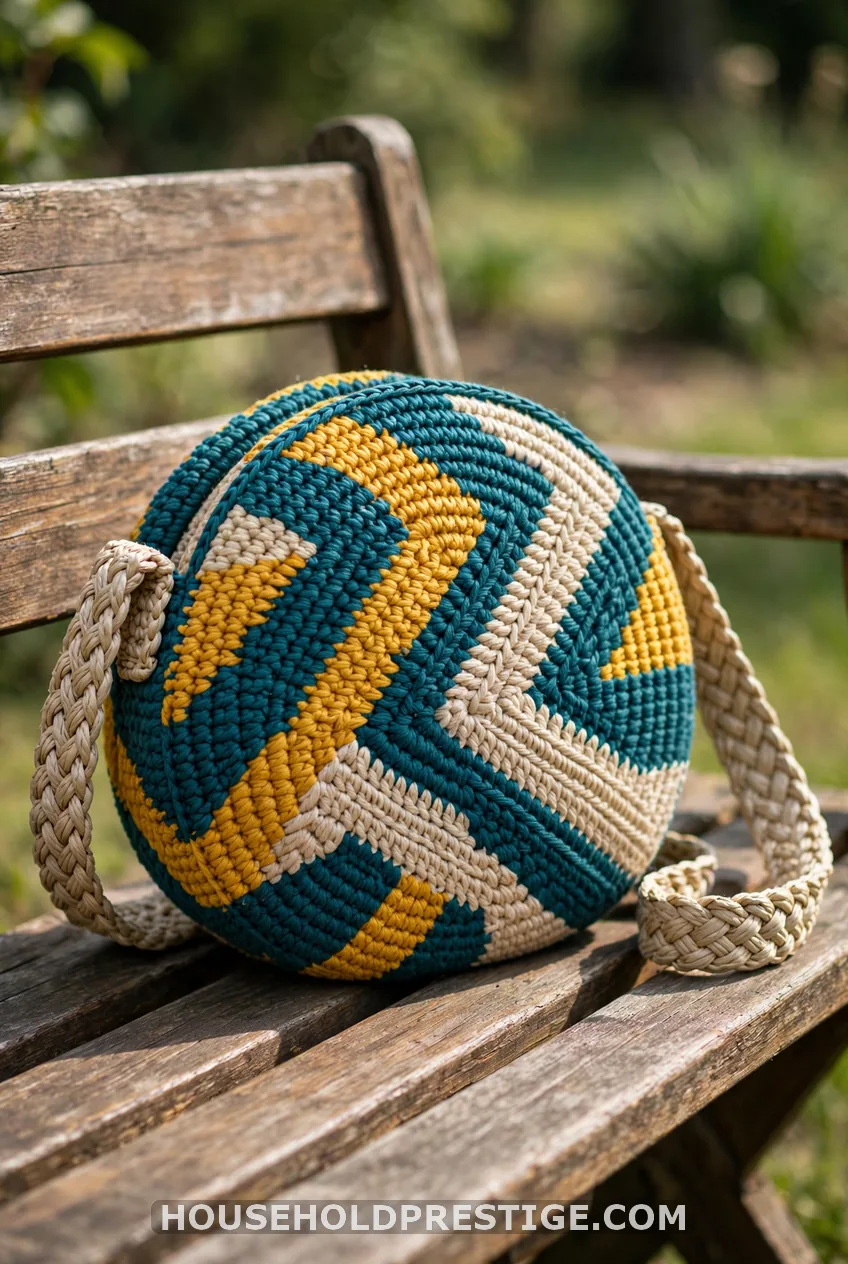
Skill: intermediate. Time: 12 to 15 hours. This is the bag that made the technique famous.
My first attempt was a lesson. I used fuzzy acrylic because it was on sale, and I skipped the swatch. The bag sagged into a sad sack the moment I loaded my wallet.
The pattern was fine. My materials were wrong.
Redo it in tight-gauge cotton, line the inside with fabric, and sew a flat strap rather than a crocheted one. The shape holds, and the colors stay sharp.
Cost reality:
Plan on $25 to $35 for yarn and about $8 for lining fabric.
7. Ocean Wave Tote
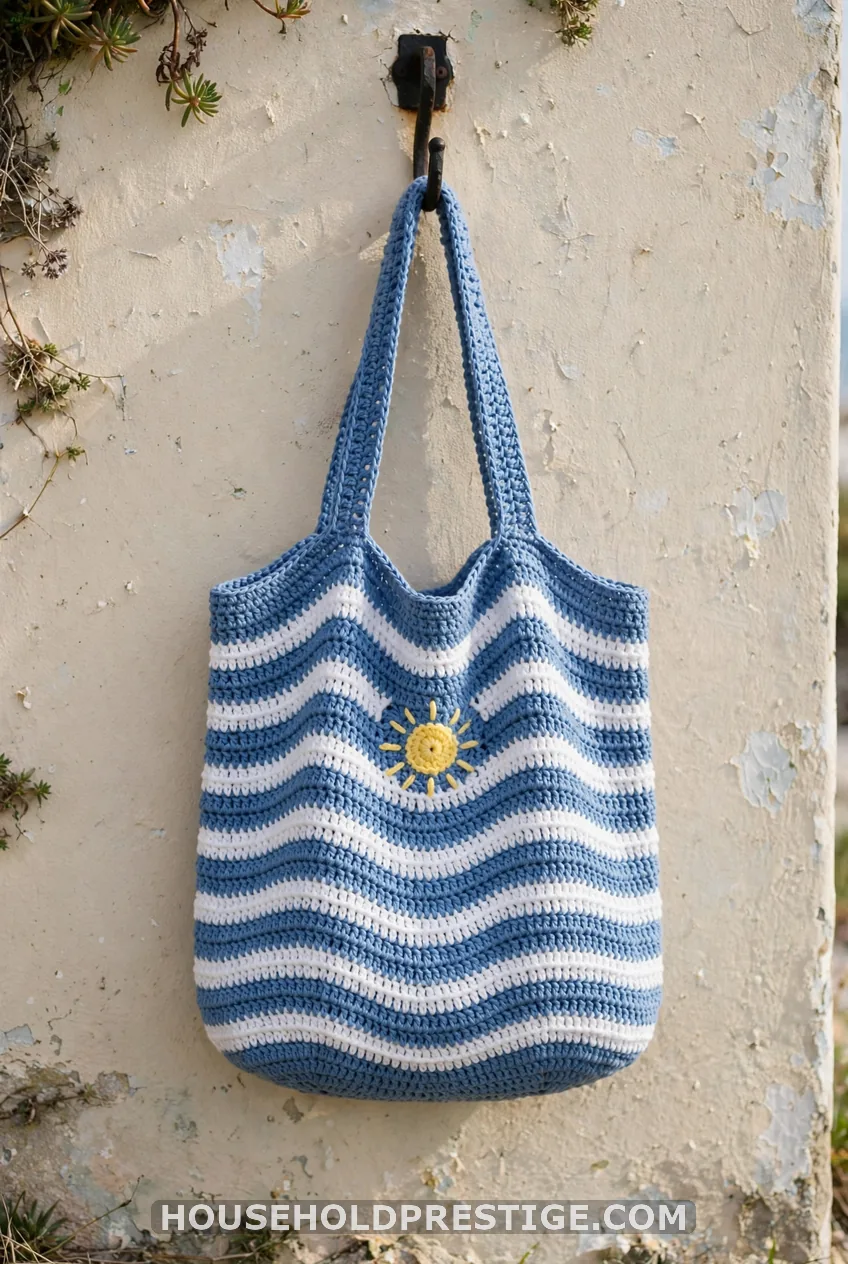
Skill: intermediate. Time: 8 to 10 hours. Waves are a smart chart for learning rhythm. Each repeat is the same curve, so your hands memorize it by the third wave.
Use three blues and a cream. Keep the lightest color as the background. Stop at the end of each chart row and check that the width still matches the row before.
8. Cat, Turtle and Ghost Panels
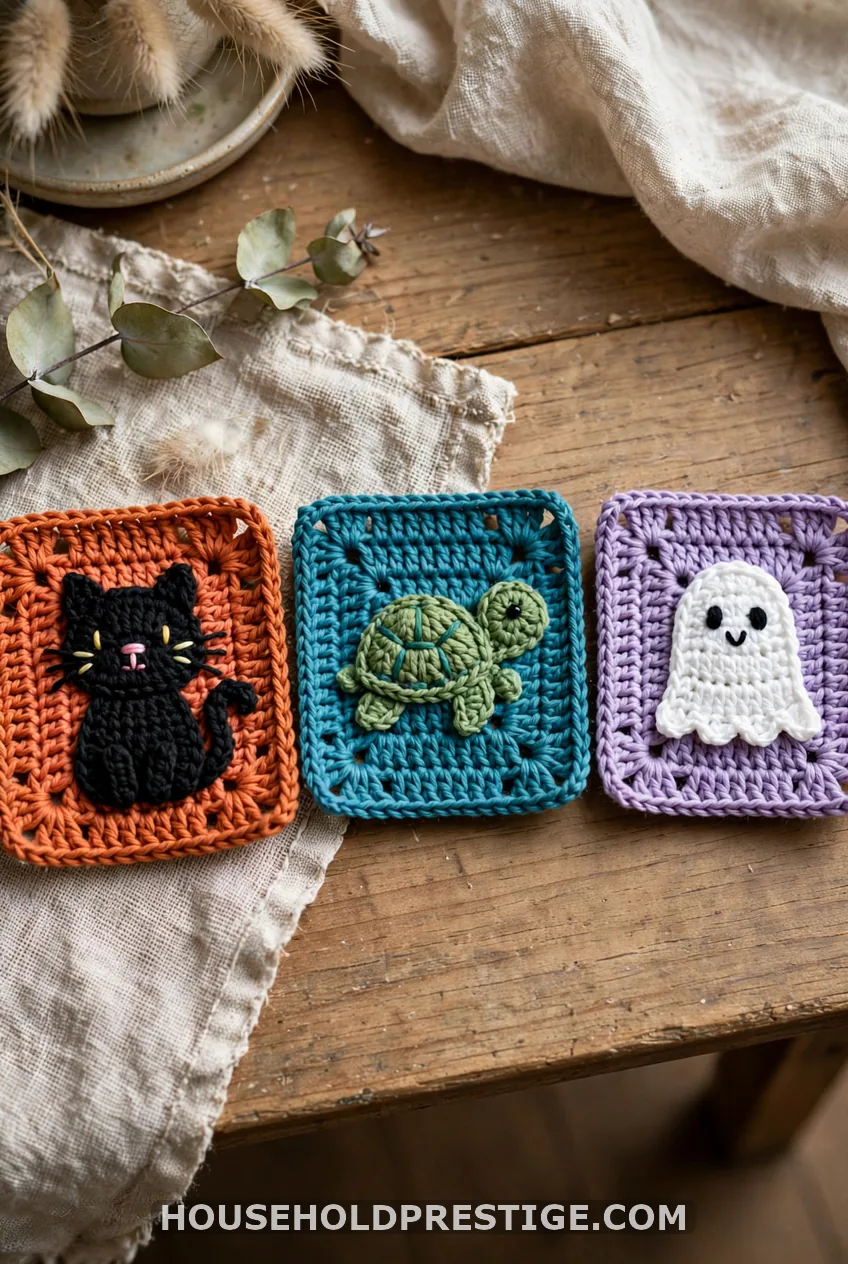
Skill: intermediate. Time: 3 hours per panel. These are the motifs everybody wants.
Work one panel as a bag front or a framed piece. A black cat on cream is the sharpest contrast and easiest to read.
9. Circular Pillow
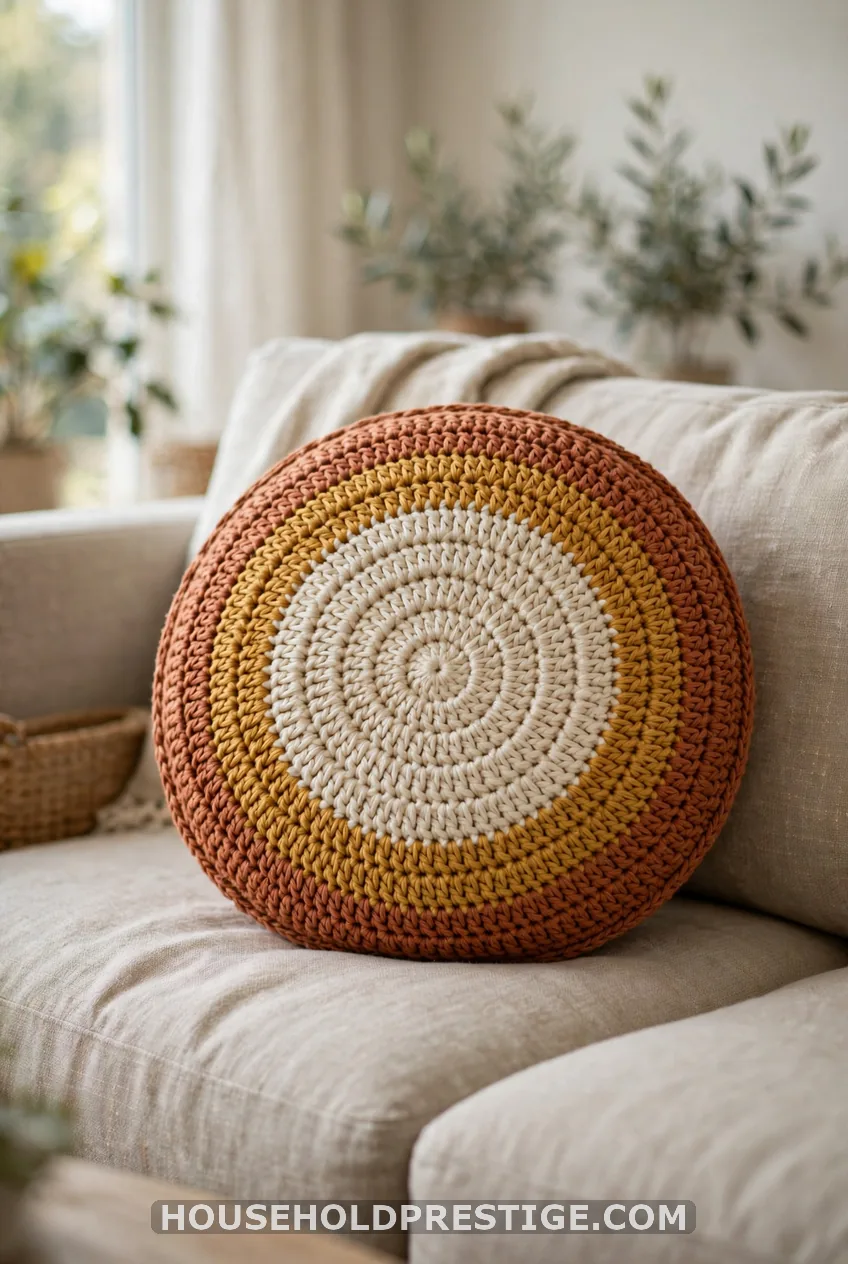
Skill: intermediate. Time: 10 to 12 hours. Circular charts grow outward from a magic ring. Each round adds stitches, so the carried yarn has to follow the increases.
If your circle goes lopsided, check that your increases line up in the same spots every round. Mark them. Block the finished circle flat with pins, and let it dry fully before you stuff it.
Budget note:
A 16-inch pillow insert costs about $10, and cotton for the cover runs $15 to $20.
10. Pixel-Chart Blanket and Pillow Set (A Myth to Bust)
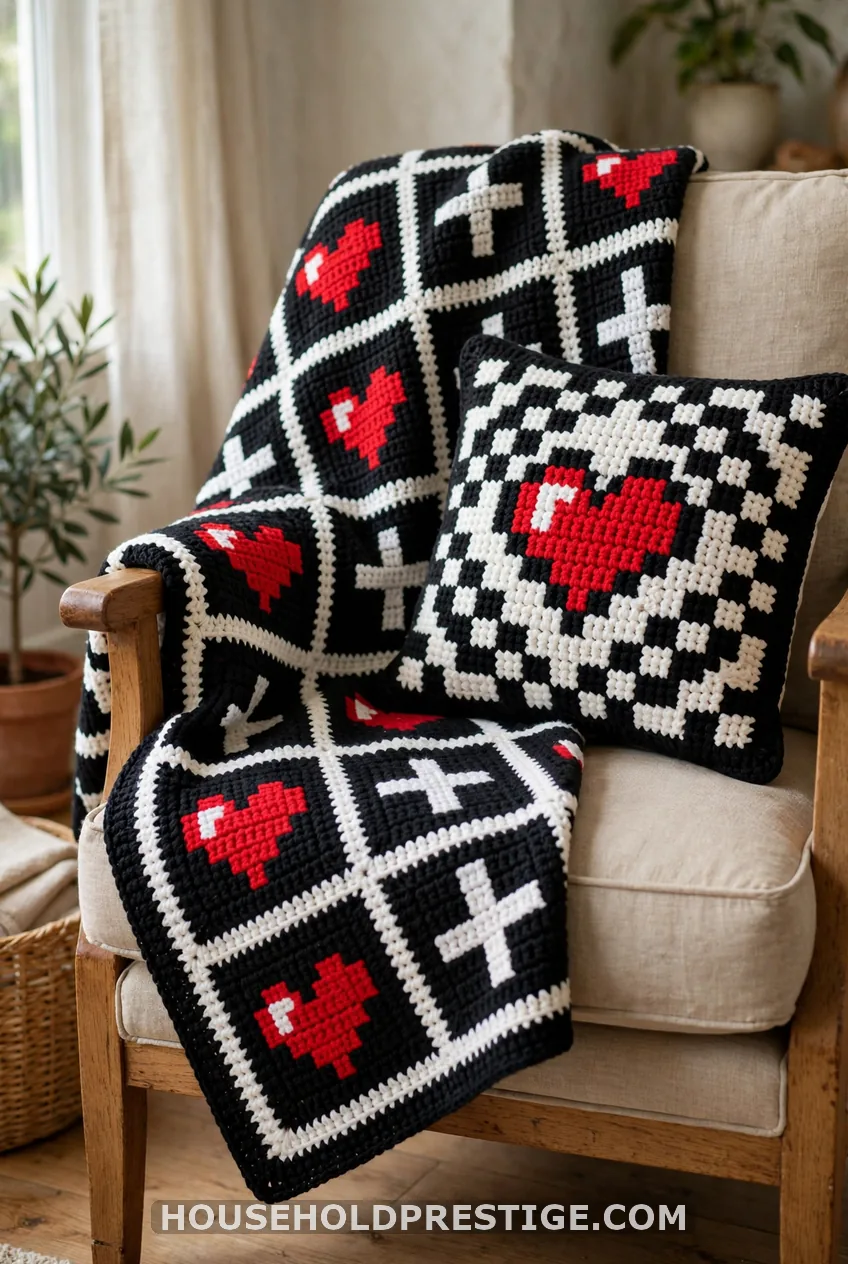
What most people think: any pixel chart from a C2C pattern works for tapestry crochet.
Reality: C2C works diagonally in blocks, and tapestry works in straight rows of single crochet. A 36-square C2C chart will not look the same if you stitch it row by row. The picture will skew.
The fix is simple. Grab a chart labeled for tapestry, or redraw the pixel image on graph paper as stitches by rows. Then swatch.
Skill: advanced. Time: 25 to 40 hours for a throw.
11. Modern Geometric Throw
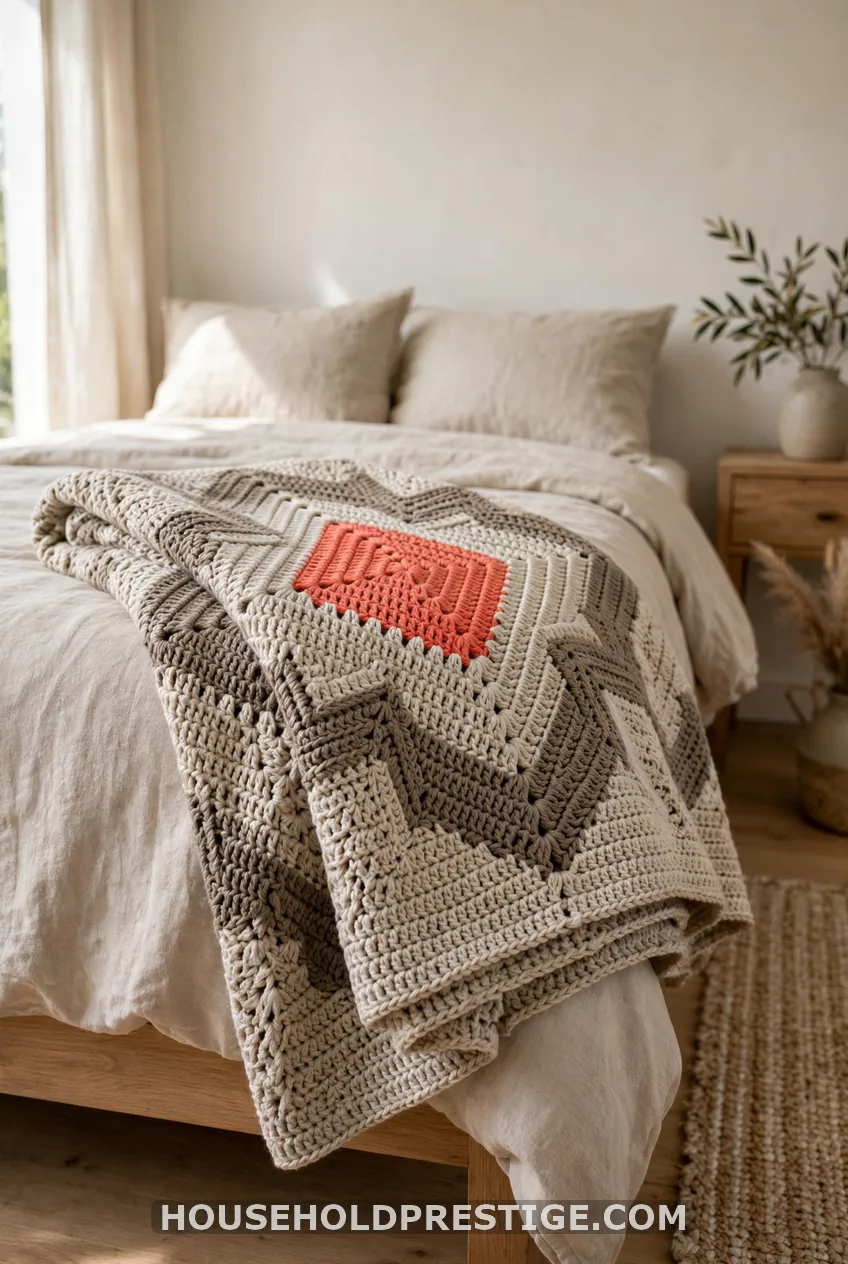
Skill: advanced. Time: 30 to 50 hours. Two neutrals plus one pop color looks modern in almost any room. Make the pop color small, because it costs you the most work per inch.
Work in panels and join them so the project stays portable. Block each panel flat before you sew.
Cost reality:
Budget $60 to $90 for yarn. Buy the accent color last, and only as much as the chart needs.
The Colorwork Fixes That Save Ugly Work
Most beginner problems come down to a few habits:
- Change color on the last yarn-over of the final stitch in the old color.
- Crochet over the unused strand on every stitch.
- In flat work, hold the unused yarn in front on wrong-side rows and behind on right-side rows.
- Keep tension tight but not puckered.
- Keep the carry along the side edge loose so the work doesn’t narrow.
- Weave in ends on the wrong side only.
Yarn Math and Time
Divide the chart’s row count by your rows per inch to get the finished height. A 60-row chart at 5 rows per inch gives you 12 inches.
For yarn, estimate the visible stitches of each color and add roughly 10 to 15 percent for the hidden carries. A pillow front needs a full skein of the accent. A small motif needs scraps.
Left-handed makers can flip a chart horizontally. Do it for letters, cats and arrows, or the image comes out mirrored.
Skip the Big Project First
Everyone says to start with a bag, since bags are what you saw online. I disagree. Start with coasters, even if they feel boring.
A bag is 10 hours of work built on a skill you haven’t practiced. A coaster is 40 minutes. Make three, and you’ll know your tension better than any tutorial can teach you.
Frequently Asked Questions
Is tapestry crochet good for beginners?
Yes, if you already single crochet comfortably. The only new skills are carrying a second yarn and changing color on the last yarn-over. Start with a coaster in smooth worsted cotton.
What’s the difference between tapestry crochet and mosaic crochet?
Tapestry carries the unused color inside each stitch, so both sides show solid colorwork. Mosaic drops and picks up colors between rows and leaves visible vertical lines. Their charts don’t swap.
Can I use a cross-stitch pattern for tapestry crochet?
Usually yes. One square equals one stitch, and one chart row equals one crochet row. Swatch your gauge first, because a large chart at a tight gauge can grow into a rug.
Why can I see the other color through my stitches?
Your tension is too loose or your hook is too big. Size down half a millimeter and crochet over the carried strand on every stitch. Give a gentle tug before each change, but never so hard the piece narrows.
Can you do tapestry crochet flat instead of in the round?
Yes. Hold the unused yarn in front on wrong-side rows and behind on right-side rows. That keeps floats off the front of the work.