

My first wallpaper backsplash lasted eleven weeks. I stuck a gorgeous floral behind my stove, felt very proud, and then watched the bottom corner curl like a potato chip after one pot of boiling pasta. That was my wallpaper backsplash kitchen lesson: the pattern matters, but the placement matters more.
Below are 23 ideas, from faux marble to Delft blue to bold terracotta. You will also get the honest part. Which spots hold up, how to seal edges, how much paper you will waste, and when to use a glass guard instead.
1. Marble Slab Peel-and-Stick
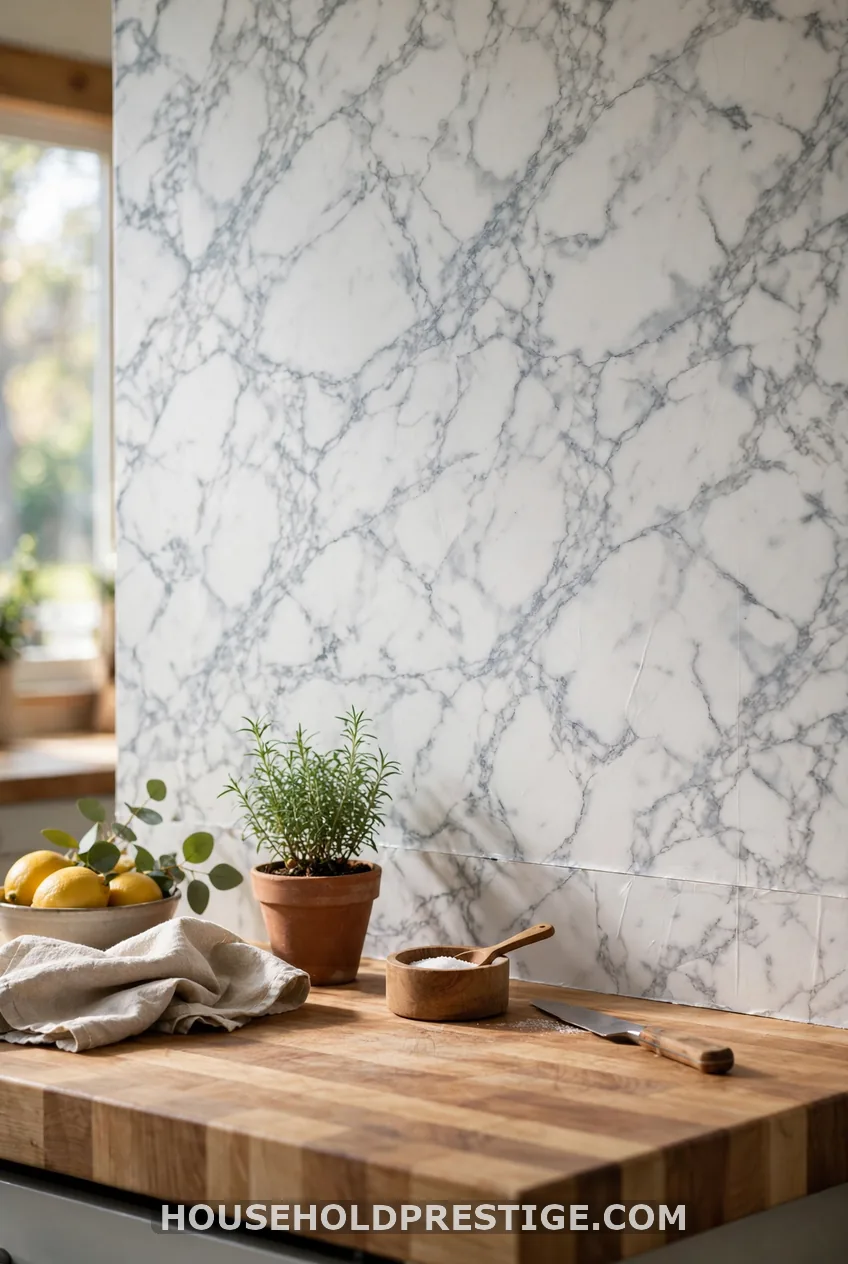
Marble-look paper is the easiest way to make a rental kitchen look pricier. Tempaper’s Marble Slab style is a common pick. Choose a large veining pattern and keep the seams in one spot, ideally behind a plant or canister.
2. Book-Matched Marble
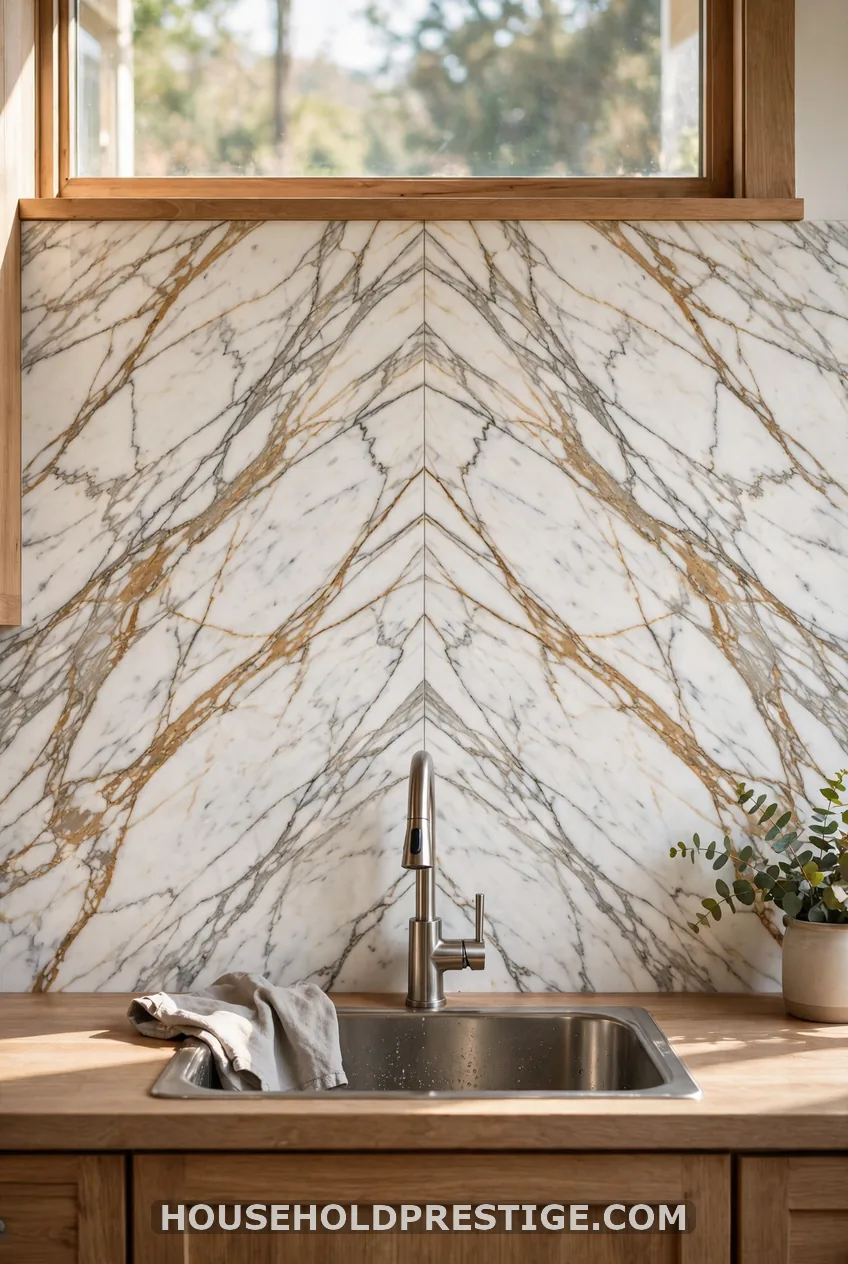
Book-matched paper mirrors the veining across a center line, like two halves of a real stone slab. It looks best on a short, wide backsplash. Plan for one panel width and place the mirror line above the faucet.
3. Travertine Look
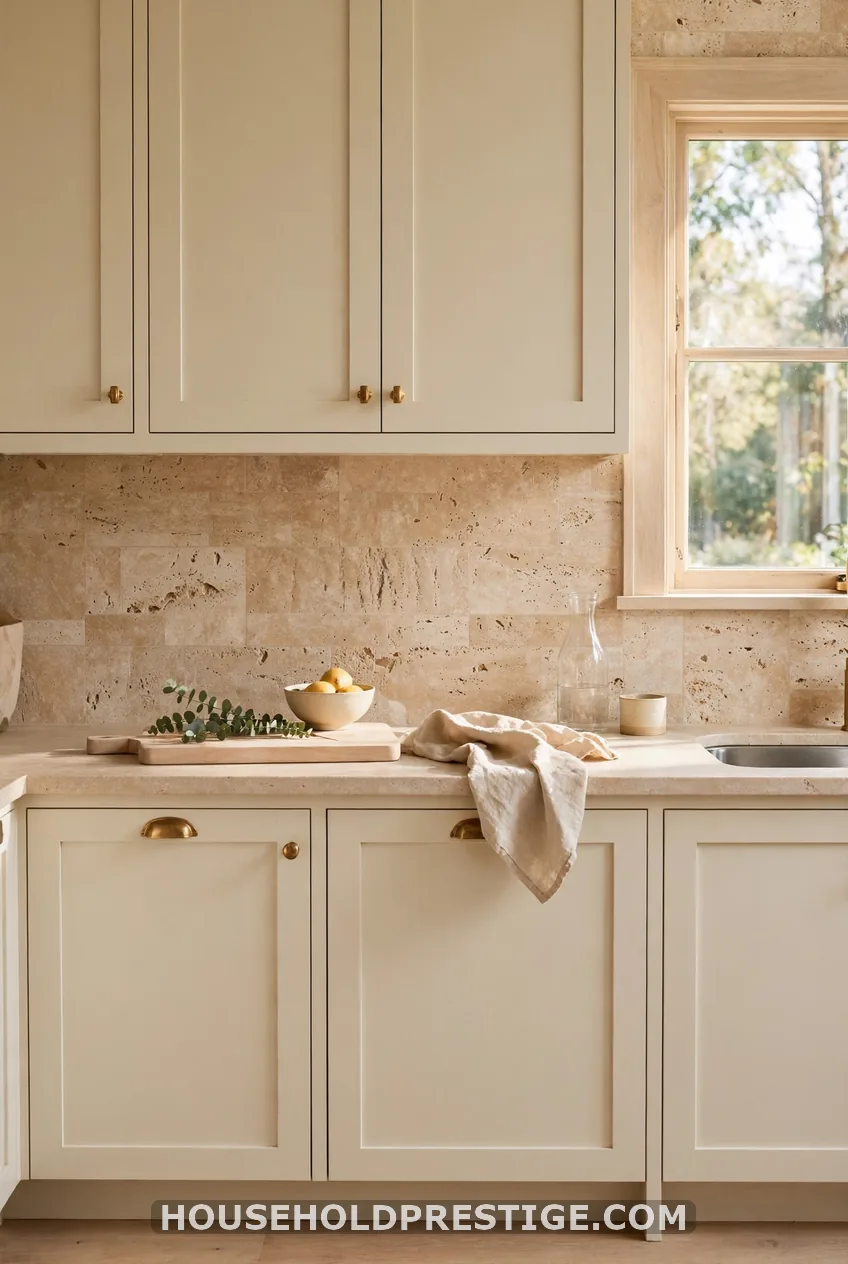
Travertine paper has soft, creamy stripes and pitted texture. It suits warm kitchens with wood or cream cabinets. Pick a matte finish so it does not look like plastic.
4. Classic White Subway Tile Paper
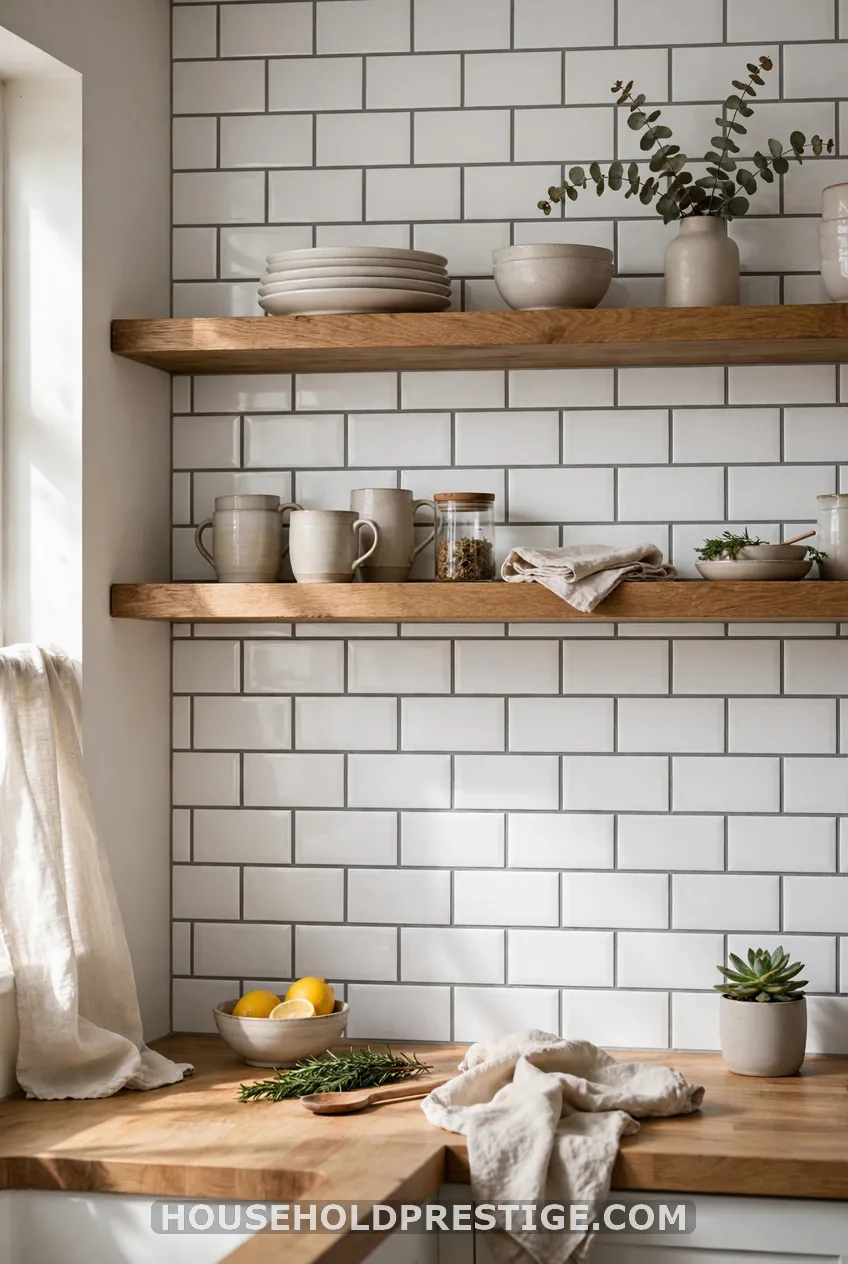
Subway-look paper is the safest choice. The pattern repeats every few inches, so you line up grout lines instead of matching a big design. Waste drops sharply, and mistakes hide easily.
5. Faux Tile With Shaded Grout Lines
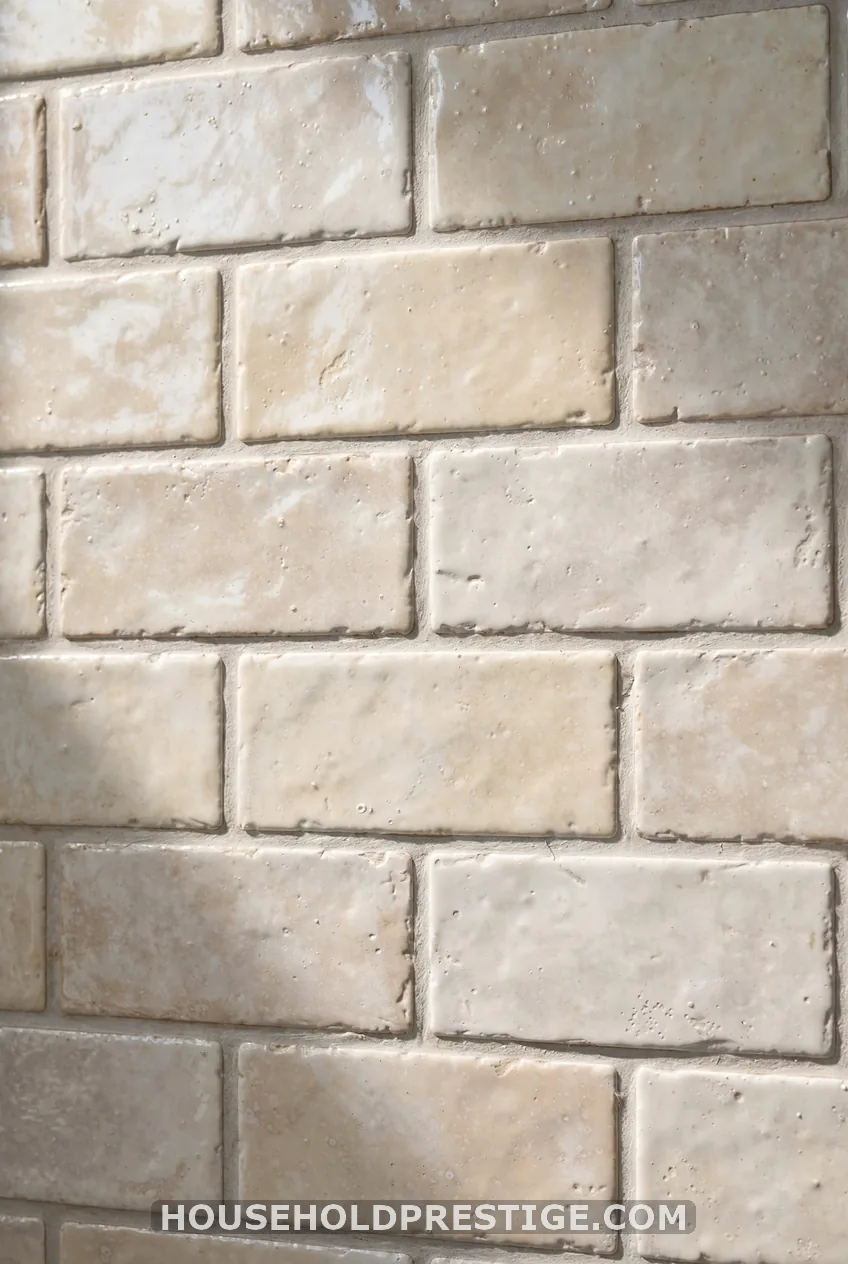
Look at the grout lines up close before you buy. Good faux tile has shadowed grout and uneven glaze. Cheap versions print flat grey lines and look like a sticker. Order a sample and hold it at counter height.
6. Why a 6-Inch Repeat Wins
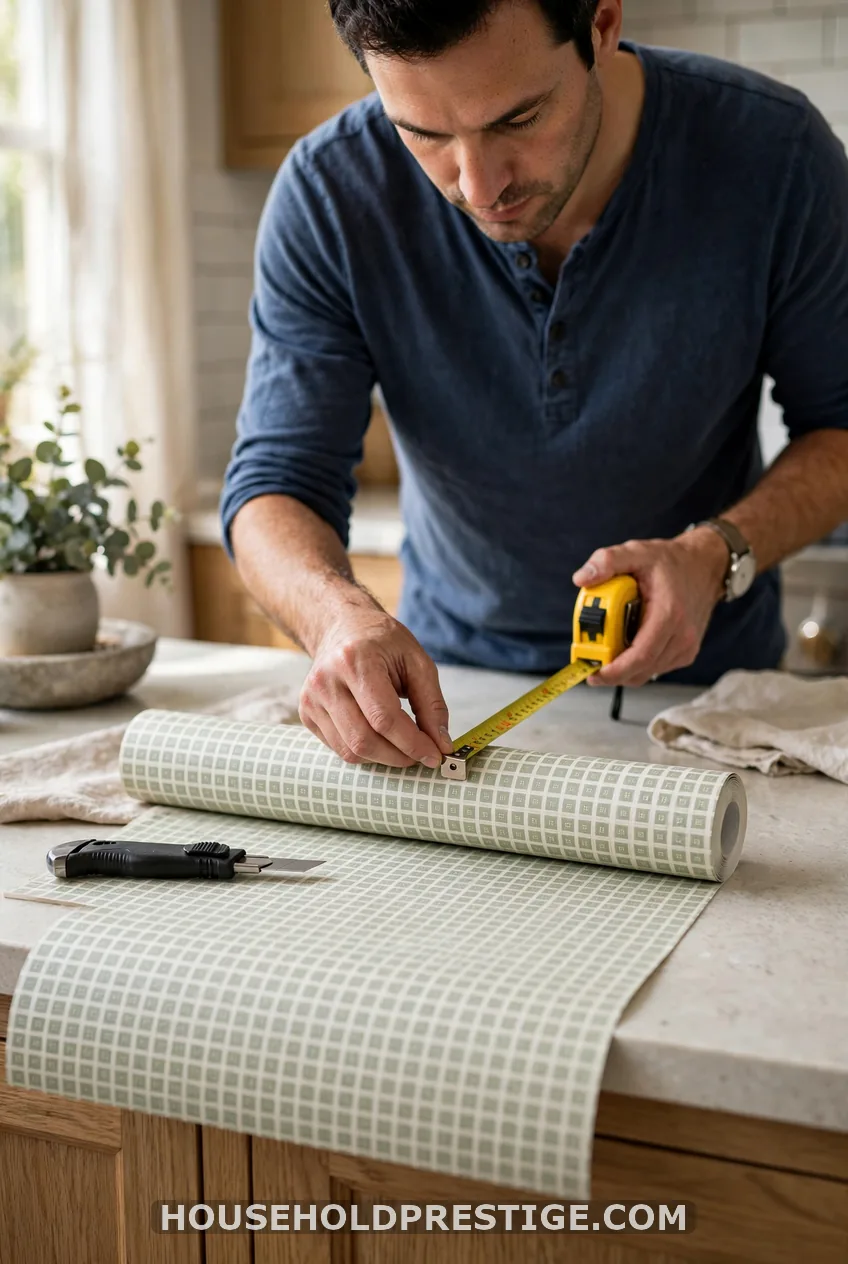
A typical backsplash is about 18 inches tall and 10 feet wide. That is only 15 square feet. A roll of 20 square feet covers it only if the pattern repeat is short.
Here is the waste math. A 25-inch repeat can force you to cut off up to 25 inches per strip. A 6-inch repeat wastes at most 6. On a small backsplash, that gap decides whether one roll is enough or you need two.
Mistake to avoid: buying exactly the square footage you measured. Add 15 to 20 percent for large repeats, and about 10 percent for small ones.
7. Small-Scale Floral for Cottage Kitchens
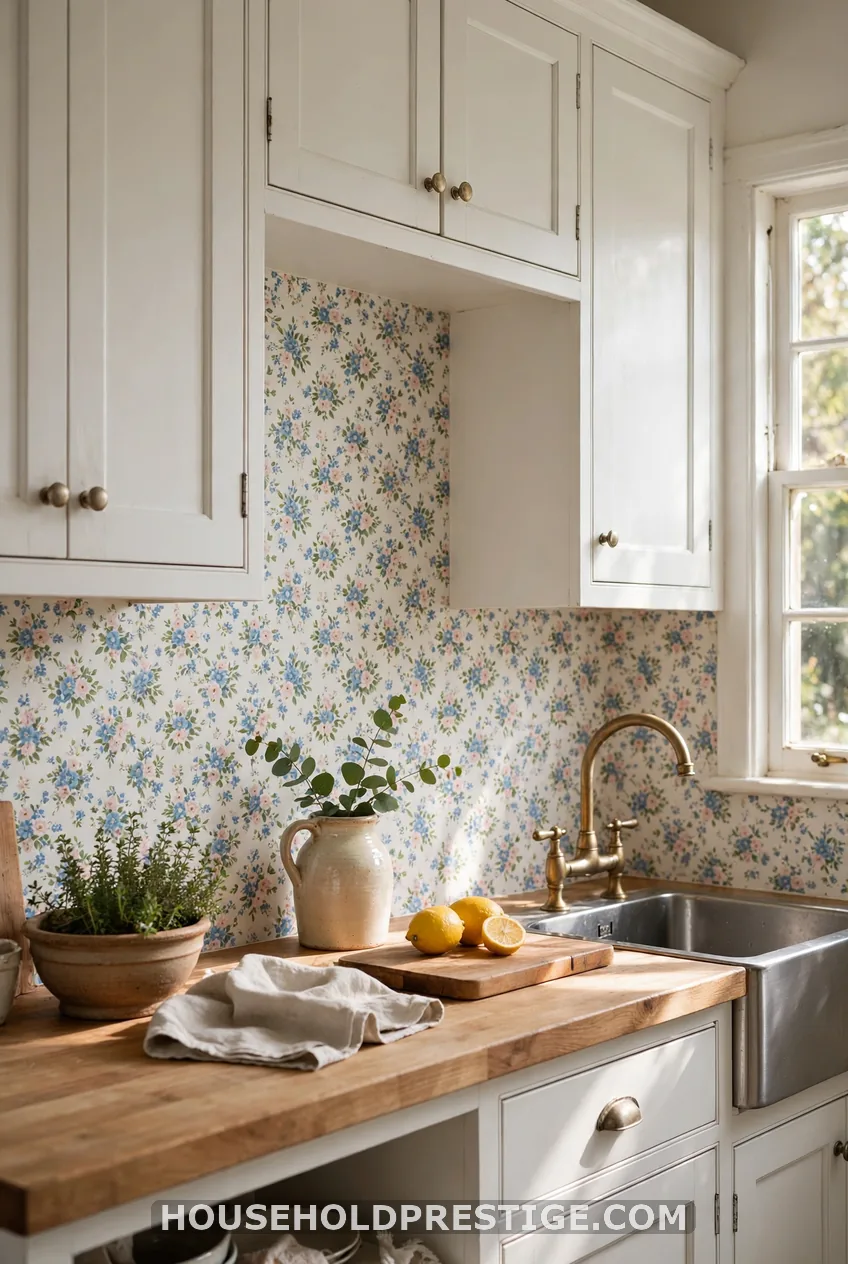
Tiny blooms read as texture, not noise. They love white shaker cabinets and a farmhouse sink. This is a great first project because small prints forgive crooked cuts.
8. Bold Daisy Bennett-Style Floral
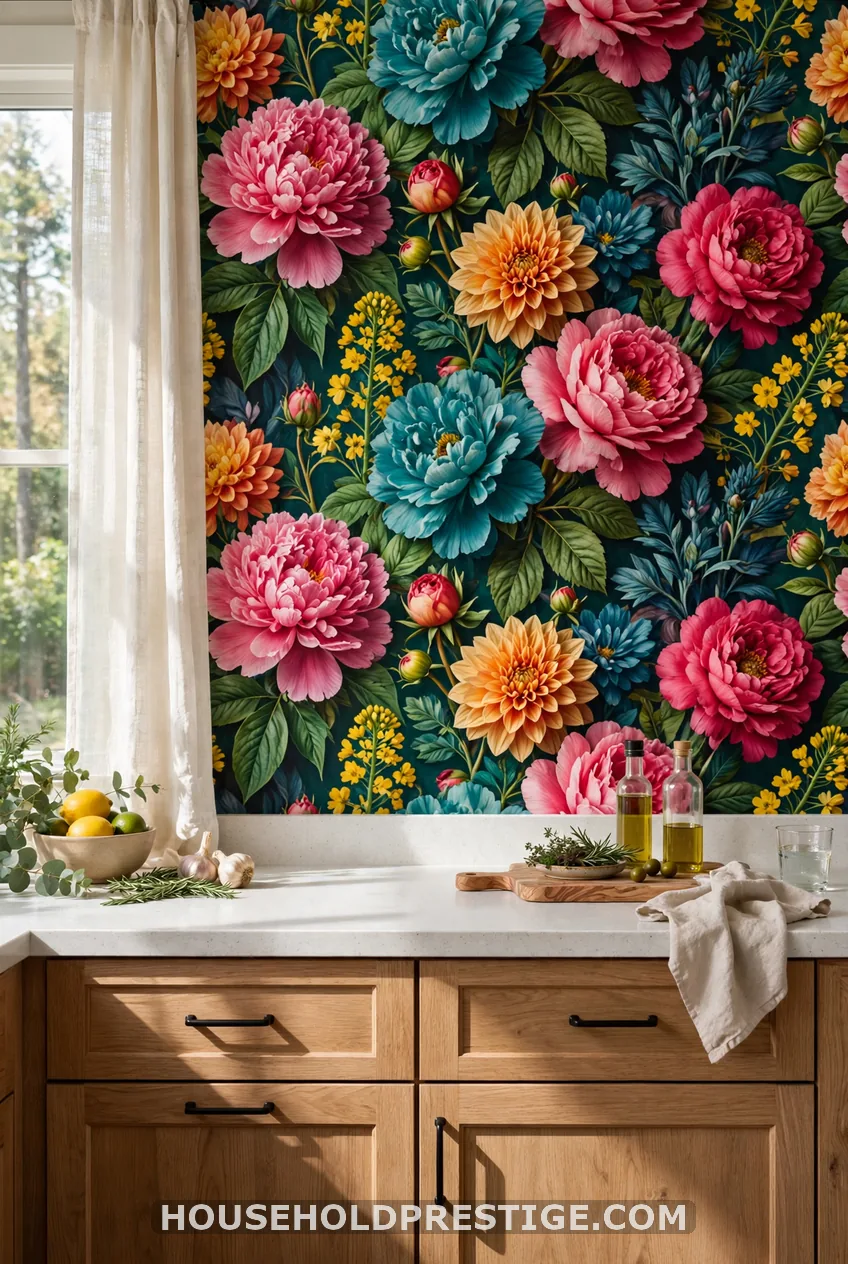
Big florals, like the ones from designer Daisy Bennett for NextWall, make a statement. Keep the counters plain. Let the paper be the only loud thing in the room.
9. Floral in a Narrow Galley
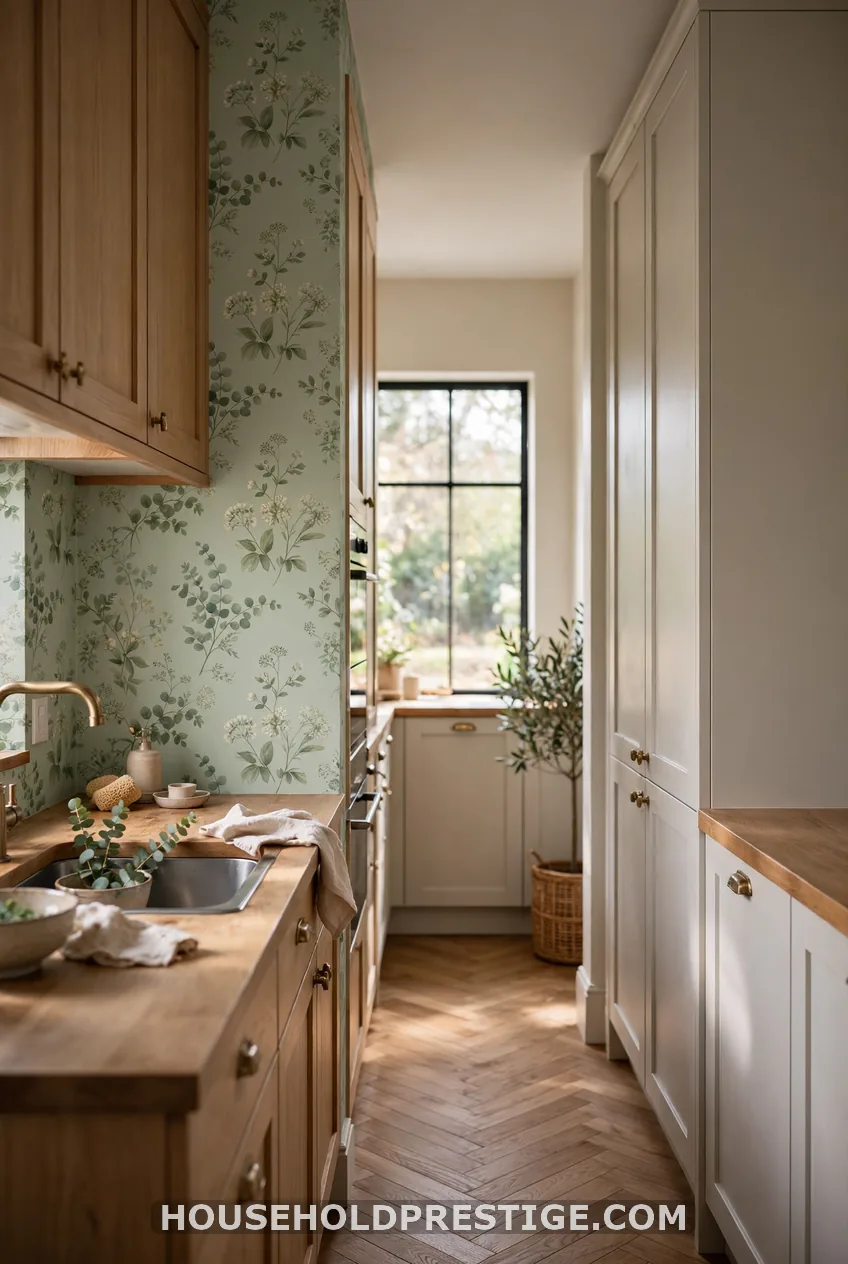
Busy pattern plus tight walls can feel like a hug from a stranger. Use a low-contrast floral, such as sage on cream. Paper only one side, and keep the other plain.
10. Floral With Wood Cabinets
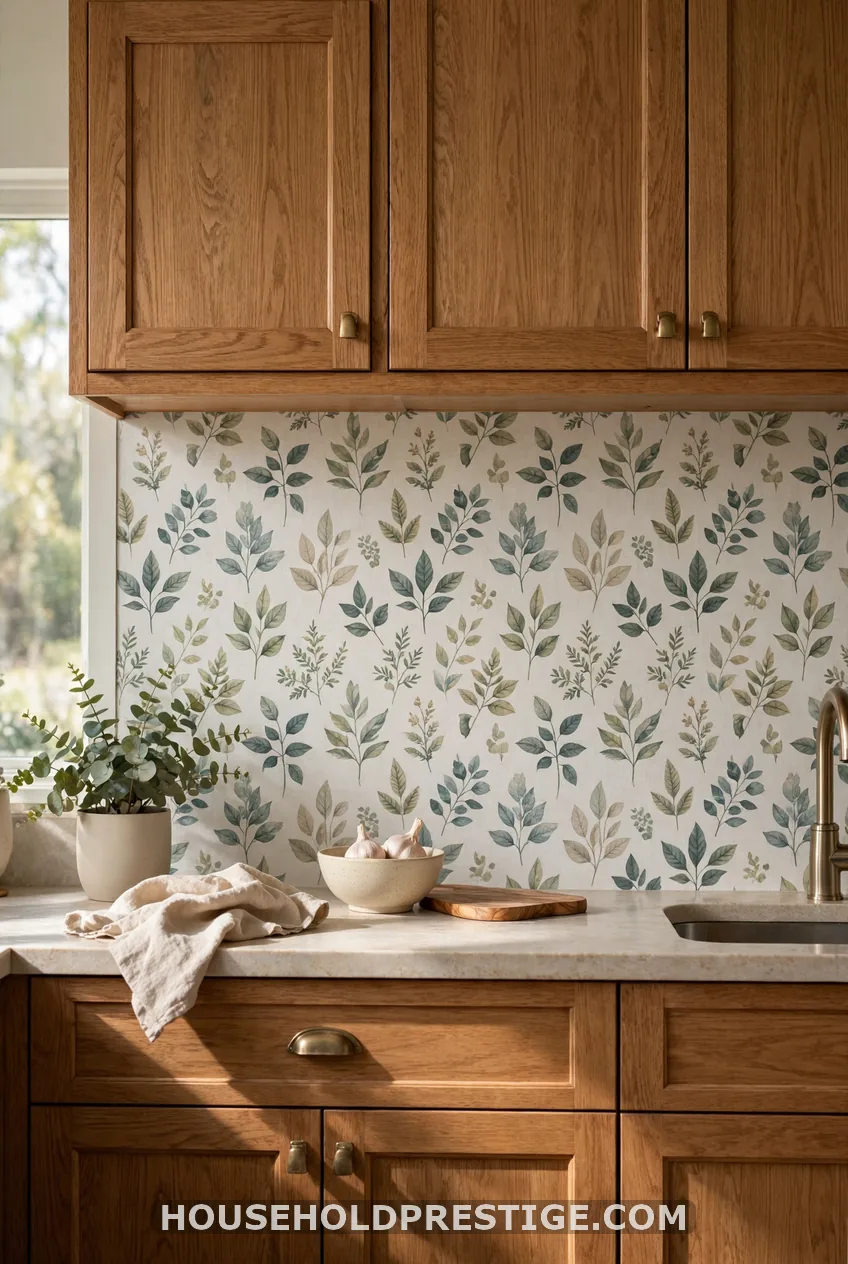
Oak and walnut cabinets already carry a lot of warmth. Pick a floral with a cream or soft green background. Avoid orange-heavy prints, which fight with the wood.
11. Moroccan Tile Print
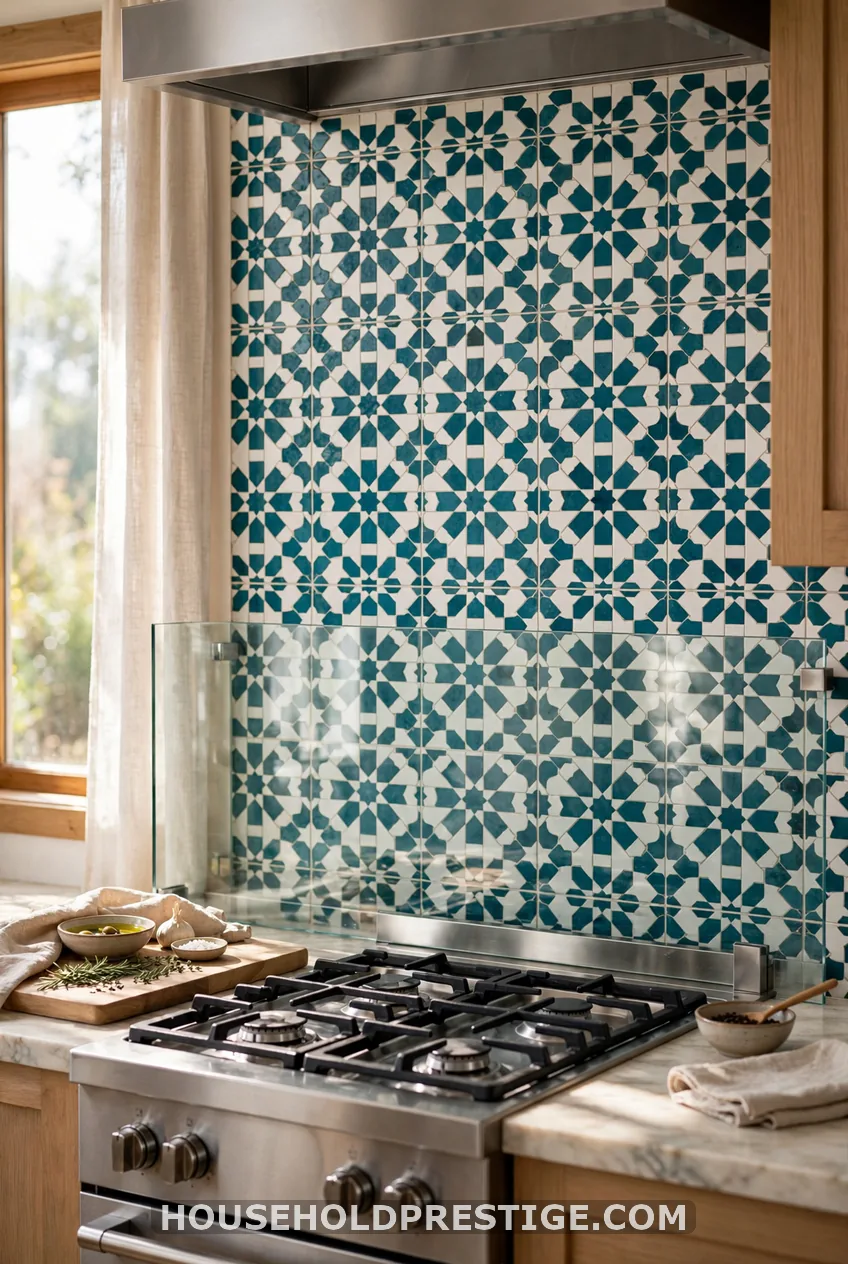
Prints like Ornate Medallion and Soliel copy the look of Moroccan and Portuguese tile. Each “tile” should be roughly 4 to 8 inches wide. Smaller tiles look more convincing at backsplash height than giant medallions.
12. Delft Blue and White
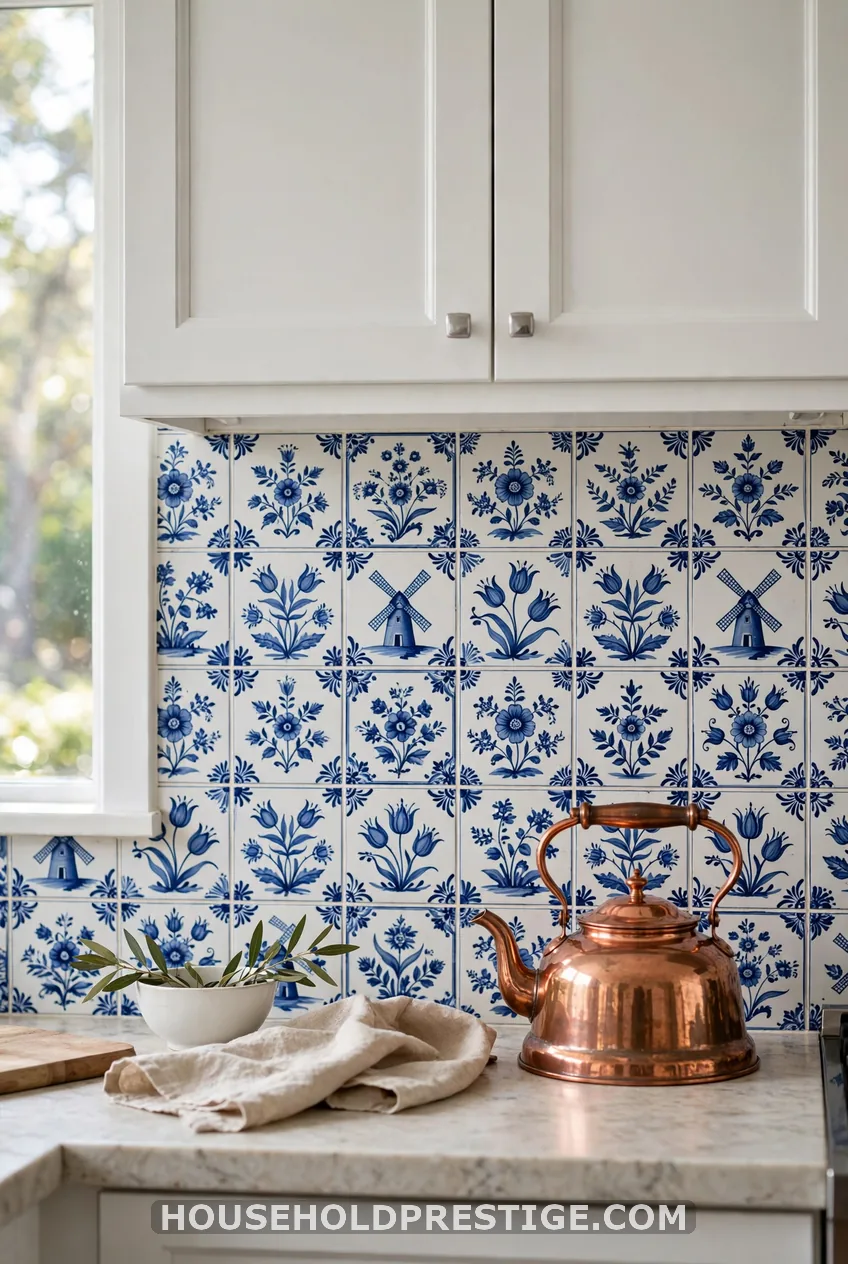
Delft blue is a classic for a reason. It works in country, coastal, and traditional kitchens. White cabinets and brass or copper accents finish the look.
13. Checkerboard
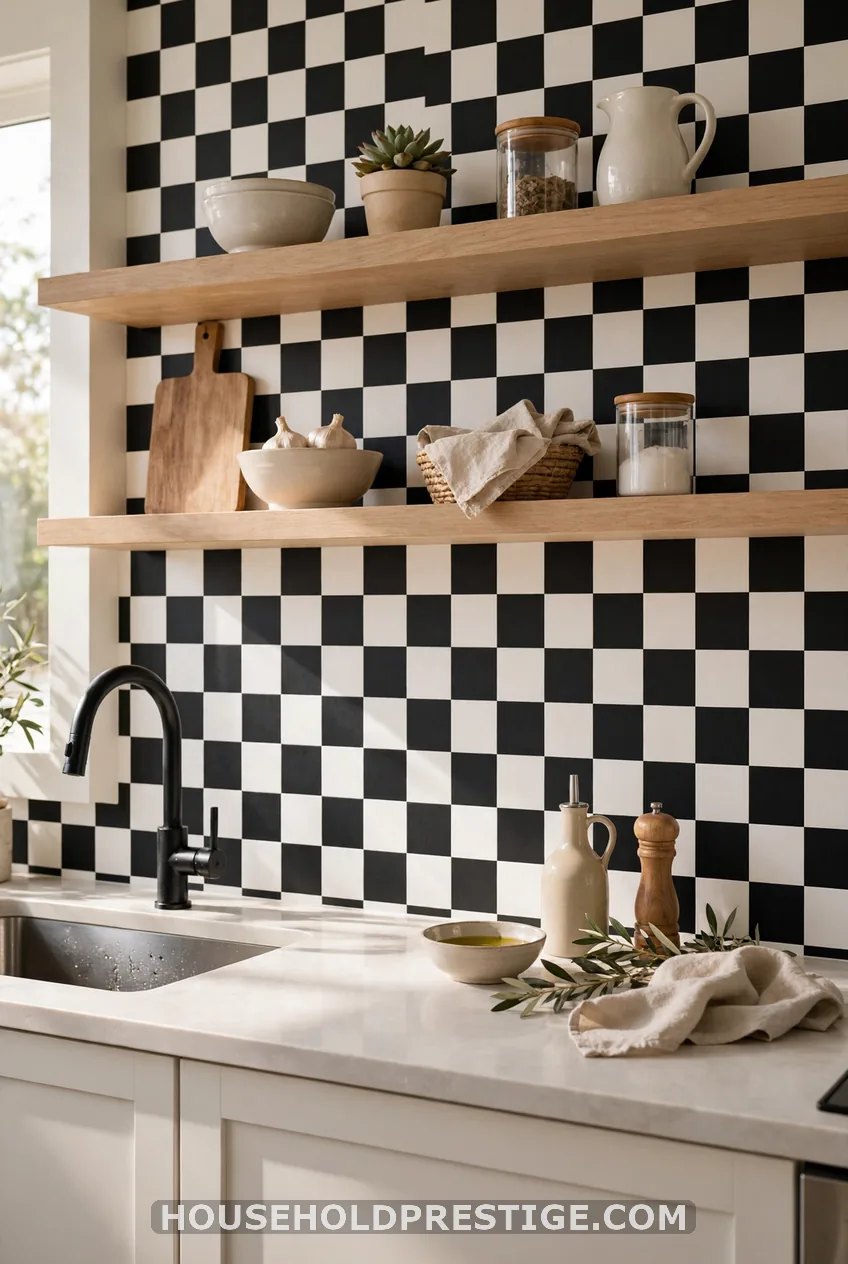
Checks are graphic and fun. Because the squares are even, you can align them to the countertop edge with a level. Choose 2-inch or 3-inch squares so the pattern does not feel like a chess board.
14. Terrazzo
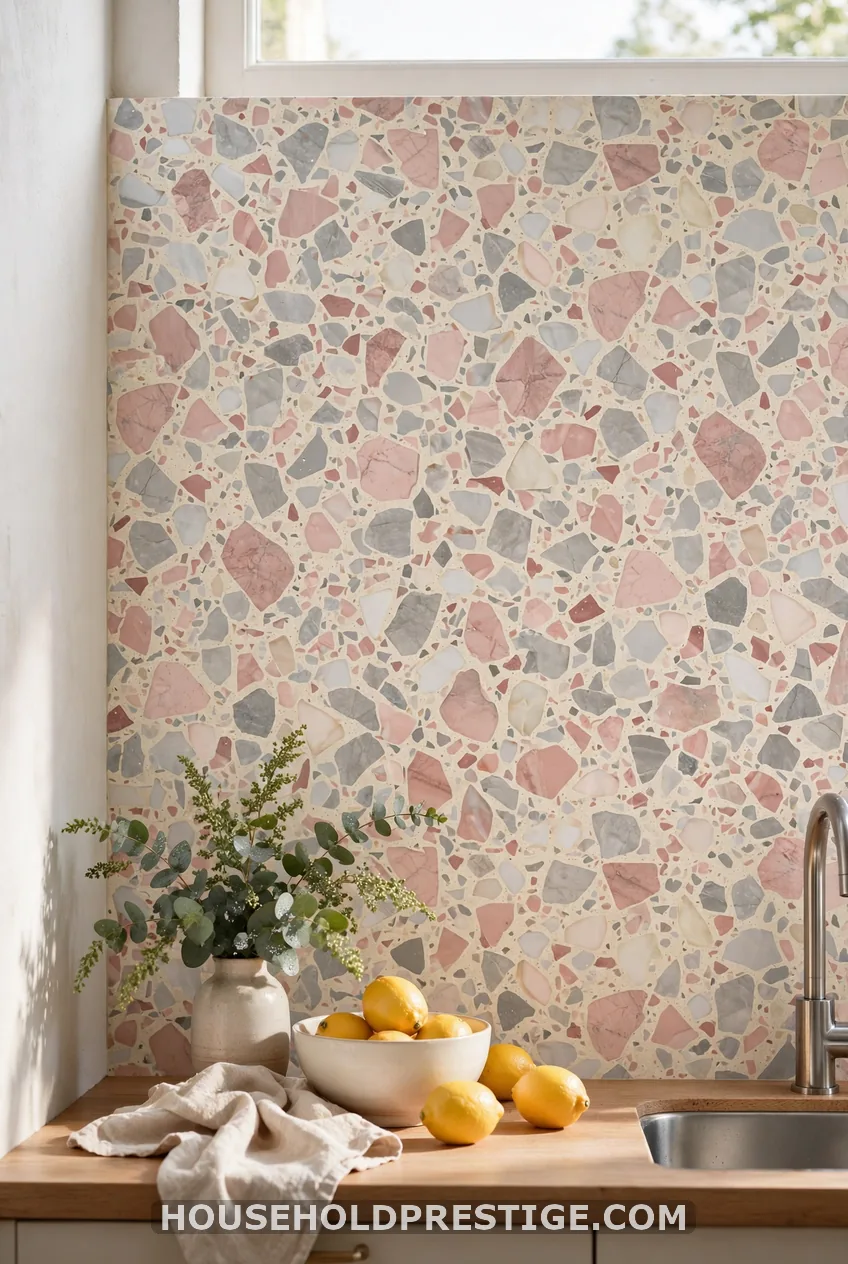
Terrazzo is forgiving because the chips are random. No matching needed, so almost no waste. It also hides splashes and fingerprints well.
15. Faux Brick
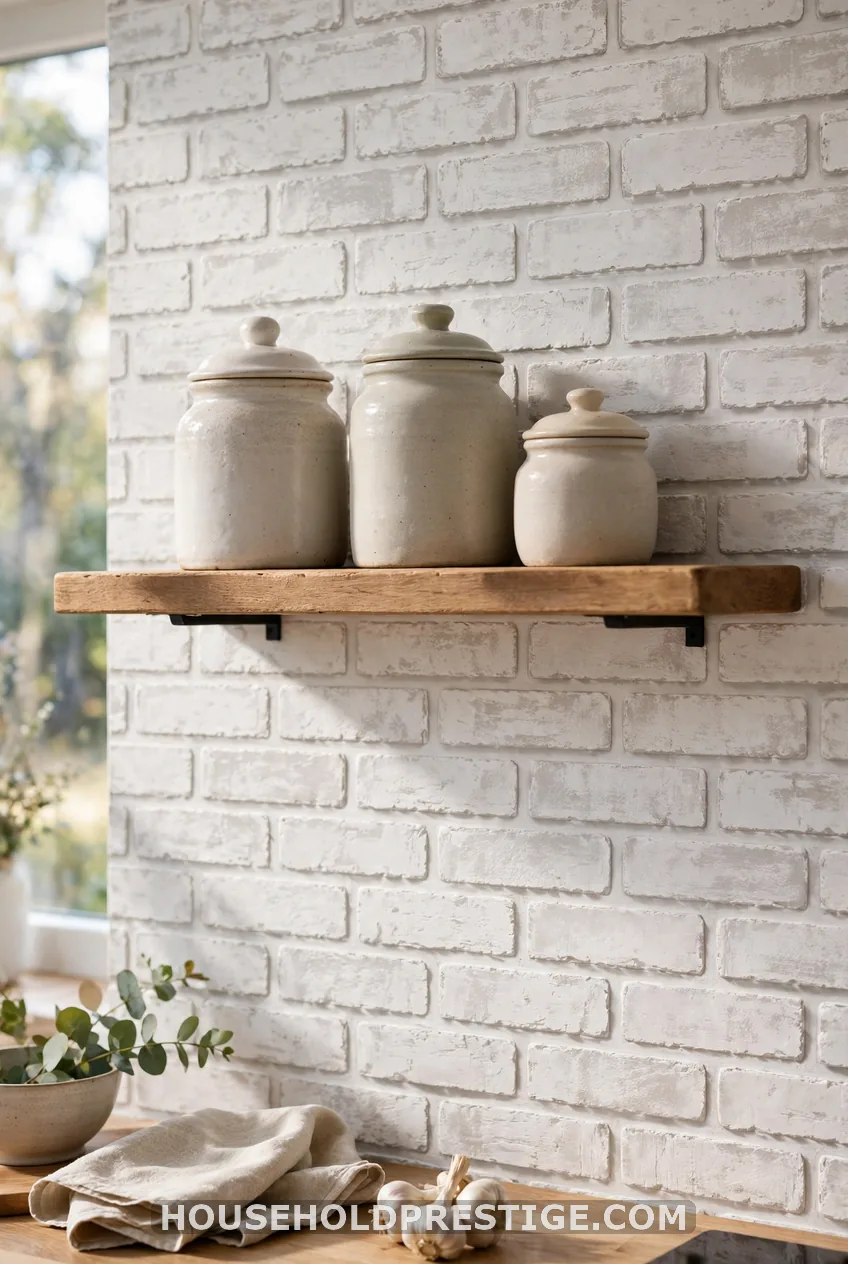
Brick looks great in a rental with no character. Painted white brick feels airy. Red brick feels cozy, but it can darken a small kitchen.
16. Shiplap and Beadboard
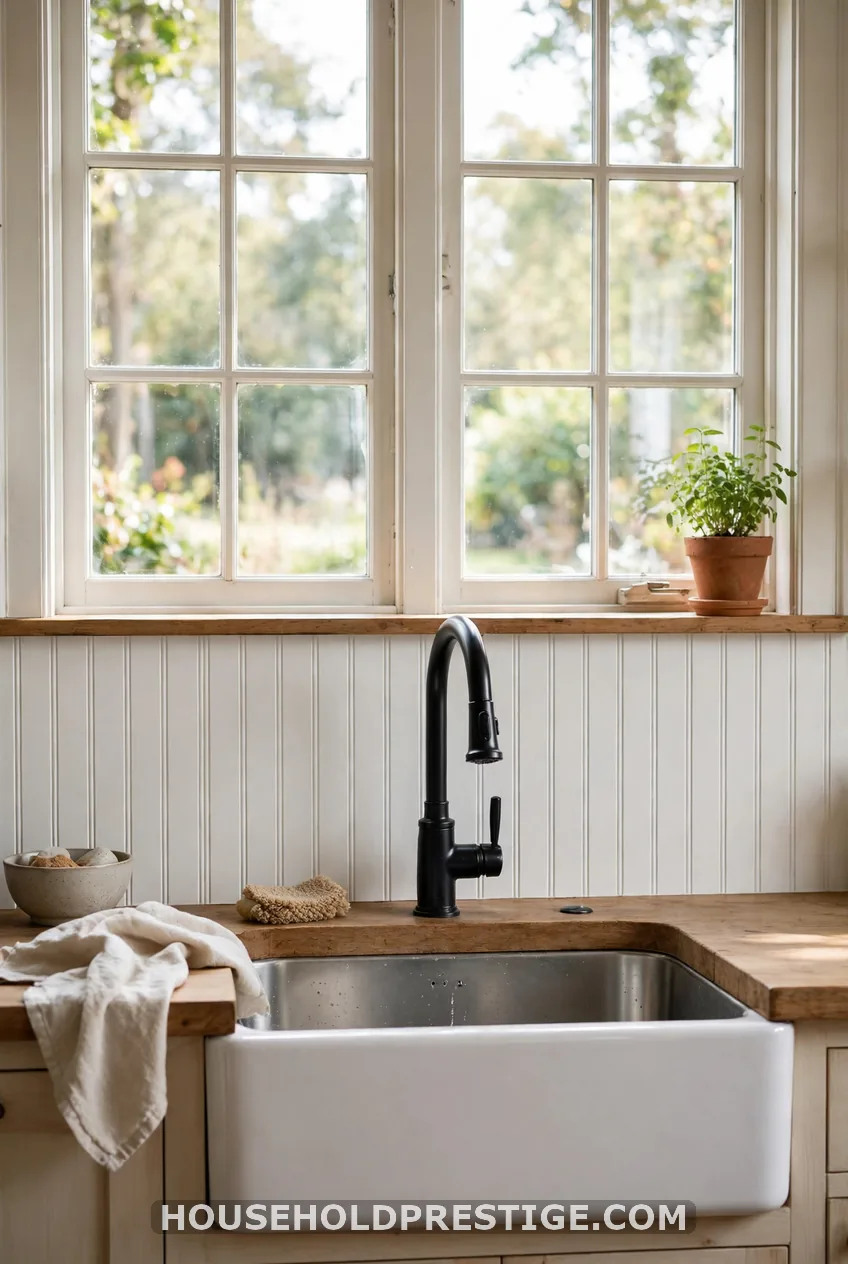
Beadboard paper gives a cottage look for a fraction of the cost of real panels. Run the lines vertically. Shiplap paper works best on the horizontal.
17. Reeded Wood and Wood Planks
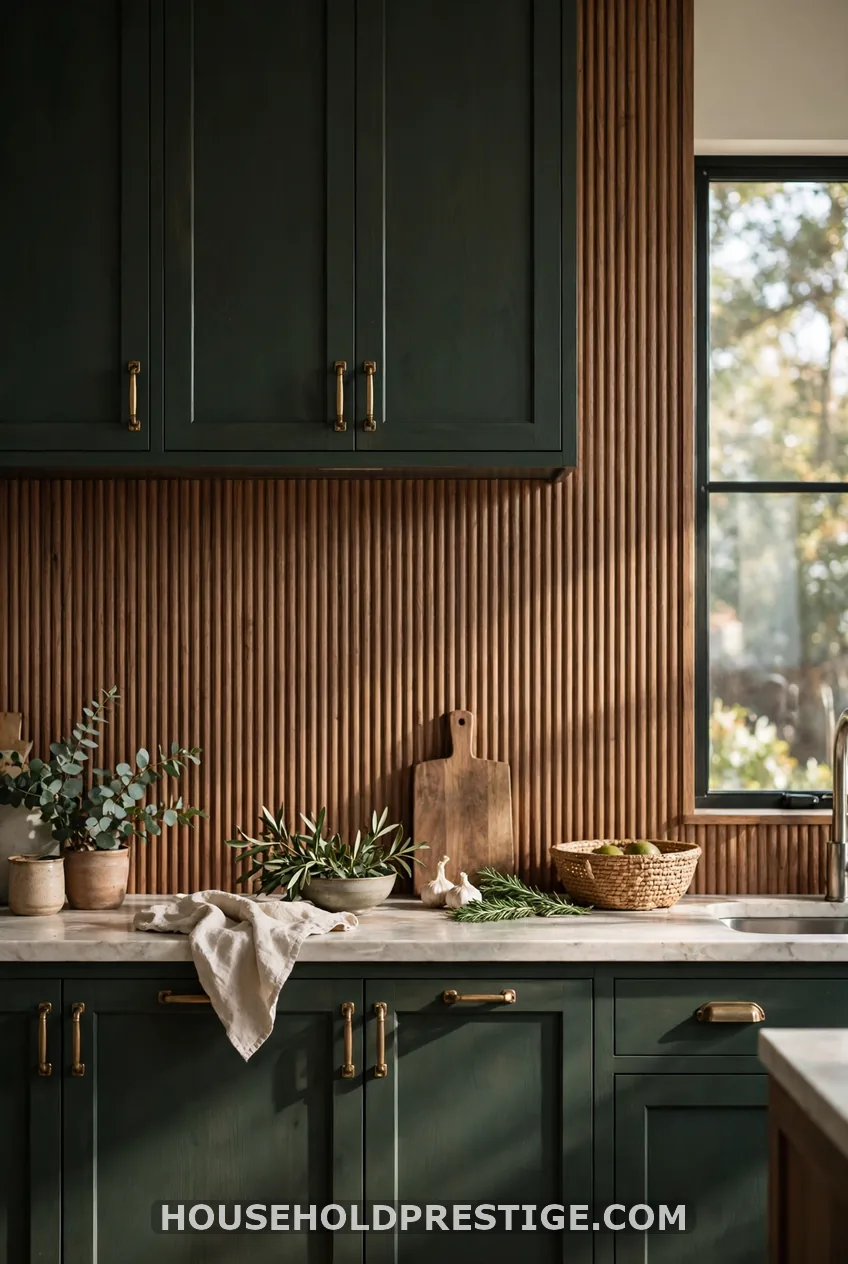
Reeded wood and plank prints add warmth next to dark cabinets. Navy and forest green cabinets look rich against walnut tones. Choose a paper with visible grain, not a flat brown.
18. Wallpaper for Dark Cabinets
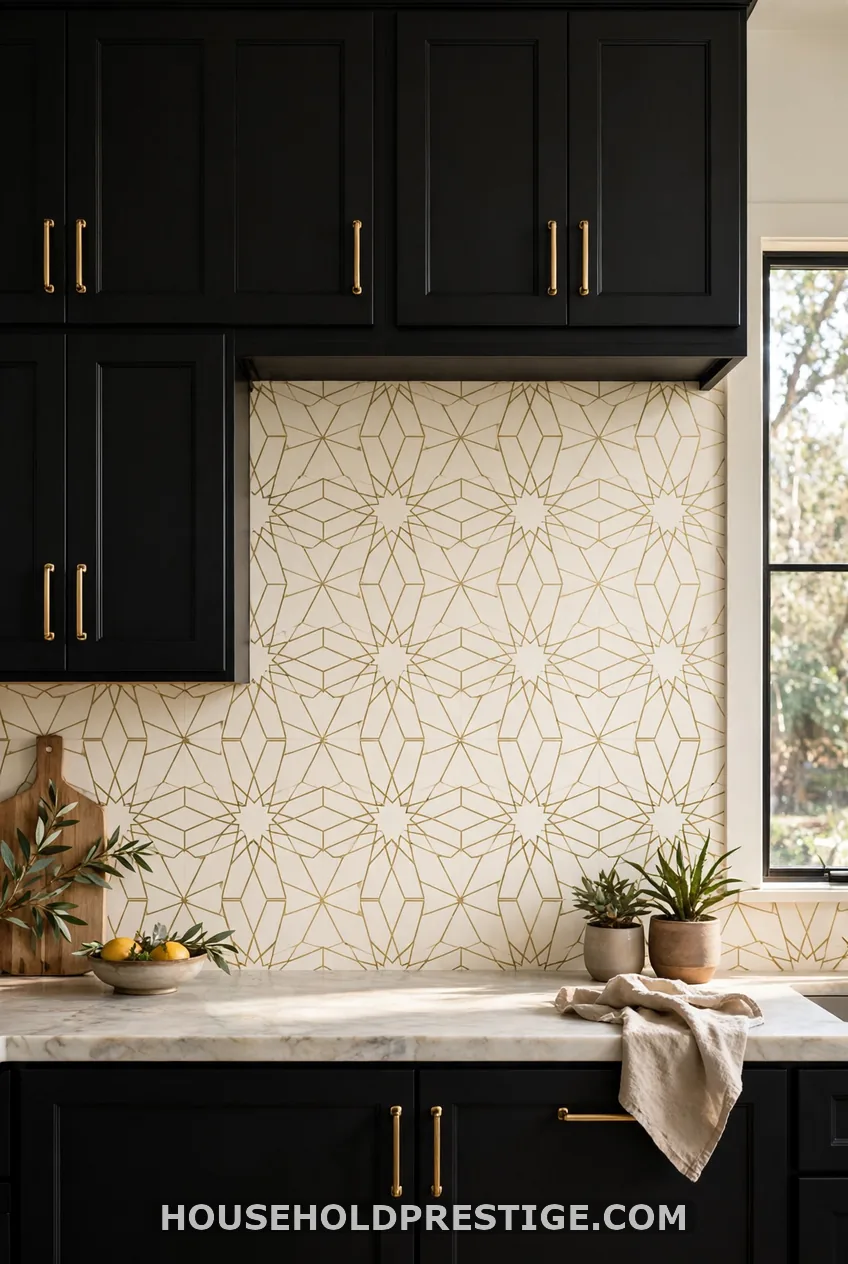
Dark cabinets need light above them. Cream, soft white, or pale grey papers keep the room from feeling heavy. A little metallic shimmer bounces light around.
19. Wallpaper for White Cabinets
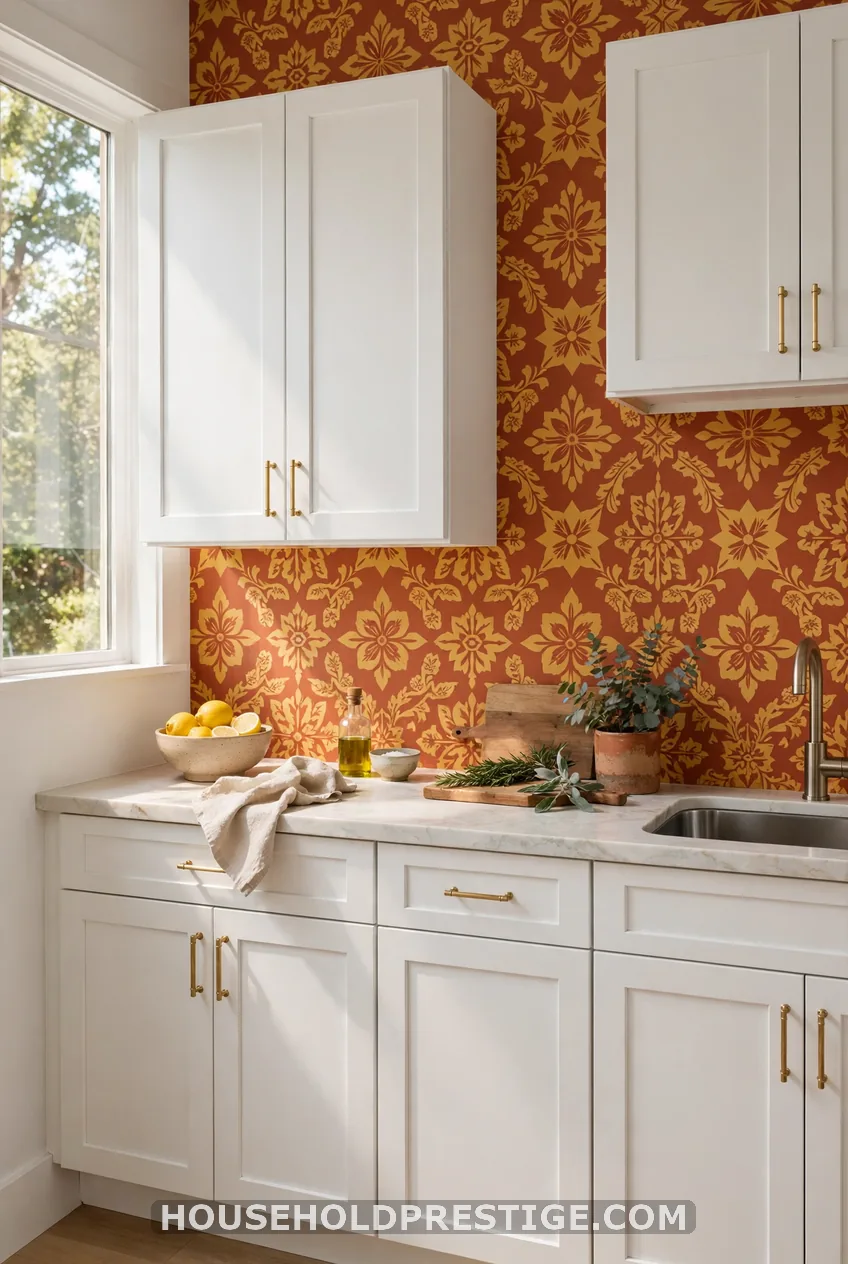
White cabinets are a blank canvas, so you can go bold. Terracotta, mustard, and deep green all pop. If your kitchen is small, keep the pattern in one color family.
20. Custom-Printed Paper
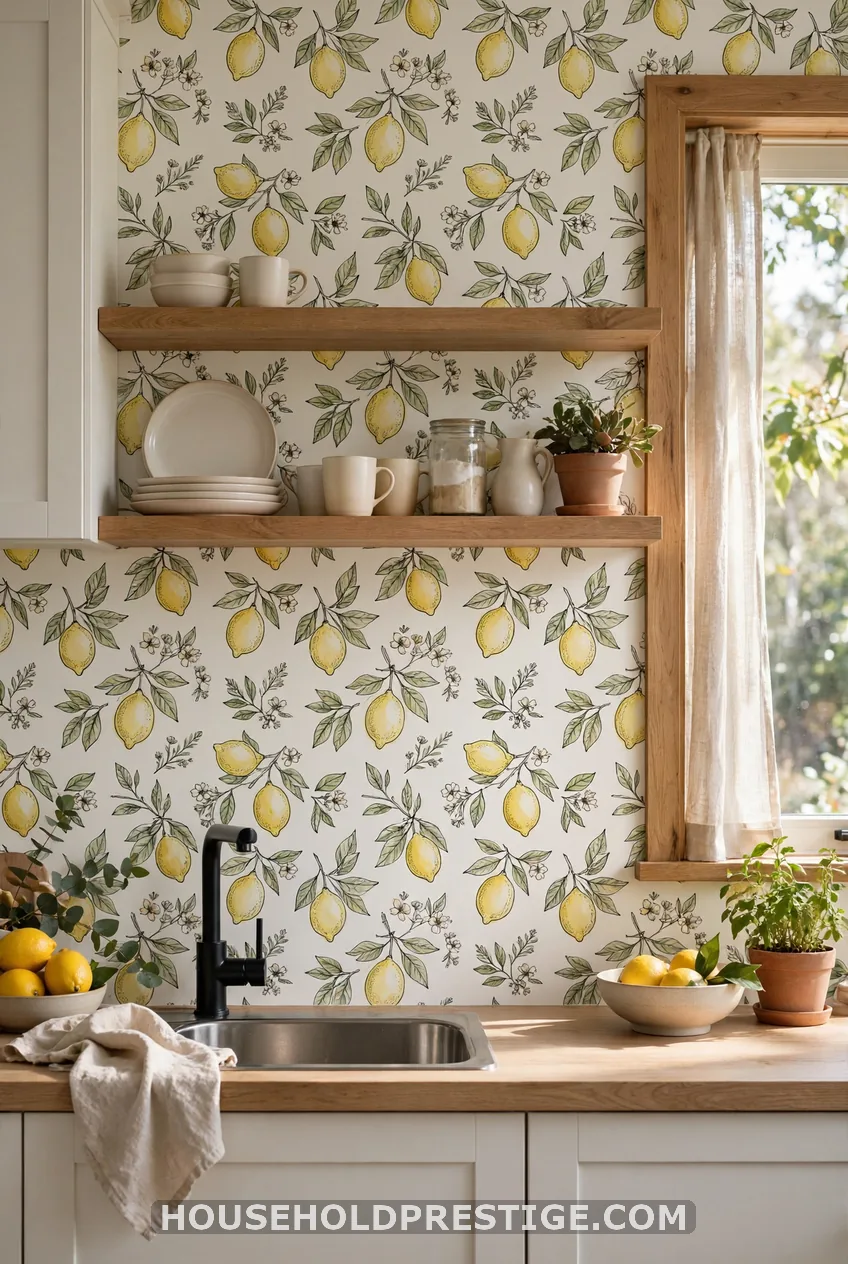
Spoonflower and Tempaper’s print-your-own tools let you upload your own art or pick from thousands of designs. Order a swatch first. Colors on screen rarely match colors on paper.
21. Paintable Wallpaper
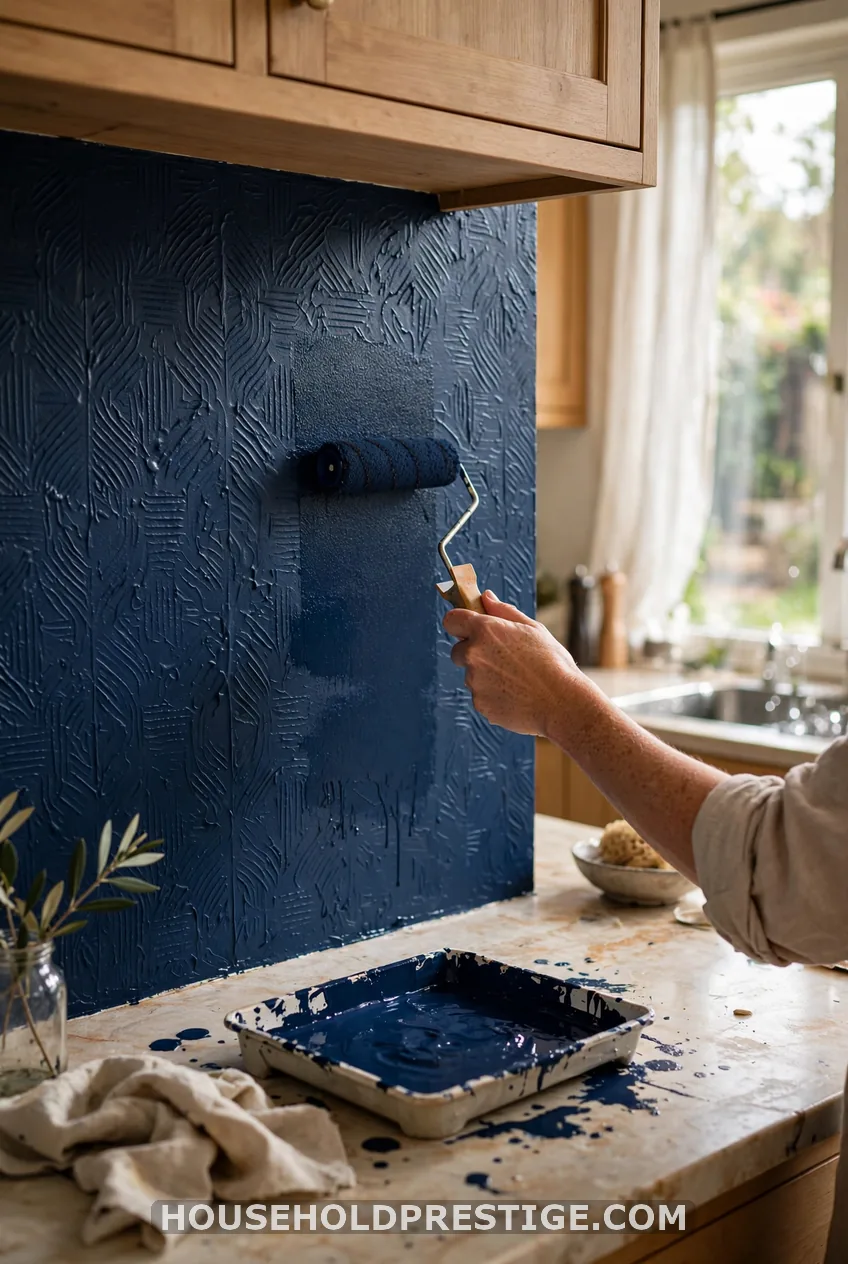
Paintable textured paper is an overlooked option. Hang it, then roll on a washable satin or semi-gloss paint. You get any color you want, and you can repaint later.
22. Behind the Stove and Sink: The Honest Guide
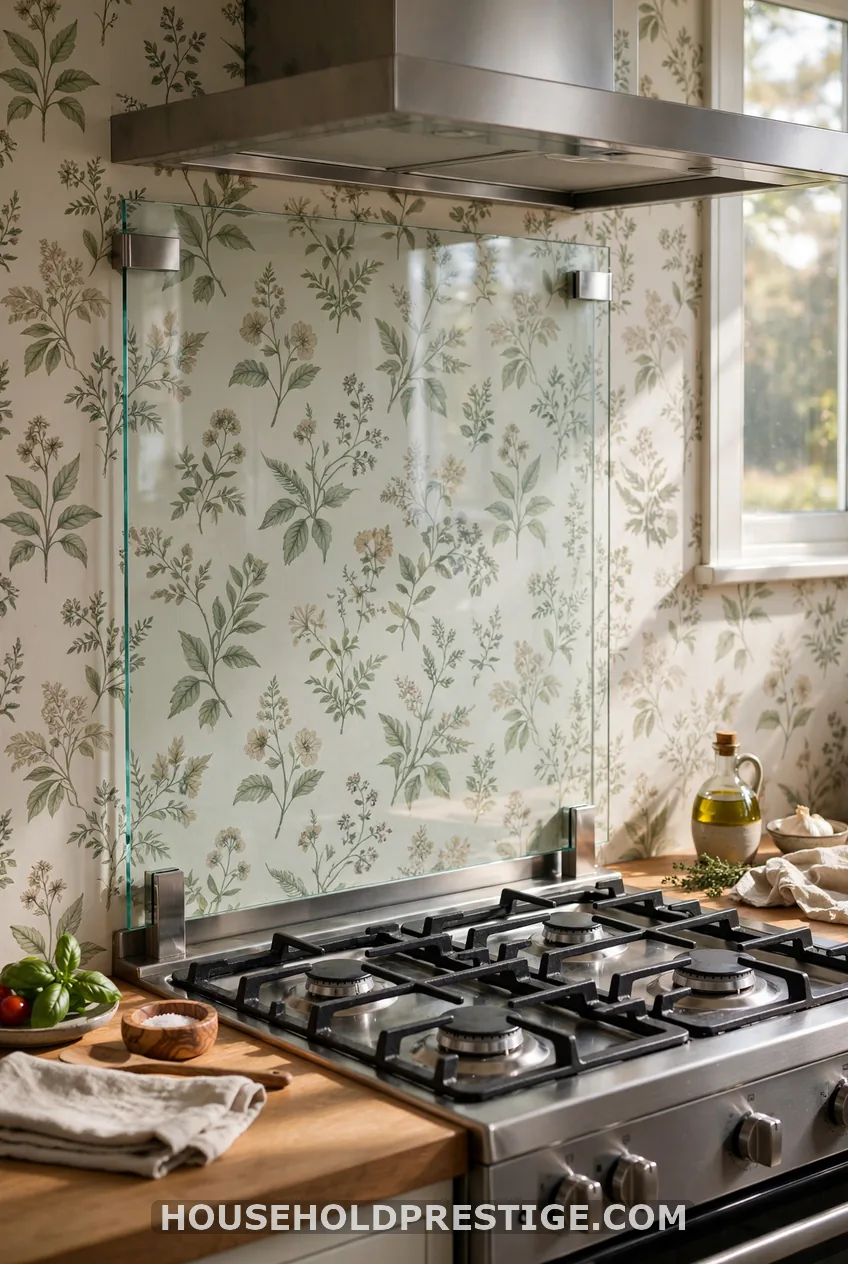
Most “waterproof” labels mean water-resistant and wipe-clean. That is fine for a dry wall. Grease and steam are tougher.
Here is how to protect your paper:
- Keep paper at least 6 inches from gas flames or hot burners, and follow your range manual for clearances.
- Install a tempered glass or stainless steel splatter guard behind the burners.
- Seal the bottom edge at the countertop with a thin bead of clear, paintable silicone caulk.
- Seal seams with a smoothing tool, pressing from the center outward.
- Wipe spills the same day with a soft damp cloth. Skip abrasive scrubbers.
At the sink, water pooling behind paper is the real enemy. Caulk the gap between the counter and wall first. Then hang the paper over the caulk line, and seal again at the edge.
Peel-and-stick usually lasts one to three years or more on a dry wall. Behind a sink or stove, expect less.
23. Install, Cost, and Removal
Tile costs roughly $5 to $25 per square foot before labor. Peel-and-stick wallpaper runs about $1 to $4 per square foot. A 15-square-foot backsplash often costs under $75.
The install steps:
- Clean the wall with a degreaser, rinse, and dry fully.
- Fill holes and sand rough spots. Wipe off the dust.
- Prime the wall, or apply wallpaper sizing, if the paint is glossy or the wall is porous.
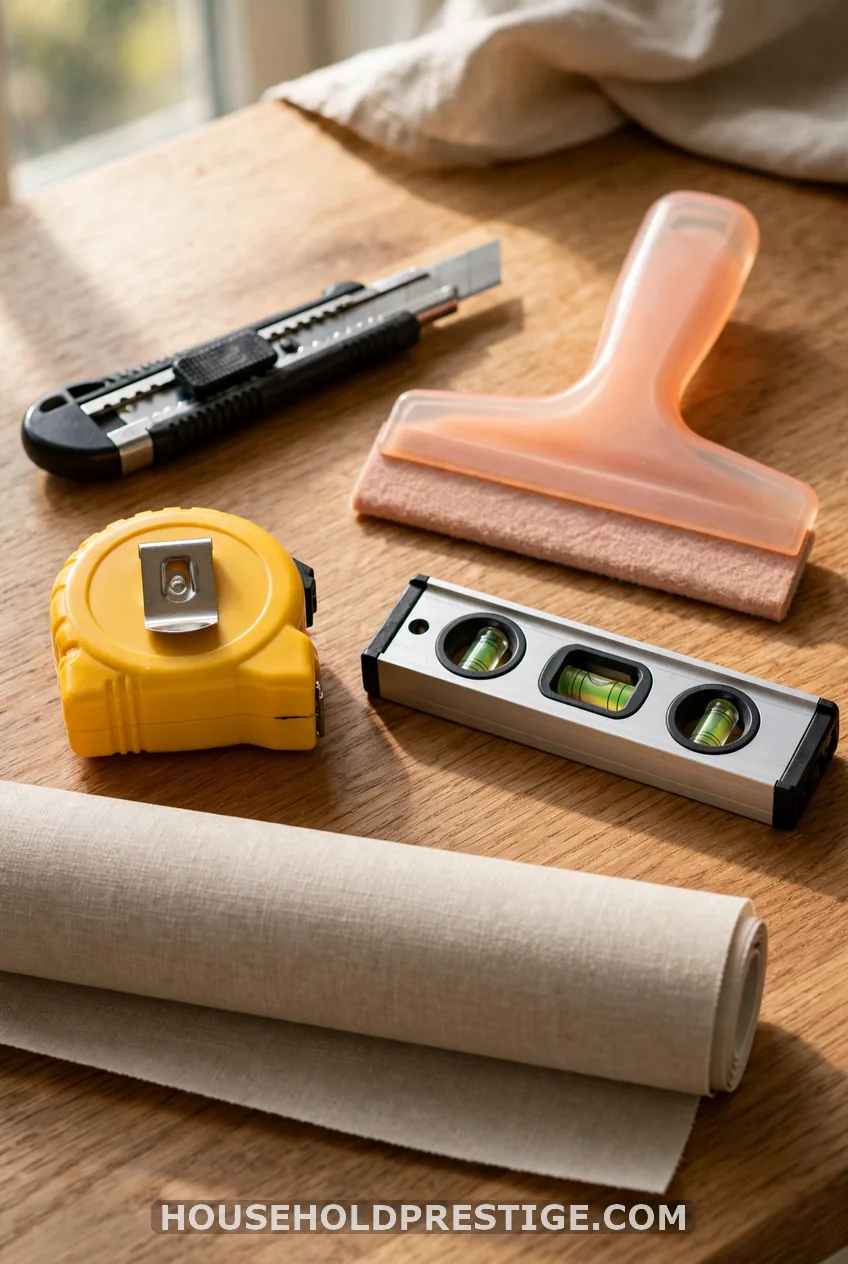
- Mark a level line from the counter up with a pencil.
- Peel back a few inches of backing. Press from the center out with a smoothing tool.
- Trim around outlets with a fresh utility knife blade. Turn off power and remove outlet covers first.
- Seal the bottom and any seams as described above.
Plan for 2 to 3 hours for a small kitchen. For edges at the open end of the backsplash, wrap the paper around the corner, or end it at a natural stop such as a window frame or shelf.
Removal tip: low-tac paper on well-cured satin or semi-gloss paint peels off cleanly. Fresh paint or flat paint can lift with the paper. Wait at least 3 to 4 weeks after painting. Warm the paper with a hair dryer on low to loosen the adhesive.
FAQ
Can you really use wallpaper as a kitchen backsplash?
Yes. Peel-and-stick and vinyl wallpapers made for wipe-clean surfaces work well. Keep them away from direct heat, and use a splatter guard behind a stove.
Is a wallpaper backsplash waterproof?
Most are water-resistant, not fully waterproof. Seal the seams and the bottom edge with clear caulk. Do not let water sit behind the paper near the sink.
Can renters use wallpaper on a kitchen backsplash?
Yes. Choose low-tac removable paper from brands like Tempaper, Quadrostyle, or Livettes. Test a small hidden corner first, and follow the brand’s removal steps to protect the wall.
What wallpaper pattern is easiest for a backsplash?
A straight faux-tile or grid pattern with a short repeat. You line up grout lines instead of matching a large repeat. That cuts waste and install time.
Do you need to prime the wall before hanging a wallpaper backsplash?
A clean, smooth, dry wall matters most. Primer or wallpaper sizing helps the paper stick and can make removal easier on painted drywall.