

Your dorm closet organization ideas search probably started the same way mine did: standing in front of a closet that’s maybe 24 inches wide, holding four years of clothes, wondering where the rest of your life is supposed to go. I moved into my freshman dorm with two suitcases and a laundry basket, and by week two, my closet looked like a game of Tetris nobody won.
Here’s what I promise you. By the end of this list, you’ll have a closet that holds more than you think it can, costs less than one textbook, and won’t get you flagged during your RA’s damage inspection.
1. Add a Second Hanging Rod
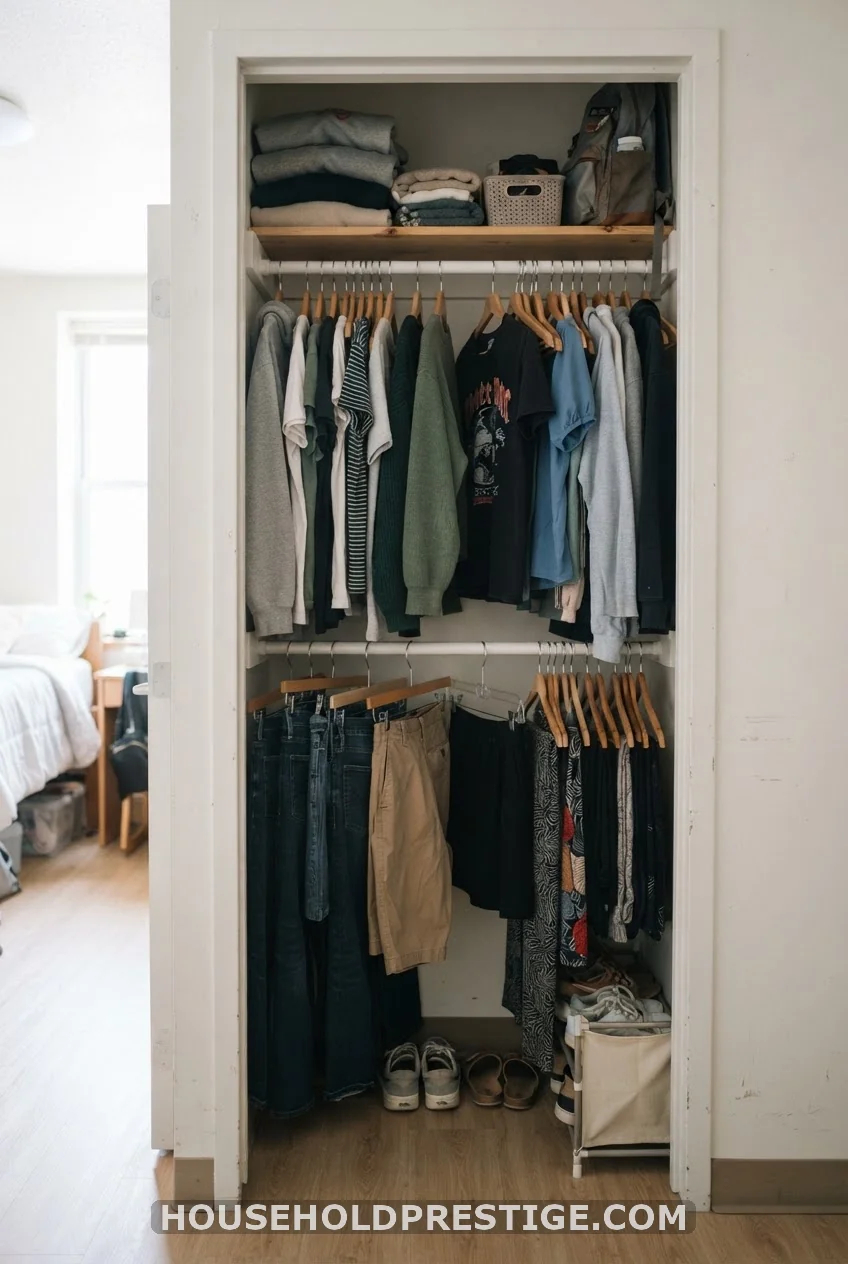
Most dorm closets waste the bottom half. A tension rod dropped a foot below your existing rod doubles your hanging space instantly. Hang shirts up top, skirts and folded pants below. No drill, no landlord phone call.
2. Switch to Slim Velvet Hangers
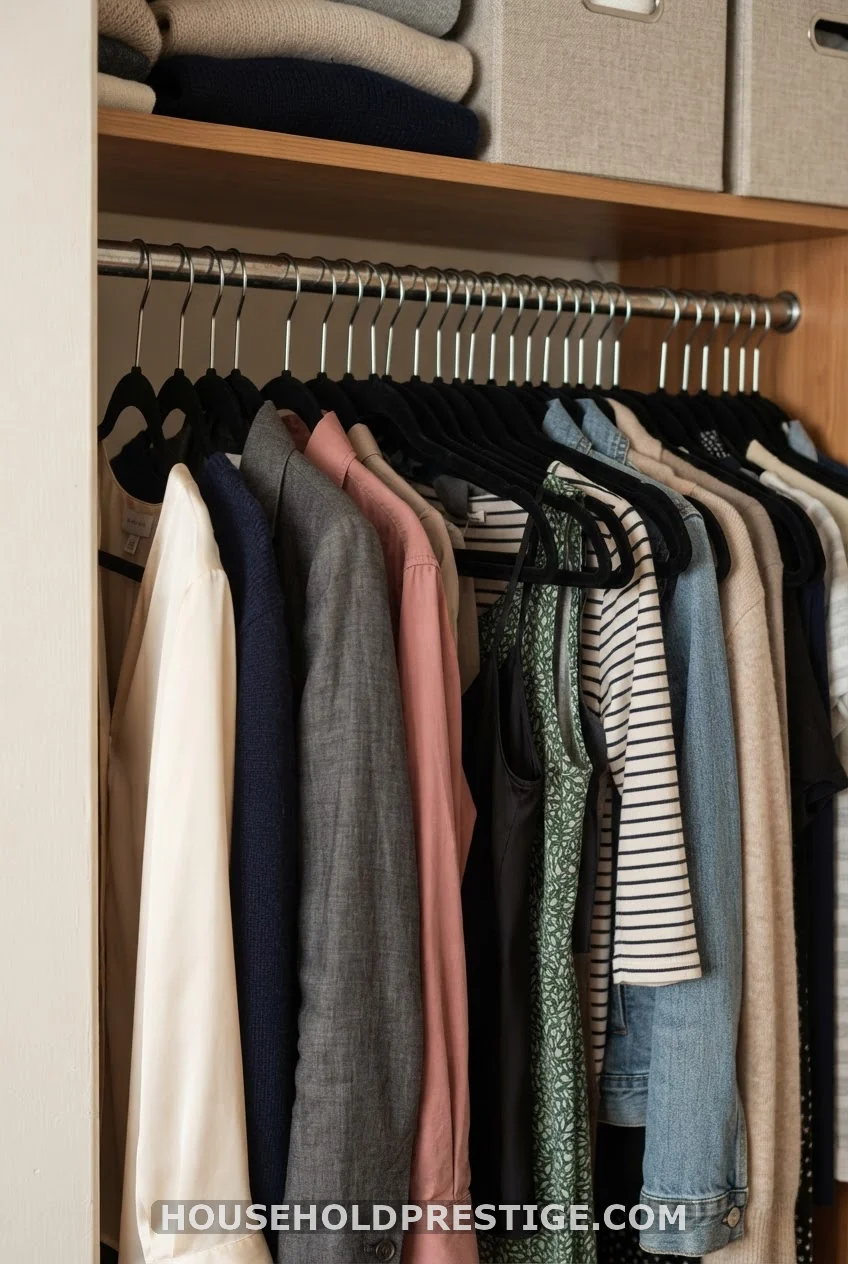
Wire and plastic hangers eat width. Velvet ones are a fraction as thick, and clothes stop sliding off them. Swap your whole closet, and you’ll gain two to three extra inches of usable rod space, no exaggeration.
3. Renter-Safe Wall Storage: The Full Setup
Why It Works
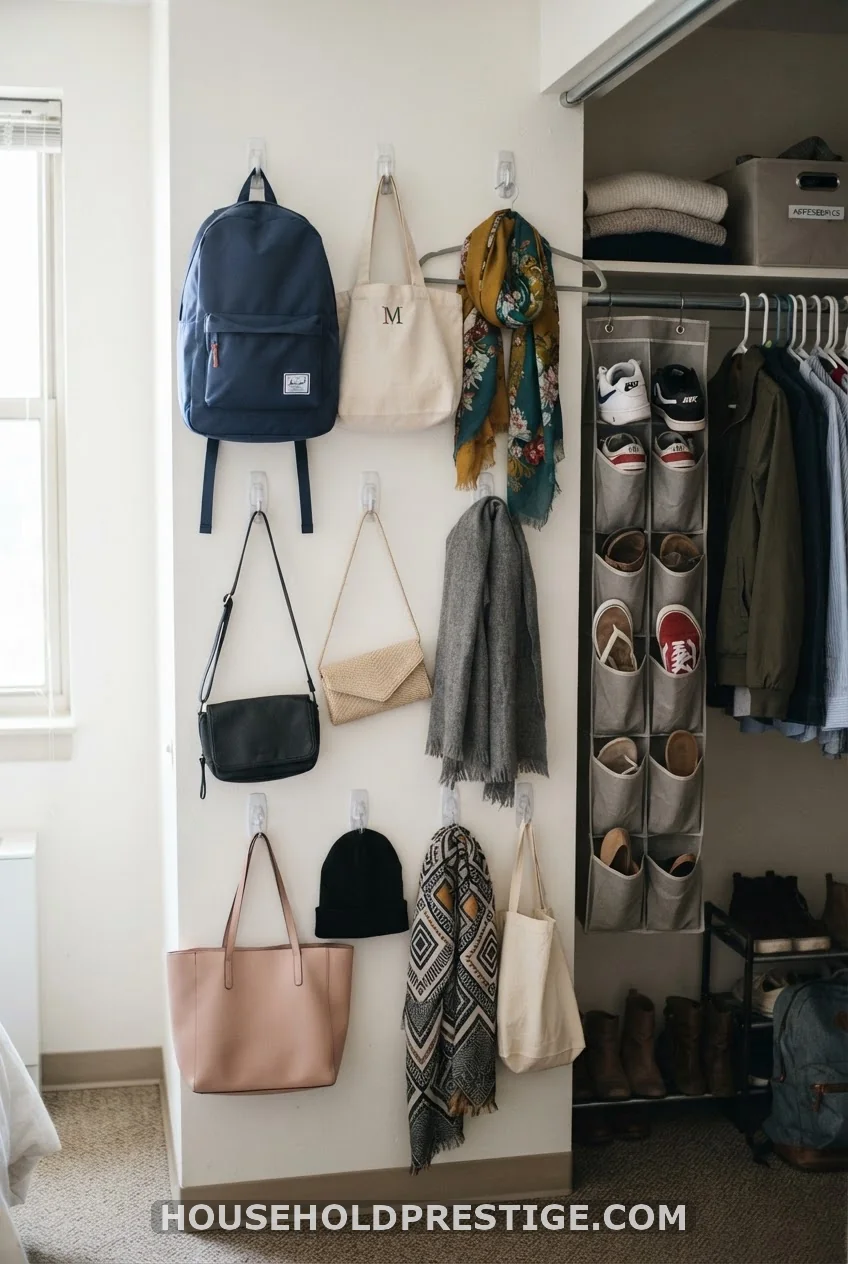
Dorms and rentals share one hard rule: no holes in the wall. That rule is exactly why most students give up on wall storage entirely and just pile things on the floor instead. Adhesive strips solve this problem at its root. They hold real weight, they come off clean at move-out, and they turn dead wall space inside the closet into a second storage system that costs almost nothing to build. The closet wall is the most overlooked square footage in a dorm room, mostly because renters assume “no drilling” means “no storage.” It doesn’t. It just means the storage has to be removable.
Dimensions
A standard dorm closet interior runs 24 to 30 inches wide and 12 to 16 inches deep. That leaves one full side wall, usually the one without the door swing, open for a vertical strip layout. Plan for hooks spaced 4 to 6 inches apart in a column, and you’ll fit 6 to 8 hooks on one wall without crowding. Leave at least 3 inches of clearance from the closet’s front edge so hung items don’t catch on the door as it opens and closes.
Step-by-Step
- Clean the wall with rubbing alcohol and let it dry fully. Skipping this step is the top reason adhesive hooks fail.
- Mark your hook spots with painter’s tape before sticking anything. Dorm walls are rarely level, and eyeballing it leads to a crooked grid.
- Press each strip firmly against the wall for 30 seconds, then let it cure for at least one hour before hanging anything heavy.
- Load light items first (scarves, hats, tote bags) and test the hold for 24 hours before hanging anything you can’t afford to drop.
- Add a hanging shoe organizer to one hook as your heaviest anchor point. Its pockets can hold rolled shirts, socks, chargers, or actual shoes.
- Step back and check the grid against the tape marks one more time before you remove the tape. Small gaps are easier to fix now than after everything is loaded.
Materials and Costs
- Command Outdoor Strips (large): $9 for a pack of 6, holds up to 5 pounds each
- Command Wire Hooks: $6 for 3
- Over-the-door or over-hook shoe organizer: $8 to $14
- Rubbing alcohol and cloth: under $2
- Total: roughly $25 to $31 for a full wall system, hooks included
Pro Move
Buy the “Outdoor” version of adhesive strips even for an indoor closet. They hold more weight per strip and survive humidity swings from communal laundry rooms and un-air-conditioned dorm buildings far better than the standard indoor version does. The extra dollar or two per pack is worth it the first time a strip holds through a heat wave instead of peeling off the wall.
Common Mistakes
Skipping the alcohol wipe-down is mistake number one, and it’s the reason most adhesive hook horror stories exist. Cinder block dorm walls and painted drywall both hold dust and body oil from months of contact, and that residue stops adhesive from bonding no matter how hard you press. Mistake number two is hanging something heavy right away. The bond needs an hour minimum to set, and a full 24 hours for anything over 2 pounds. Mistake number three is spacing hooks too close together, so bags and organizers overlap, tangle straps, and tear each other’s contents when you pull one down. Mistake number four is reusing a strip that already fell once. Once the adhesive fails, it won’t hold the same weight twice, even if it looks fine.
4. Vacuum-Seal Your Off-Season Clothes
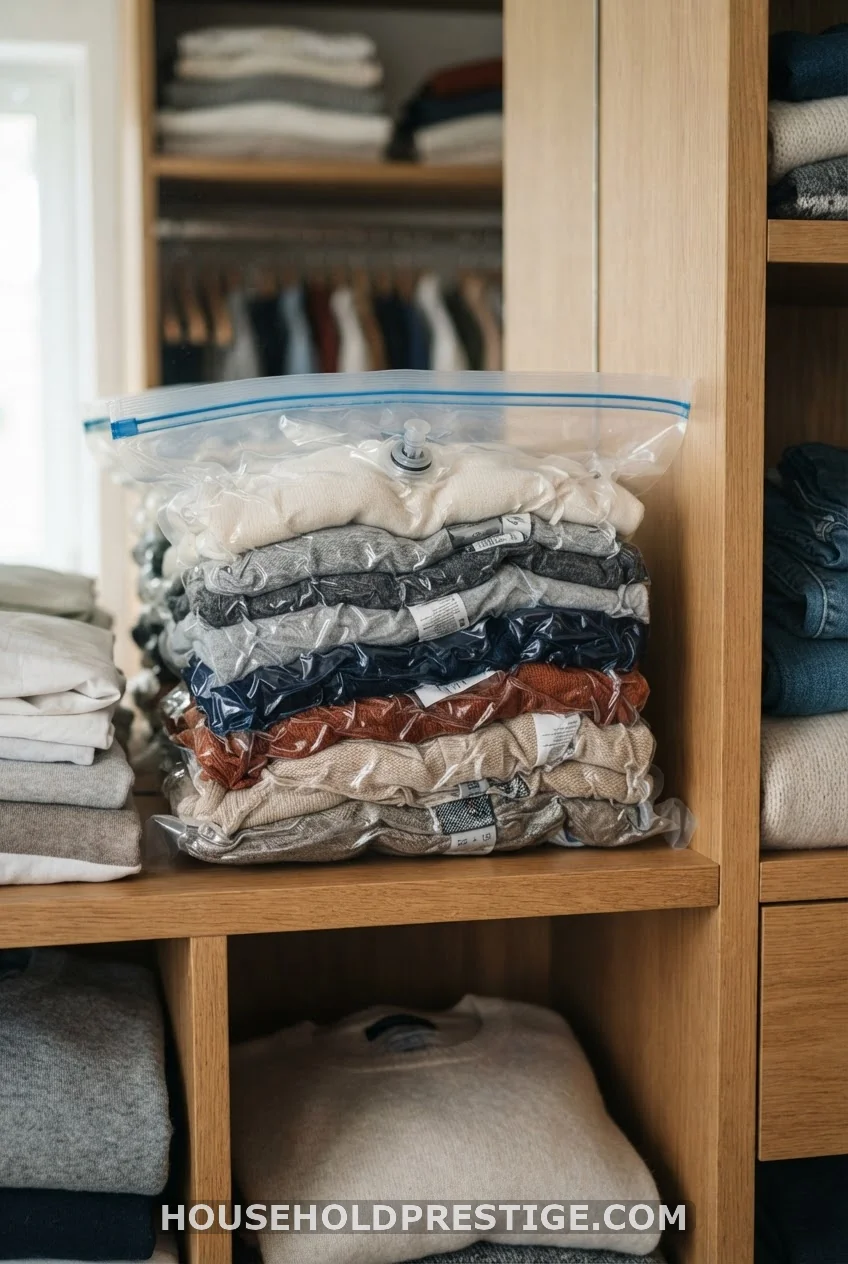
Winter coats do not need to live in your closet in April. A $12 pack of vacuum bags shrinks bulky sweaters and jackets to a fraction of their size, and they slide onto a shelf or under your bed until the temperature drops again.
5. Stack Bins by Category, Not by Guess
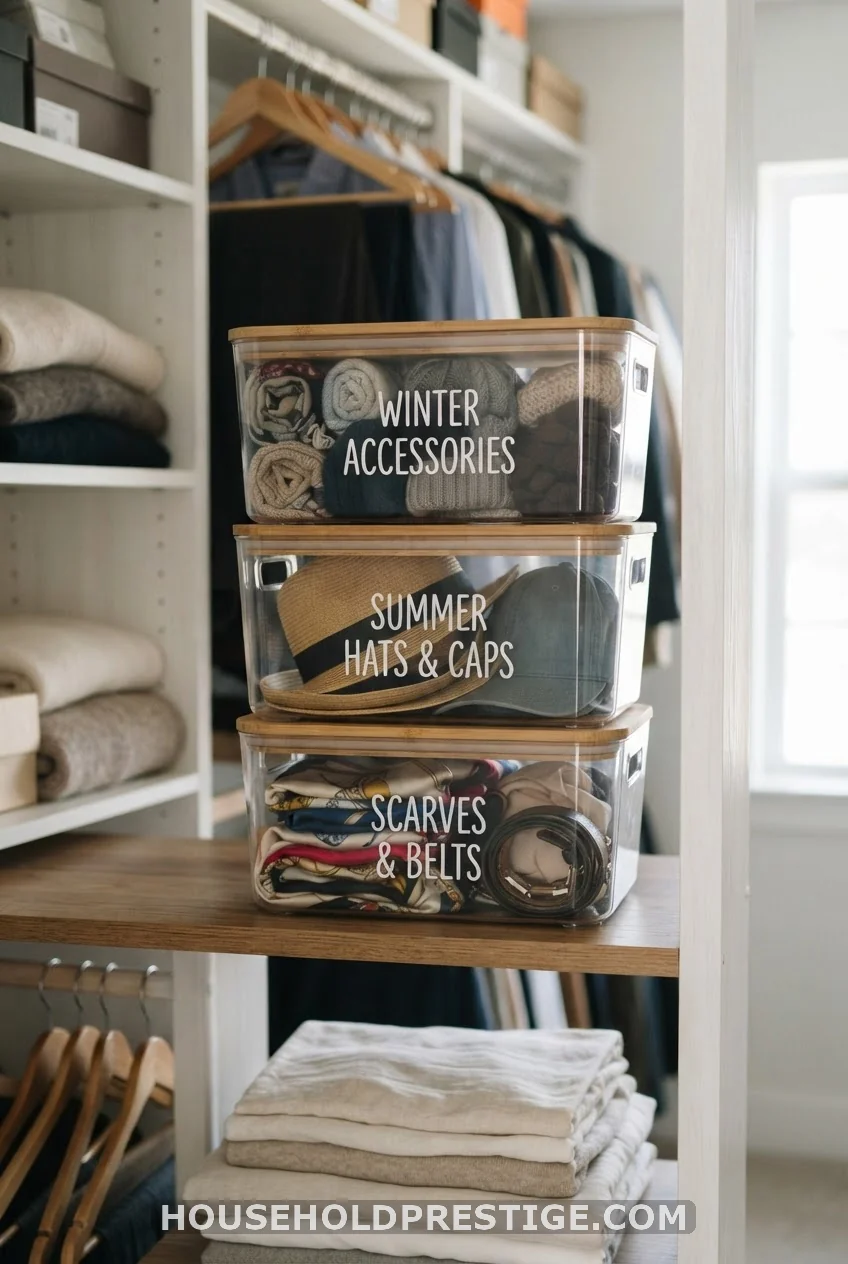
Grab three matching bins and assign each one a job: accessories, workout clothes, extra bedding. Stack them on your top shelf. The rule that keeps this working: one category per bin, always, no dumping ground bin allowed.
6. My Tension Rod Disaster (Learn From This)
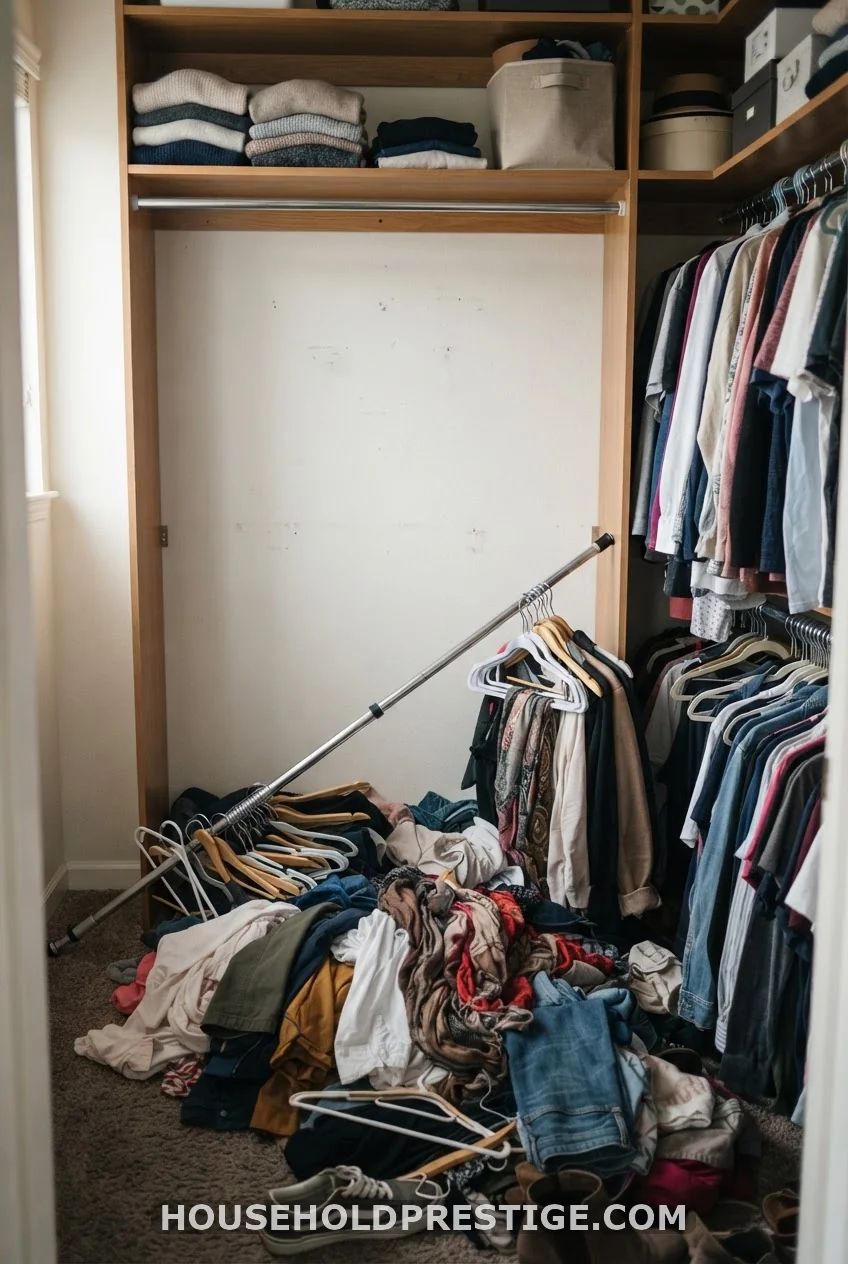
I bought the cheapest tension rod I could find freshman year, the $4 one from a dollar store, and hung it near the front of my closet for jackets. Three weeks in, at 7am on a class day, it gave out. Every jacket I owned hit the floor along with the rod itself, and one end left a small dent in the closet wall from the spring popping loose.
The fix wasn’t complicated. I just needed a rod rated for actual weight. Spring tension rods sold for closets, not shower curtains, hold 10 to 20 pounds depending on the model, and they cost maybe $3 more. Check the weight rating on the package before you buy, not after you’re picking jackets up off the floor.
7. Store Shoes on the Floor in Rows, Not a Pile
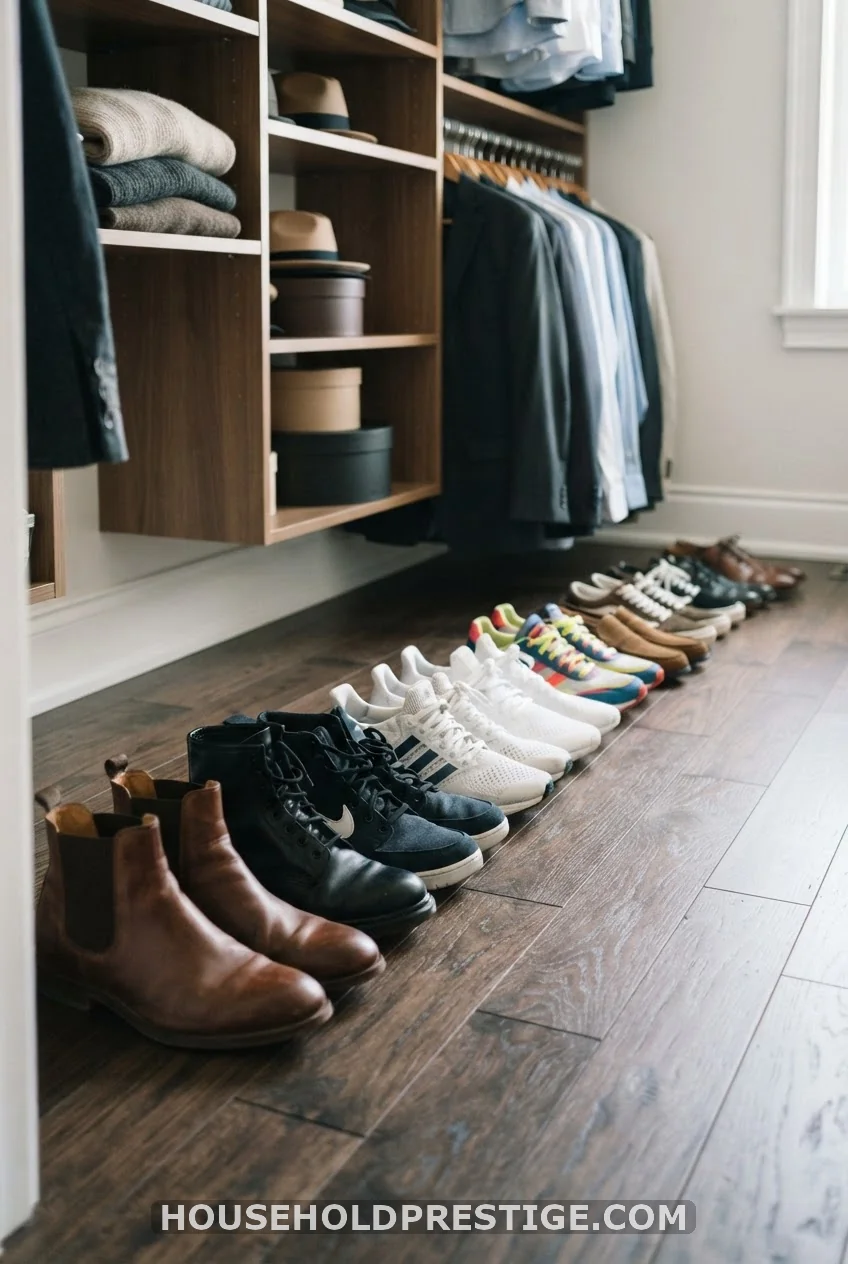
A pile of shoes eats double the floor space a row does. Line them heel to wall, toes out, and you’ll find what you need without digging.
8. Add a Hanging Fabric Organizer for Folded Items
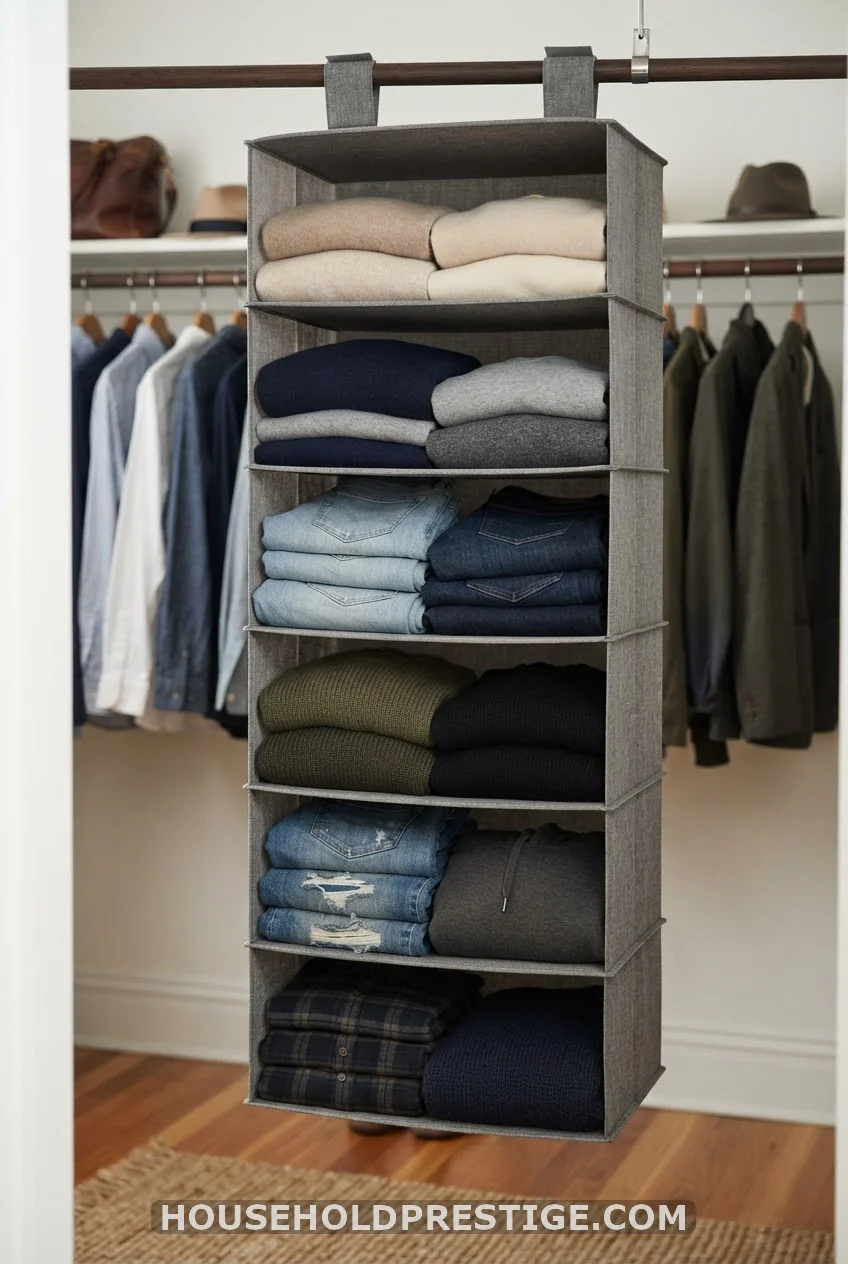
A hanging shelf unit clips right onto your existing rod and adds four to six cubbies of shelf space without taking up any floor footprint. IKEA’s SKUBB is the budget favorite at under $15, and it holds folded items that would otherwise take up a drawer you don’t have.
9. Splitting a Shared Closet Without a Fight
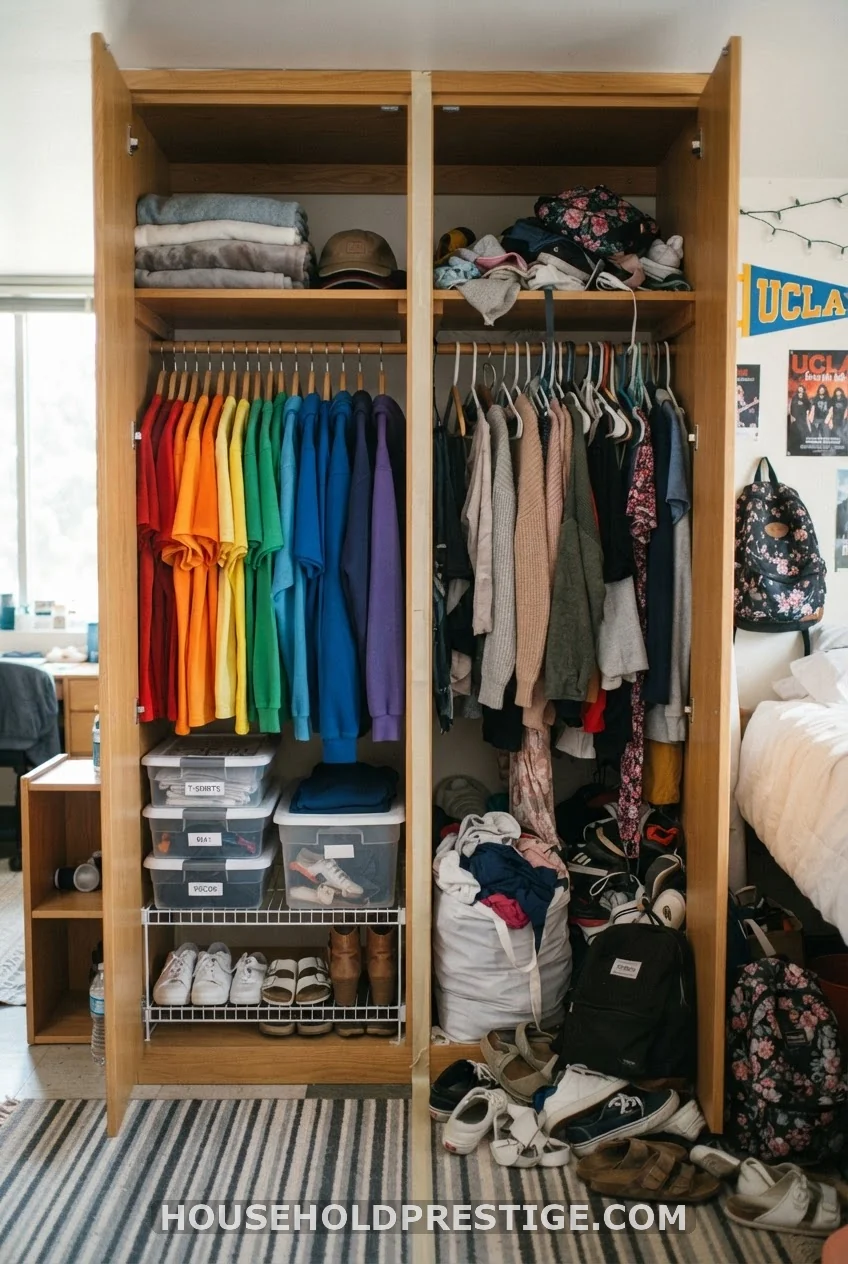
Two people, one closet, is the real dorm math problem nobody warns you about. The fix that keeps the peace is a physical dividing line, not a verbal agreement you’ll both forget by week three.
Painter’s tape on the rod marks the exact halfway point. Color-coded hangers, one shade per roommate, make it obvious at a glance whose shirt ended up on the wrong side. If your closet has two shelves, assign one per person instead of splitting each shelf, since a split shelf turns into a shared shelf within a month. Set a five-minute reset on Sunday nights where you each put stray items back on your side. It sounds small, but it’s the habit that keeps a shared 24-inch closet from turning into a weekly argument.
10. Use the Top Shelf for What You Grab Least
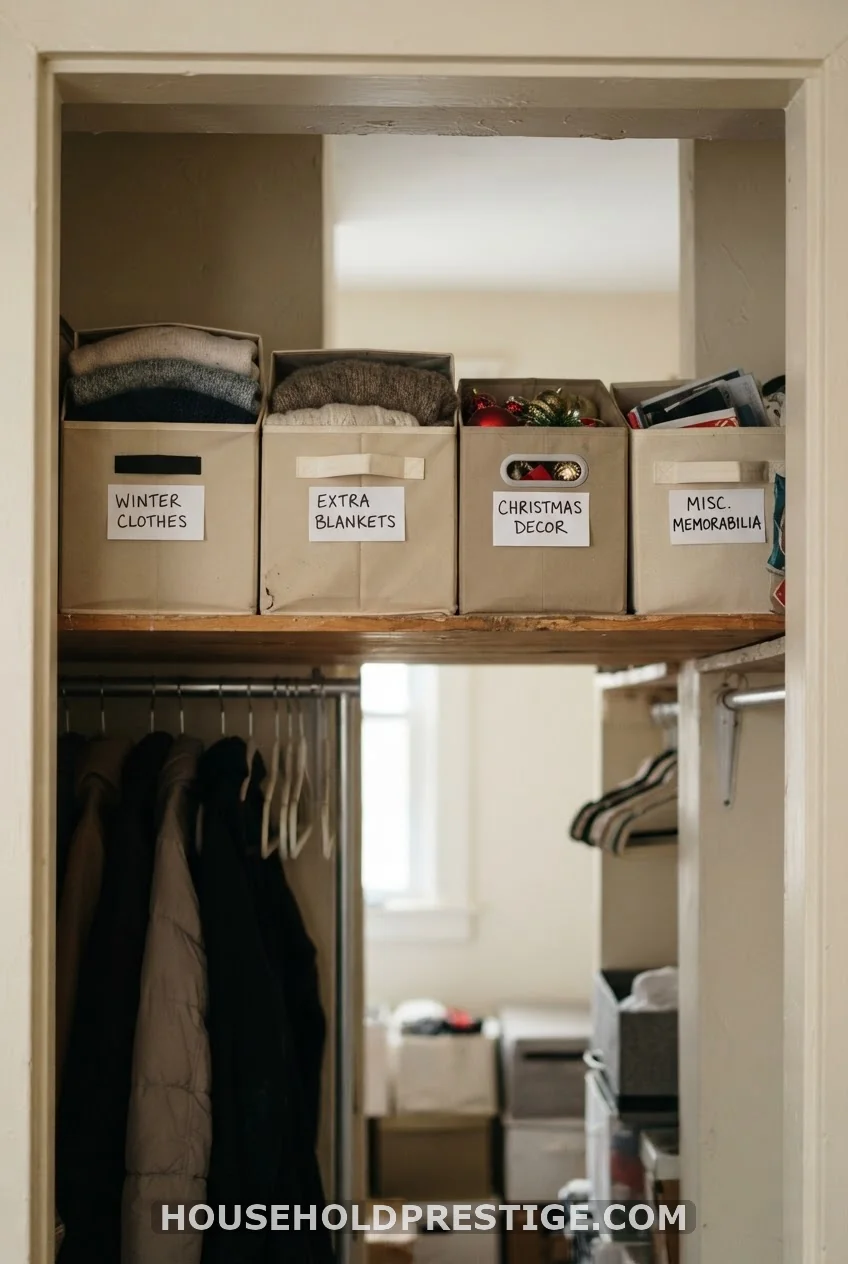
Your top shelf should hold the things you touch once a month, not once a day. Formal wear, spare bedding, and empty luggage belong up there. Keep the accessible middle for actual daily wear.
11. Build a Laundry Zone Inside the Closet
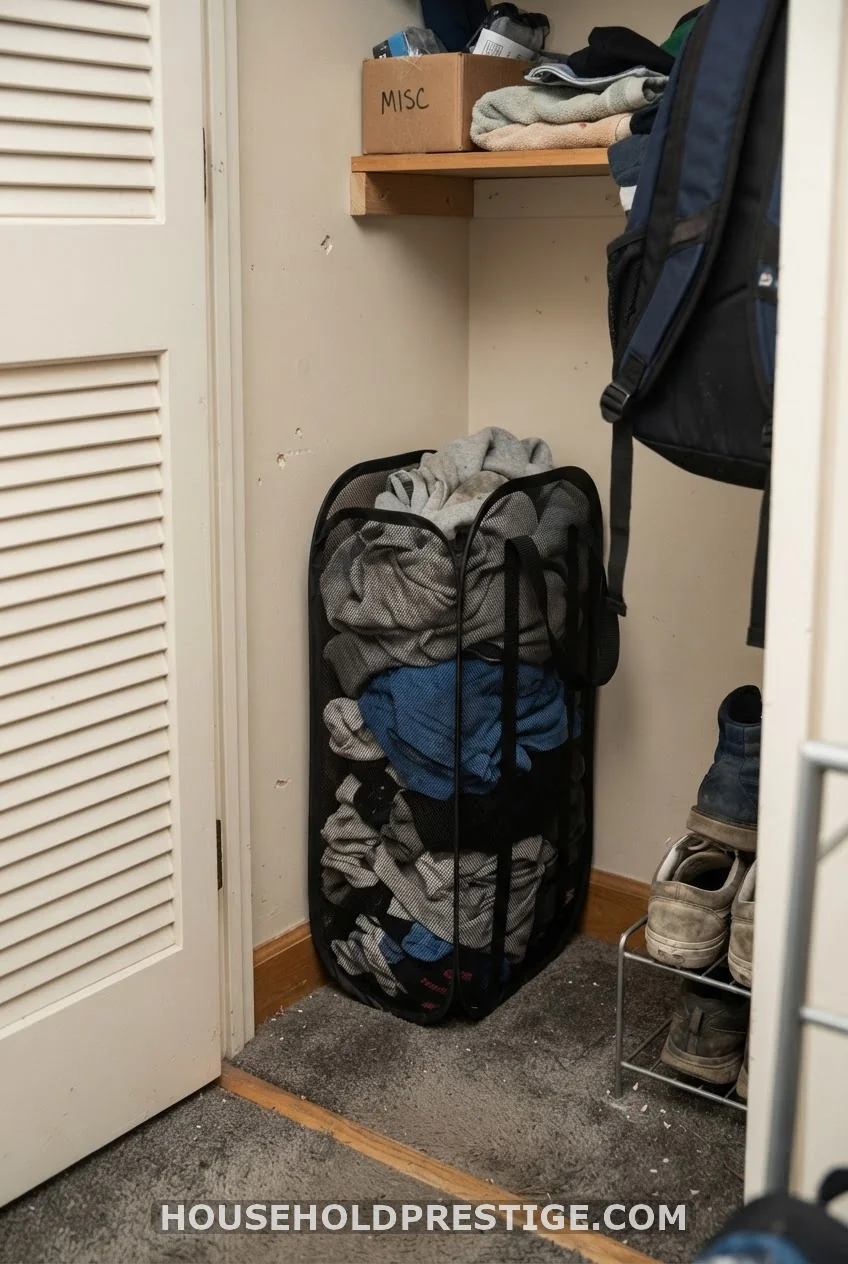
A slim hamper fits in the closet corner your hangers don’t reach. Keeping dirty laundry inside the closet, not draped on a chair or your roommate’s desk, is the single biggest visual difference between a messy room and an organized one.
12. Keep Everyday Items Front and Center
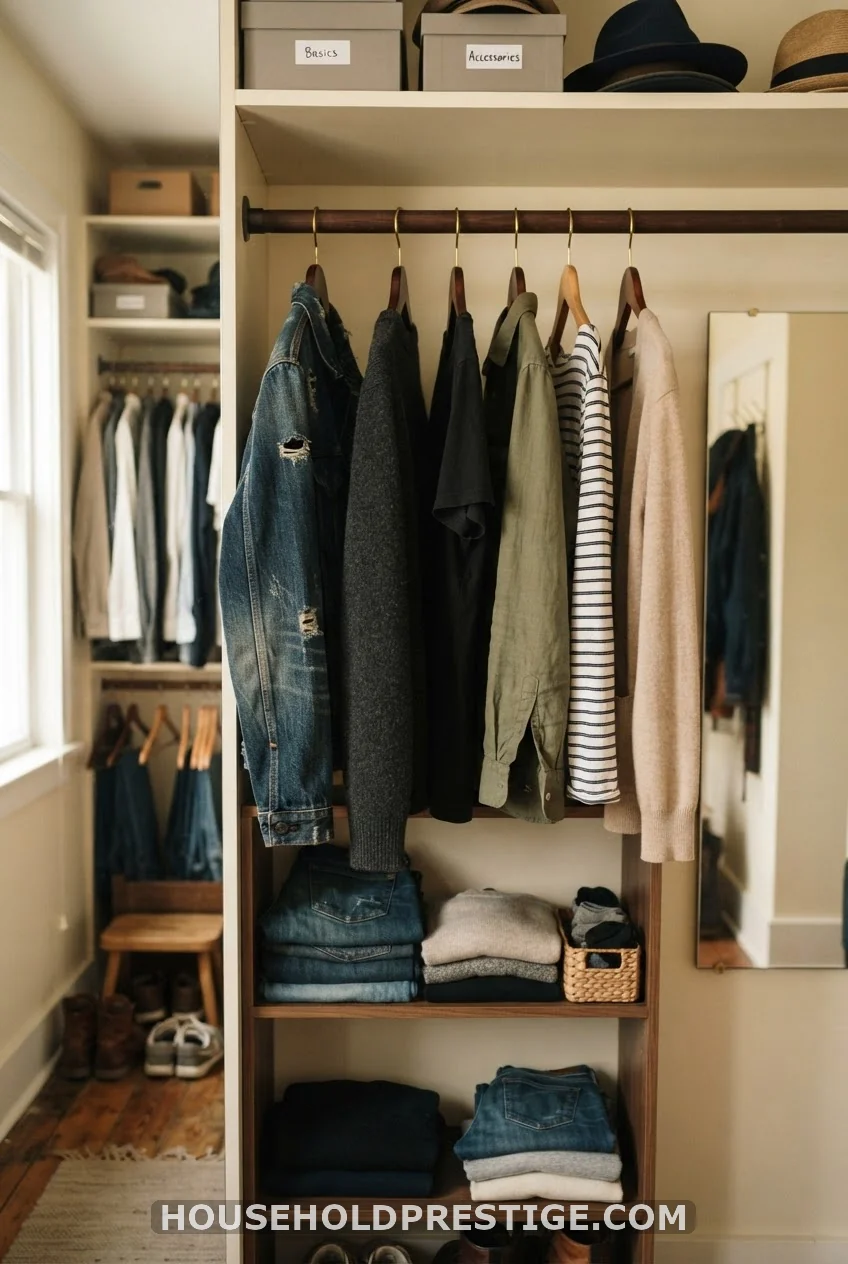
Put the five outfits you rotate every week dead center at eye level. Everything else, the stuff you wear twice a semester, moves to the edges or the top shelf. You’ll stop digging through clothes you never touch.
13. Corner Caddy for Odds and Ends
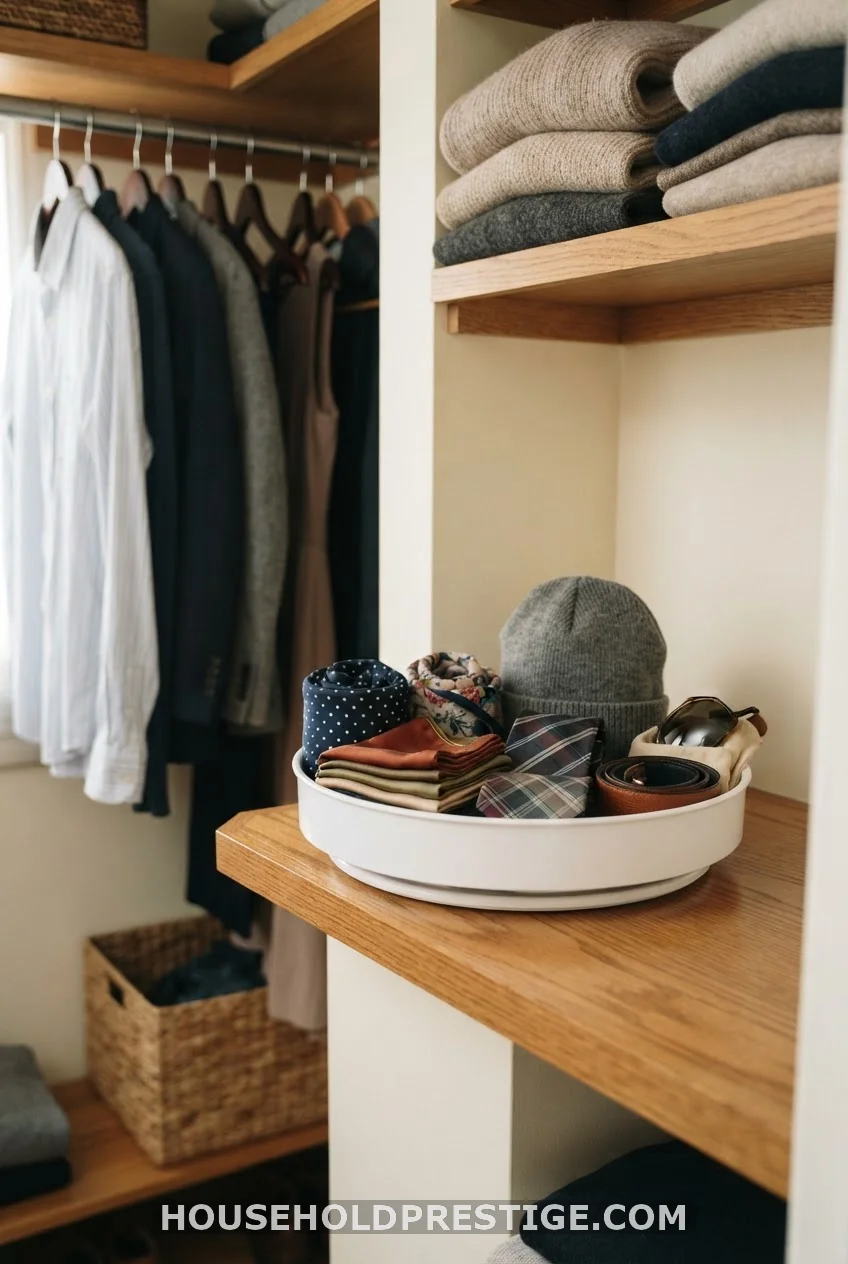
A $10 rotating turntable tucked into an unused corner catches belts, scarves, and jewelry that would otherwise end up loose on a shelf. Spin it instead of digging through it.
14. Label Every Bin, Every Shelf
A $4 label maker or even masking tape and a marker turns guesswork into a glance. Labels matter most in a shared closet, where “whose bin is this” becomes a daily question without them.
15. Under-Bed Storage for Overflow
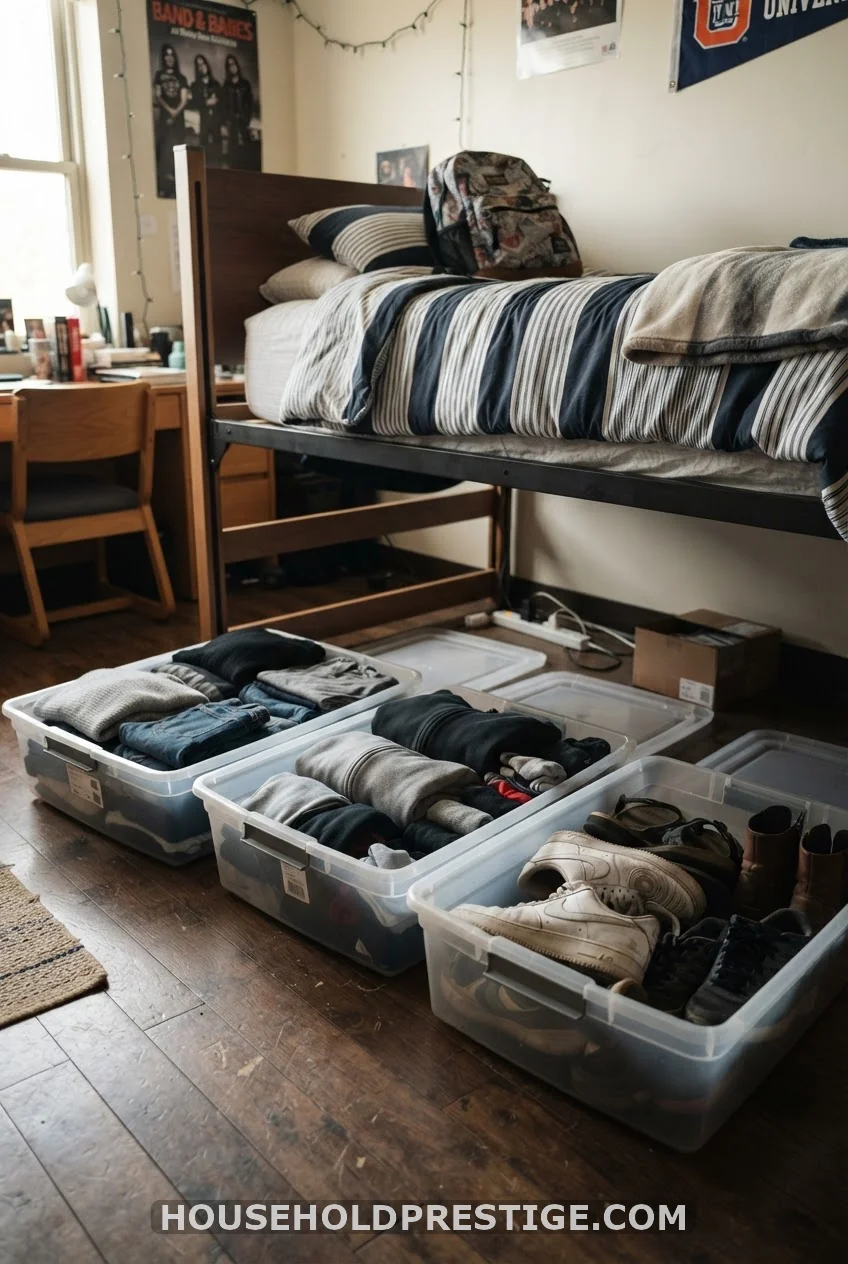
When the closet is full and you still have things left over, the space under your bed is your overflow closet. Flat bins with lids, roughly $10 to $15 each, keep off-season clothes and extra shoes dust-free until you need them.
16. Fold, Don’t Hang, Anything Stretchy
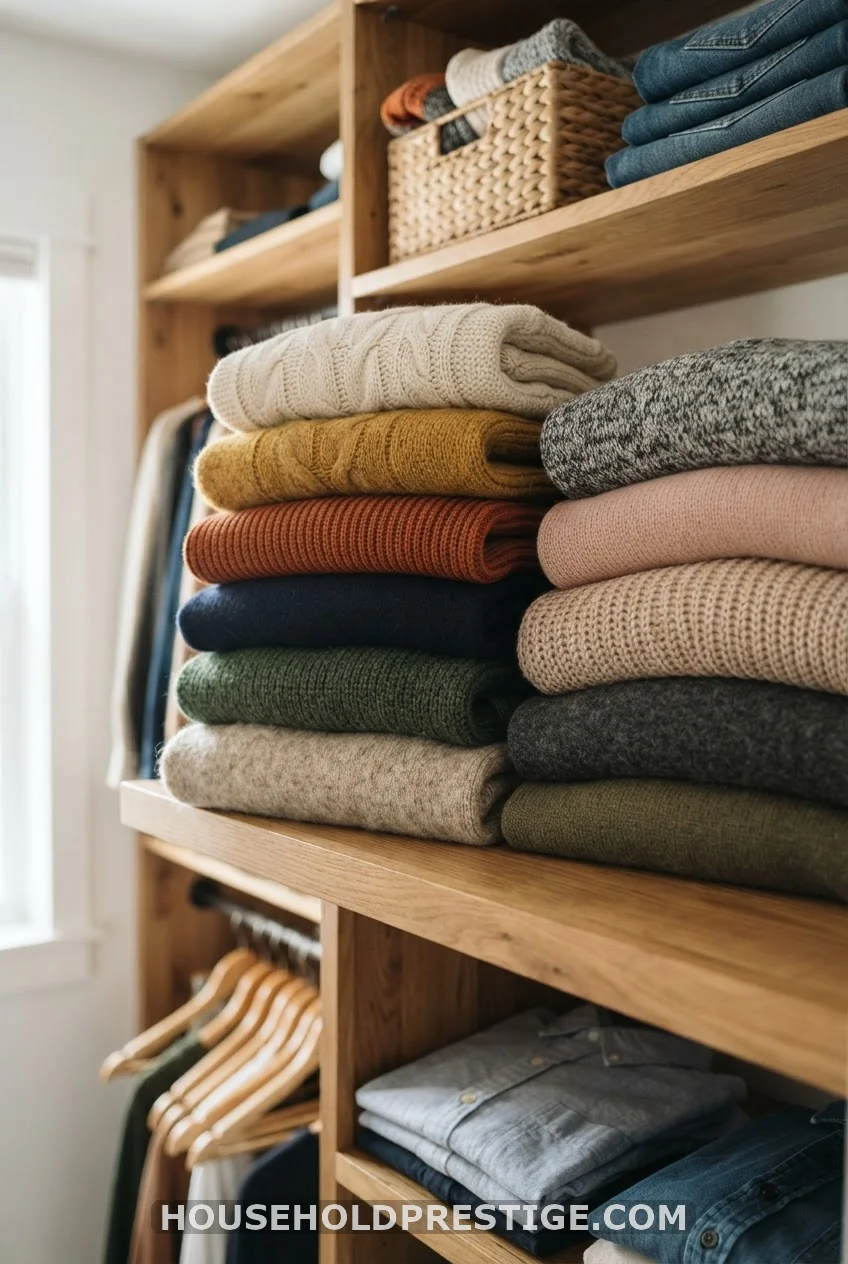
Knits and sweaters stretch out of shape on a hanger within a month. Fold them and stack them on a shelf instead. Your closet gets more organized and your sweaters keep their shape at the same time.
17. The “One Touch” Rule for Off-Season Clothes
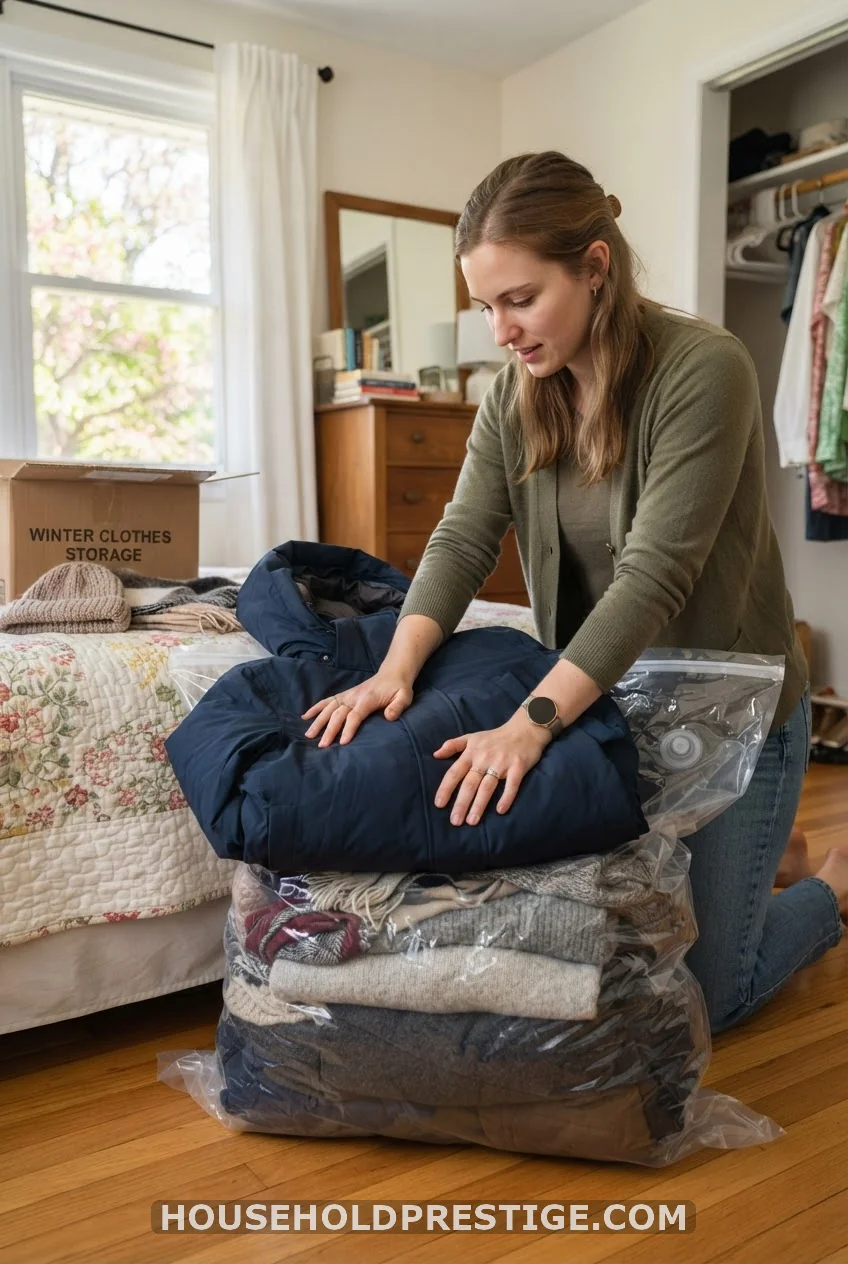
When the season changes, move the old season’s clothes out in one sitting, not one item at a time over three weeks. Set a 20-minute window at the start of each semester break to swap bins. Clothes you’re not wearing shouldn’t be taking up prime closet real estate while you hunt for a hoodie in October.
18. Myth vs. Reality: “A Bigger Closet Would Fix This”

What most people think: the real problem is closet size, and nothing will feel organized until they move somewhere with more room.
Reality: closet size rarely predicts closet chaos. A dorm closet with a second rod, slim hangers, and three labeled bins holds more usable items than a walk-in closet with no system at all. Students who fix their systems in a 24-inch dorm closet freshman year usually keep the exact same system in a much bigger closet years later, because the system was never about square footage.
19. A Mirror and Hook Combo for the Door
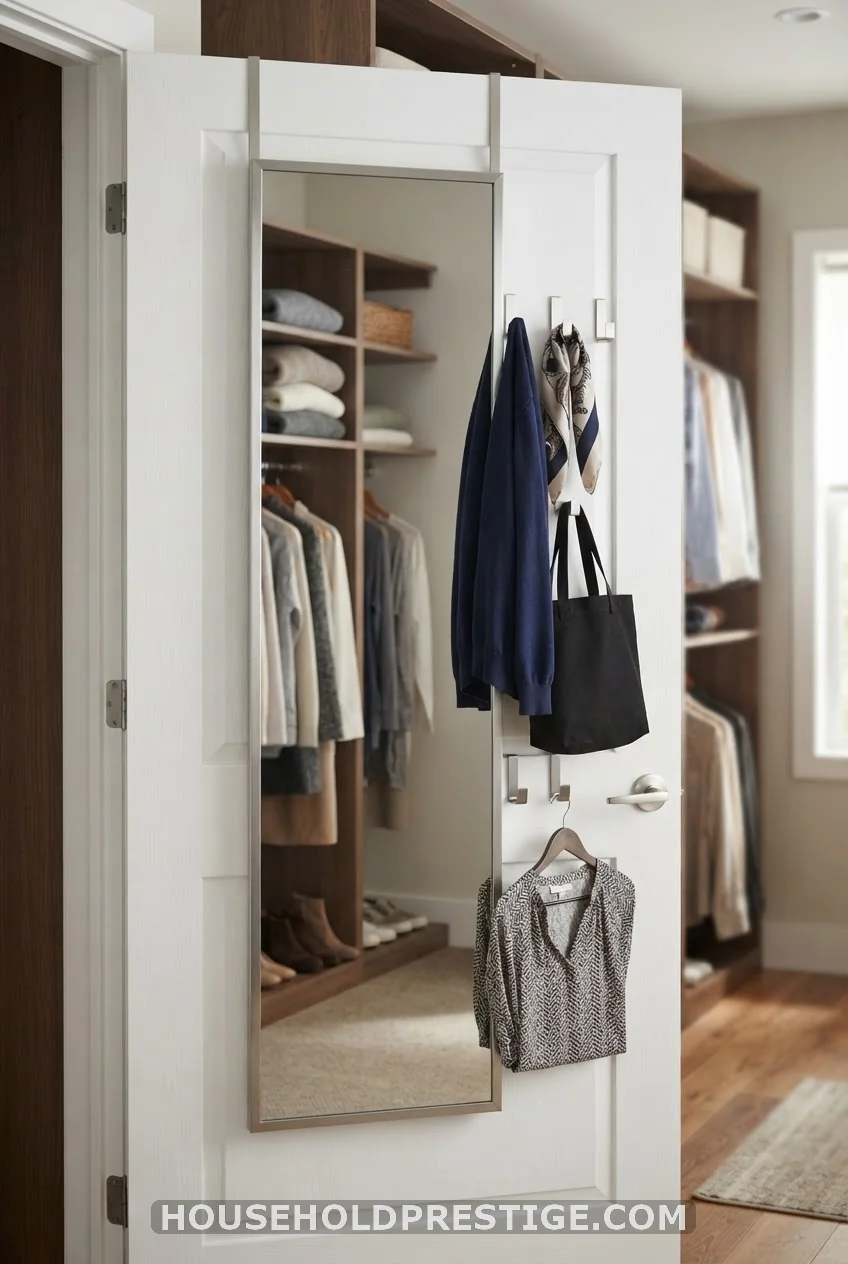
An over-the-door mirror with built-in hooks solves two problems at once. You get a spot to check your outfit, and the hooks catch bags, robes, and tomorrow’s outfit without touching the wall.
20. Declutter Before You Organize
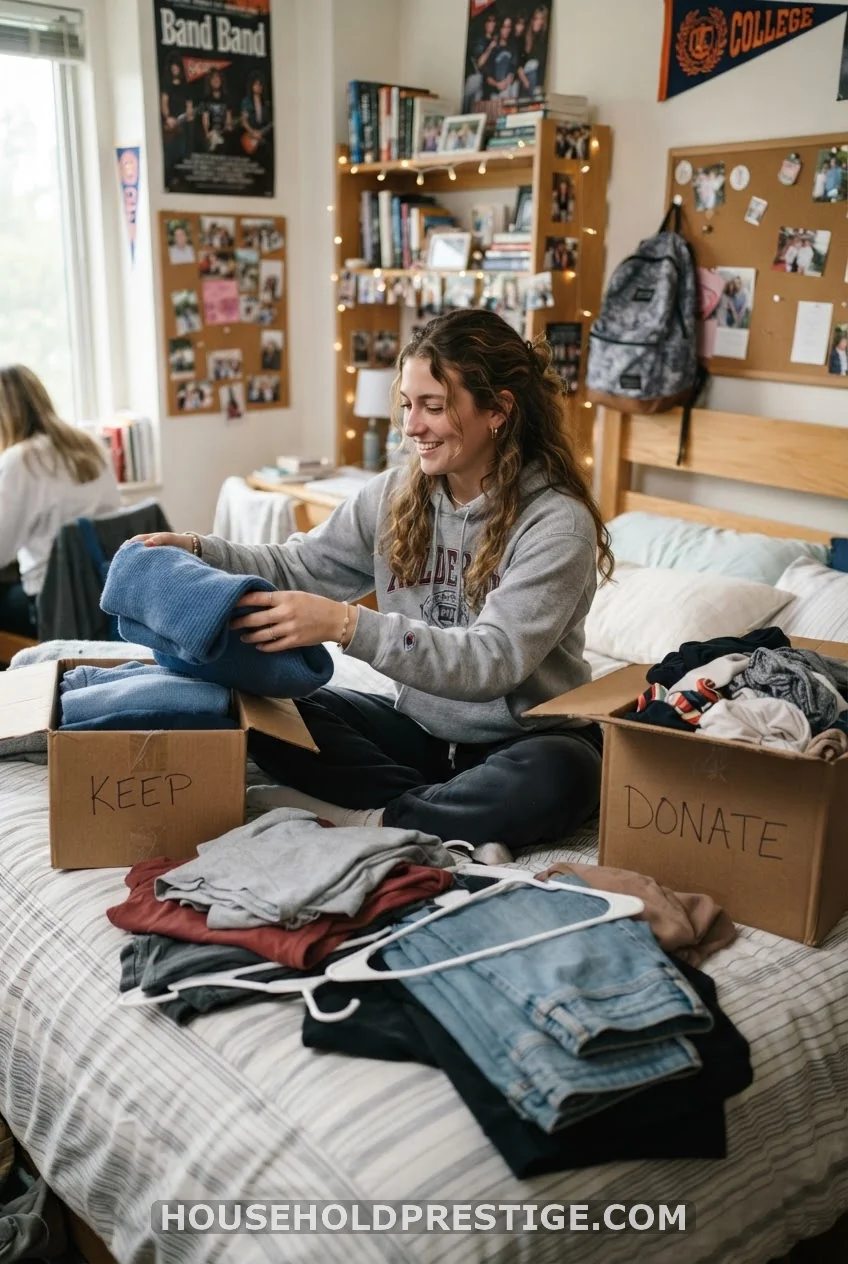
No storage system fixes a closet stuffed with clothes you don’t wear. Before you buy a single bin, pull everything out and sort it into keep, donate, and storage. A closet organized around clothes you reach for holds more than the same closet organized around everything you own.
21. Run a Quarterly Reset
Set a recurring 15-minute reminder once a semester to pull everything back out and start over. Systems drift. A reset catches what’s crept back into the wrong bin before it turns into the pile you started with.
The Bottom Line
A dorm closet was never going to hold your whole wardrobe without a plan, and now you have one. Start with the second rod and the slim hangers since those two changes alone free up the most space for the least money. Add the wall system when you’re ready for round two. Your closet, your rules, no damage deposit at risk.
Frequently Asked Questions
How do I organize a small dorm closet on a tight budget?
Start with slim velvet hangers and a tension rod for double hanging space. Both cost under $20 together and free up more room than any bin or organizer you could buy.
What storage doesn’t damage dorm closet walls?
Adhesive strips rated for outdoor use hold the most weight without leaving marks, and they remove cleanly when you move out. Skip anything that requires screws or nails, since most dorm leases charge for wall damage at checkout.
How do two roommates share one small closet fairly?
Split the rod with a visible marker like painter’s tape, assign separate shelves instead of splitting one shelf, and use color-coded hangers so it’s obvious at a glance whose item is whose.
Should I keep off-season clothes in my dorm closet?
Only if space allows after your current-season items are stored. Vacuum-sealed bags or under-bed bins usually work better, since they free up prime closet space for what you’re wearing right now.
How many hangers do I need for a dorm closet?
Most students need 25 to 35 slim hangers to cover a semester’s rotation of tops and bottoms without overcrowding the rod. Buy one matching set rather than mixing types, since uniform hangers use rod space more efficiently than mismatched ones.