

Grease on the cabinet fronts. A sink that’s seen better decades. Crumbs living somewhere between your stove and the wall that you’d rather not think about.
Sound familiar? You don’t need a full weekend or a professional crew to deep clean your kitchen. You need a plan that tells you exactly where to start and exactly when to stop.
That’s what this is. Work through it zone by zone, front to back, and you’ll end with a kitchen that smells clean, not just looks wiped down. No guessing which corner you missed. No redoing a step because you did it out of order.
Gather Your Supplies First
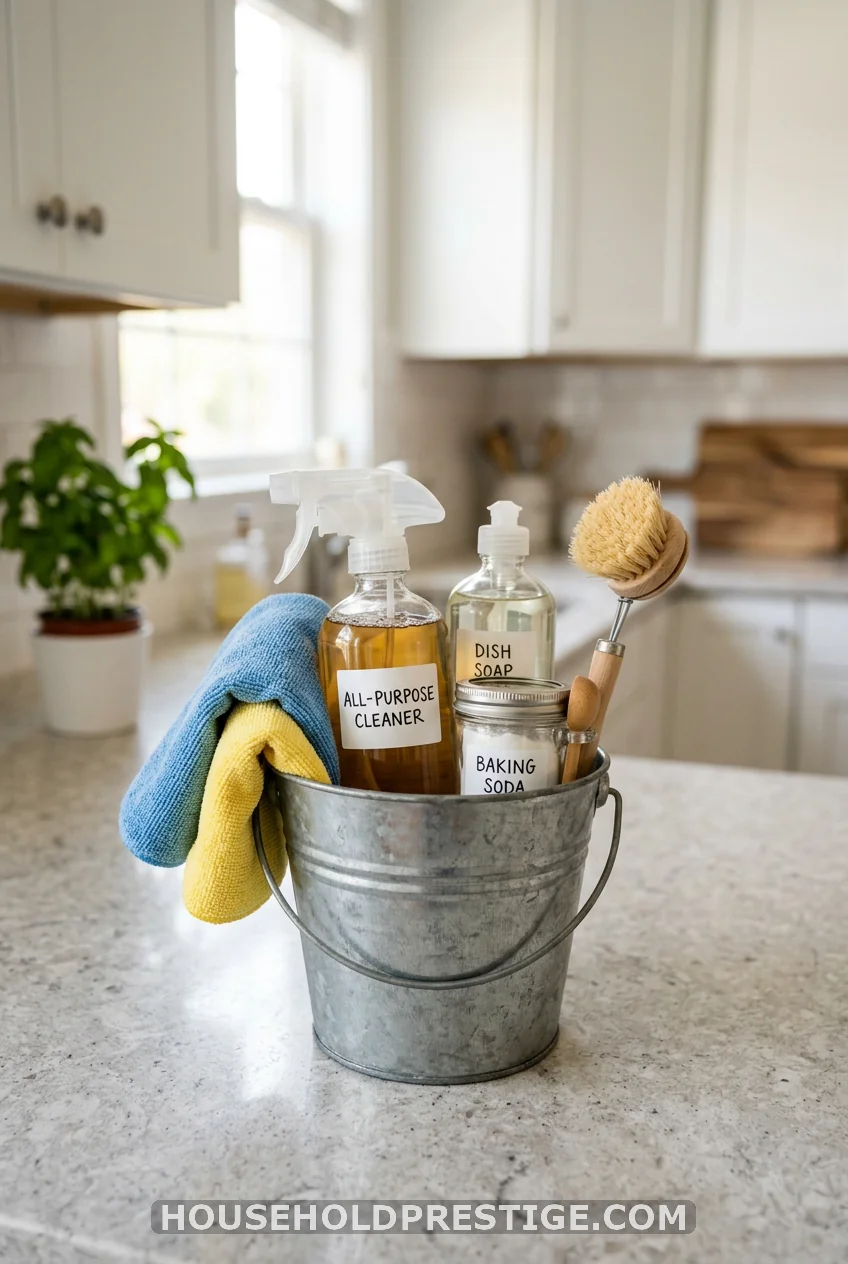
Running back and forth for supplies mid-clean kills your momentum. Grab these before you start:
- Microfiber cloths (a stack of 4 to 6)
- All-purpose spray or a 50/50 vinegar-water mix
- Dish soap
- Baking soda
- An old toothbrush for tight corners
- A scrub brush or non-scratch sponge
- Trash bags
- A vacuum with a hose attachment
Once your supplies sit within arm’s reach, you won’t lose ten minutes hunting for a sponge under the sink.
Zone 1: Clear the Decks

Before any scrubbing happens, clear every counter. Move small appliances, mail, and random clutter to the table or a box. You can’t deep clean a surface you can’t see.
While you’re at it, toss anything expired from the counter or pantry area you’re working near. Deep cleaning and a mini declutter go hand in hand, and clear counters make every step after this one faster.
Zone 2: Ceiling, Light Fixtures, and Cabinet Tops

Start high and work down. Dust falls, so if you clean the floor first, you’ll just dirty it again later.
- Wipe down light fixtures with a damp cloth and replace any burnt-out bulbs while you’re up there.
- Dry-dust the tops of your cabinets with a duster or vacuum attachment, then follow with a damp cloth if there’s a grease film.
- Check ceiling corners for cobwebs.
If your cabinets have gaps above them that collect dust fast, lay wax paper up there. Next time, you peel it off and toss it instead of scrubbing.
Zone 3: Cabinet Fronts and Handles
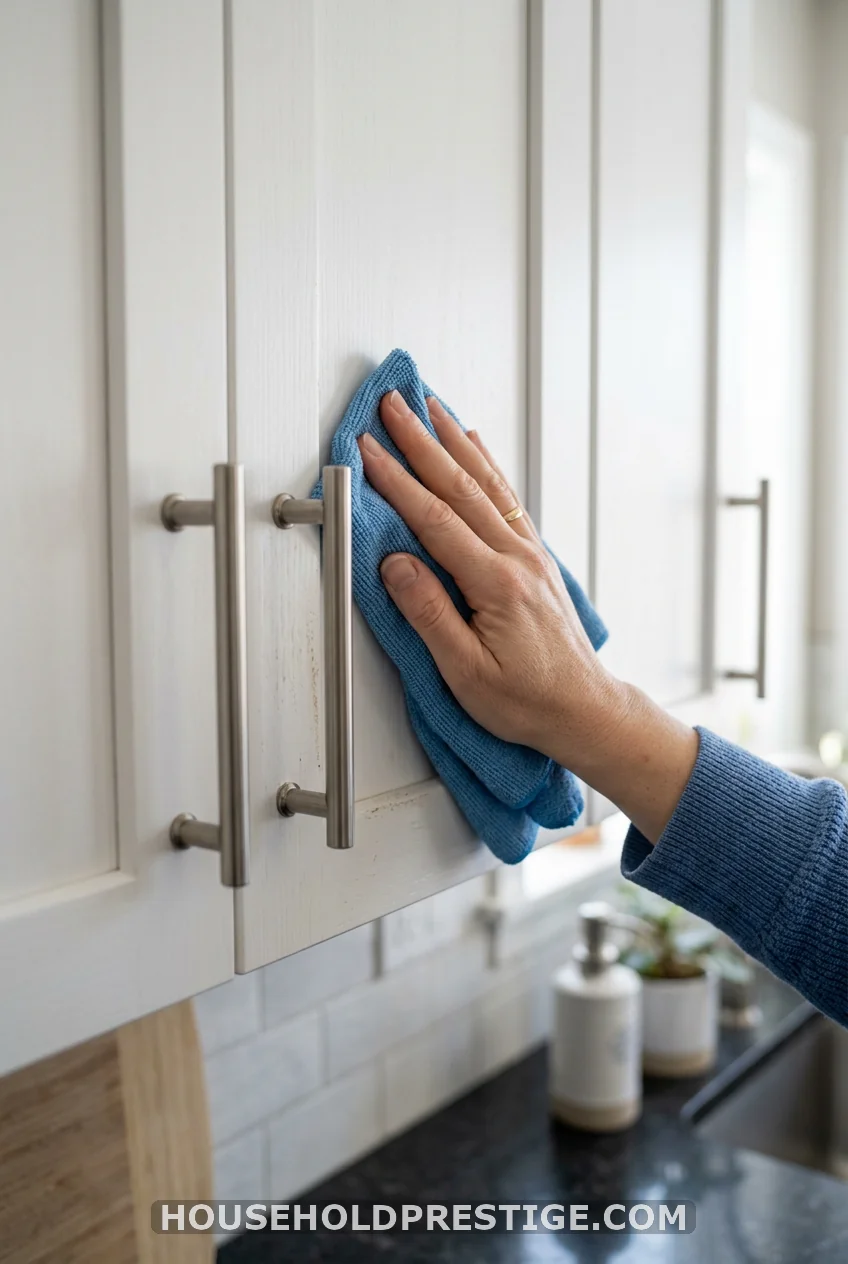
Cabinet fronts collect fingerprints, splatter, and a thin layer of grease you don’t notice until you touch it. Wipe every door and drawer front, paying extra attention to handles and the areas around the stove, where grease travels farthest.
For grease that won’t budge with plain water, mix a few drops of dish soap into warm water. Dish soap cuts grease better than most all-purpose sprays because that’s its actual job.
Zone 4: Countertops and Backsplash
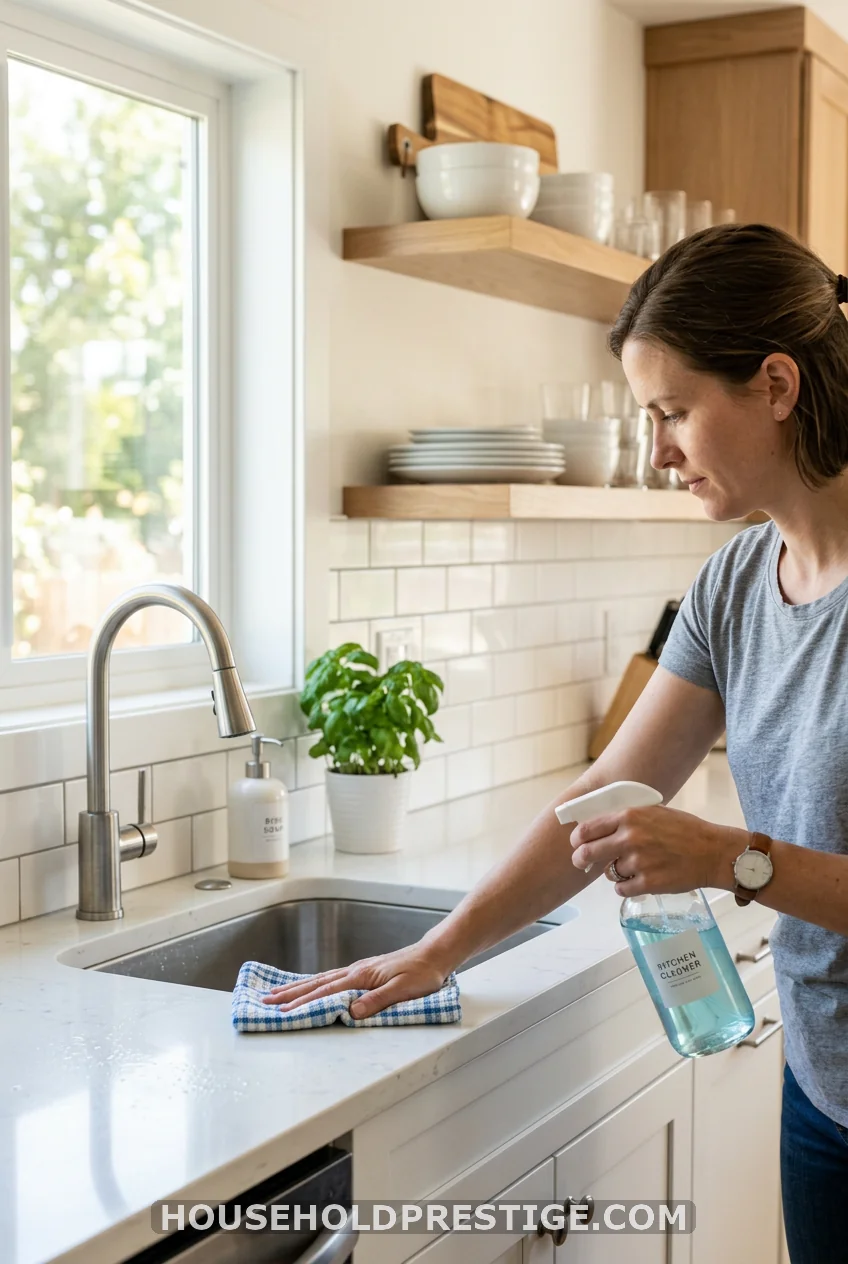
Clear counters, then spray and wipe down every inch, including the backsplash. Crumbs and splatter hide in the seam where counter meets wall more than anywhere else.
Check under any small appliances you moved earlier. Coffee makers and toaster ovens leave behind rings and crumbs that build up for months without anyone noticing.
Zone 5: Sink and Faucet
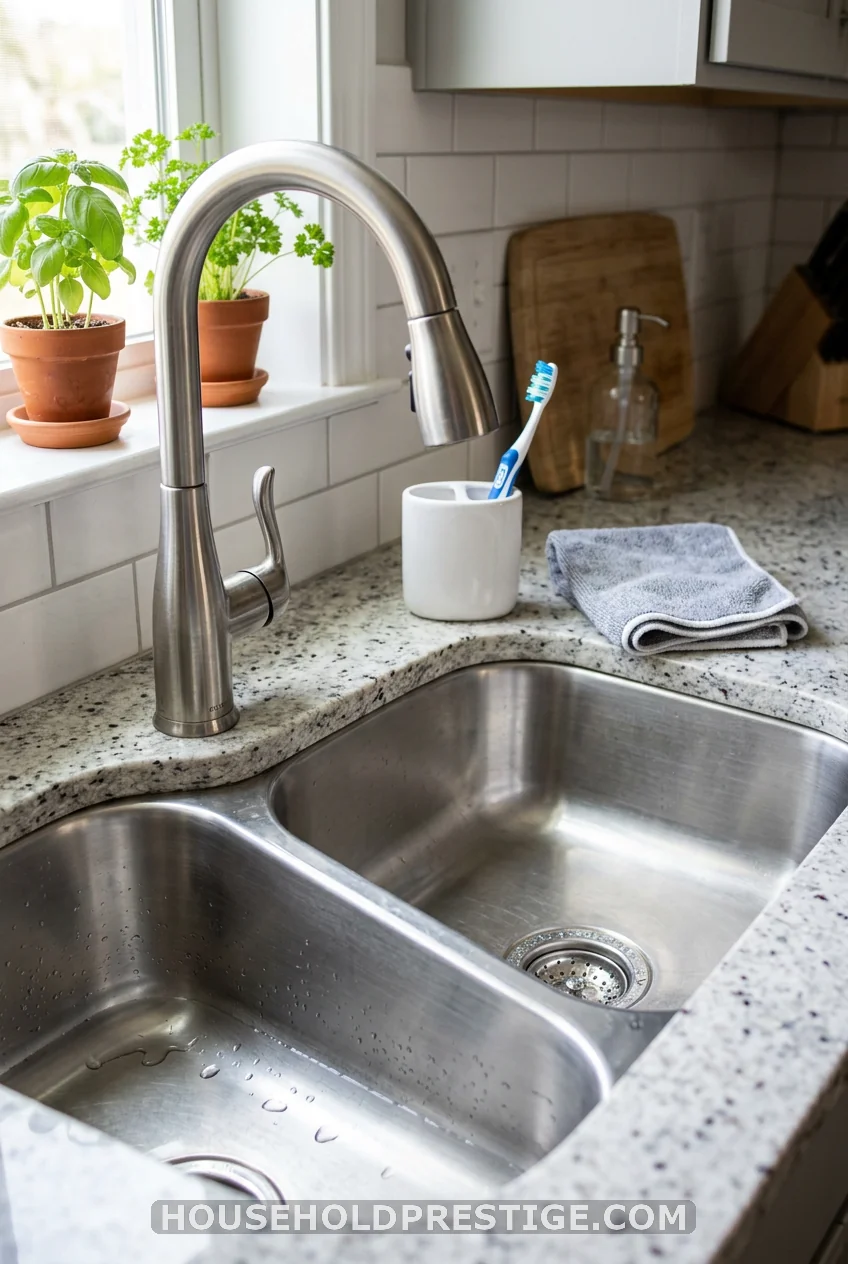
Your sink handles more bacteria than your toilet handles some weeks, so give it real attention.
- Scrub the basin with baking soda and a scrub brush.
- Use an old toothbrush around the drain, faucet base, and garbage disposal ring.
- Polish the faucet with a dry microfiber cloth to cut water spots.
If you have a garbage disposal, run ice cubes and a cut lemon through it. The ice knocks debris off the blades and the lemon handles the smell.
Zone 6: Inside the Fridge

Pull everything out, check dates, and toss what’s expired. Wash removable shelves and drawers in warm soapy water in the sink, then wipe down the interior walls with a vinegar-water solution before putting everything back.
Set a small open box of baking soda on a shelf when you finish. It absorbs odors for about a month before it needs replacing.
Zone 7: Oven, Stovetop, and Microwave
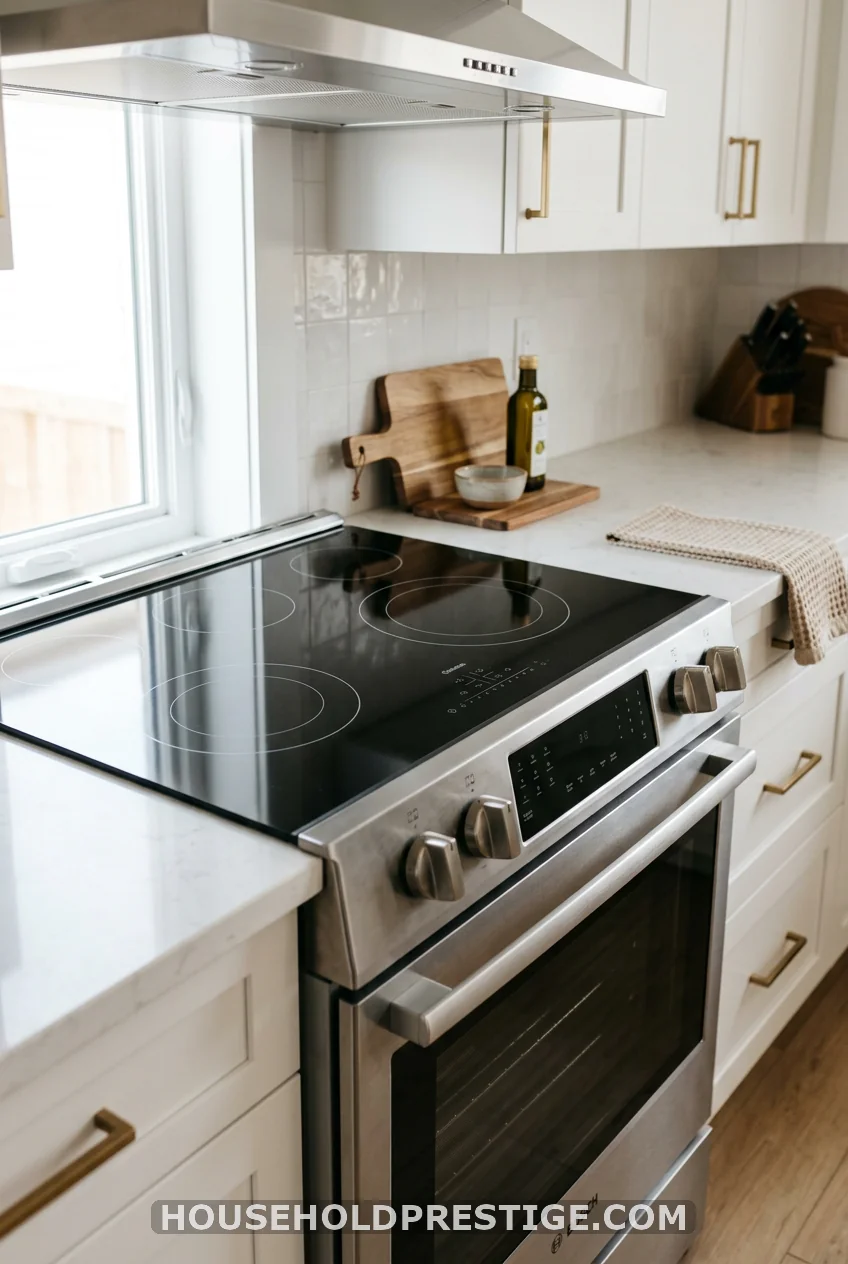
These three get the most cooked-on grime, so they need the most patience.
- Stovetop: Remove burner grates if applicable and soak in hot soapy water while you scrub the surface.
- Oven: Skip harsh oven cleaners if you’d rather avoid the fumes. A paste of baking soda and water, left to sit for a few hours (or overnight for heavy buildup), lifts baked-on grime with minimal scrubbing.
- Microwave: Heat a bowl of water with a splash of vinegar for three minutes, then let it sit for two more. The steam loosens splatter so it wipes away instead of requiring a scrub.
Zone 8: Small Appliances
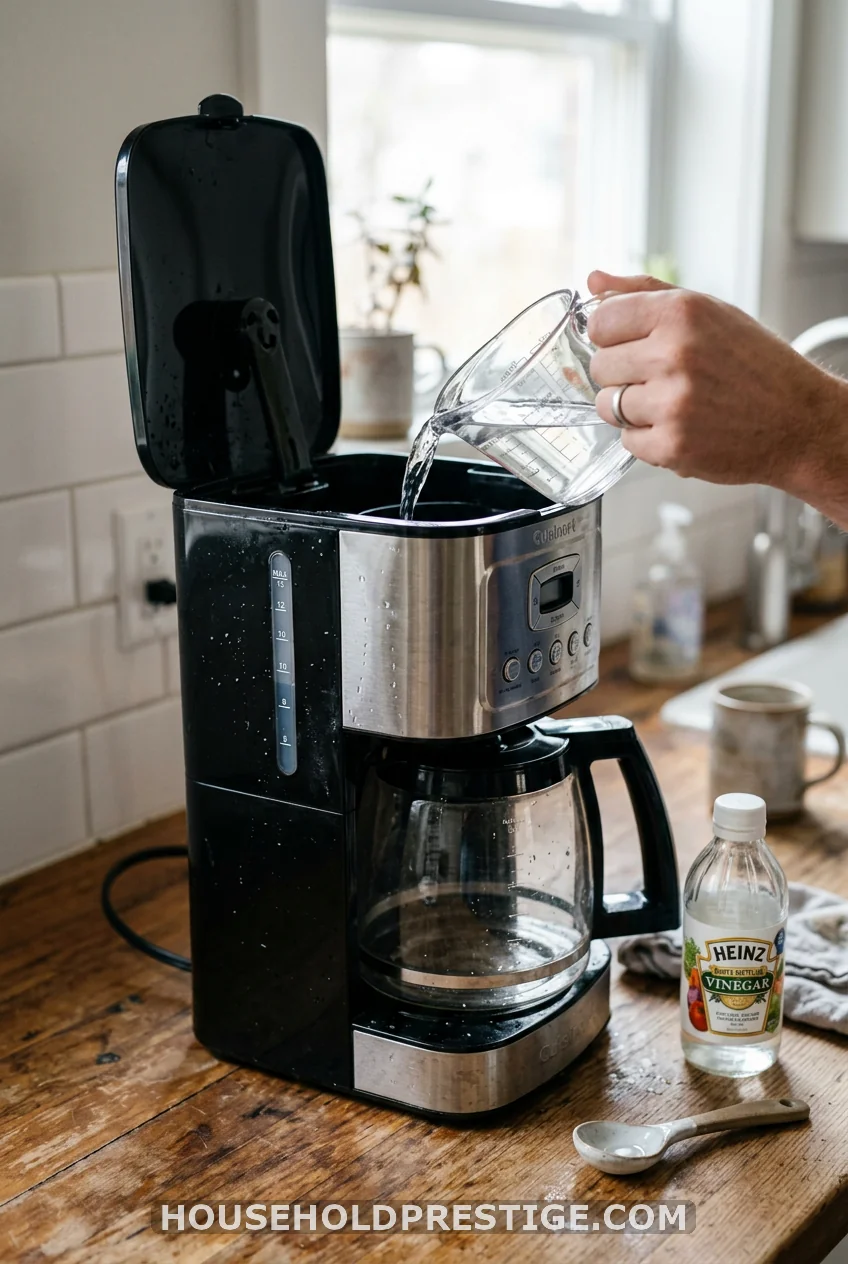
Coffee makers and kettles build up mineral deposits you can’t see but can definitely taste. Run a cycle of equal parts water and vinegar through your coffee maker, followed by two cycles of plain water to rinse. Descale your kettle the same way.
Don’t skip this zone. It’s the one every competitor guide we checked mentioned but almost nobody does.
Zone 9: Floors and Baseboards
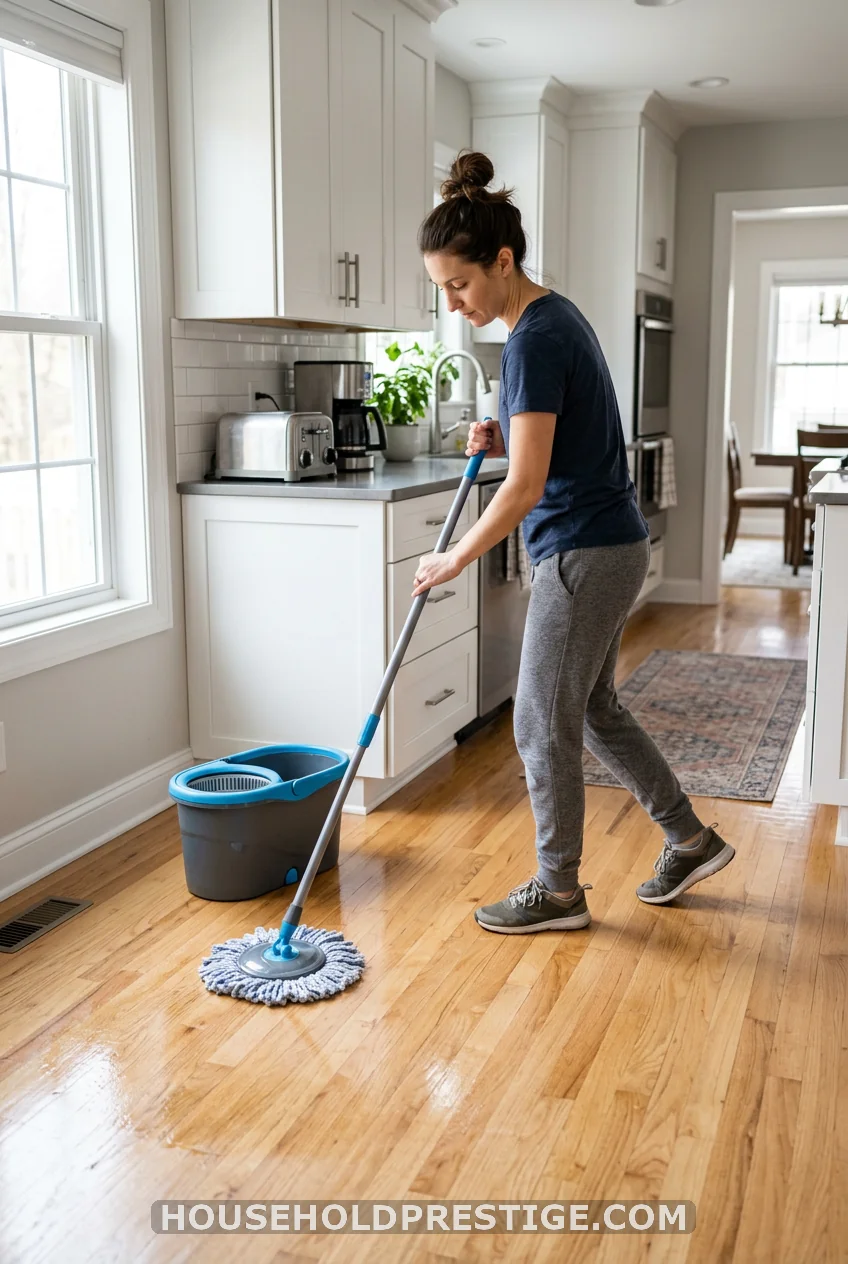
Move any furniture or floor mats, then vacuum or sweep thoroughly, including corners and under the toe kicks of your cabinets. Mop with a cleaner suited to your floor type, working from the far corner toward the doorway so you don’t clean yourself into a corner.
Wipe down baseboards while you’re down there. They collect a layer of dust that people forget since they sit below eye level.
Common Mistakes to Avoid
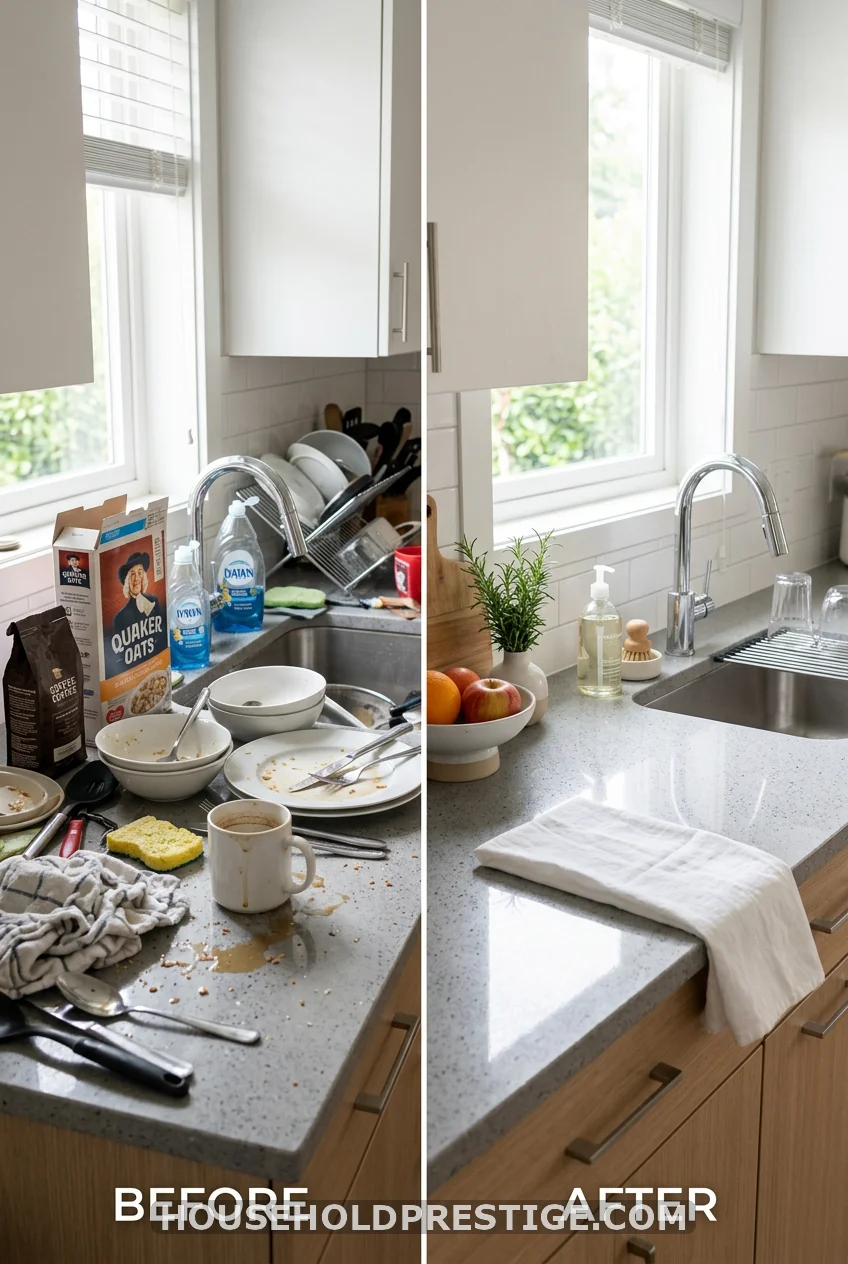
- Cleaning top to bottom out of order. If you mop before wiping cabinet tops, you’ll drop dust right back onto your clean floor.
- Skipping the “why” behind the wait time. Baking soda paste and vinegar steam both need sit time to work. Wiping too soon just smears grime instead of lifting it.
- Using the same cloth for grease and glass. Grease residue left on a cloth streaks glass and stainless steel. Keep a separate cloth for polishing shiny surfaces.
- Forgetting small appliances entirely. Coffee makers and toasters are some of the germiest spots in the whole kitchen, and they’re also the easiest to overlook.
You Did It
A deep-cleaned kitchen doesn’t stay spotless forever, and that’s fine. Wipe as you go during the week, and save this zone-by-zone plan for once every few months. You’ll spend less time each round because you’re not fighting months of buildup anymore.
Pour yourself something cold. You earned it.
Frequently Asked Questions
How often should you deep clean your kitchen?
Most homes do well with a deep clean every three to four months, with a full seasonal reset around spring and fall. Busy households that cook daily may want to bump that to every two months.
What’s the fastest way to deep clean a kitchen in one day?
Work in the zone order above, but set a timer for each zone, roughly 15 to 20 minutes, and move on even if a spot still needs a second pass. You can always circle back to a stubborn spot after the rest of the kitchen is done.
Do you need special products to deep clean a kitchen?
No. Dish soap, baking soda, and vinegar handle the vast majority of kitchen grime, from grease to mineral buildup to odors. Specialty products help with specific stubborn stains, but they’re not required for a solid deep clean.
What should you clean first when deep cleaning a kitchen?
Start high and work down: light fixtures and cabinet tops first, floors last. This keeps dust and debris from falling onto surfaces you’ve already cleaned.
How do you deep clean a kitchen with grease buildup?
Dish soap diluted in warm water cuts through grease better than most all-purpose sprays. For stubborn buildup on cabinet fronts or stovetops, let the solution sit for a minute before wiping instead of scrubbing immediately.