

Nobody wakes up excited to deep clean a bathroom. I get it. Between the grout, the toilet, and that mystery grime behind the faucet handles, it feels like a chore that eats your whole day.
Here’s the good news. It doesn’t have to.
A real deep clean just needs a plan. Work one area at a time, top to bottom, and the whole room falls into place in a couple of hours, not a whole weekend. That’s exactly what we’re doing today.
Grab your gloves. Let’s get your bathroom properly clean, the kind of clean where you want to linger in there.

Gather Your Supplies First
Before you touch a single surface, round up everything you need. Nothing kills momentum like dripping cleaner in one hand while you hunt for a rag under the sink.
Here’s what earns a spot in your cleaning caddy:
- An all-purpose spray cleaner
- A toilet bowl cleaner and a toilet brush
- White vinegar and baking soda
- Microfiber cloths (a stack of them, not just one)
- A scrub brush or old toothbrush for grout
- Glass cleaner for mirrors and windows
- Rubber gloves
- A mop and broom, or a vacuum with a hard-floor setting
Load it all into one bucket or tote. Carry that single tote from your bathroom door to your bathroom sink, and you’ll never make the trip back downstairs for a forgotten sponge.
Pro tip: Keep a dedicated caddy just for bathroom cleaning, separate from your kitchen supplies. Store it under one bathroom sink so the whole kit is ready the second you decide to tackle this. A ten-second setup beats a ten-minute scavenger hunt every time.
One more habit worth stealing: work from the ceiling down. Dust and grime fall as you clean, so tackling the floor first just means redoing it later. This single rule saves more time than any product on your shelf.
Start High: Fans, Vents, and Light Fixtures
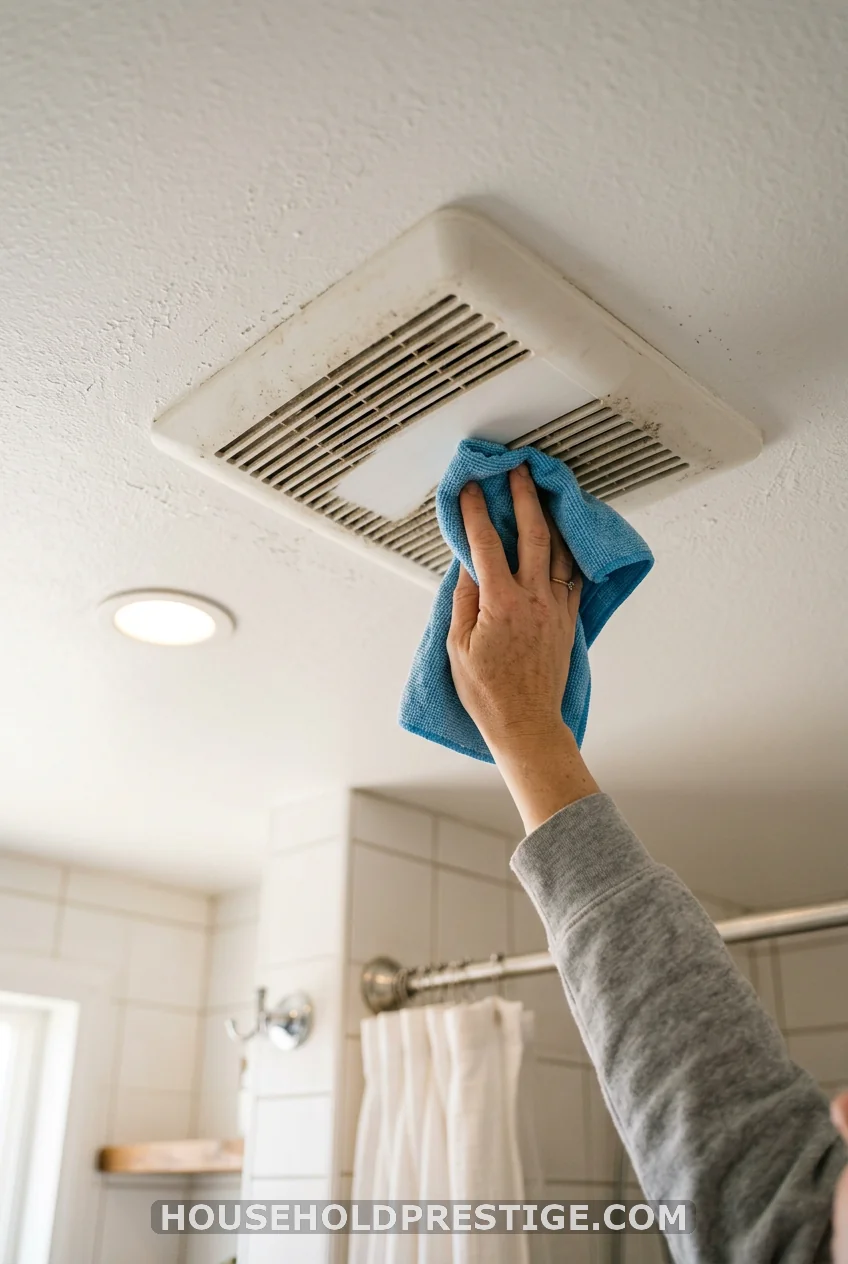
Bathroom dust is sneaky. It collects on your exhaust fan cover and light fixtures long before you notice a single speck on the counter below.
Turn off the power at the switch, then pop off the fan cover and wipe it down with a damp microfiber cloth. If it’s caked in dust, a quick rinse in the sink handles it. Dry it completely before you put it back.
Do the same with your light fixtures. A dry cloth for the bulbs, a damp one for the glass covers. This step takes five minutes and instantly brightens the whole room.
Windows, Mirrors, and Blinds
Bathroom mirrors take a beating between toothpaste flecks, hairspray fog, and daily fingerprints. Spray your glass cleaner and wipe in one direction, top to bottom, so you’re not just pushing streaks around.
For the window, spray the glass and wipe with a microfiber cloth. Then run a damp cloth along the sill and frame, since that little ledge collects more dust than people expect.
Got blinds? Close them flat, then wipe each slat with a damp cloth folded around your fingers like a mitt. It’s slower than a duster, but it lifts the grime instead of just moving it around.
The Tub and Shower: Where the Real Grime Lives
This is the section that decides whether your bathroom feels deep cleaned or just tidied. Spray an all-purpose cleaner across the walls, tub, and shower door, then walk away for five to ten minutes. That waiting time does the heavy lifting for you.
Tackling Soap Scum and Grime
Come back and wipe everything down with a microfiber cloth. For soap scum that won’t budge, switch to a paste of baking soda and a little water, scrubbed on with a brush, then rinsed clean.
Grout and Mold
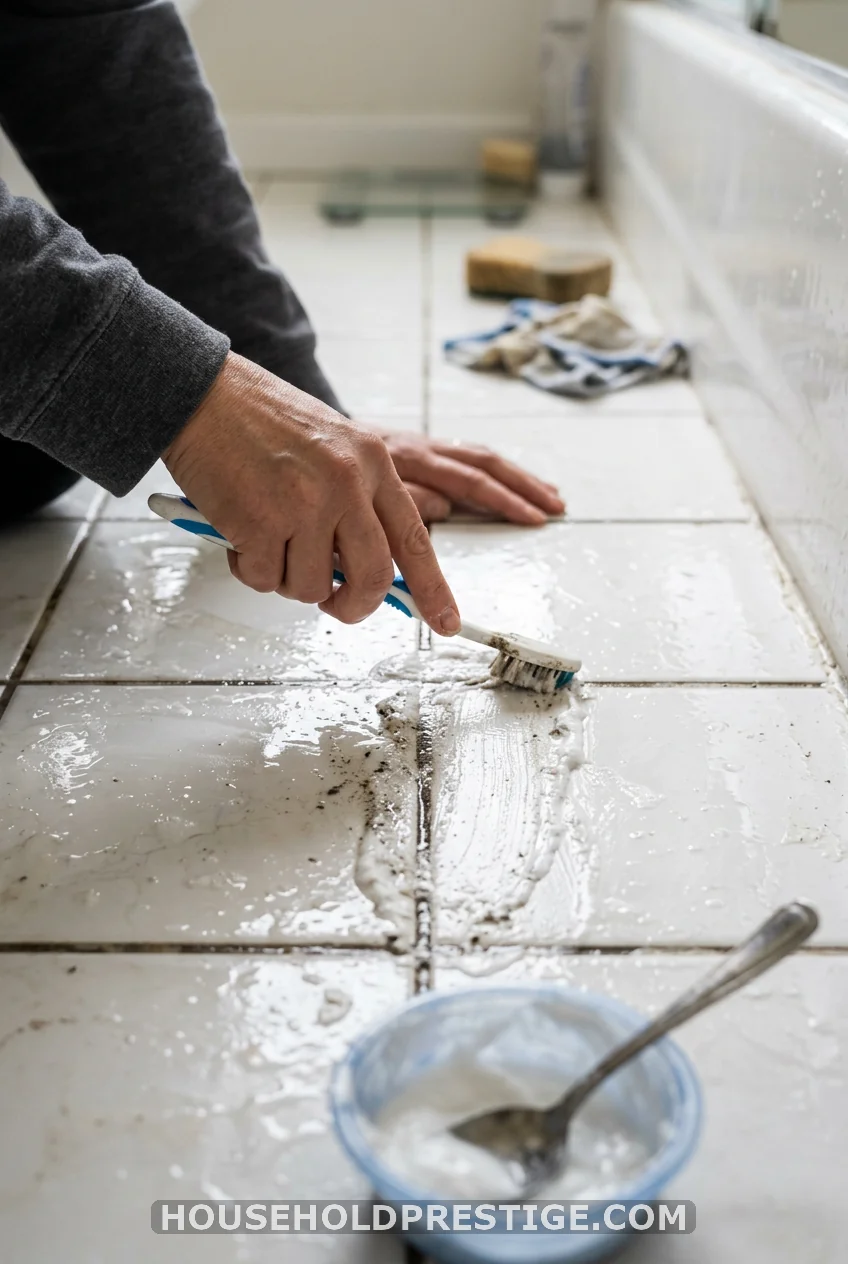
Grout hides mold more often than tile does. Mix baking soda and vinegar into a paste, spread it into the grout lines, and let it sit for fifteen minutes before scrubbing with an old toothbrush. Rinse well and let the area air out with a fan or open window.
Hard Water Stains on Glass Doors
If your shower door has that cloudy white film, skip the scrubbing entirely. Soak a cloth in white vinegar, lay it against the glass for ten minutes, then wipe clean. The buildup lifts off with barely any effort.
Caulk and Silicone Seams
The seam where your tub meets the tile traps mildew faster than almost any other spot. Spray it with a diluted bleach solution or a vinegar and water mix, then let it sit for ten minutes before scrubbing with an old toothbrush.
If the caulk looks gray or black no matter how hard you scrub, it’s time to strip it out and re-caulk. A tube of mildew-resistant silicone caulk costs around ten dollars and takes about twenty minutes to apply, and it stops that recurring mildew problem at the source instead of fighting it every deep clean.
Sink, Countertop, and Cabinets
Spray the sink and countertop with your all-purpose cleaner, let it sit a minute, then wipe with a clean cloth. Pay attention to the base of the faucet, where toothpaste and soap residue like to hide.
Every few months, pull the handles off your faucet and give the crevices underneath a deeper clean. That’s where mineral buildup and grime accumulate out of sight.
Open the cabinet doors next. Wipe shelves down with a damp cloth, and toss anything expired while you’re in there: old bottles of half-used lotion, a razor that’s seen better days. A deep clean is also a small reset for what you’re storing.
Cost reality: You don’t need fancy bins to make this cabinet stay tidy after your deep clean. A pack of clear stackable containers runs about fifteen to twenty dollars and keeps half-used products from tipping over every time you open the door. Group items by purpose, morning routine on one shelf, first aid on another, so cleanup day doesn’t come back around in three weeks.
The Toilet, Done Right
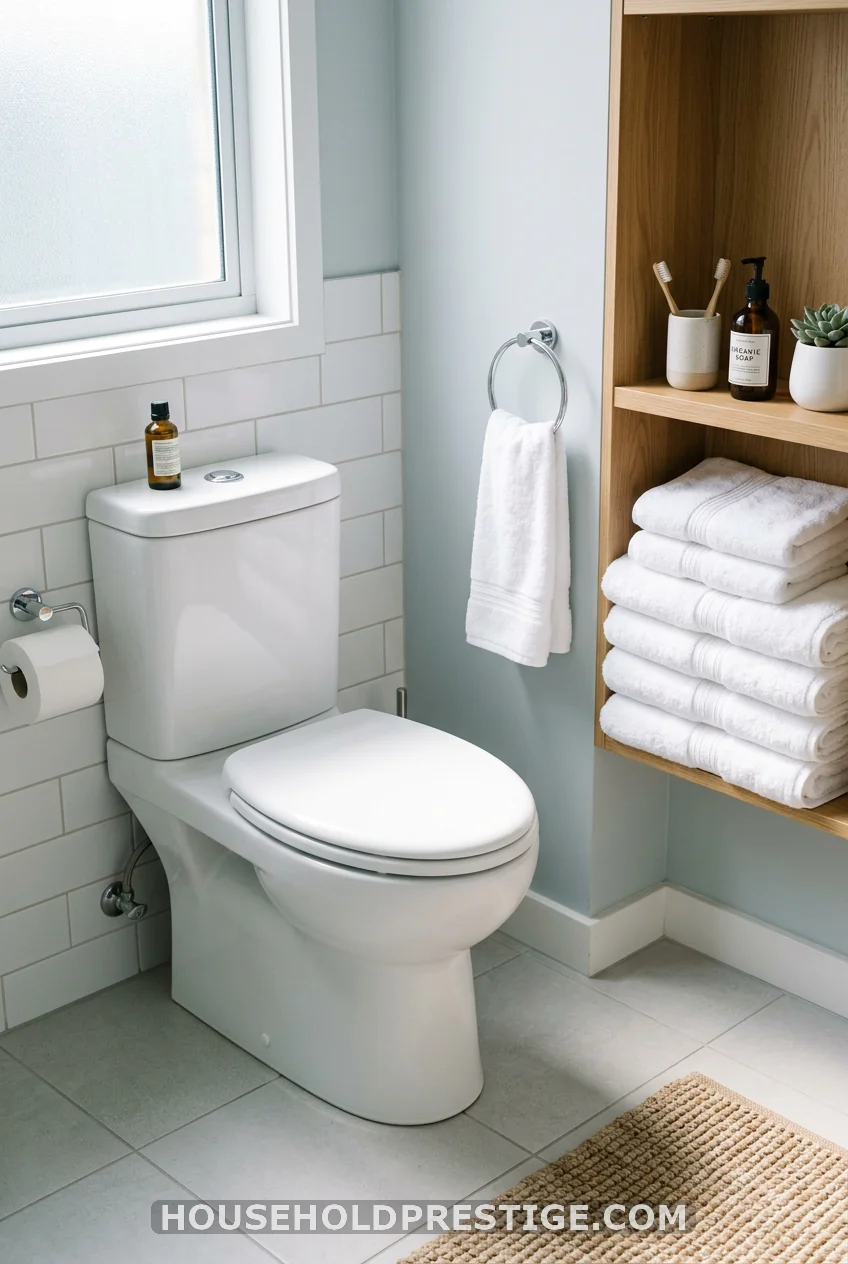
Nobody loves this step, so let’s make it quick and thorough. Squirt toilet bowl cleaner under the rim and let it sit while you handle the outside.
Wipe down the tank, lid, seat, and base with a disinfecting wipe or an all-purpose spray on a cloth. Don’t skip the hinges, since grime loves to settle right there. Finish by scrubbing the bowl with your toilet brush and flushing.
If you’re dealing with stubborn rings or hard water stains inside the bowl, pour in a cup of vinegar, let it sit for thirty minutes, then scrub. No harsh scrubbing marathon required.
The catch: Most people forget the tank. Lift the lid and check for black grime along the waterline. Pour in a cup of white vinegar, let it sit for an hour, then run the flush a couple of times. That grime builds up slowly, so once every deep clean is plenty.
Don’t Skip the Fabrics
Here’s a step that gets missed constantly. Shower curtains, bath mats, and window curtains hold onto moisture, which means they hold onto mildew, too.
Toss what’s washable into the laundry on the hottest setting your fabric tag allows. Use the sanitize cycle if your machine has one. A vinyl shower liner does better with a gentler wash, then hung right back up to air dry instead of going in the dryer.
While those are washing, give your towels the same treatment. A deep clean bathroom with a dingy, damp towel hanging on the hook doesn’t feel finished, no matter how spotless the tile is.
Floors Last, Always
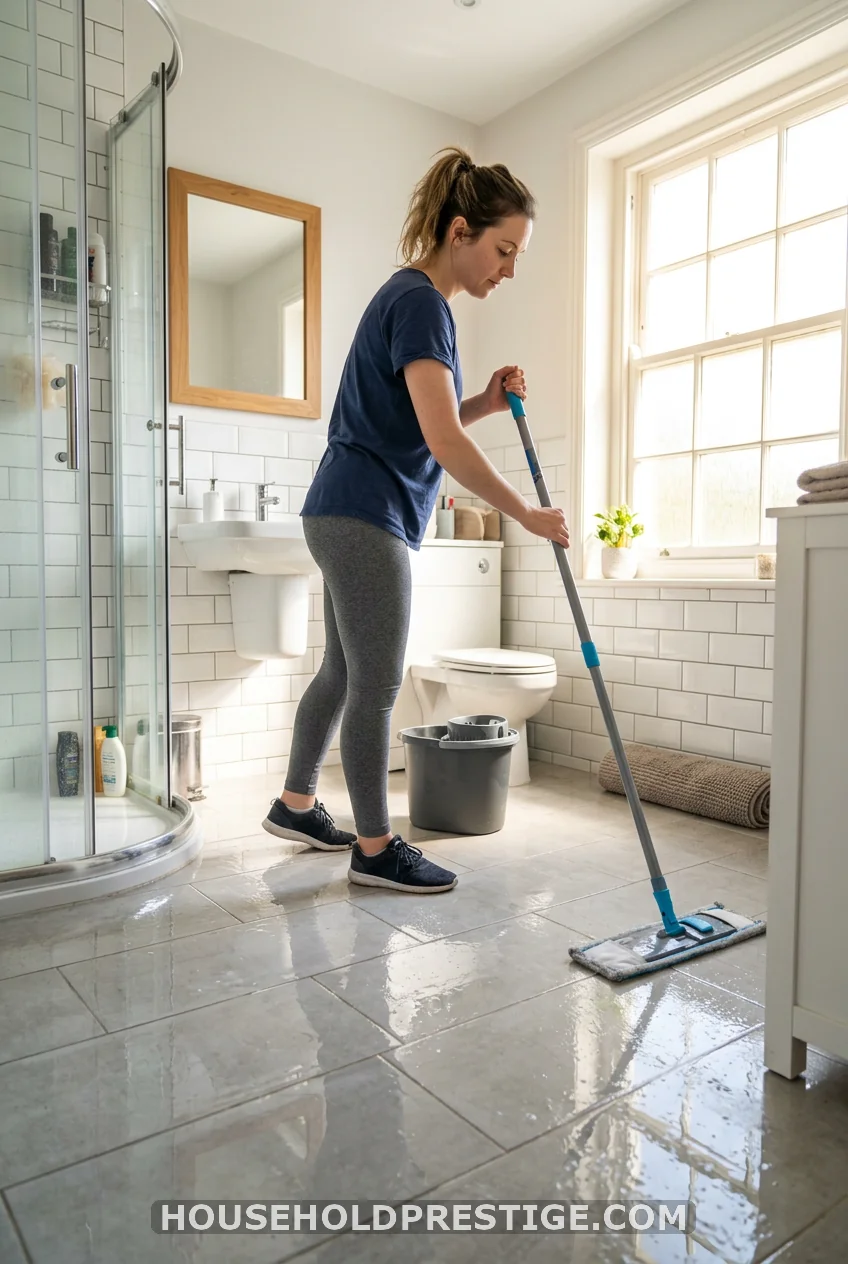
Once every surface above is done, move to the floor. Sweep or vacuum first to catch hair, dust, and any grit tracked in from the shower.
Mop with a floor cleaner suited to your surface, tile and vinyl each have their own preferences, so check what you’re working with. Pay extra attention to the corners near the toilet base and behind the door, spots that get skipped in a regular weekly wipe-down.
Let the floor air dry completely before anyone walks through in socks.
Common Deep-Clean Mistakes to Avoid
A few habits quietly undo all that hard work. Watch out for these:
Skipping the wait time. Cleaners need a few minutes of contact time to break down grime properly. Spraying and immediately wiping wastes half the product’s power.
Mixing cleaners you shouldn’t. Never combine bleach with vinegar or ammonia-based products. The fumes are dangerous, not just unpleasant.
Cleaning top to bottom, except the floor. If you mop before you wipe the counters, you’re just tracking dust right back onto a clean floor.
Forgetting ventilation. Run the fan or crack a window while you clean, especially around bleach or strong chemical cleaners.
How Often You Really Need to Do This
A full deep clean like this one works best once a month, or once each season if your household is small and the bathroom doesn’t see heavy traffic. Between deep cleans, a quick weekly wipe of the sink, toilet, and mirror keeps grime from building back up.
Think of the deep clean as a reset button. The weekly wipe-downs are what keep that reset lasting.
You’ve Got This
A deep-clean bathroom doesn’t require a professional or a whole free day. It just needs a system, gathered supplies, a top-to-bottom order, and a little patience while your cleaners sit and do their job.
Next time the bathroom starts feeling grimy, you’ll already know exactly where to start and how long the whole job takes. That alone makes the task feel a lot less daunting.
Frequently Asked Questions
How long does it take to deep clean a bathroom?
Most bathrooms take one and a half to two hours for a full deep clean, including wait time for cleaners to break down grime. A half bath with no tub goes faster, often under an hour.
What’s the best homemade cleaner for a deep clean?
A mix of white vinegar and baking soda handles most bathroom grime, from grout to soap scum to toilet rings, without harsh chemical smells.
Should I clean the toilet or the tub first?
Work top to bottom by height, not by fixture. Ceiling and fan first, then mirrors and windows, then tub and shower, then sink and toilet, and floors last.
How do I get rid of mold in bathroom grout for good?
Scrub with a baking soda and vinegar paste, then keep the area ventilated after every shower. Mold needs moisture to return, so a fan or cracked window after bathing goes a long way toward prevention.
Can I deep clean a bathroom without harsh chemicals?
Yes. Vinegar, baking soda, and dish soap handle nearly every bathroom surface, including grout, glass, and toilet bowls, without bleach or ammonia-based products.