

“You made that? Where did you buy it?”
My sister said it while staring at the wall above my sofa. I hadn’t bought it. It was a branch from the beach, about $14 of cotton cord, and one rainy Saturday. This wall hanging craft is that exact piece, broken into steps you can follow without a kit.
You’ll get the cord math, the knots, the hanging hardware, and three budget swaps (paper, cardboard, felt) if you’d rather skip the macramé. Plan two to four hours, split over two sessions.
What You’ll Need (and What You Can Skip)
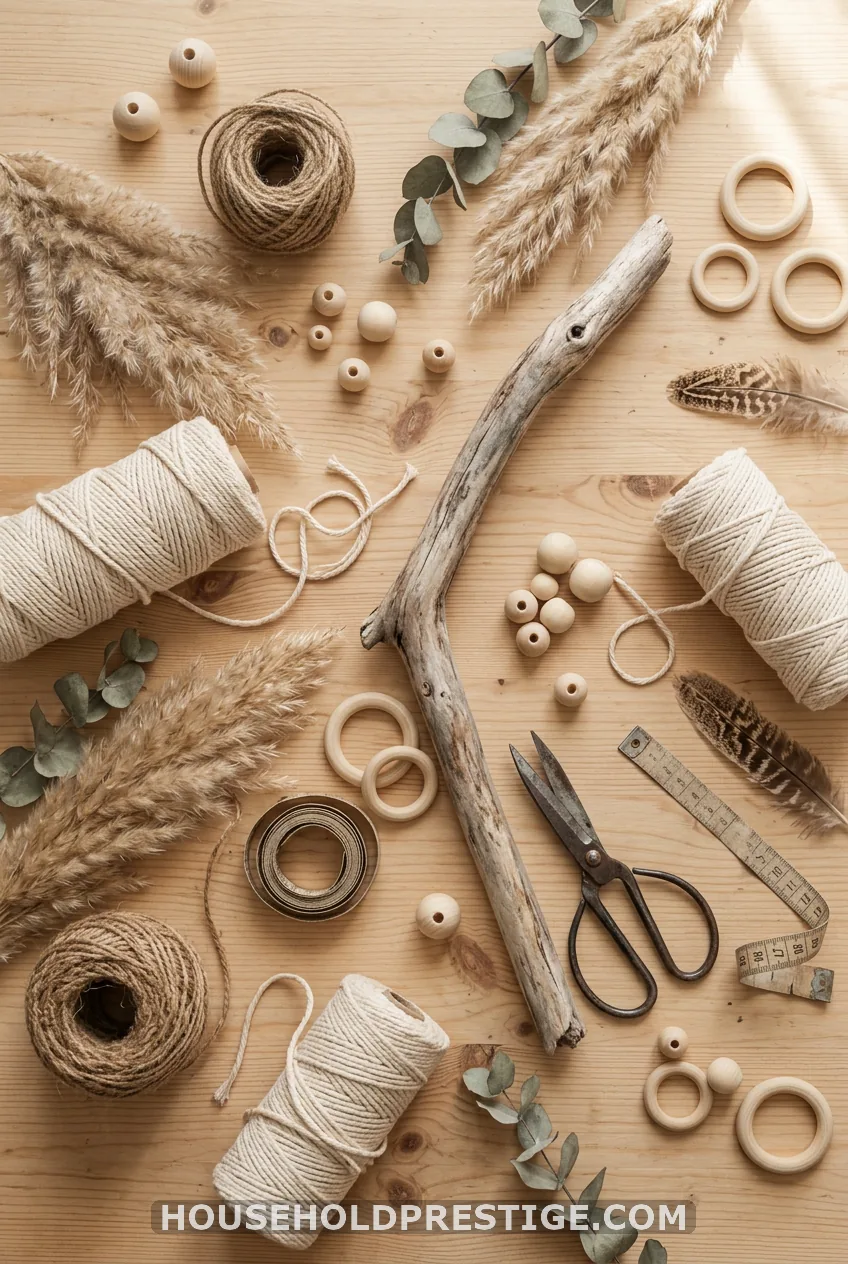
Here is the full list, grouped by job.
Base
- One driftwood branch, about 30 in / 76 cm long
- Scissors and a measuring tape
Cord
- 3mm cotton macramé cord for the main strands
- 4mm cotton cord for the center pattern if you want chunkier knots
- 5mm cord for a few bold accent strands
- 2mm jute cord for texture
Embellishments
- Wooden beads in mixed sizes (check the hole fits your cord)
- Two or three wooden rings
- A few wooden pendants
- Feathers
- Dried pampas grass, wheat or oats
- Eucalyptus or ruscus
- One crystal or stone pendant
- Sari silk ribbon or fabric strips
- A tapestry needle and hot glue (both optional)
The branch, cord and scissors are structural. Everything else is decoration. If your budget is tight, skip the pendant, the ribbon and the glue, and use jute in place of extra cotton.
Prep the Driftwood and Plan Your Layers
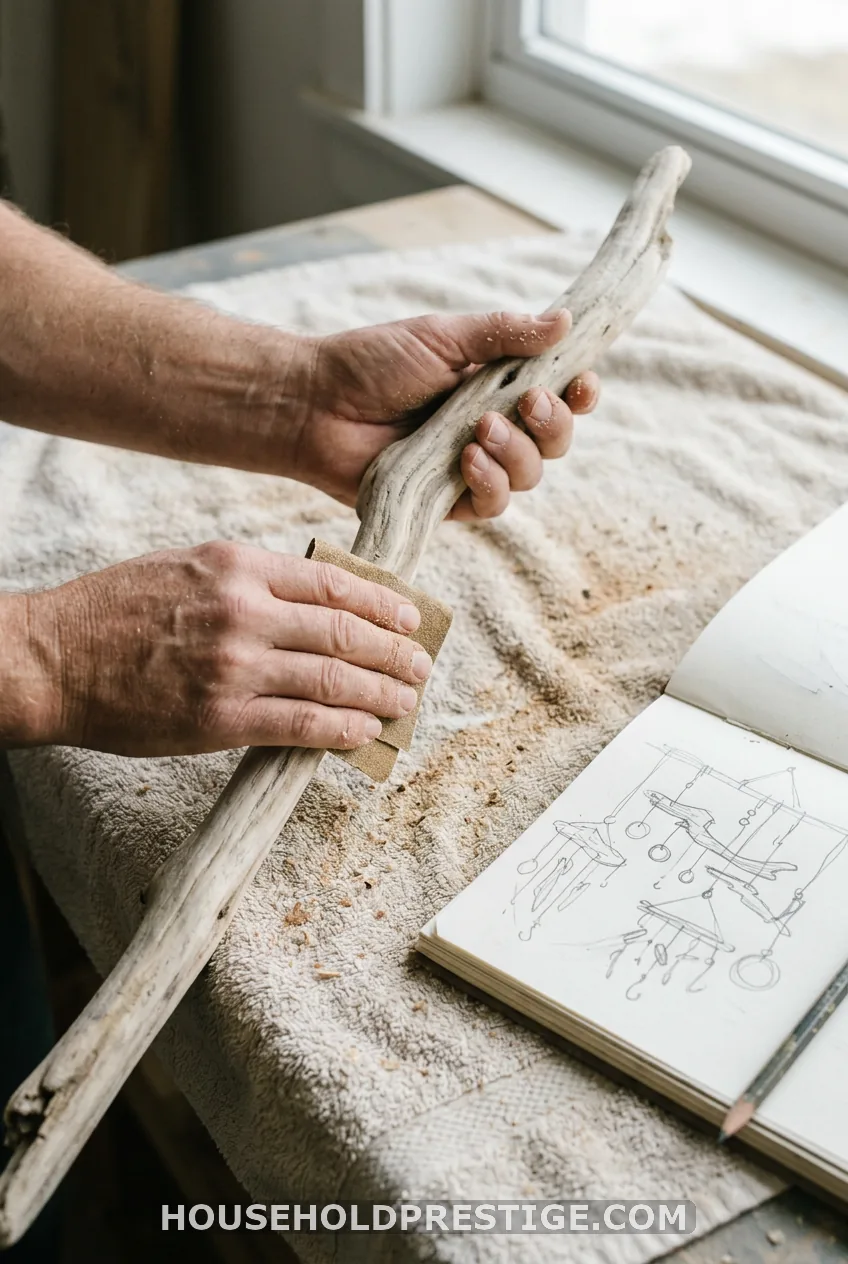
Step 1: Prep your driftwood
Wipe the branch with a damp cloth and let it dry fully. Sand any splintery spots with 120-grit paper. Then brush on a light coat of clear matte sealer so it won’t shed bark or stain your wall.
Pick a branch with a gentle curve and a bit of texture. For hanging over a sofa or bed, aim for a branch that spans about 60 to 75 percent of the furniture’s width. A 30 in branch suits a 40 to 48 in sofa section.
Test the balance before you start. Tie a loop of cord at each end, lift the branch, and slide the loops until it hangs level. Mark those spots with pencil.
Step 2: Plan the layout
Sketch before you cut anything. I use three layers:
- A dense knotted pattern in the center.
- Mid-length strands with beads.
- Long, floaty strands with grasses and feathers.
Use odd numbers of elements, like 3 or 5 feathers, and vary every length. Even numbers and matching lengths look stiff. Odd and uneven looks organic.
Pick one focal point too. A crystal, a wooden ring in the middle of a diamond, or a feather fan all work. Choose one so the eye has a place to land.
Calculate, Cut, and Mount Your Cords
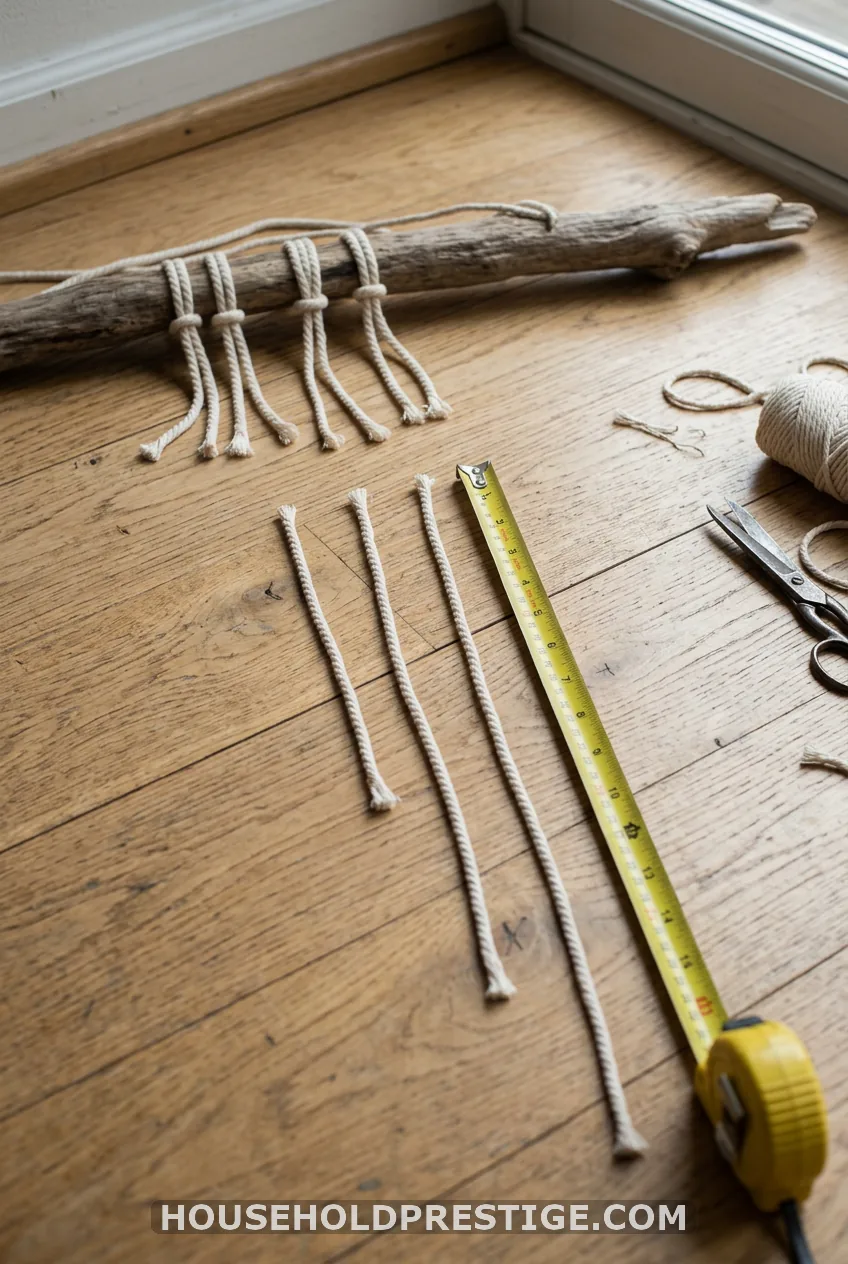
Step 3: Do the cord math
Beginners fail here more than anywhere. Two rules help:
- A lark’s head knot folds each cord in half, so one cut cord gives you two hanging strands.
- Knotted sections eat cord. Plan on 2 to 2.5 times the length for any part you knot.
For a 30 in branch and a hanging about 24 to 30 in long, cut these:
- Center pattern layer: 6 cords at 90 in
- Bead layer: 9 cords at 48 in
- Grass and feather layer: 6 cords at 60 in
That’s 21 cords, or about 111 ft. Cut one extra per layer as well, which adds about 16 ft more. The total lands near 128 ft.
Keep every offcut. If a strand runs short, you can knot on a patch cord and hide the join under a bead or a wrap.
Step 4: Attach with lark’s head knots
Fold a cord in half. Lay the loop over the branch from front to back. Pull the two tails through the loop and tighten.
Leave 3 in bare at each end. That gives you 24 in for 21 knots, so space them about 1 in apart. Mark the spots with a pencil first so the knots don’t bunch at one end.
Keep every knot facing the same way. Mount all of them from the front, or all in reverse. Mixed directions make a messy top line.
Build the Center Pattern, Then Add Beads, Rings, and Pendants
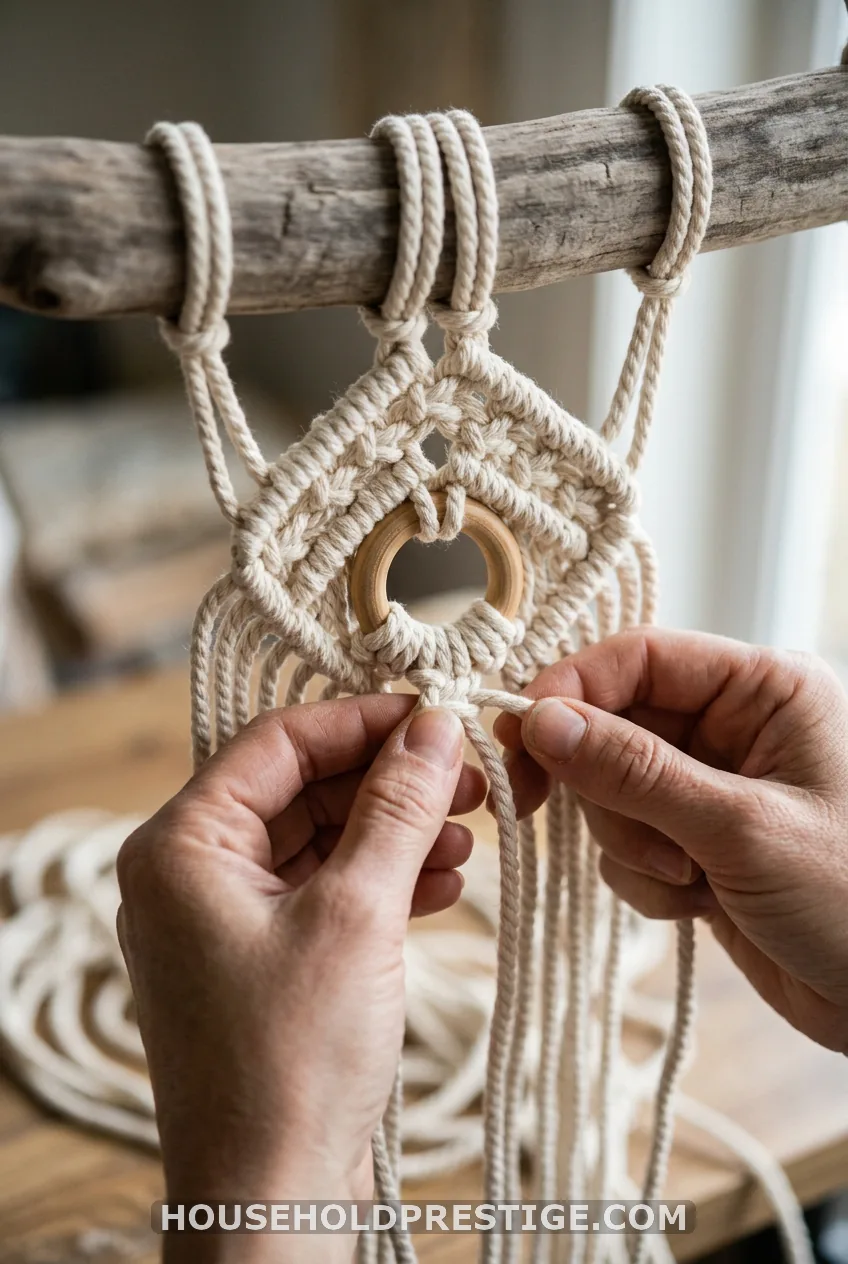
Step 5: Knot the central pattern
Choose one of three beginner-safe patterns: diamond, chevron or mini mandala. I’d start with the diamond.
Use your 6 center cords (12 strands). Work square knots in groups of four strands. Row one has three square knots side by side.
Row two shifts over with two knots, and row three has one knot at the point. Mirror it back out with double half hitches along a diagonal to close the shape.
Add at least five or six rows before you judge it. Two rows look like a mistake. Six rows look like a design.
Keep tension even. Pull each knot with the same firm tug. If one knot is loose, undo it right away rather than hoping it will hide.
To add a ring, thread the center strands through a wooden ring in the middle of the diamond and knot beneath it.
Step 6: Add beads, rings, and pendants
Thread beads onto your working strands without untying anything. Wrap a bit of tape around the cord tip, or use a tapestry needle to pull it through. Fresh cord frays, so a taped tip saves time.
Place wooden rings where cords gather, so the ring holds its shape under the weight. Stagger the beads so they sit at different heights on neighboring strands.
For the crystal or stone pendant, tie it to a center strand with a wrap knot. Wind a cord tail around the stem five or six times and tuck the end through the loop. Hang it as the center drop.
Layer In Greenery, Feathers, Ribbon, Then Trim and Hang
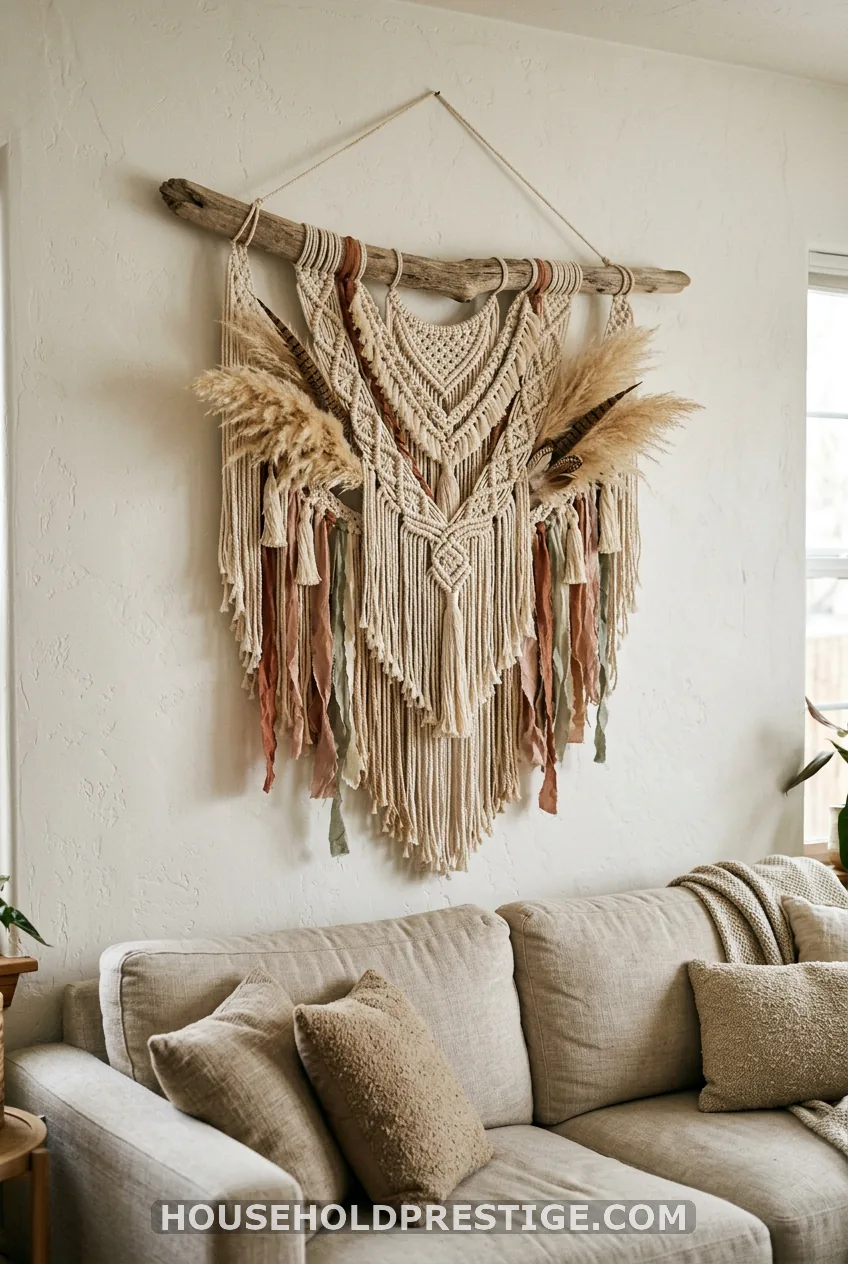
Step 7: Add grasses, feathers, and ribbon
Tie pampas, wheat, oats, eucalyptus or ruscus into the long layer with a plain overhand knot. Put the stems in sets of 3 or 5 and vary the heights.
Mist dried plumes with hairspray first and let them dry fully. That cuts shedding. Don’t hang the finished piece in a bathroom, where humidity wilts dried grasses.
Add feathers at three different lengths for movement. Finish with sari silk ribbon or fabric strips knotted in beside the cords.
Step 8: Trim, balance, and secure ends
Hang it first, then trim. Seeing it on the wall shows you every lopsided spot.
Cut the ends in a soft V or at an angle, not a blunt line. Comb out the cord tips with your fingers or a pet brush for a fringe. Dab a bit of hot glue or clear nail polish on any knot that wants to slip.
Step 9: Hang it so it stays
Match the hardware to your wall:
- Drywall: a nail and a D-ring hanger on the back of the branch
- Plaster or brick: a sawtooth hanger and a masonry nail
- Rental walls: a Command hook rated to 5 lb
- Heavy or large pieces: a ceiling hook and two lengths of cord
This piece weighs around 1 to 3 lb. Skip pushpins. A pushpin pulls out, and a nail doesn’t.
Hang it so the center sits at eye level, or 6 to 8 in above the top of the sofa or headboard.
Budget Swaps for Kids and Classrooms, Plus Fixes for Common Mistakes
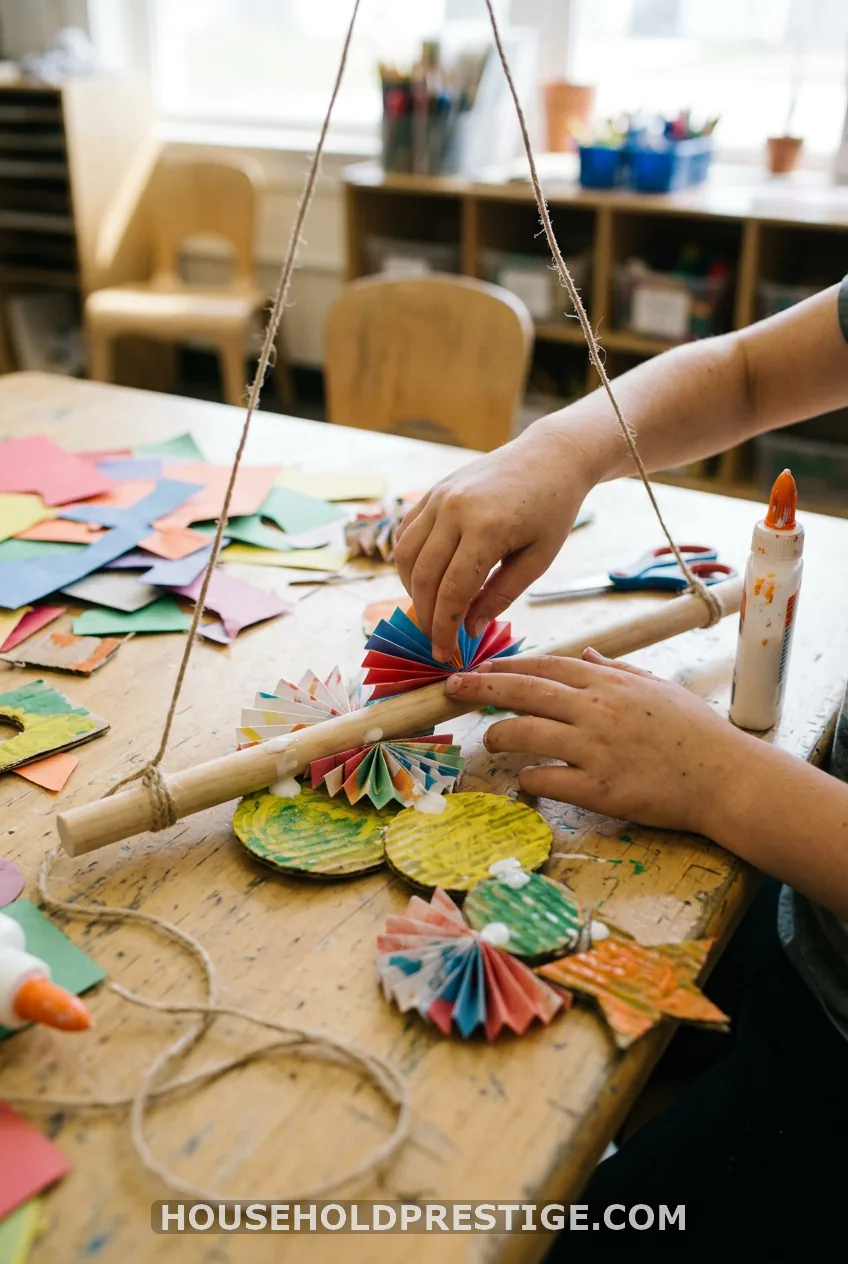
Paper, cardboard, and felt versions
Same layered look, no knots needed.
- Paper: Fold cardstock into fans or cut tulip shapes. Glue them in overlapping layers along a string garland or a wooden dowel.
- Cardboard: Cut corrugated shapes, paint them, and stack them on twine from short to long.
- Felt: Cut circles and leaves, then stitch or glue them onto a dowel.
A class period of 30 to 45 minutes works if you precut the shapes. Allow 15 more minutes for glue to dry. Kids need only blunt scissors, glue and string. Keep an adult in charge of any hot glue, and skip beads and small pendants for children under four since they are choking hazards.
Common mistakes and fixes
- Cords too short: knot on a patch strand and hide the join under a bead.
- Lopsided pattern: the cause is usually uneven tension. Undo the last row and retie it with a steady pull.
- Branch sags under heavy bead clusters: move the beads toward the center and add a second hanging cord.
- Dust and fading: shake it outdoors, use a hairdryer on cool, and keep it out of direct sun. Spot-clean felt and paper with a dry cloth.
Your Turn
You now have the full build: prepped branch, cord math, mounting knots, a center pattern, details, and a hang that holds. If you’re short on time, the paper or cardboard route gives you the same layered look in under an hour.
Which version will you start with: the boho macramé or the paper one?
FAQ
How much macramé cord do I need for a wall hanging?
Cut each strand about 2 to 2.5 times its finished length. A 30 in driftwood branch with three layers uses roughly 120 to 160 ft of 3mm or 4mm cotton cord. Always cut one spare cord per layer.
What size cord is best for a first wall hanging?
3mm or 4mm cotton cord is the sweet spot. The knots show clearly, and the cord is still thin enough for a diamond pattern. Save 5mm for chunky designs and 2mm jute for accent strands.
How do I hang a heavy wall hanging without nails?
Use a Command hook rated well above the piece’s weight. Most driftwood macramé pieces weigh 1 to 3 lb, so a hook rated to 5 lb is safe on painted drywall. For anything heavier, use a ceiling hook.
How do I stop dried pampas grass from shedding?
Mist the plumes lightly with hairspray and let them dry fully before you tie them in. Keep the piece out of busy doorways, direct sun and humid rooms.
Can kids make a wall hanging craft for school?
Yes. Swap the cord for paper or cardboard cutouts, yarn and a wooden dowel. A layered paper fan or cardboard stack takes 30 to 45 minutes and needs only scissors, glue and string.