

You know the pile. It starts with one basket by the dryer. Then it’s two. Then it’s a small mountain range of mismatched hampers, and you’re stepping over Everest just to start a load.
Laundry room basket storage sounds like a simple problem. Buy a basket, put it somewhere. But if that worked, you wouldn’t be here.
Here’s what you’ll walk away with: a handful of real storage systems, sorted by how much time and money you want to spend, plus the routine that keeps them from sliding back into chaos. No gutting your laundry room required.
The Real Problem Isn’t the Basket
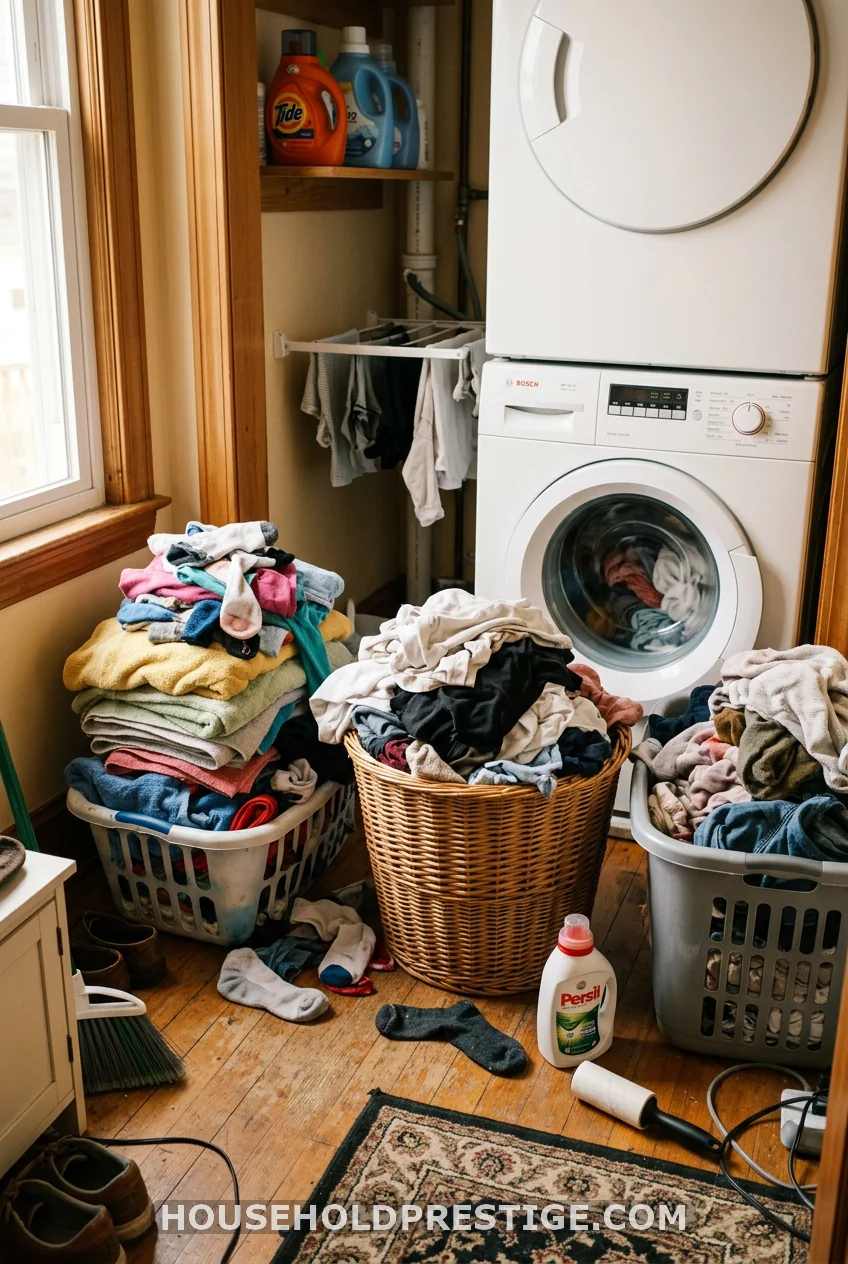
Let’s name it honestly. Your baskets don’t have a home. That’s the whole issue.
A basket without an assigned spot is just a floor decoration that occasionally holds clothes. It gets kicked, it gets tripped over, and it multiplies. You buy a second one for towels. A third one shows up for the kids’ stuff. Nobody decided this. It just happened.
I did this in my first house. Four baskets, zero system, one very annoyed husband who kept asking why we needed a machete to reach the dryer.
Why Laundry Baskets Take Over (Even in Big Spaces)
More space doesn’t fix this. I’ve seen huge laundry rooms with walk-in closets attached that still end up basket-jammed, because size was never the issue.
Three things cause it, every time:
No vertical thinking. Baskets sit on the floor because nobody looked up. Floors are the most competed-for real estate in any room. Walls and cabinets sit mostly empty.
No sorting rule. If lights, darks, and towels don’t each have their own labeled spot, they don’t get sorted. They get dumped. One basket becomes the catch-all, and catch-alls always overflow.
Buying the basket before measuring the space. This is the quiet killer. You grab a cute woven bin at the store, bring it home, and it’s two inches too wide for the shelf you had in mind. Now it lives on the floor instead, because there’s nowhere else for it to go.
Add in one more sneaky factor: laundry baskets are a moving target. A basket that fit fine for one adult’s laundry suddenly can’t keep up once you’ve got two kids in sports uniforms and a partner who works out daily. The system that worked at move-in quietly stops working two years later, and nobody notices until the floor is full again. Storage plans need room to flex, not just room to fit today’s laundry pile.
The Solutions: Match the Fix to Your Actual Space
Built-In Slide-Out Basket Cabinet (The Deep Dive)
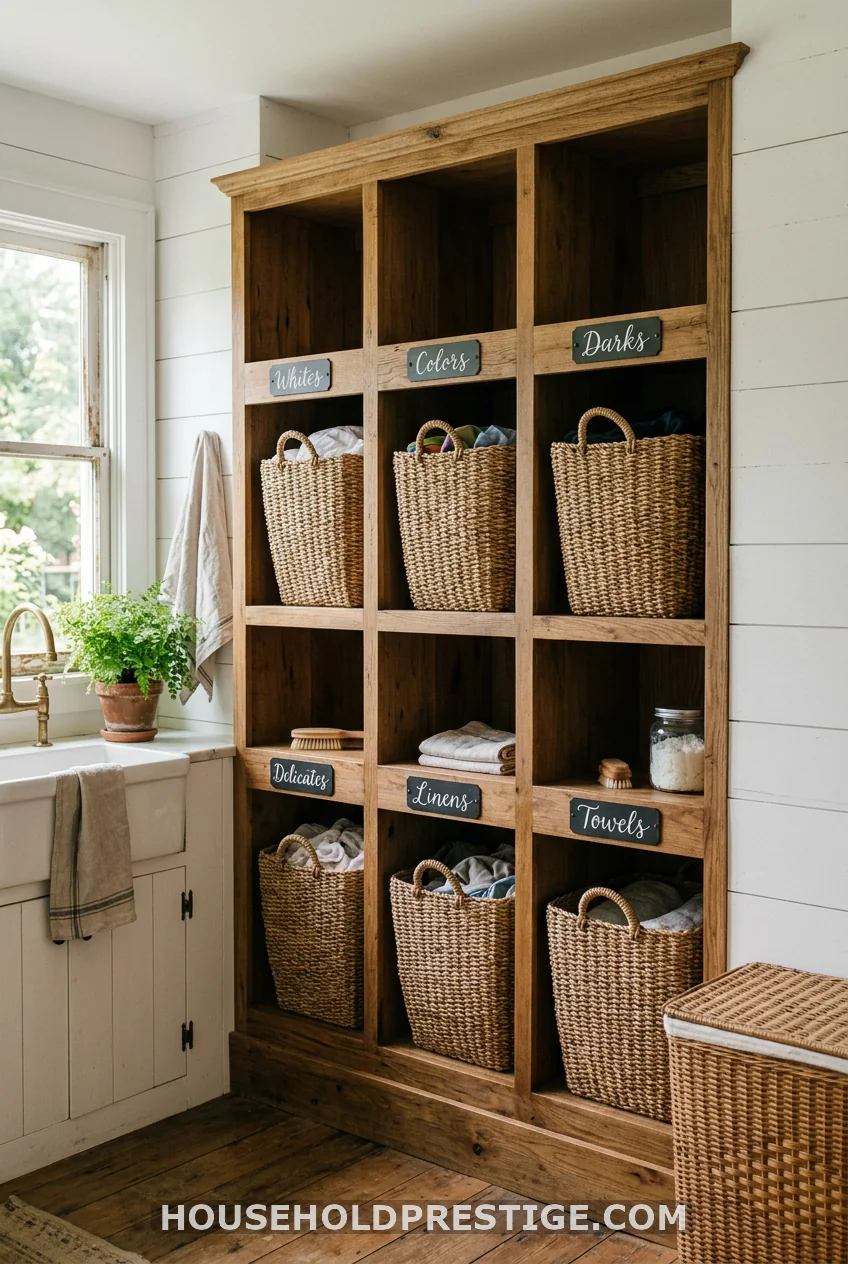
If your laundry room has even 24 inches of empty wall next to the washer and dryer, this is the fix that ends the problem for good instead of managing it.
Why This Works
A slide-in basket cabinet gives every basket its own cubby, off the floor, with a front lip that keeps it from sliding back out. You’re not storing baskets anymore. You’re storing a system.
Dimensions and Basic Build
A standard version holds four to six baskets and runs about 24 inches deep by 37 to 39 inches tall, matching standard washer and dryer height so the whole wall reads as one clean line. Each cubby needs roughly 17 to 18 inches of width to fit a standard basket with an inch of clearance on each side.
Step-by-Step (Simplified Build)
- Measure your wall space and washer/dryer height first. The unit should match, not tower over it.
- Cut plywood sides using 3/4 inch stock, with pocket holes for a clean, screw-free front face.
- Build ledges instead of full shelves. A basket only needs a lip to rest on, not a solid shelf underneath, and skipping the shelf keeps the whole unit lighter and cheaper.
- Attach a thin plywood back panel for stability.
- Label each cubby (lights, darks, towels, delicates) with a small tag or painted marker.
- Anchor the unit to wall studs before loading it up. A basket cabinet is only as sturdy as its anchoring.
Materials and Costs
Basic 3/4 inch plywood for a 6-basket version runs about $80 to $120. Add $15 to $25 for pocket screws, glue, and backing material. Total materials cost typically lands between $100 and $150 if you’re building from scratch, well under half of what a similar pre-built unit costs at retail.
Common Mistakes to Avoid
Skipping the wall anchor is the top mistake. A loaded basket cabinet is heavy, and without studs behind it, it can tip forward. The second mistake is building ledges too shallow. Give yourself at least 17 inches of depth per cubby, or baskets will hang off the front edge and catch on the door.
Pro tip:
Measure your actual baskets before cutting anything. “Standard” laundry basket sizes vary more than you’d think between brands.
A Rolling Cart Beats a Fixed Shelf in Tight Spots
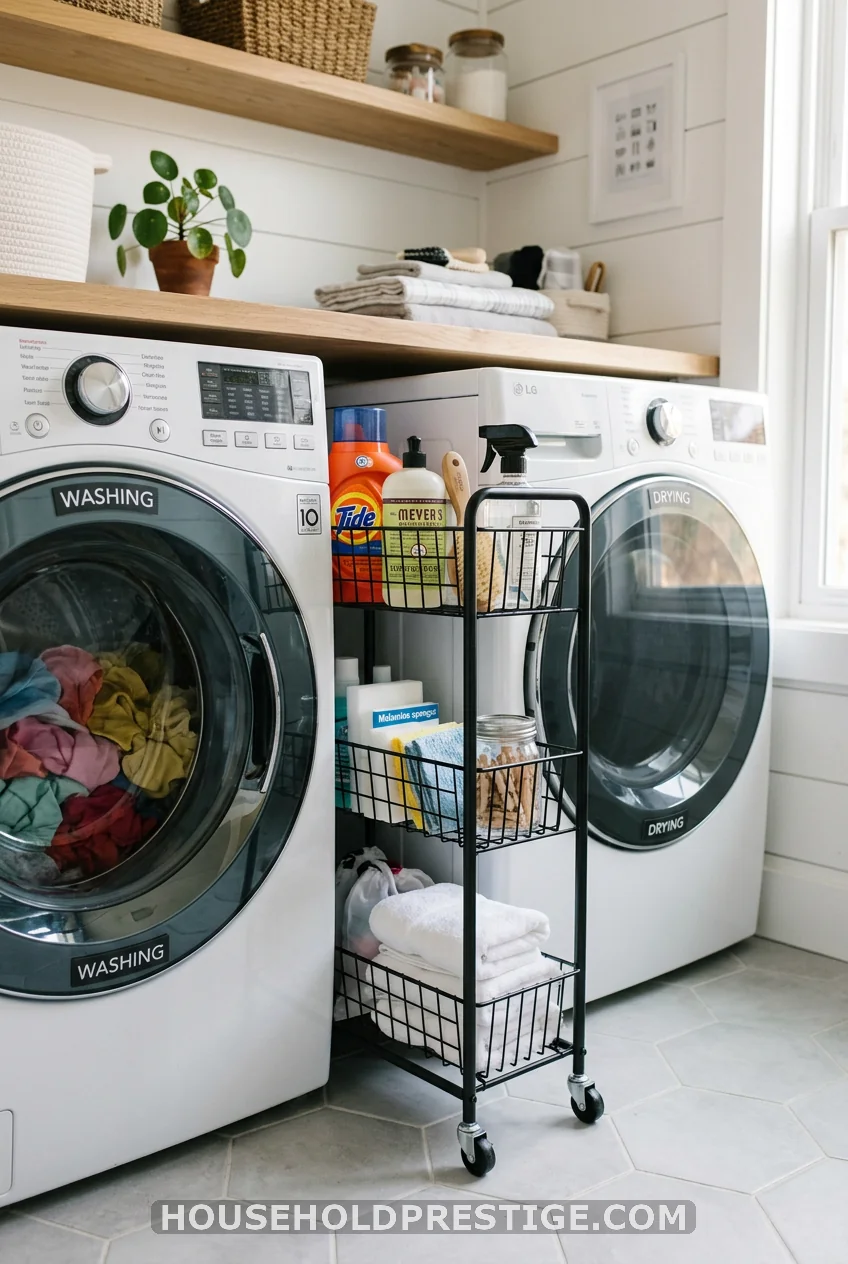
If you can’t build anything, a rolling laundry cart with open wire baskets solves the space problem differently. It tucks between the washer and dryer when not in use and rolls out when you need full basket access. Zero tools, zero measuring twice.
Cost reality: A basic three-tier rolling cart runs $30 to $60 depending on material, with metal wire versions on the cheaper end and solid wood ones closer to $80.
The catch: Wire baskets don’t hide contents the way a woven bin does, so this option suits function-first laundry rooms more than ones doubling as a showpiece.
This is also the option renters lean on most, since nothing gets drilled into a wall and the whole setup moves with you on your next lease.
The Slim Behind-the-Door Organizer
Got a laundry closet instead of a room? A narrow basket tower, roughly 12 to 14 inches wide, fits behind the door or in the gap beside the machines. It’s the cheapest fix on this list, usually under $40, and it needs no wall anchoring at all.
Installation note: Measure the door swing before you commit to this spot. A tower that’s an inch too deep will catch the door every time it opens, and that’s an annoyance you’ll notice every single laundry day.
Open Shelving Plus Woven Bins
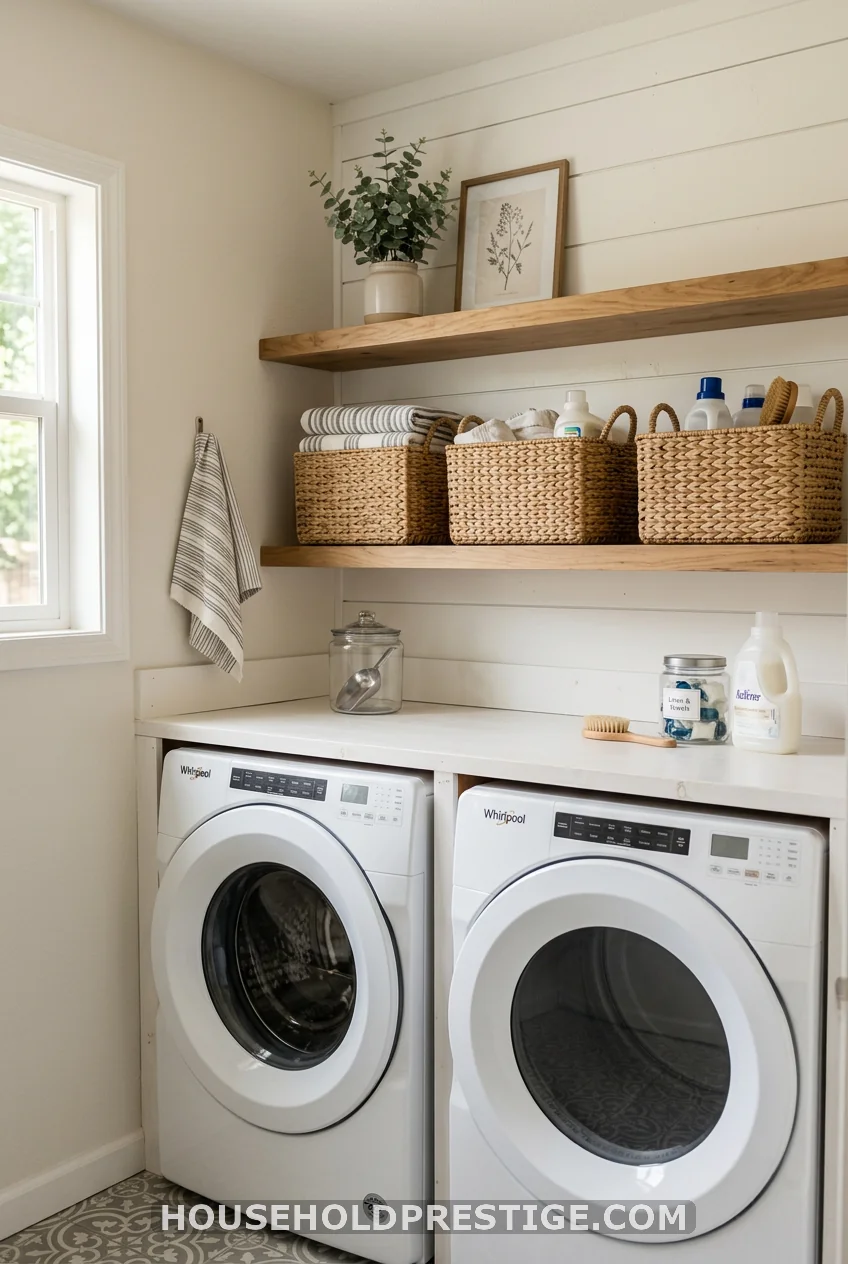
Two or three floating shelves above your machines, each holding one woven bin, get baskets off the floor without any cabinetry at all. This works best for lights, darks, and towels specifically, not for an overflow catch-all, because open shelves have a visible ceiling on how messy they can look before it stops feeling organized.
Why I Almost Gave Up on Baskets Entirely (A Cautionary Tale)
I once bought five decorative baskets before measuring a single shelf. They looked perfect in the store. At home, none of them fit the ledge I’d built two weekends earlier. I ended up stacking them on the dryer for three months, which defeated the entire point of buying them.
The fix wasn’t a better basket. It was measuring the space first, then shopping. I now keep a tape measure clipped inside my laundry room cabinet, permanently, because I learned that lesson the expensive way.
Myth: You Need Matching Baskets for It to Look Organized
What most people think: A laundry room only looks “done” when every basket matches in color and material.
Reality: Function beats matching, every time. A mismatched set that’s correctly sized and clearly labeled reads as organized. A matching set that’s the wrong size, sitting on the floor, still reads as clutter. If budget is tight, spend it on getting the dimensions right before you spend it on aesthetics.
Keeping It From Sliding Back (Maintenance That Holds Up)
A system only works if the family uses it, so keep the rules dead simple:
- One basket, one category. Don’t let “miscellaneous” become a category.
- Empty baskets weekly, even if they’re not full. A half-full basket that sits for two weeks becomes a full one that sits for four.
- Relabel when kids get older, and laundry habits change. What worked for toddlers won’t work for teenagers doing their own wash.
- Do a quick basket audit every few months. If a basket hasn’t left its spot in a month, you probably don’t need it.
- Assign one basket per family member during the busiest laundry seasons, like back-to-school or sports schedules, then fold that system back into the shared bins once things calm down.
- Keep a spare basket in reserve rather than out on display. Baskets fail, wheels crack, handles snap, and having a backup ready means the system doesn’t collapse the week a basket breaks.
The families who keep this working long-term treat it less like a one-time project, and more like a habit they check on. Five minutes at the start of each month to glance at whether baskets are landing in their spots, or drifting back to the floor, catches small slips before they turn into a full basket pile-up again.
The Bottom Line
Laundry room basket storage isn’t about finding the prettiest bin. It’s about giving every basket a measured, assigned spot before you buy anything. Start with the space you have, whether that’s a full wall for a built-in cabinet or twelve inches behind a door, and let the solution follow the measurements instead of the other way around.
Your floor will thank you. So will whoever trips over that basket the least amount from now on.
FAQ
What size is a standard laundry basket for storage planning?
Most standard laundry baskets measure around 24 to 26 inches long and 17 to 18 inches wide, though sizes vary by brand. Always measure your actual basket before building or buying shelving.
How many laundry baskets does a typical family need?
Most families do well with three to four: one for lights, one for darks, one for towels, and an optional one for delicates or a specific family member’s clothes. More than that usually signals a sorting problem rather than a storage problem.
Can I store laundry baskets without any built-in cabinetry?
Yes. A rolling cart, open shelving with bins, or a slim behind-the-door tower all work without permanent installation, and all cost less than a built-in unit.
Is it better to store laundry baskets on the floor or off the floor?
Off the floor almost always wins for both space and safety. Floor storage invites tripping hazards and makes the room feel smaller, while shelving or cabinetry frees up floor space for folding and sorting.
What’s the biggest mistake people make with laundry basket storage?
Buying baskets before measuring the space they’ll live in. It’s the single most common reason baskets end up back on the floor after a failed storage attempt.