

Wet clothes pile up fast. One load turns into three, and suddenly every chair in the house wears a damp shirt. If your laundry room drying rack situation is a sad wire hanger balanced on a doorknob, you’re not alone, and you’re about to have way better options.
I’ve hunted down every kind of rack that earns its keep in a small space. Some mount to the wall. Some fold down from the ceiling. One or two might make you laugh at how obvious they seem once you see them. By the end, you’ll know exactly which style fits your room, your budget, and your patience level for a Saturday project.
1. The Wall-Mounted Fold-Down Rack
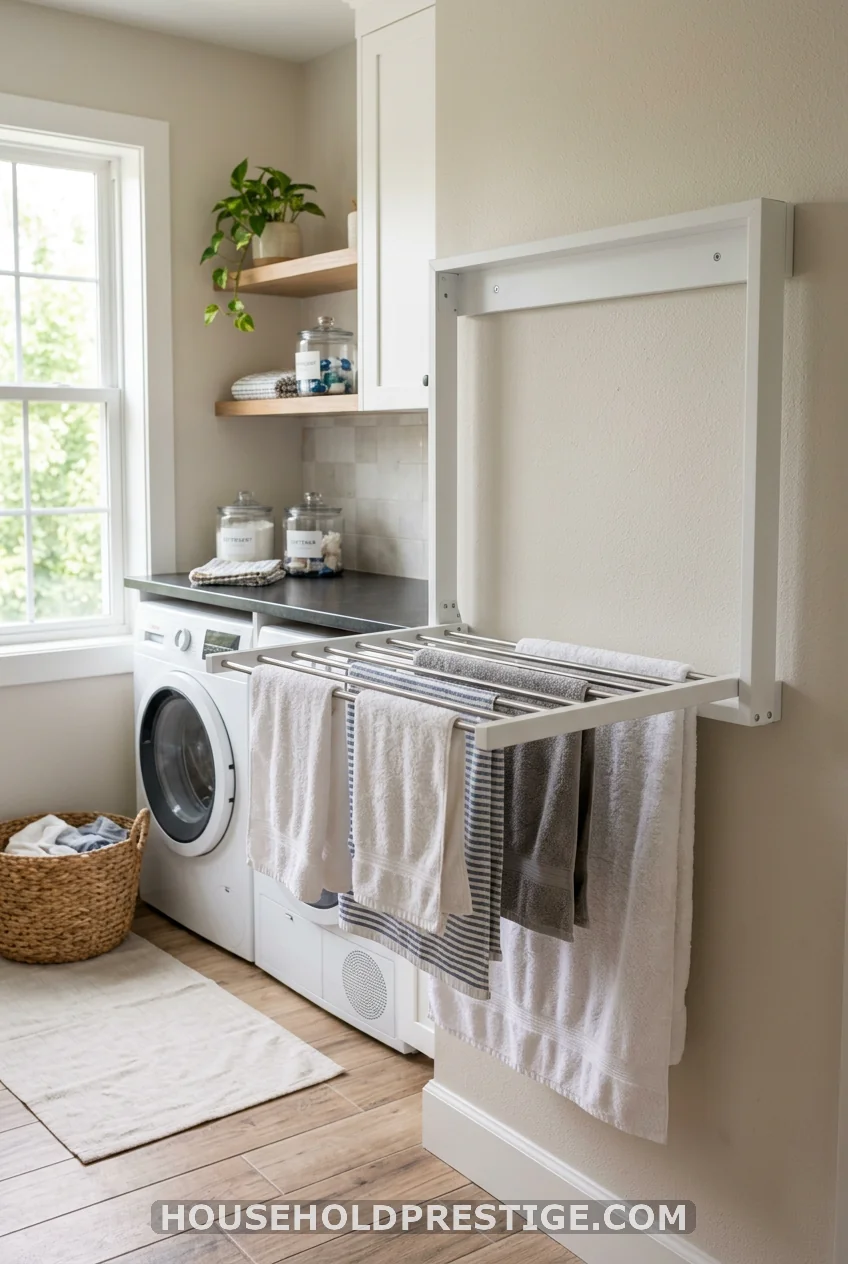
This is the rack most small laundry rooms should start with. It mounts flat against the wall on a hinge, folds out when you need it, and folds flat when you don’t. No floor space lost, no bulky frame sitting in the corner collecting lint.
Why it works
A small laundry rooms under 40 square feet can’t spare a permanent freestanding rack. The wall-mounted version solves that by living vertically instead of horizontally. Closed, it sits about 4 inches off the wall. Open, it swings out to give you 15 to 20 linear feet of hanging space, depending on the model.
Dimensions to look for
Most folding wall racks run 24 to 36 inches wide and hold between 10 and 14 wooden dowels. A 30-inch model works well above a standard 27-inch washer without crowding the machine door.
Step-by-step installation
- Find two wall studs using a stud finder, spaced to match the mounting bracket holes.
- Mark and pre-drill pilot holes at each stud location.
- Screw the mounting brackets to the wall with 3-inch wood screws.
- Attach the folding arm assembly to the brackets.
- Test the fold action before loading it with laundry.
- Add a support leg or chain if the model includes one, for extra weight capacity.
Materials and costs
A basic pine folding rack from a hardware store runs $35 to $60. A birch or beadboard version with a matching paint finish, built by a local carpenter or through a plan like the ones sold on Etsy-adjacent maker sites, lands between $90 and $150 depending on size.
Pro tip:
Mount it above the dryer instead of the washer. Dryer tops stay warmer and drier, which helps clothes finish faster even while they’re technically air-drying.
Common mistakes to avoid
Skipping the stud check is the biggest one. A rack loaded with wet towels can weigh 15 pounds or more, and drywall anchors alone will pull loose within a few months. Also avoid mounting it directly above outlets or light switches, since dripping fabric and electrical fixtures don’t mix.
The catch:
A folding rack needs at least 24 inches of clearance to swing fully open. Measure your walkway before you buy, or you’ll be doing the laundry-room shuffle every wash day.
2. The Ceiling-Hung Pulley Airer
Pull a rope, lower the rack, load it up, and hoist it back toward the ceiling. It’s a century-old design that still beats almost everything modern for pure floor-space savings. Perfect for rooms with high ceilings and zero wall space to spare.
3. The Over-the-Door Rack
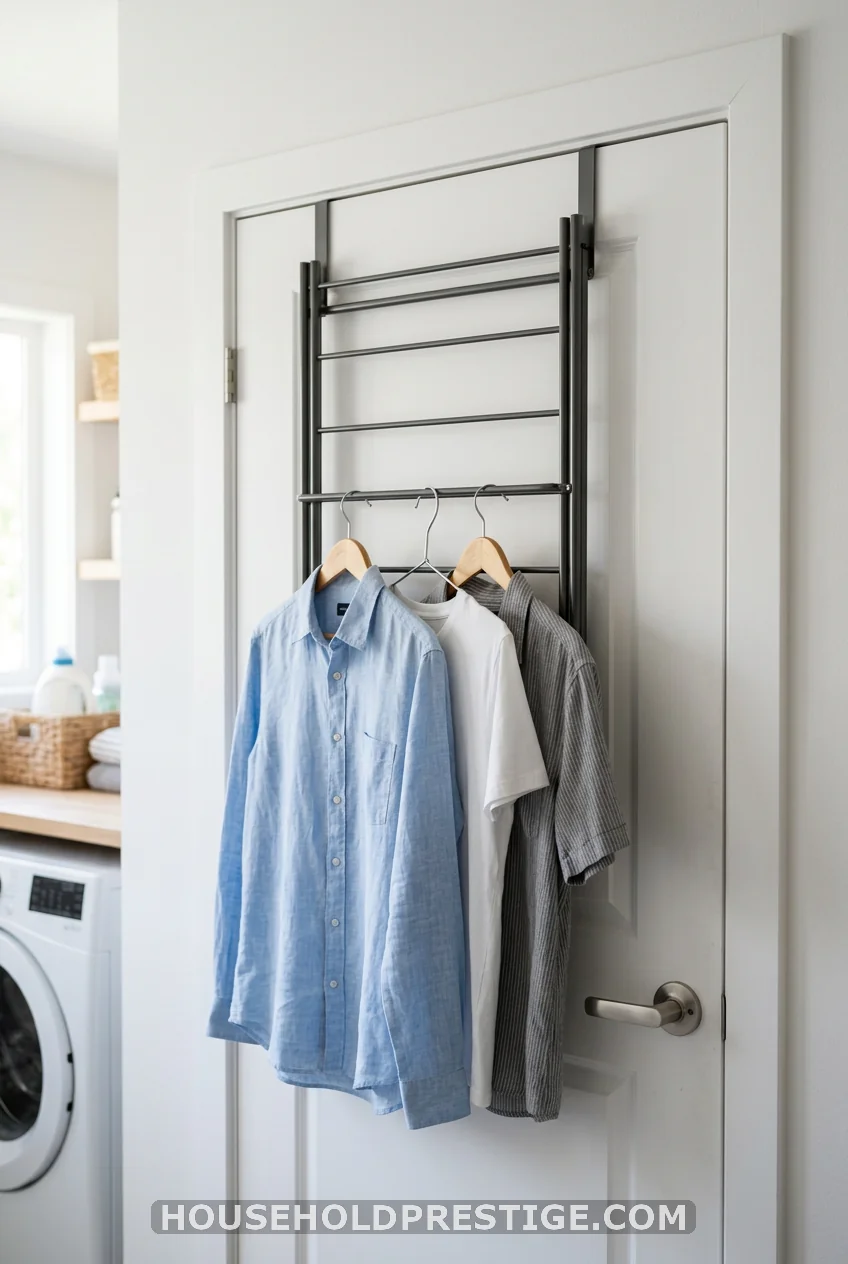
Zero installation. Zero drilling. It hooks over any standard door and gives you six to eight bars of hanging space instantly. Rent-friendly and cheap, usually under $25, though it does add weight and wobble to a hollow-core door if you overload it.
4. The Ret retractable Wall-to-Wall Rack
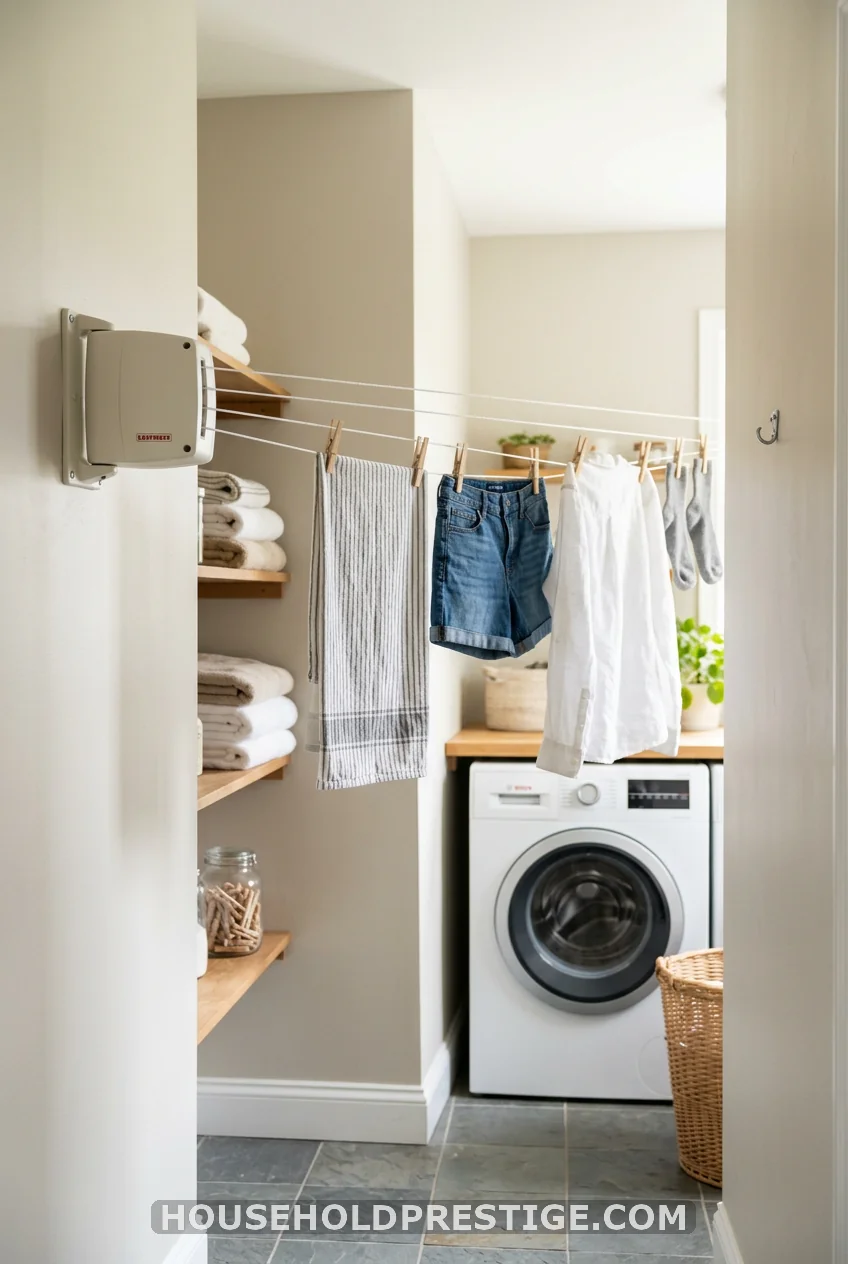
Two small reels mount on opposite walls, and a set of cotton or nylon lines stretch between them. Pull the lines out when you need to dry a load, then retract everything back into the reel housing when you’re done. It works especially well in narrow galley-style laundry closets where a rigid rack simply won’t fit sideways.
Cost reality: Expect to pay $20 to $45 for a basic four-line reel set, and installation takes about 20 minutes with a drill and a level.
5. A Slim Rod Above Stacked Machines
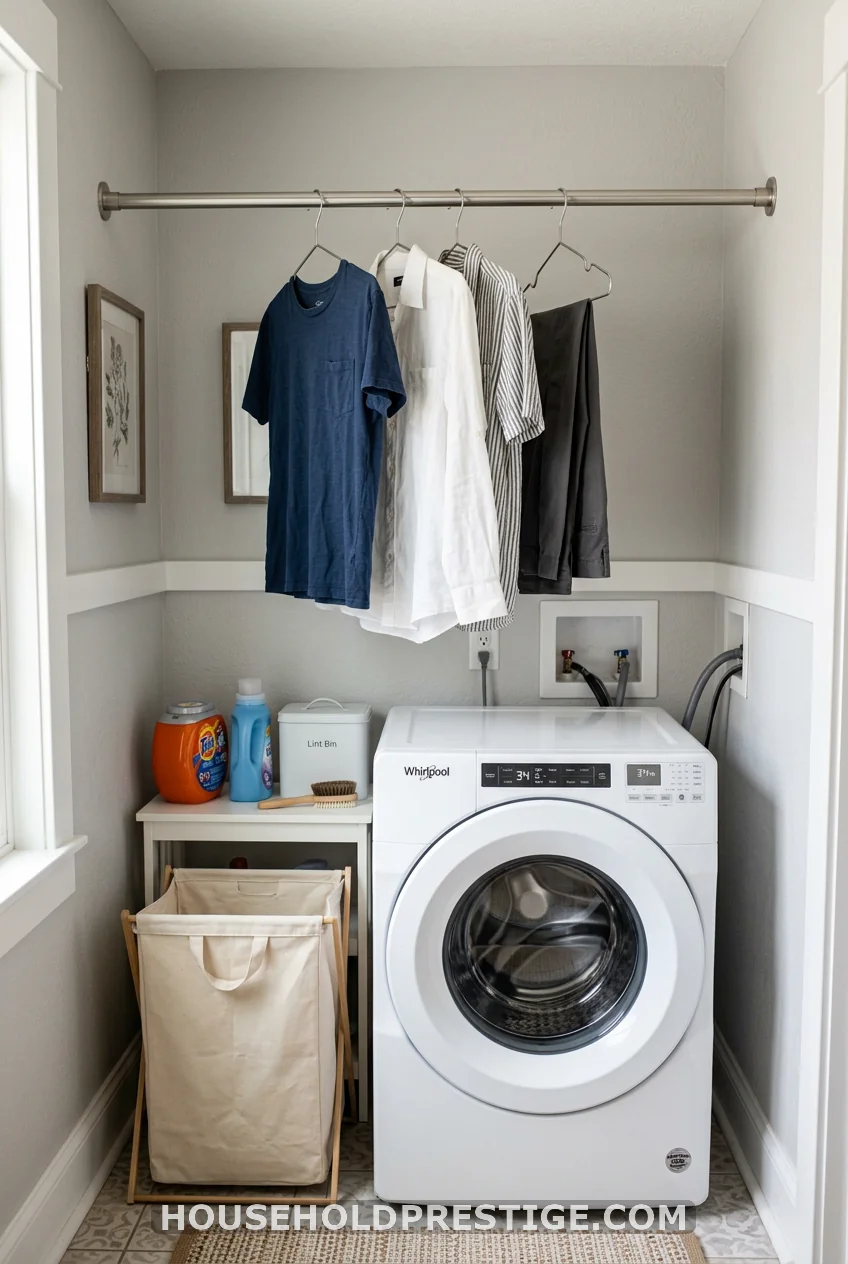
Stacked units free up an entire wall above the appliances. A tension rod or a permanently mounted curtain rod there gives you instant hanging space for delicates, without a single extra bracket beyond what a curtain rod already needs.
6. The Built-In Cabinet Pull-Out Rack
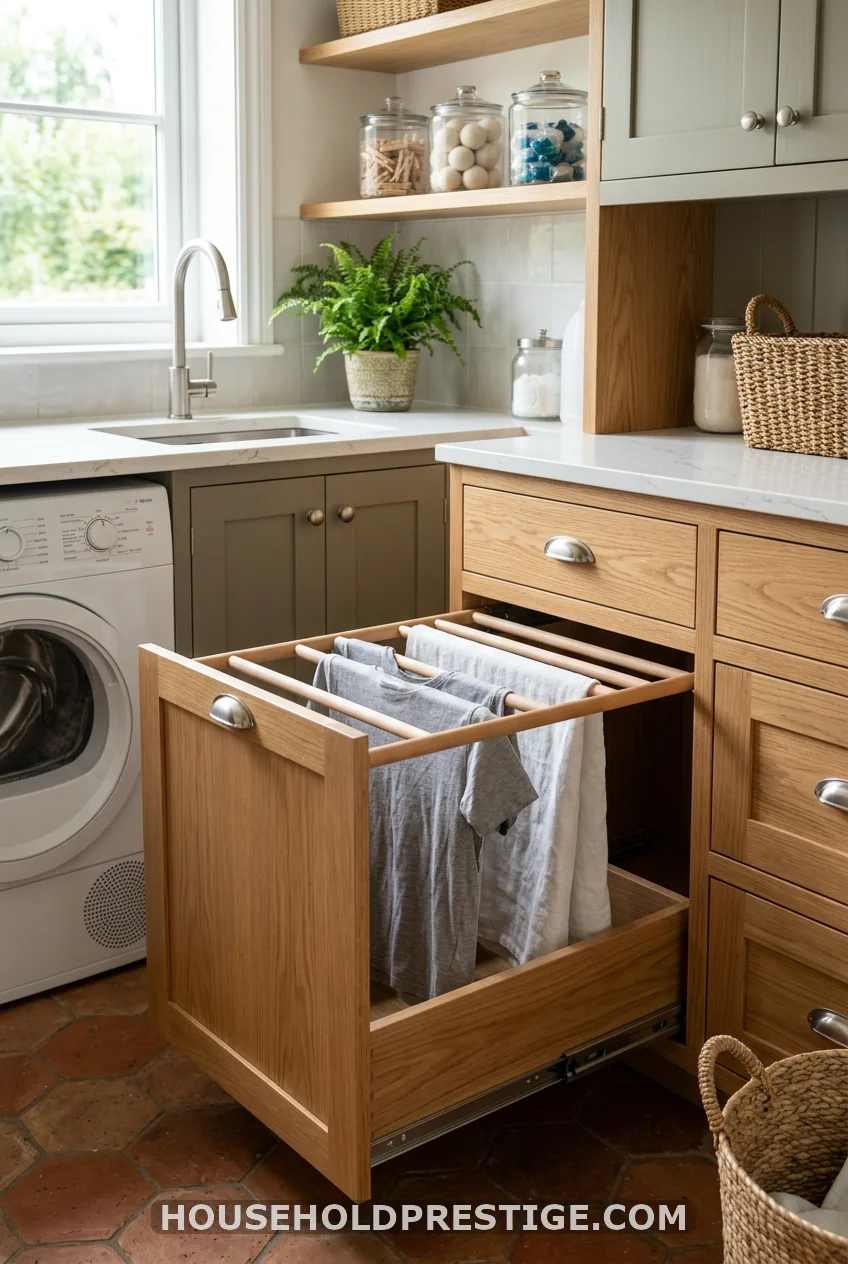
If you’ve got cabinetry above or beside your machines, a pull-out rack turns unused drawer space into a hidden drying station. Slide it in when you’re done, and the whole thing disappears behind a cabinet face.
This works best in cabinets at least 24 inches wide with 4 inches of vertical clearance between shelves, since the dowels need room to hold hangers or draped items without touching the shelf above. Drawer glide kits designed for this purpose run $15 to $30 and mount to any standard cabinet base.
When it’s worth it: homes with a full laundry cabinetry package already installed. Retrofitting cabinets just for this feature usually costs more than a wall-mounted alternative would.
7. The Accordion-Style Wall Rack
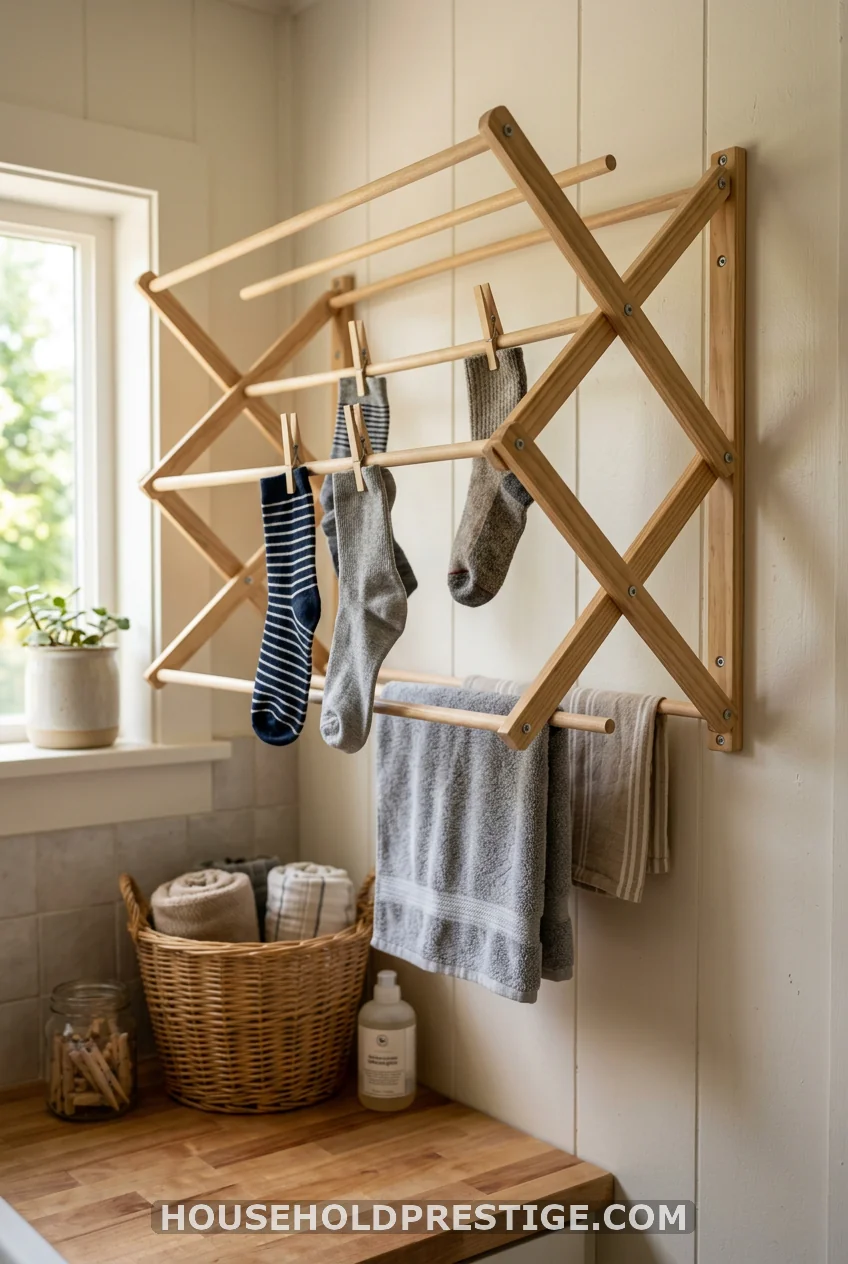
It expands like a fan when pulled and collapses flat against the wall when pushed shut. Ten to 12 inches of depth when open, under 2 inches when closed. Ideal for tiny laundry closets where even a folding rack takes up too much swing room.
8. The Tension Rod Between Two Walls
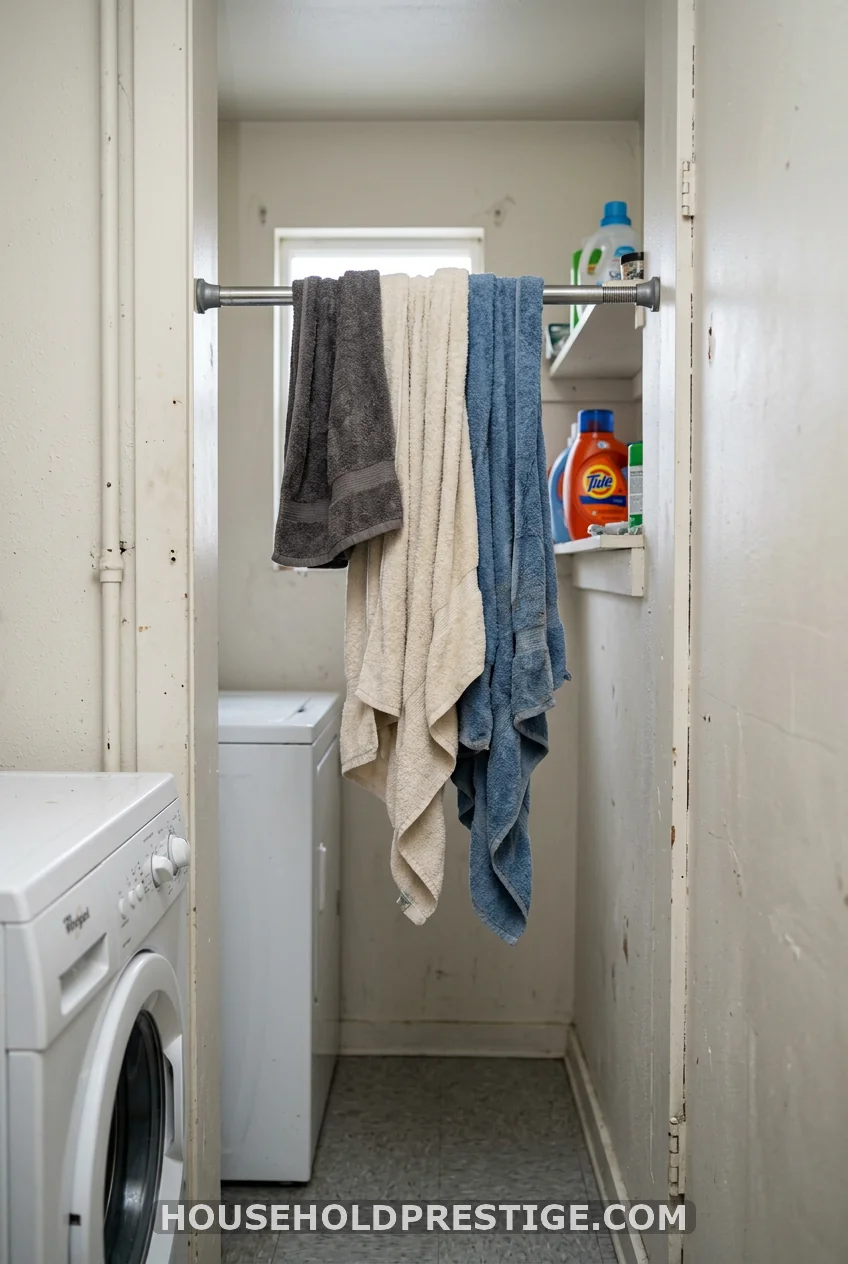
What most people think: a tension rod is a flimsy dorm-room fix, good for a shower curtain and nothing sturdier.
Reality: a quality spring tension rod rated for 25 to 40 pounds holds a surprising amount of laundry, and it costs under $15. The trick is choosing one rated for the actual span, not the cheapest option on the shelf. A rod rated for a 36-inch gap installed at 34 inches holds tension far better than one stretched to its maximum length. Measure first, then buy a size below your gap width whenever the product range allows it. Used this way, between two studless drywall sections in a laundry closet, it holds a full load of hand towels without budging.
9. Why I Stopped Using a Repurposed Ladder Rack
I saw the repurposed ladder trend on every home account and decided my laundry room needed one. Bought a $12 stepladder from a yard sale, sanded it, painted it a soft sage green, and hung it from the ceiling with chain links I found at the hardware store.
It looked wonderful for exactly two weeks.
Then a rung split under the weight of two soaked bath towels, right in the middle of a Tuesday laundry day. I hadn’t checked whether the wood was structurally sound before painting over it, and old ladder rungs are often glued rather than doweled, which means they weaken with any moisture exposure at all. One towel landed on the floor, one landed half on the dryer, and I spent twenty minutes wiping down my newly painted appliance.
If you’re going the repurposed-ladder route, buy new lumber and build the rungs yourself, or at minimum test the ladder’s weight rating before you ever hang a single towel from it. Charm isn’t worth a ruined ceiling fixture and a startled Tuesday.
10. The Pegboard Hanging System
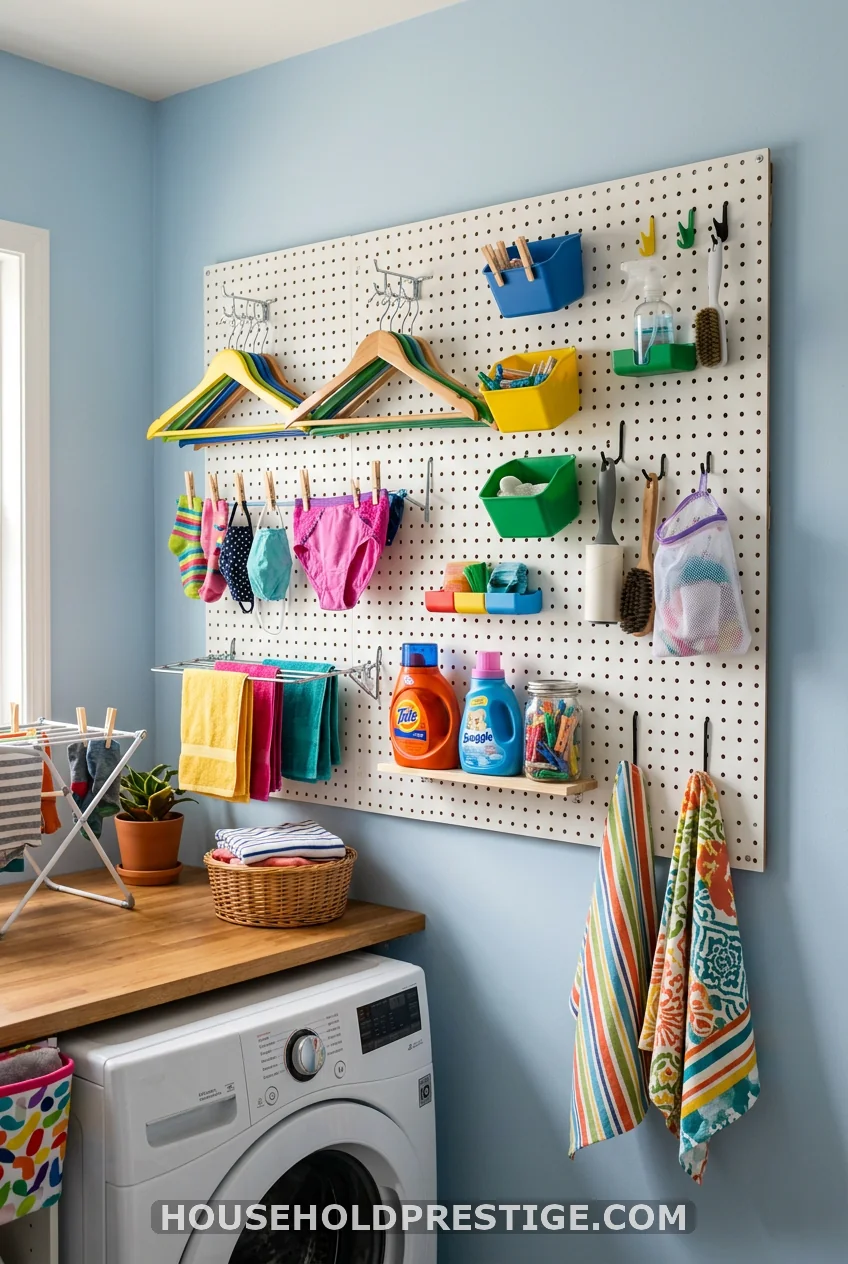
A pegboard isn’t just for tools. Mount one beside your machines, add S-hooks and a few small clip hangers, and you’ve built a fully customizable drying zone that adjusts every time your needs change. Move a hook up six inches for a longer shirt, move it back down for socks the next week. Materials run under $40 for a 2-by-4-foot board plus hardware.
11. The Tiered Collapsible Floor Rack
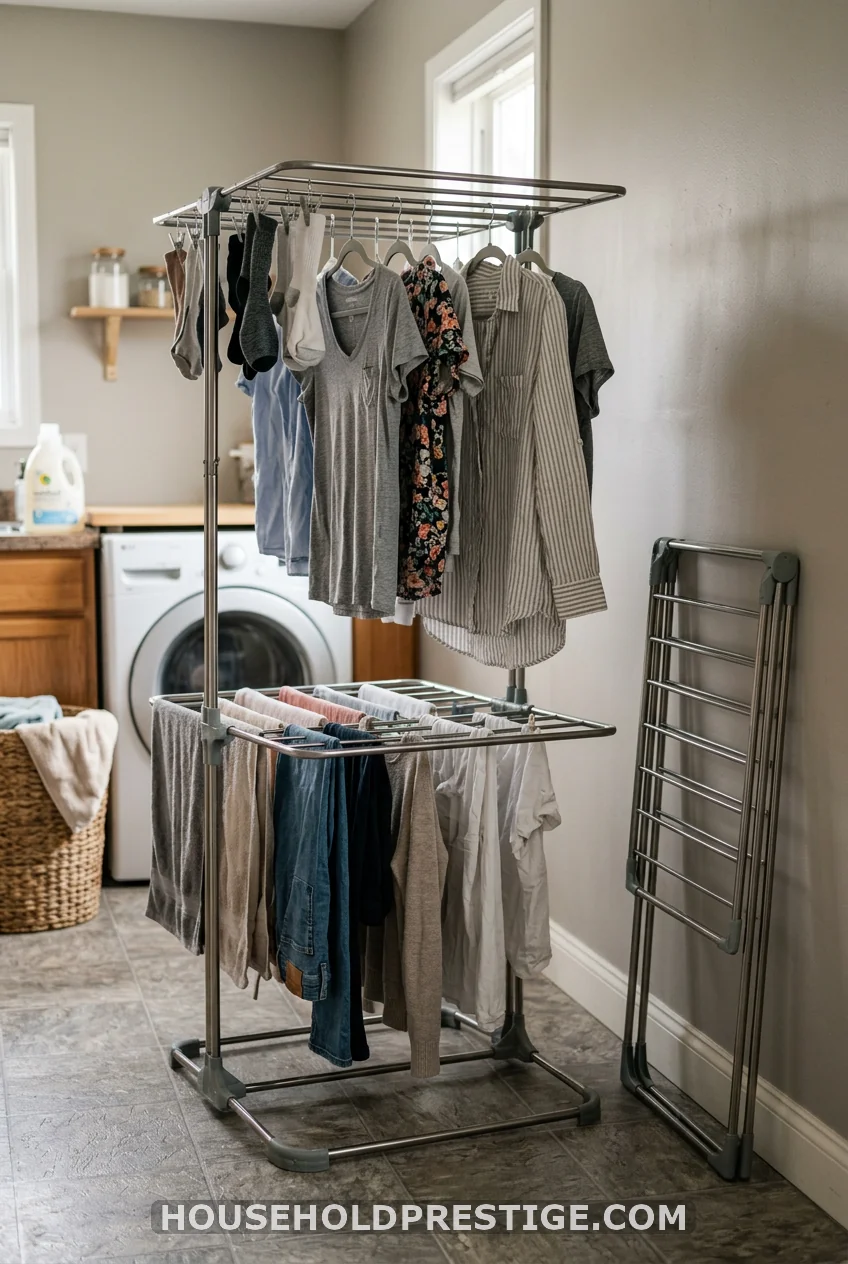
The classic option, and still a solid one if your room has even a sliver of open floor space. Look for a version with a folding hinge so it collapses to under 6 inches thick for closet storage between loads. Two-tier models roughly double your hanging capacity over a single-level rack in the same footprint.
12. A Flat Mesh Rack for Sweaters
Knits and sweaters stretch out of shape when hung. A flat mesh rack solves that by letting the garment lie horizontal instead of dangling from a hanger. Set it across your laundry sink or a folding table, and delicate fibers keep their shape while they dry.
13. The Corner Wall Rack for Awkward Spaces
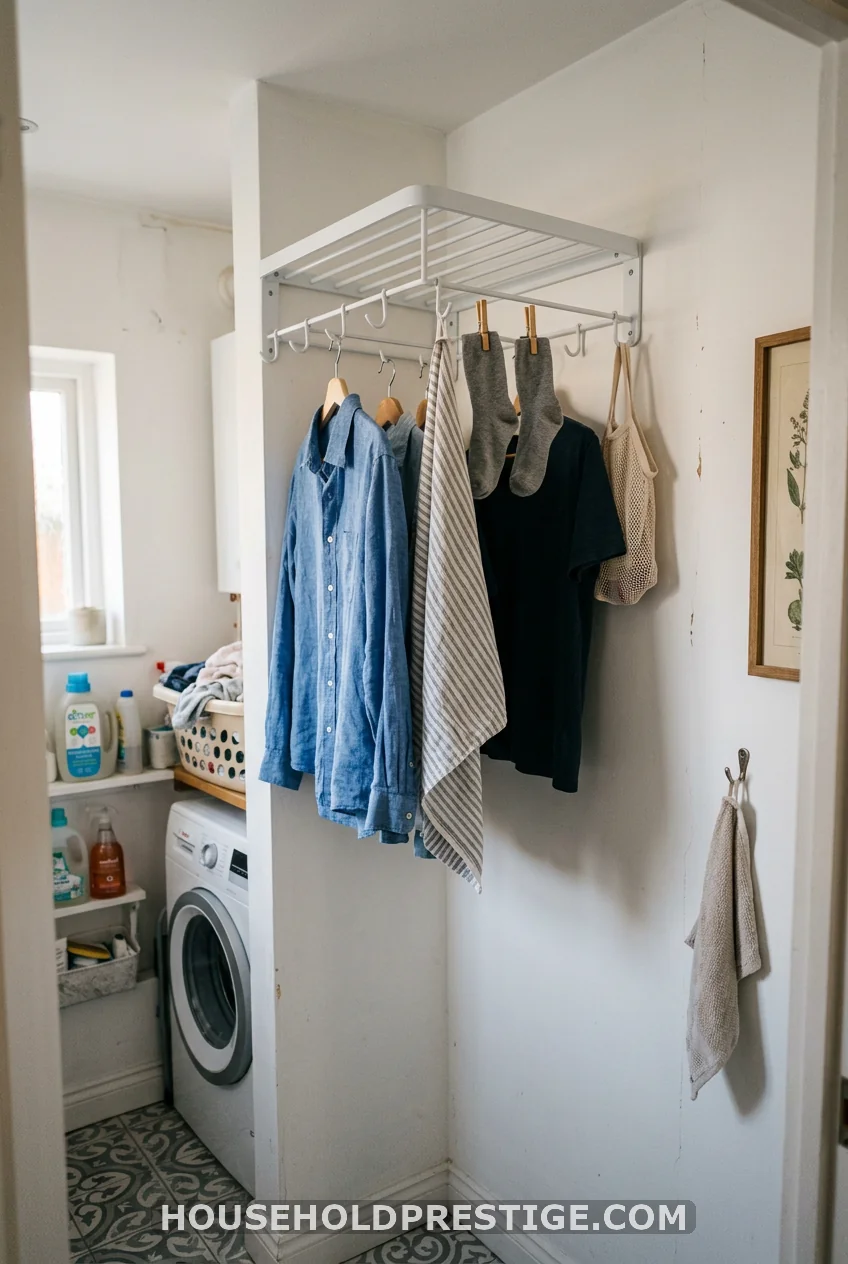
Corners are the most wasted real estate in any laundry room. A triangular rack built to fit that exact angle turns dead space into working space, and it stays completely out of the walking path since it hugs the wall at a diagonal.
14. The Multi-Level Rack for Truly Tiny Rooms
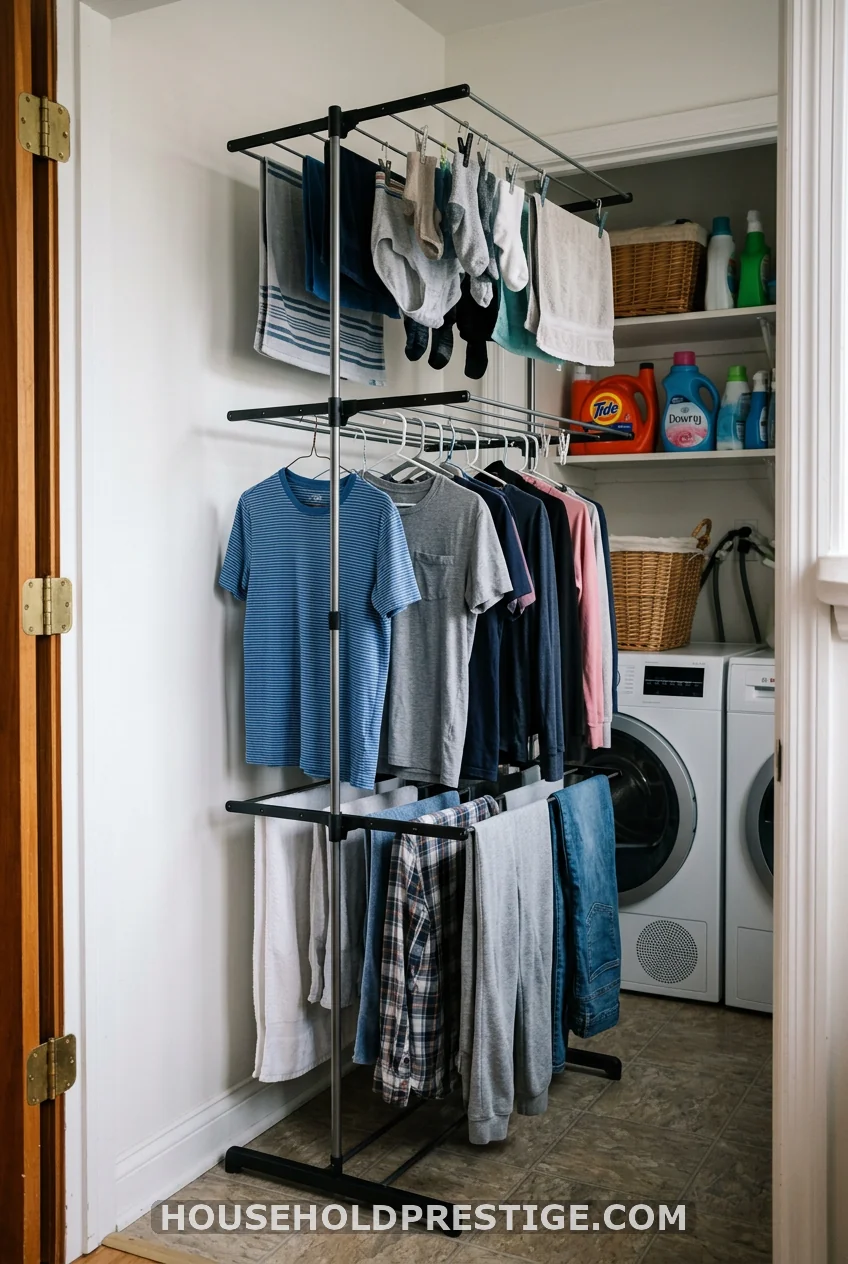
When floor space is basically nonexistent, build up instead of out. A three-level rack with a narrow 18-inch footprint stacks vertically, giving you triple the hanging bars of a standard rack in roughly the same square footage a single-tier version would need.
15. The Ret retractable Line Above a Utility Sink
A short retractable line mounted directly above a utility sink catches drips exactly where they’re supposed to land. It works best for smaller items like dish towels, cleaning rags, and hand-washables that don’t need a full-size rack.
16. The Dollar-Store Tension Rod Hack
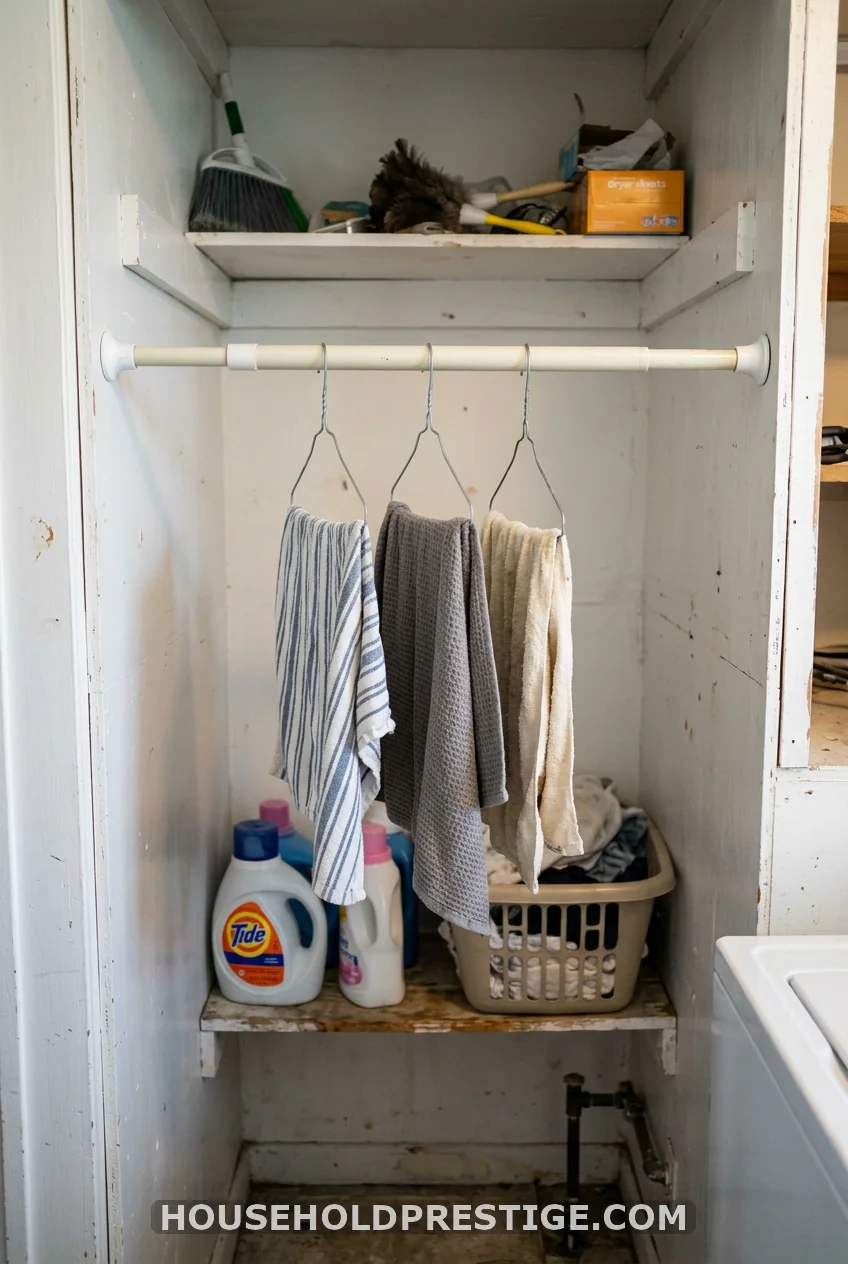
Two tension rods, one closet, zero tools. Install one at hanger height for shirts and one lower for smaller items, and you’ve built a two-tier drying zone for under $10 total.
17. The IKEA MULIG Rack Hack
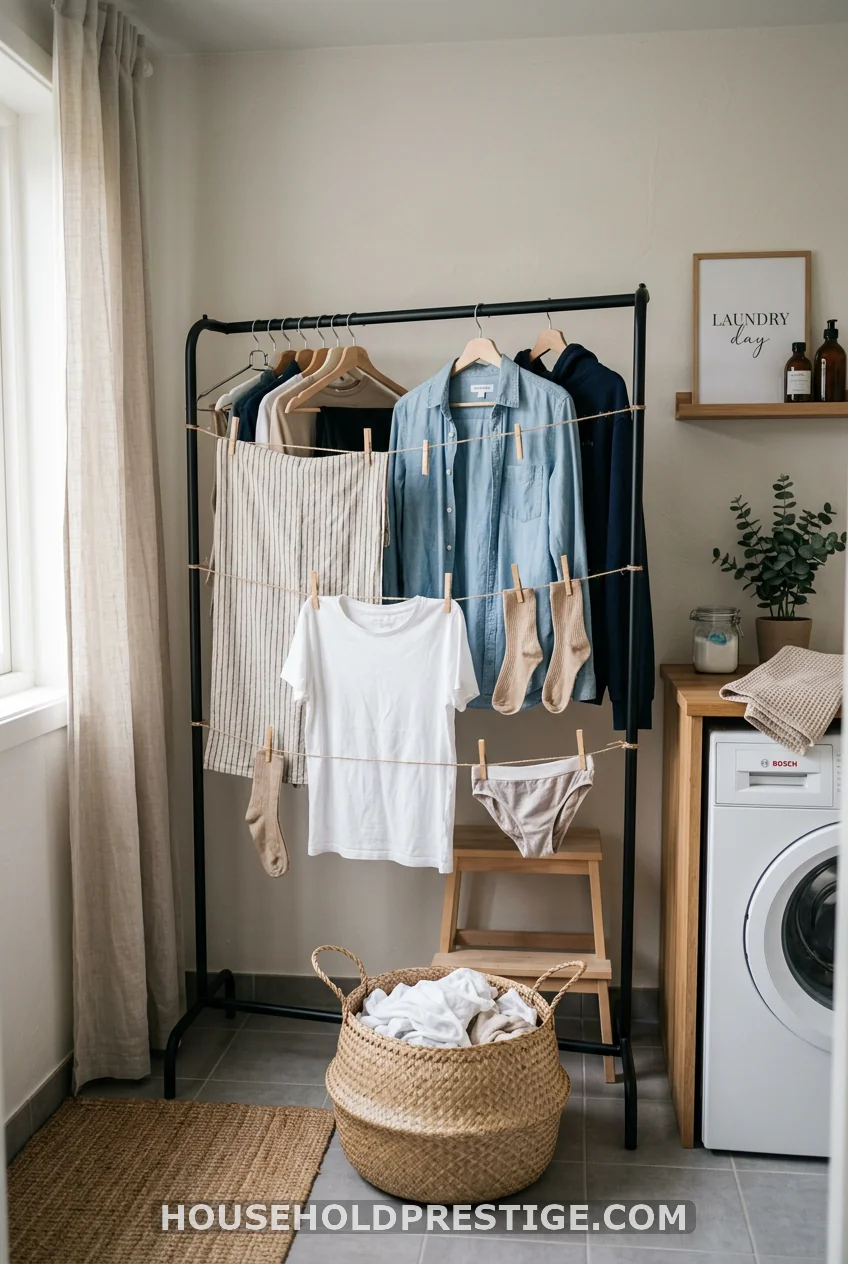
A slim metal garment rack, the kind sold flat-packed for closets, doubles as a rolling drying station when you need it. Roll it into the laundry room on wash day, roll it back to the bedroom closet once everything’s dry. One purchase, two jobs, and it moves on caster wheels so nothing gets heavy to relocate.
Installation note: add a set of locking casters if the base model doesn’t include them. A rolling rack loaded with wet laundry that isn’t locked in place will drift toward the nearest low point in your floor.
18. The Heated Drying Rack
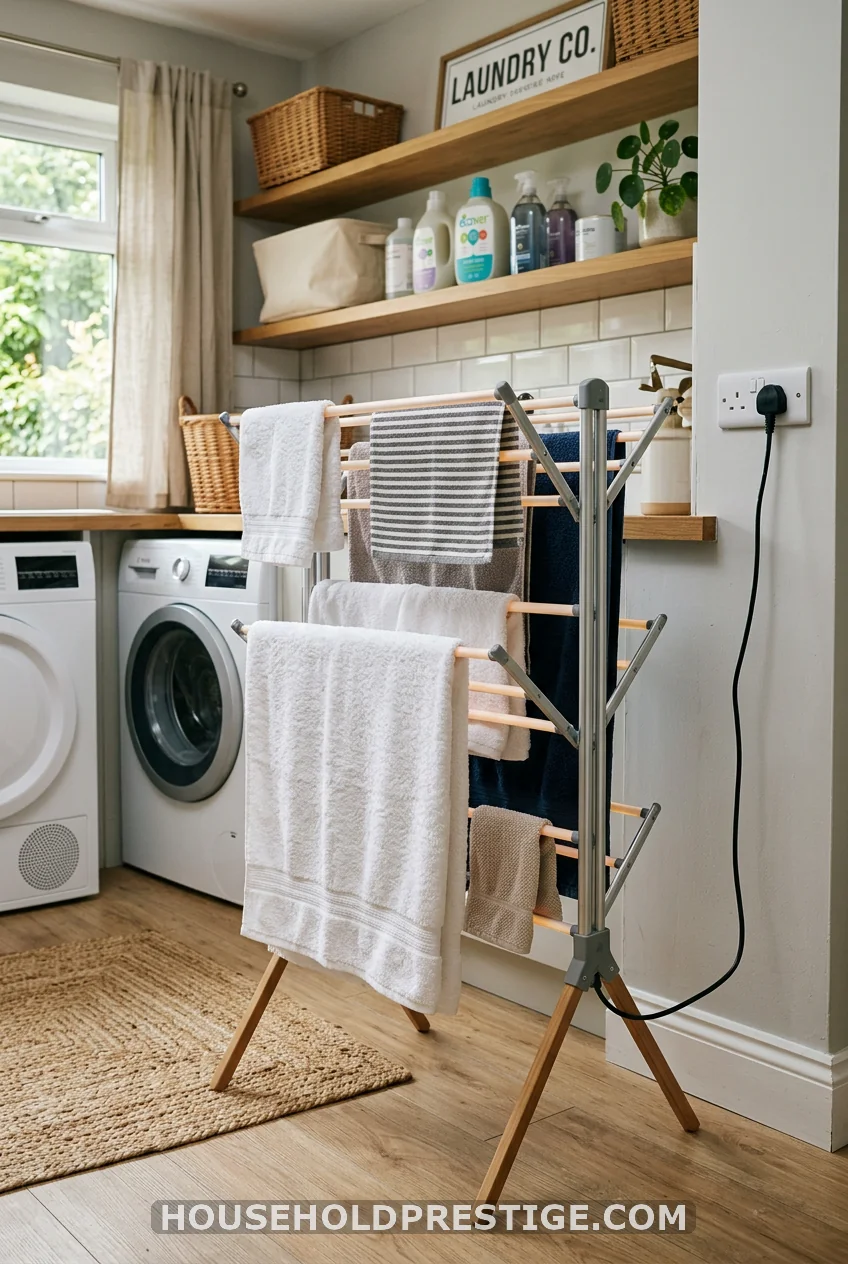
A heated rack plugs into a standard outlet and gently warms its bars, cutting drying time by roughly half compared to an unheated rack in the same room. Costs run $70 to $150 depending on size, and energy use stays far lower than a full dryer cycle since the heating element only warms the bars, not an entire drum of air.
Cost reality: running a heated rack for two hours costs a few cents in most regions, compared to a dryer cycle that can run 40 to 60 cents depending on your utility rates.
19. The Mesh Drawer Insert for Delicates
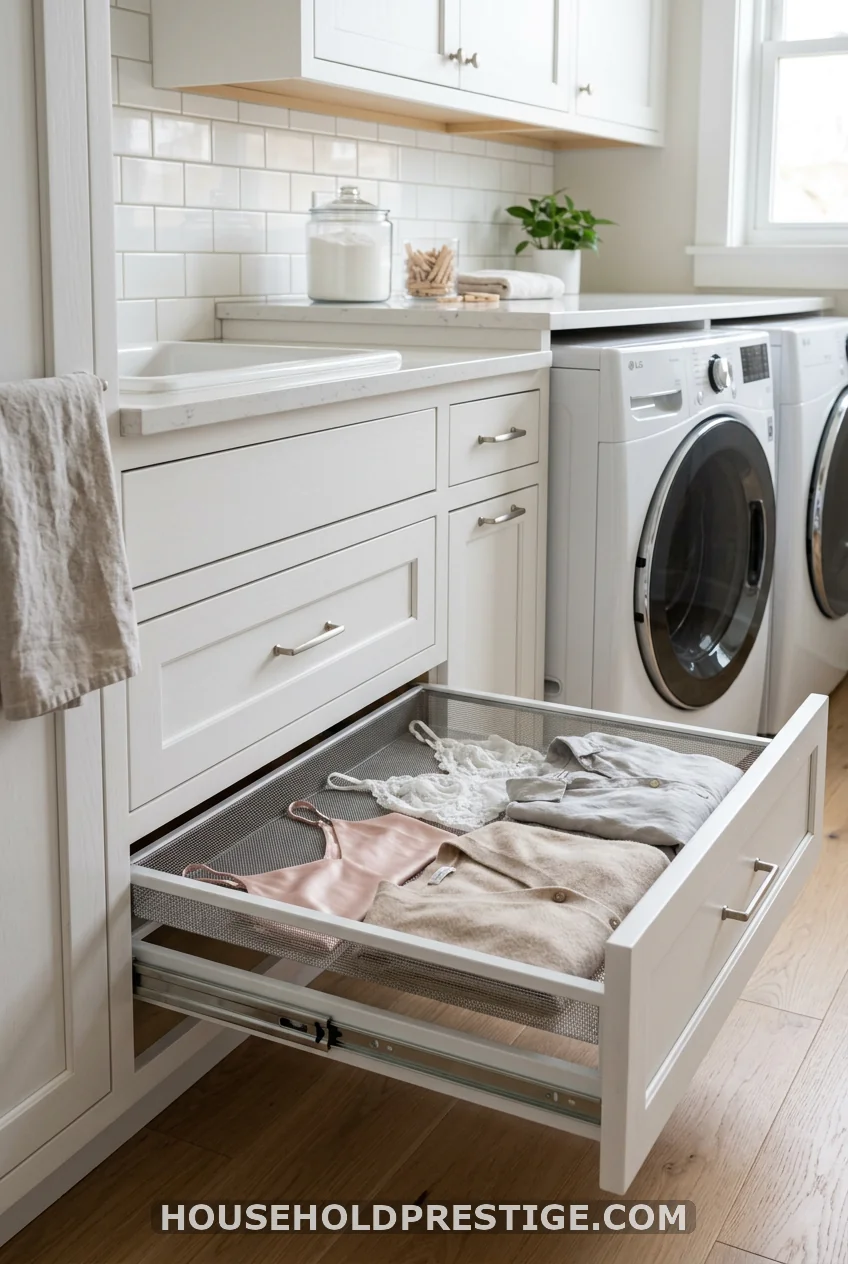
A shallow mesh-bottomed drawer, built into an existing cabinet base, gives bras, delicates, and anything that shouldn’t hang a dedicated flat-drying spot that closes away completely when guests come over.
Your Laundry Room Doesn’t Need More Floor Space, It Needs a Better Rack
Every idea here solves the same core problem in a different way: wet laundry needs somewhere to go that isn’t a doorknob or a kitchen chair. Whether you pick a $10 tension rod or a heated rack with a price tag to match, the right choice depends on your room’s actual shape, not what looks best in a photo. Measure your space, pick the option that fits it honestly, and enjoy a laundry room that finally works with you instead of against you.
Frequently Asked Questions
What is the best drying rack for a small laundry room?
A wall-mounted fold-down rack usually wins for small rooms, since it collapses flat against the wall and adds zero floor footprint when not in use.
How do you dry clothes fast without a dryer in a laundry room?
Use a heated drying rack, position it near a window or vent for airflow, and space garments a few inches apart so air can circulate around each piece.
Where do you put a drying rack if there’s no floor space at all?
Look up and sideways instead of down. Ceiling-hung pulley airers and wall-mounted folding racks both work entirely off the floor.
Can you air-dry clothes indoors without getting mildew?
Yes, as long as the room has decent airflow. Crack a window, run a fan, or use a dehumidifier if your laundry room tends to stay humid.
What’s the cheapest drying rack option for a laundry room?
A tension rod, at under $15, beats almost every other option on this list for pure cost, and it holds more weight than most people expect.