

Your laundry room is probably the darkest room in your house. Mine was a cave. One bare bulb, half of it burned out, and a permanent squint every time I tried to tell navy from black.
Laundry room lighting gets ignored because the room itself gets ignored. It’s not where guests sit. It’s where socks go missing and stains hide until they’ve already set.
Here’s what changes when you fix it. Folding gets faster. Stains get caught before they’re permanent. And the room stops feeling like a punishment for owning clothes.
Fifteen ideas below, from the five-minute fixes to the full ceiling swap. Pick what fits your space, your ceiling height, and your patience level.
1. Swap the Bulb Before You Touch the Fixture
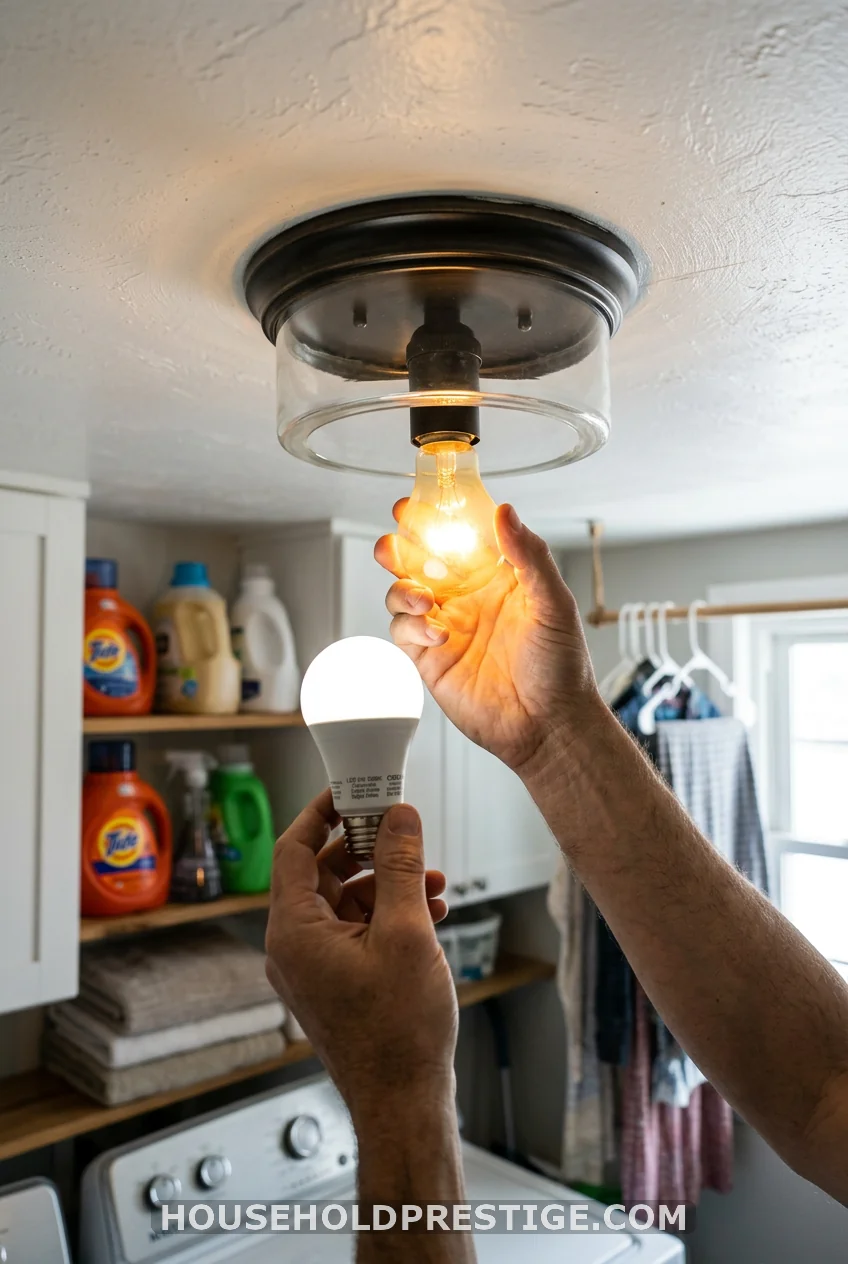
Before you buy anything, check your bulbs. A 5000K daylight LED costs about $4 and swaps in thirty seconds. That single change fixes more laundry rooms than any fixture upgrade. Warm bulbs hide stains. Cool white bulbs expose them, which is exactly what you want before something goes in the dryer permanently.
2. Go Flush Mount for Low Ceilings
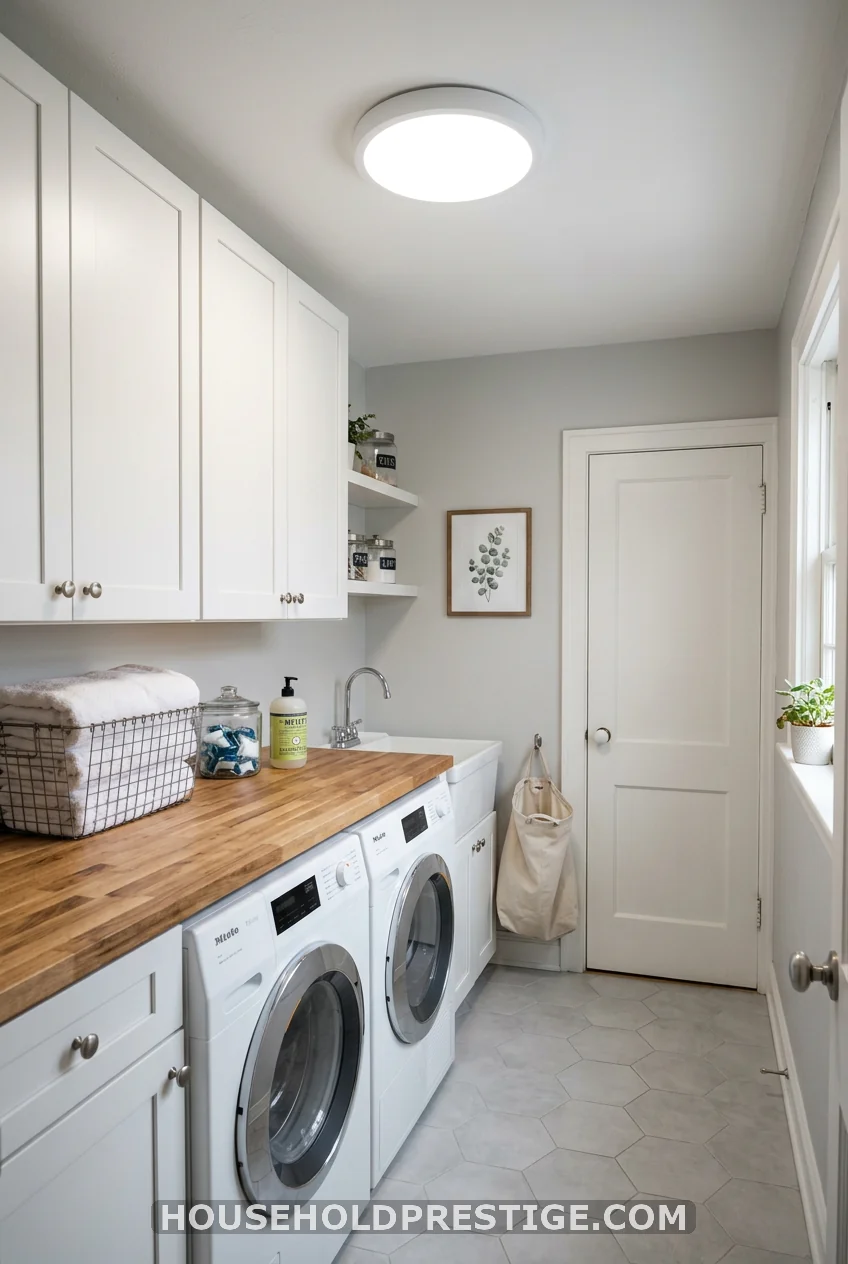
If your ceiling sits under eight feet, skip anything that hangs. A flush mount sits tight against the ceiling and still throws even light corner to corner. Look for a frosted glass or acrylic shade over a bare LED disc. It softens the light and hides the fixture’s guts. Budget for $30 to $90 depending on finish.
Cost reality:
Basic white flush mounts start around $25. Brass or matte black finishes with a glass shade run $60 to $120.
3. Layer In Under-Cabinet Task Lighting
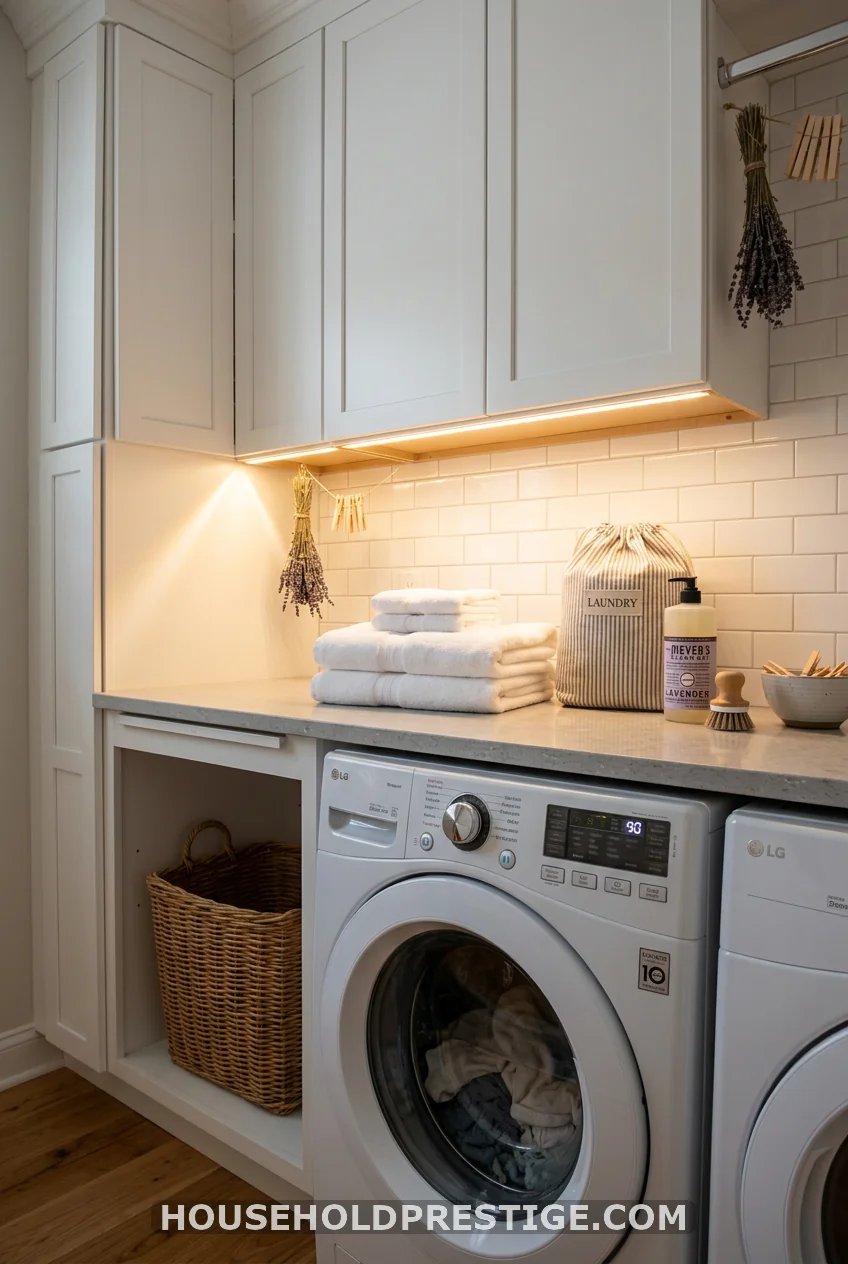
Overhead light alone leaves your countertop in your own shadow. Stick-on LED strips under the cabinets fix that instantly. Peel, press, plug in. Most kits include a dimmer. Fifteen minutes, no drill required, and suddenly you can see what you’re pretreating.
4. Build the Full Layered Lighting Plan (The Deep Dive)
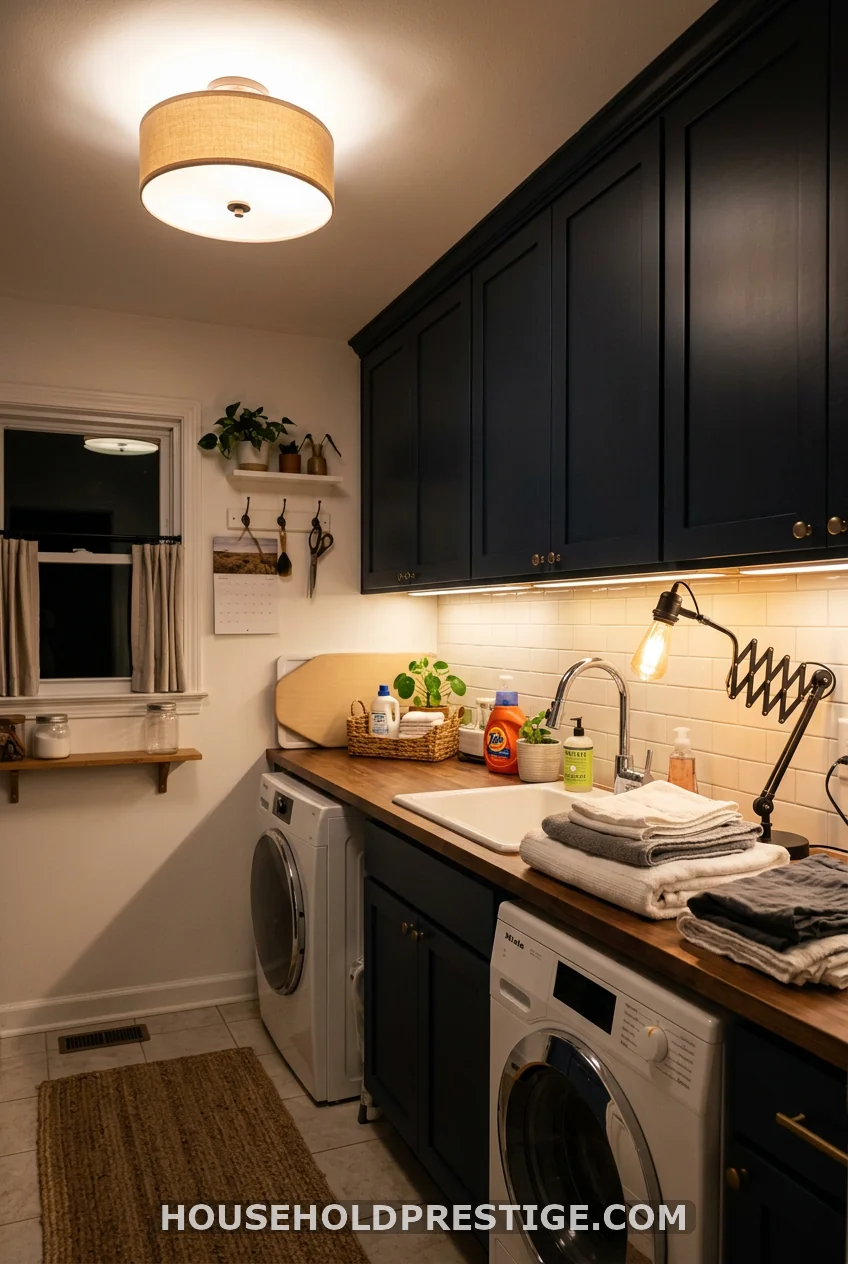
This is the one worth doing right, because a single ceiling bulb was never going to be enough. Lighting designers talk about three layers: ambient, task, and accent. Laundry rooms need at least the first two to function.
Why This Works
A single overhead source creates shadows exactly where you need light most, over the counter, in the sink, behind the machines. Layering removes those dead zones without turning the room into an operating theater.
Ambient Layer: The Ceiling
Start with general room light. A flush mount or two recessed cans, sized for the square footage, at roughly one fixture per 50 to 75 square feet.
Task Layer: The Work Zones
- Under-cabinet LED strips over the folding counter
- A small swing-arm lamp near the sink if you hand-wash anything
- A puck light inside a dark cabinet if you store stain treatments there
Cost Breakdown
| Item | Cost Range |
|---|---|
| Flush mount ceiling fixture | $30-$120 |
| LED strip kit (16 ft) | $20-$45 |
| Swing-arm task lamp | $25-$60 |
| Dimmer switch | $15-$30 |
| Total for full layered setup | $90-$255 |
Step-by-Step Installation Order
- Turn off power at the breaker, not just the switch.
- Install the ceiling fixture first, following the manufacturer’s junction box wiring.
- Test the ceiling light before closing up the cabinet work.
- Mount the LED strip channel under the cabinet lip with the adhesive backing.
- Run the strip’s low-voltage cable to the nearest outlet or a plug-in transformer.
- Add the dimmer last, once you know how bright the layered result is.
Common Mistakes to Avoid
- Skipping the dimmer, then living with lighting that’s either too harsh or too dim, with no middle setting
- Mounting LED strips without a diffuser channel, which creates visible hot spots instead of even light
- Choosing a ceiling fixture rated for damp locations only when the room needs a wet-rated fixture near a utility sink
Pro Tip:
Match color temperature across every layer. Mixing a 3000K ceiling light with a 5000K under-cabinet strip looks like two different rooms stitched together.
5. Try a Semi-Flush Mount for a Little More Style
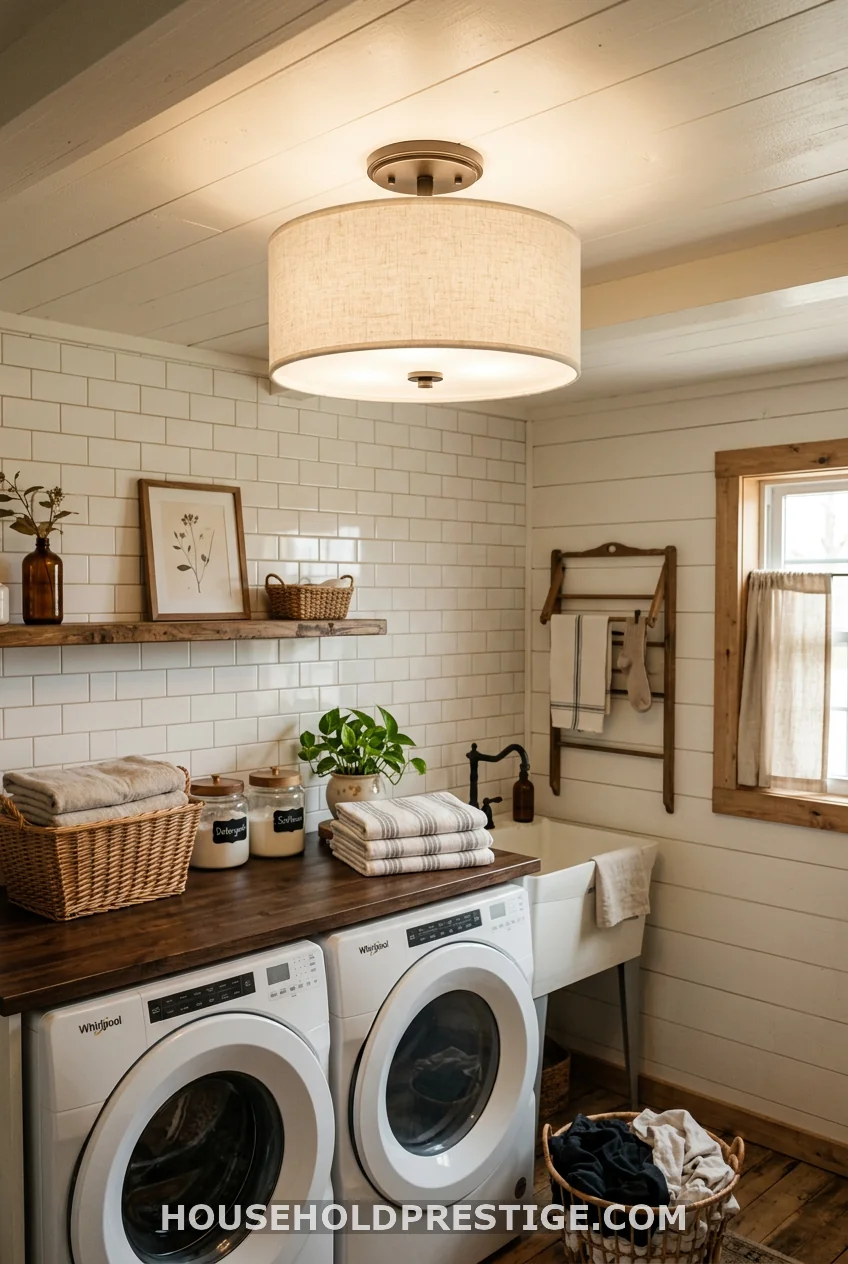
A semi-flush mount drops an inch or two lower than a true flush mount, just enough room to fit a fabric or glass shade. If your ceiling clears eight feet, this gets you more personality without sacrificing headroom.
6. The Cautionary Tale: My Pendant Light Mistake
I fell for a gorgeous glass pendant online and hung it dead center in my laundry room. What the product photos didn’t show was ceiling height. Mine is seven and a half feet. I hit my head on that pendant for four straight months before I finally moved it.
Here’s the lesson. Pendants need at least seven feet of clearance from the floor to the bottom of the shade, and that math changes fast in a small utility room. Measure your actual ceiling height and subtract the pendant’s full drop length, cord included, before you order anything that hangs. If the number gets under 78 inches, go flush mount instead. Save the pendant for a laundry room with real ceiling height to spare.
7. Add a Dimmer Switch to an Existing Fixture
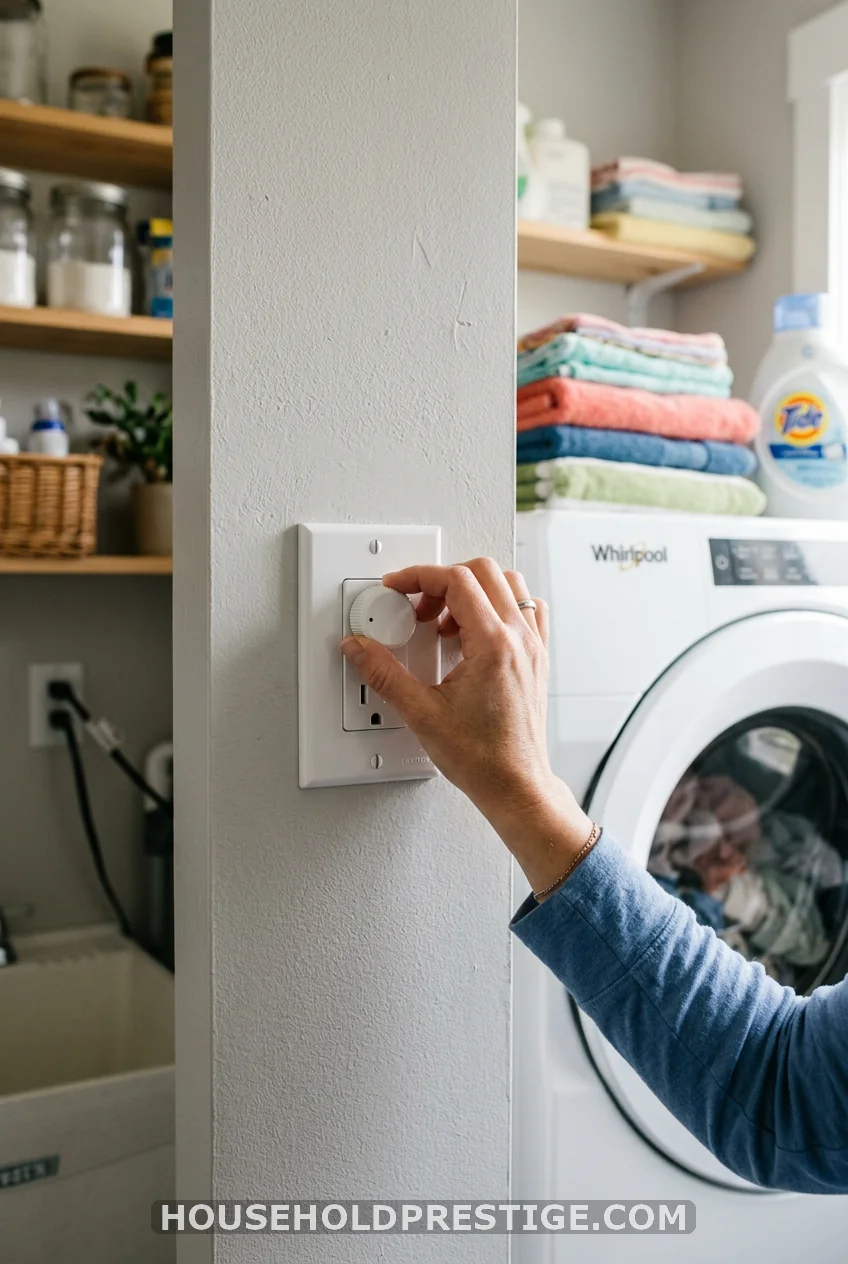
You don’t always need full brightness. A dimmer costs under $20 and takes about 20 minutes to wire in if you’re comfortable with basic electrical work, or less than that for an electrician to add during another job. Full brightness for stain checks, lower for a quick load switch at 6 a.m.
8. Myth-Busting: “Laundry Rooms Don’t Need Good Lighting”
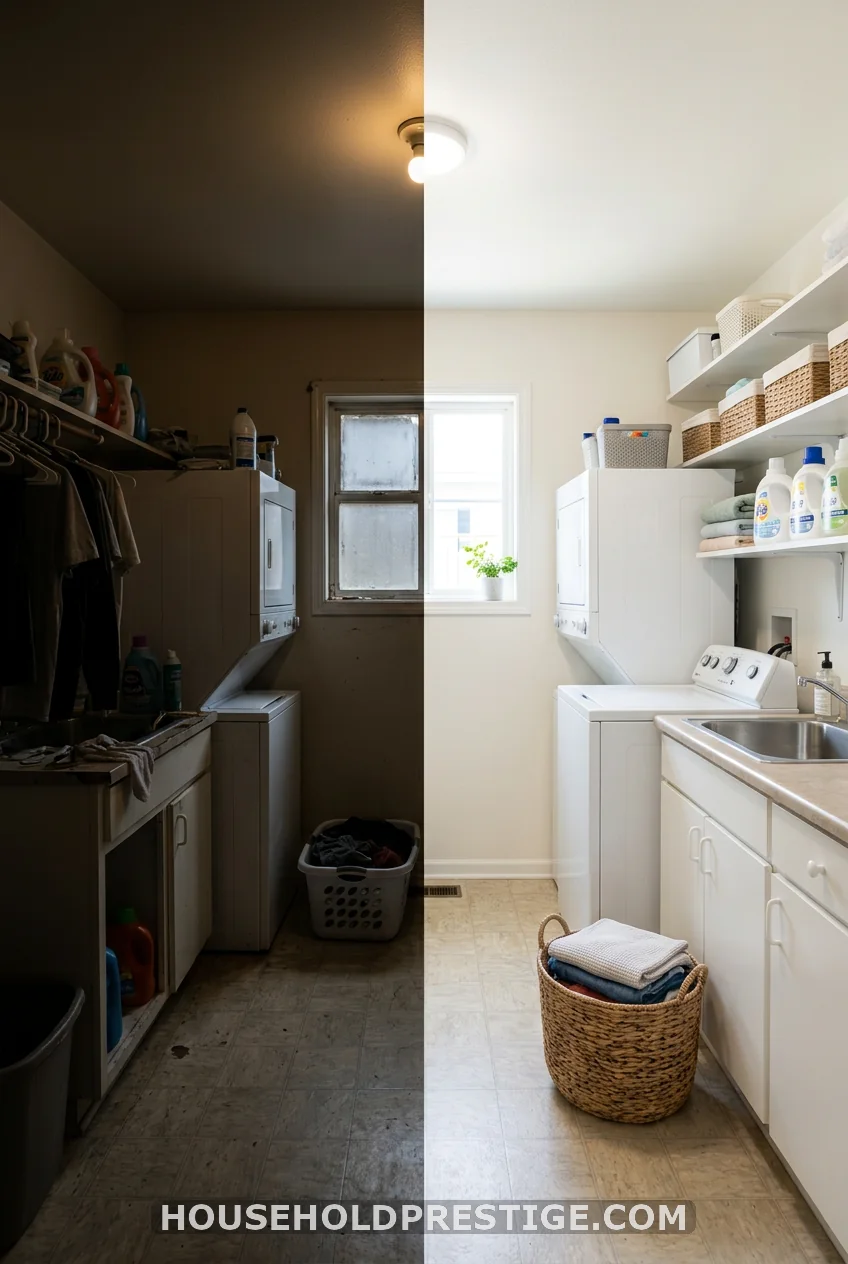
What most people think: A laundry room is a utility space, so any working bulb is good enough.
Reality: Poor lighting in a laundry room causes real, repeated mistakes. You miss stains that then get heat-set in the dryer, permanently. You mismatch loads because navy and black look identical under a dim yellow bulb. You skip pretreating because you literally can’t see what needs it.
Good lighting here isn’t decorative. It’s the difference between a stain coming out and a stain becoming permanent.
9. Recessed Can Lights for a Clean, Built-In Look
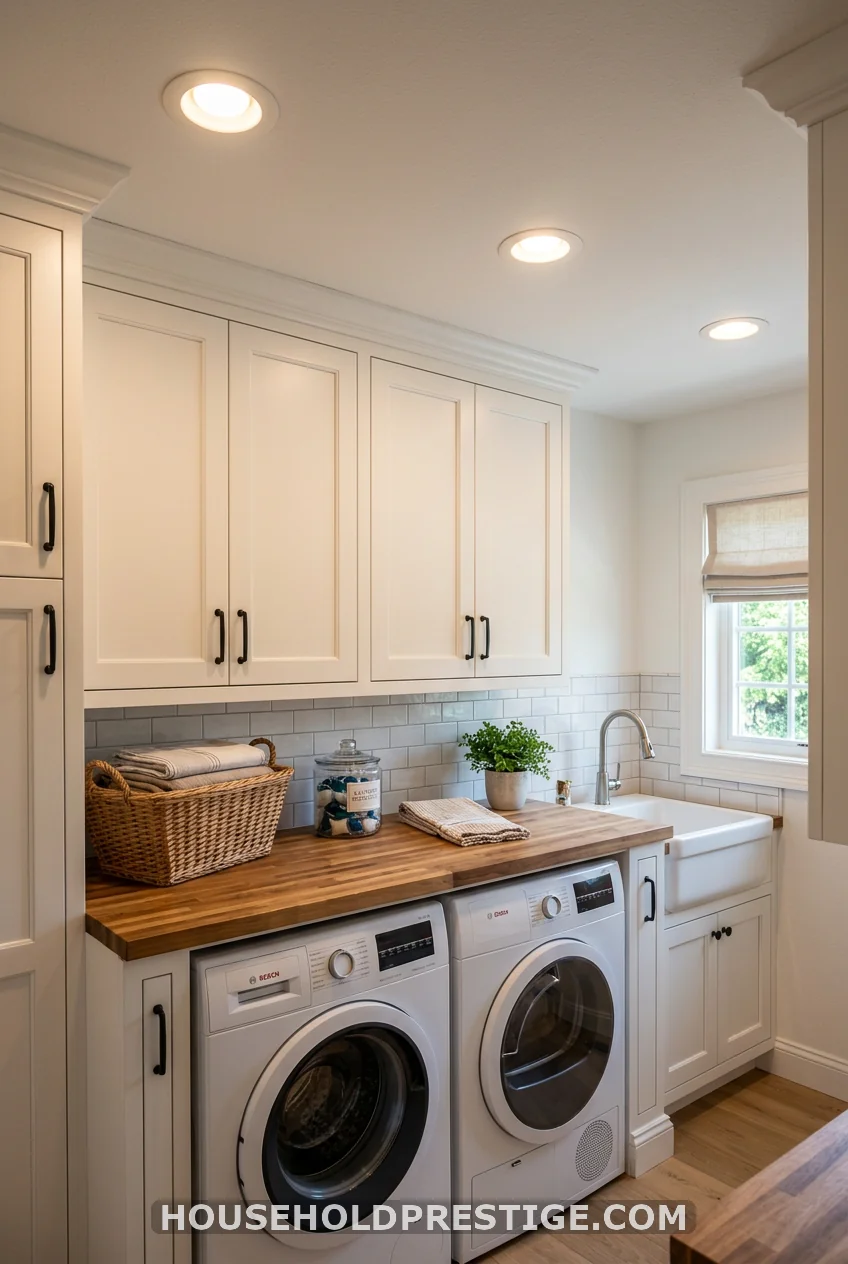
Recessed lighting disappears into the ceiling, which matters if you want the room to feel bigger than it is. Space cans roughly four feet apart for even coverage. This is more of a renovation-level project than a weekend swap, since it usually means cutting into drywall, so it’s best paired with any planned ceiling work.
10. A Small Chandelier, If You Want to Be Bold
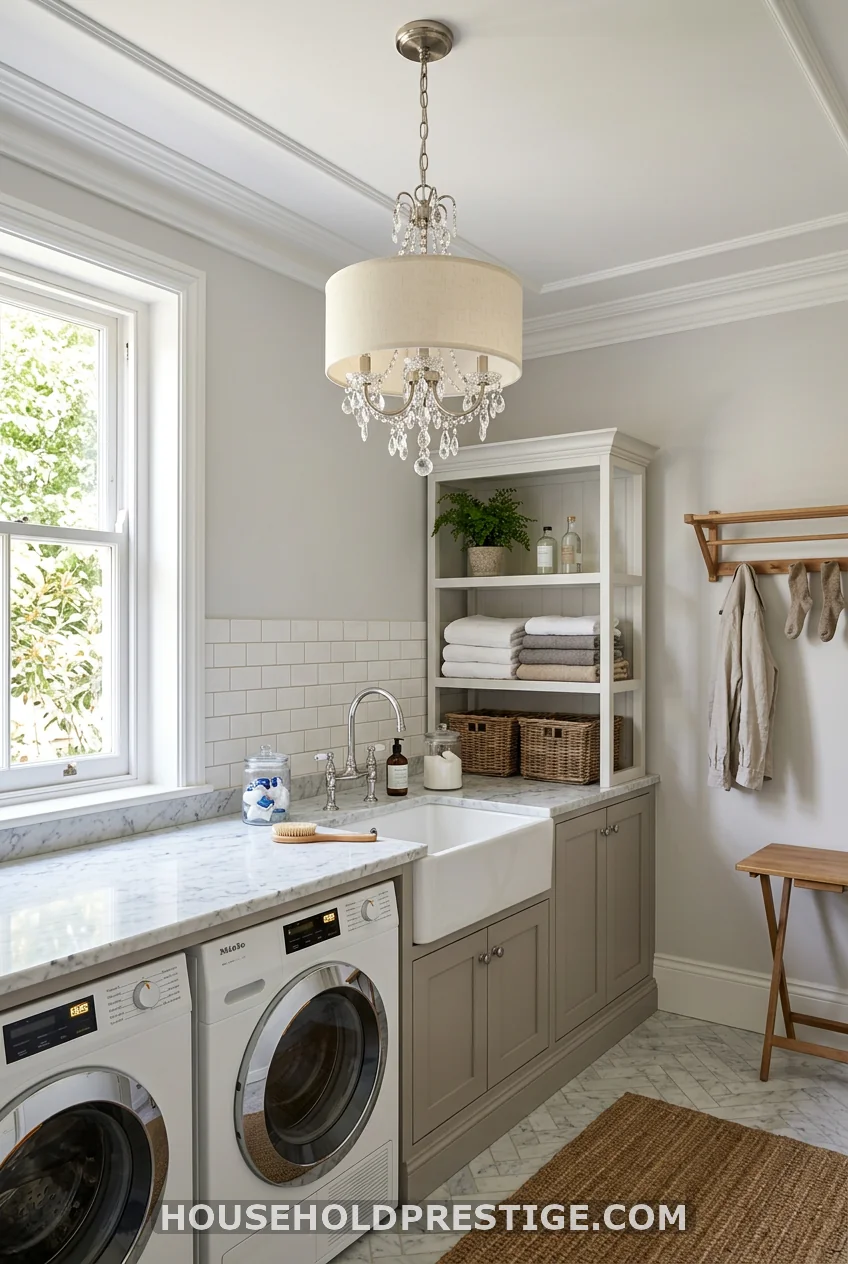
Nobody said a laundry room has to look like a laundry room. A scaled-down chandelier, something sized for a closet or powder room, works surprisingly well if your ceiling has the clearance. It won’t be everyone’s choice, but it turns the most-avoided room in the house into one people want to walk into.
11. Wall Sconces Beside the Machines
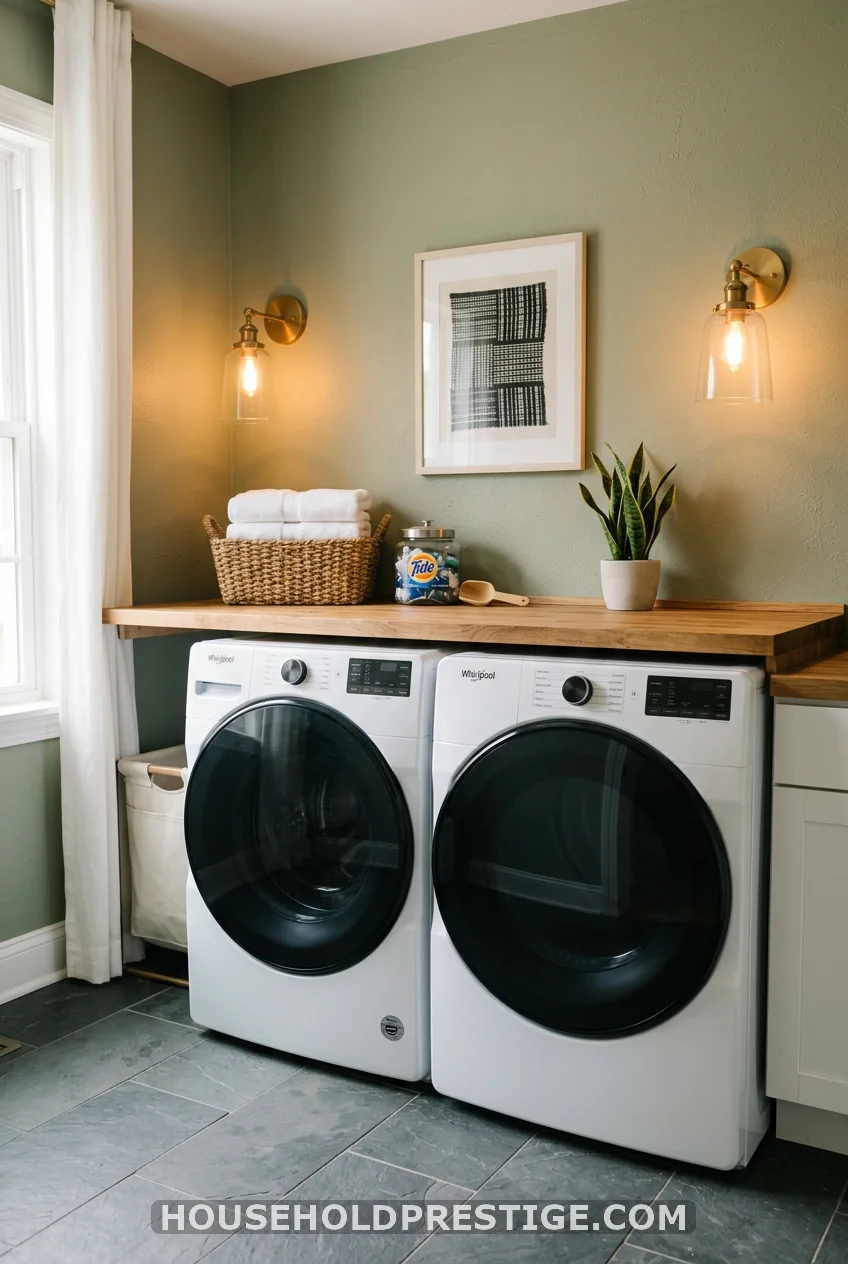
Sconces flanking the washer and dryer add symmetrical light exactly where you’re loading and unloading. Swing-arm versions let you angle the light toward whatever you’re inspecting.
12. Solve the No-Window Problem With a Skylight or Sun Tunnel
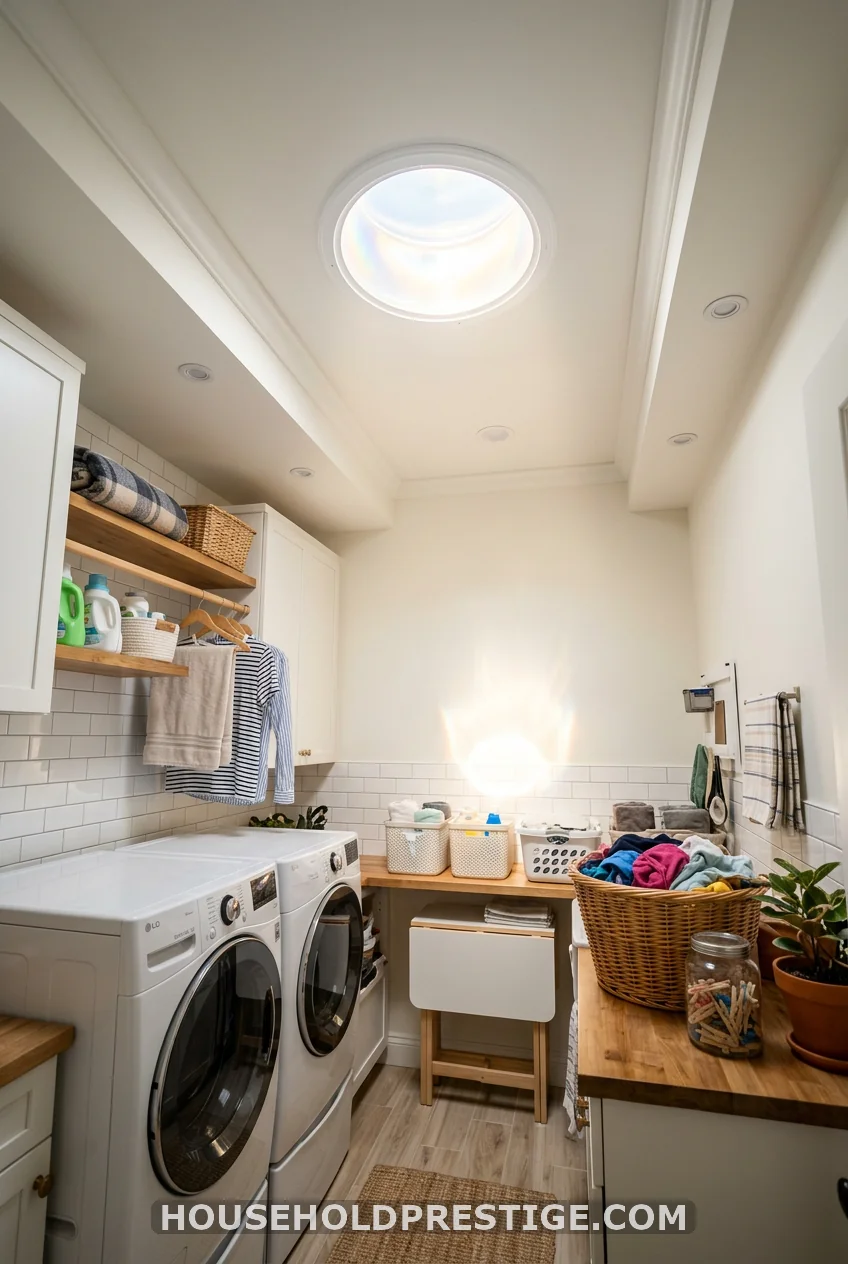
If your laundry room has no window at all, natural light might still be possible. A tubular skylight, sometimes called a sun tunnel, threads daylight through the attic into a small ceiling fixture. Installation runs $600 to $1,200 depending on roof access and attic distance, but it’s the only fix on this list that adds actual daylight instead of simulating it.
When it’s worth it:
If your laundry room sits directly under an accessible attic with a short, straight run to the roof, this is worth pricing out. If the room’s buried in the center of the house with no attic access above it, skip to LED daylight bulbs instead.
13. Motion-Sensor Lighting for Hands-Full Moments
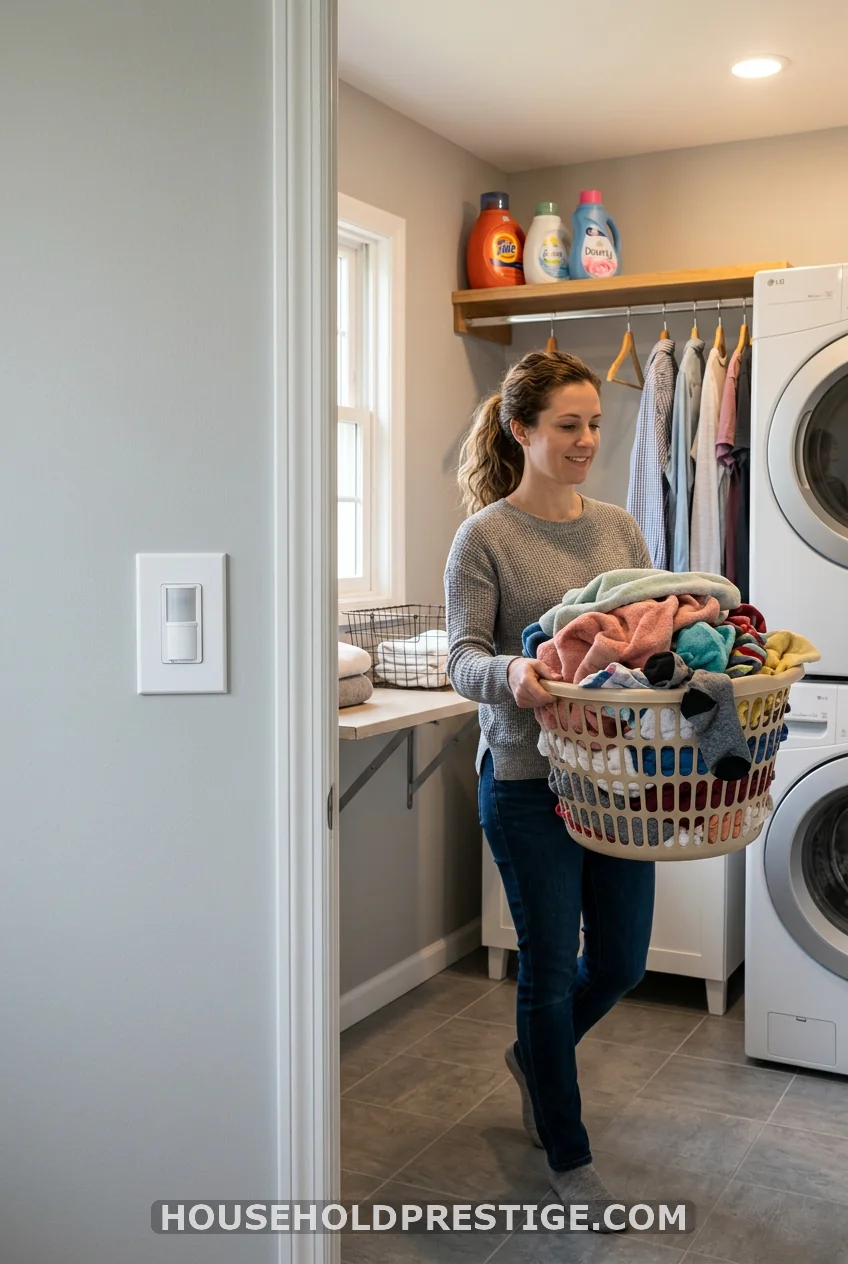
Arms full of towels, elbow reaching for a light switch that’s just out of range. A motion sensor switch swaps in for about $25 and skips that entirely. Light comes on when you walk in, off a set number of minutes after you leave.
14. Match the Fixture Finish to Your Hardware
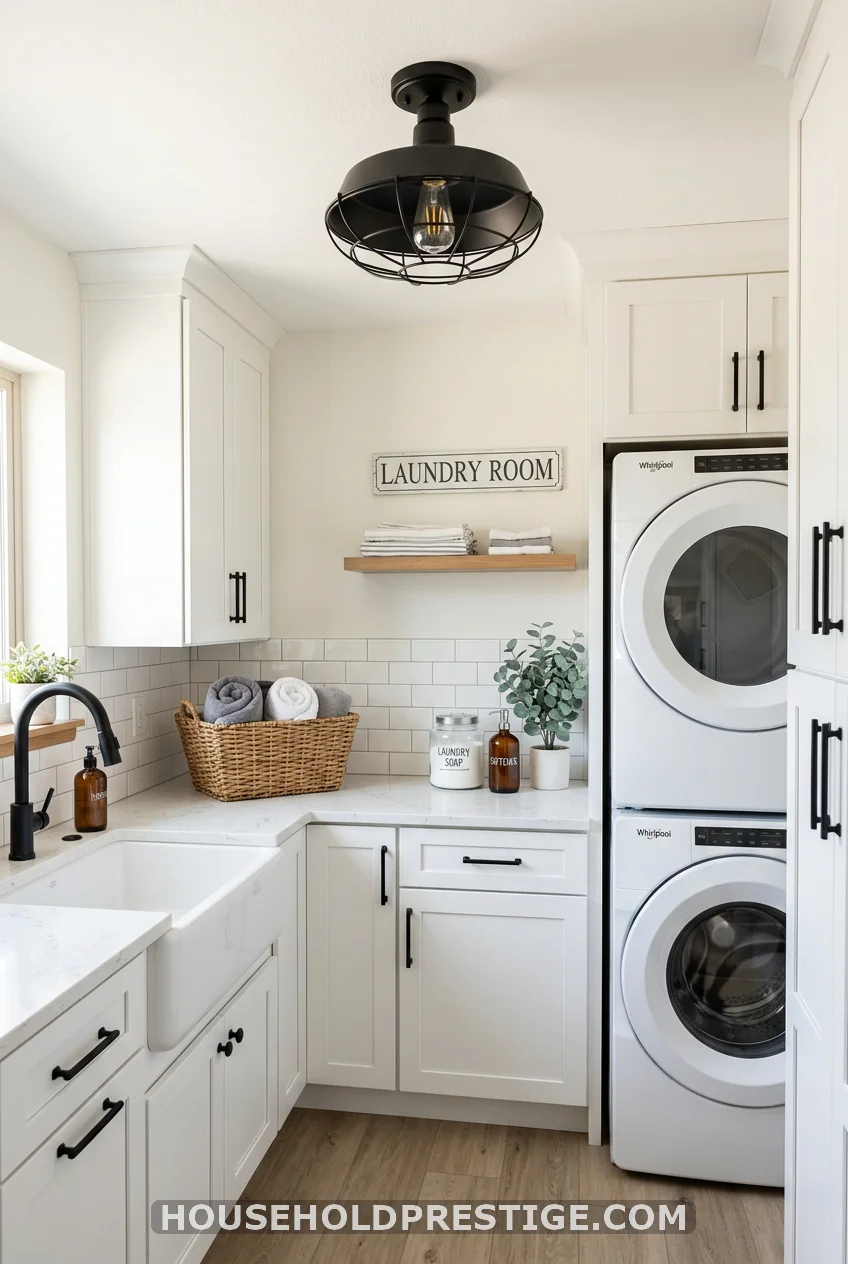
Small detail, big visual payoff. If your cabinet pulls are brushed brass, matte black, or oil-rubbed bronze, pick a light fixture in the same finish family. Mismatched metals in a small room read as unfinished, even when everything else is done well.
15. Track Lighting for Awkward, Angled Spaces
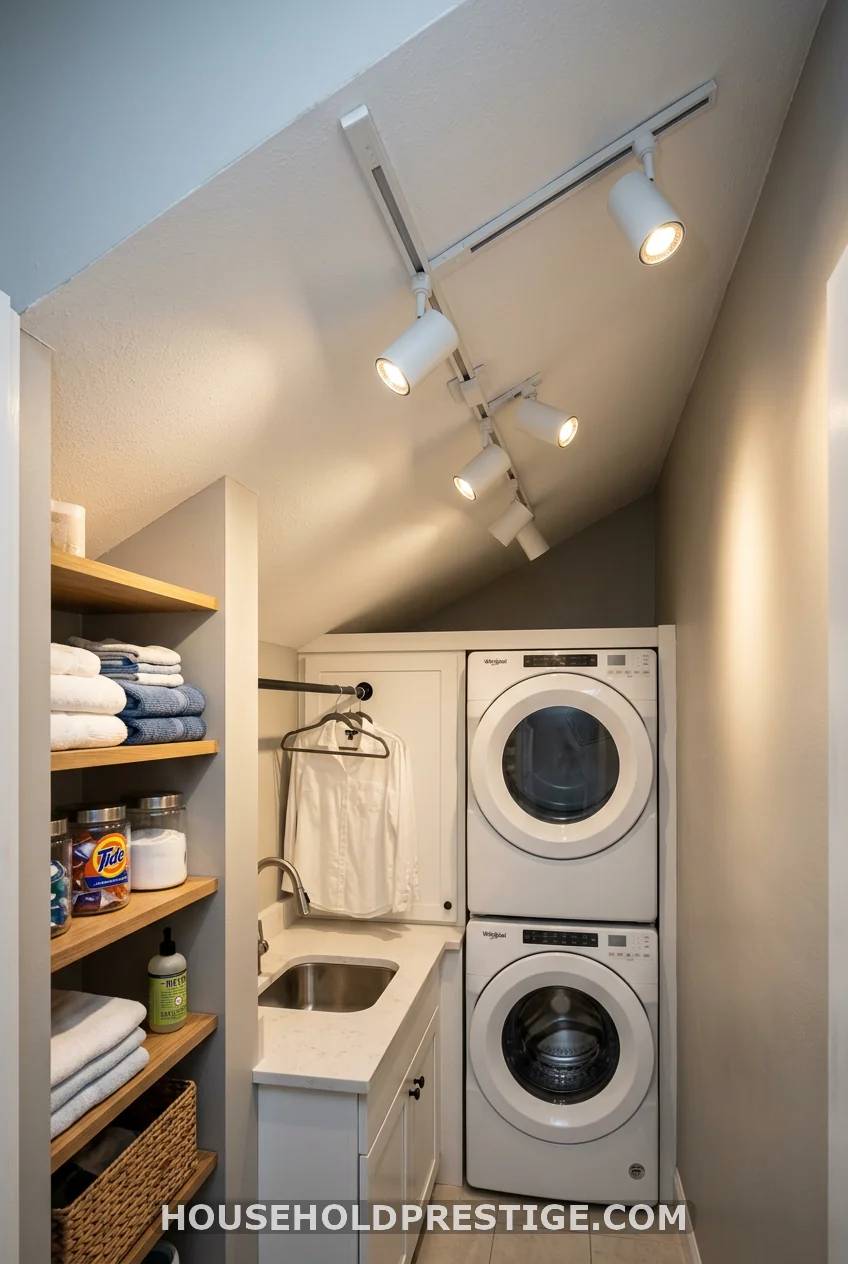
Sloped ceilings, narrow galley layouts, and rooms shaped like an afterthought all do well with track lighting. Each head swivels independently, so you can point one at the folding counter and another at the sink without adding a second fixture box.
A Well-Lit Laundry Room Changes the Chore
None of these need a full renovation to make a difference. A bulb swap and an under-cabinet strip can change the whole feel of the room in an afternoon for under $50. The layered setup in idea four takes longer but solves the problem for good.
Start with whichever fix matches your patience level today, and layer in the rest later. Your future self, squinting at a load of dark laundry at 7 a.m., will thank you.
Frequently Asked Questions
What is the best light color temperature for a laundry room?
Aim for 5000K to 6500K, often labeled “daylight” on the packaging. This range renders colors accurately, which matters for catching stains and sorting dark clothing correctly.
How many lumens does a laundry room need?
Most laundry rooms need 3,000 to 4,000 total lumens, or roughly 20 lumens per square foot. A single 60-watt equivalent bulb usually falls short on its own, which is why layering multiple sources works better than one bright fixture.
Can I install laundry room lighting myself?
Bulb swaps, plug-in LED strips, and flush mount fixtures with an existing electrical box are manageable DIY projects. Anything requiring new wiring, a new junction box, or a skylight cut into the roof is worth hiring a licensed electrician or contractor for.
Do I need a damp-rated fixture in a laundry room?
If the fixture sits within a few feet of a utility sink or in a room with high humidity from the dryer vent, a damp-rated fixture is the safer choice. Standard dry-rated fixtures work fine in rooms without a sink or excess moisture.
What’s the cheapest way to fix bad laundry room lighting?
Swapping the existing bulb for a daylight LED costs under $5 and takes seconds. It’s the single highest-impact, lowest-cost fix on this list.